Turning spokes for the ship's wheel with a pre-shaped blade
Turn ten identical spokes about 1 mm thick from a perfectly square strip, using a blade as a jig for the spacings and a small turning tool for the final shaping.
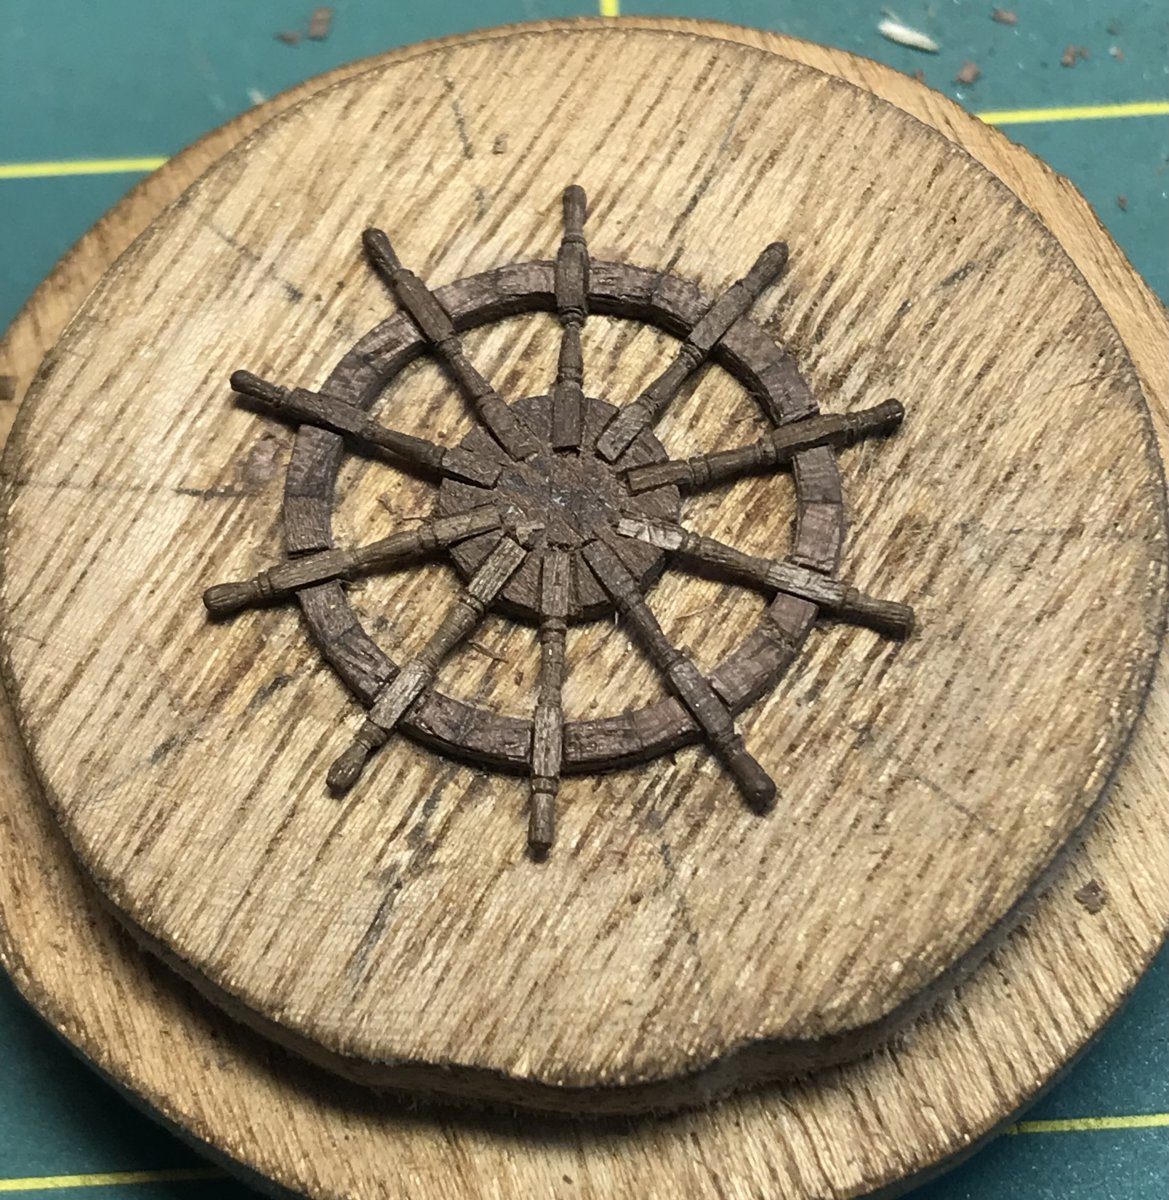
What you need
- lathe with a small chuck
- table saw
- pre-shaped blade (ground yourself from a knife blade)
- small turning tool
- fine needle files (Corradi/Pferd)
- strip of sandpaper 2 mm wide
- calipers
- walnut strips (offcuts from the hull planking)
- cherry, pear or boxwood to experiment with
Dimensions
- strip exactly 1.06 x 1.06 mm
- spoke 1 mm thick (to scale it would be 0.8 mm)
- rim 1.3 mm thick
- the over-thick trial spoke was 1.5 mm, or 10 cm converted; the thin one comes to about 5.7 cm
- ten spokes per wheel, two wheels
- Time
- several evenings
- Difficulty
- hard
- When in the build
- Phase 11,
- From the log post
- Good looking or to scale · forum
Before you start
The rim and the centre piece are done (see the step-by-step guide for the ship's wheel rim), so you can fit the spokes in the wheel. Take the drawing from the Syren pdf as reference for the shape of the spoke. Allow a day of practice before the method is settled: the first evenings produced two spokes, or none.
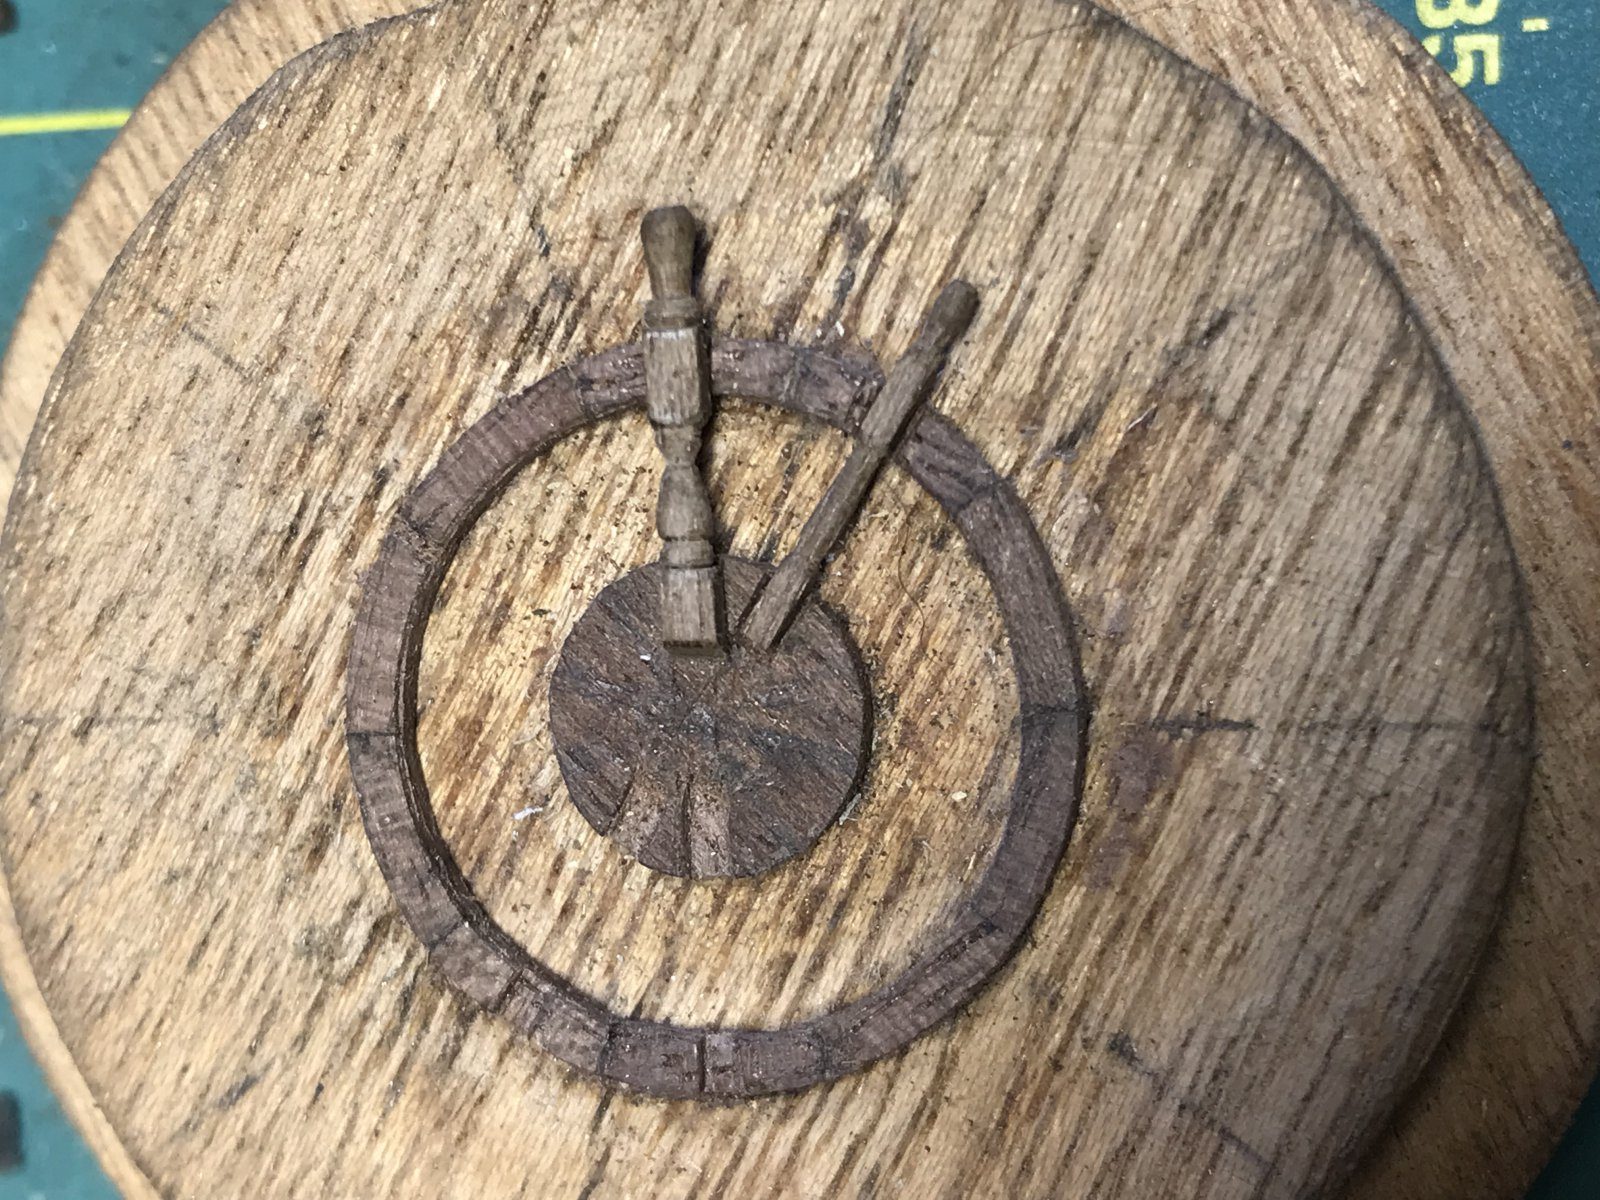
First make a few trial spokes and lay them side by side. A spoke with plenty of detail looks better, but soon gets too thick: 1.5 mm is thicker than the 1.3 mm rim it has to sit in and would be 10 cm on the real ship. Choose the spoke to scale and add the detail with practice.
spoke 1 mm thick, rim 1.3 mm
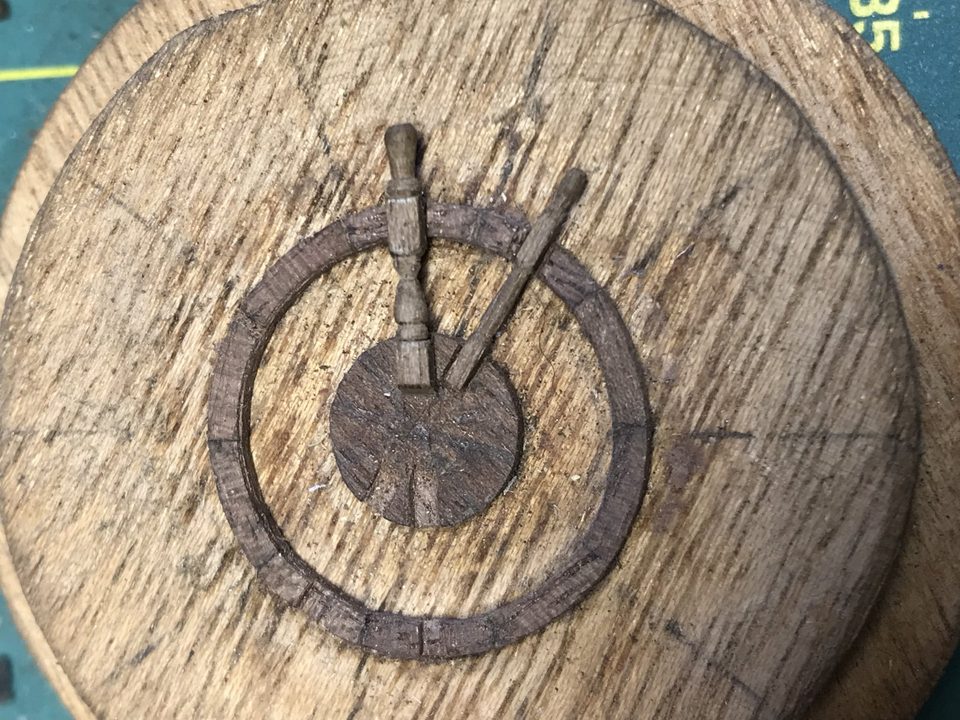
The dilemma: the handsome but too thick spoke vertical, the spoke to scale beside it. Tip from Stephan Kertész: Reduce the handle section with a fine file. Corradi (Pferd) mini files with Swiss cut 2 are expensive, but used properly they last a lifetime.
Watch out: On the forum nearly everyone chose the handsome thick spoke. Scale is a bit of a thing, though: 0.5 mm here is the difference between a handle and a club.
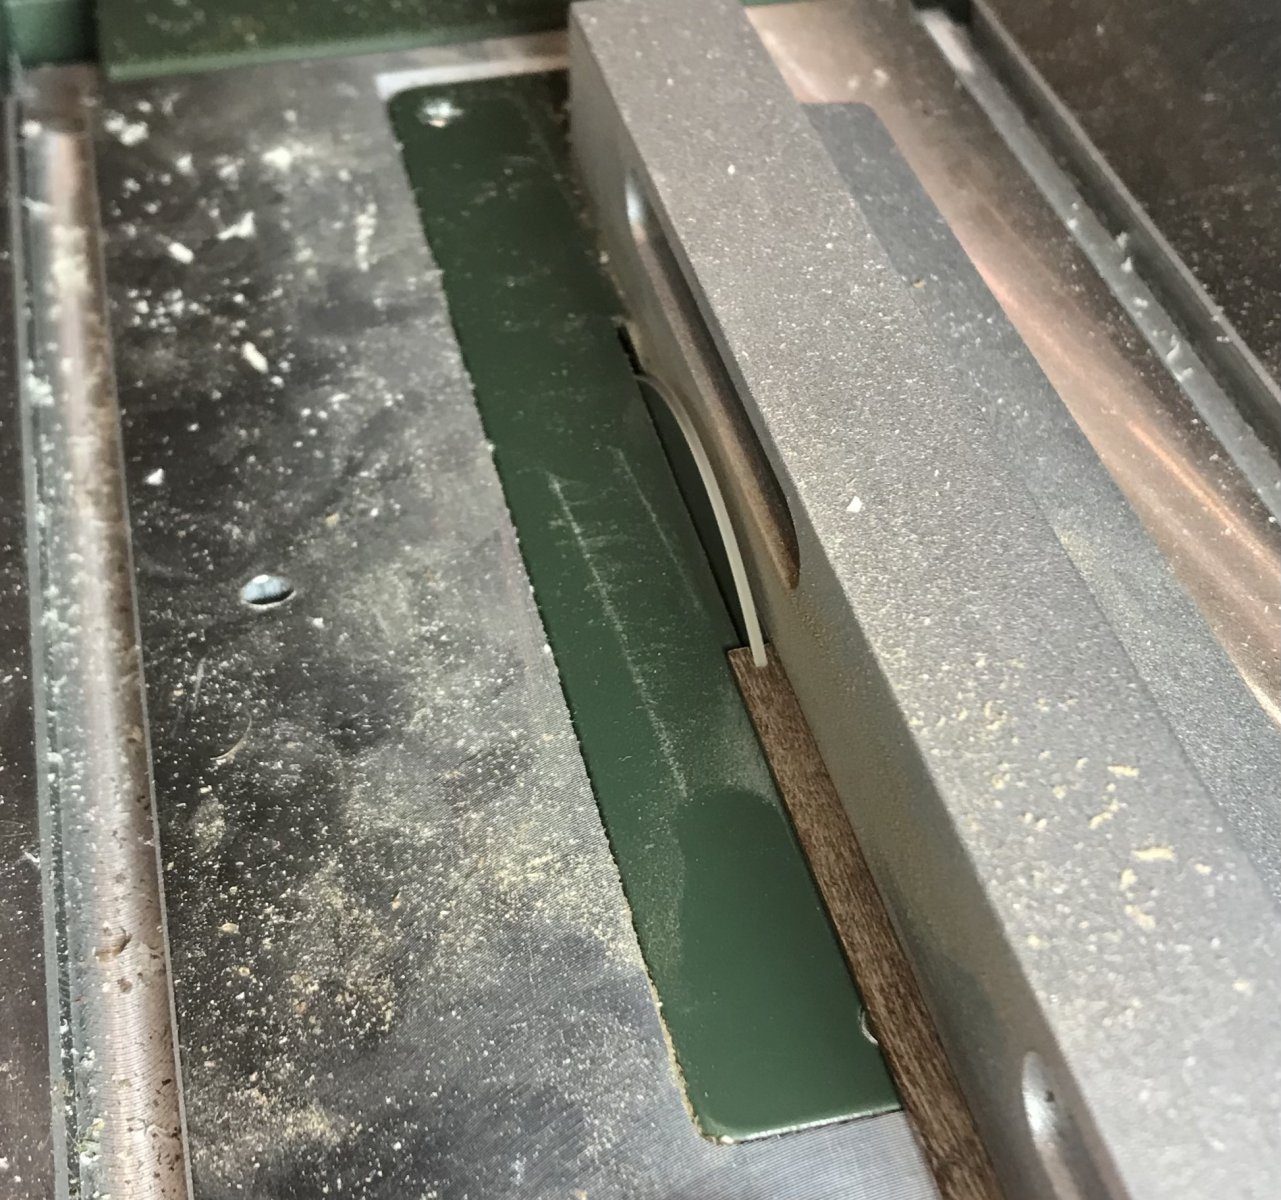
On the table saw cut a strip 1.06 mm thick to exactly 1.06 mm wide, so that it is truly square. Keep the strip short, because on a long strip a deviation soon creeps in halfway. Check with the calipers.
1.06 x 1.06 mm
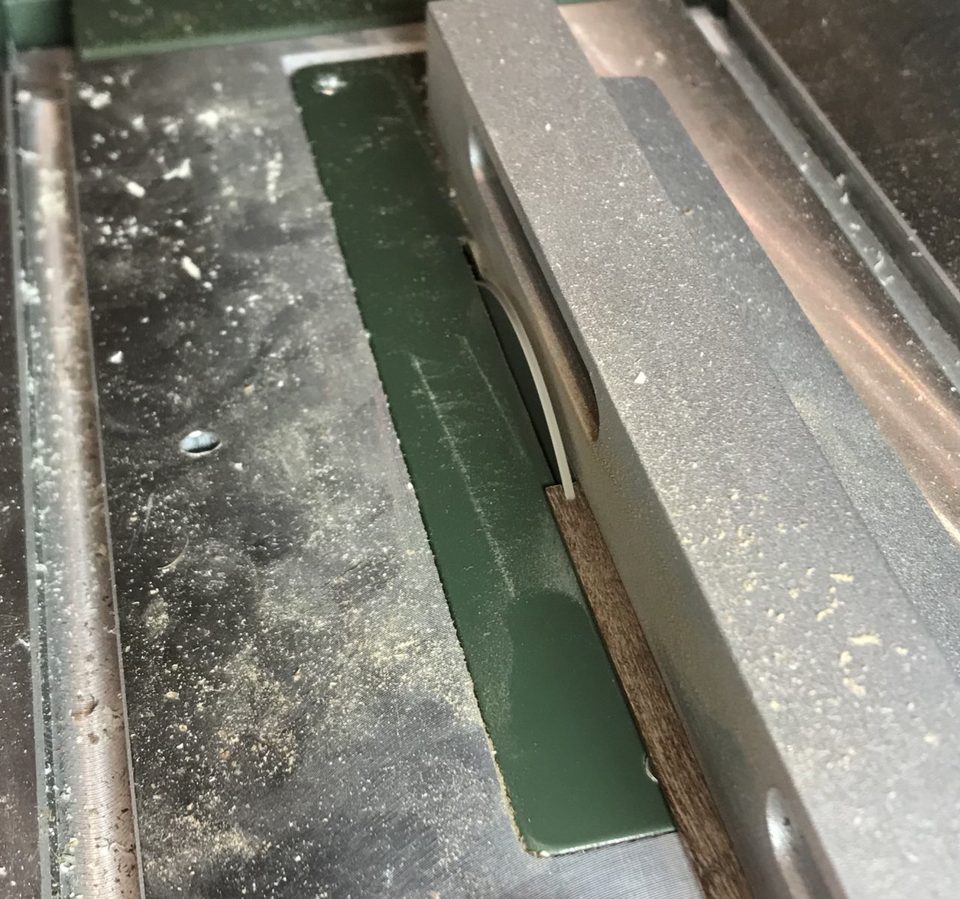
The 1.06 mm strip on the table saw, against the fence. Watch out: That 1.06 mm took a few attempts. Perseverance pays.
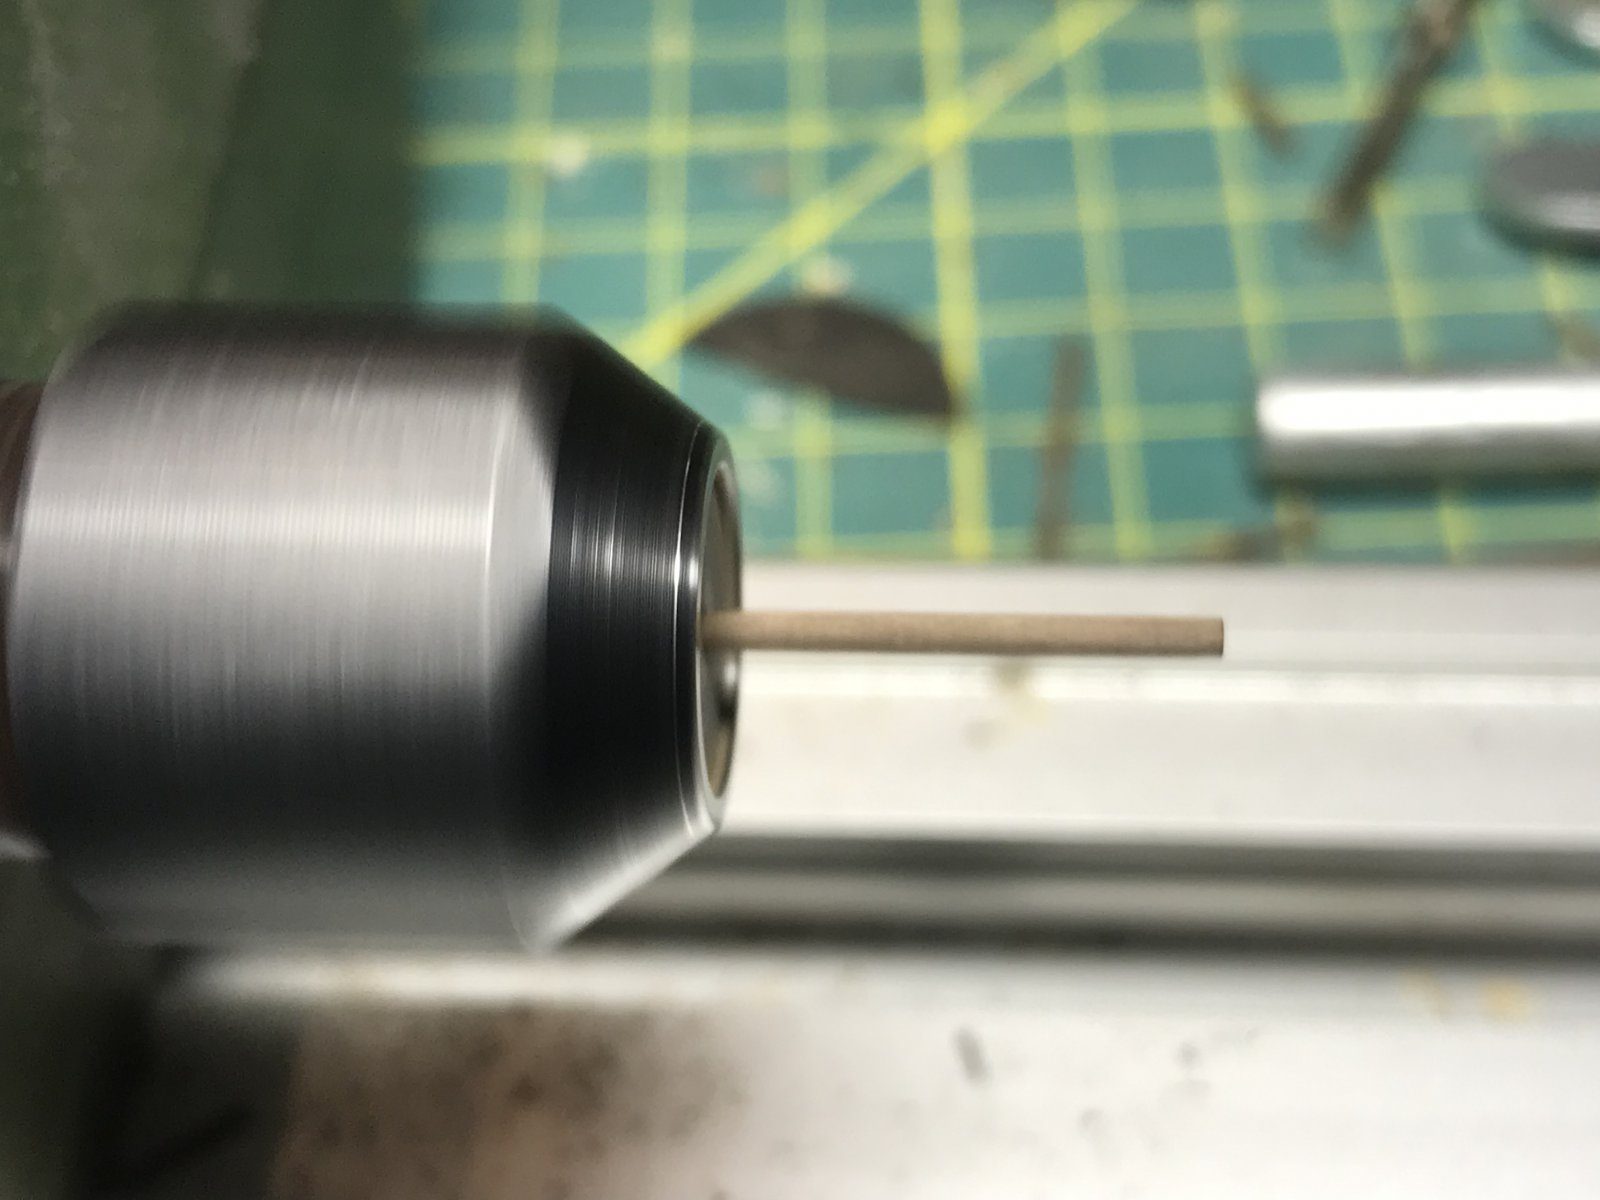
Snip a very short stick from the strip and mount it exactly centred in the lathe chuck. This is very precise work: 0.1 mm off centre or askew gives a flat side when turning. This step takes the most time.
off-centre error under 0.1 mm
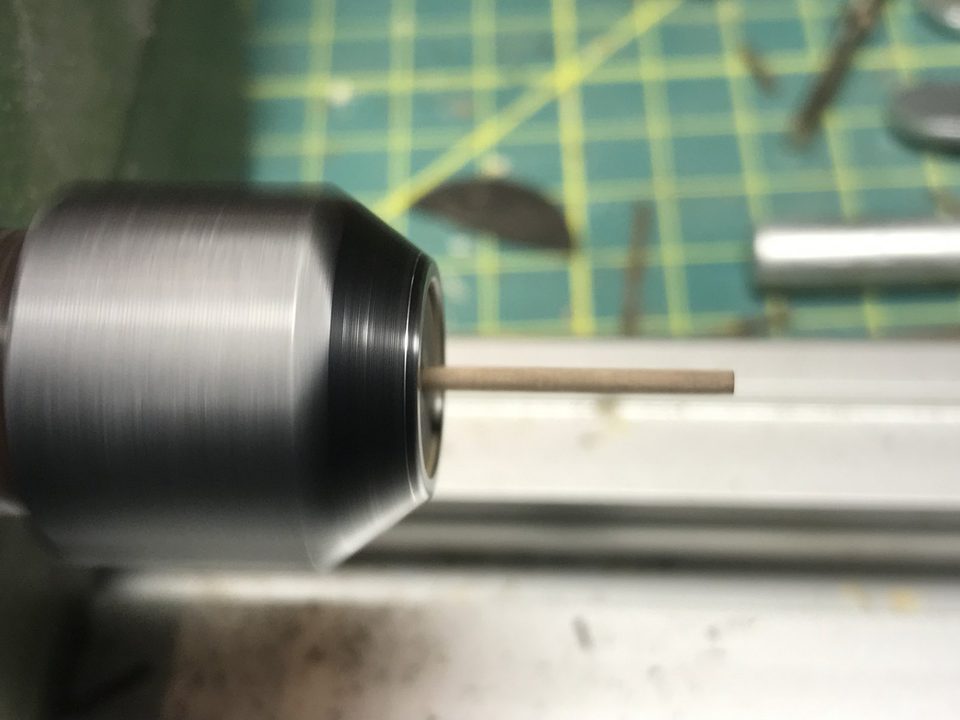
The short square strip in the lathe chuck. Tip from Stephan Kertész: The principle is that you let the piece of wood turn inside a form (a drilled hole) with an opening, and make the shape through that opening. The workpiece then cannot go anywhere.
Watch out: Such a holder only works with round stock. With a square strip the square part kept going partly round too. So steady the stick lightly with your finger, then you can apply more pressure when the blade goes in.
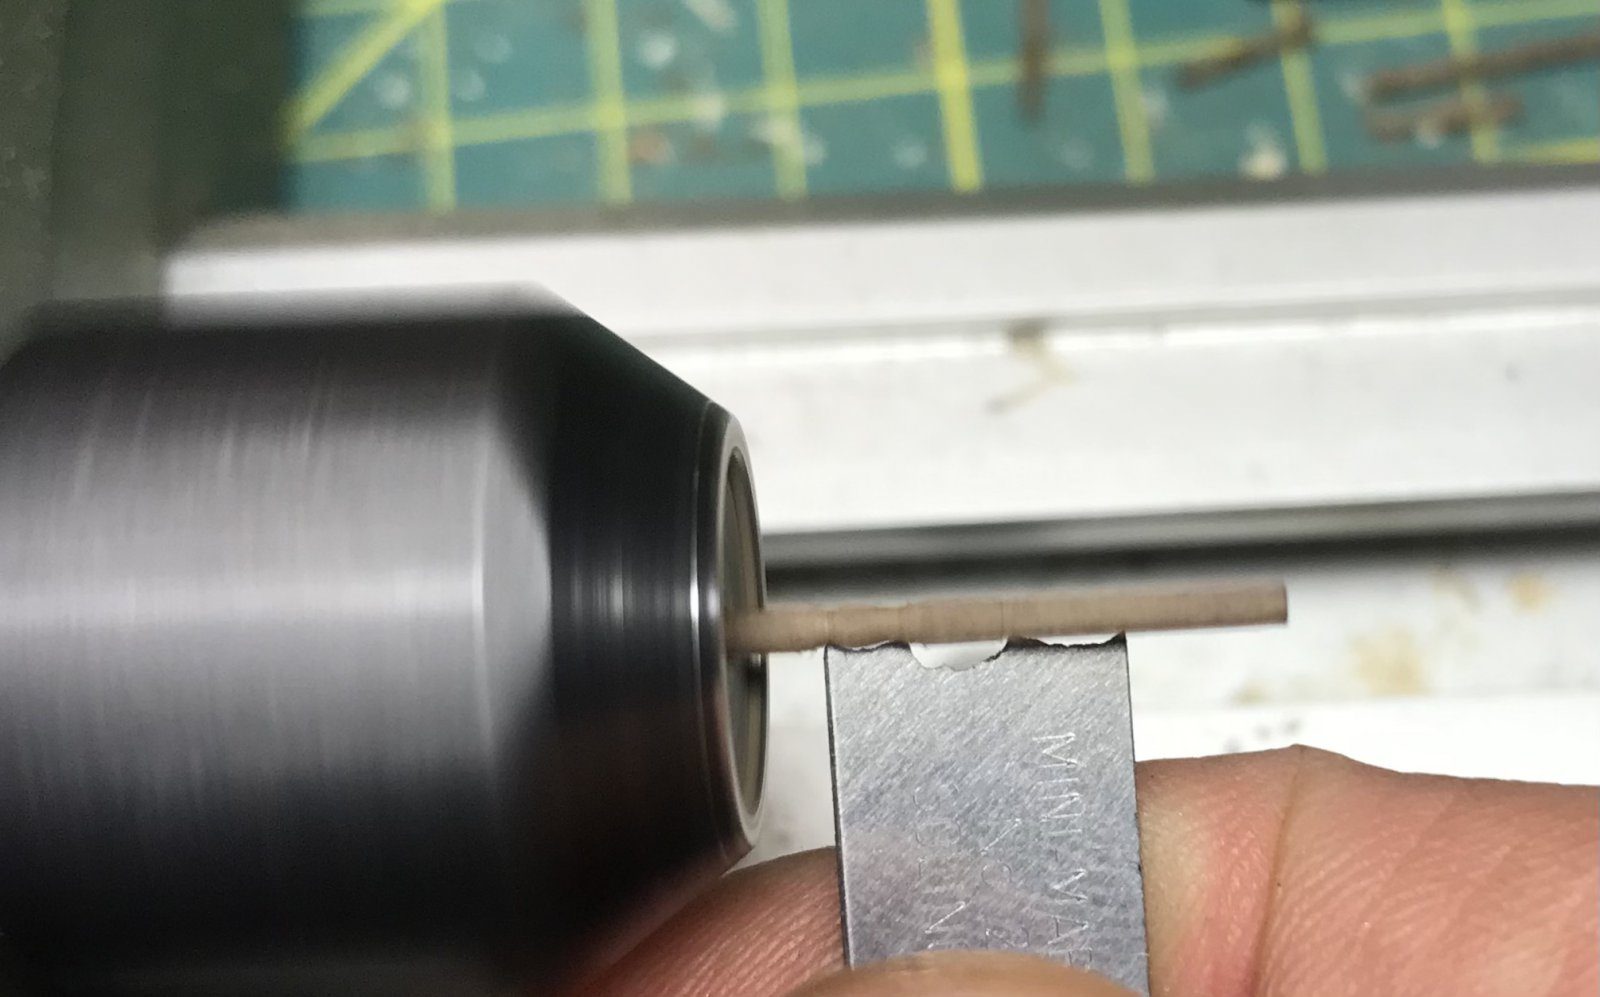
Grind a blade to the shape of the spoke, so that the rings and the handle sit at the right spacings. Hold the blade against the turning strip until the spacings are cut in. Do not turn the spoke all the way down with the blade, because then they invariably break.
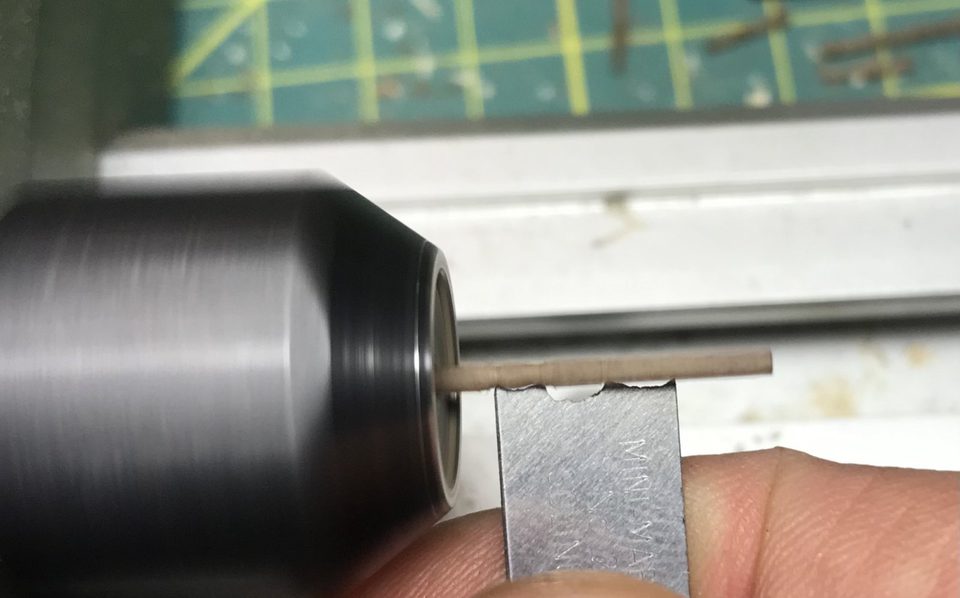
The pre-shaped blade against the turning strip, lightly steadied with a finger. 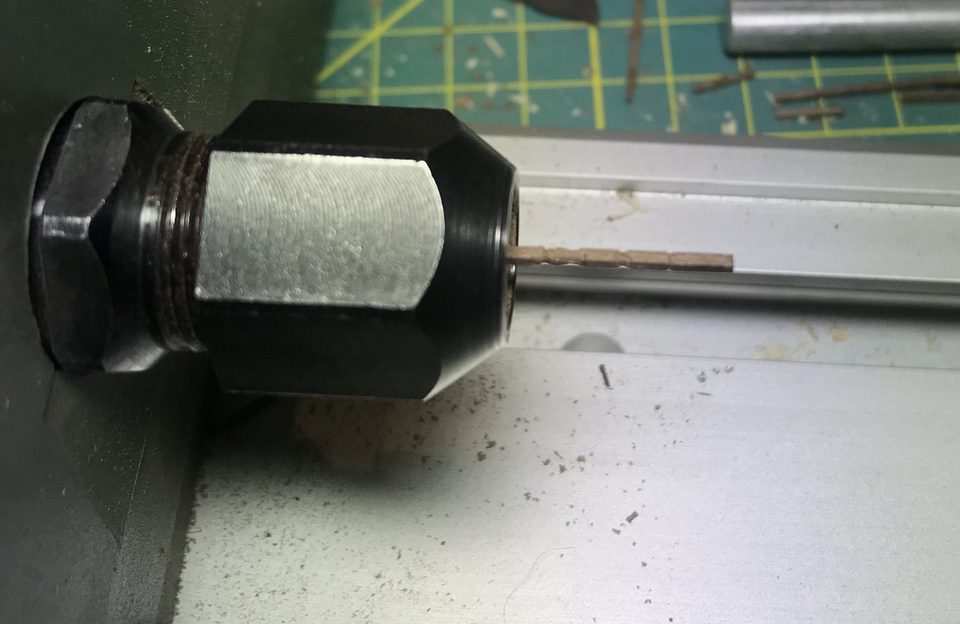
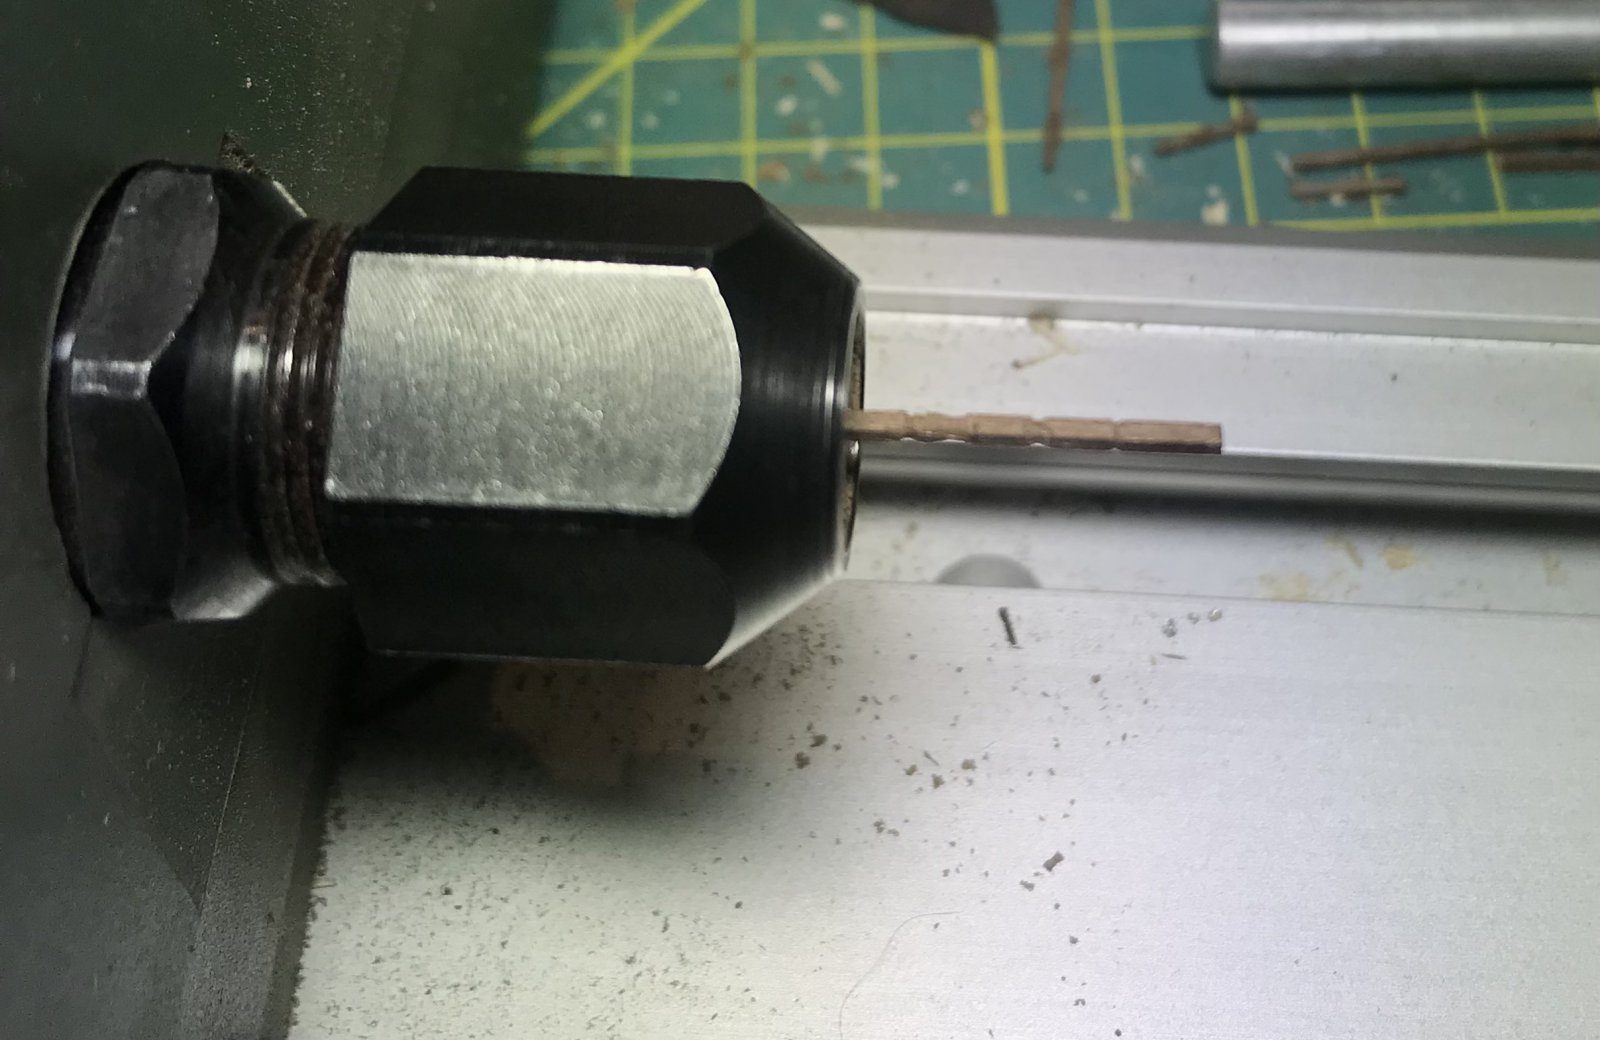
The strip after the blade: the spacings are in, the wood still largely square. Tip from Stephan Kertész: A variant is a brass tube in which the rod turns, with part ground away in the shape of your part; holding a fine file against the cut-away section transfers that shape to the wood.
Watch out: Making a jig from a utility knife blade did not work at all the first time. Keep going: after trying all of Stephan's techniques, this one eventually worked.
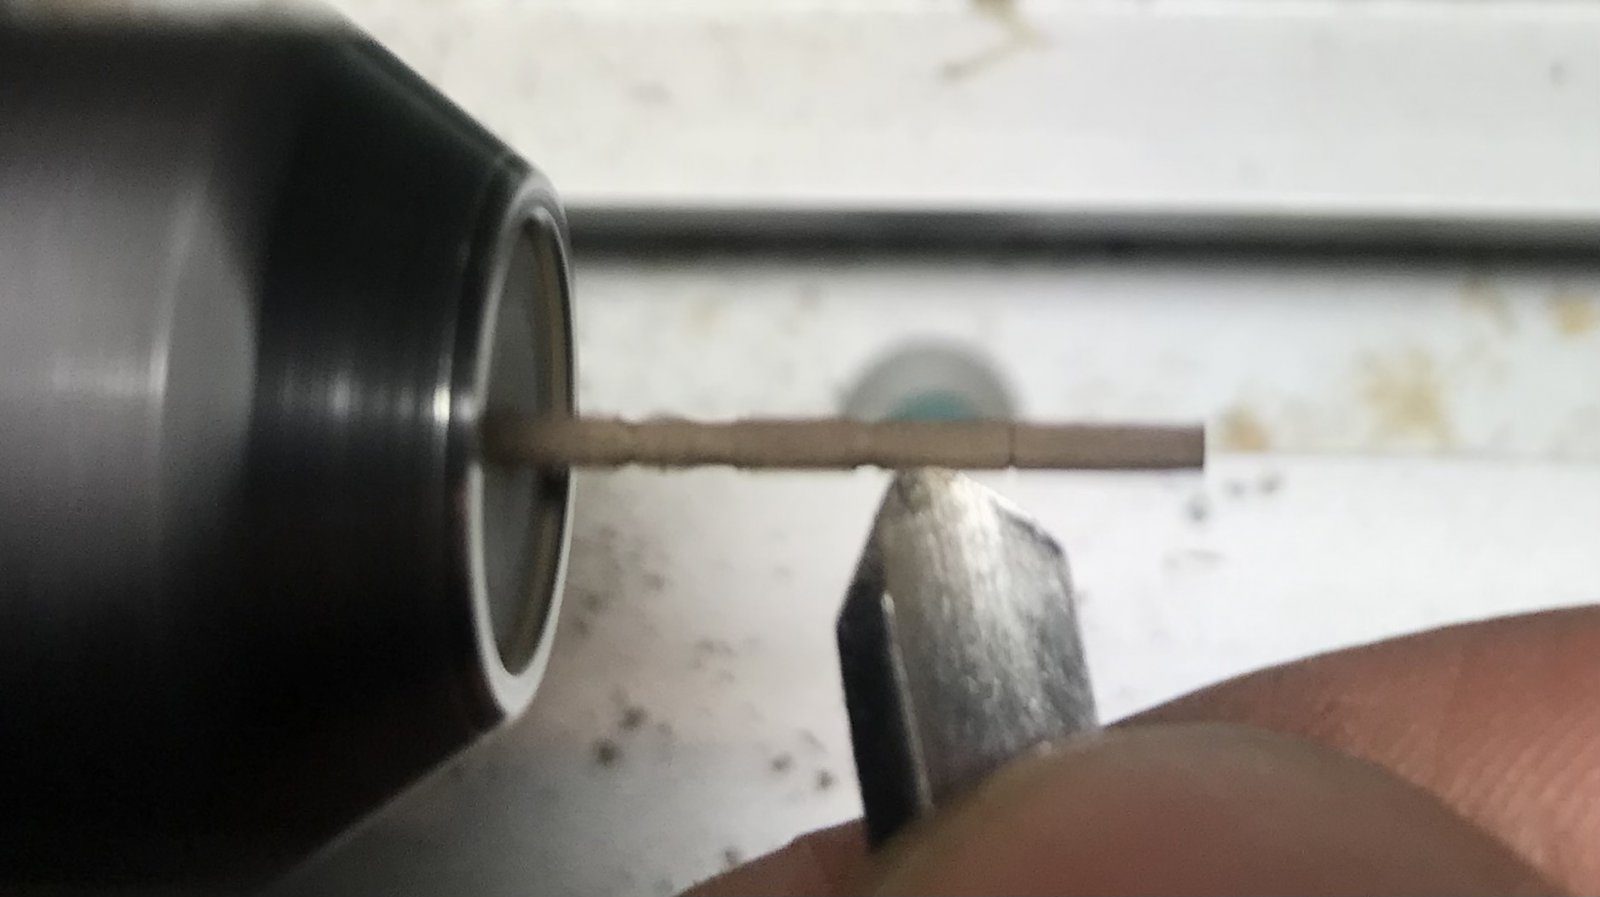
Turn the spoke to its final shape with an ordinary small turning tool, using the spacings from the blade as a guide. Because those spacings are the same every time, the spokes come out reasonably identical. Then round them a little further with a strip of sandpaper 2 mm wide.
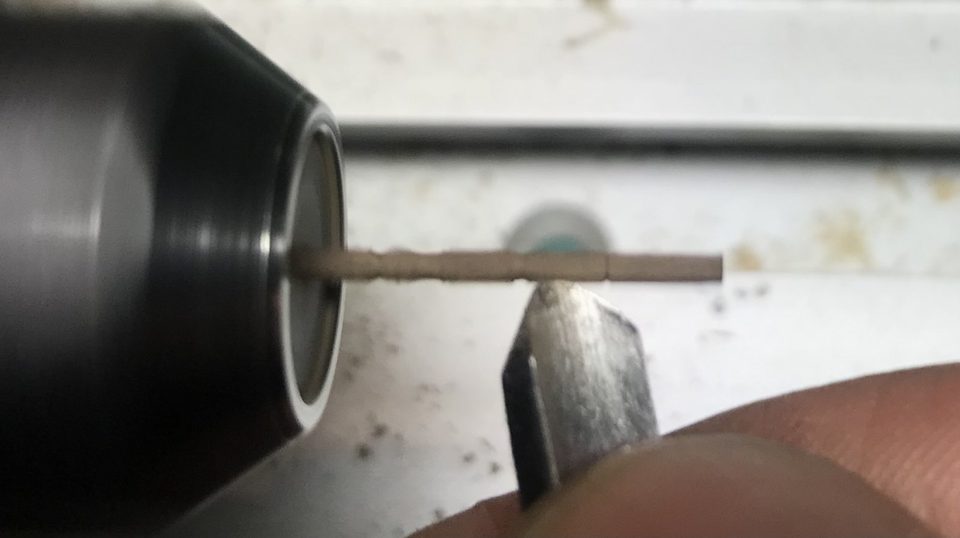
Turning down with the small turning tool, the spoke still in the chuck. Tip from Pingu57: Sand the parts that go into the rim a little thinner.
Watch out: Two spokes an evening gets you nowhere. Only once the method was settled did the pace pick up: ten spokes in a day.
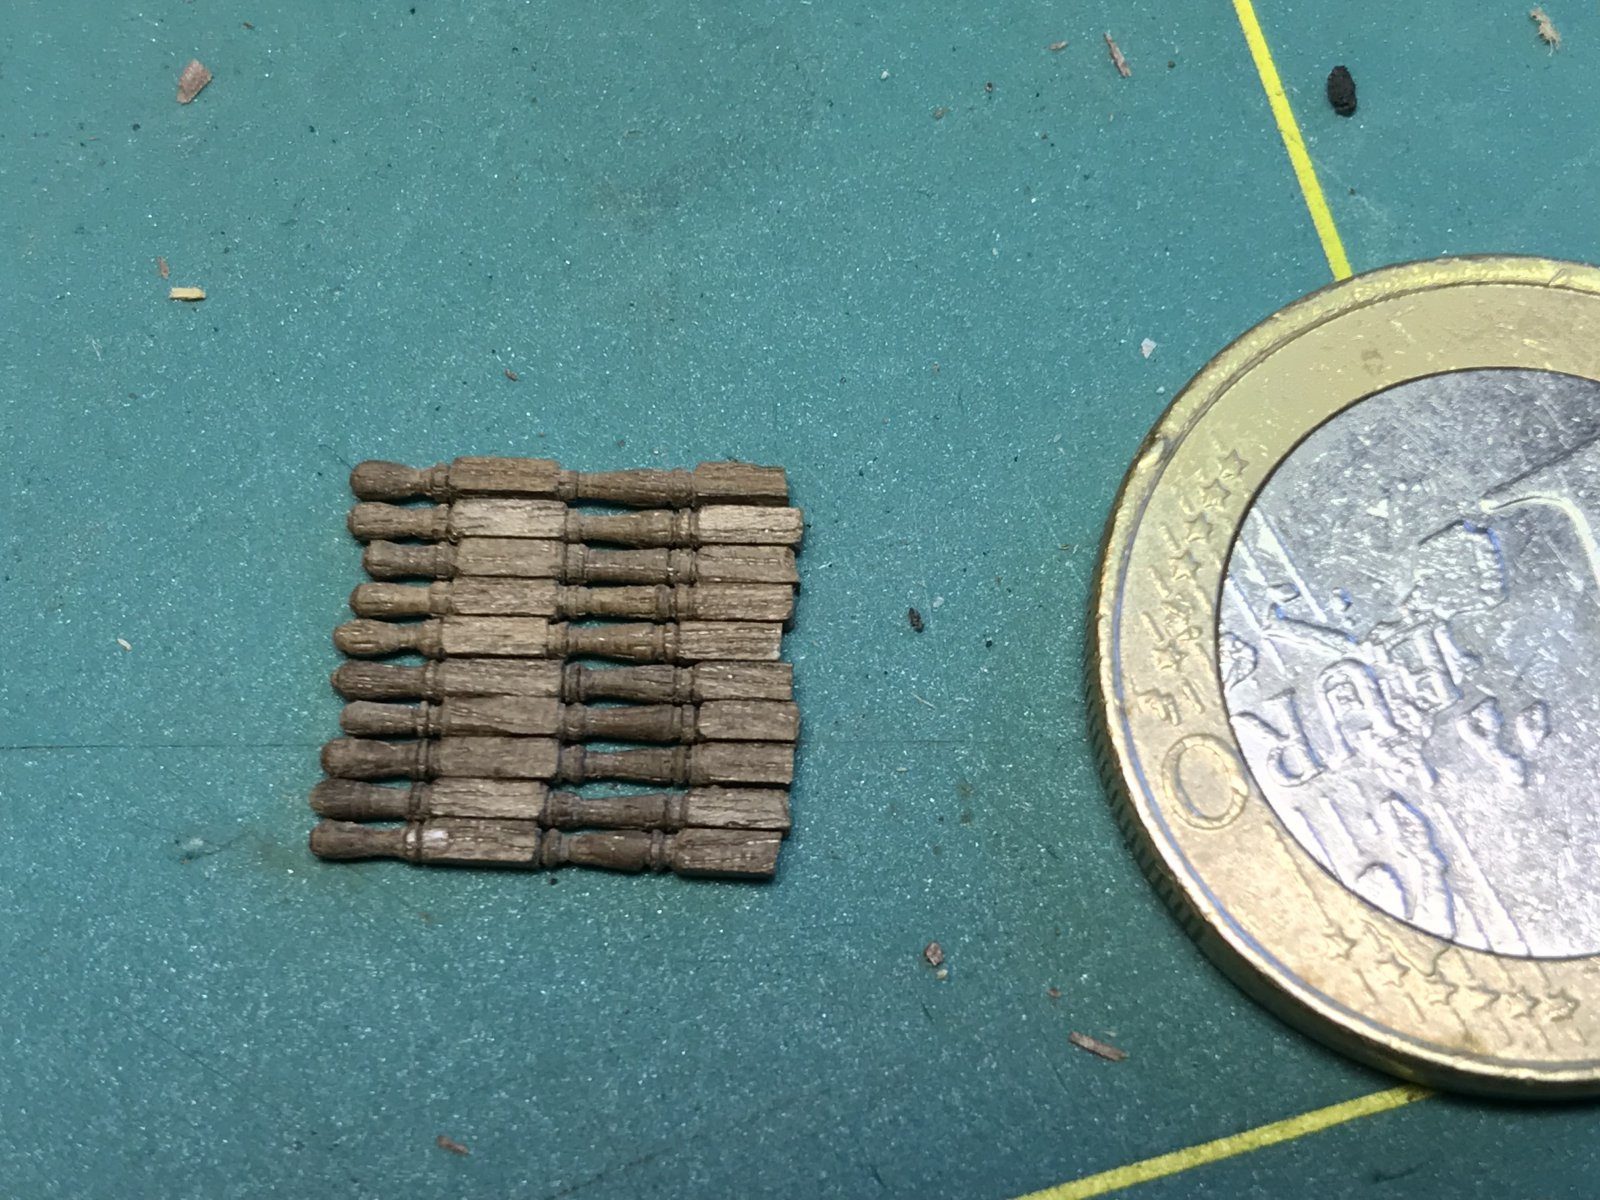
Lay the spokes side by side and compare them. Small differences matter less in reality than they appear in a photograph. Boxwood works even finer but forgives less: a mistake is made more quickly.
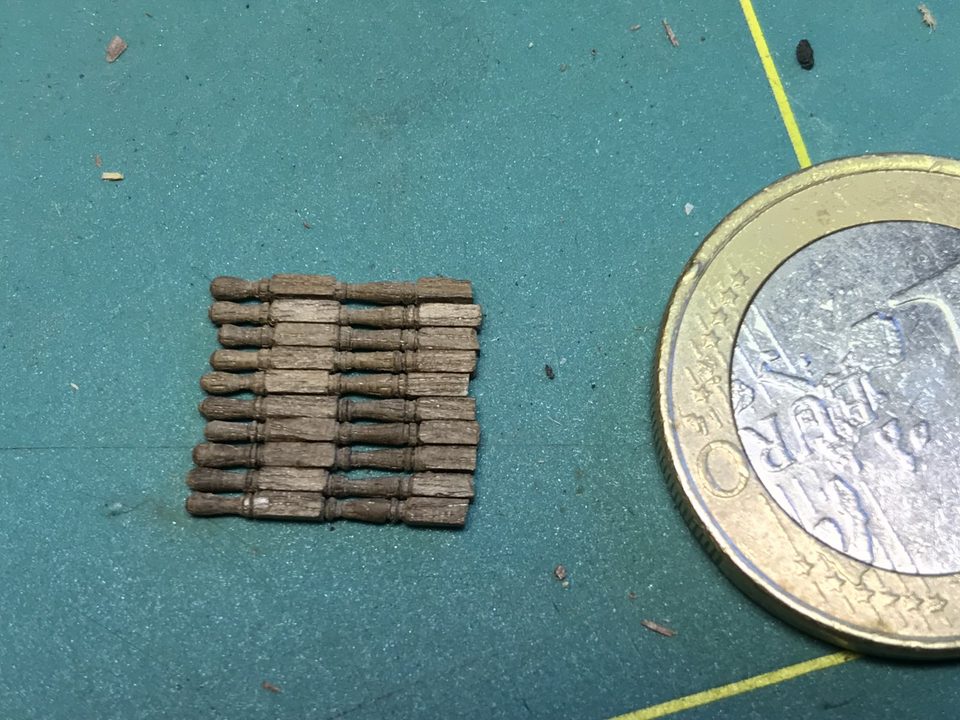
Ten spokes beside a euro coin: spot the difference. Tip from Stephan Kertész: The difficulty is getting identical spokes. You could make a jig for that, as Sergey Trubchaninov does for deadeyes.
Watch out: With boxwood it did not work at all at first; 1 mm walnut ended up working better than expected.
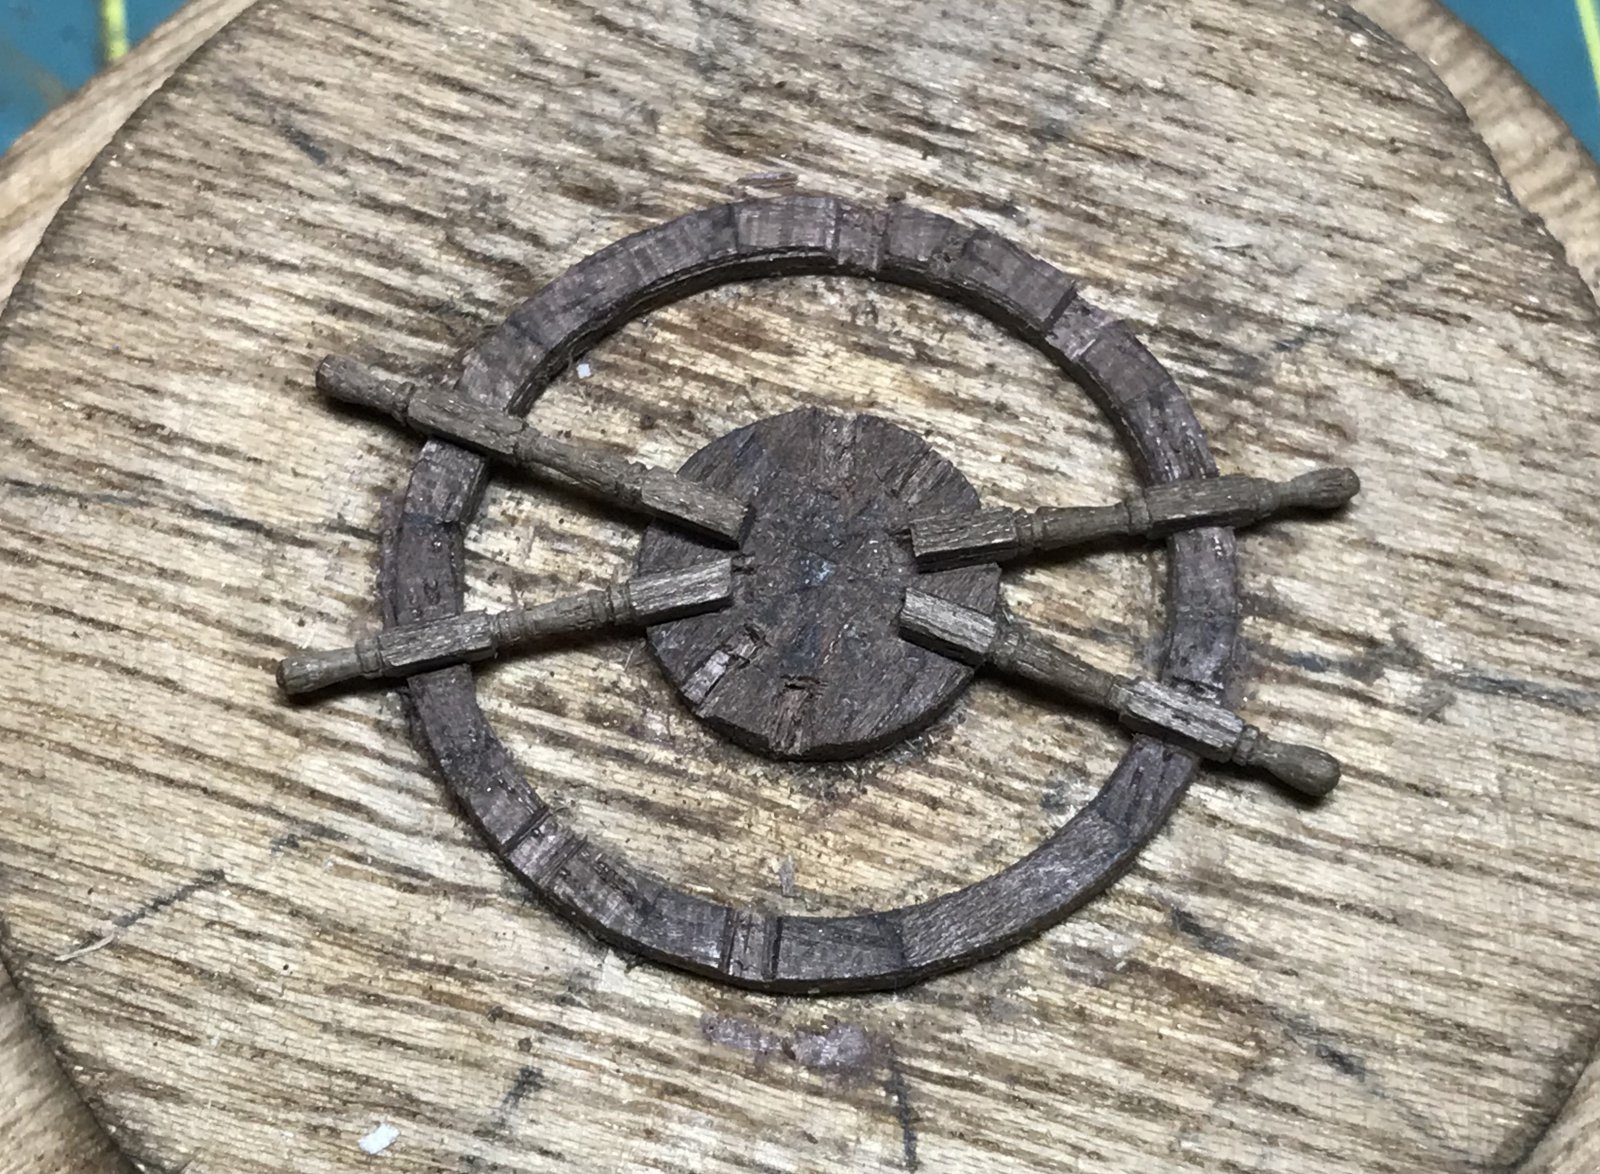
Lay the spokes in the notches of the rim and the centre piece, in pairs directly opposite each other. Use the dividing lines on the faceplate to get them in a straight line. Only glue them once all ten sit properly.
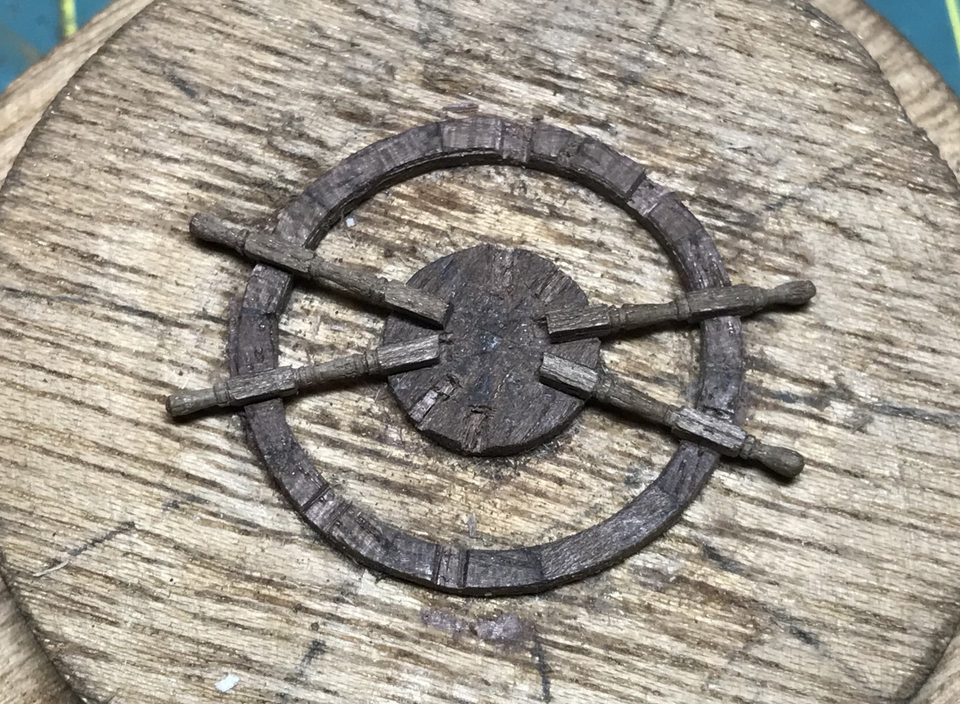
The first four spokes in the wheel: two pairs directly opposite each other. Watch out: Getting the spokes in a straight line remains particularly hard. It looks coarse in the photograph, in reality less so, and a little varnish tightens it up.
Result
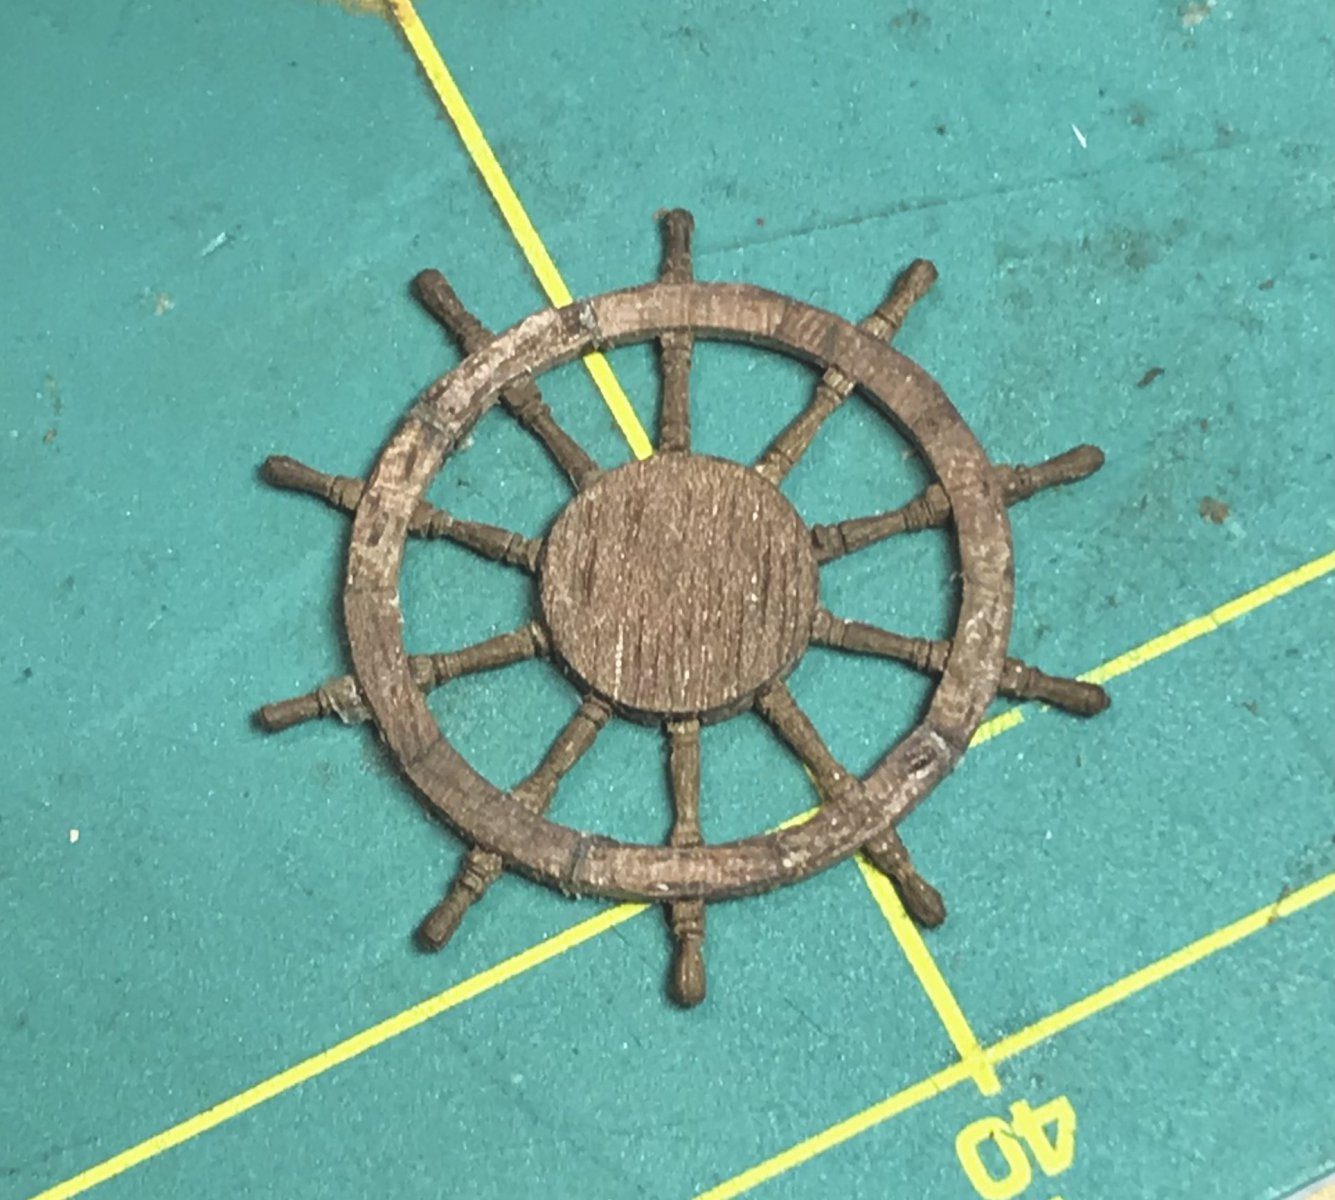
After a day of practice the method was settled and ten spokes lay ready that look reasonably alike; in place on the deck the differences do not show. Next time glue the wheel up completely before it comes off the faceplate, because loose the rim broke in three places.
Problems met with this technique
Dilemma: the prettier spoke is not to scale (10 cm thick at full size), the spoke to scale is less attractive. With practice more detail can be worked into the thin spokes; chose the thin spokes. (Tips from Pingu57, Erik B, Stephan Kertész, walter10) to the register
The 1x1 mm walnut spokes break easily and are hard to align. Ordered cherry, pear and boxwood (edelholzverkauf); method with a pre-shaped blade on the lathe. (Tips from Stephan Kertész, Building Mouse) to the register
In the same series: Deck fittings
- Shot garlands with every shot equally spaced, using a small template
- Making the upper deck gratings lower with a camber
- Bending a strip for the planksheer in a PVC pipe of water
- Building up a drumhead from seven layers of walnut
- Turning and fitting rail stanchions for the ladderway
- A mast coat from dyed lining fabric, after the masts of the Victory
- A ship's wheel rim from ten walnut segments, turned round on a faceplate
- Turning spokes for the ship's wheel with a pre-shaped blade
All how-tos · Deck fittings: capstan, ship's wheel, gratings and bitts