Turning and fitting rail stanchions for the ladderway
Turn walnut stanchions on the lathe, exactly to size, with a pin in the bottom to fix them into the deck and a brass ring at the top for the rope, which you let sag with water and a small weight.
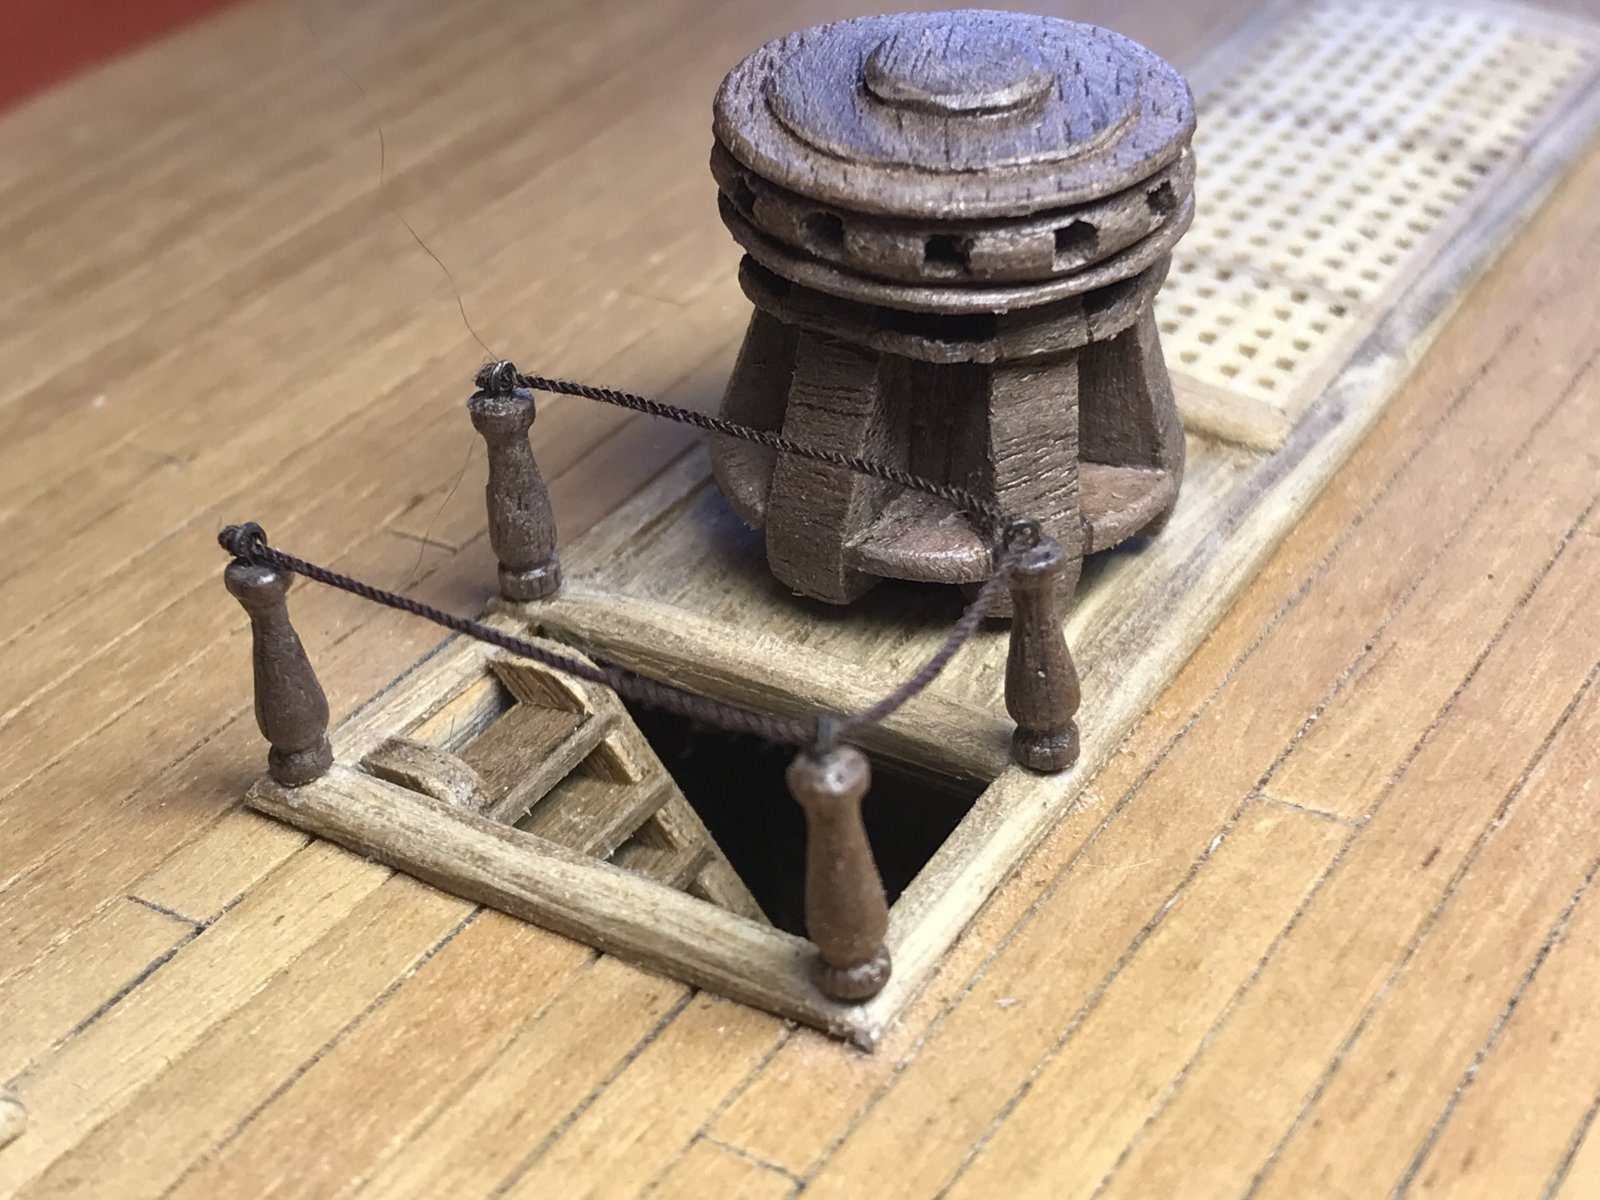
What you need
- lathe
- small drill
- cutting pliers
- tweezers
- callipers or ruler
- walnut, the last scraps from the display stand
- pins
- brass rings from the smallest Caldercraft hooks
- brown rope
- CA glue
- water and a small weight (a drill bit, for instance)
Dimensions
- stanchions measured precisely for height, thickness and position of the curves
- Time
- several evenings
- Difficulty
- hard
- When in the build
- Phase 10,
- From the log post
- Third attempt stanchions turned rope left to sag · forum
Before you start
The ladderway and the capstan on the upper deck are finished. The shapeless brass pins from the kit are not an option, and neither are satay skewers: that is rubbish wood. Have scraps of walnut ready and the brass rings you have left over from the oversized Caldercraft hooks.
Expect more than one attempt. Attempt one, from thinned-down round sticks painted black, came loose halfway through the model builders' day in Hillegom. Attempt two in walnut with brass rings already looked good, but the stanchions were still uneven. So only turn the final set once you have the measurements exactly.
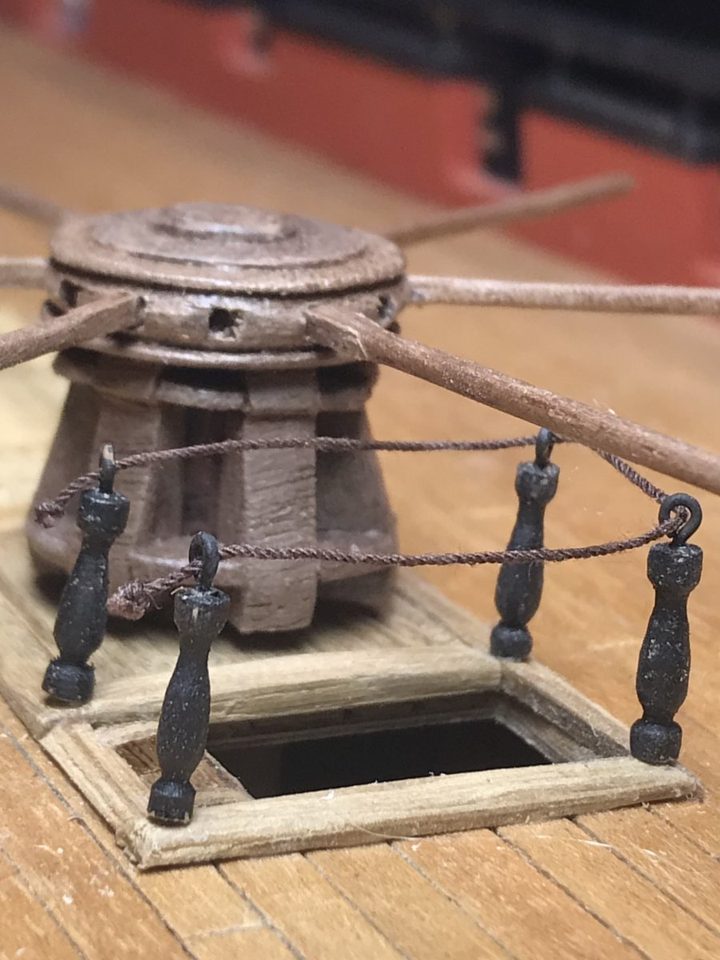
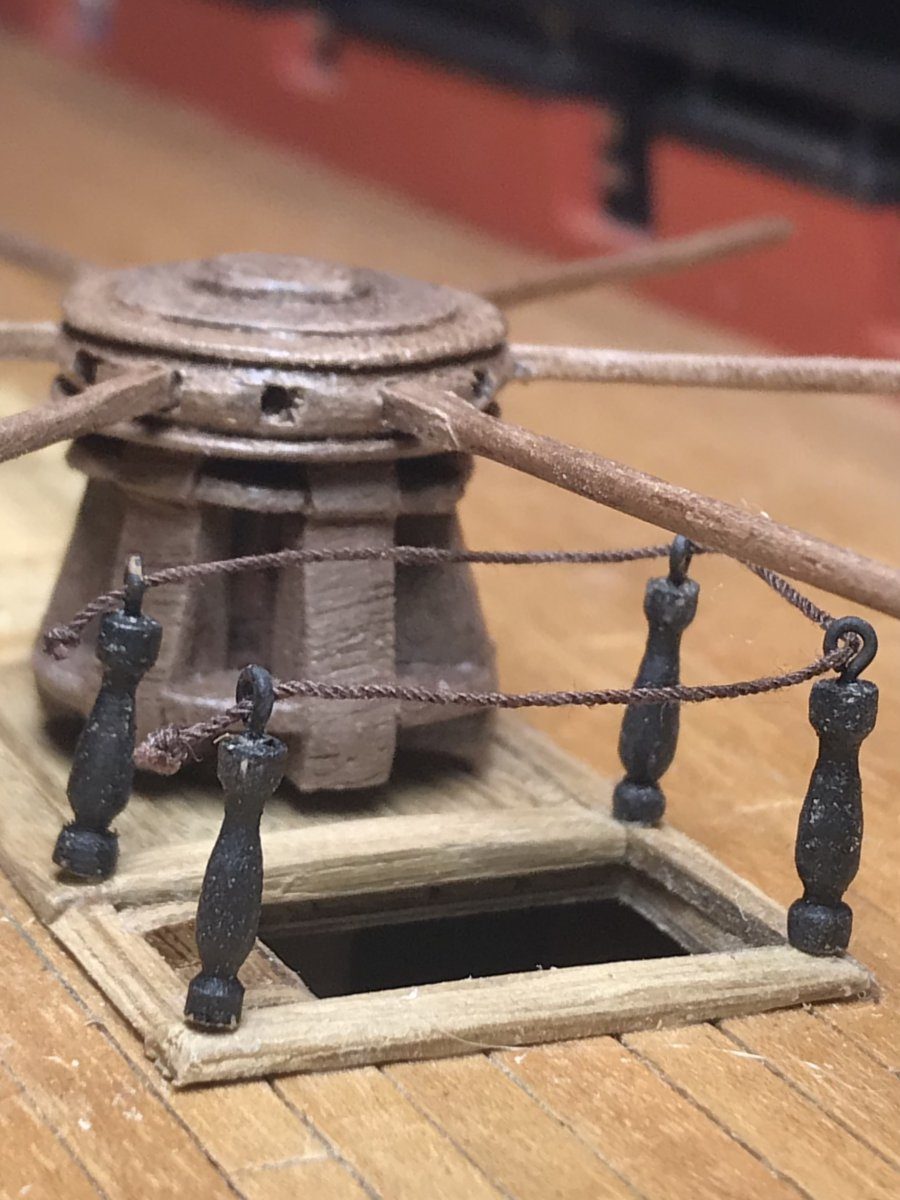
Attempt one: black stanchions from round sticks, with oversized black rings. 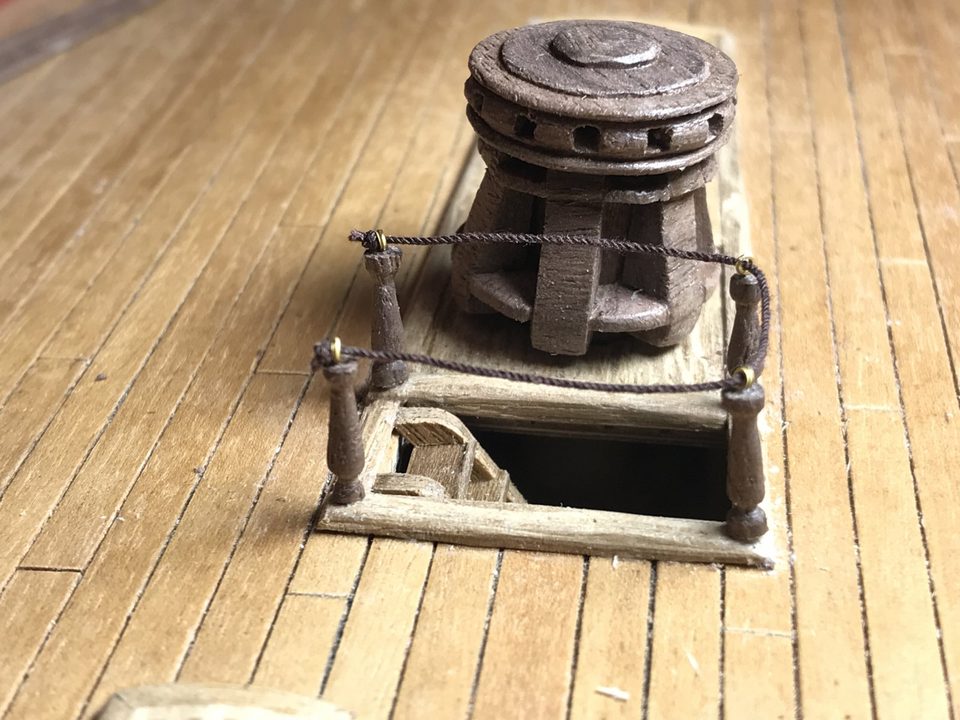
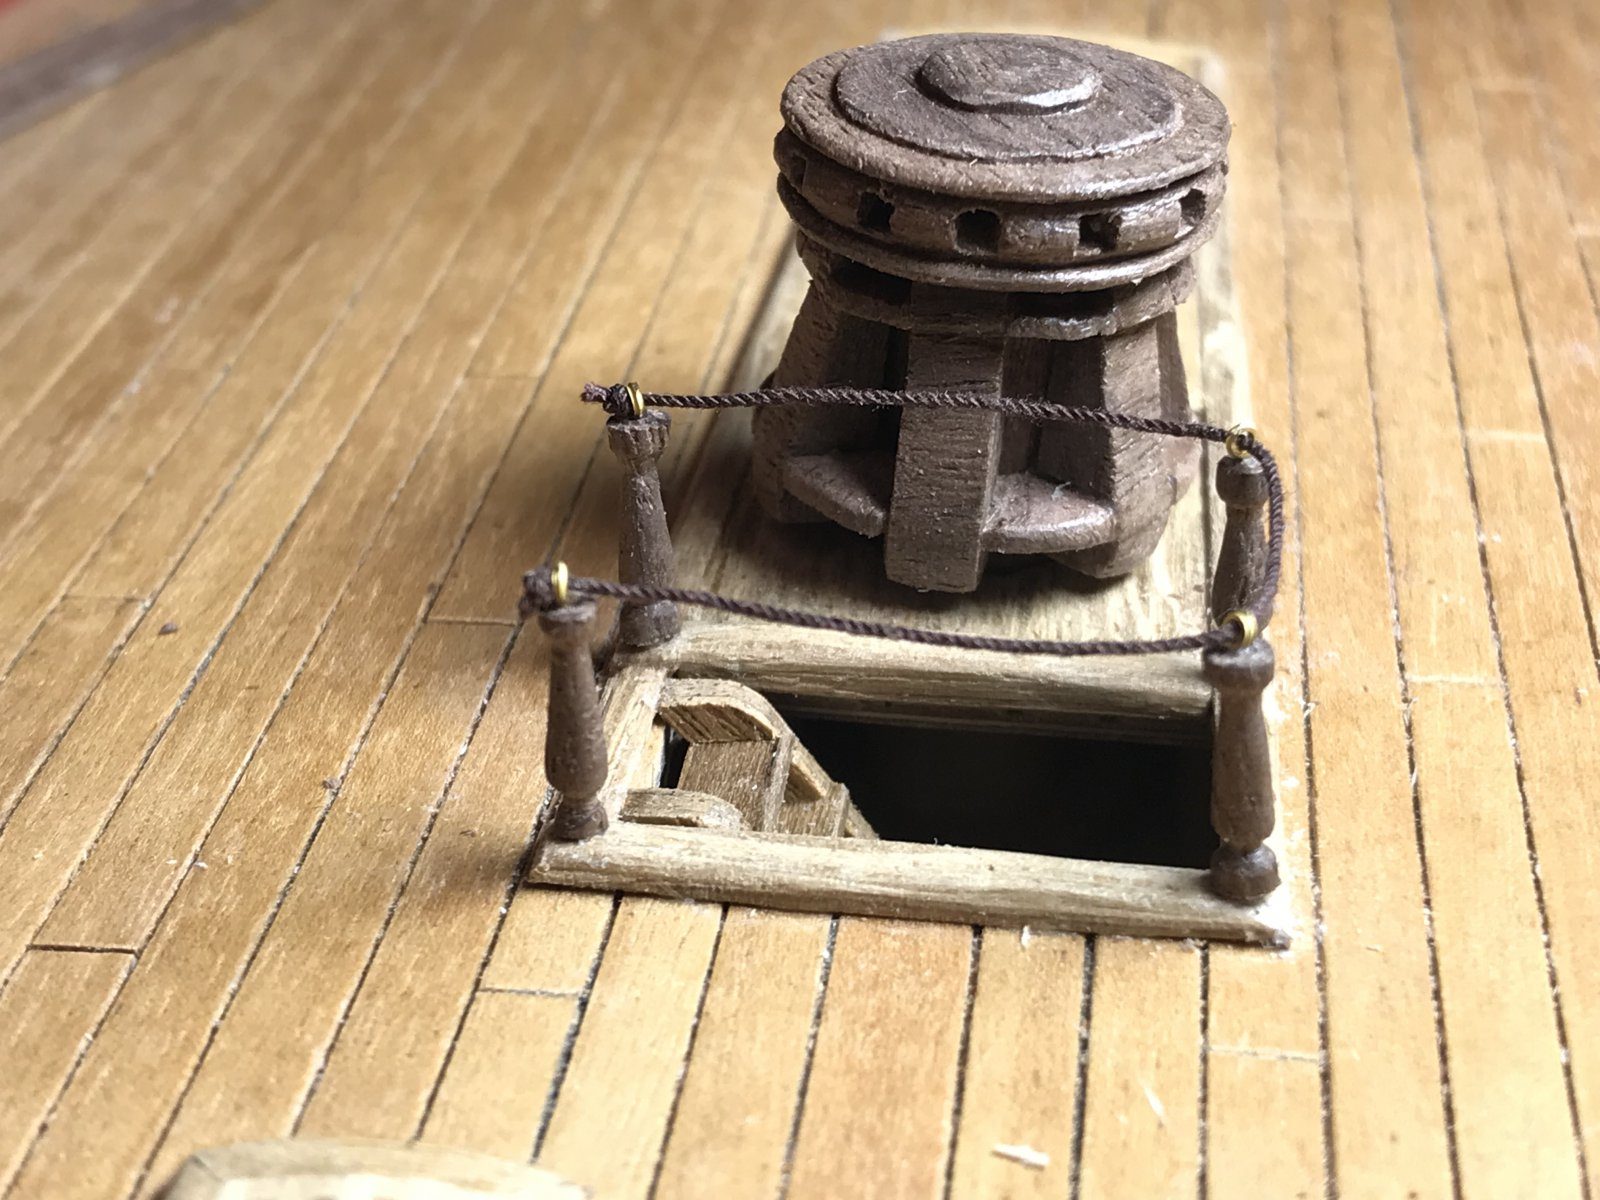
Attempt two: walnut with brass rings, but the stanchions still differ in shape. Tip from Herby63: The fact that they are not 100% identical shows that it is handwork and gives the satisfaction of having made it yourself.
Watch out: Satay skewers are rubbish wood: two evenings wasted. And stanchions that are only glued come loose as soon as the ship is transported.
Decide in advance on the height, the thickness and the position of the curves, and keep to those measurements for all four stanchions. That is the difference between attempt two and three: with fixed measurements they come out fairly uniform.
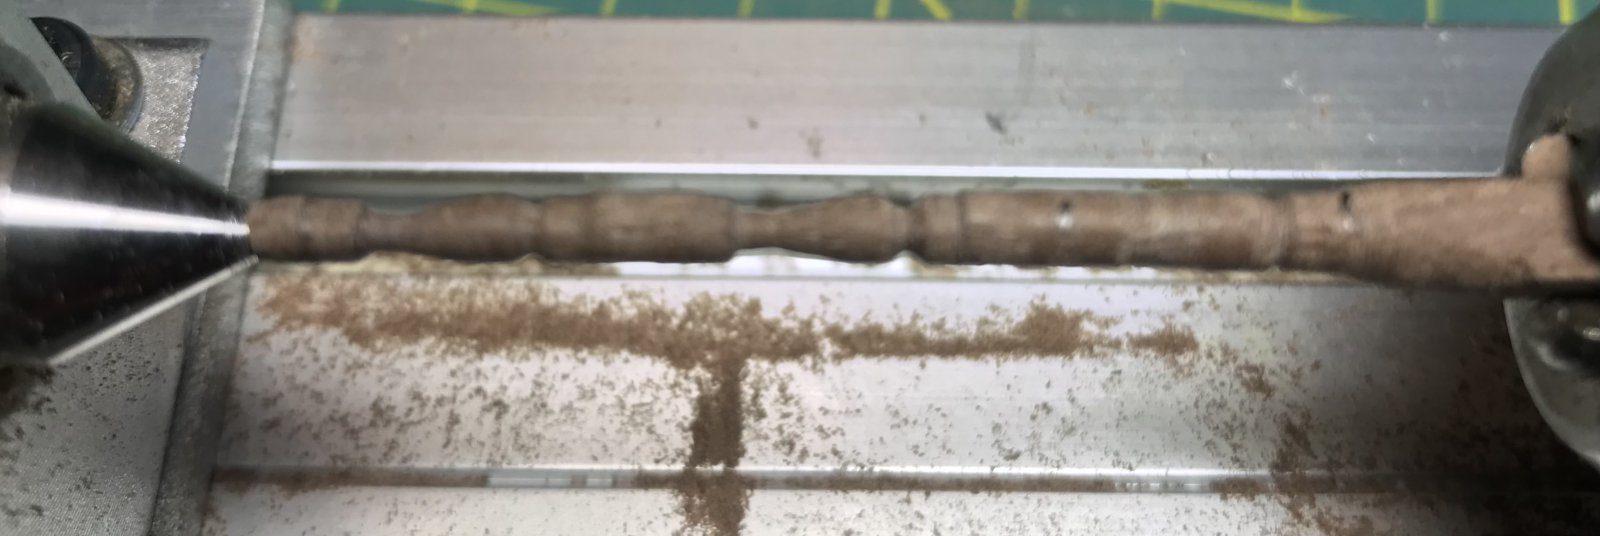
Chuck a scrap of walnut from the display stand and turn the stanchions on the lathe. Turn the thickness first, then the curves at the measured positions.
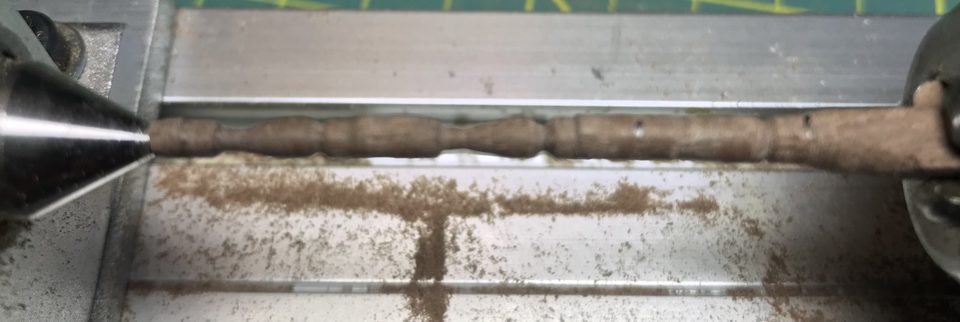
A stanchion taking shape between the centres of the lathe; the curves are already started. 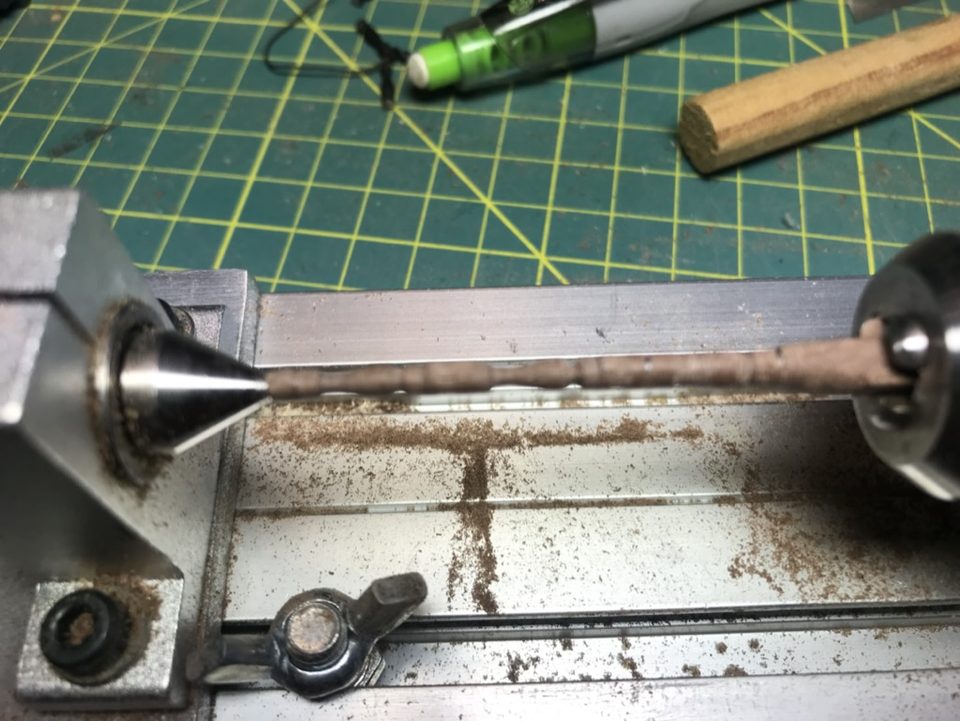
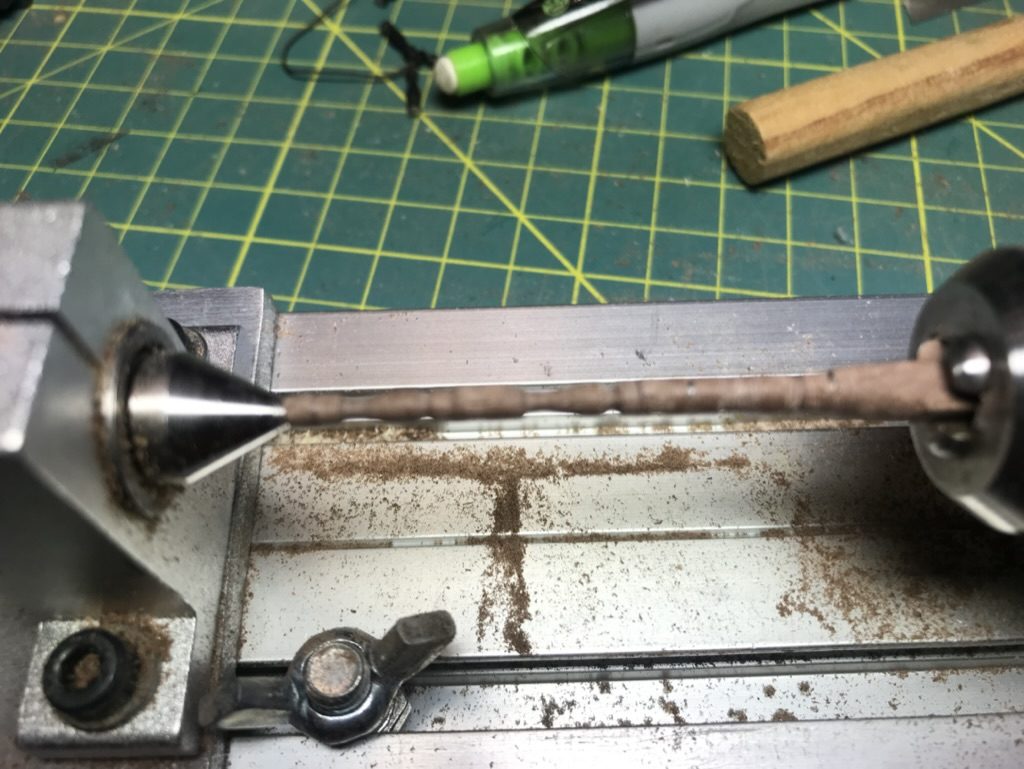
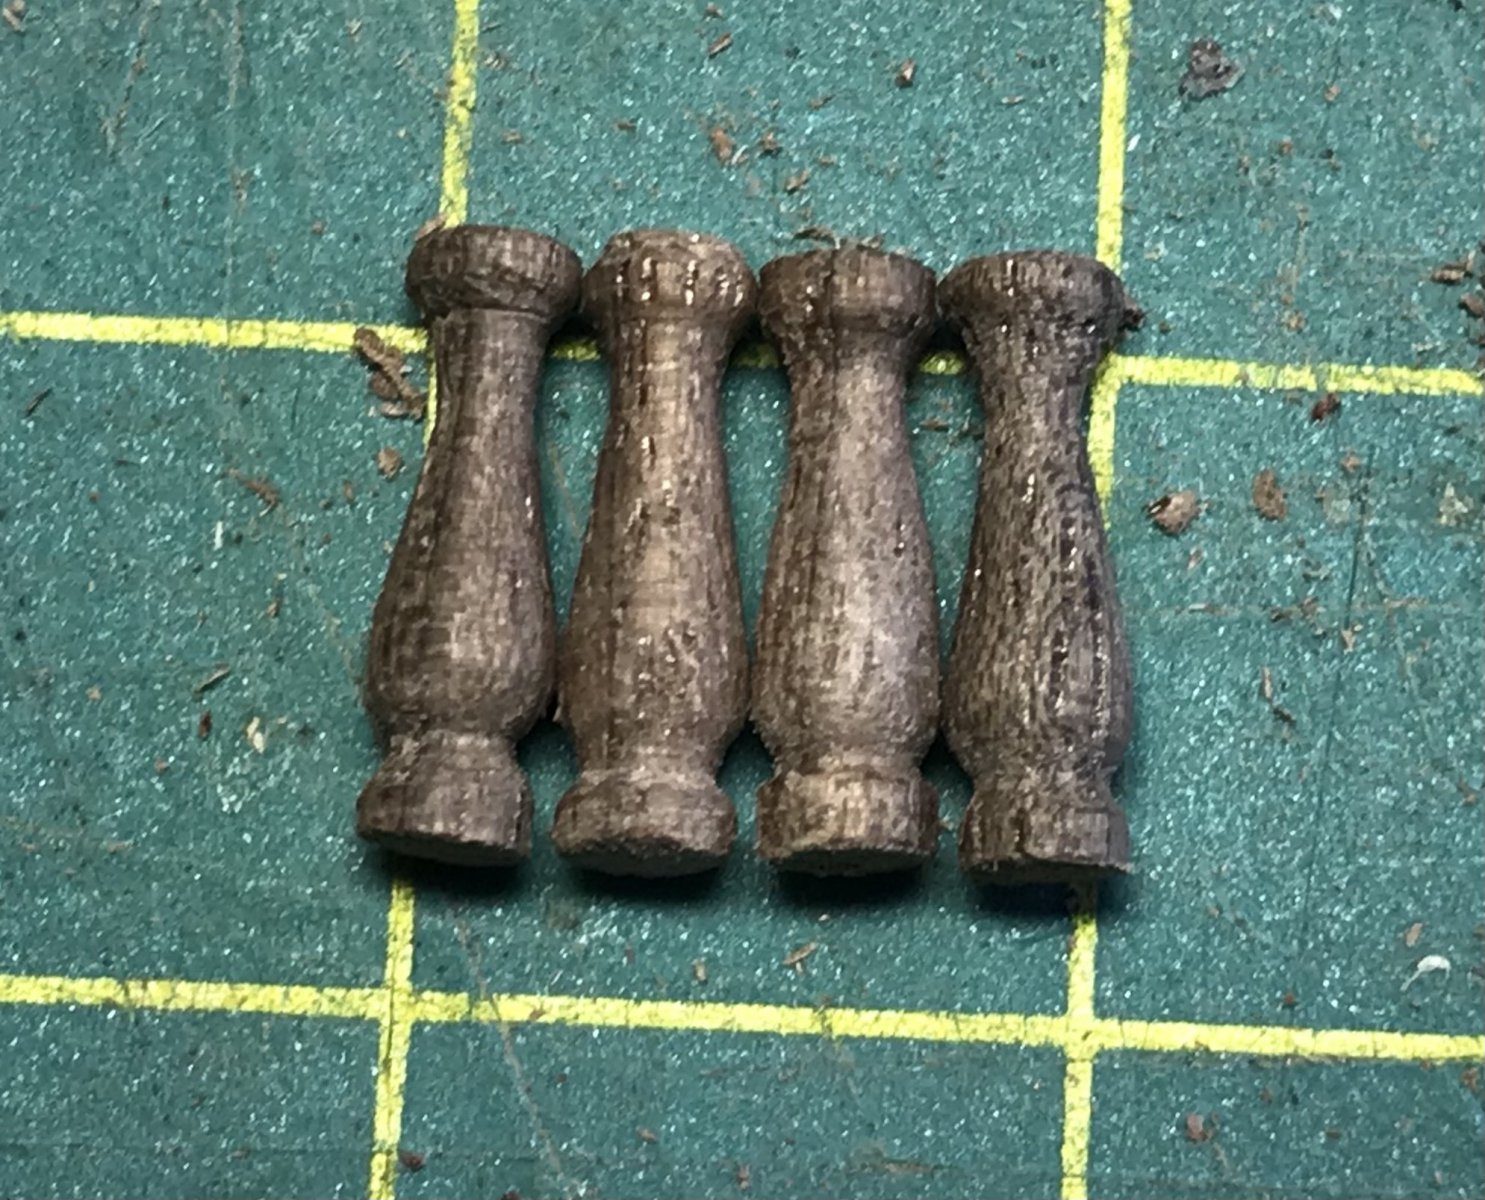
The lathe with the walnut chucked, from a little further away. Lay the four stanchions side by side and compare height, thickness and curves. Touch up the places that differ until they are fairly uniform; in reality you do not see small differences, only in the photo.
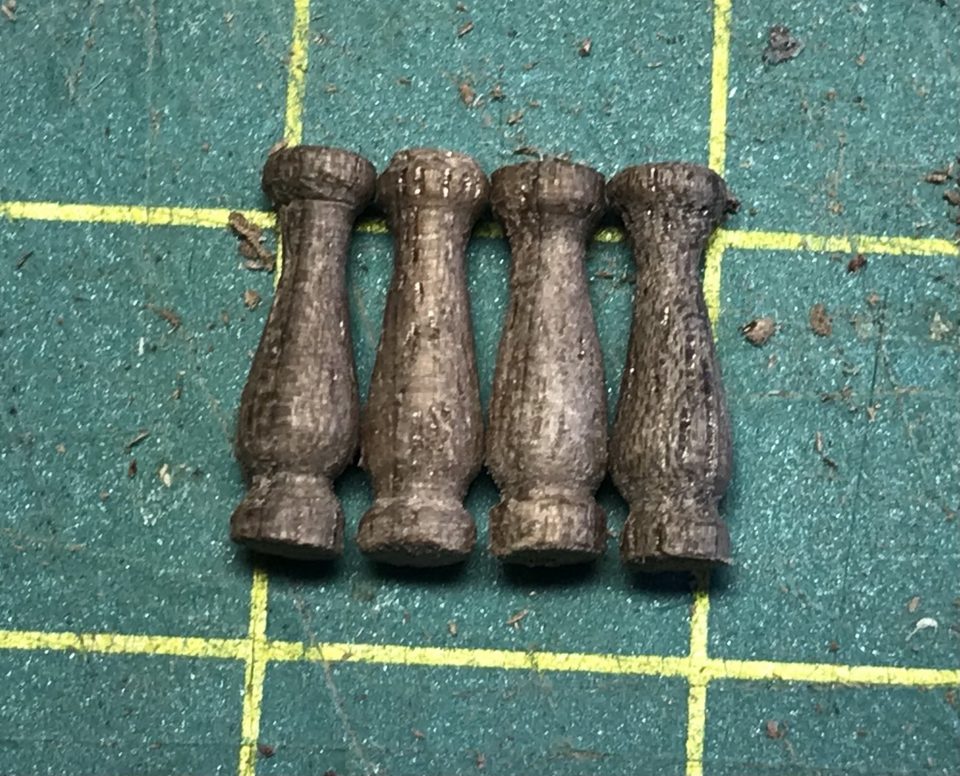
The four stanchions side by side on the cutting mat for comparison. Drill a hole in the top and bottom of each stanchion. Glue a pin into the bottom and then cut it very short, so a small spike remains to fix the stanchion with.
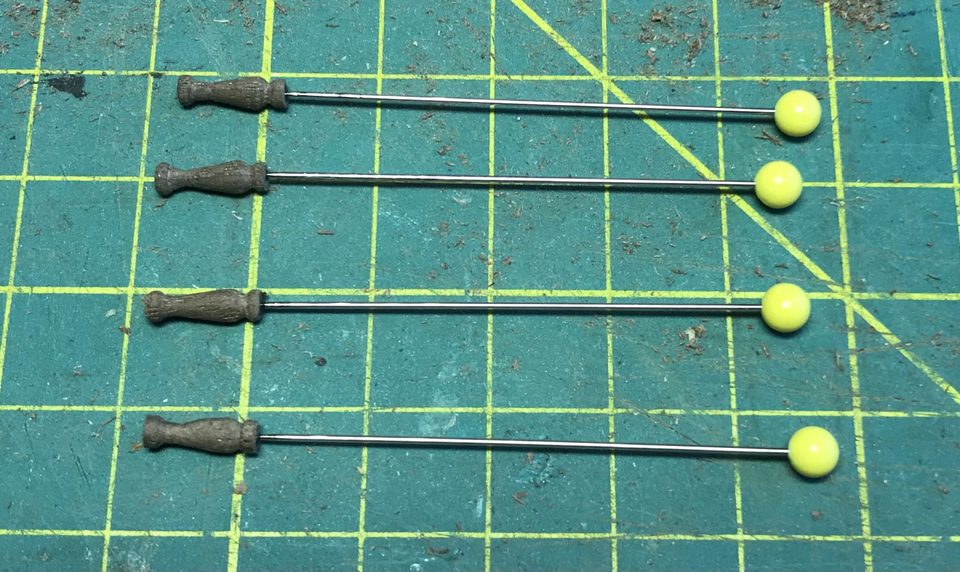
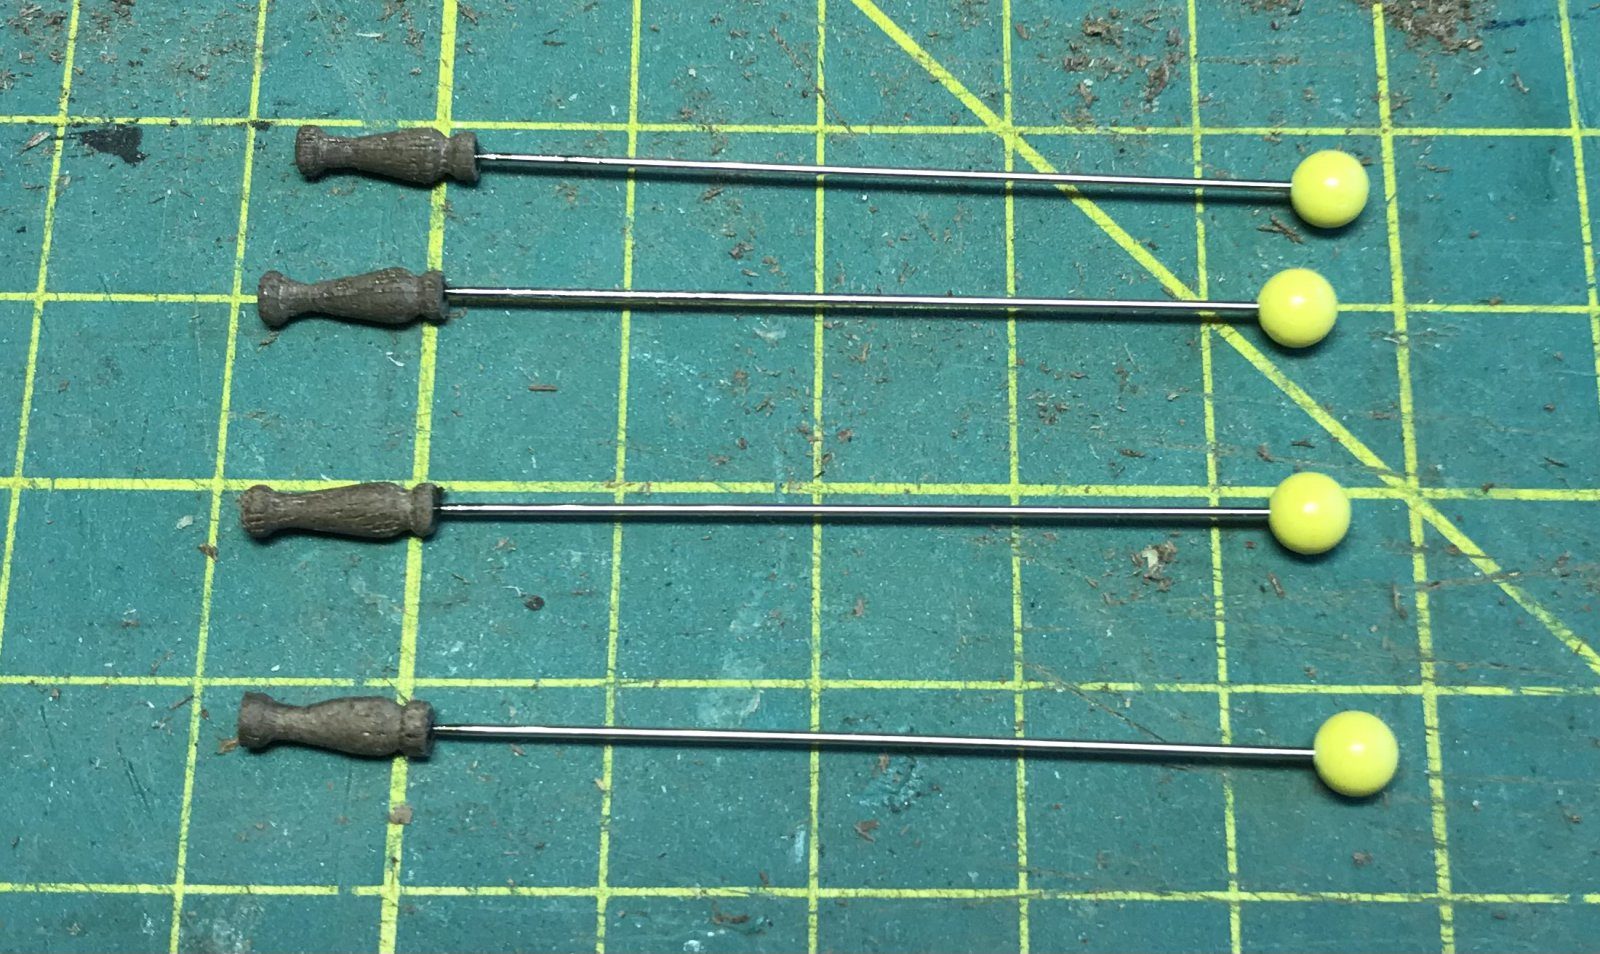
The four stanchions with the pins glued in, before they are cut short. Use the brass rings that come with the smallest Caldercraft hooks; those were too big for the guns and you have plenty left. Push the ring into the top hole with a minuscule drop of CA glue.
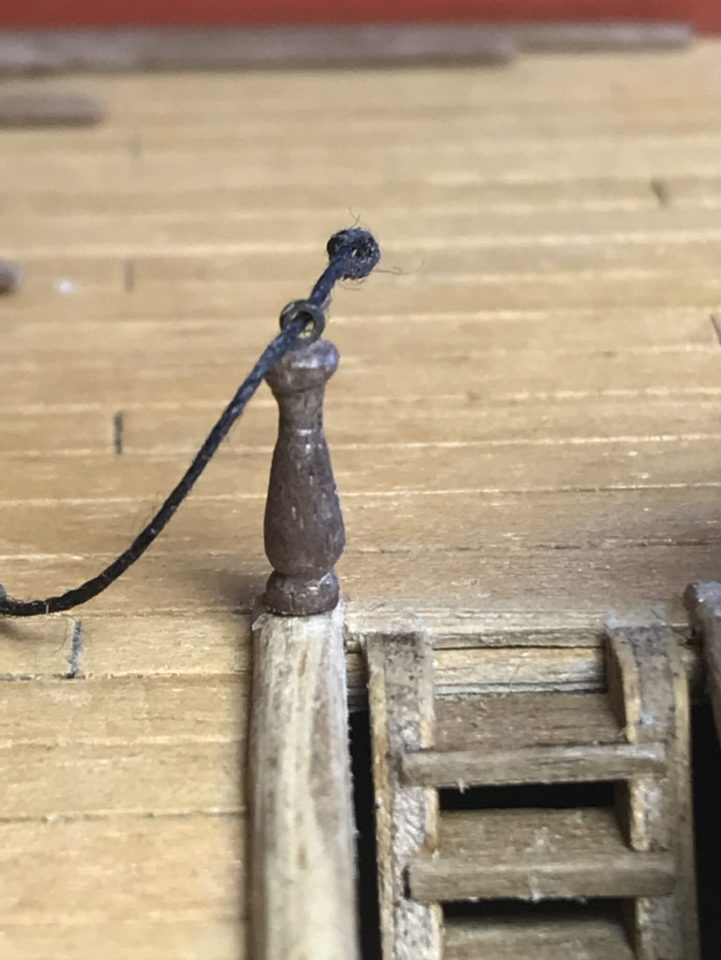
Close-up of a stanchion with the brass ring at the top and the rope through it. Watch out: The black rings of attempt one were far too big, as I was also told in Hillegom. The brass rings are smaller and look classy.
Drill holes in the deck at the four corners of the ladderway. Then the stanchions with their pin points drop neatly into place and stand straight. Thread the brown rope through the rings.
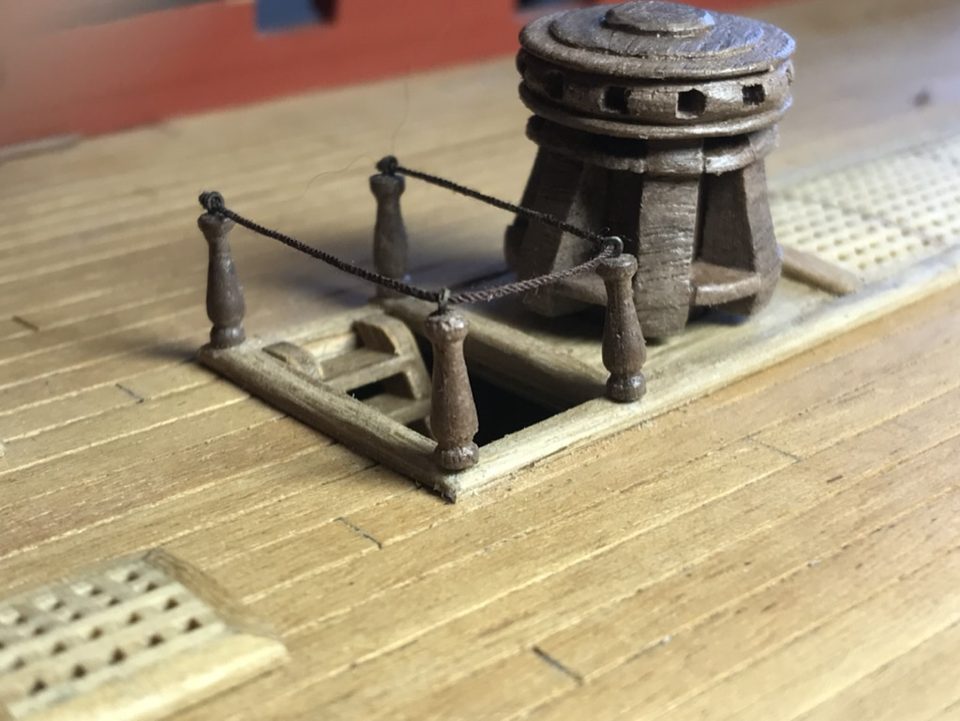
The stanchions fixed round the ladderway; the rope is still strung tight between them. Tip from Pingu57: I would try to get the two stanchions at the front of the ladderway a bit straighter.
Wet the rope and lay something a bit heavier on it, a drill bit for instance, so that it starts to sag. If need be with some white glue worked in, but just water and a small weight is already enough. A tightly strung rope does not look realistic.
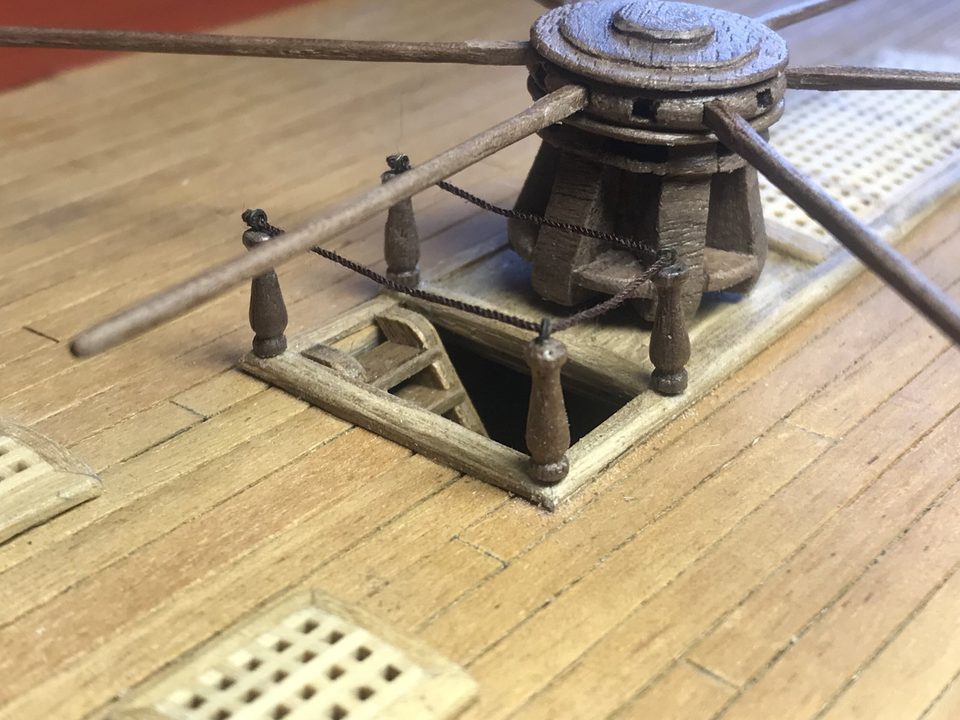
After water and a small weight the rope sags between the stanchions. Tip from Hans Groenenberg: Wet the rope and lay a heavier drill bit on it, for instance, then it will sag a little. If need be mixed with some white glue so it takes that shape.
Watch out: The rope was strung fairly tight between them, so it did not sag much. Leave a bit more length when threading.
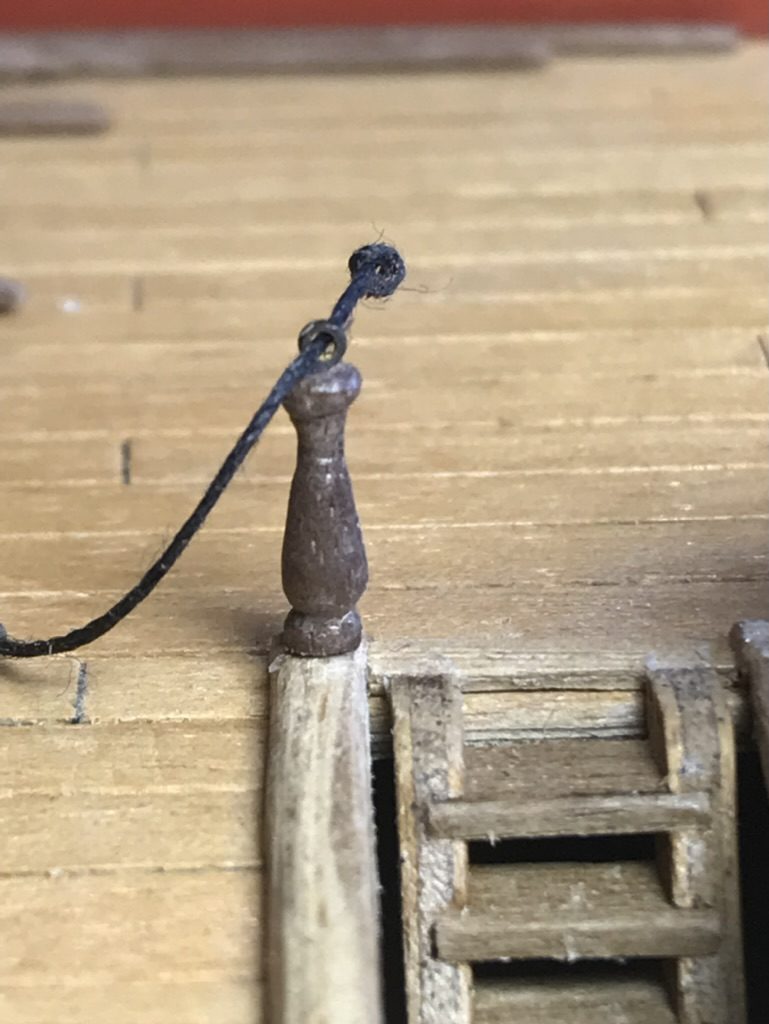
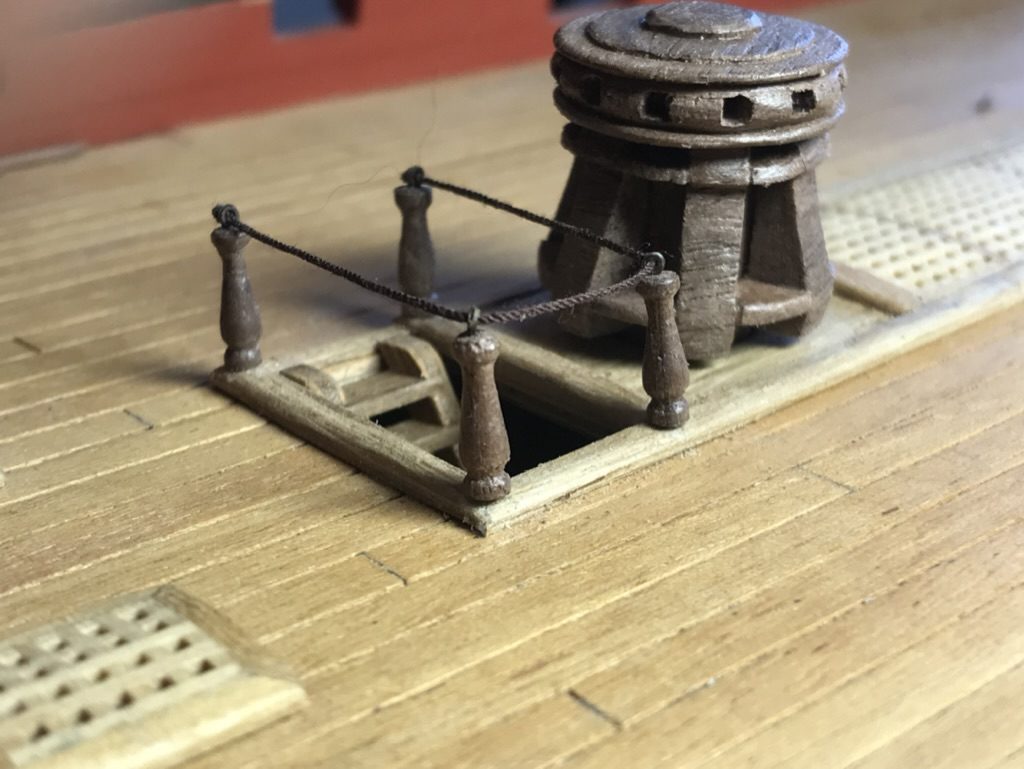
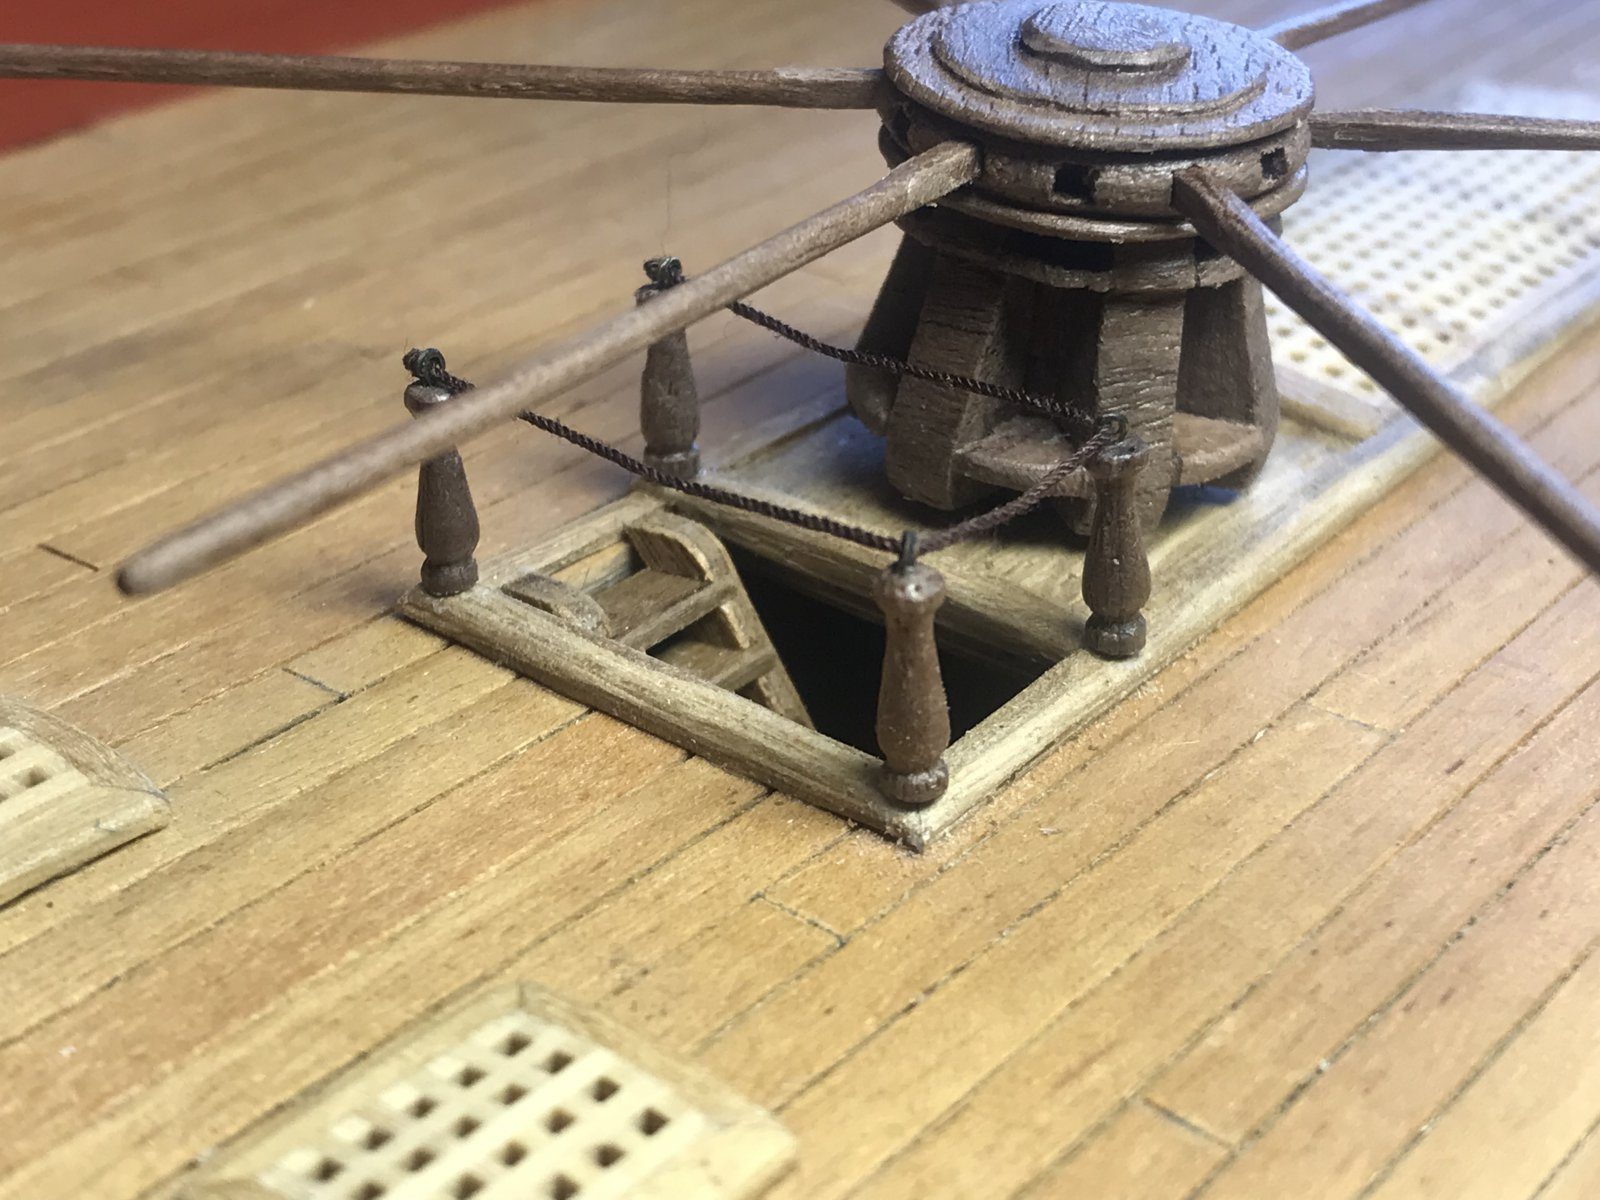
Result
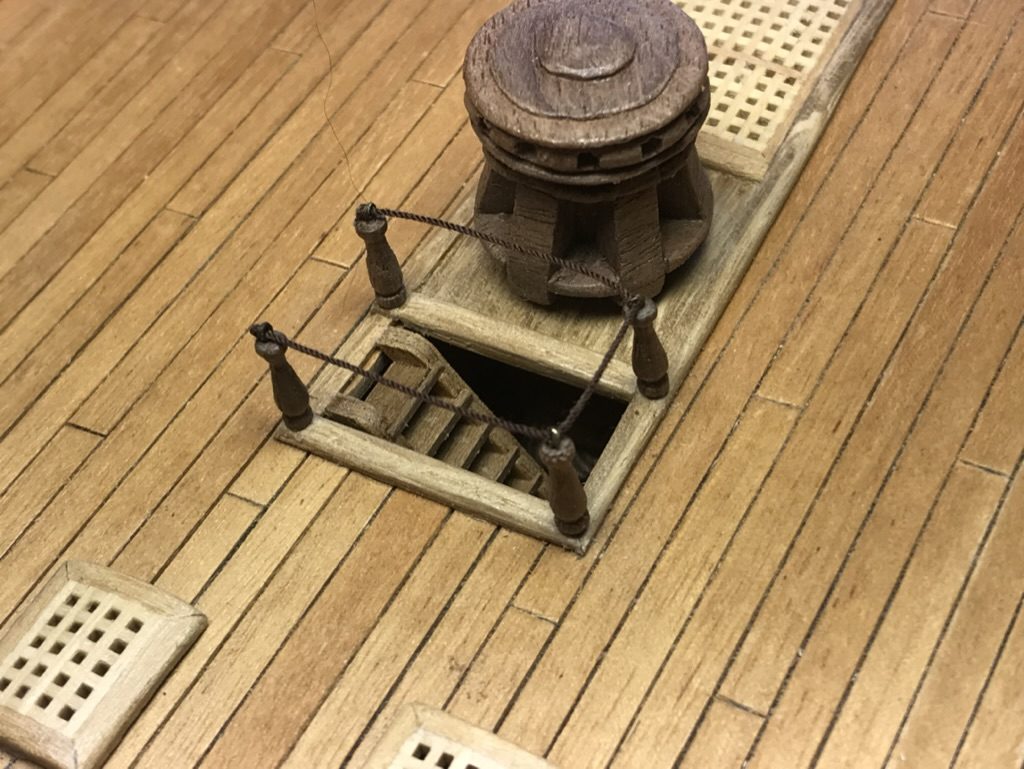
It was nice, but now it is nicer: the stanchions are fairly uniform and fixed in place, and the rope sags realistically. I tried black rope too, but brown won, because my black rope was simply less attractive.
Problems met with this technique
Stanchions from satay skewers failed ('cheap soft wood'); the kit stanchions are brass pins without any shape. Thinned down round sticks; later turned walnut stanchions (three attempts). (Tips from Pingu57, Herby63) to the register
The first stanchions came loose halfway through the model builders' day in Hillegom. Attempts two and three in walnut, with brass rings from the smallest Caldercraft hooks; a pin point underneath to stick them in. to the register
The rope between the stanchions is taut and does not hang realistically. Wet the rope and put a small weight on it; 'just some water and a weight was indeed enough'. (Tips from Hans Groenenberg) to the register
Kit errata
Brass pins without any shape. Turned his own from walnut. to the register
In the same series: Deck fittings
- Shot garlands with every shot equally spaced, using a small template
- Making the upper deck gratings lower with a camber
- Bending a strip for the planksheer in a PVC pipe of water
- Building up a drumhead from seven layers of walnut
- Turning and fitting rail stanchions for the ladderway
- A mast coat from dyed lining fabric, after the masts of the Victory
- A ship's wheel rim from ten walnut segments, turned round on a faceplate
- Turning spokes for the ship's wheel with a pre-shaped blade
All how-tos · Deck fittings: capstan, ship's wheel, gratings and bitts