Shot garlands with every shot equally spaced, using a small template
Keep advancing a plastic template with two small circles one step at a time so all the shot hollows come at exactly the same spacing; then file them in with the pillar drill and lay the shot in wet varnish.
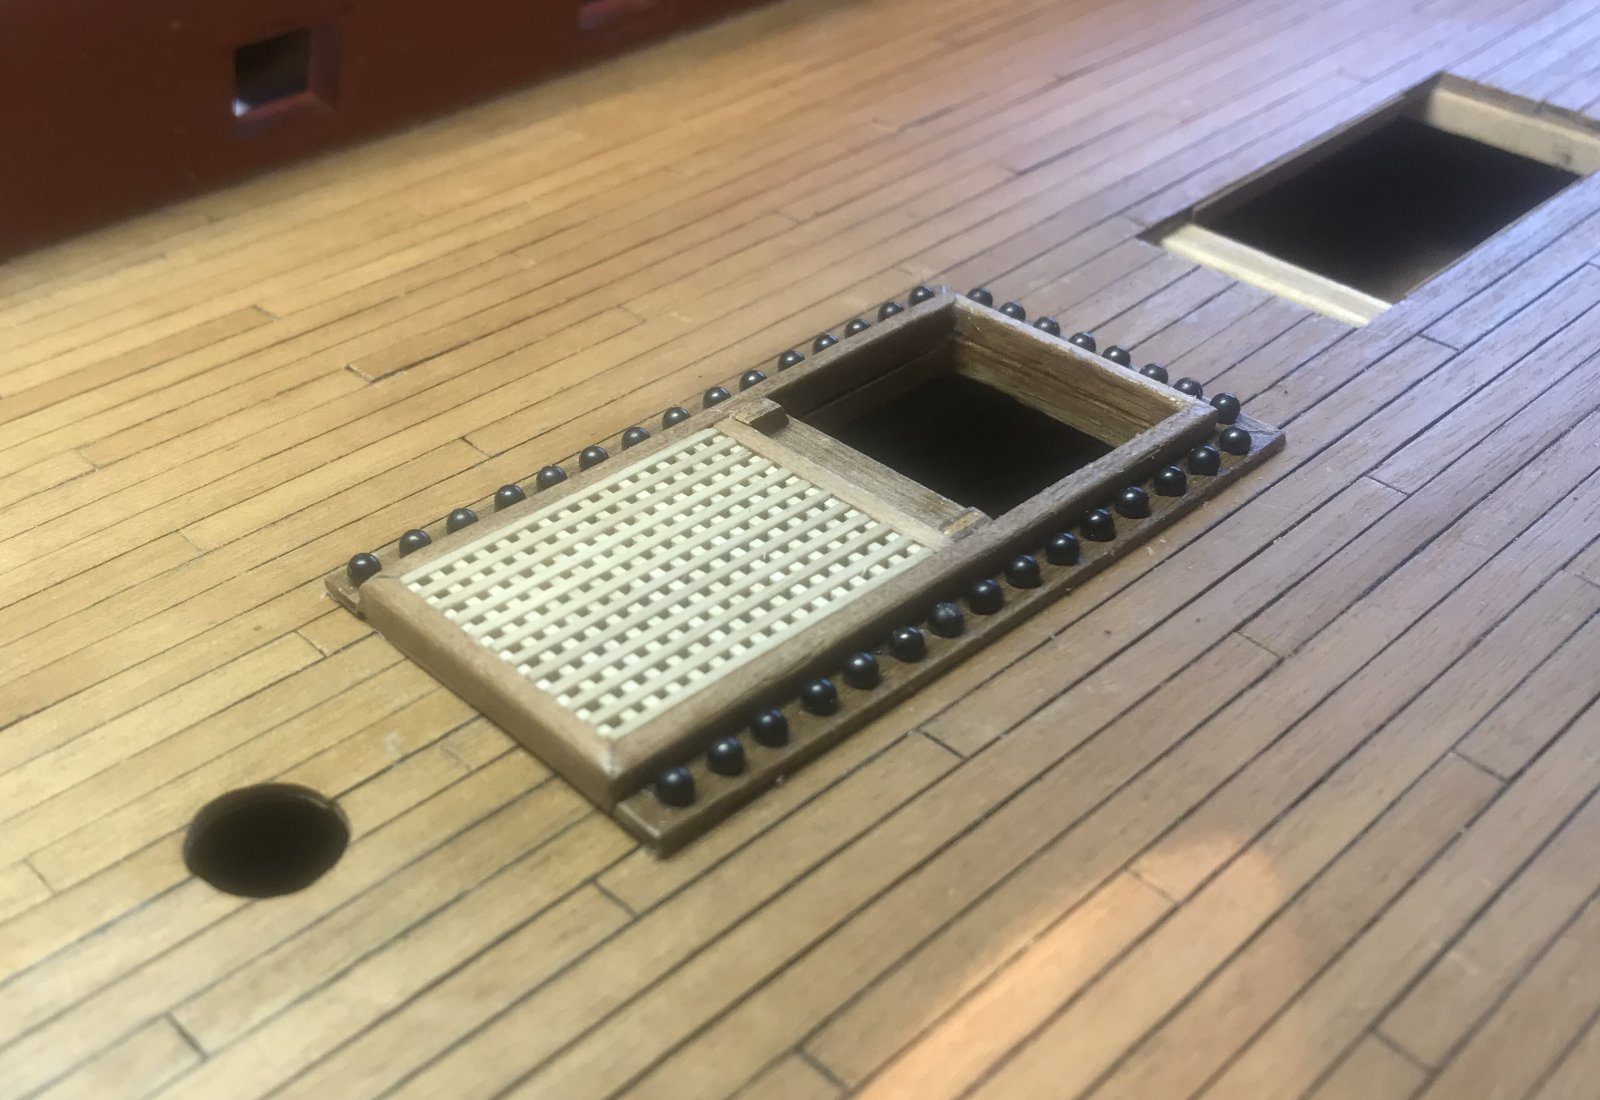
What you need
- hole punch pliers
- pencil
- pillar drill with a round file or ball burr
- fine brush for the varnish
- hard plastic of the kind used for drawing stencils
- wooden strips for the garlands and the frame
- shot from the kit
- varnish
Dimensions
- two different shot spacings: at one hatch the shot sit slightly closer together than at the other, as on the drawing
- Time
- a weekend
- Difficulty
- moderate
- When in the build
- Phase 7,
- From the log post
- Shot garlands evenly spaced with a small template · forum
Before you start
The hatches and gratings of the gun deck are finished, so you can measure the length of each garland. Check on the drawing which shot spacing belongs to which hatch; on the Diana there are two.
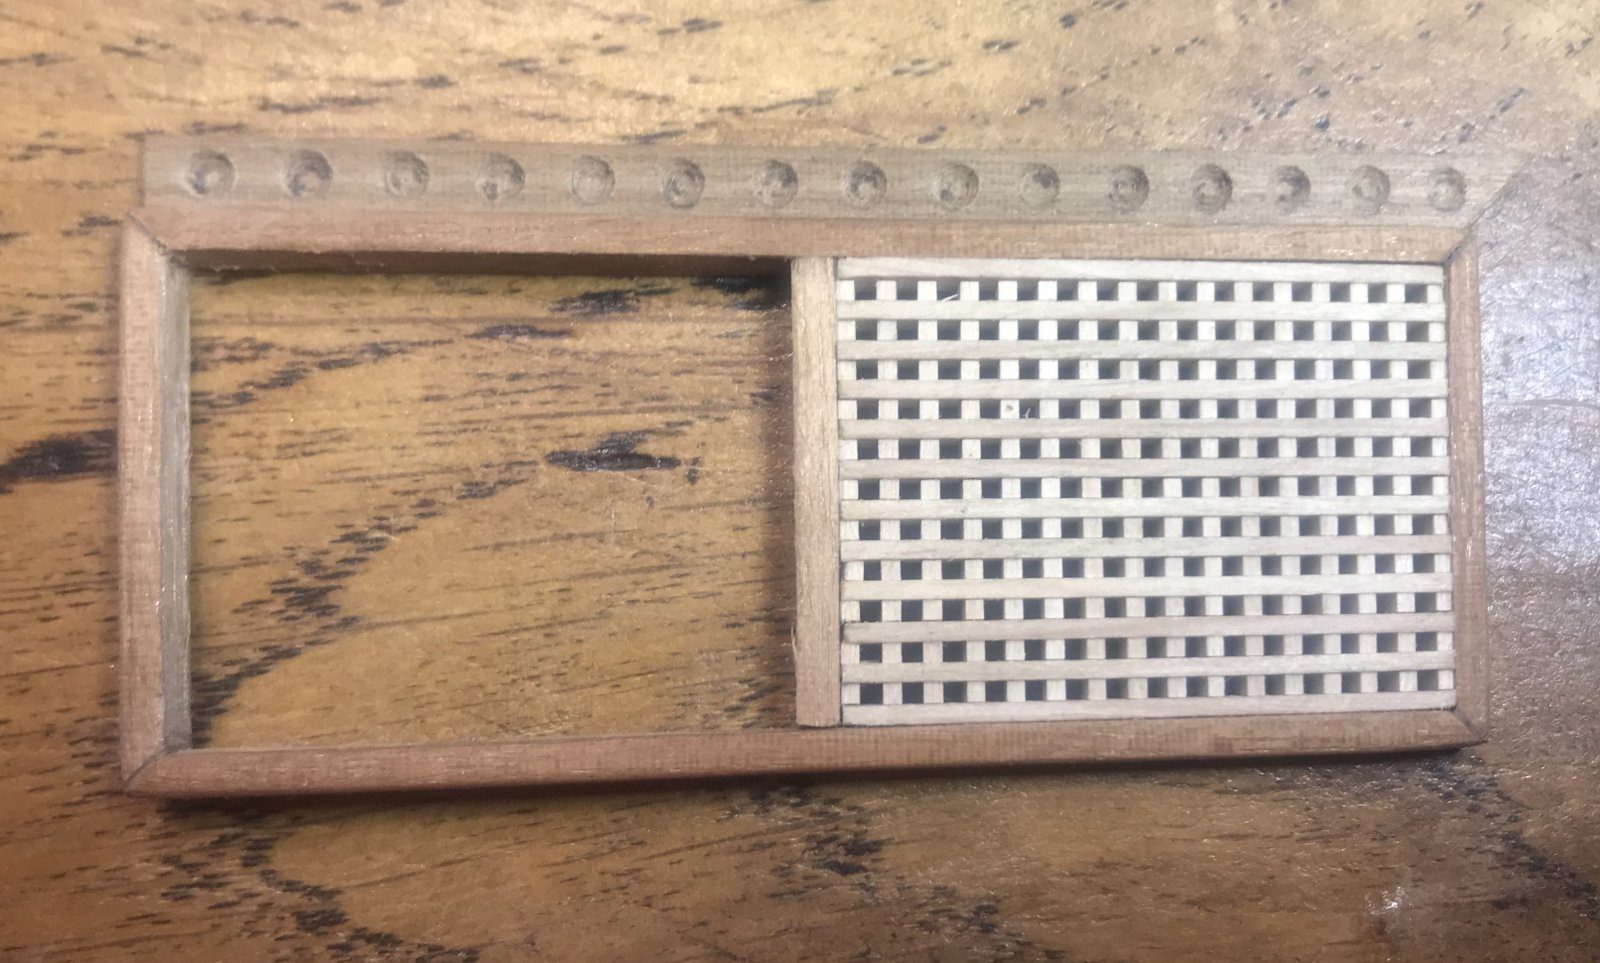
Make one strip with hollows and lay shot in it, to see whether the depth is right and whether the shot stay put. We put our first attempt to the forum: the depth was fine, but spacings chosen by eye were not even enough. Hence the template in the next step.
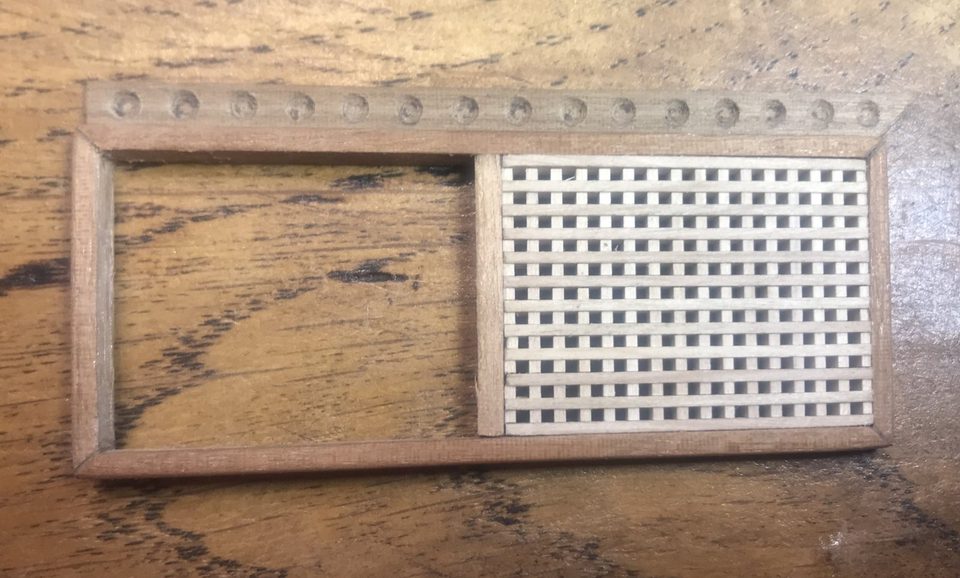
The first test: a strip with shot around the grating, still loose. 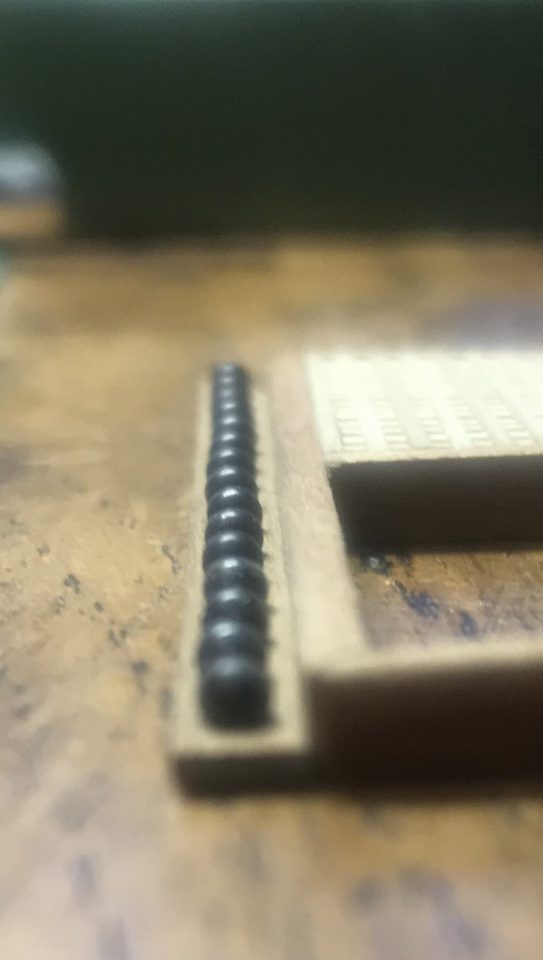
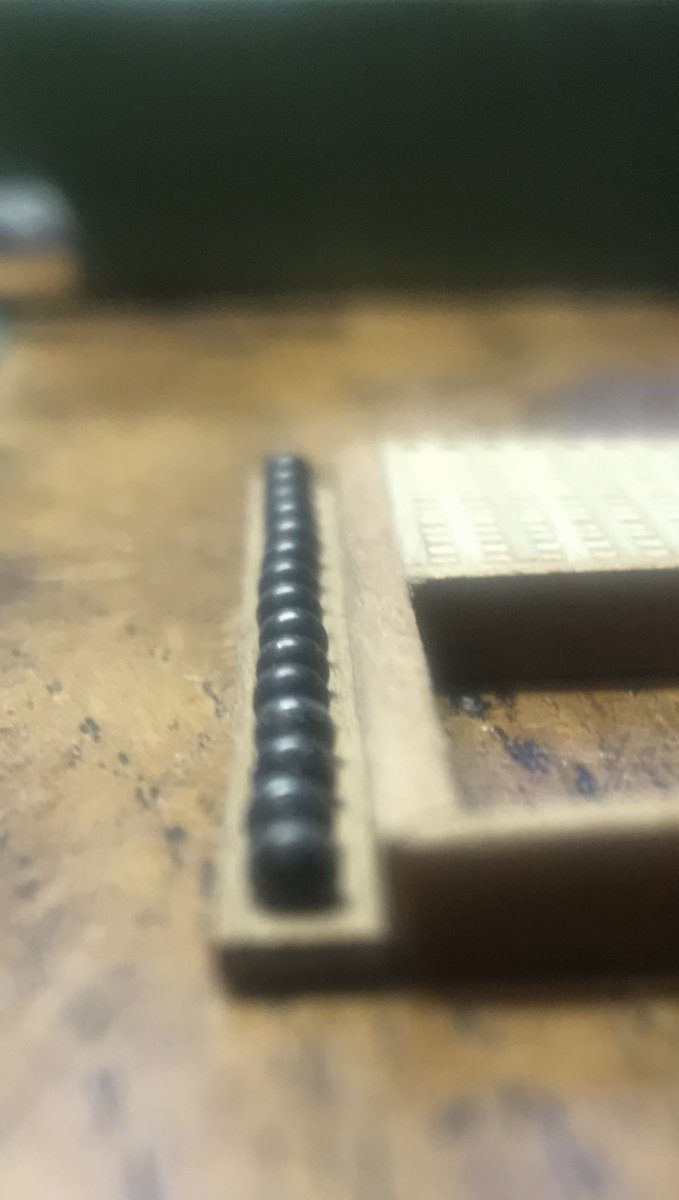
From the side: this is how deep the shot sit in their hollows, and that turned out right. Tip from Pingu57: The depth looks fine. You can lay the shot in the wet varnish; once it dries they are fixed.
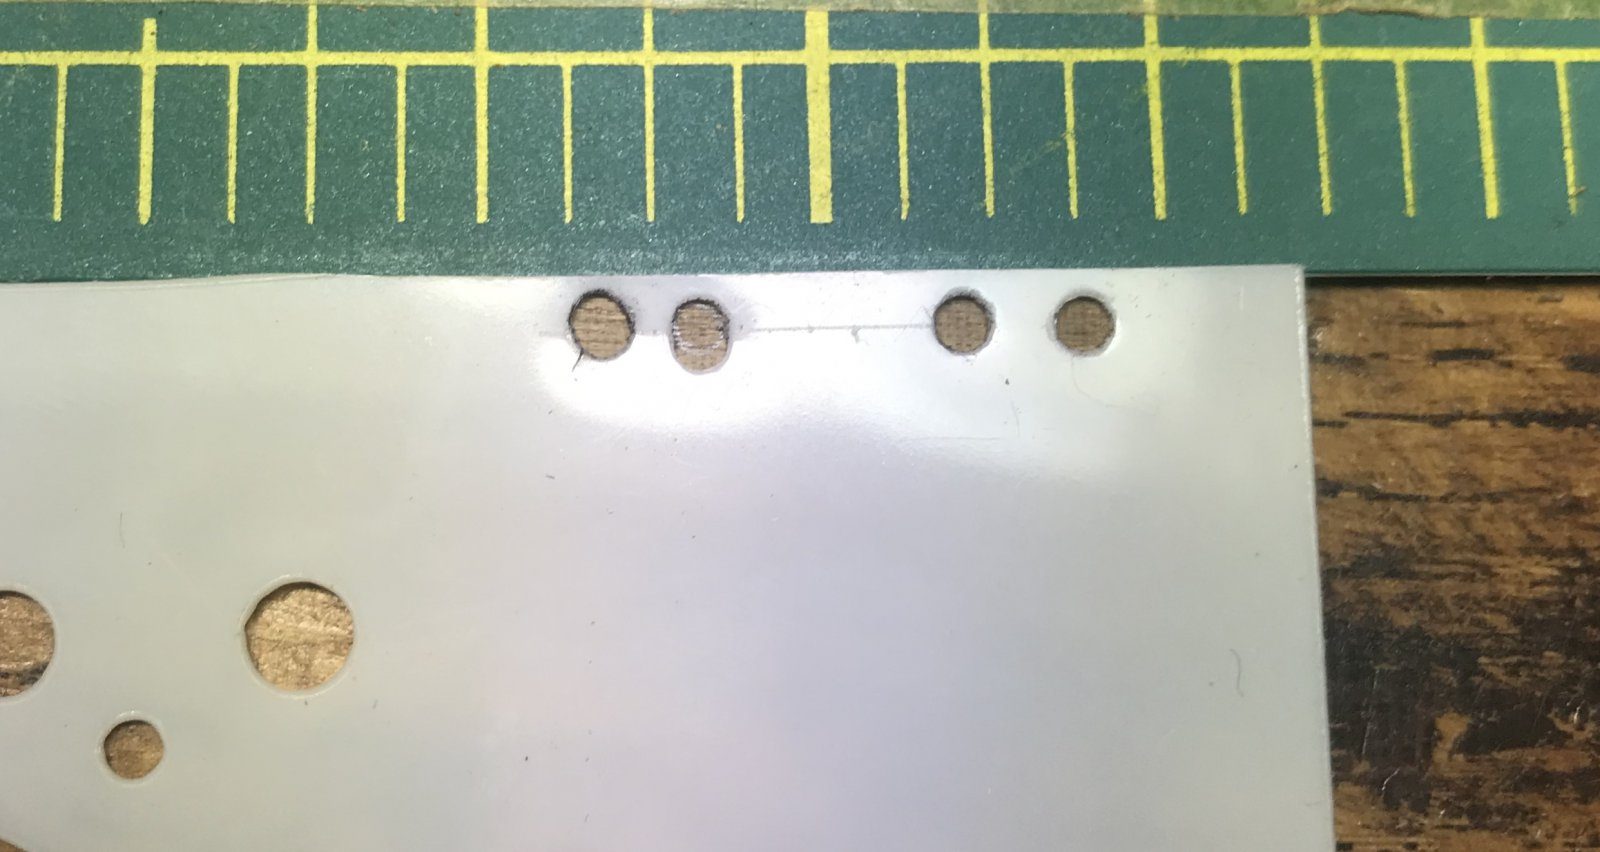
With hole punch pliers, punch two small circles side by side in a piece of hard stencil plastic, at exactly the centre-to-centre distance the drawing gives. If you have hatches with different shot spacings, make a pair for each spacing; our template has four holes.
distance between the two circles = distance between two shot
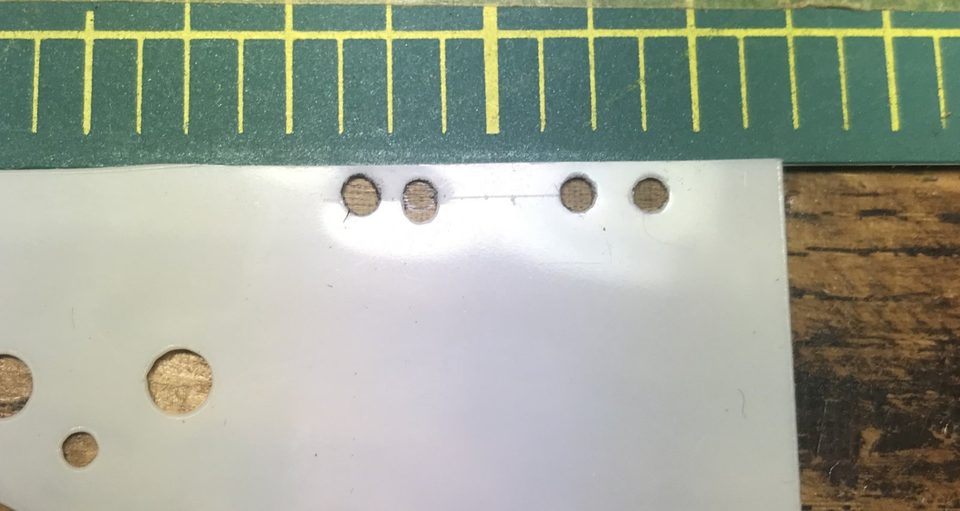
The stencil plastic template: two pairs of holes, the left pair slightly closer together than the right. Watch out: Making a long template with all the holes at once is exactly what is so hard: how do you get all its holes at the same spacing? That only works with exactly the same step every time, and that is what the small template is for.
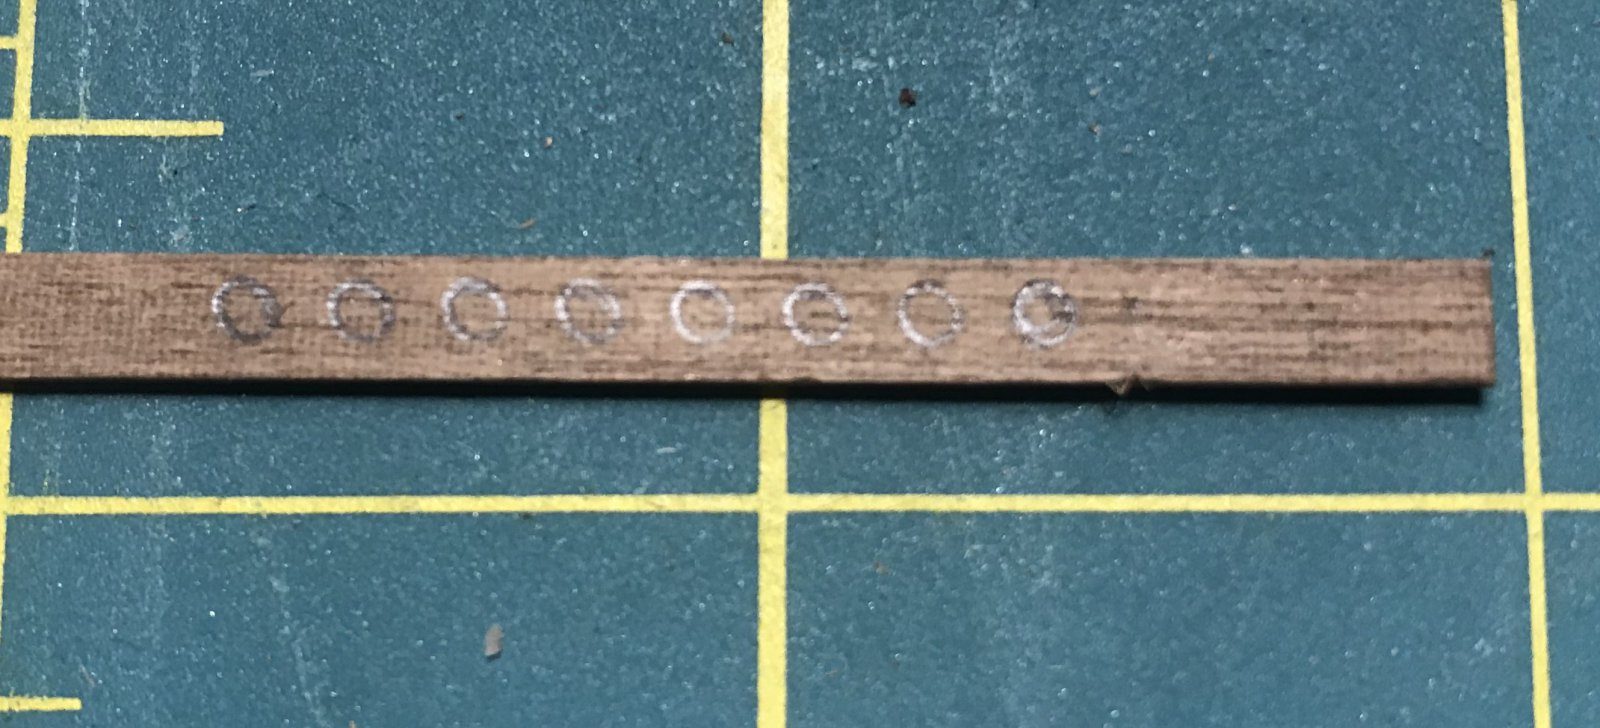
Lay the template on the strip and draw round the left circle in pencil. Slide the template along until the right circle sits exactly over the drawn circle and draw round the left one again. Repeat until the whole strip is marked: that way you walk along the strip with a fixed step.
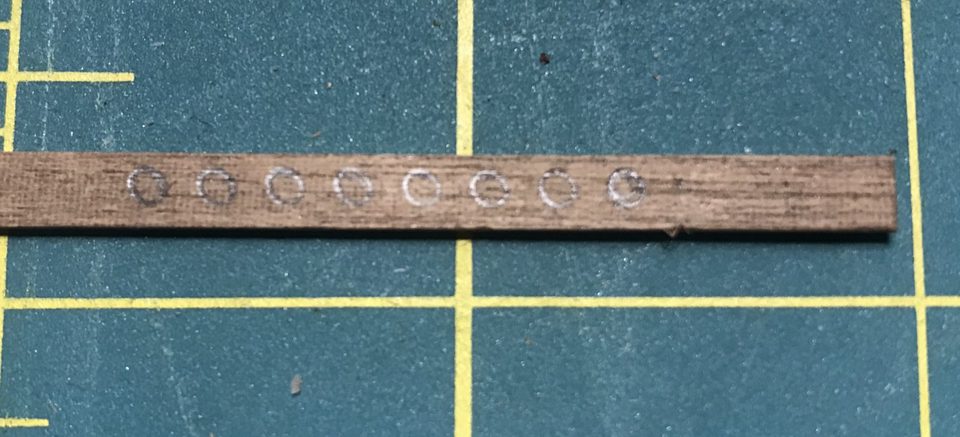
The strip with all circles in pencil, equally spaced. Tip from Fvrank: What can also work well: print the circles with centre points, cut them out, stick them on the strip and then drill. Lining up is then very easy.
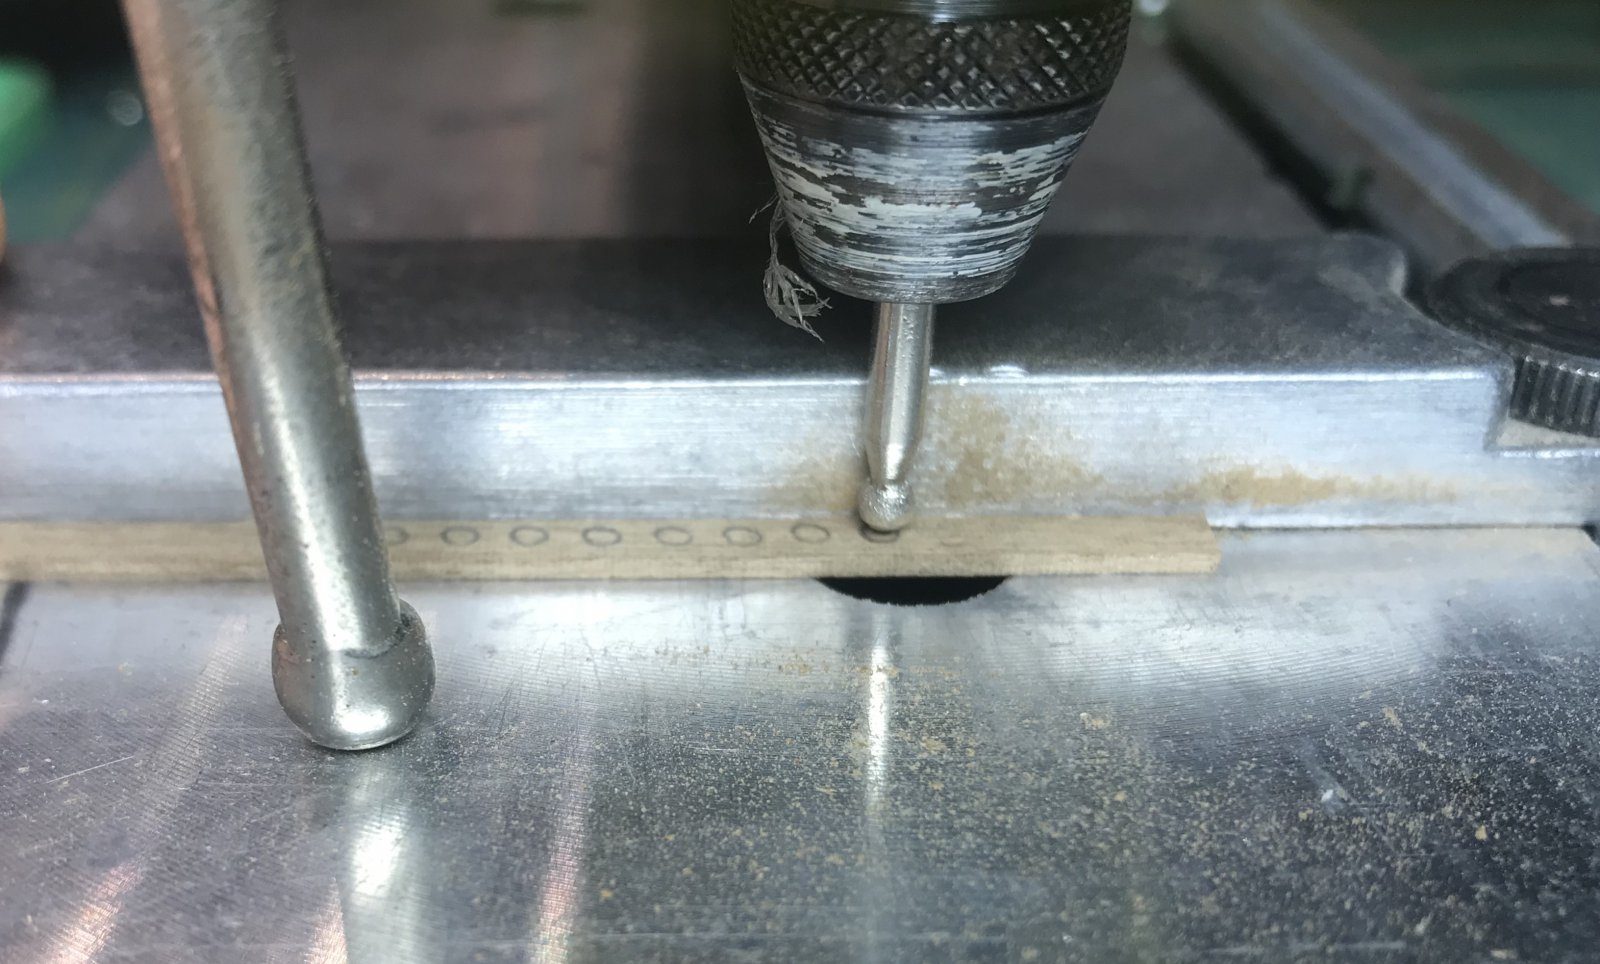
Chuck a round file or a ball burr in the pillar drill and file each pencilled circle into a hollow. Keep the strip flat on the table and plunge to the same depth each time, so all the shot will sit at the same height later.
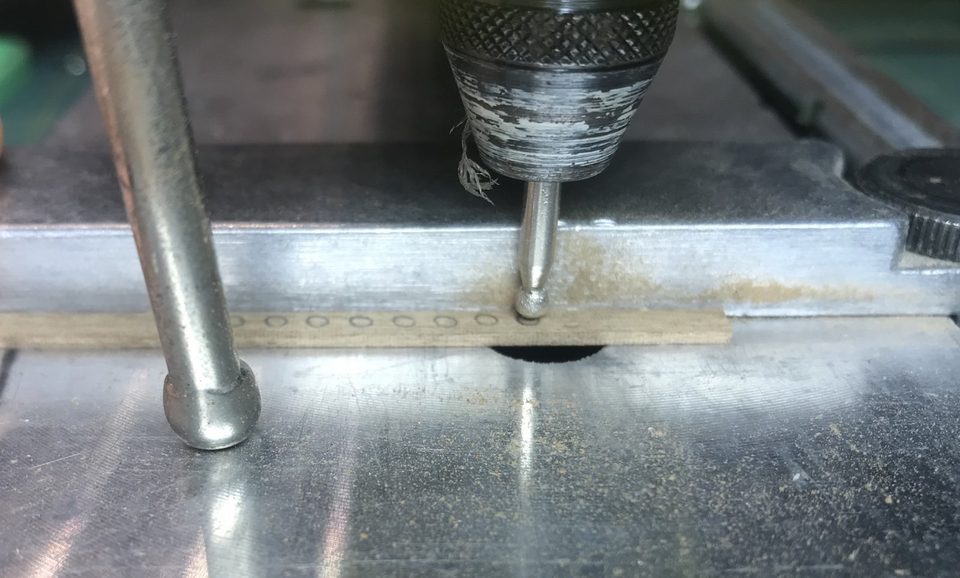
The strip under the pillar drill; each circle is filed into a hollow. 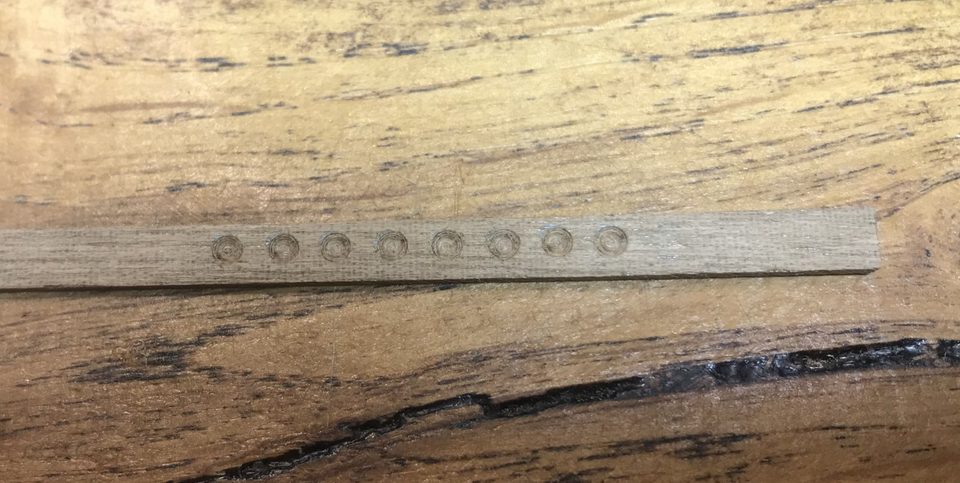
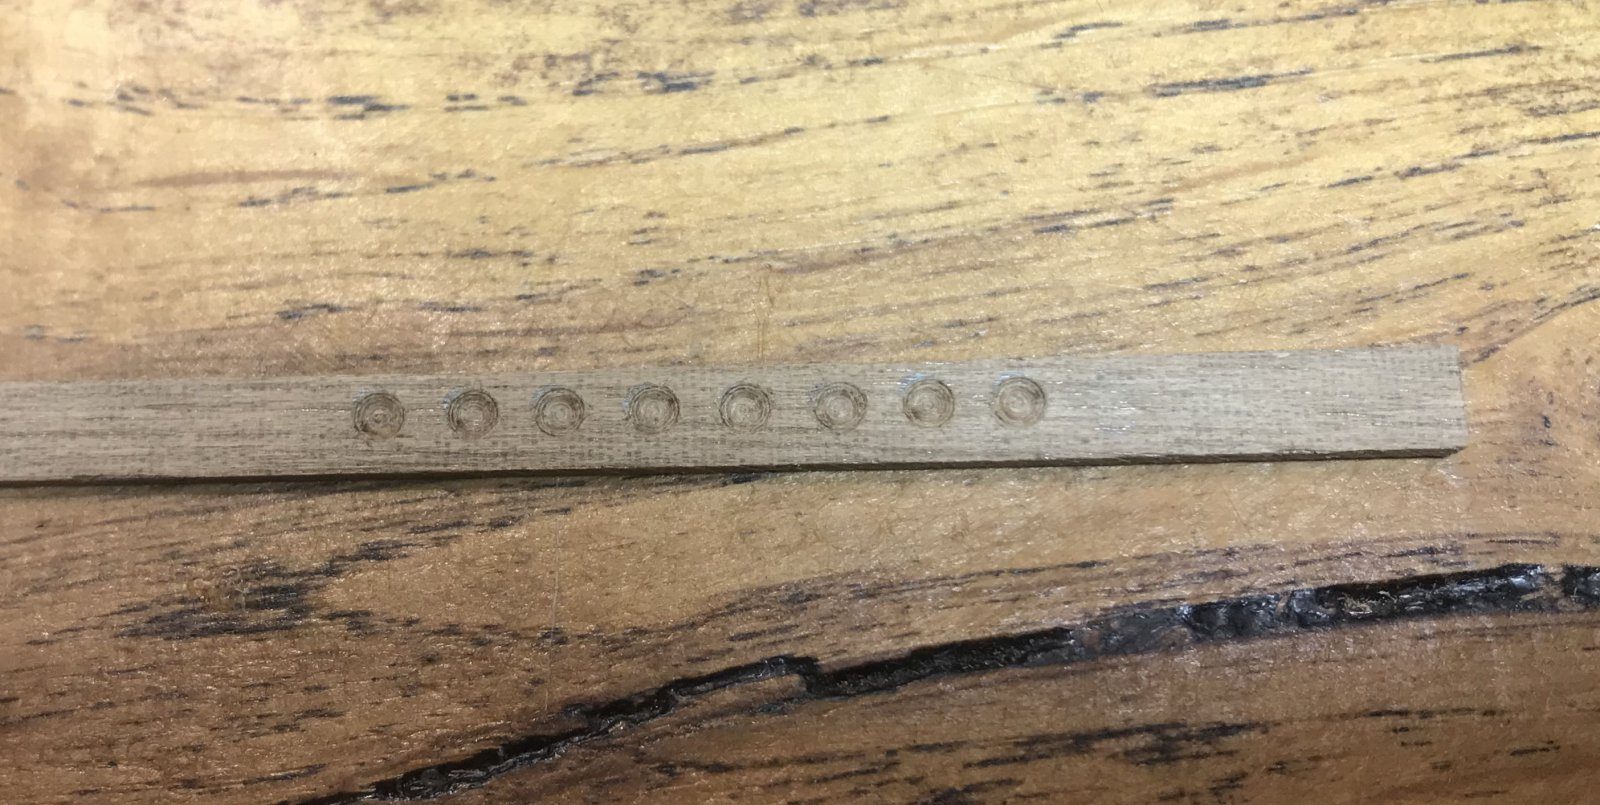
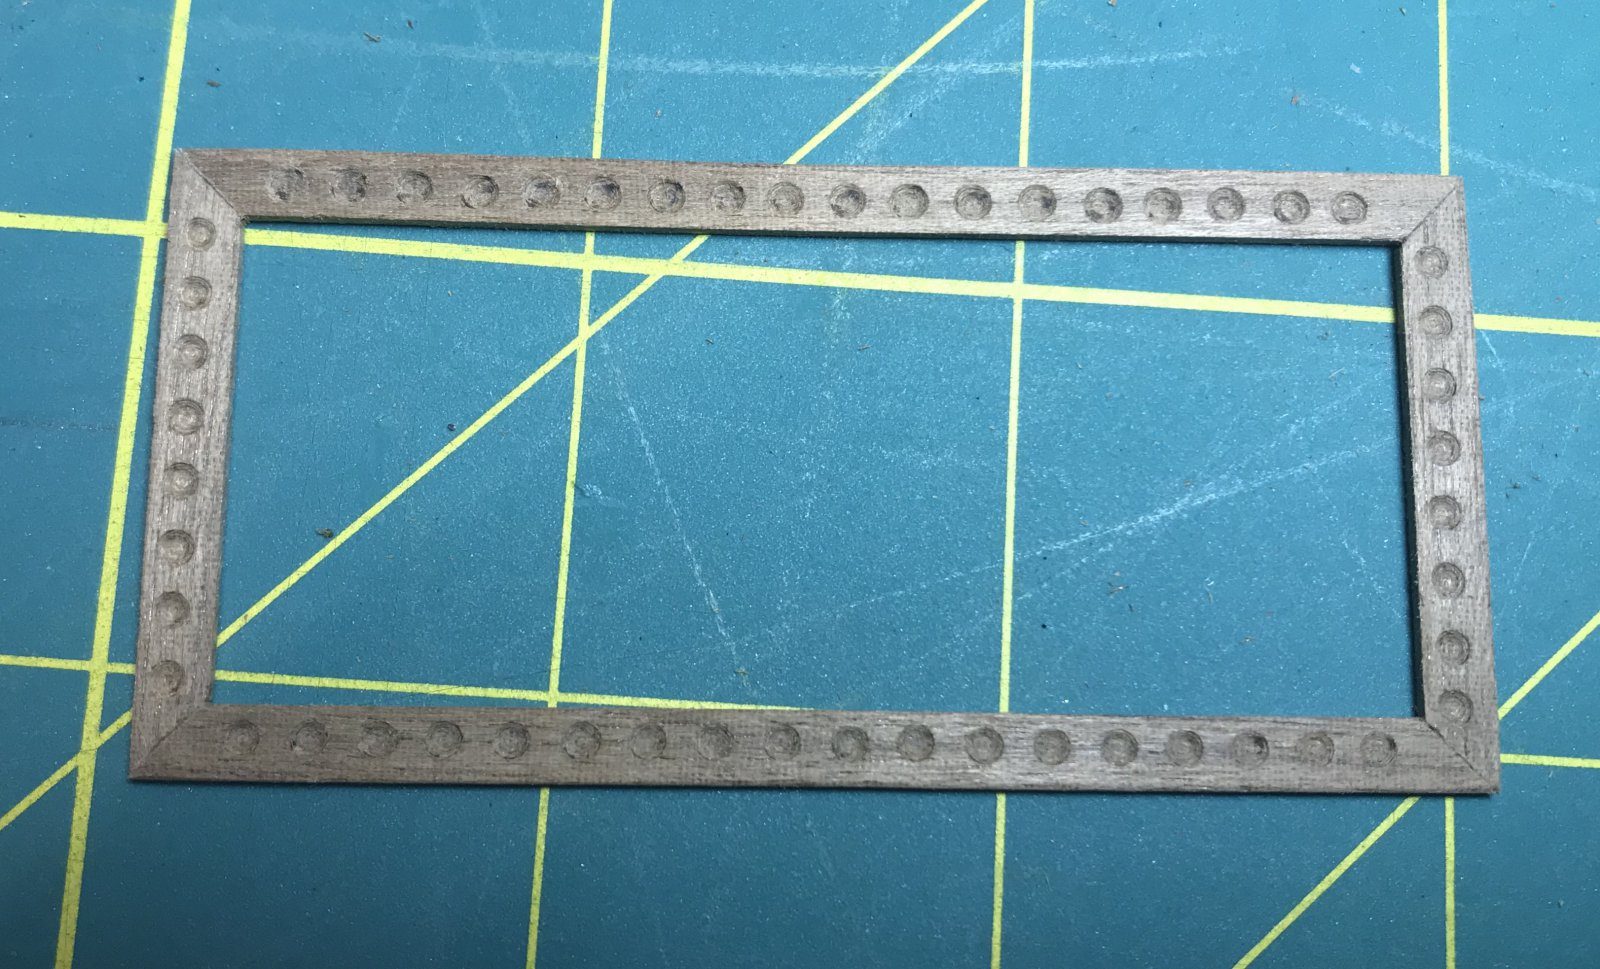
The result: a row of identical hollows in the strip. Mitre the strips with the hollows into a frame that fits around the hatch or grating. Check that the shot run neatly round the corners.
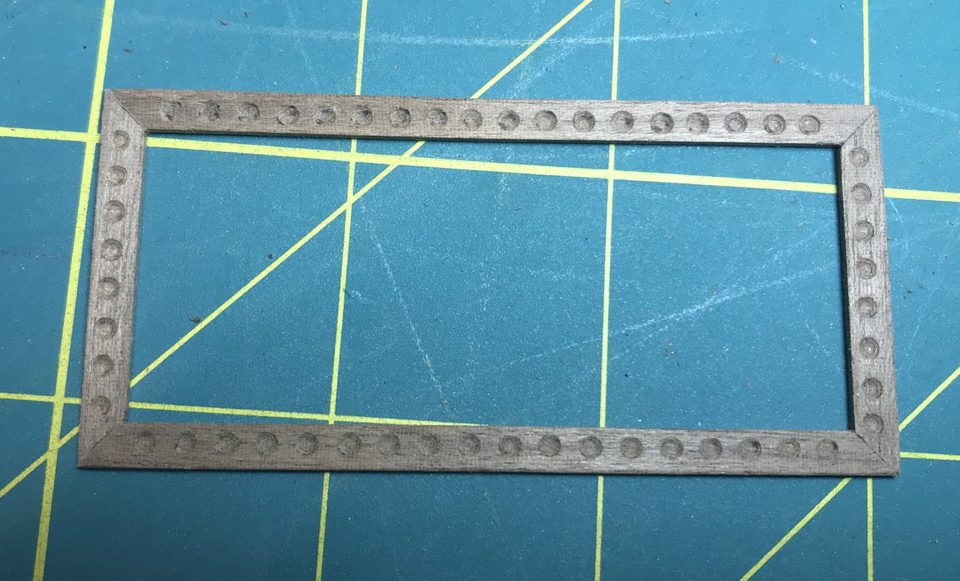
The frame assembled: a rectangle of strips with the hollows all round. Brush a little varnish into the hollows and lay the shot in straight away, while the varnish is still wet. Once dry they are fixed. Then glue the frame around the hatch on the deck.
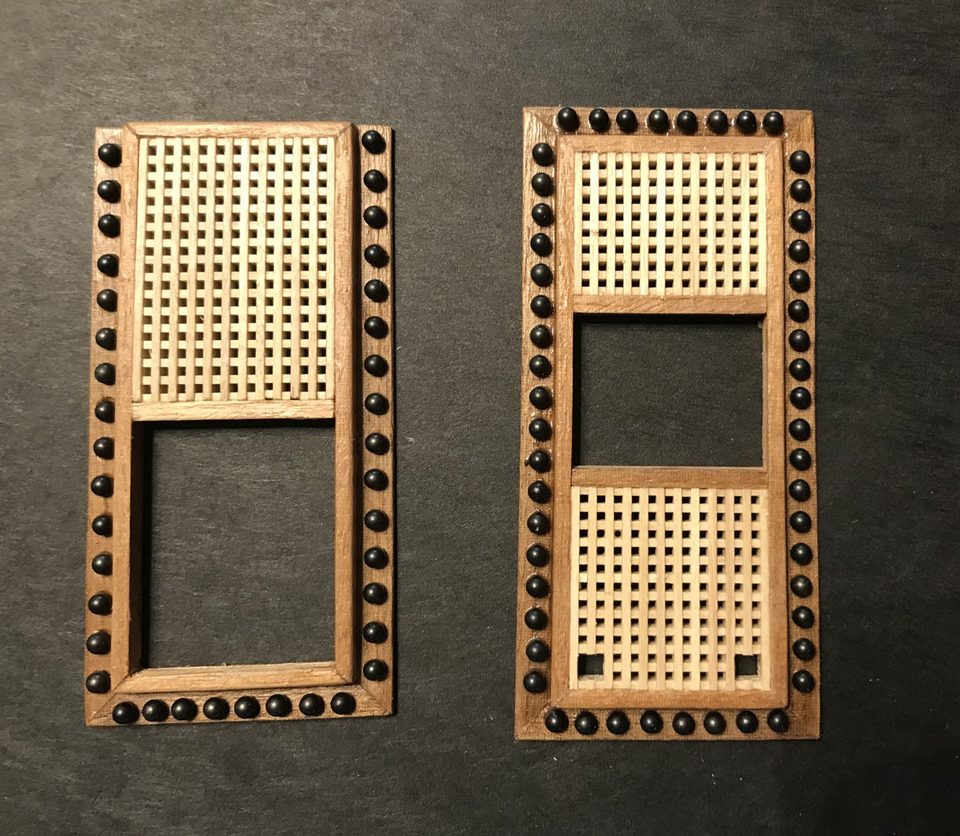
Two shot garlands around the gratings, the shot just laid in the still-wet varnish. Watch out: When the photo was taken the varnish was still wet and we were curious whether they would stay stuck. So let them dry properly before setting the garland on the deck.
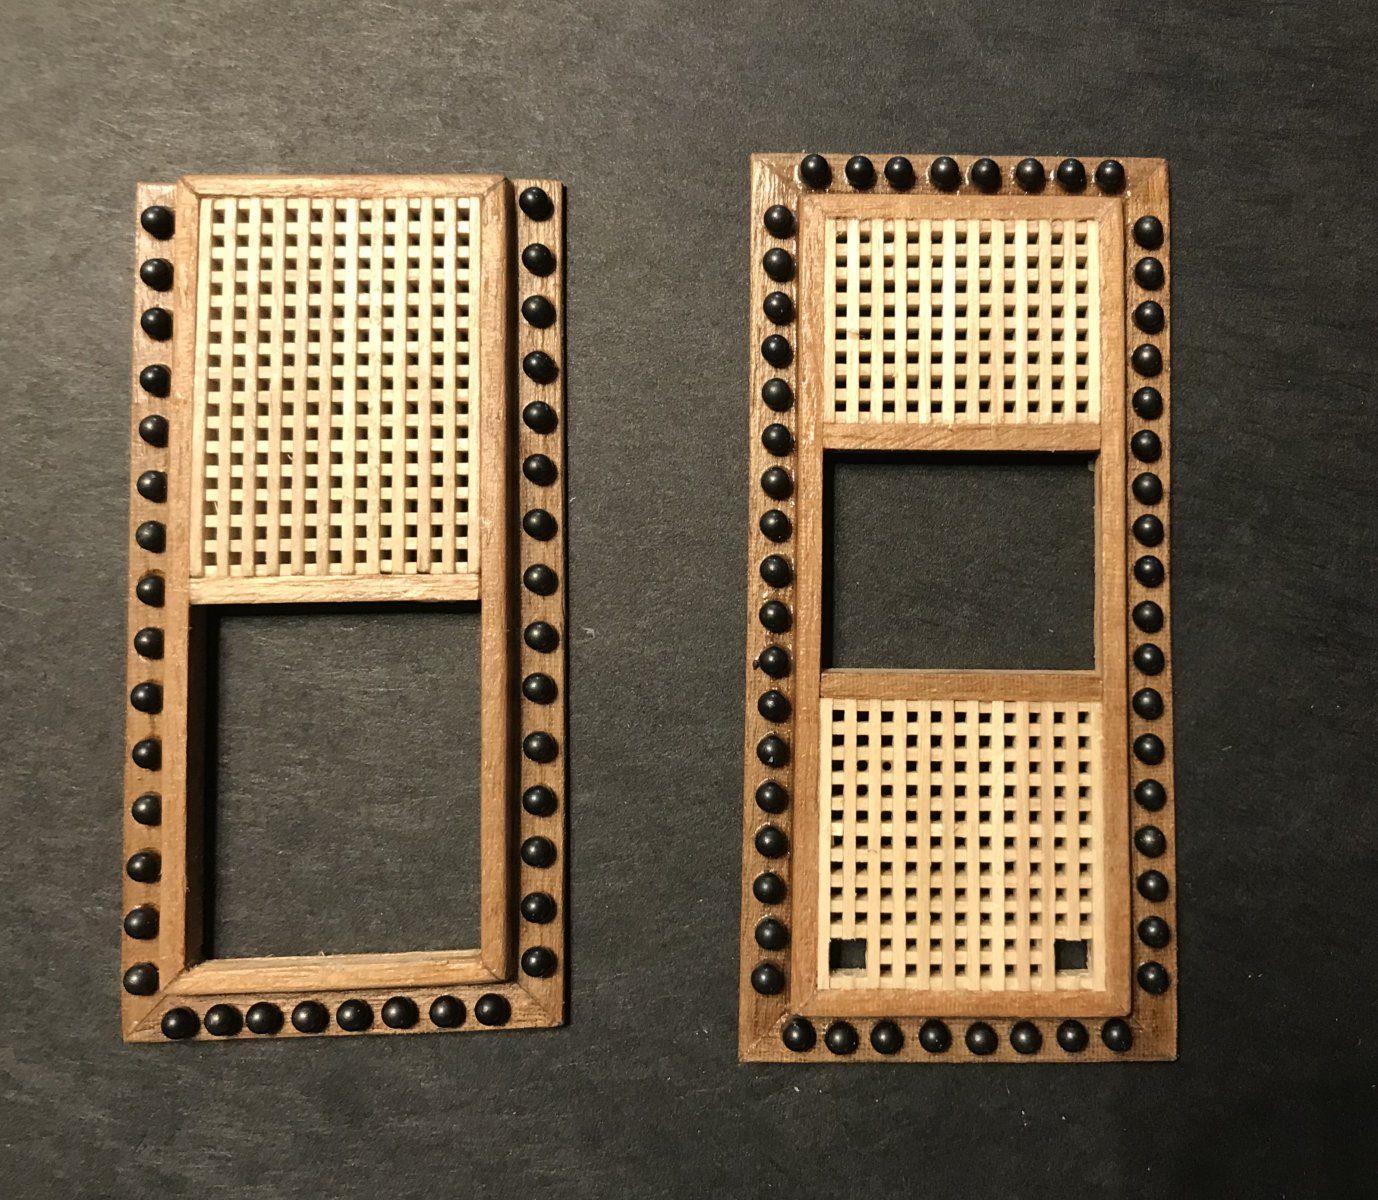
Result
The shot sit crisply at equal spacing and the forum thought it looked neat; Jaques found it useful straight away. We are keeping the small-template method, because a long template would actually make the spacings uneven.
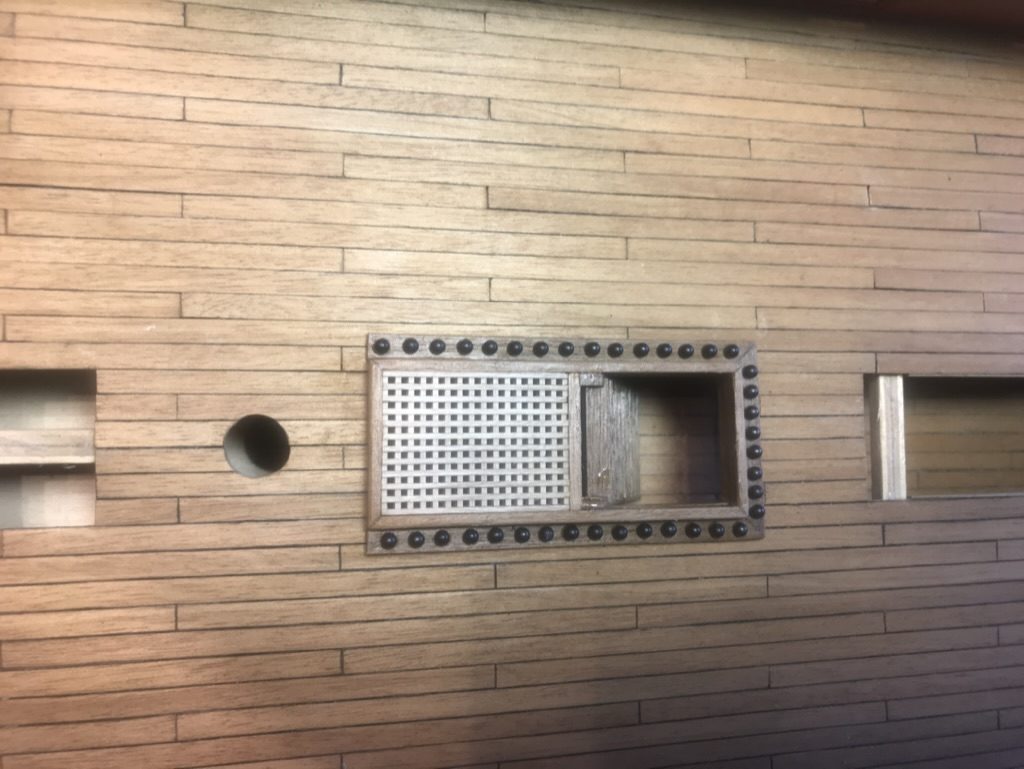
Problems met with this technique
Unknown how deep the shot garlands should be and how to fix the shot. Lay the shot in wet varnish; once dry they are held fast. (Tips from Pingu57) to the register
In the same series: Deck fittings
- Shot garlands with every shot equally spaced, using a small template
- Making the upper deck gratings lower with a camber
- Bending a strip for the planksheer in a PVC pipe of water
- Building up a drumhead from seven layers of walnut
- Turning and fitting rail stanchions for the ladderway
- A mast coat from dyed lining fabric, after the masts of the Victory
- A ship's wheel rim from ten walnut segments, turned round on a faceplate
- Turning spokes for the ship's wheel with a pre-shaped blade
All how-tos · Deck fittings: capstan, ship's wheel, gratings and bitts