Repairing a white metal figure with solder
Build up the short arm of a white metal transom figure by piling on solder and shaping it with a small file, then repaint and age the figure.
What you need
- soldering iron
- small file (needle file)
- brush
- old toothbrush or small brush for scrubbing
- solder
- yellow ochre
- antique gold
- wash
- Time
- an evening
- Difficulty
- moderate
- When in the build
- Phase 4,
- From the log post
- Surgery on a white metal lady · forum
Before you start
Compare the white metal figures from the kit with pietsan's photo and the picture on the box. They are two different figures, not mirror images of each other. One of the two has an arm ending in a straight stump where there should be a bend: a casting fault. You can order a new figure, but with a soldering iron and solder it can be repaired yourself.
Lay both figures side by side and compare them with pietsan's photo. In his photo there is a clear bend in the arm; on the casting from our box it is a straight stump. Work out roughly how much solder needs to be added.
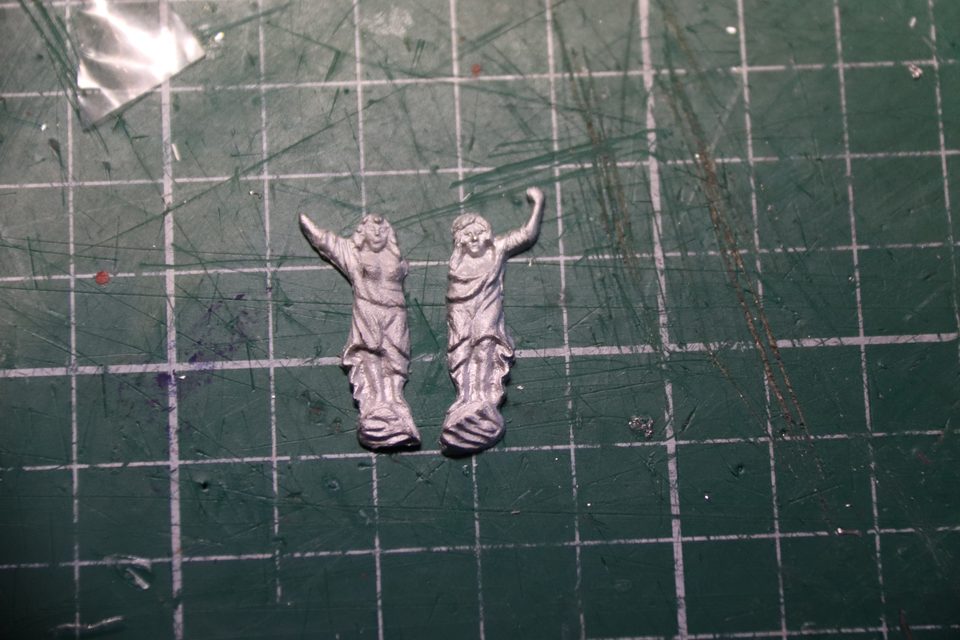
The two white metal ladies from the kit: on one of them the part of the arm with the bend is missing. Tip from pietsan: The figures are not mirror images of each other, they are two different figures. The arm is indeed a bit too short.
Watch out: This was already the second white metal carving that was not supplied properly.
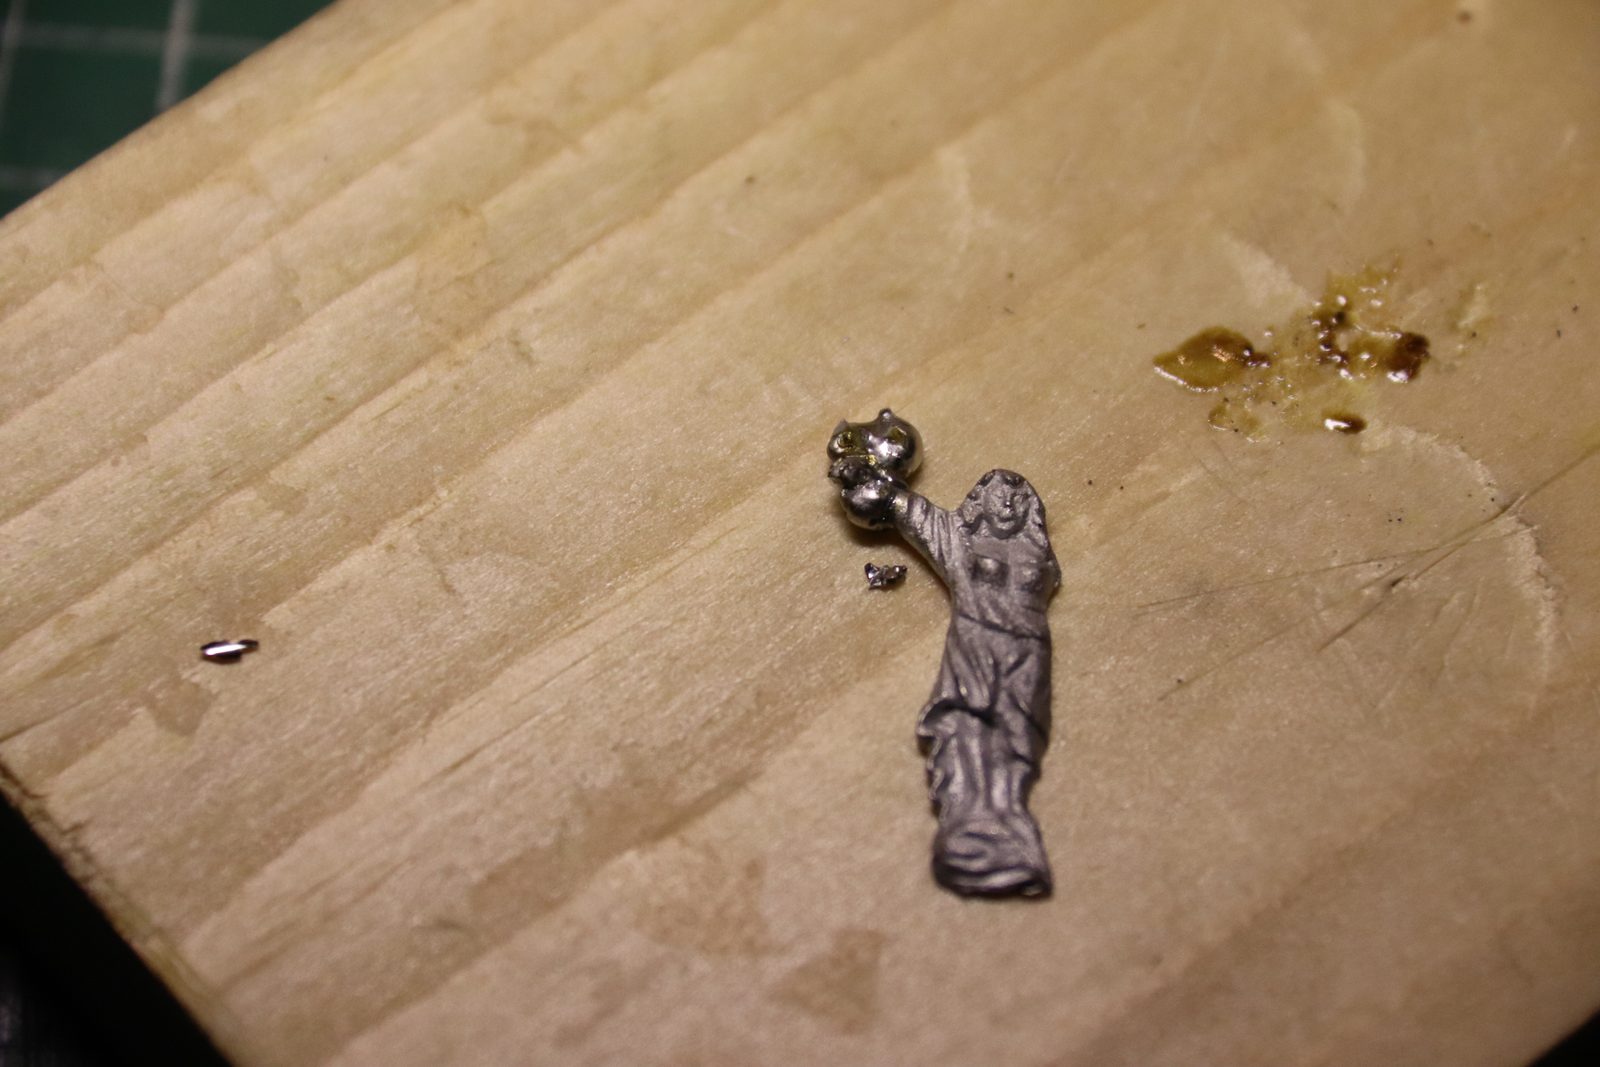
Heat the soldering iron and let a blob of solder flow onto the end of the arm. Deliberately pile on too much: you file away everything that is surplus later. Work quickly, because the white metal figure itself also melts if heated too long.
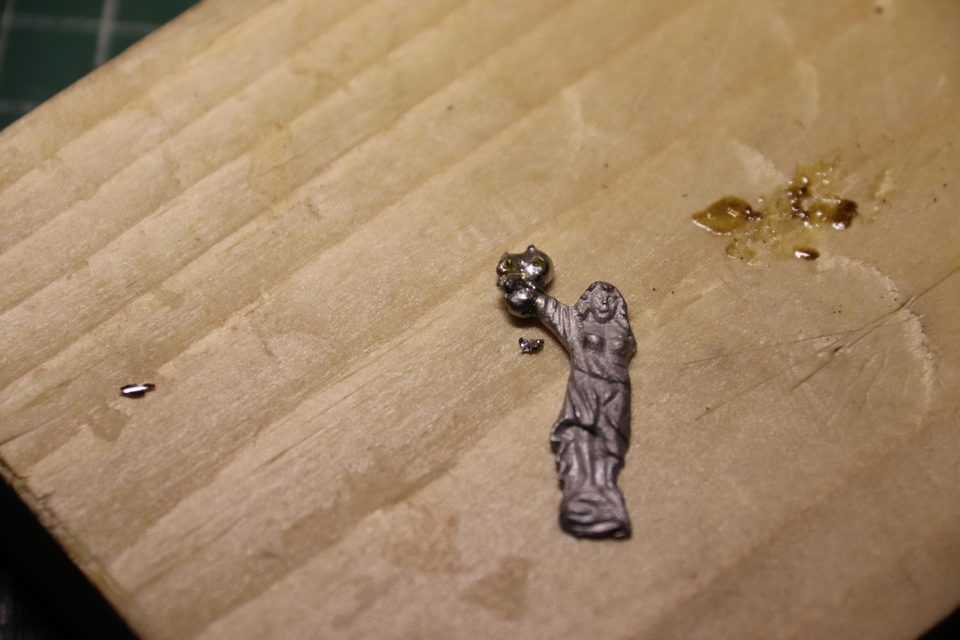
During surgery: a blob of solder on the arm, much bigger than the final shape. Tip from pietsan: You can try to make the bend with solder. I once made an anchor that had a piece missing that way: simply pile on solder and then shape it with a small file. It looks harder than it is. You do need a soldering iron or a flame.
Watch out: Not a pretty sight, that blob. I did feel a little sorry for the lady.
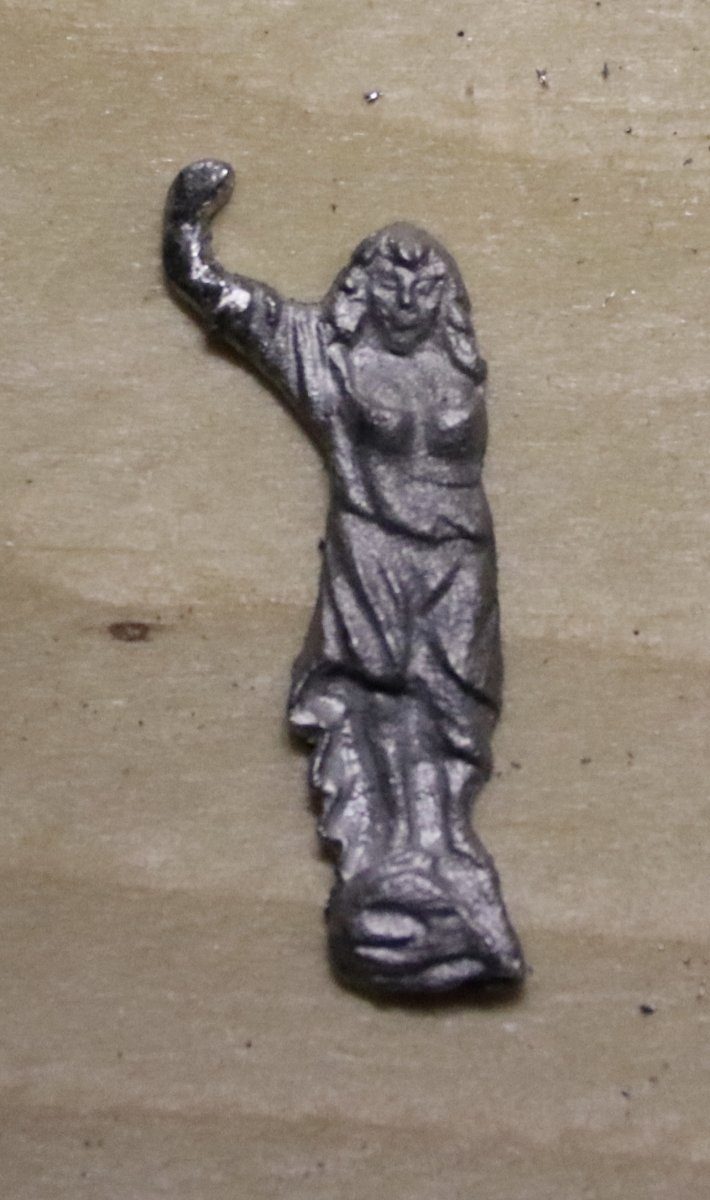
Shape the blob with a small file into an arm with a bend, in small strokes, comparing all the time with the other figure and pietsan's photo. Solder shapes nicely, so take your time over the form.
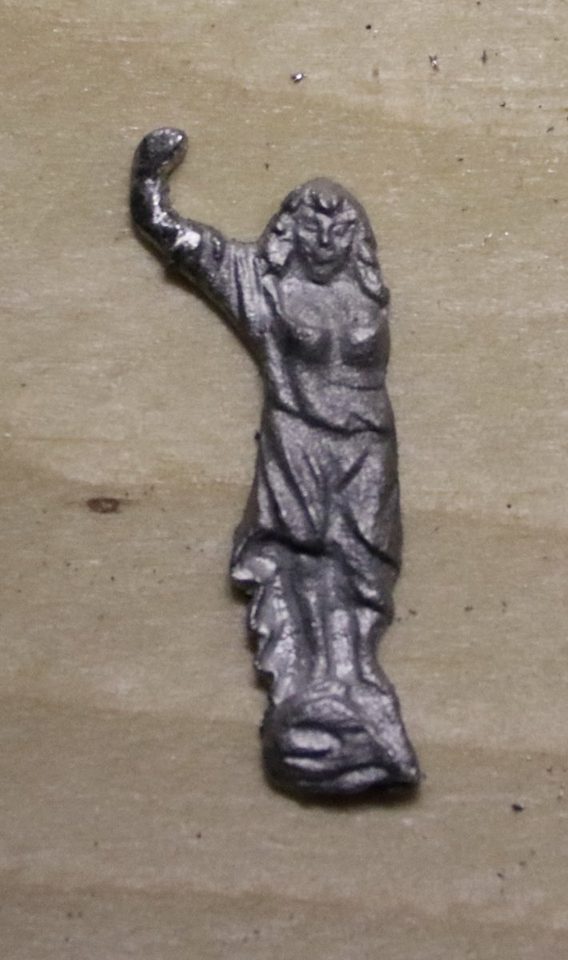
After filing: the arm has its bend back and the figure looks a good deal happier straight away. Tip from pietsan: If you can repair something yourself you usually feel better about it than simply ordering a new item. Solder shapes very well with a small file.
Watch out: She remains a one-armed bandit, as Jaques remarked, but I am pleased with her.
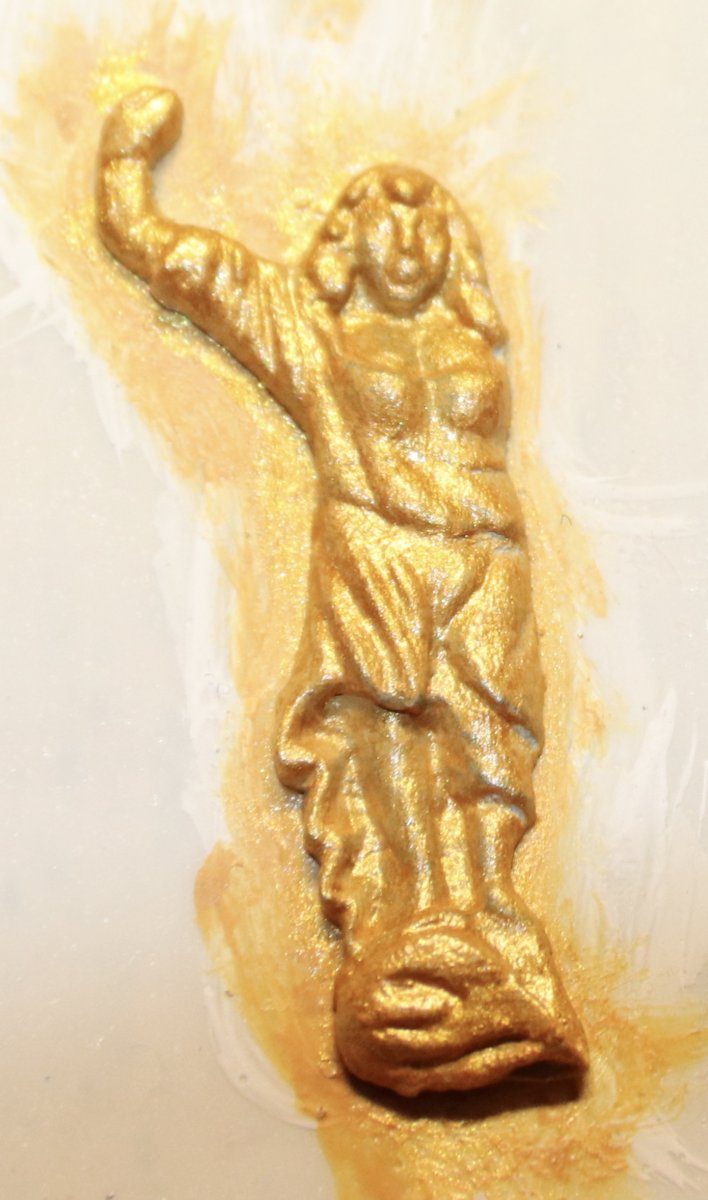
Scrub the figure thoroughly clean; old paint may come off too. Then apply a few very thin coats of yellow ochre as a base and after that thin coats of antique gold. Without a base coat the antique gold does not cover fully; see the separate guide on painting gold.
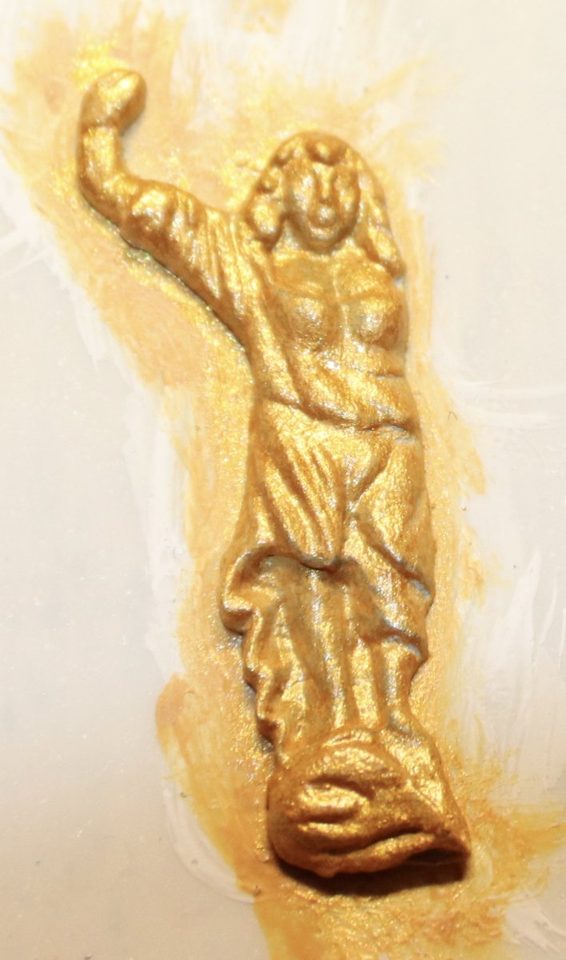
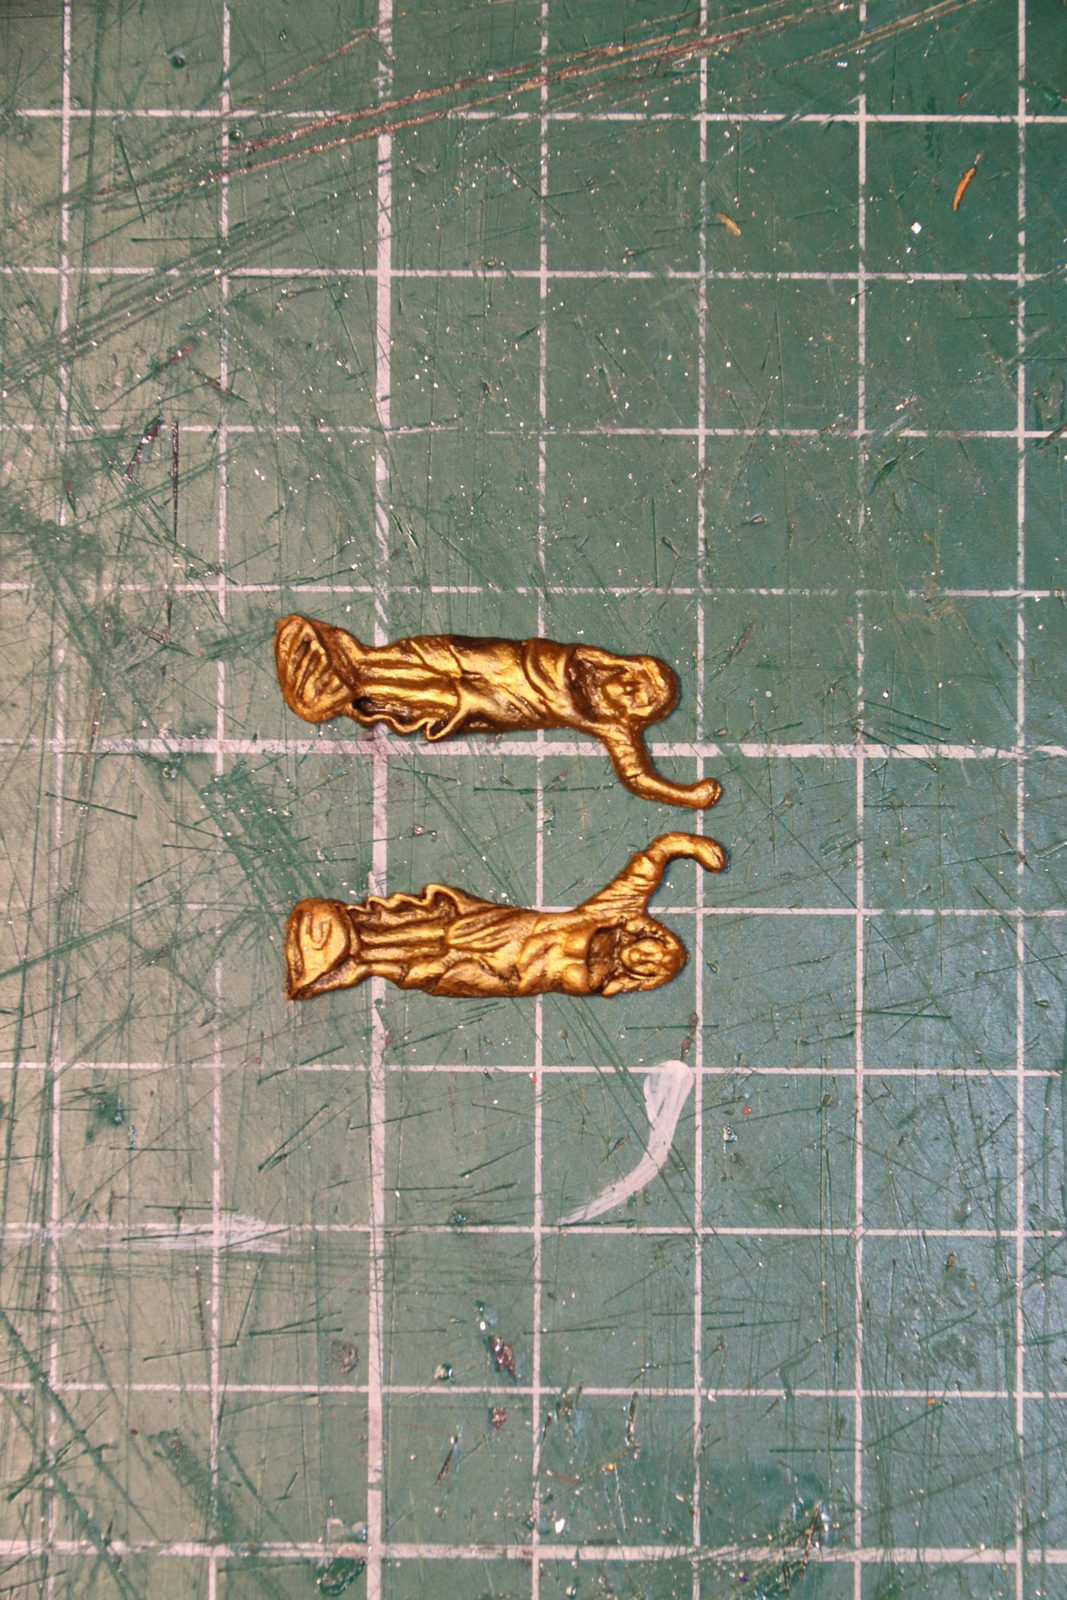
The repaired figure in antique gold, still without wash: the bling version. Tip from Pingu57: If you apply a coat of yellow paint under the gold paint, the gold colour becomes fuller and it does not show if it has not covered well.
Give the figure a subtle wash so the recesses go dark, then drybrush lightly with antique gold over the high points. Compare with the version without wash: the difference is not great, but the aged version looks better.
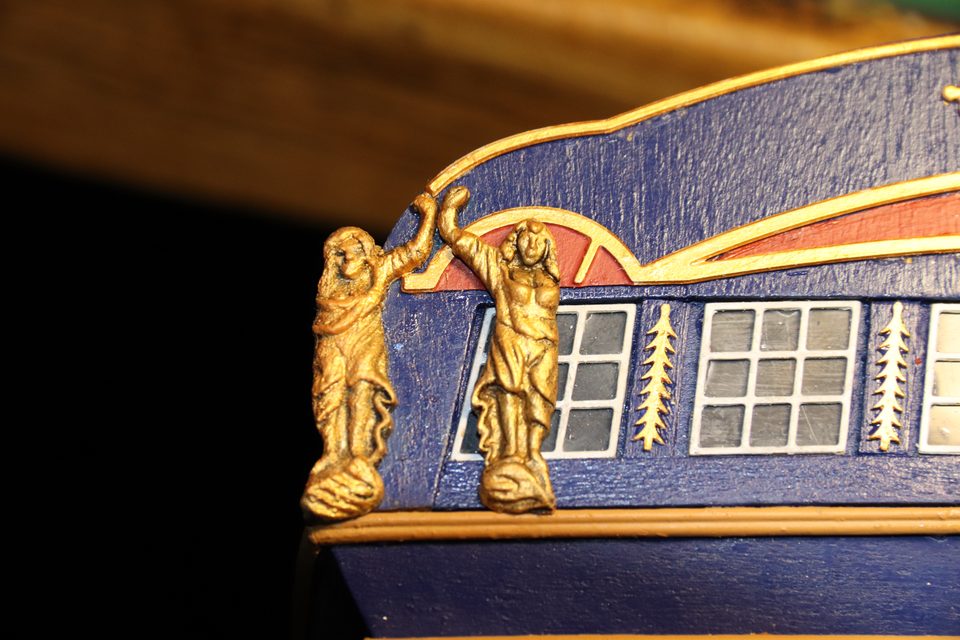
After wash and drybrushing: the folds are darker and the gold only shines on the high points. Tip from Pingu57: The right-hand one (with wash) is the nicest, but you could perhaps give the left one an extra wash.
Watch out: Hans, Jaques and Piet also chose the version with wash, although Piet did not think the difference was great.
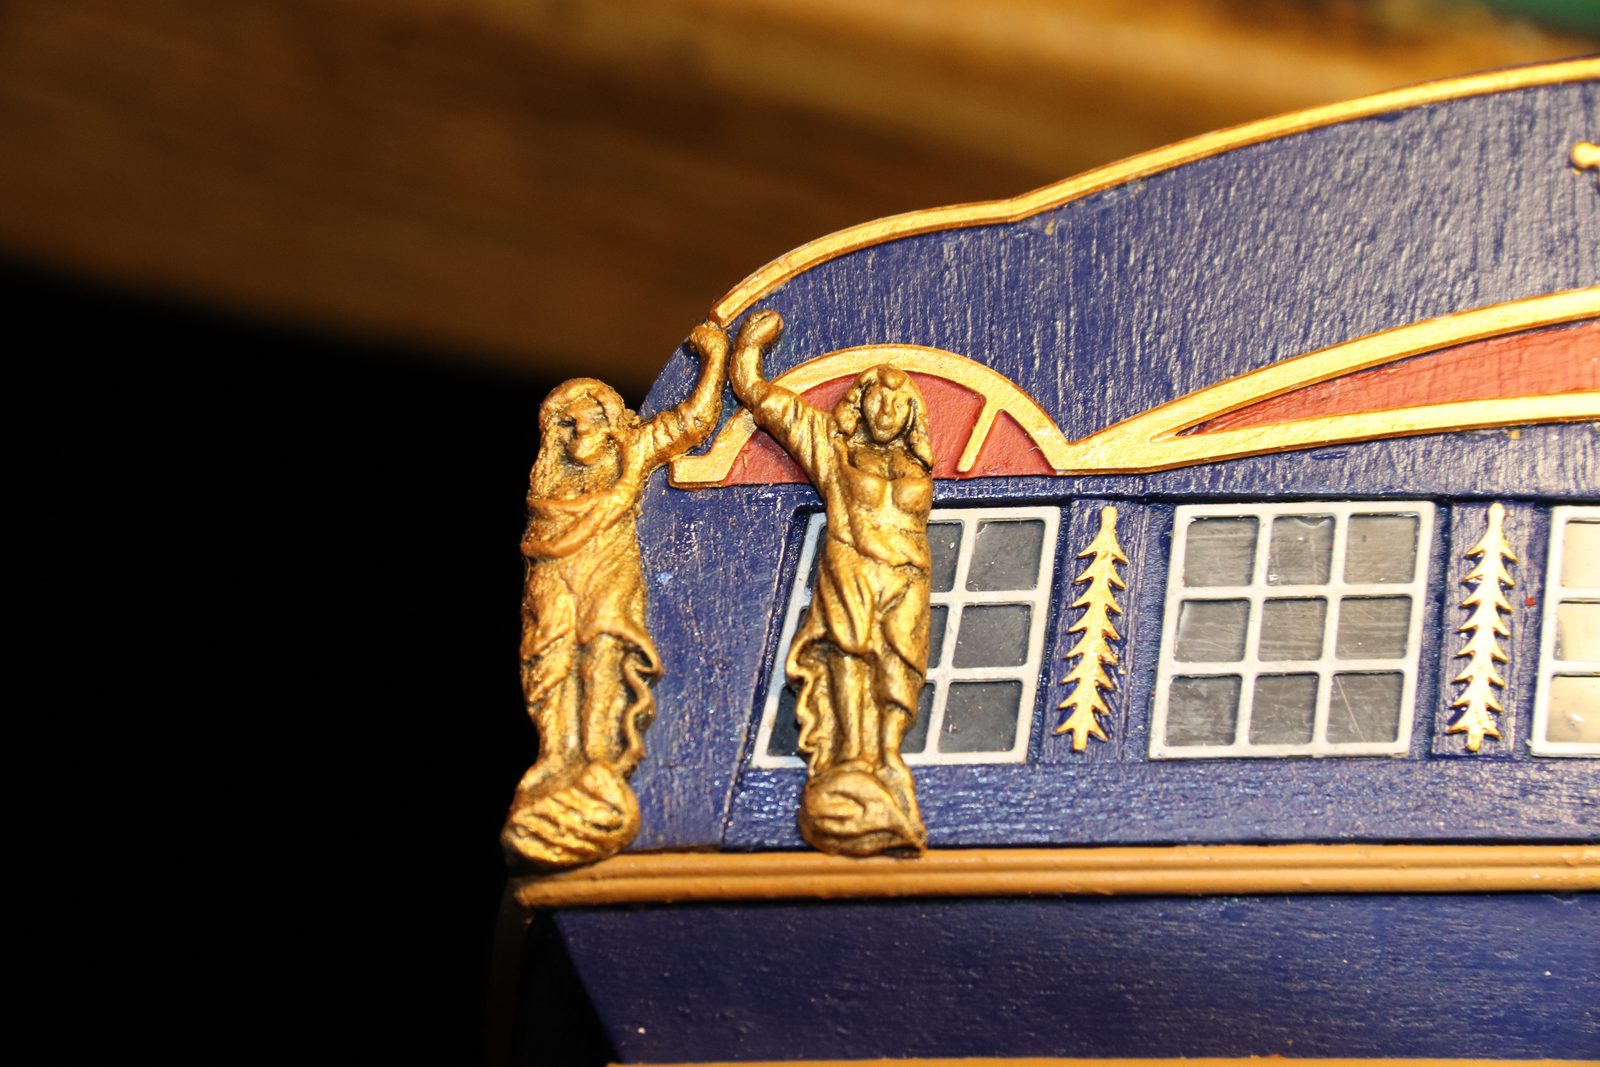
Glue the figures back on either side of the transom. Watch the top moulding: it should rest exactly on the figures' hands, not run on up to the shoulder. That is how it is shown on the box too. Paint the red behind the figures and the panel between the windows first, and only then glue: you cannot get a brush between the scrolls afterwards, as walter de bouwer found; he also had to shorten his upper stern ornament a little because the corner figures would not fit beside it otherwise (modelbouwforum, 22 September 2015, forum post).
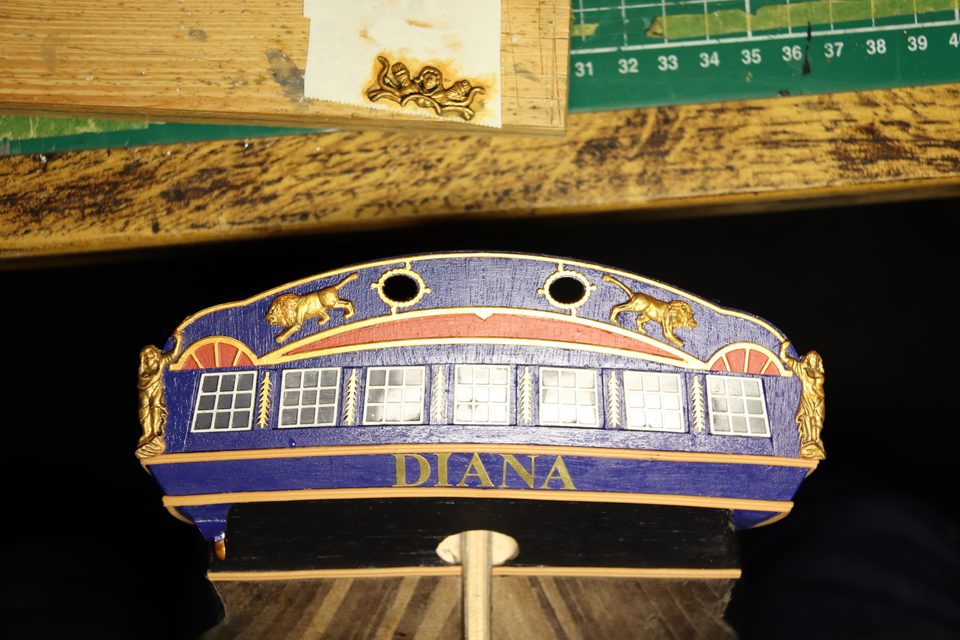
The transom with both ladies back in place, in the company of the lions and the centre carving. Tip from pietsan: If you mount them properly the top moulding comes to rest exactly on the hands. If your moulding runs on to the shoulder, the missing hand becomes all the more noticeable.
Watch out: Our top moulding at first ran on to the figure's shoulder. Adjusted the line to match pietsan's photo; it looks better too.
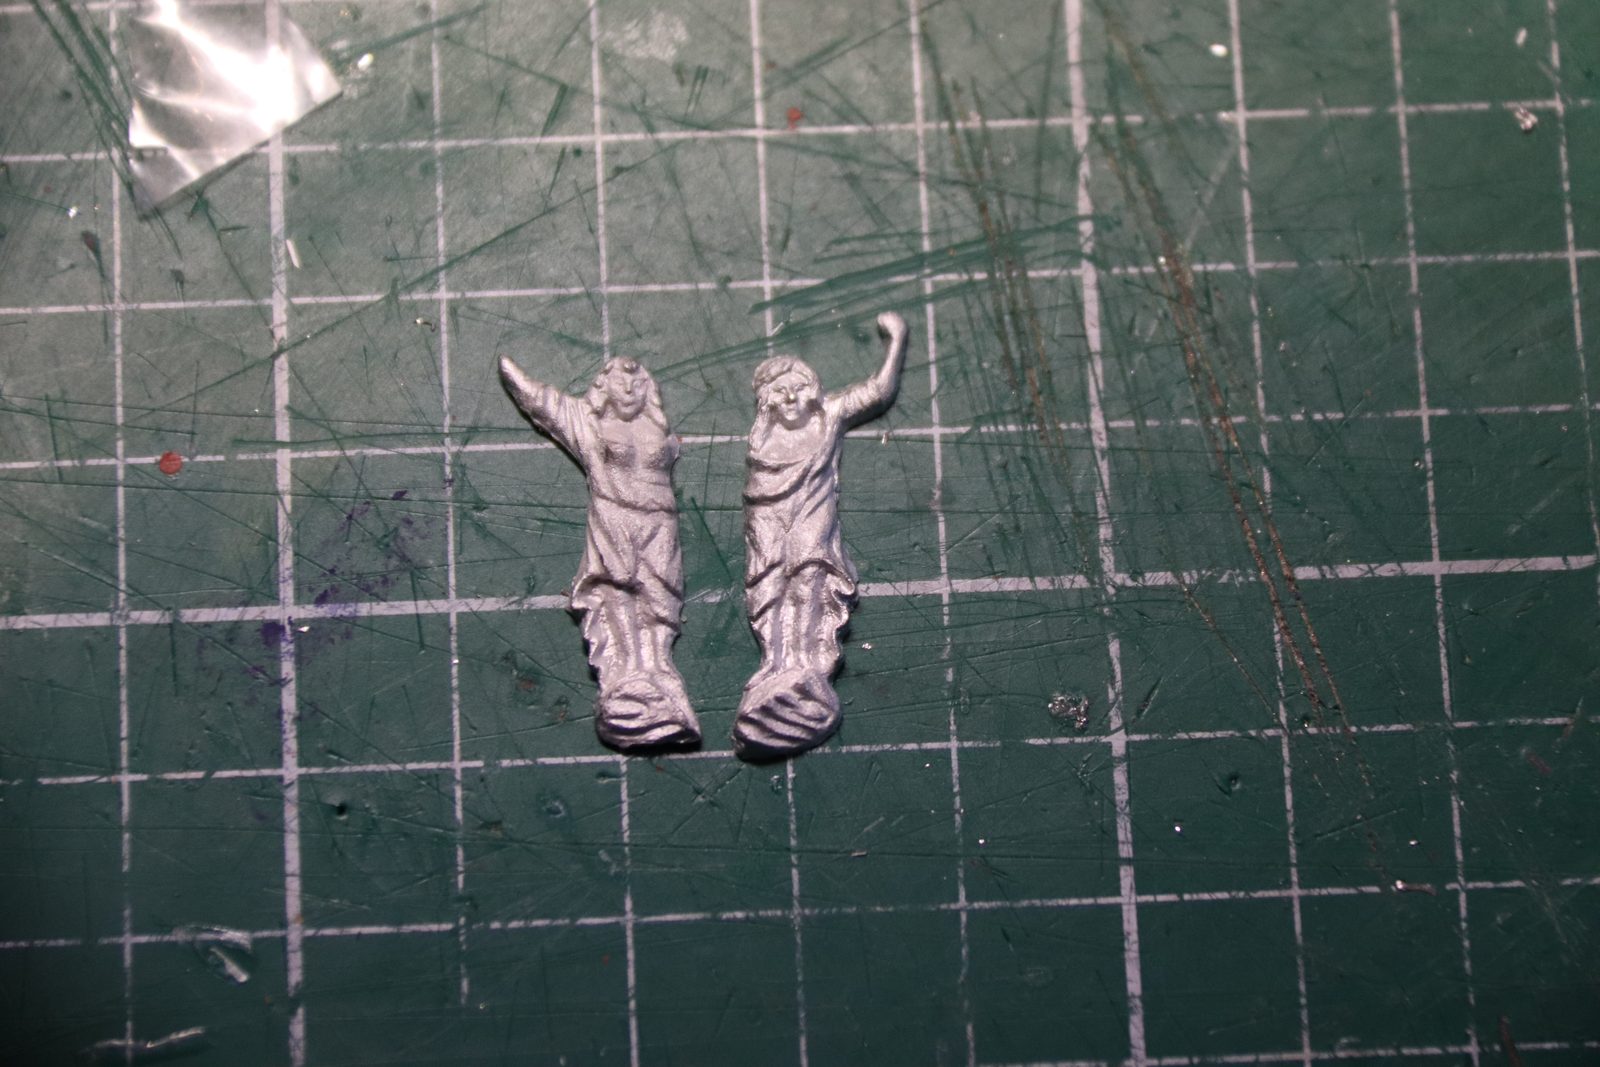
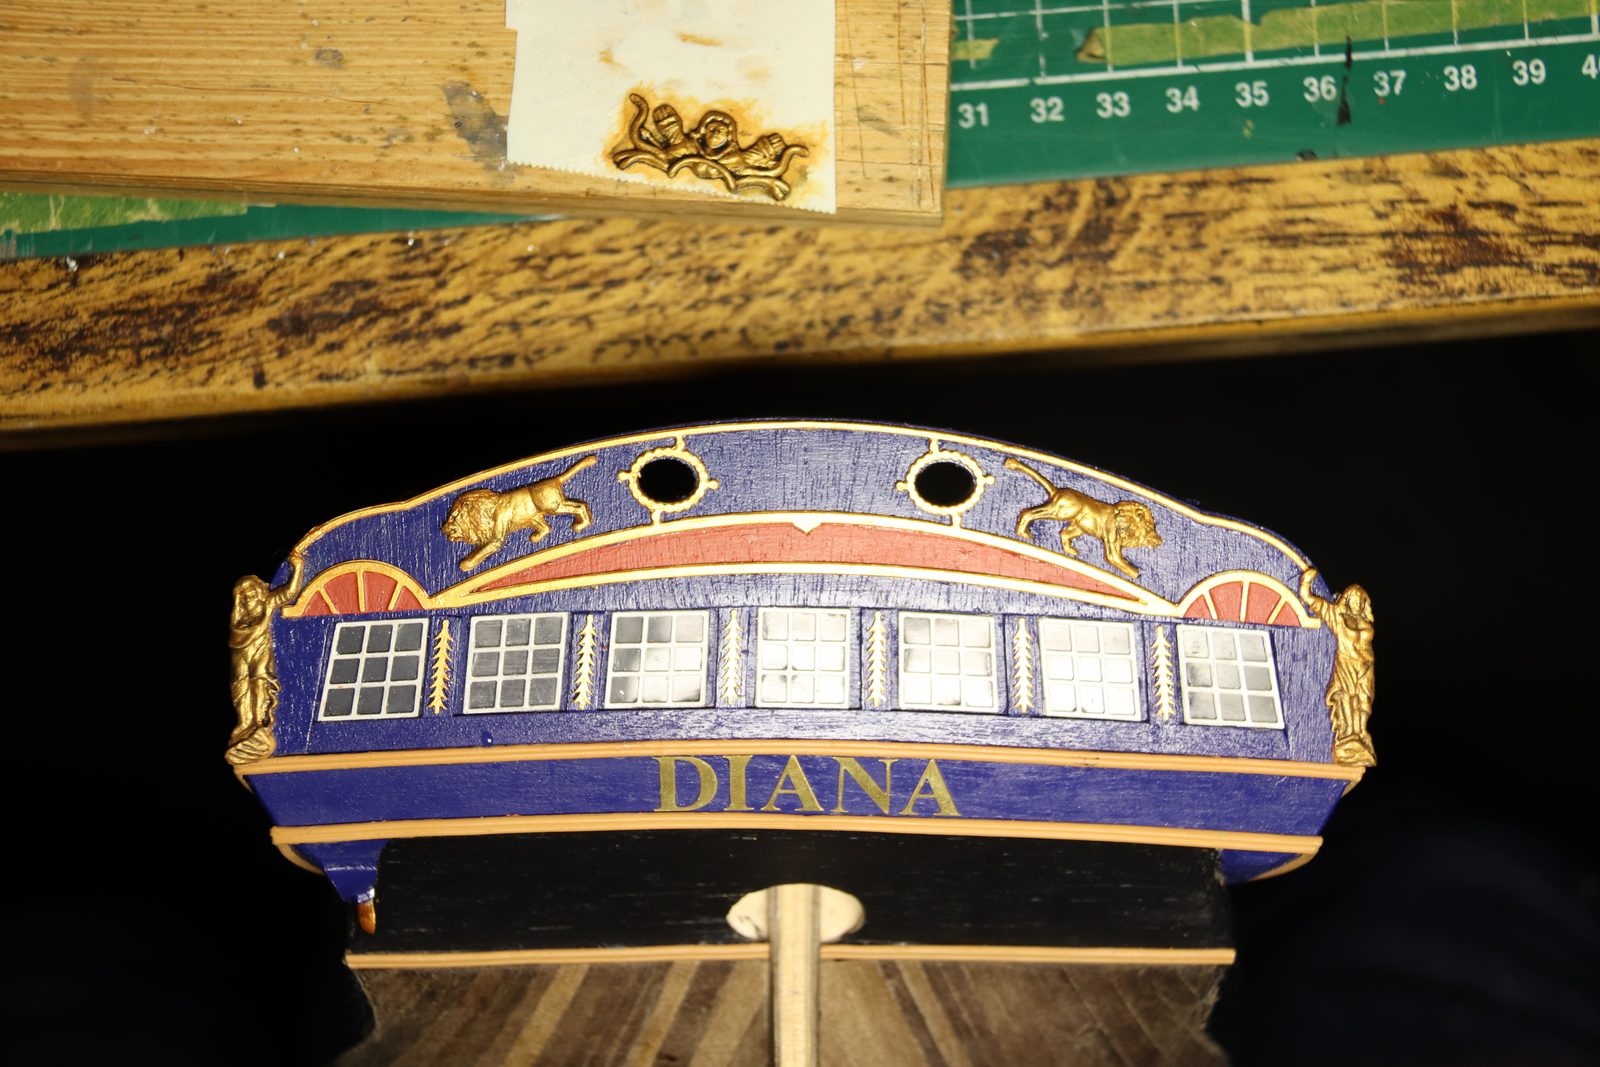
Result
The repair is hardly visible; amazone remarked that you cannot see it at all. Solder does indeed shape nicely, and repairing it yourself feels better than ordering a new part.
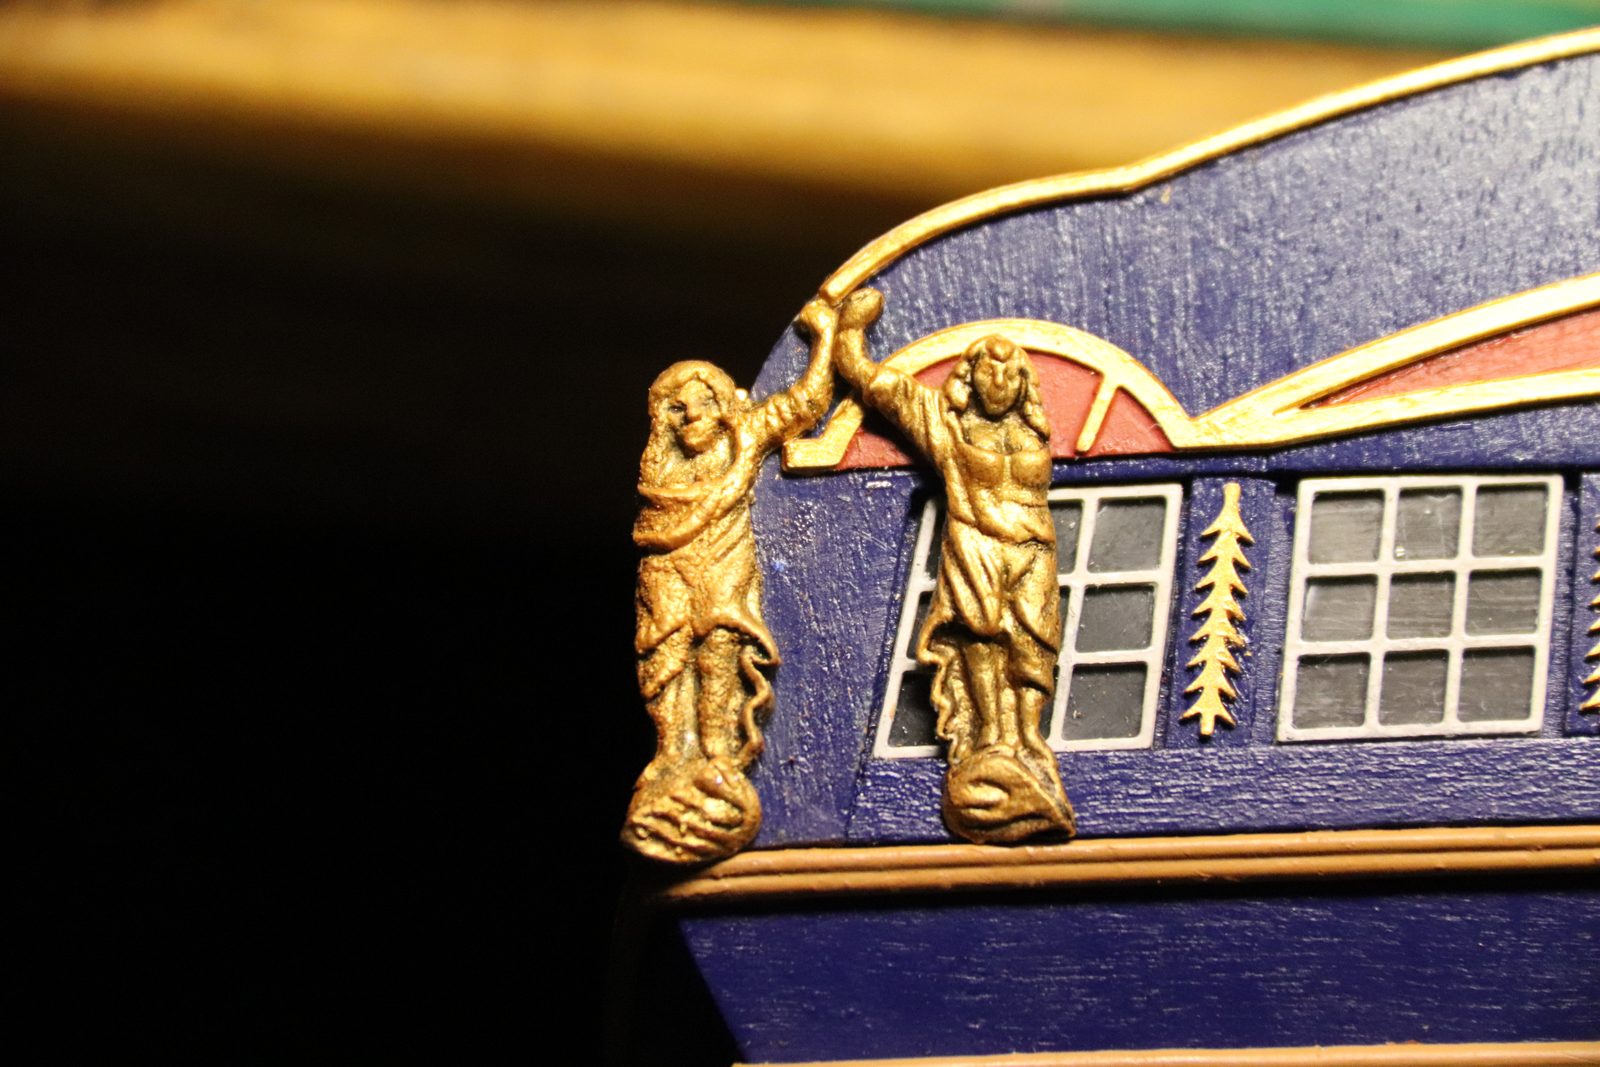
Problems met with this technique
One of the two white-metal female figures has an arm that is too short (a straight stump). Built the arm up with solder and shaped it with a small file. (Tips from pietsan) to the register
The upper moulding ran through to the shoulder of the figure. Adjusted the line to match pietsan's photo (and the box art): the moulding rests on the hands. (Tips from pietsan) to the register
Kit errata
White-metal female figure with an arm that is too short (a straight stump). Built the arm up with solder and filed to shape. to the register
In the same series: Stern and ornaments
- Five trials for the transom windows
- Fitting the quarter gallery windows with a small frame as a jig
- Repairing a white metal figure with solder
- Painting gold-coloured carvings
- Applying the red line in the profile of the mouldings
- Mouldings at the right height first, channels after
- Bending a one-piece moulding round the bow
- Making the stern port lids with a template