Pre-sanding deck strips with 320 grit
Sand the tanganyika strips smooth before they go on the deck, so that they don't splinter and the caulking seam stays crisp.
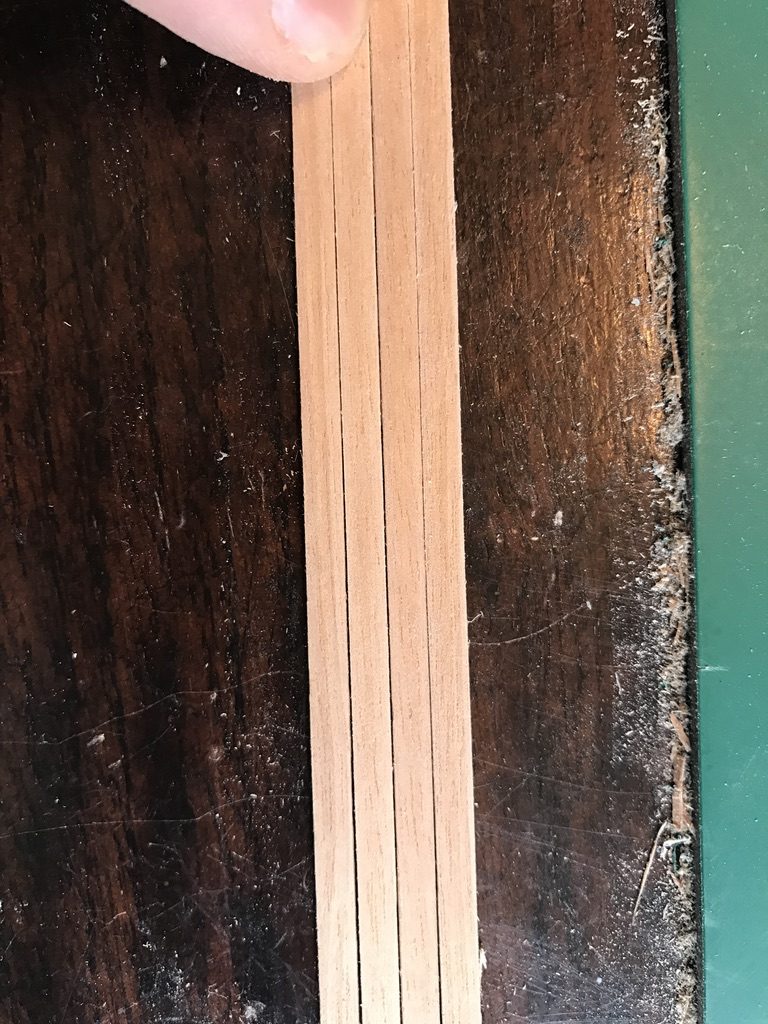
What you need
- 320 grit sandpaper
- Pitt oil base pencil (oil-based pencil)
- hobby knife
- 1 x 4 mm tanganyika strips from the kit
Dimensions
- tanganyika 1 x 4 mm
- 320 grit sandpaper
- Time
- an evening
- Difficulty
- easy
- When in the build
- Phase 1,
- From the log post
- Sanding strips and a bulkhead that doesnt touch · forum
Before you start
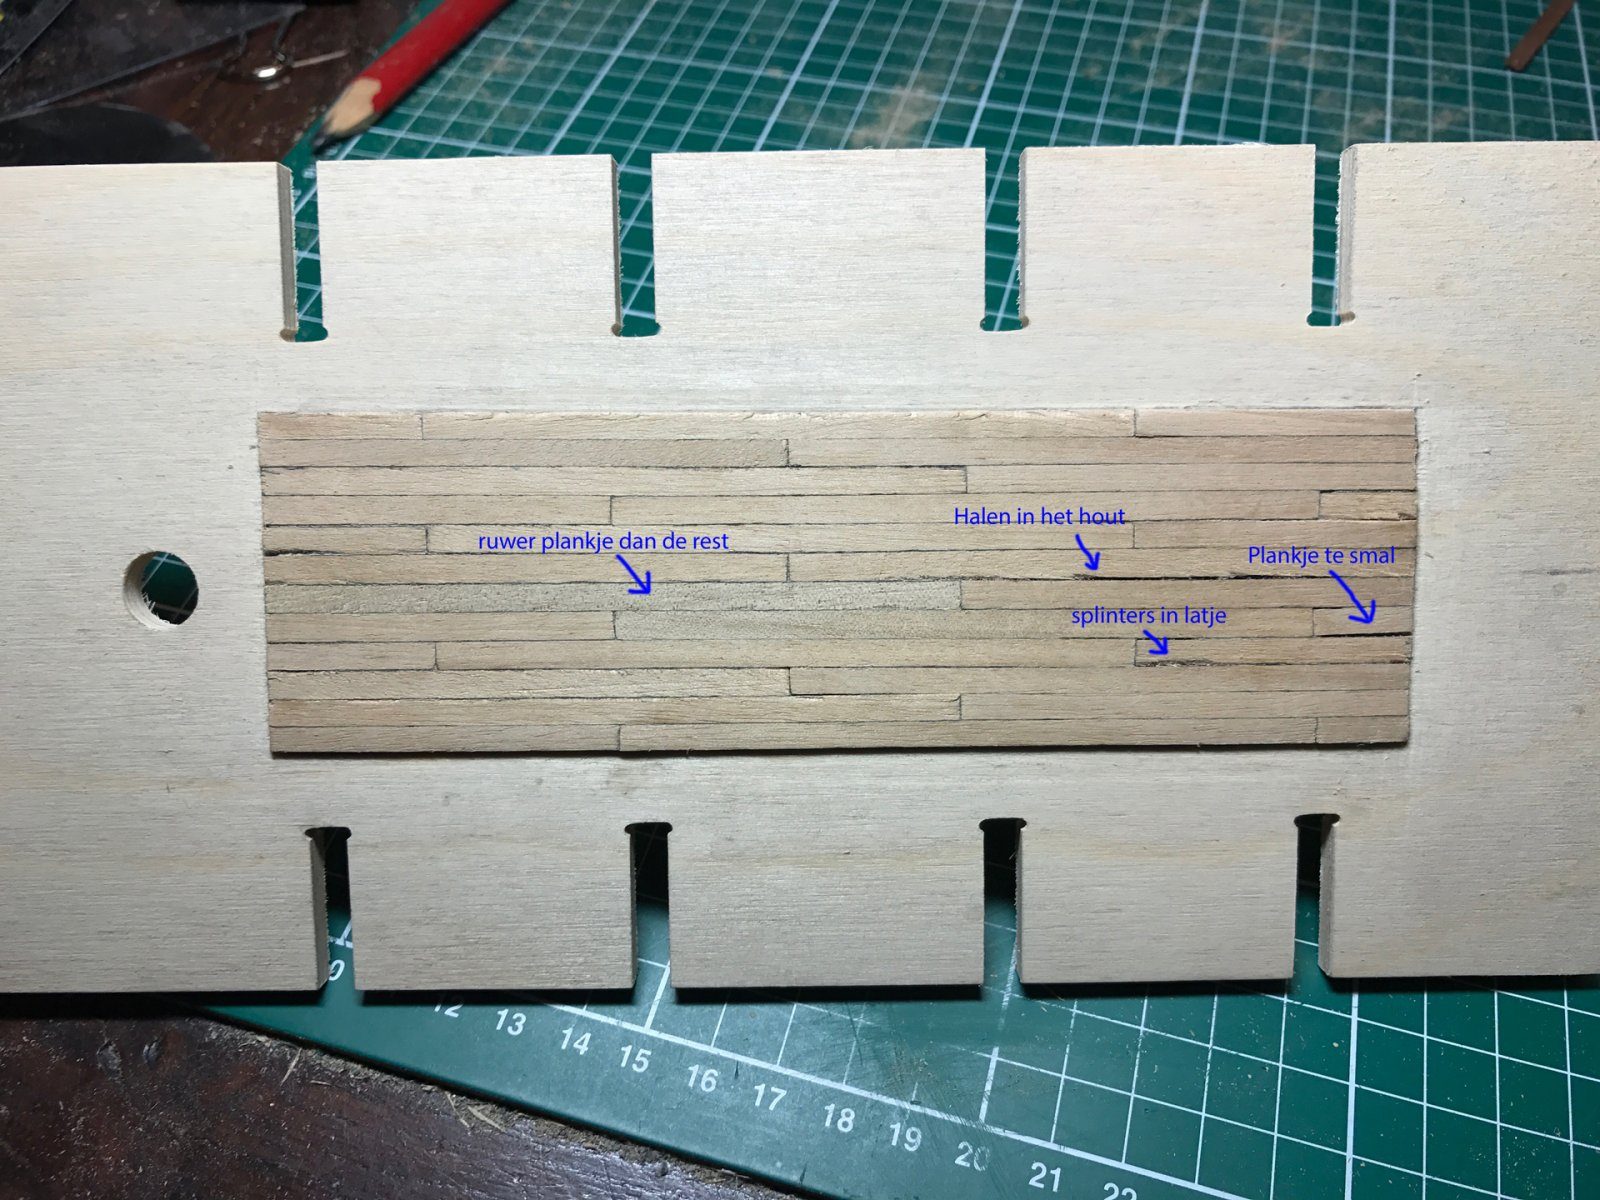
First do a trial on the false deck, which won't be visible later anyway. That is where you meet the problems (rough strips, splinters, strips that are too narrow) that pre-sanding solves.
Lay all the strips side by side and sort them by width and quality. Use the best strips for the deck; set aside damaged, rougher or narrower ones. You can still use those later for short pieces.
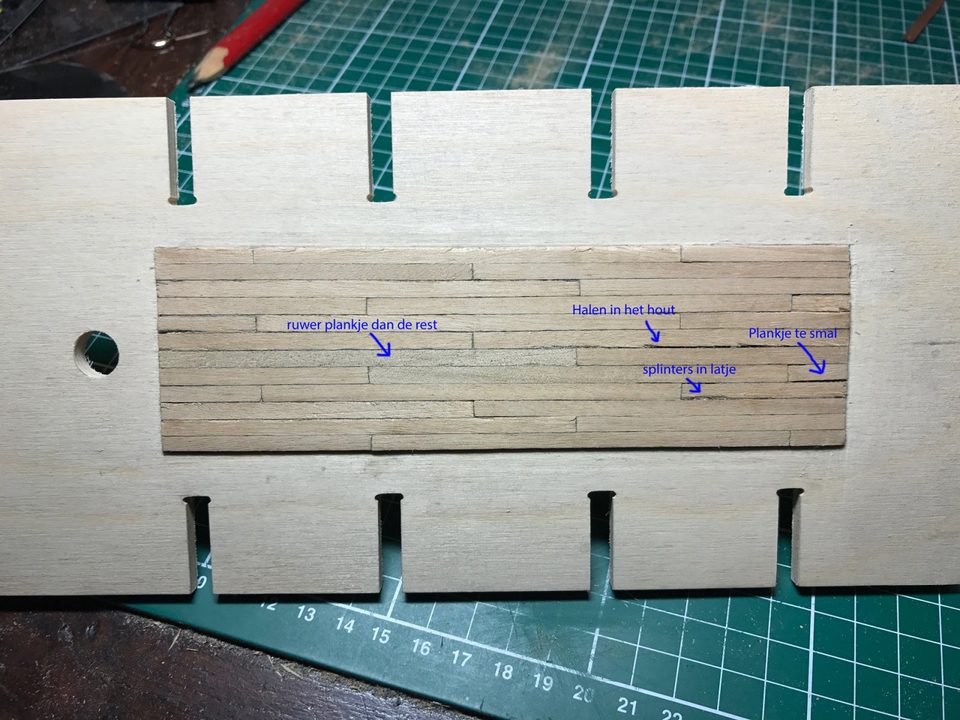
The trial deck with the problems marked: a rougher plank, scratches in the wood, splinters and a strip that is too narrow. Tip from Pingu57: It looks as if not all your planks are undamaged. Use the best planks and throw the rest away, or keep it for small pieces later.
Fold a piece of 320 grit sandpaper double and lay the strip in between. Move the paper away from you, never towards you, otherwise the strip snaps. This sands the flat faces and the edges smooth in one movement, without burrs. After the first few strips you see the difference at once.
320 grit
Tip from pietsan: Fold a piece of sandpaper double and lay the strip in between; that sands the flat faces and the edges at the same time. But move the sandpaper away from you, otherwise the strip snaps.
Watch out: Every strip has a good and a bad side: on one side the sandpaper snags now and then. Fold over the corners of the sandpaper and it stops snagging.
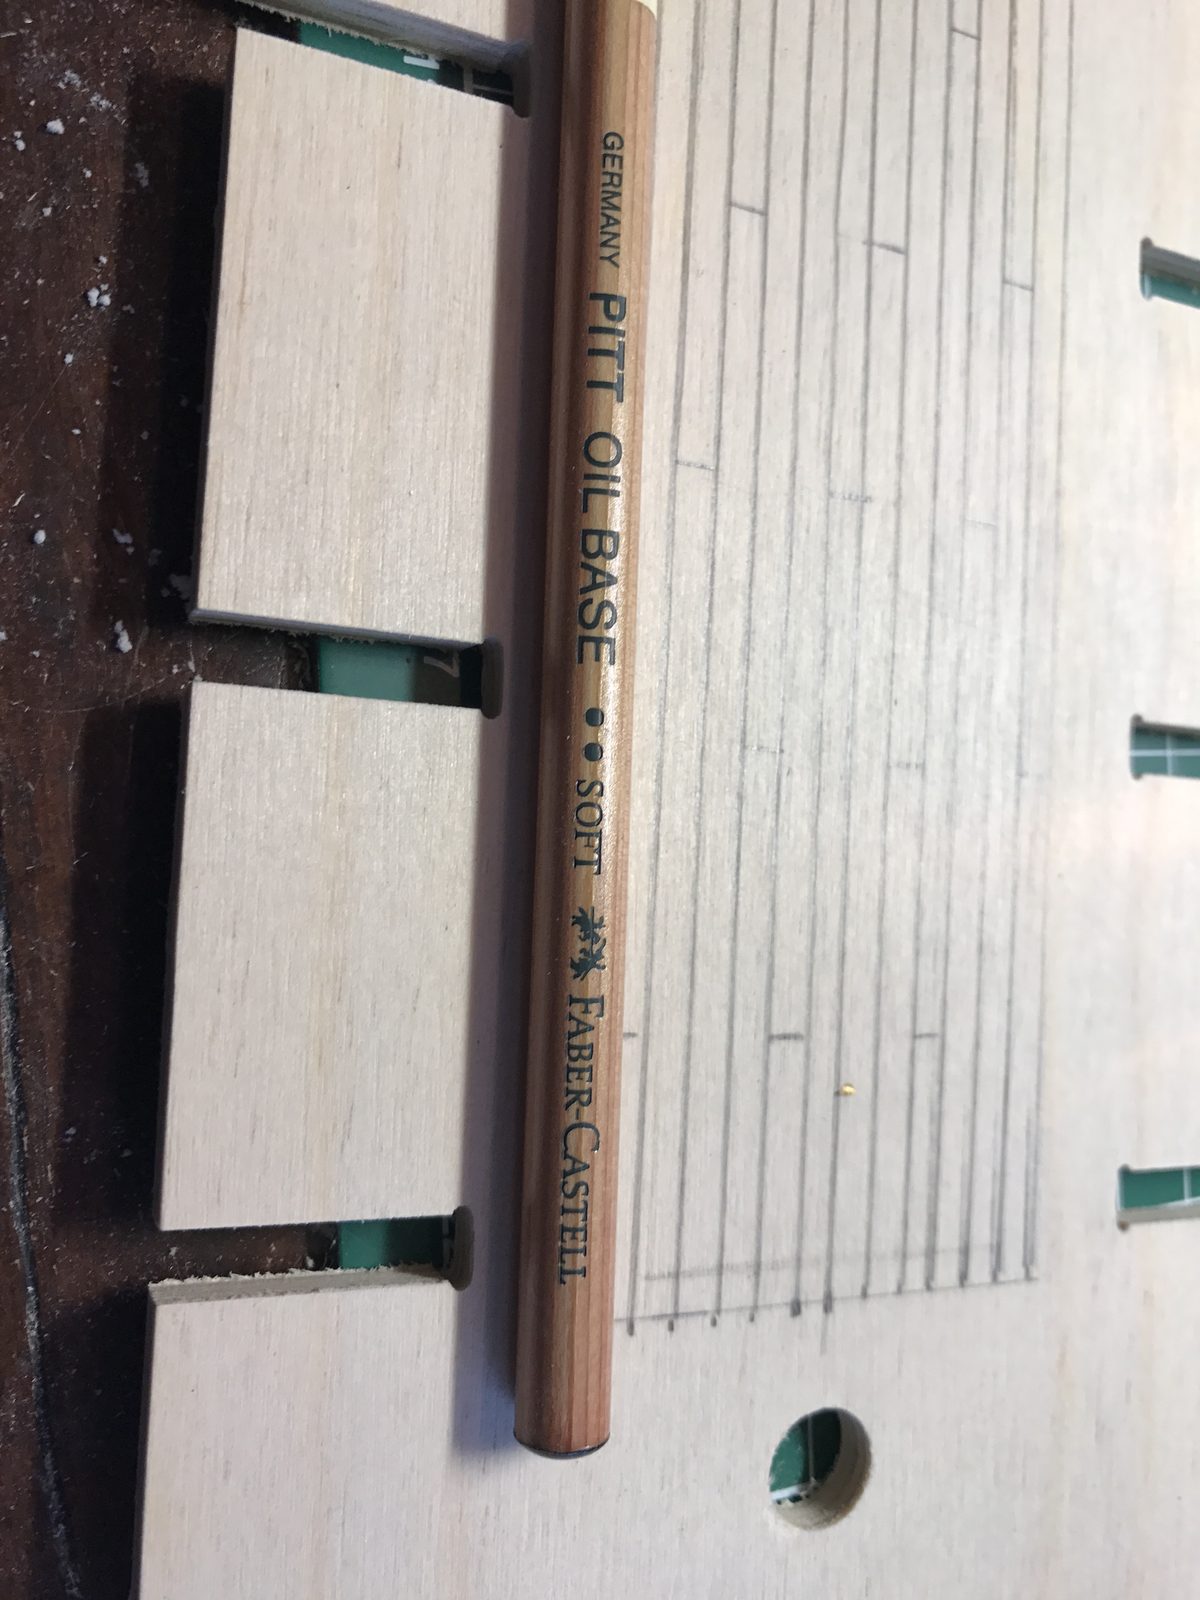
Chamfer the edges of the plank very lightly ('breaking' them); that helps against splintering, although it never prevents it entirely. Then blacken the side over its full thickness with the oil-based pencil. Because the side is black over its full thickness, the caulking seam stays visible however far you sand the deck later.
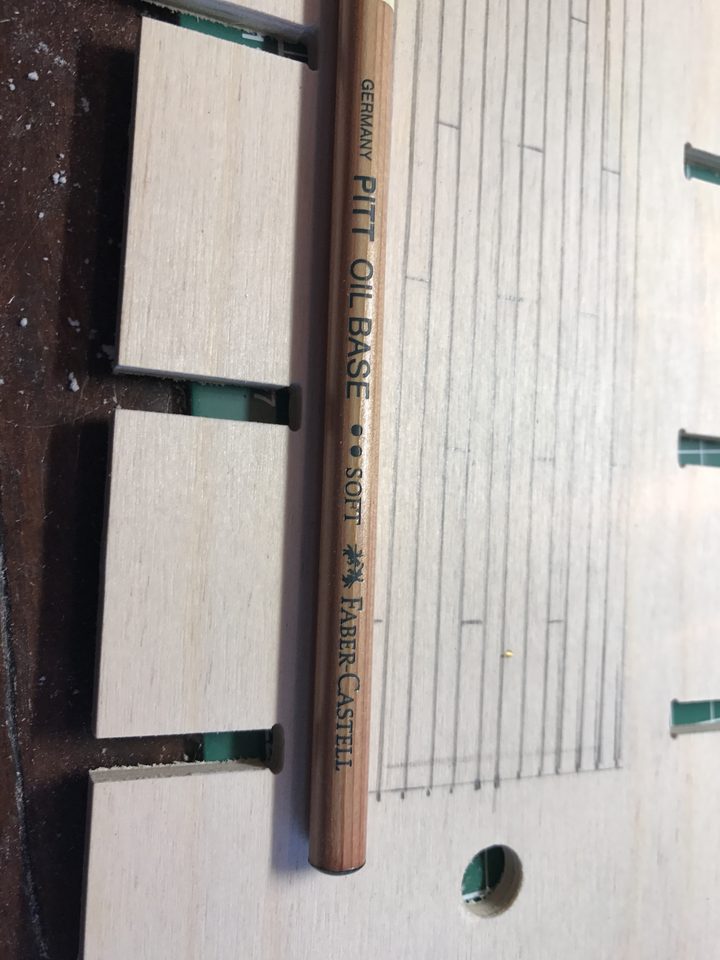
The Pitt oil base pencil used to blacken the sides, next to the trial pattern on the false deck. Tip from *Hans*: When you blacken the side edges with a pencil, the side is black over its full thickness. You can then sand right down and the caulking seam still remains visible as a black line.
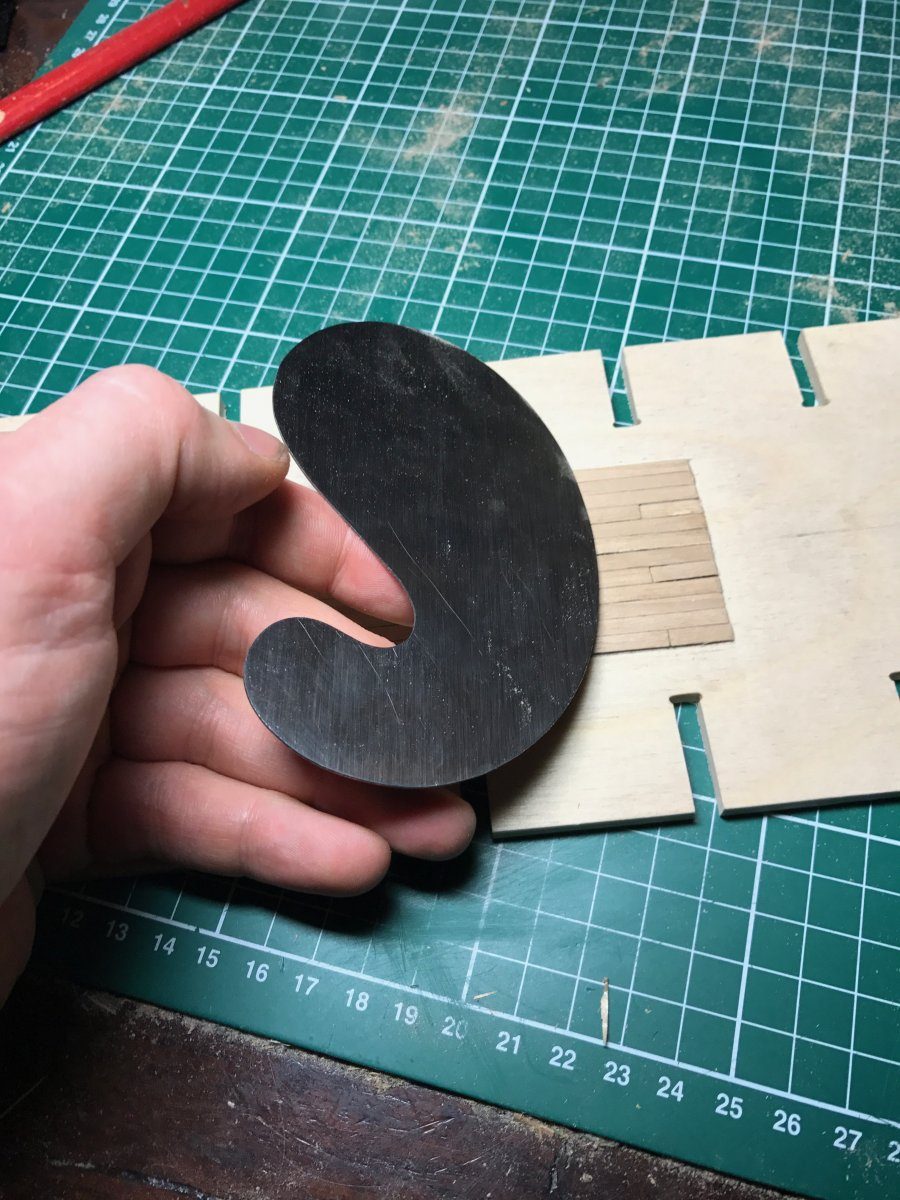
After gluing, smooth the deck with sandpaper. A rasp or scraper seems to spare the caulking seam, but leaves scratches in the wood; and the caulking seam won't disappear anyway, because the sides are black over their full thickness. If you do scrape, go with the grain.
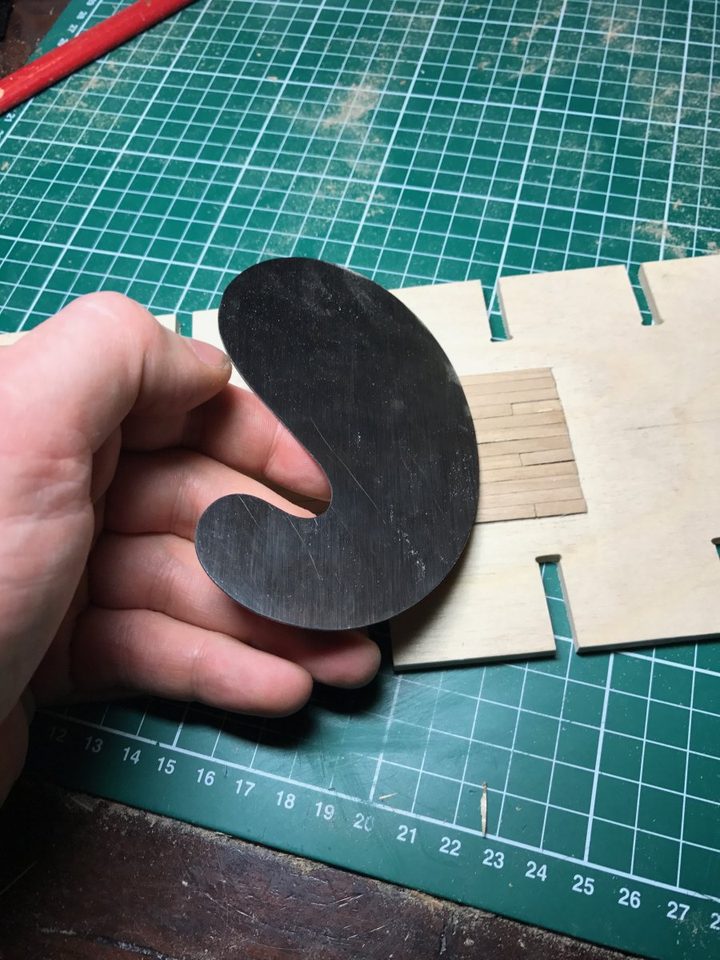
The rasp that scratched the trial deck. After this, sandpaper was used instead. Tip from Pingu57: I would expect the splintering to happen when you scrape against the grain.
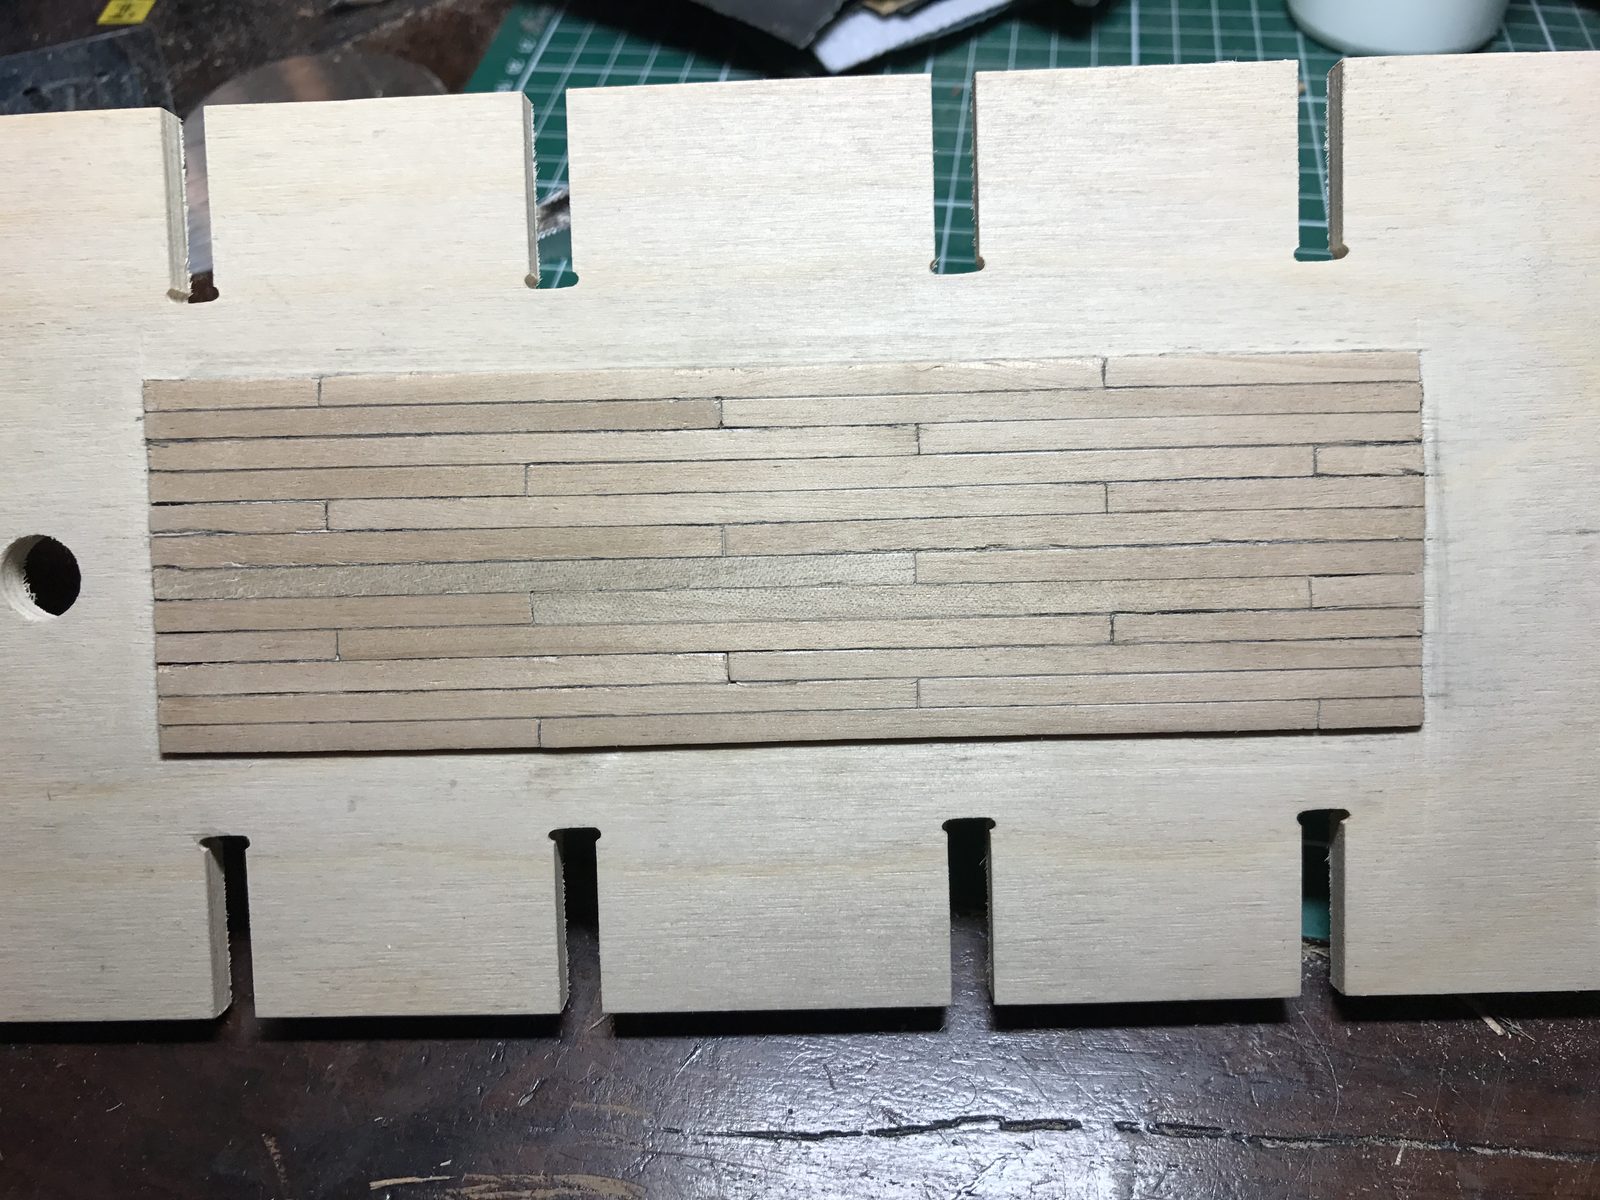
Watch out: The trial deck also ended up askew. So when laying, watch the alignment too, not just the strips.
Result
After pre-sanding the strips looked crisp and the difference with the first trial was large. We have pre-sanded every batch of deck strips since, even though it costs an evening per batch.
Problems met with this technique
The 1x4 mm tanganyika strips splinter when the caulking seam is applied; some strips are rougher or narrower, and the rasp leaves scratches in the deck. Sort the strips beforehand, lightly chamfer (break) the edges, blacken the edge over its full thickness and pre-sand the strips with 320 grit. (Tips from Pingu57, *Hans*, pietsan) to the register
In the same series: Decks
- Pre-sanding deck strips with 320 grit
- Making the margin plank and joggling the deck planks
- Deck planking with caulking seam and four-butt shift
- Deck planking plank by plank
- Planking the upper deck off the ship with thread as caulking seam
All how-tos · Deck planking: margin plank, joggling and caulking seams