Painting gold-coloured carvings
Paint white metal carvings in antique gold over a yellow base coat, so the gold covers and looks fuller, then age them with a wash and drybrushing.
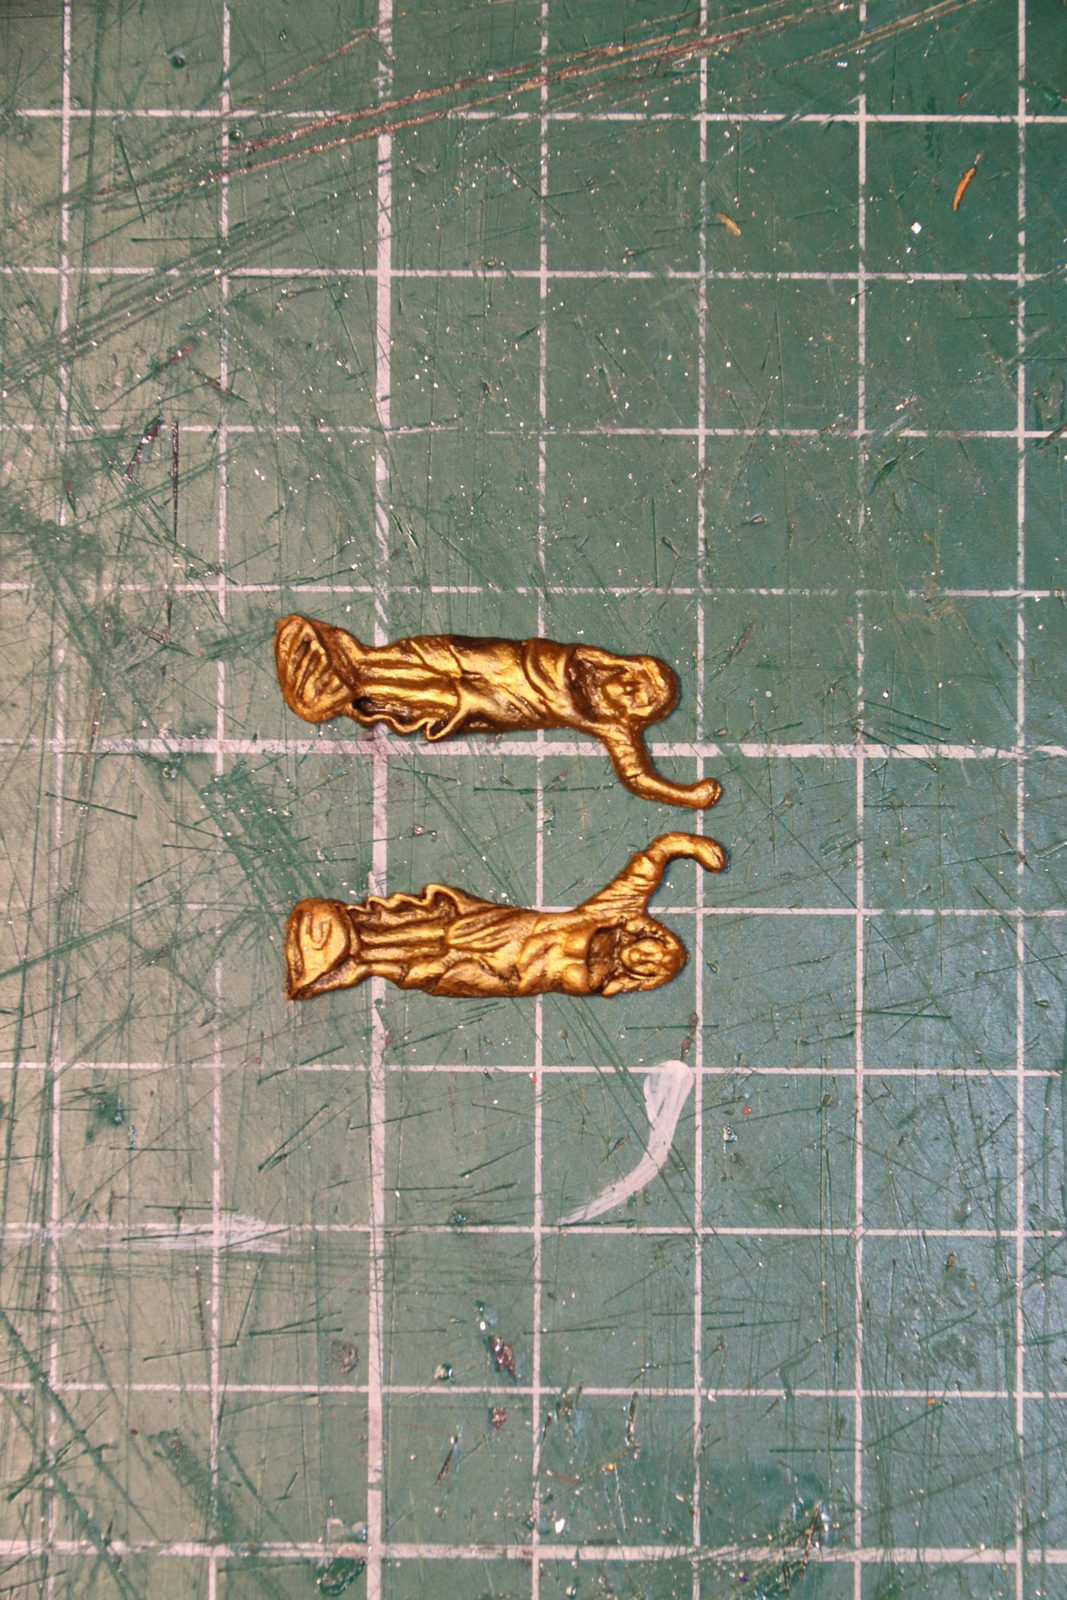
What you need
- fine brushes
- old toothbrush or small brush for scrubbing
- block with a piece of tape to hold the carving while painting
- board with a hole as a holder for the paint pot
- yellow ochre (Admiralty Paints)
- antique gold
- wash
- primer (optional, thin)
Dimensions
- two to three thin coats per colour, not covering in one go
- Time
- several evenings
- Difficulty
- moderate
- When in the build
- Phase 4,
- From the log post
- Surgery on a white metal lady · forum
Before you start
The carvings are loose or already repaired (see the guide on the white metal figure). Keep pietsan's photo to hand for the colours. Bear in mind that colours come across badly in a photo taken in poor light, so judge in daylight or at least in good light.
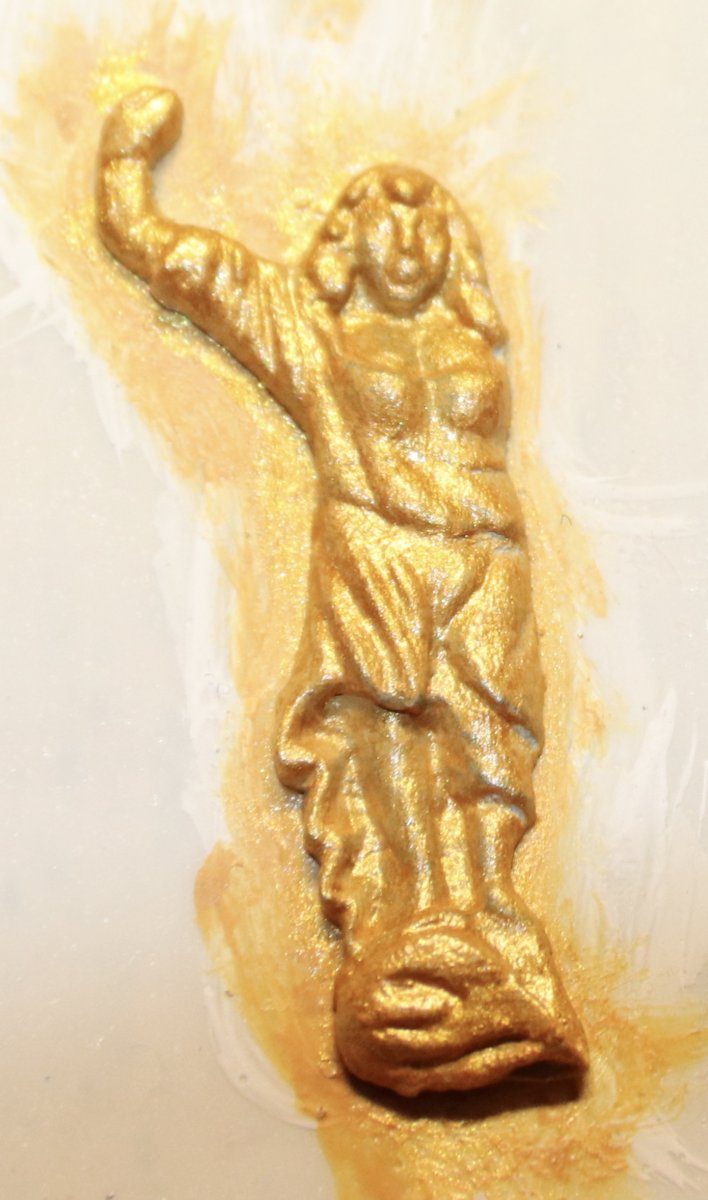
If you paint antique gold straight onto the white metal, take a photo. To the naked eye nothing was wrong, but in the photo the paint on the large carving turned out not to be covering. You only see that from a certain viewing angle.
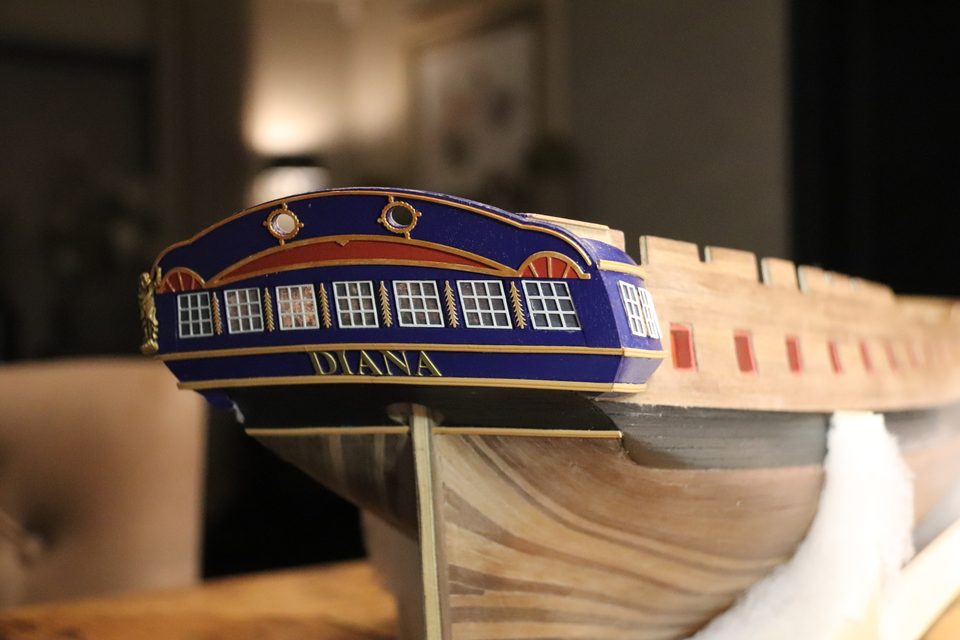
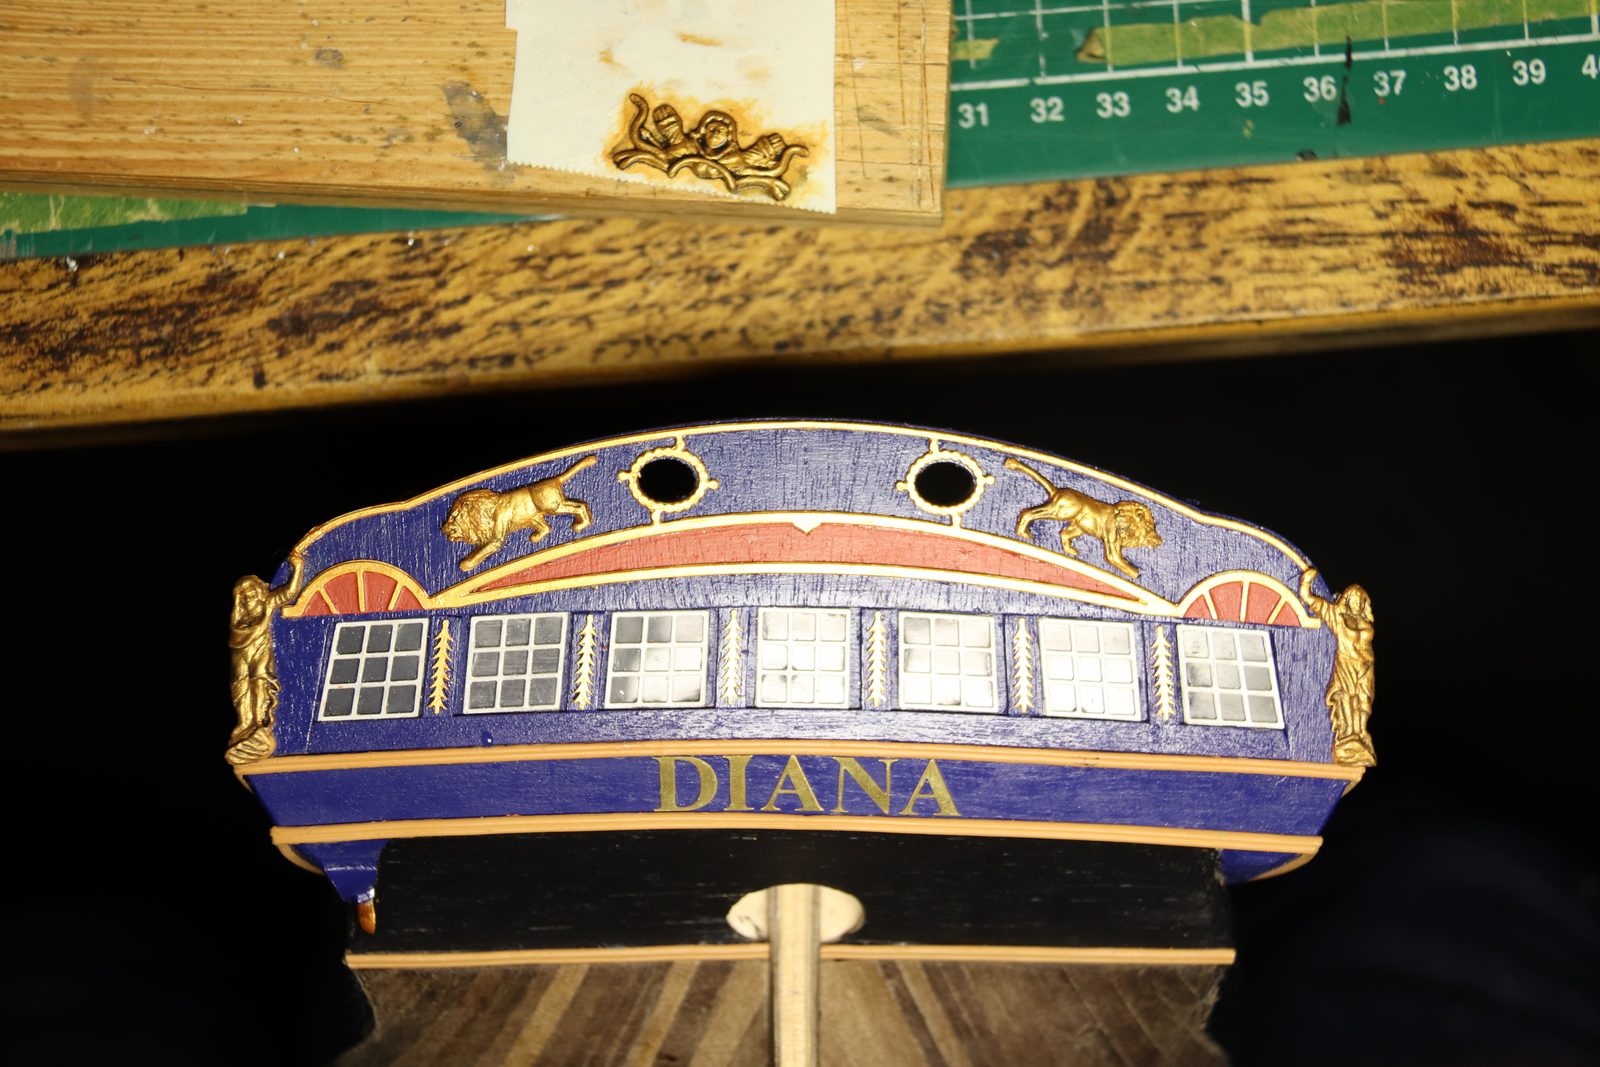
The state of the transom: in the photo it shows that the antique gold on the large carving does not quite cover. Tip from Pingu57: Poor coverage of the gold colour is only visible from a certain viewing angle. A coat of yellow paint under the gold makes the colour fuller and then it does not show.
Watch out: I had read that somewhere before, but of course did not think of it at the crucial moment.
Scrub the carving thoroughly clean, even if it already has paint on it; a failed first coat comes off easily. Start on bare, clean white metal.
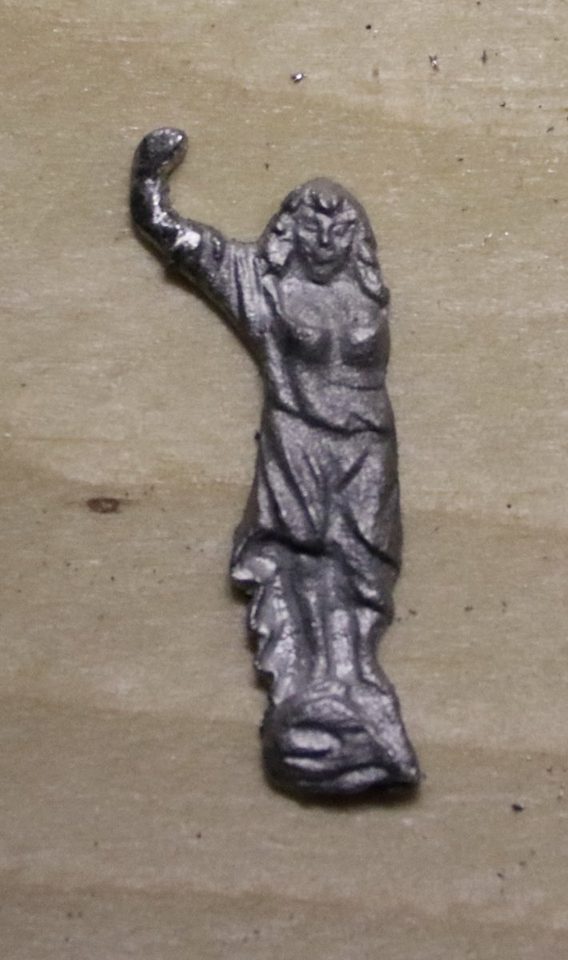
Bare white metal: this is how clean the carving needs to be before the first coat goes on. Tip from pietsan: The metal carvings and mouldings are best given one thin coat of primer first.
Apply a few very thin coats of yellow ochre as a base. Do not try to cover in one go; two to three thin coats give the best effect. Let each coat dry.
two to three thin coats
Tip from pietsan: If you use the yellow ochre from Admiralty Paints, two to three thin coats give the best effect. Do not try to get it covering in one go.
Watch out: Without primer and in thick coats the yellow ochre on the moulding looked distinctly orange. I am a little colour-blind myself, so have someone check.
Then apply a few thin coats of antique gold over the yellow base. Hold the carving on a block with a piece of tape, so you can turn it without touching the wet paint.
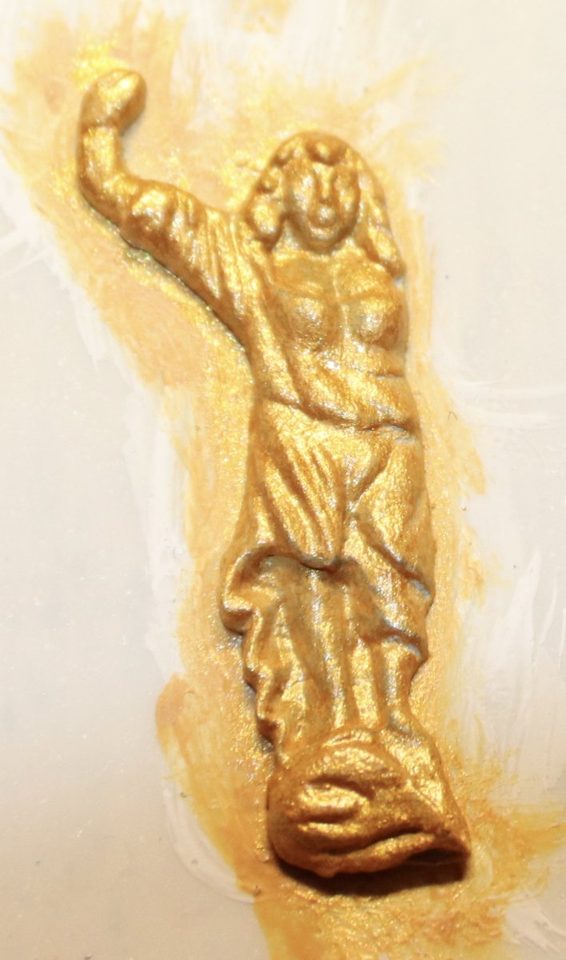
The figure in antique gold, still without wash: the bling version. 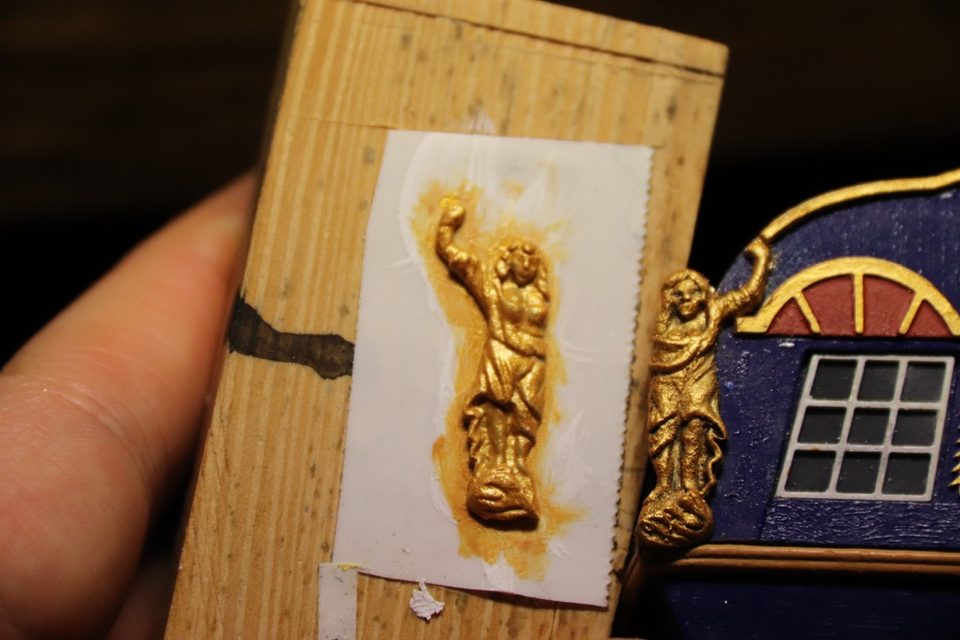
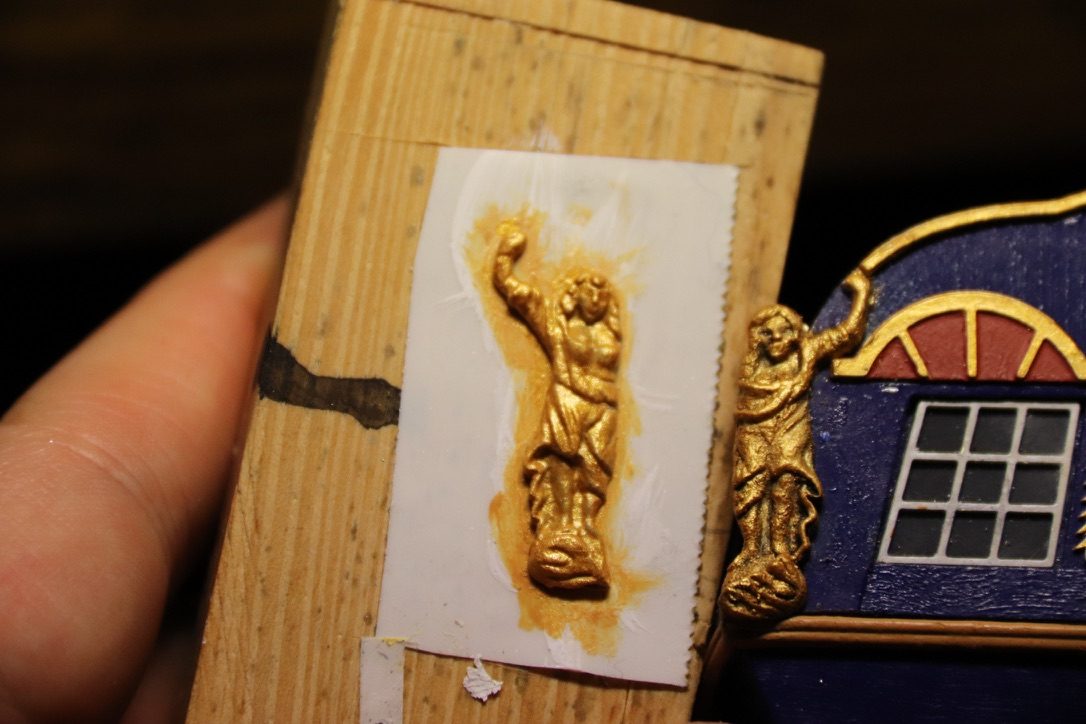
The figure on a piece of tape on a block, next to the transom to compare the colour. Watch out: Too much bling did not appeal to me; hence the next step. One thin coat of gold is enough anyway; a second full coat of metallic clogs the relief. And for anyone who finds the kit's ochre too orange: historically the kit is closer to the truth. According to Boudriot (translated by ward on the forum) all carving meant to represent gold was Naples yellow, and gold on models is 'flattering but not realistic' (modelbouwforum, 'Kleurstellingen en bladgoud in de geschiedenis', 4 October 2014, forum post). We chose gold anyway, because then the whole hangs together.
Apply a subtle wash so that the recesses of the carving become darker. Keep it subtle: a wash quickly becomes too heavy, and you can always add another coat.
Tip from Pingu57: You could perhaps give the left one an extra wash.
Take an almost dry brush with a little antique gold and stroke lightly over the high points, so that only the edges light up again. That gives depth without losing the shine entirely.
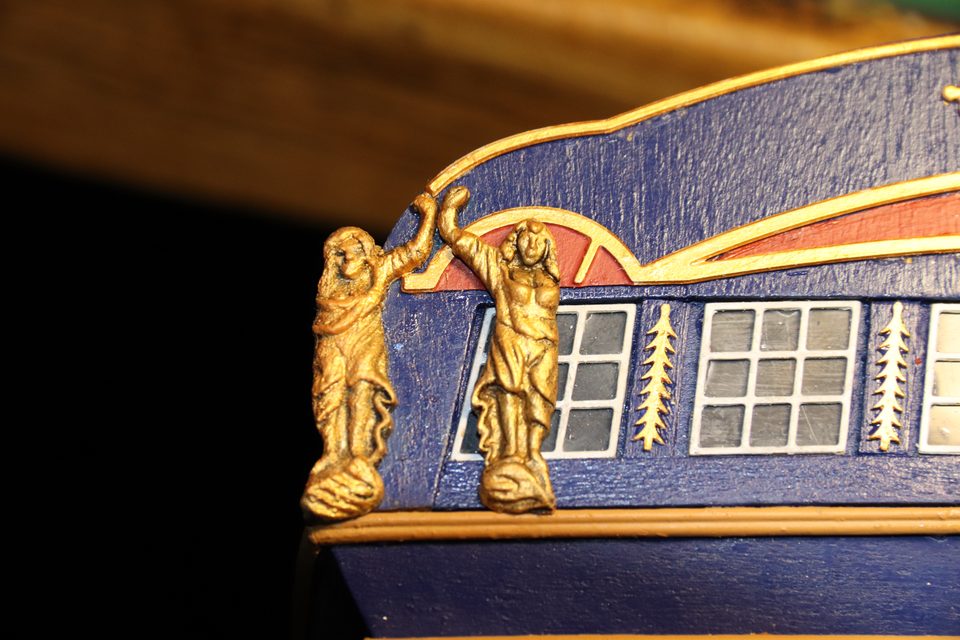
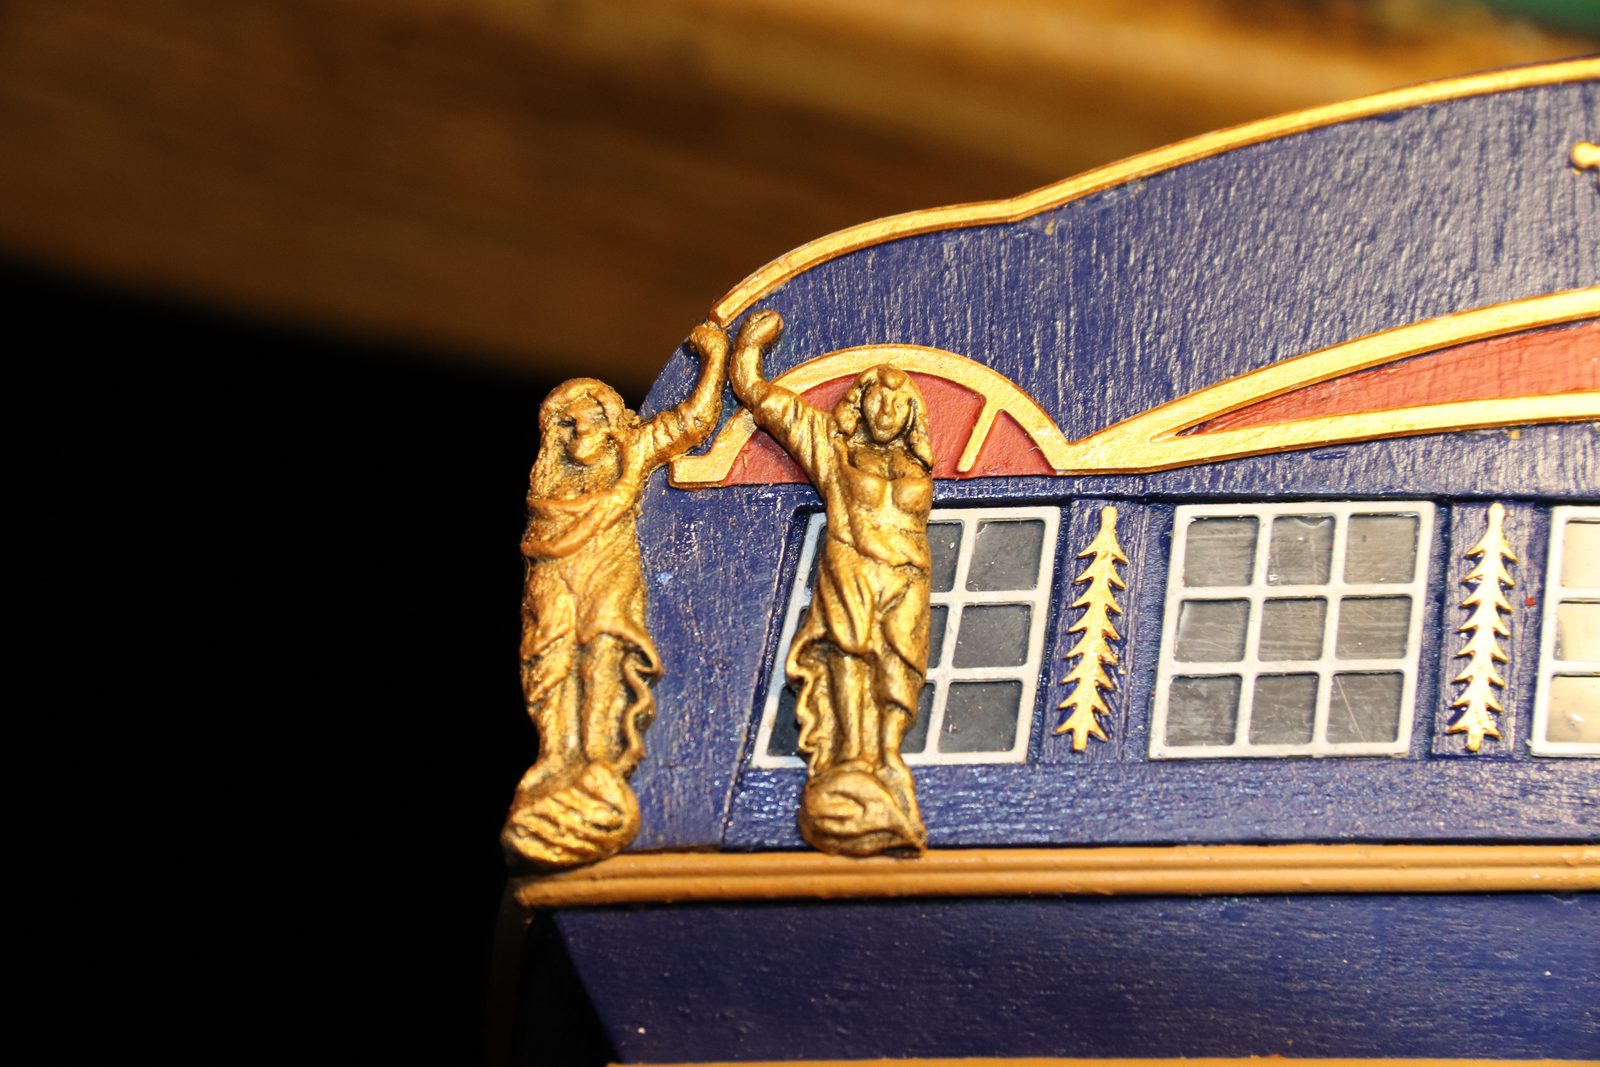
After wash and drybrushing: dark folds, gold on the high points. Put the carvings side by side and compare in good light. If a piece does not please you, scrub it clean and start again; that is perfectly possible. We did that with the left-hand figure, and afterwards both matched.
Tip from pietsan: Tape the ornament against the stern and carefully trace its outline with a hobby knife; pencil does not show on the blue. Then mask, sand lightly with 400 grit and paint the area underneath red before the ornament goes on. (modelbouwforum, 12 June 2015)
Watch out: In a photo taken in poor light the colours come across very badly, especially the gold. In reality it is fortunately much nicer.
Put the carving back only when the paint has fully hardened, and not with thin CA: it blooms white on paint. Use Pattex extreme repair or UHU hart on a cocktail stick, press down with a cotton bud and dab away any surplus glue at once. And make sure the ground (the red and the blue) is already painted, because afterwards you cannot get in between carvings and scrolls.
Tip from Jan Veraart and pietsan: Thin CA on painted parts gives a white bloom (Jan Veraart, glue topic, November 2014). Piet glues painted parts and carvings with Pattex extreme repair: it does not react with paint, stays adjustable for ten minutes, but dries more slowly (in my own thread, 16 December 2018).
Watch out: On the gunlocks on the barrels the drop of CA or UHU hart is still in plain view. On a gilded carving you would not forgive yourself for that.
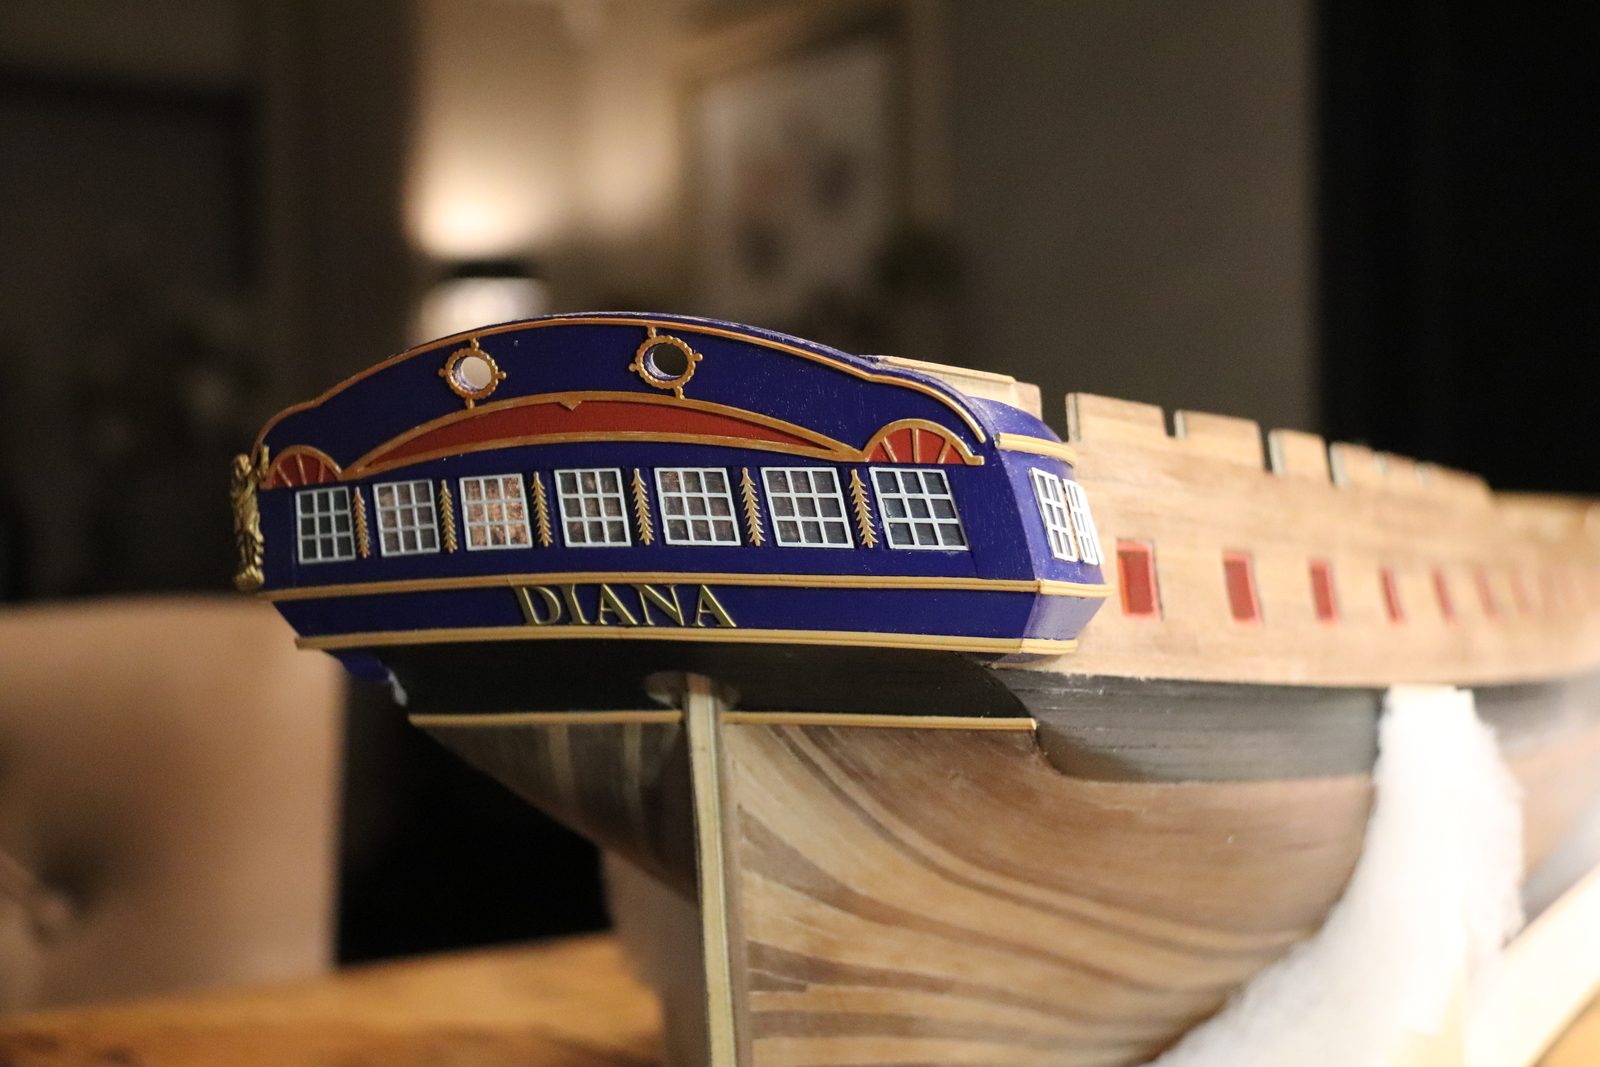
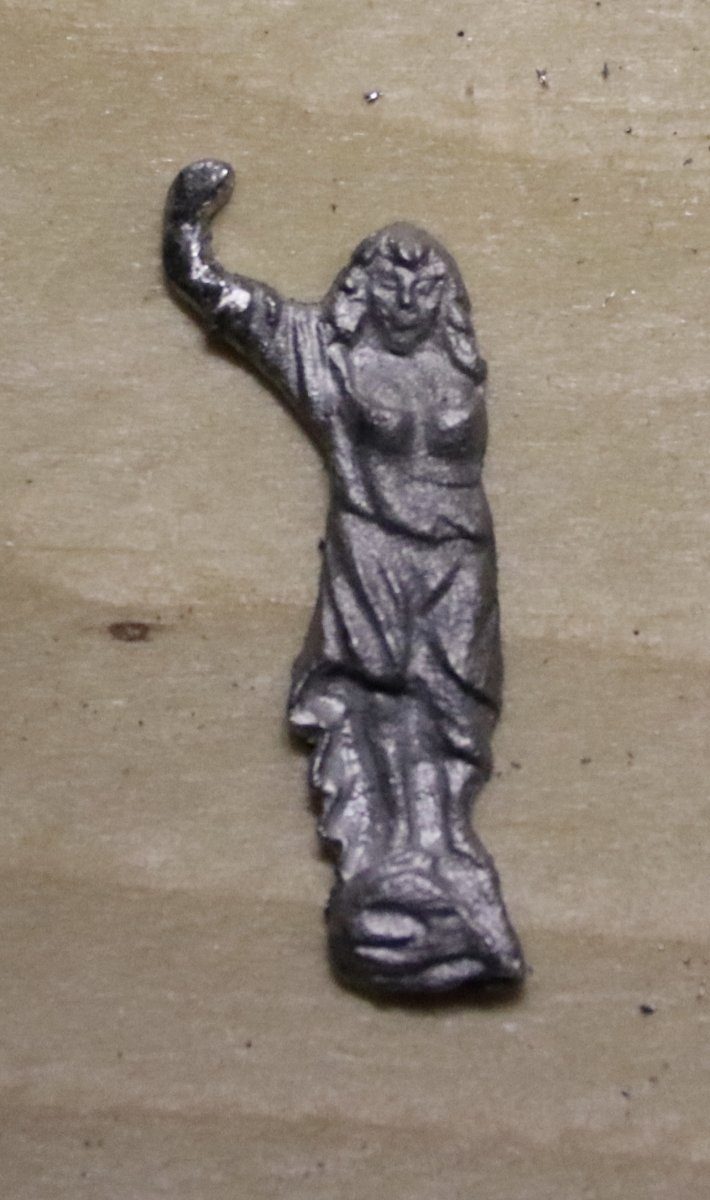
Result
With the yellow base coat the antique gold covers and looks fuller; the wash and drybrushing take the bling off. Later the yellow mouldings were also made gold, so that mouldings and carvings form a whole.
Problems met with this technique
In the photo the antique gold on the large carving turns out not to cover. A yellow ochre base coat under the gold makes it fuller. (Tips from Pingu57) to the register
The yellow ochre of the moulding looks distinctly orange. Thin coats (two to three), metal primed thinly first; later all mouldings were made gold. (Tips from pietsan) to the register
In the same series: Stern and ornaments
- Five trials for the transom windows
- Fitting the quarter gallery windows with a small frame as a jig
- Repairing a white metal figure with solder
- Painting gold-coloured carvings
- Applying the red line in the profile of the mouldings
- Mouldings at the right height first, channels after
- Bending a one-piece moulding round the bow
- Making the stern port lids with a template