Milling gun carriages for the 9-pounders on the cross-slide table
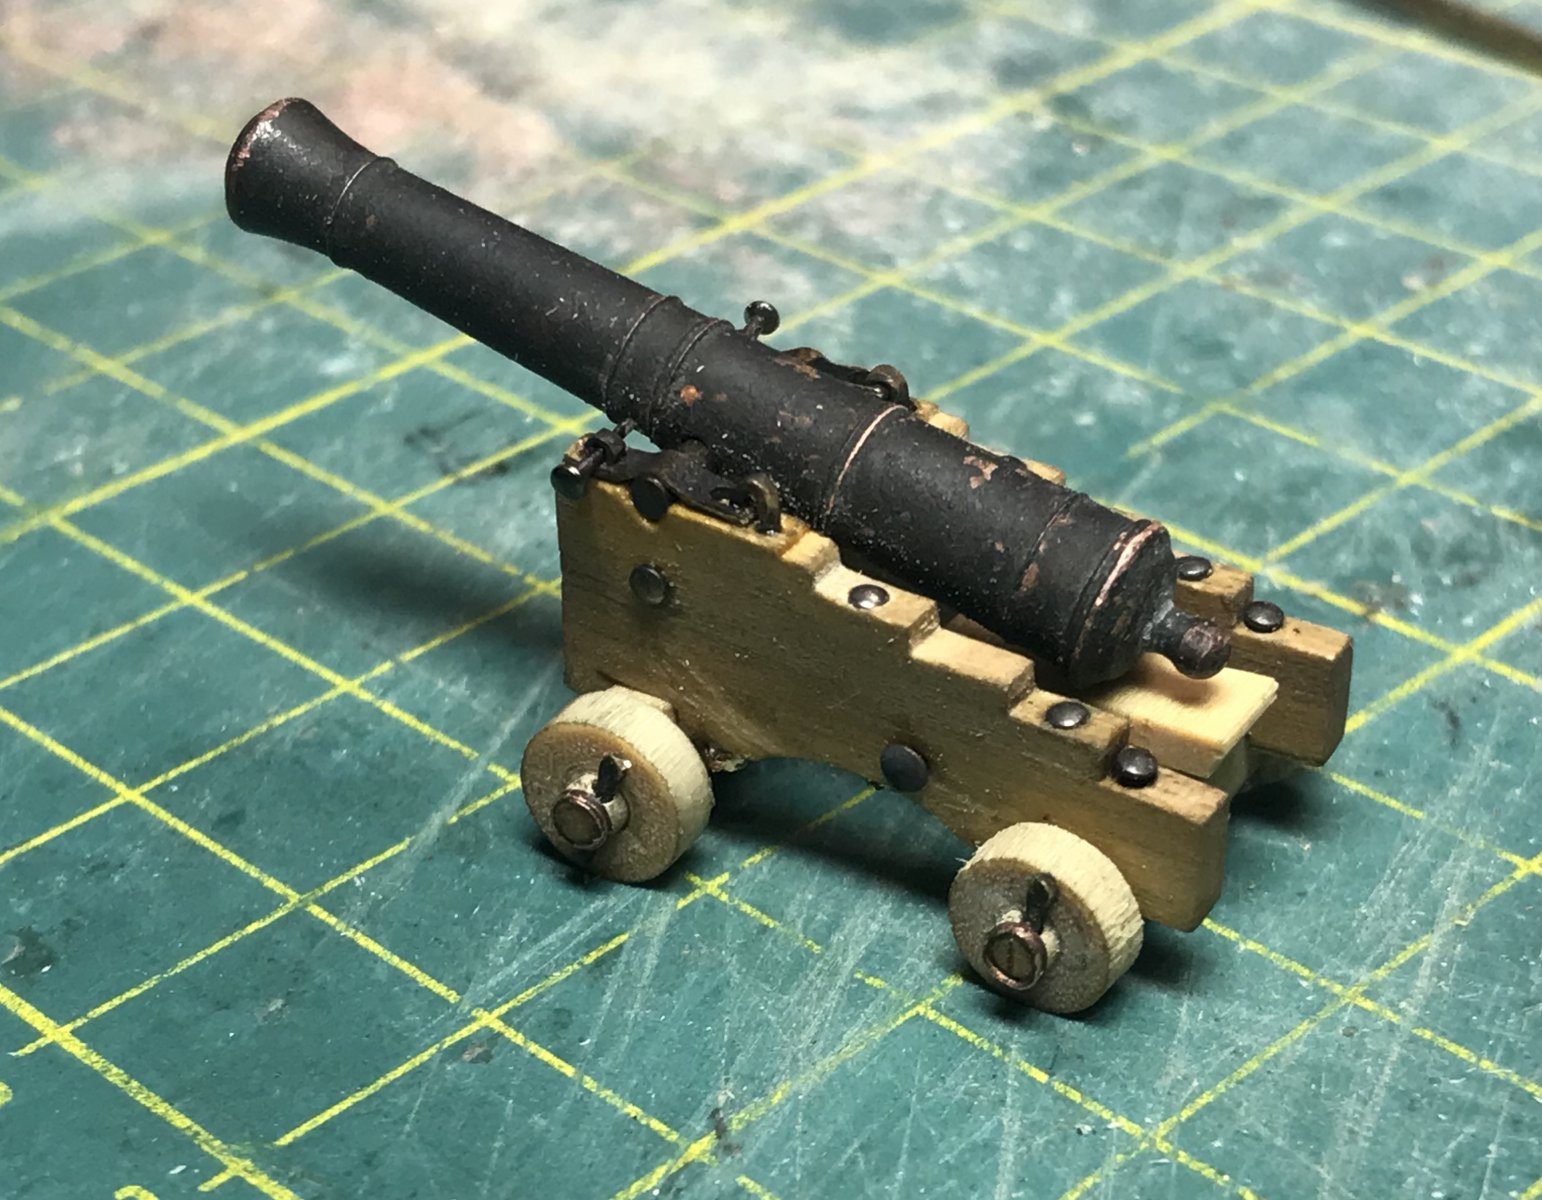
Mill the cheeks of scratch-built gun carriages as a stepped profile from a block of Castello boxwood, saw them into 2 mm strips and assemble them with axletrees and pins after Anatomy of the Ship, replacing the veneered kit carriages.
What you need
- cross-slide table with clamp
- mill (pillar drill or milling motor)
- table saw
- 0.7 mm drill bit
- drill bit for the pin holes
- tweezers
- side cutters
- small blocks of Castello boxwood (boxwood substitute)
- 0.5 mm brass wire or pins for the pins
- thin brass wire for the small rings
- 1.5 mm brass rod (alternative for the rings)
Dimensions
- strips 2 mm thick, two per cheek
- pins 0.5 mm
- rings about 0.65 mm in diameter
- front axletree higher than the rear axletree
- about two hours per gun carriage
- Time
- several evenings
- Difficulty
- hard
- When in the build
- Phase 11,
- From the log post
- On to the gun carriages · forum
Before you start
Take the gun carriage drawing from Anatomy of the Ship for your measurements, because the veneered walnut kit carriages are not crisp enough to copy. Make sure you have a cross-slide table under the mill; without it you will not get the steps parallel. Allow for a failed first attempt to learn the depth of the steps.
Saw a block from a Castello boxwood bar to the height and length of the cheek, with some spare in the width. Castello is sold as a boxwood substitute and works just as finely. Several cheeks will come from one block, so make it wide enough.
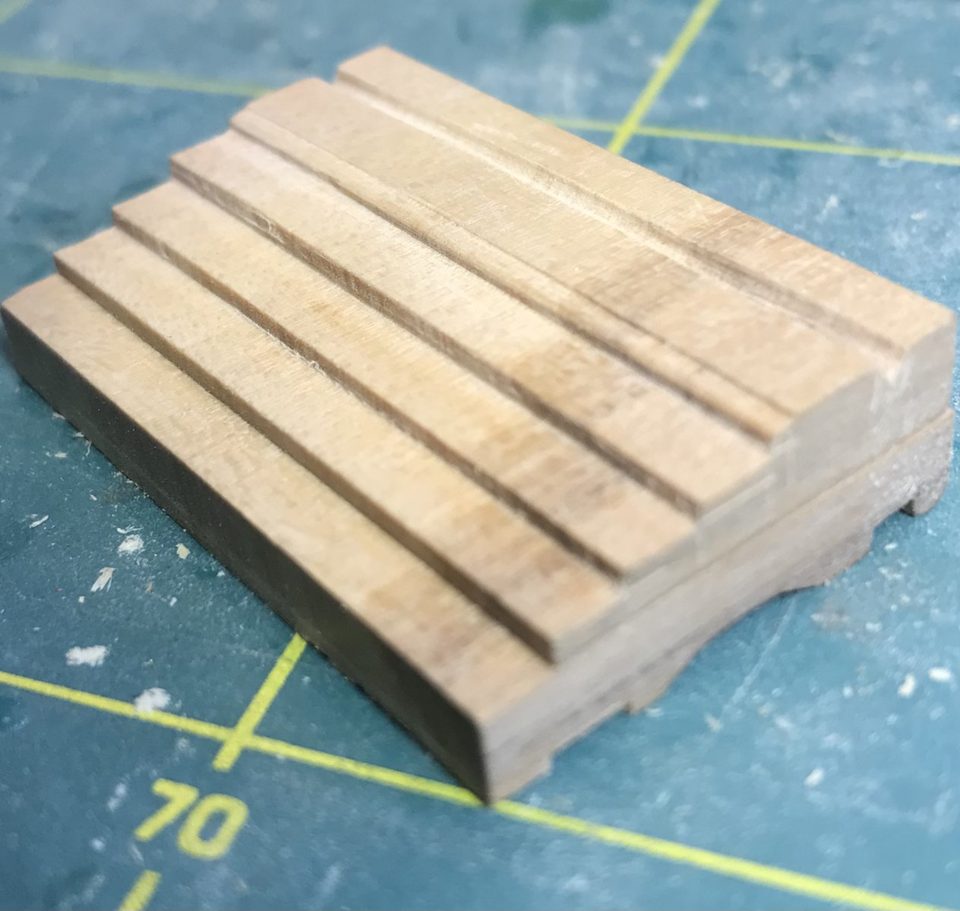
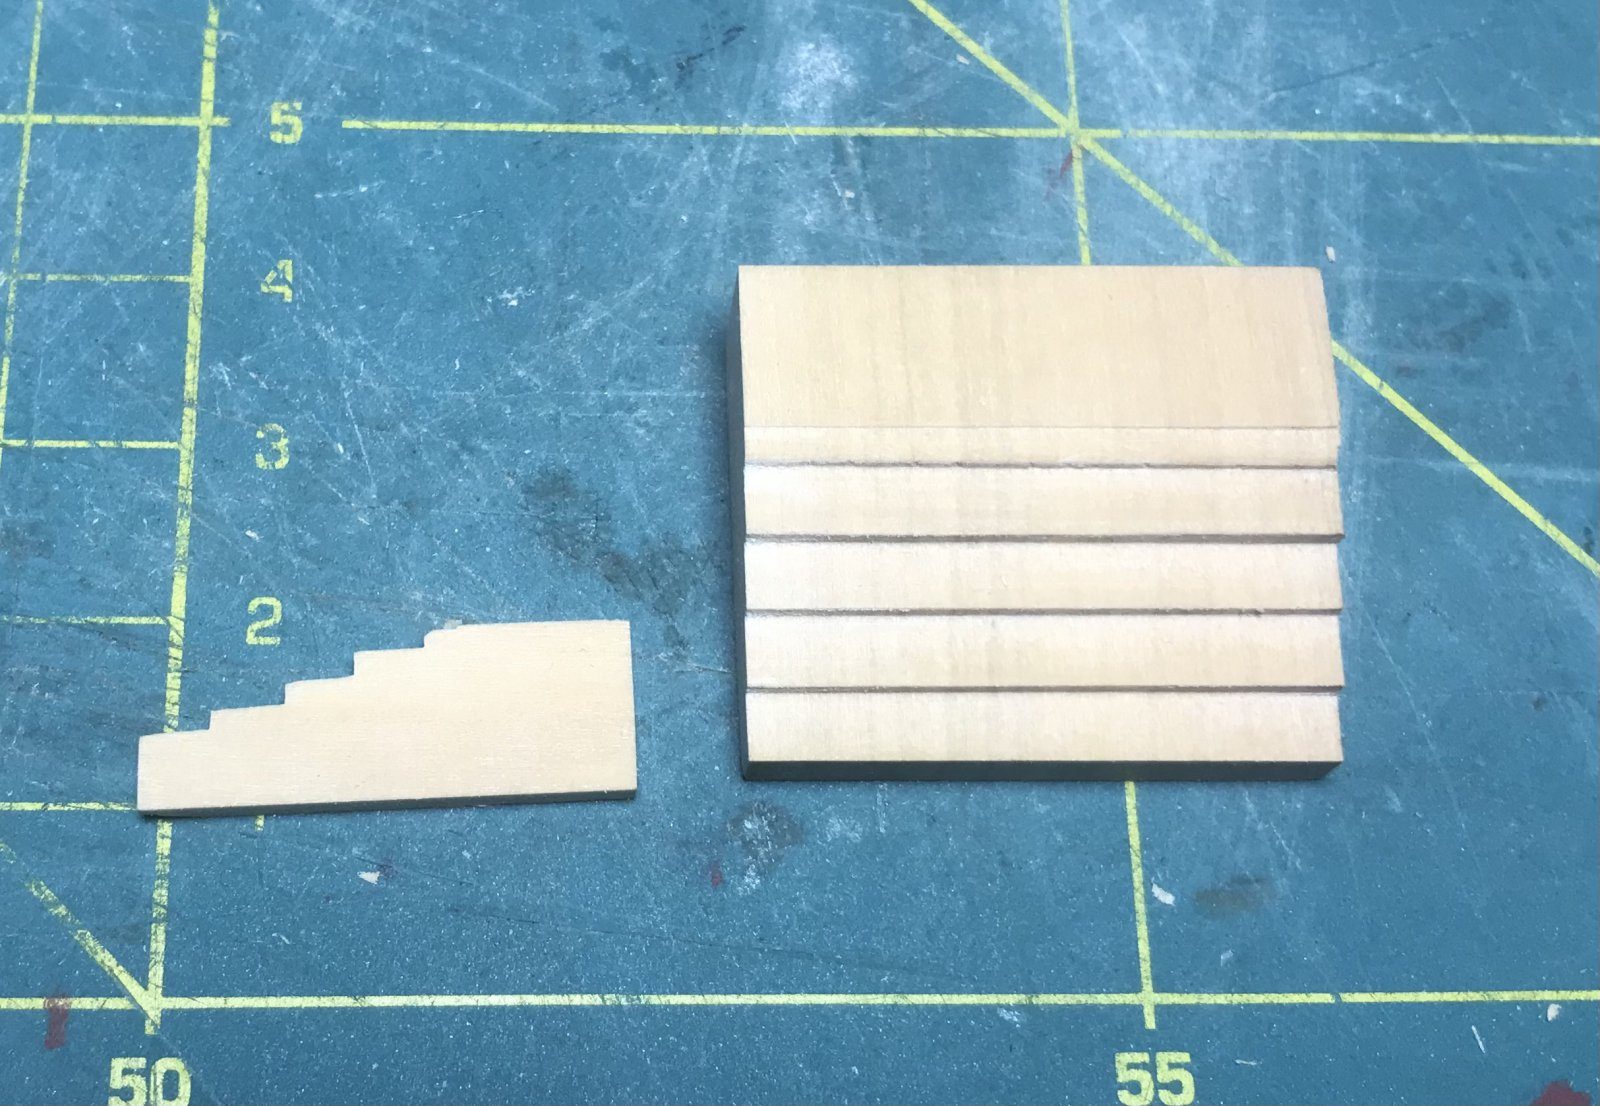
The second Castello block, sawn with the right proportions and ready to be cut into strips. Watch out: The gun carriages in the kit are veneered walnut. That is just not crisp enough, hence scratch-building.
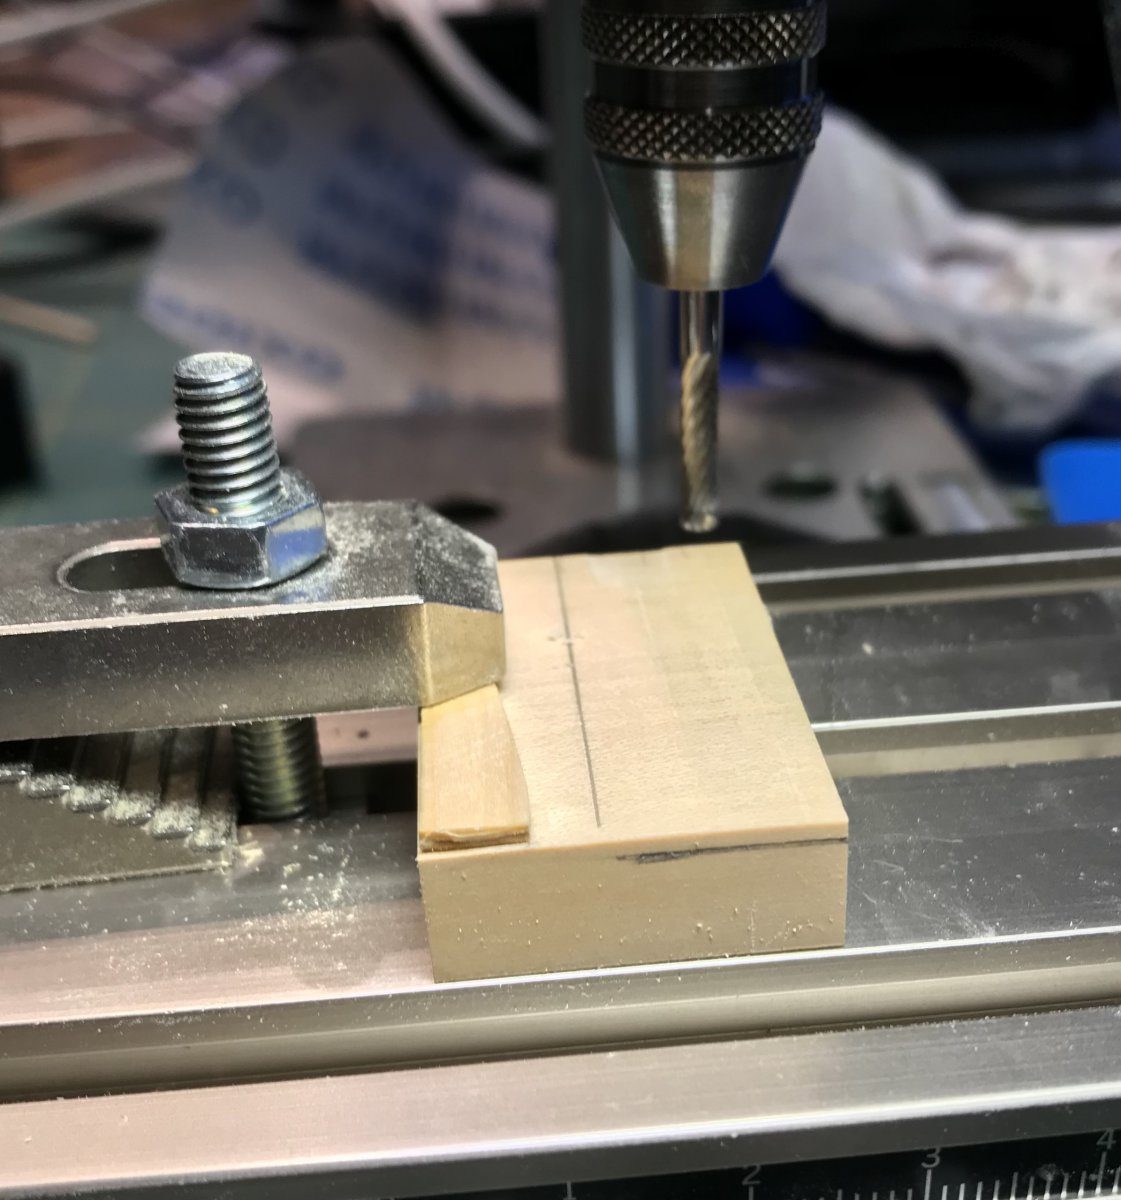
Clamp the block firmly with the clamp of the cross-slide table, with its long side parallel to the slide. Check that the block lies flat, otherwise the steps run askew. Fit the mill in the chuck and set the first depth.
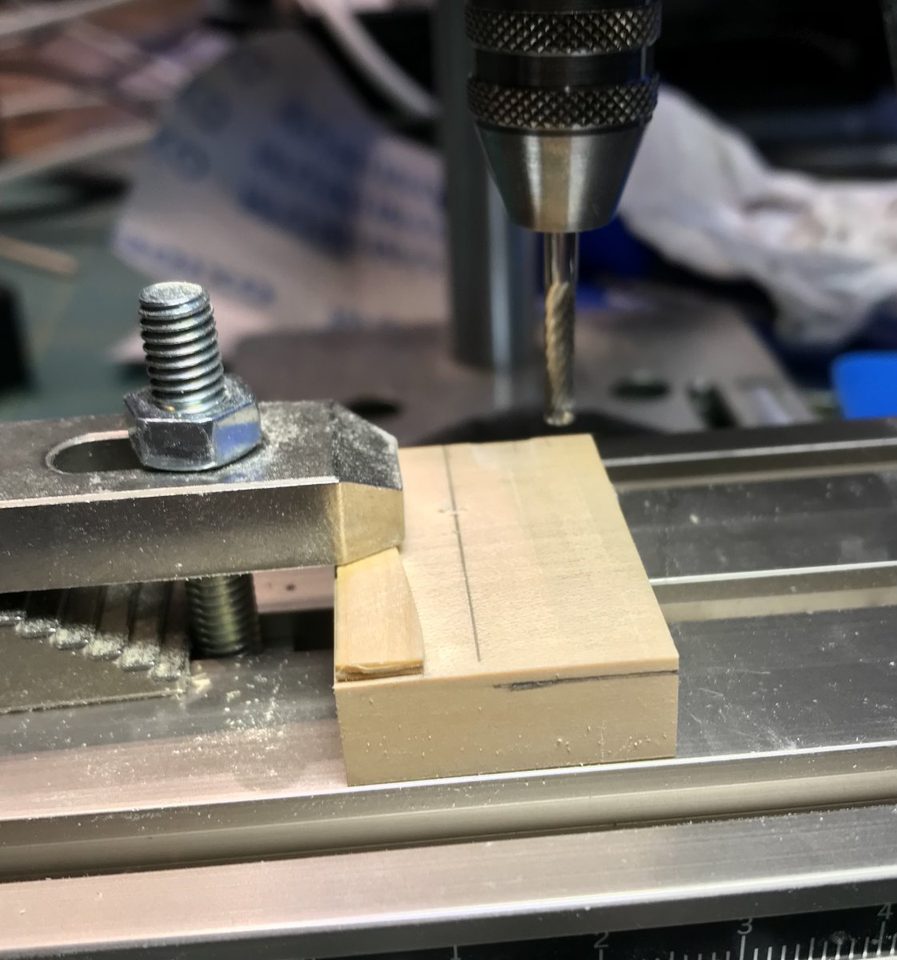
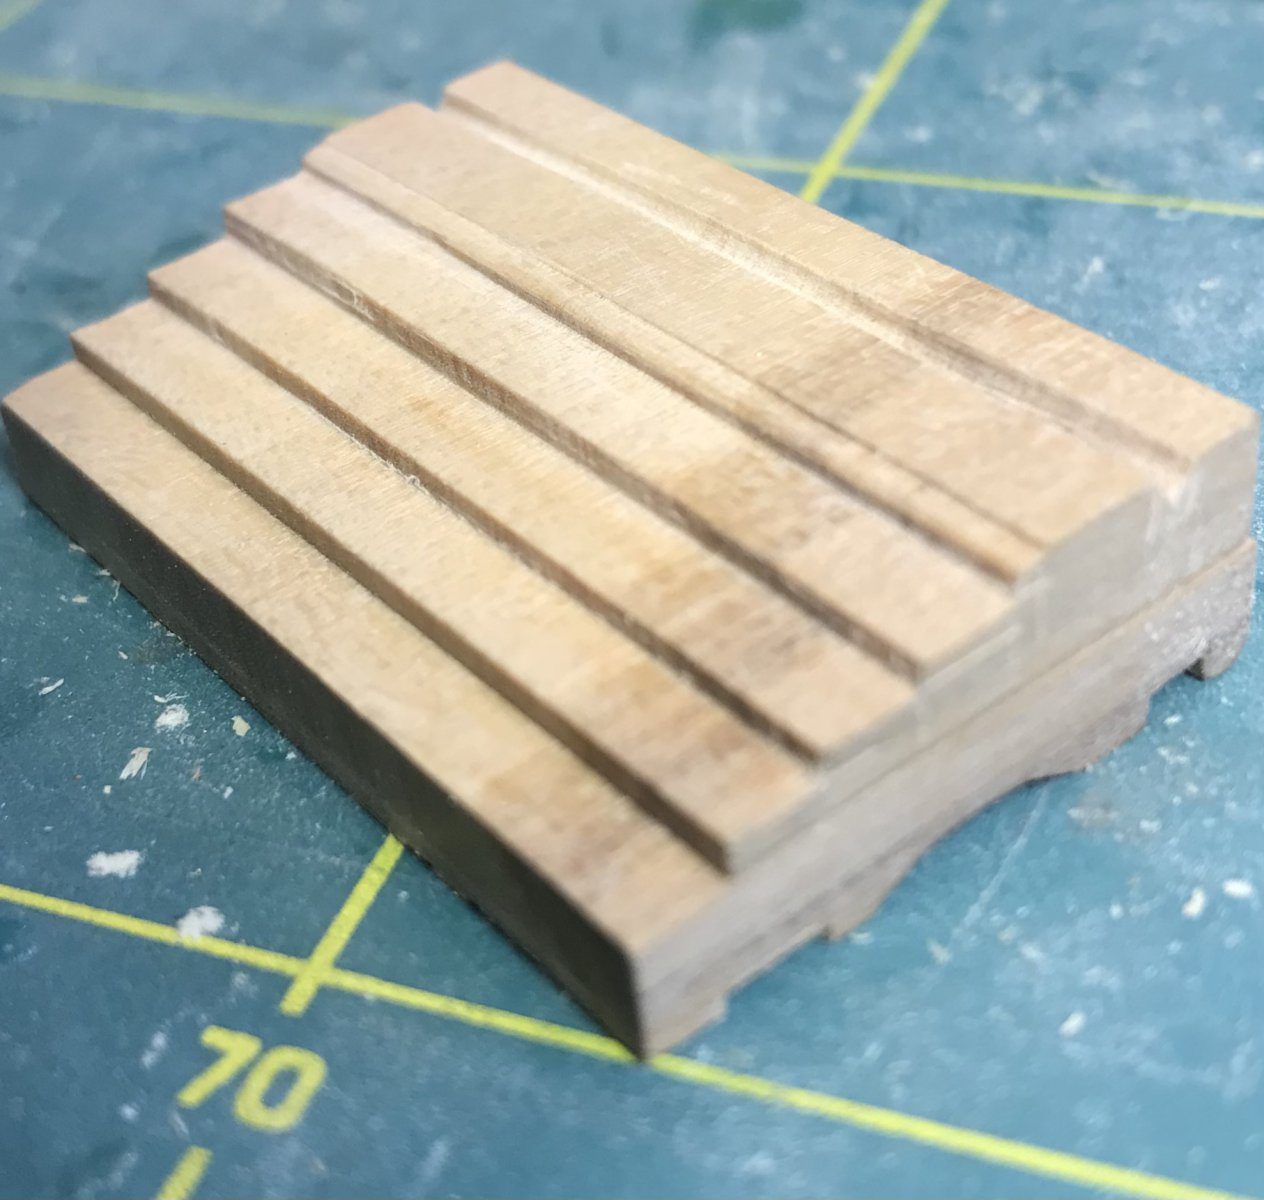
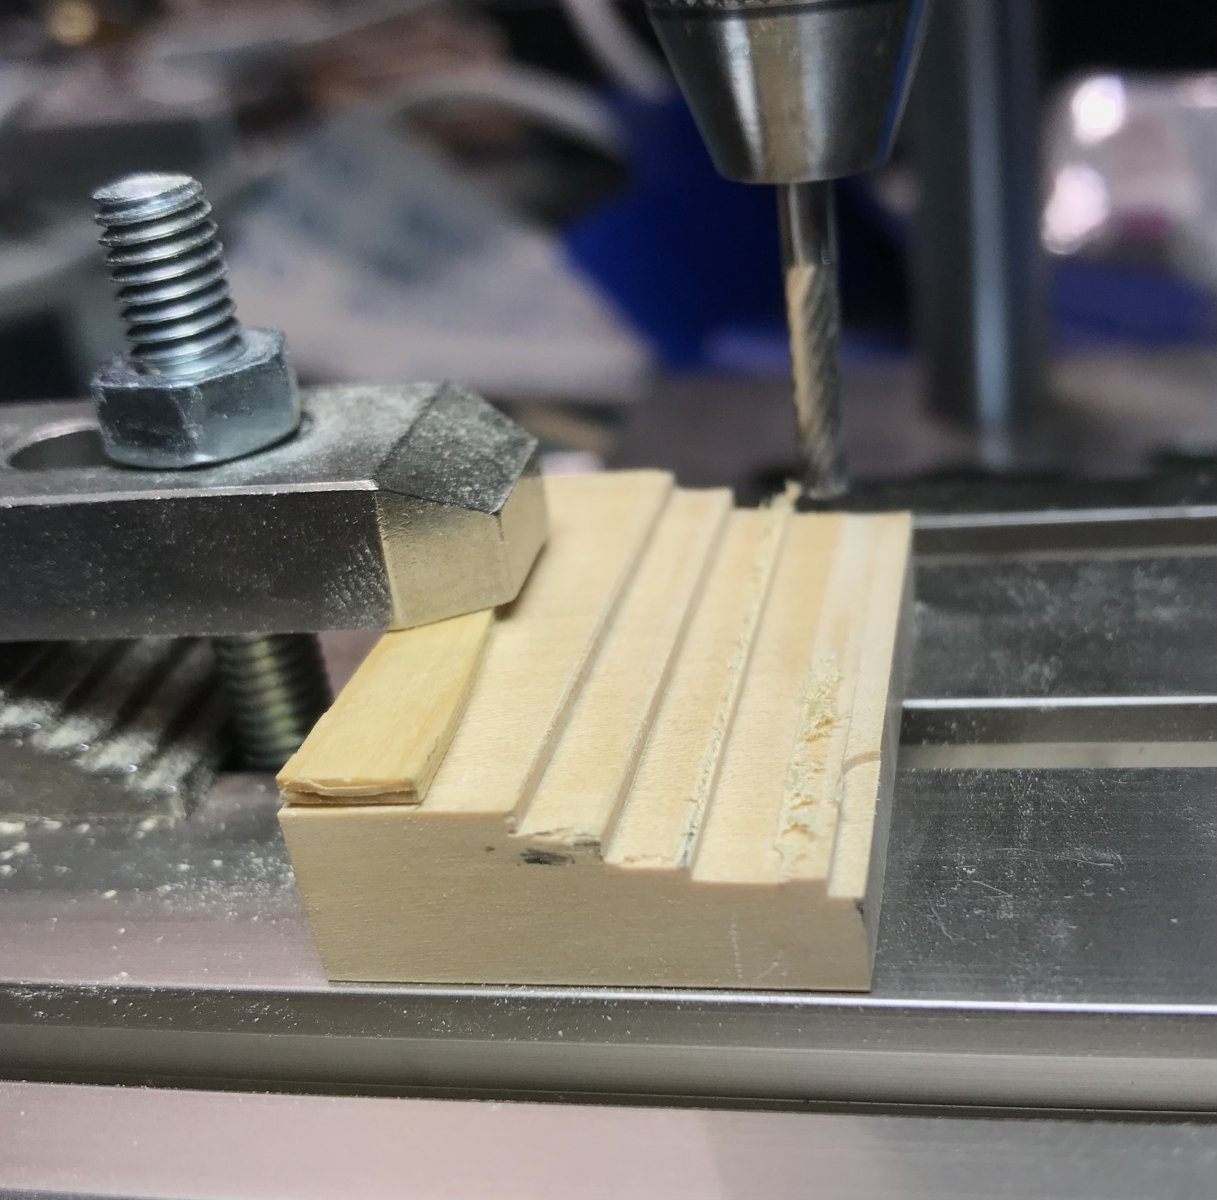
The Castello block clamped on the cross-slide table, the mill above it. Mill pass after pass across the block and increase the depth after each pass, so that a staircase emerges with the steps of the cheek. Check the depth of every step against the drawing, because the proportion between the steps determines how the carriage looks. Better one extra pass than too deep.
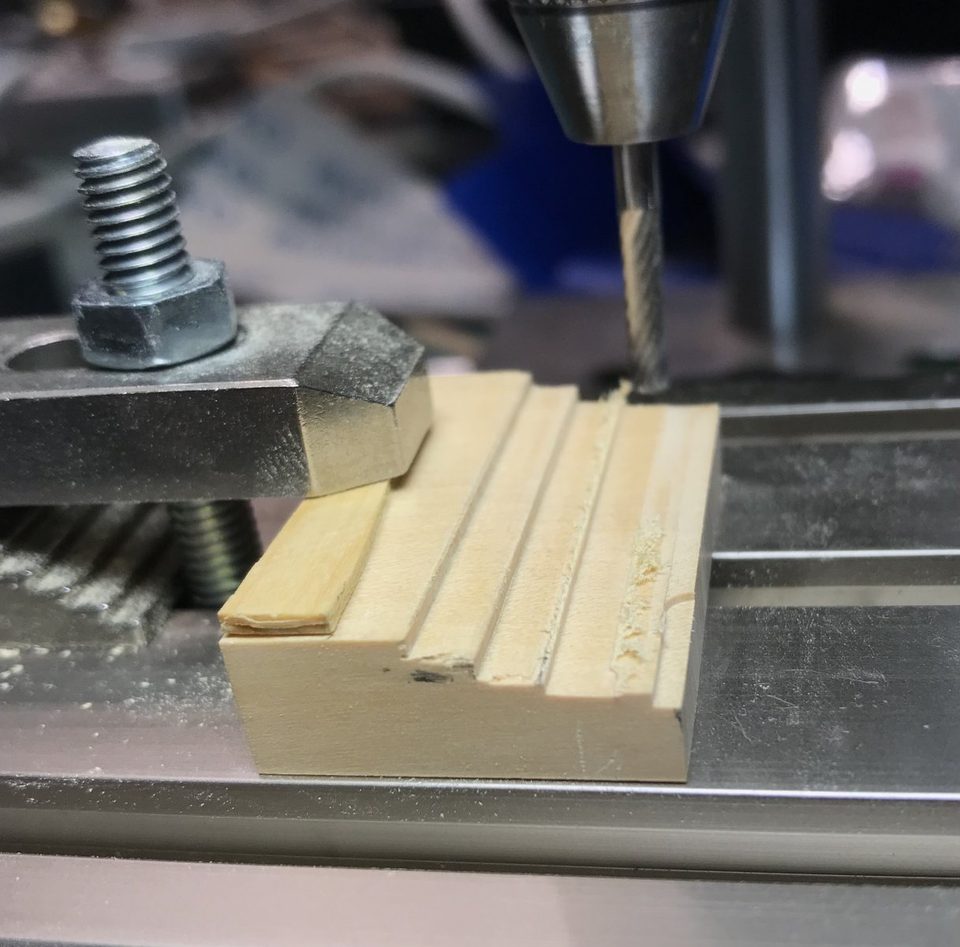
The last step in the making: the mill takes the top pass off the block. 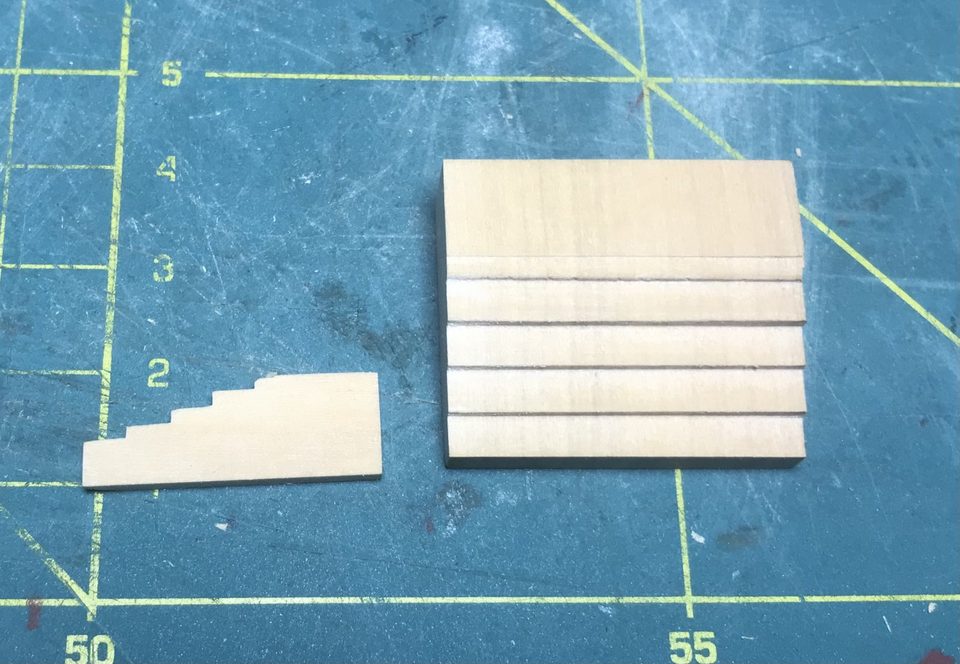
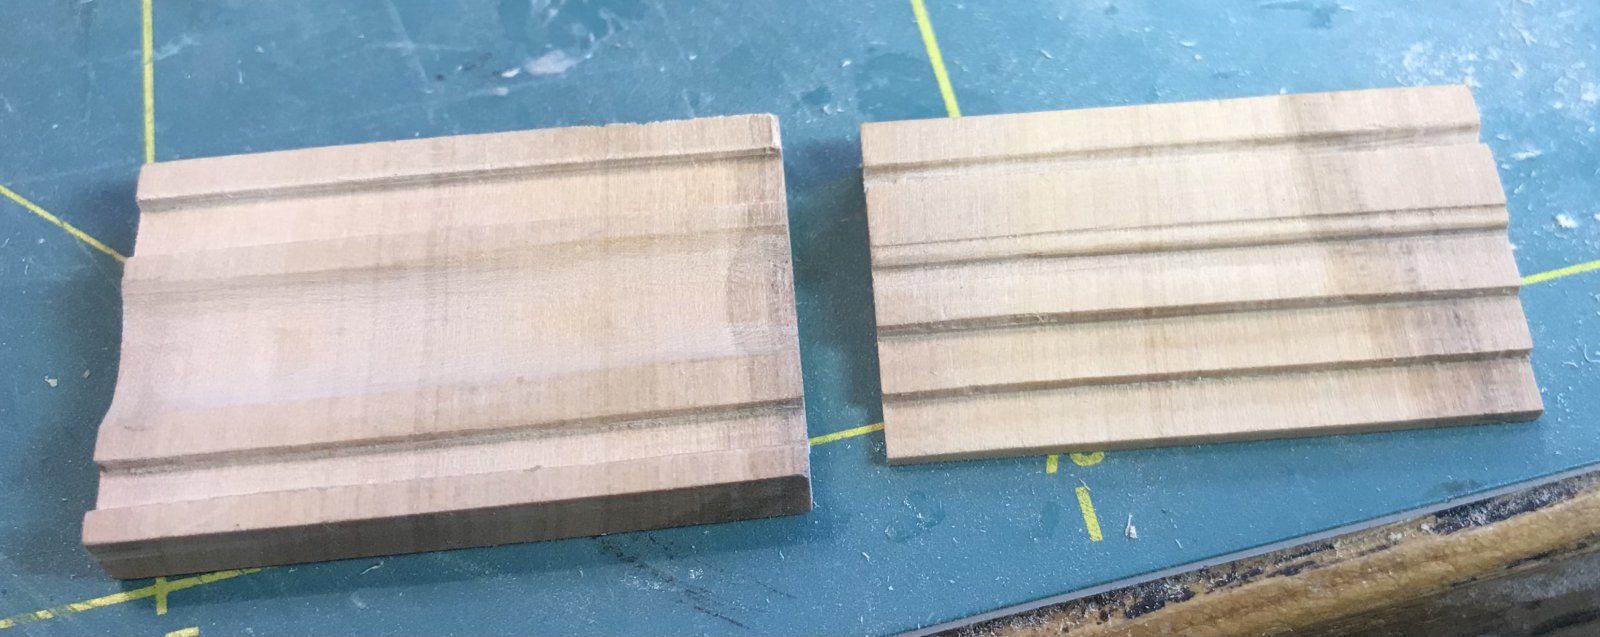
A first cheek beside the block: crisp lines, but the steps are too deep and the proportions are wrong. Watch out: On the first attempt the steps came out too deep, so the whole block had to be done again. The lines were exactly right, the proportions completely wrong.
On the table saw, cut strips 2 mm thick from the milled block one after another. Each cheek consists of two of these strips, so you need four per carriage. Lay them side by side after sawing and check that the steps sit at the same height.
2 mm thick
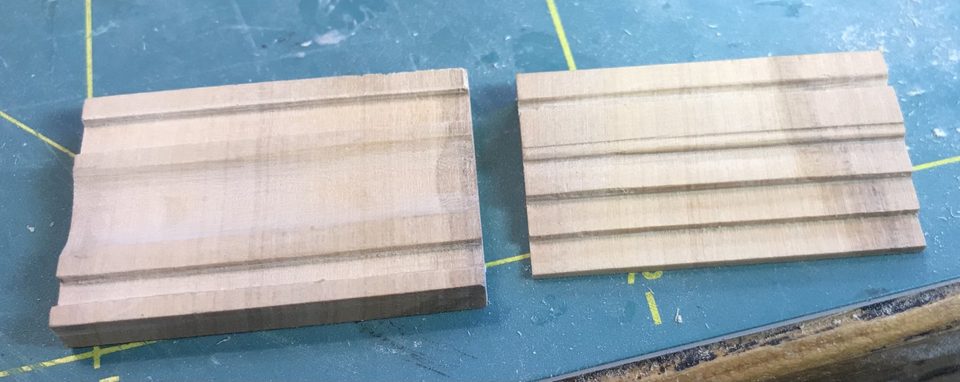
Two 2 mm strips that together form one cheek. 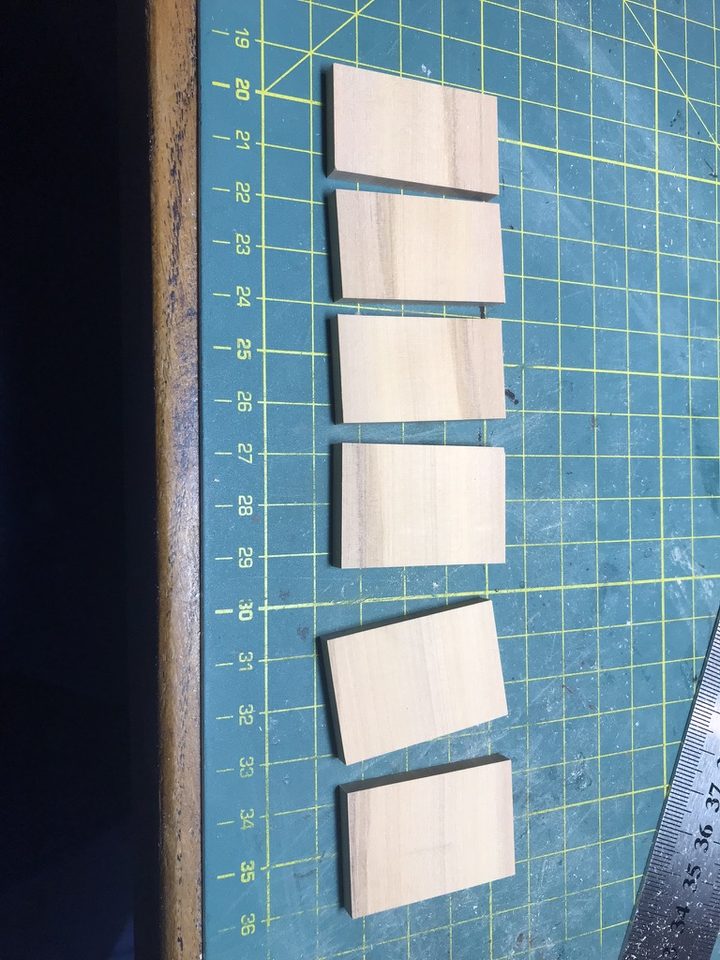
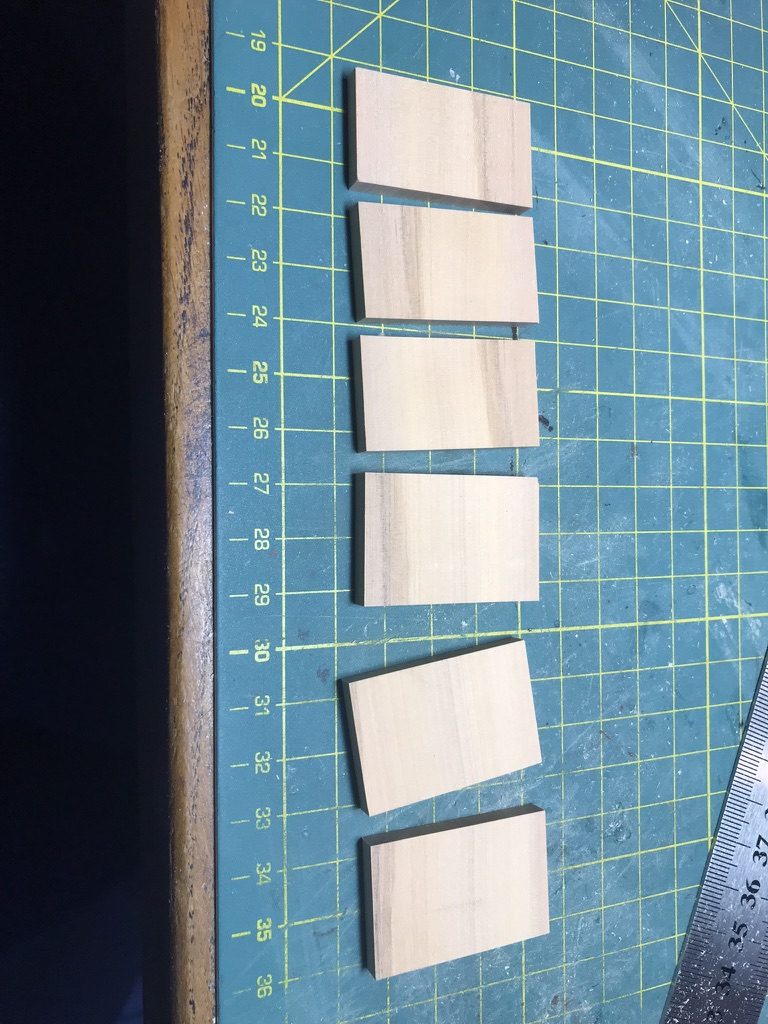
Four strips on the cutting mat, enough for the two cheeks of one carriage. Make the front and rear axletrees to the drawing: the front axletree is higher than the rear one and slightly raised on top, not simply square. Put the cheeks on the axletrees and dry fit the whole. A small ring goes on the end of the front axletree; it gives a fine effect and is worth the trouble.
front axletree higher than the rear axletree
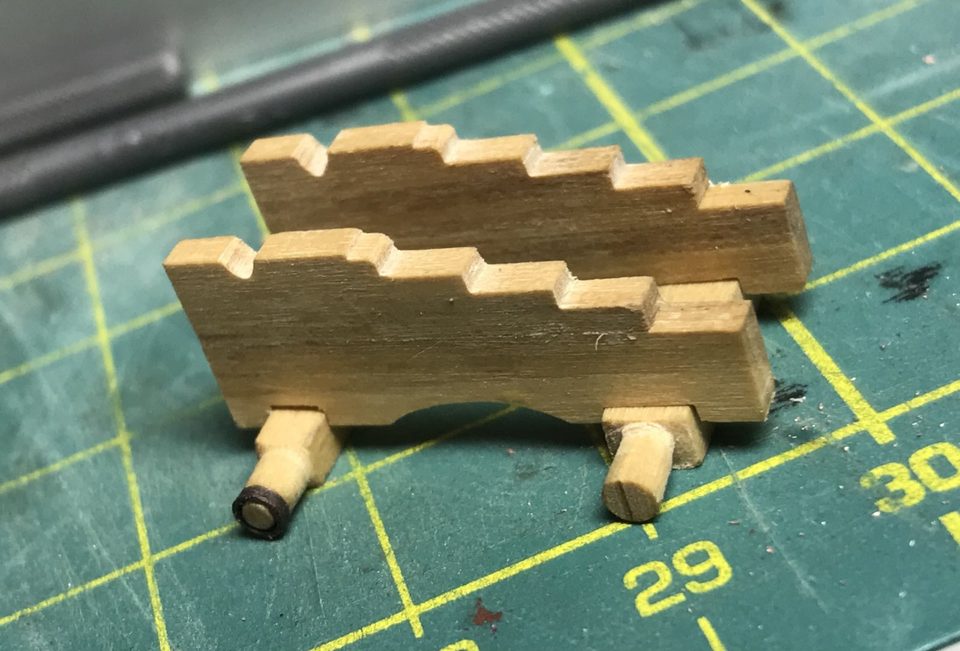
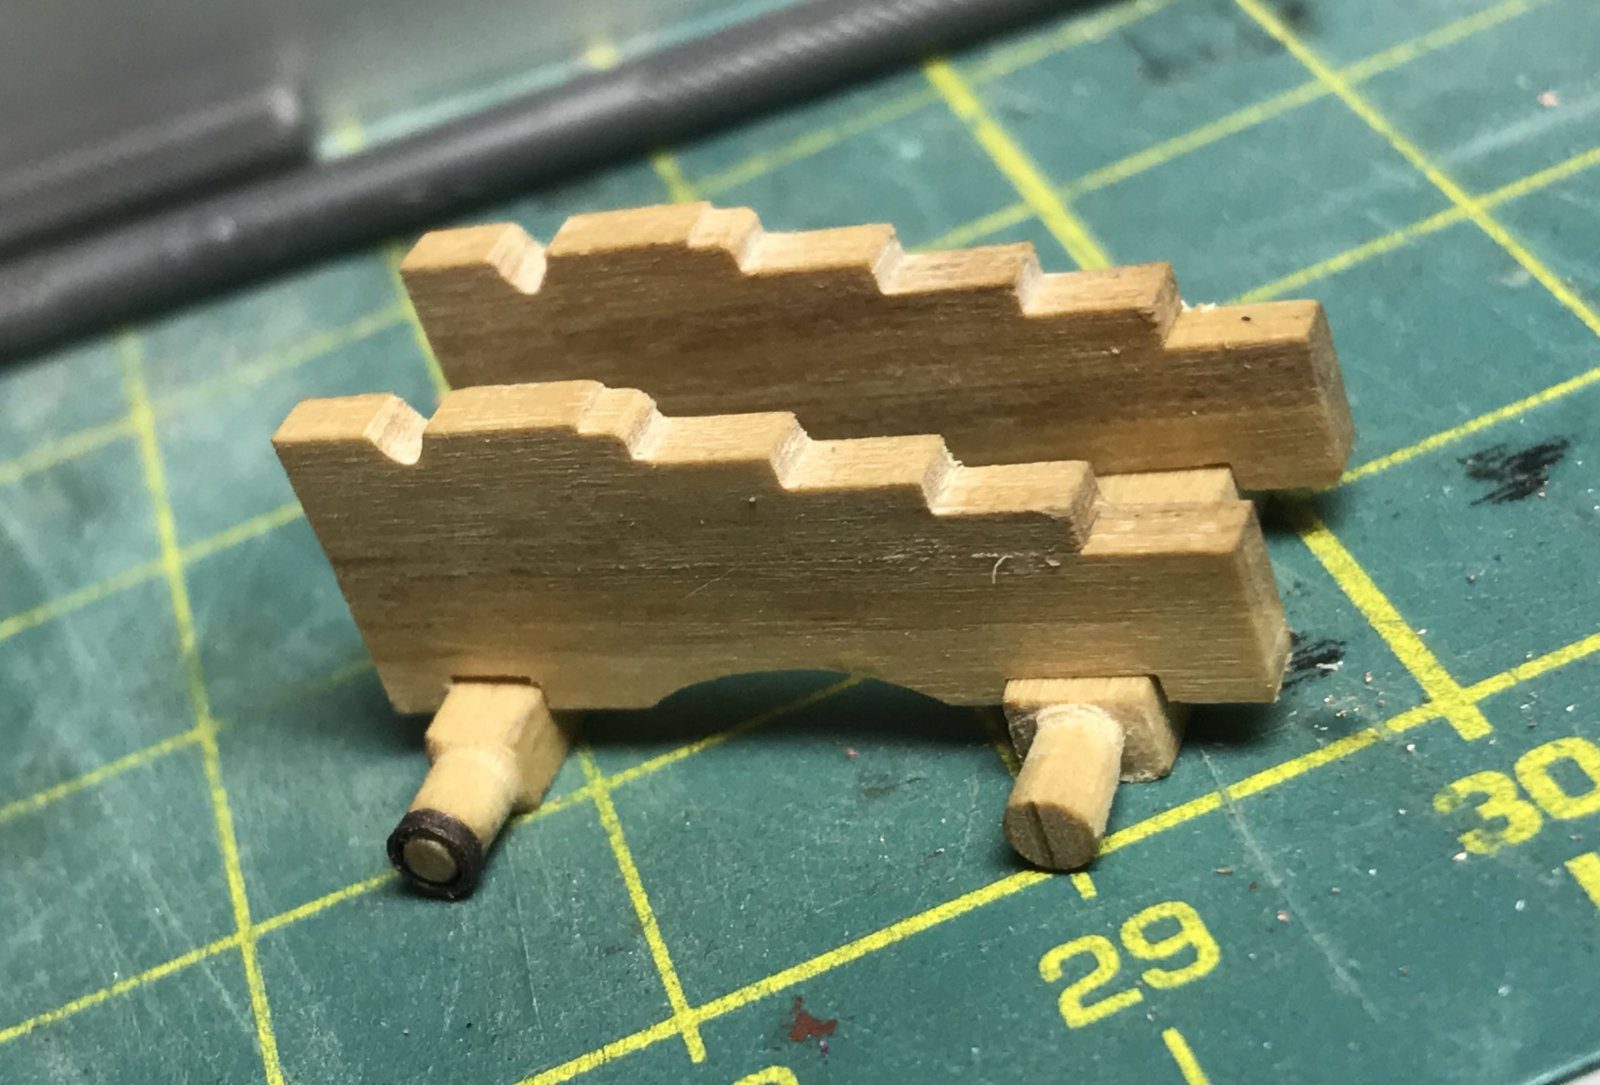
The cheeks on the axletrees, with the first small ring on the end of the front axletree. 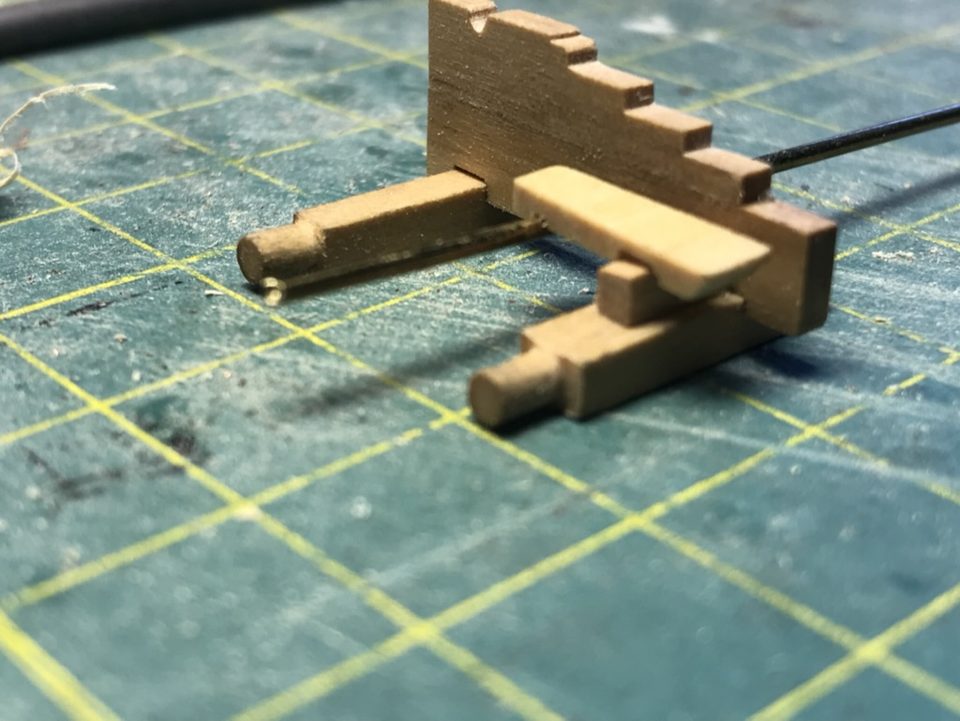
The frame dry assembled: two cheeks on the front and rear axletrees. Tip from Pingu57: On deck the gun should sit roughly horizontal, which is why the front trucks are a little larger than the rear ones. If it is not horizontal, let the front axletree in a little deeper.
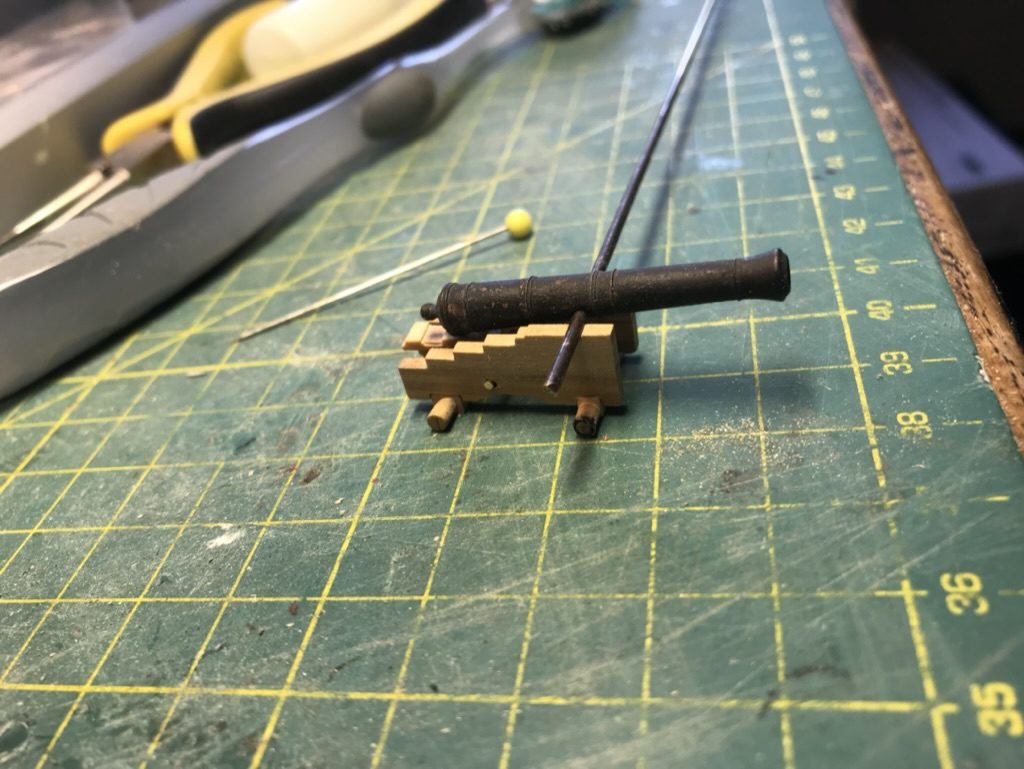
Watch out: Because of the higher front axletree the carriage tilts backwards on the bench. According to Stephan that is the camber of the deck; on deck the gun then sits roughly level.
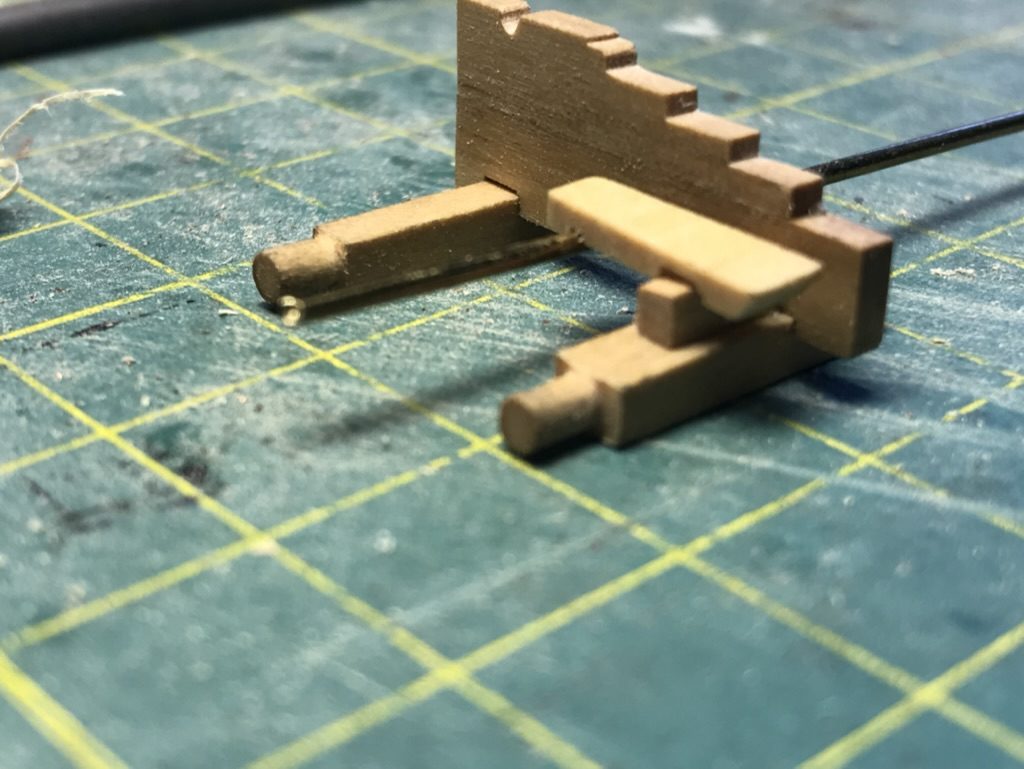
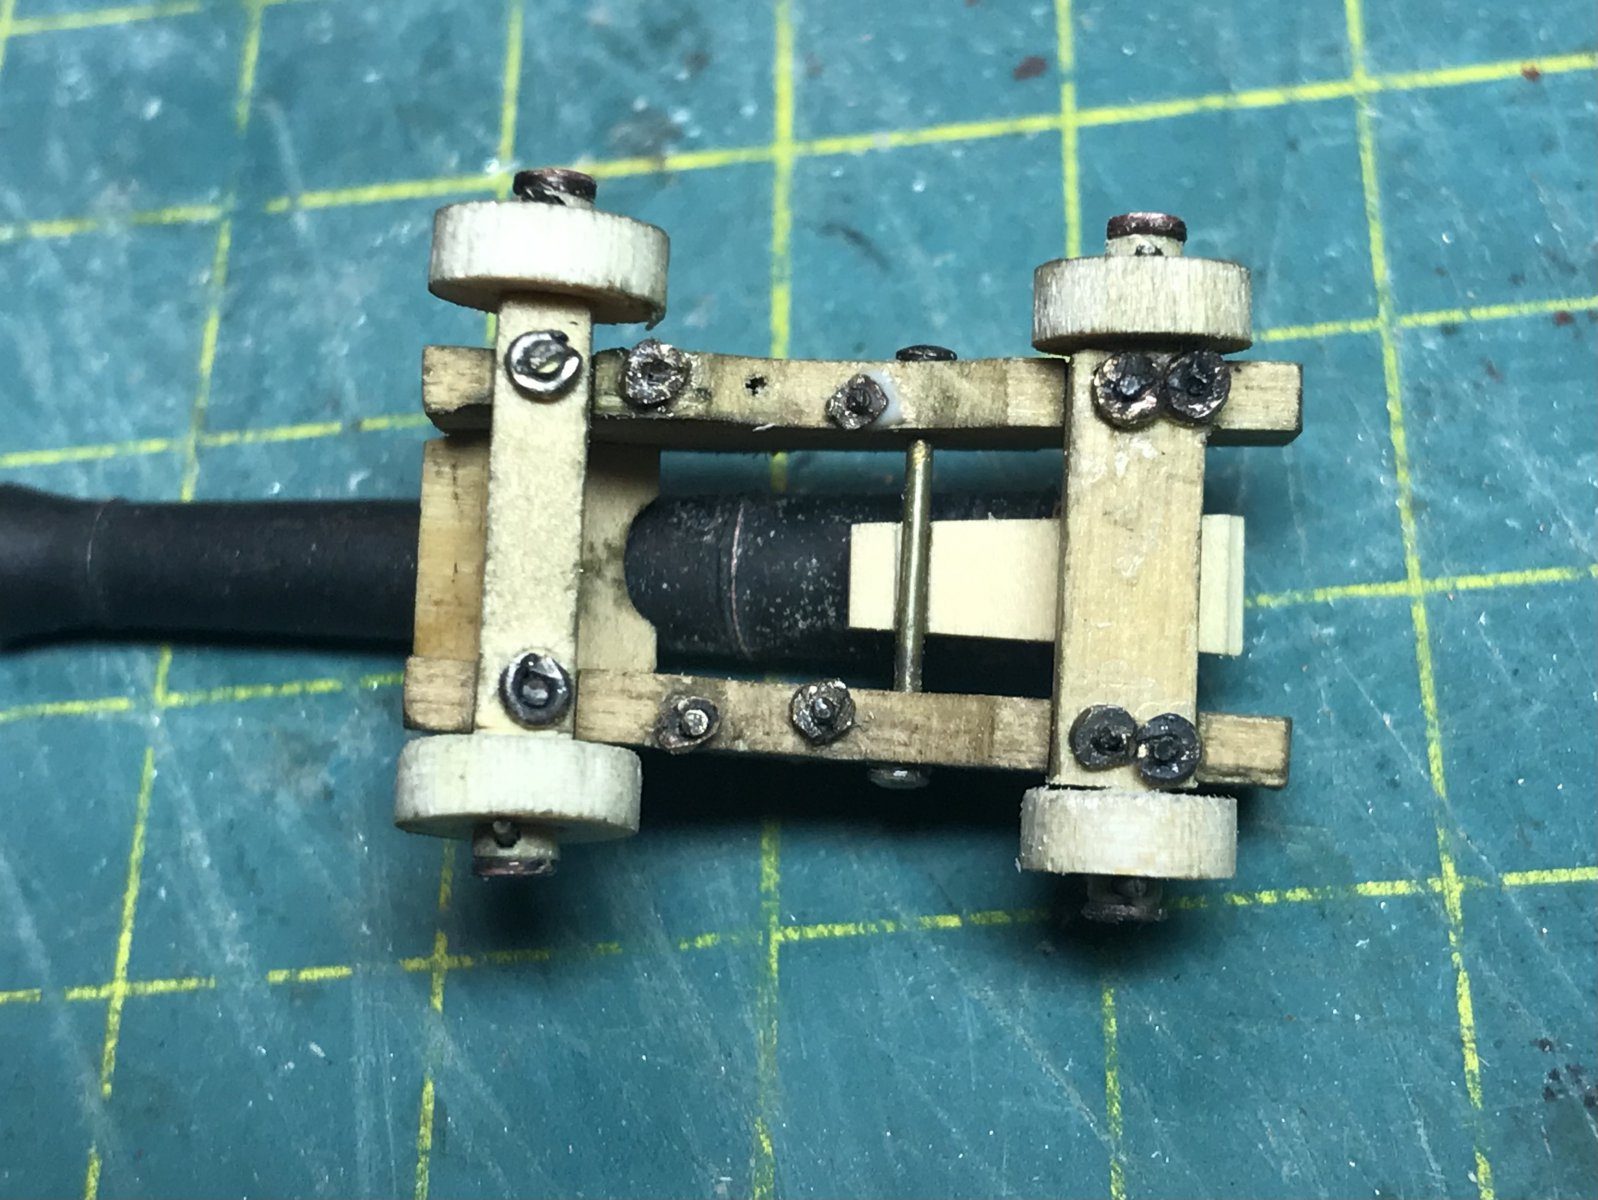
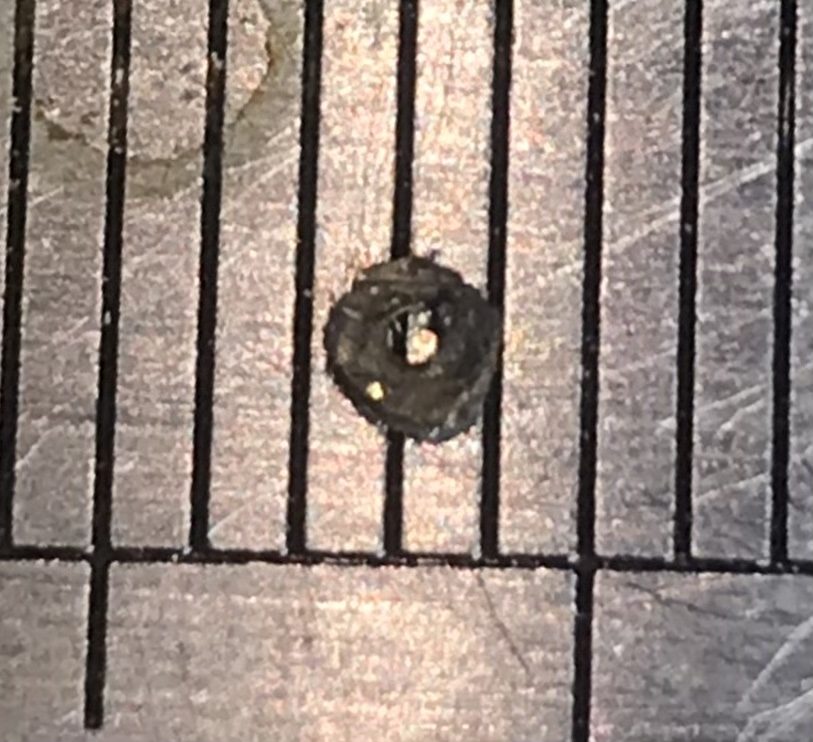
Drill the holes and push 0.5 mm pins right through the cheeks. Secure them underneath with a ring of about 0.65 mm diameter, without glue. Make the rings by winding thin wire round a drill bit and cutting through the coil.
pin 0.5 mm, ring about 0.65 mm
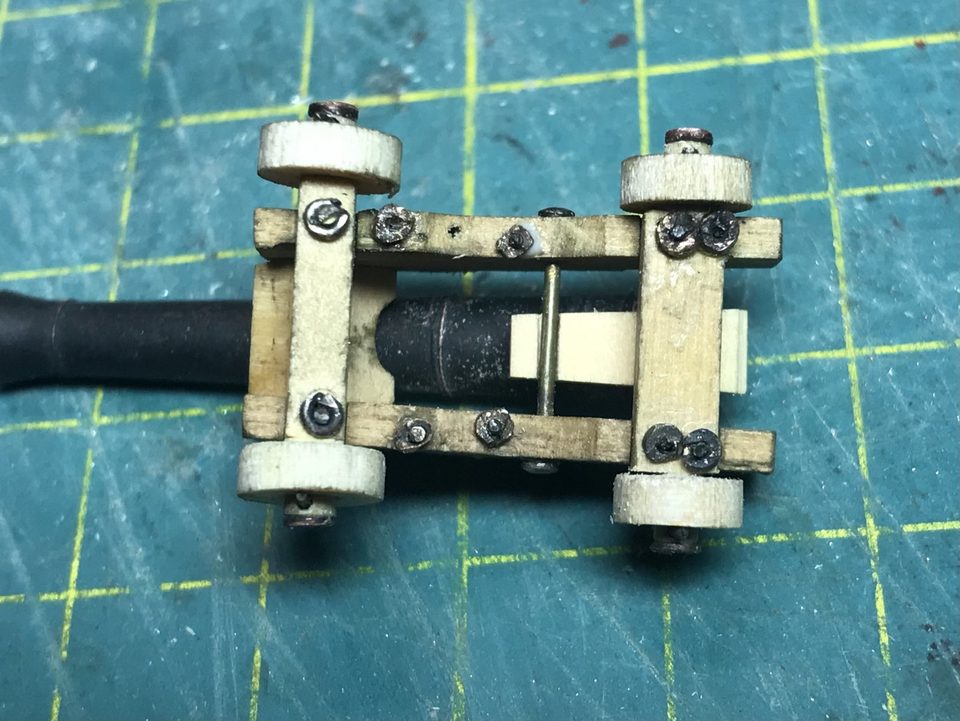
The underside of the carriage: the pins pass through the cheeks and are secured with small rings. 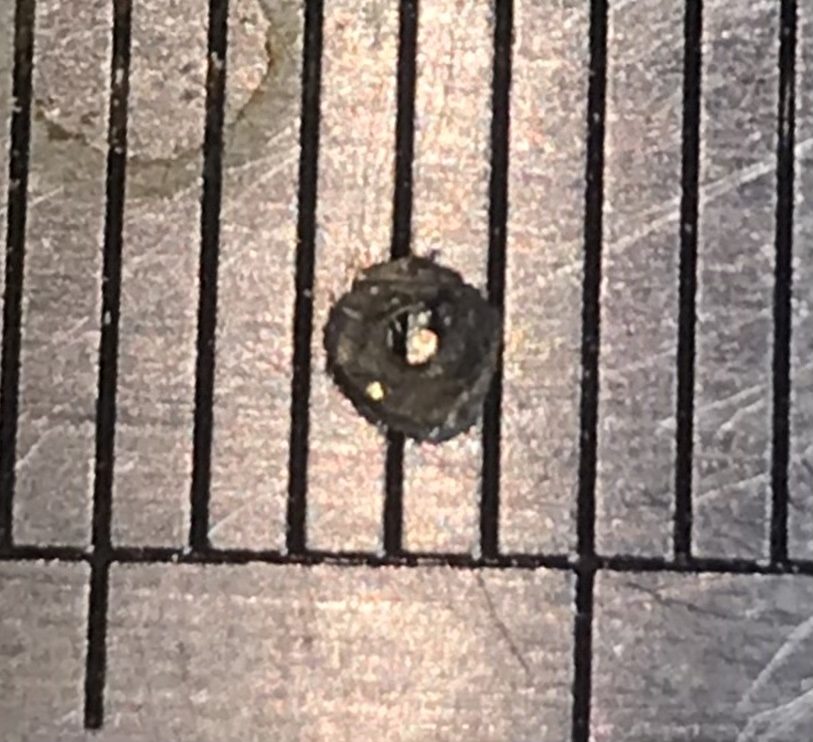
A home-made ring of about 0.65 mm on the graph paper. Tip from Stephan Kertész: I make rings on a drill bit: take the bit and wind your wire round it. That is how you also make hooks with eyes, chains and eyebolts for your gun.
Watch out: Drilling out a 1.5 mm brass rod with a 0.7 mm bit works too, but is a real chore for the number of rings on a carriage.
Number the parts of each carriage and keep them together, because with hand-made pins and holes every carriage fits only one way. Allow about two hours per carriage. It is mostly trying and working things out; the rest will hopefully go faster.
about two hours per carriage
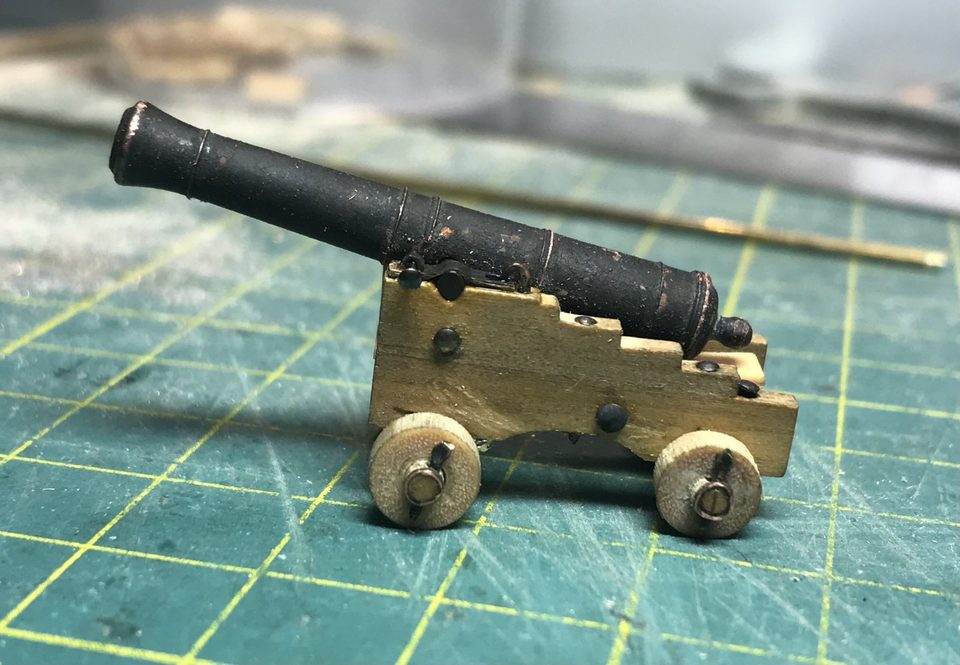
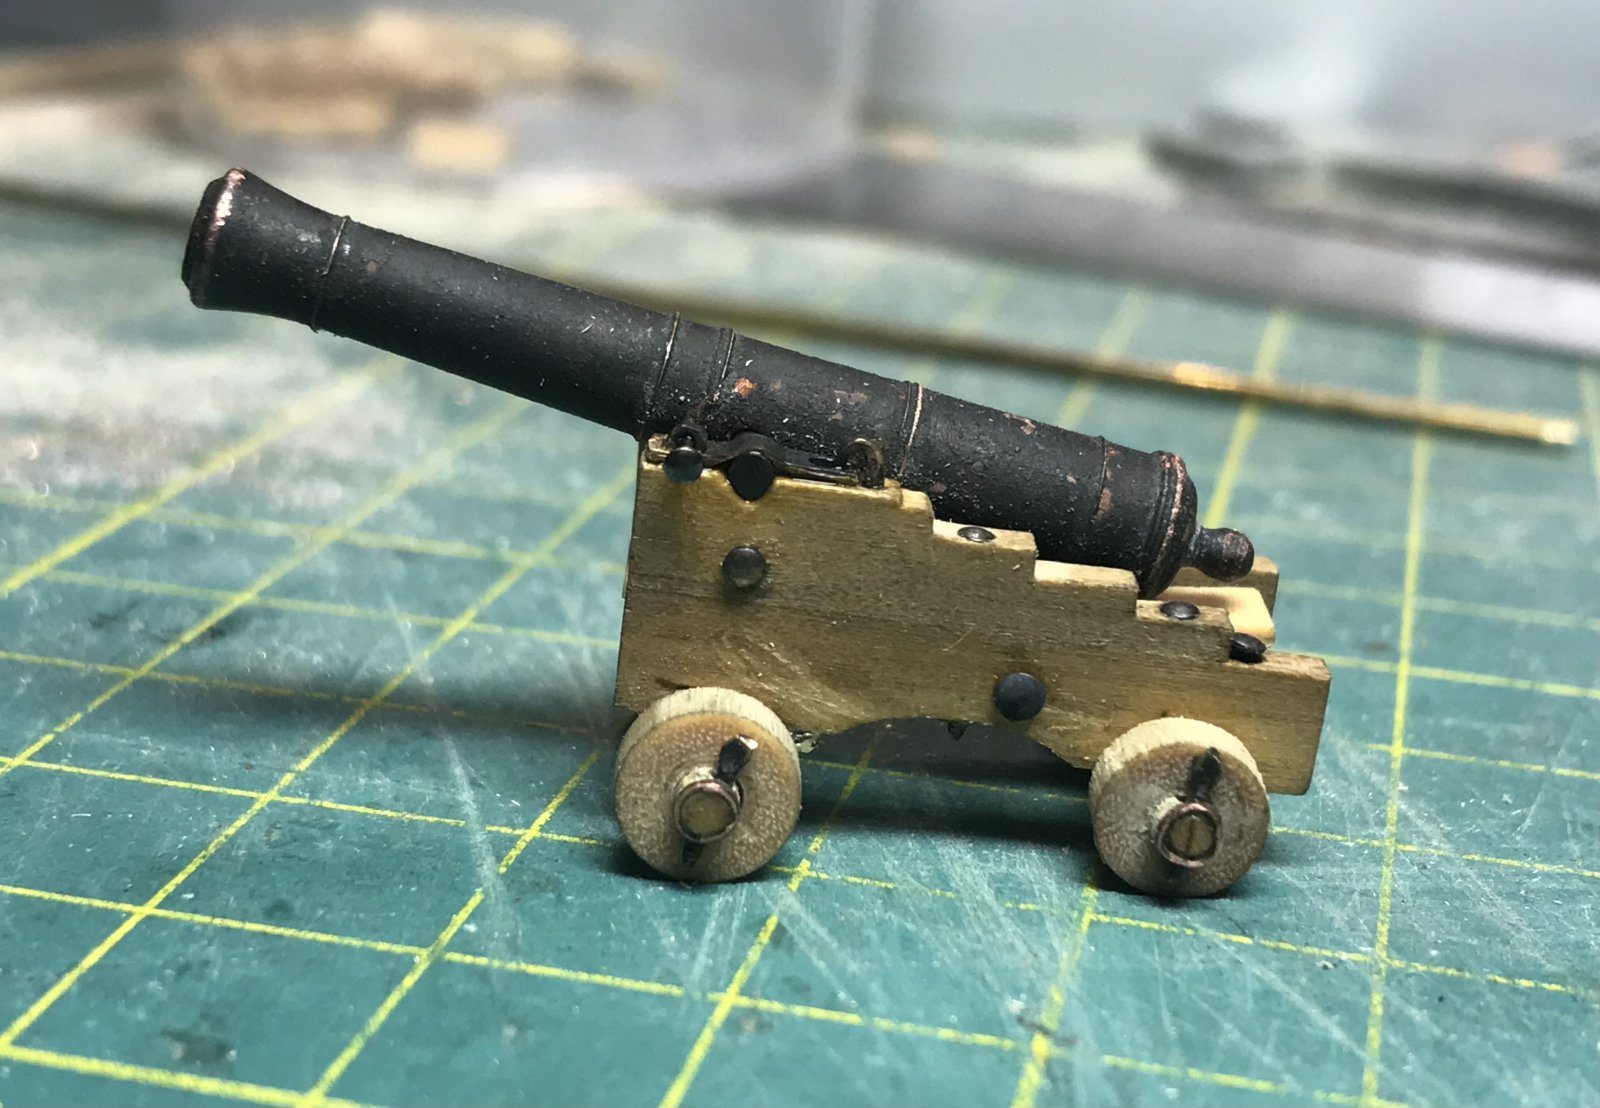
The complete carriage from the side: cheeks, axletrees, trucks and pins hold together without glue.
Result
The first carriage has exactly the crisp lines the kit version lacks, and the pins with rings make glue unnecessary. Next time take the step depth straight from the drawing; that saves a block.
Problems met with this technique
The kit carriages are veneered walnut and not crisp enough. Scratch-built in Castello boxwood, milled on a cross-slide table. to the register
Milling the first block, the steps came out too deep and the proportions were wrong. Started again with the necessary precision. to the register
Because of the higher front axletree the carriage tilts backwards. Left as is; on the deck the gun should sit roughly horizontal. (Tips from Stephan Kertész, Pingu57) to the register
Kit errata
Carriages of veneered walnut, not crisp enough. Scratch-built in Castello boxwood. to the register
In the same series: Guns
- Lowering the gun in the port by setting the axletrees deeper
- Blackening brass gun barrels with blackening solution
- Detailing a kit gun carriage with bolts, linchpins, quoin handle and breeching ring
- Turning the quoin handle from a satay skewer
- Milling gun carriages for the 9-pounders on the cross-slide table
- Making washers and linchpins from brass pin heads
- Carronades: trucks from brass tube and a working elevating screw