Marking out and cutting the gunports
Mark out the ports with a template, drill holes along the line, cut out the centre and sand only the last bits.
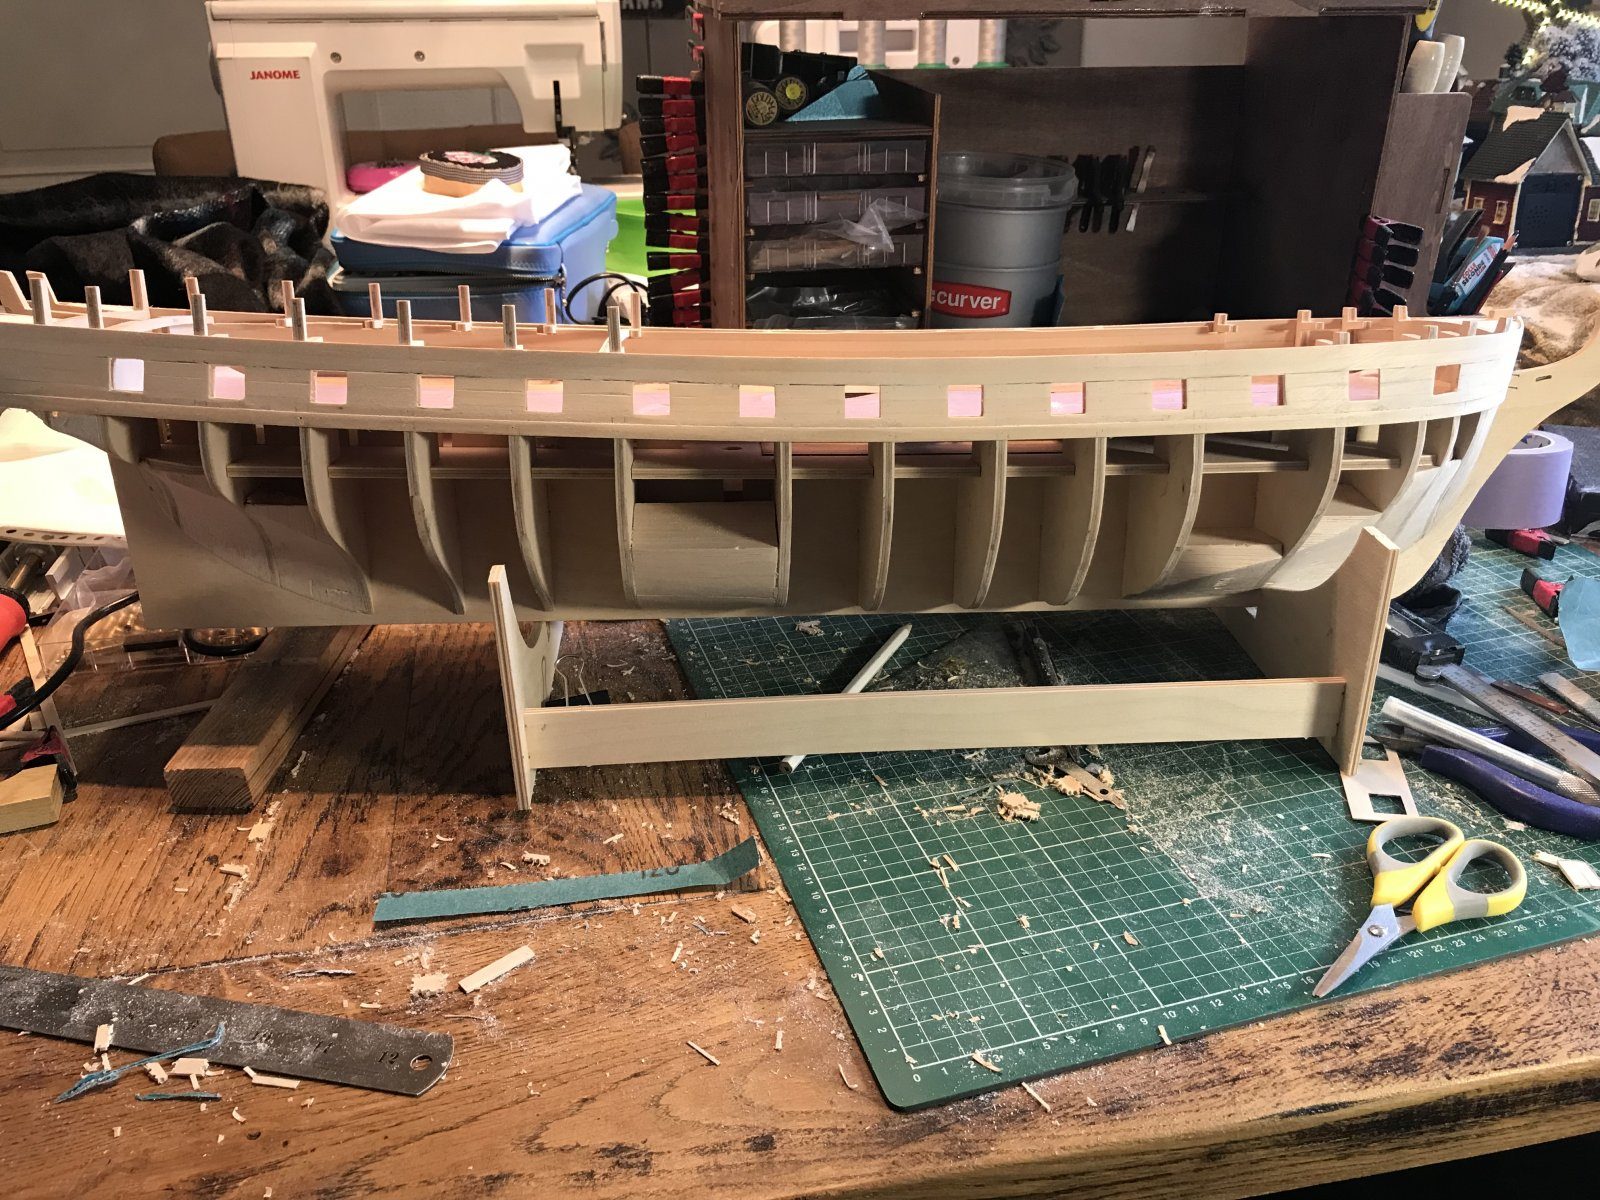
What you need
- pencil and ruler
- 14 x 16 mm template
- small drill
- hobby knife
- sandpaper
- callipers
- masking tape to cover the deck
- kit template 38 (0.8 mm plywood), if you use it
Dimensions
- spacing 1.2 inch (30.48 mm), later 31 mm
- port size 14 x 16 mm
- position: two strips below the top edge of the planking
- kit: aftermost port 65 mm forward of the end of the second limewood strip, 30 mm spacing, drill 2 mm (8.1 and 8.2)
- ports with a lid: frame 1 mm deeper (10.4)
- Time
- several evenings
- Difficulty
- moderate
- When in the build
- Phase 3,
- From the log post
- The first ports · forum
Before you start
The first planking above the wale is on and sanded. Before marking out, check that the upper deck has the same sheer as the gun deck everywhere, because the ports are set out from the upper deck.
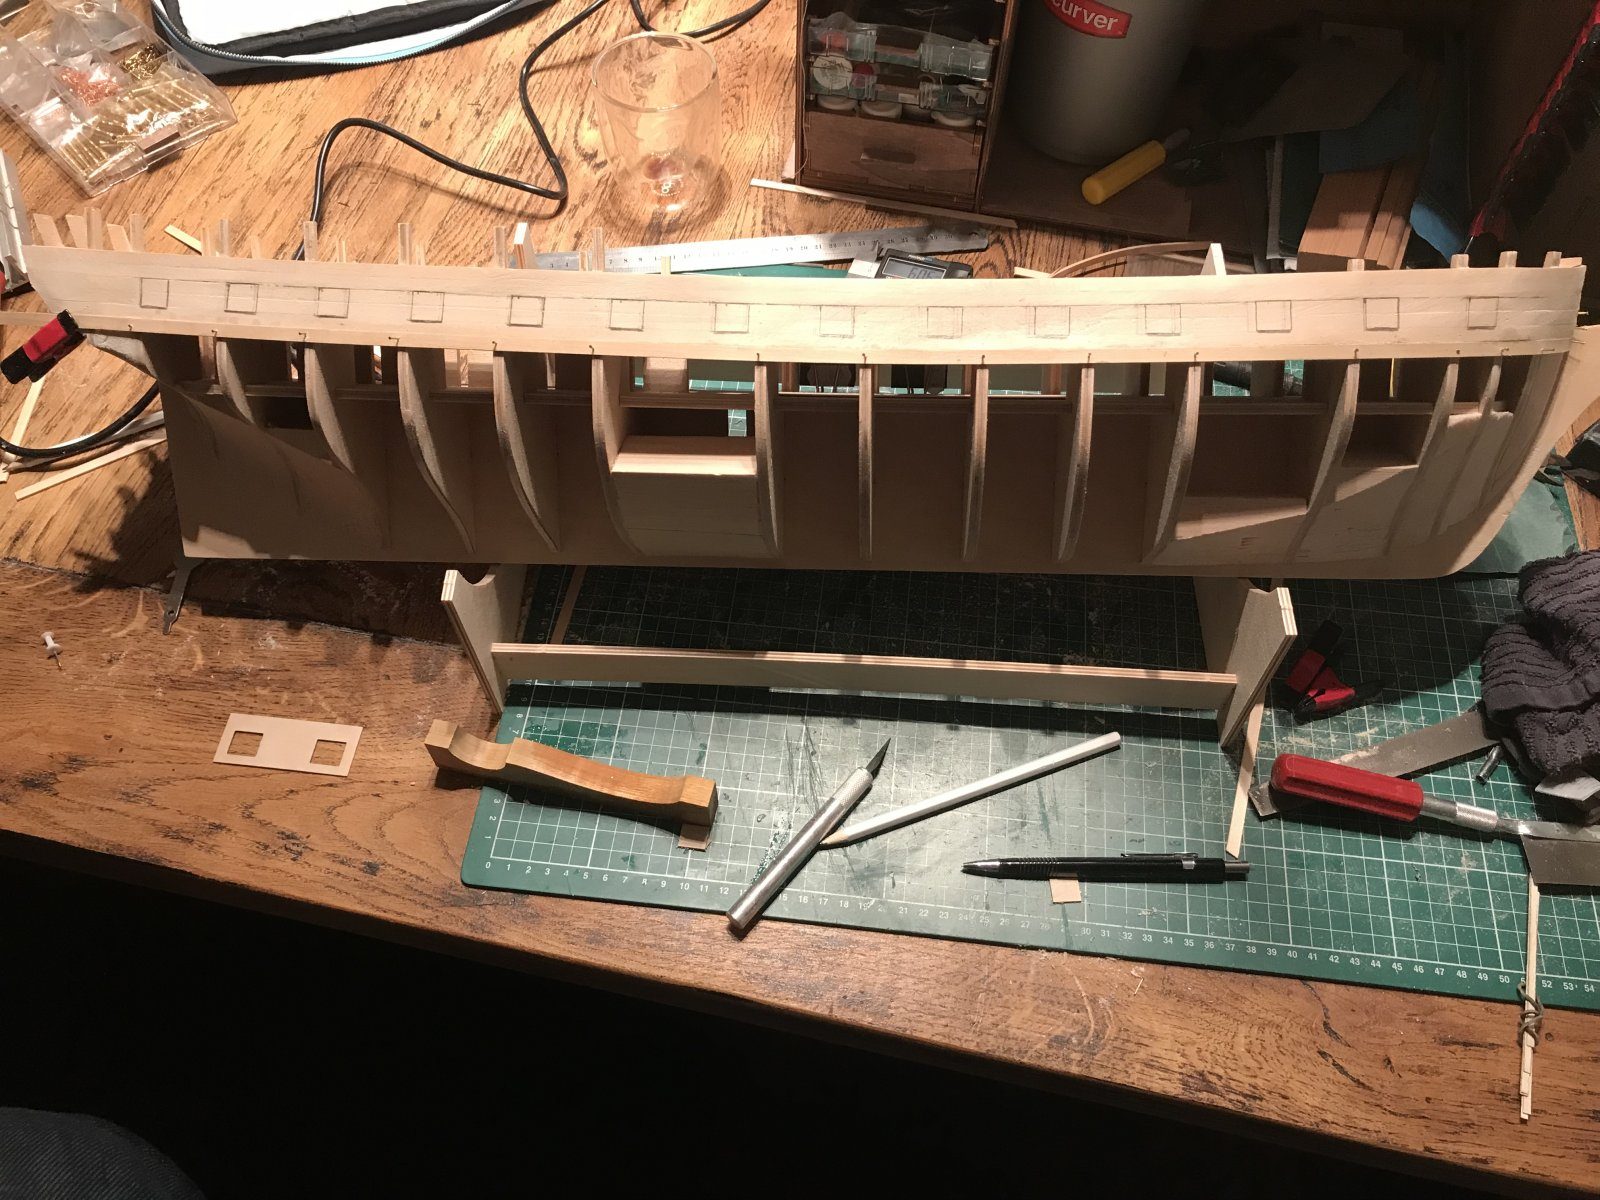
Set out the ports on the hull: the top edge two strips below the top of the planking, and a spacing of 1.2 inch (30.48 mm). Draw the pencil lines as precisely as you can and check that you end up clear of the bulkheads at the end.
spacing 30.48 mm
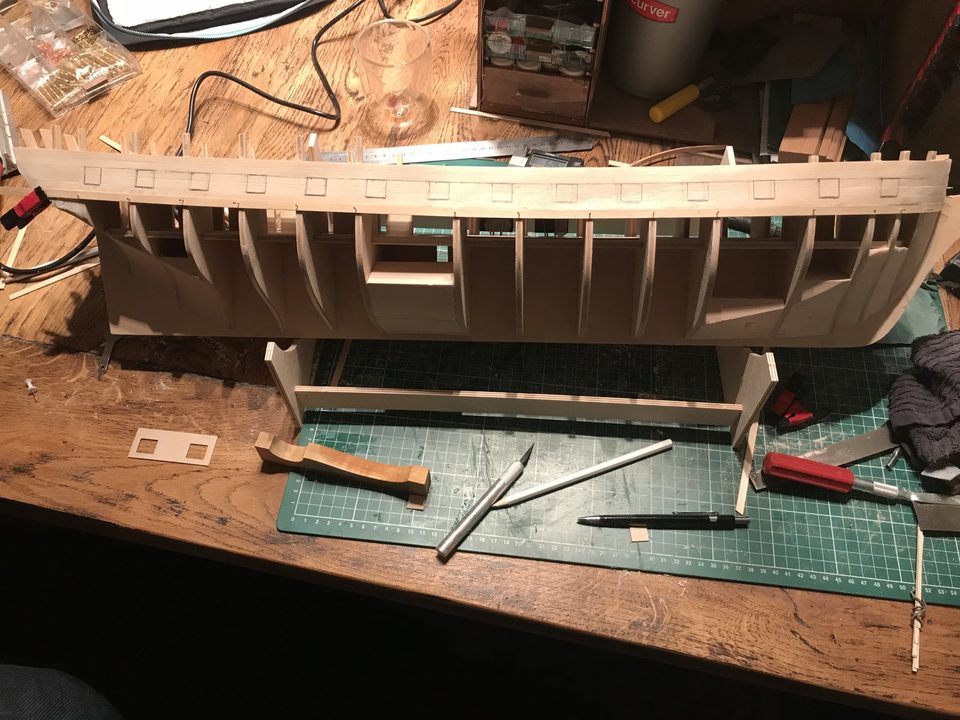
Starboard marked out on New Year's Eve, in the end at 1.2 inch spacing. Tip from dunnock: If you want real oar ports in the waist instead of the kit's glued-on blocks, cut them now, through the first planking: five per side, 4 mm square, between the gun ports. After the second planking it can no longer be done. (Model Ship World, 11 March 2021)
Watch out: Marking out at 30 mm went wrong at bulkhead 5, 31 mm was just too little; 1.2 inch worked. In the end the first three ports got 30 mm spacing and the rest 31 mm. You can't see it by eye, but the pencil lines simply weren't precise enough.
Make a 14 x 16 mm template and mark out each port with it. That way all ports are the same size and you only need to measure the position. The kit also has a template (38, 0.8 mm plywood) that lets you trace the ports in one go; the manual (8.1) places the aftermost port 65 mm forward of the end of the second limewood strip, measured from the sternpost, and keeps 30 mm spacing, drilling with 2 mm (8.2). We made our own 14 x 16 mm template, because our spacing only worked out at 1.2 inch.
14 x 16 mm
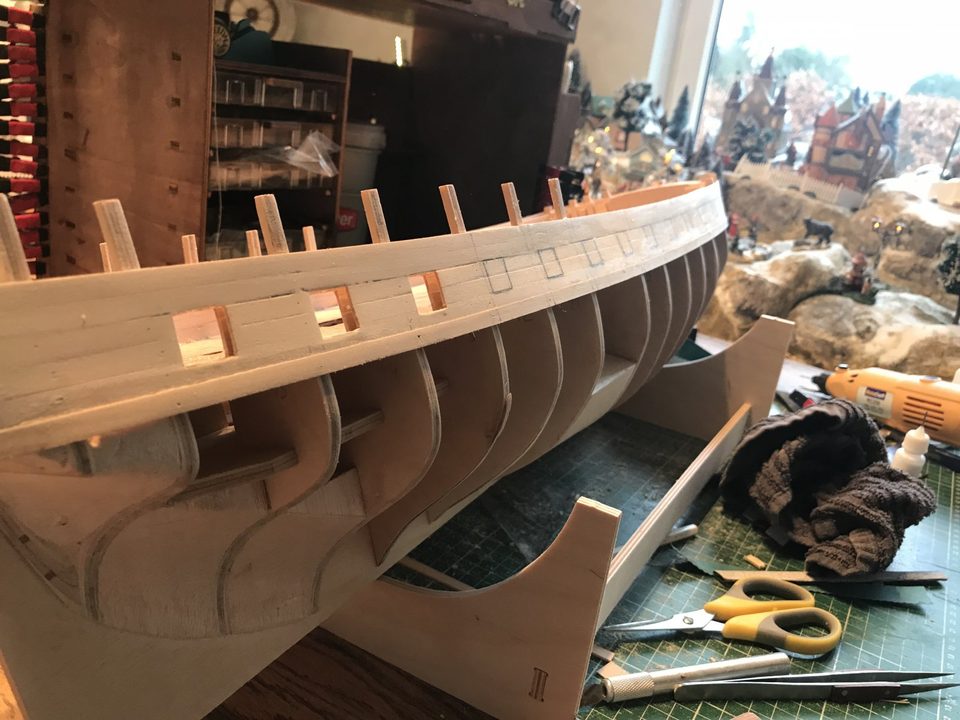
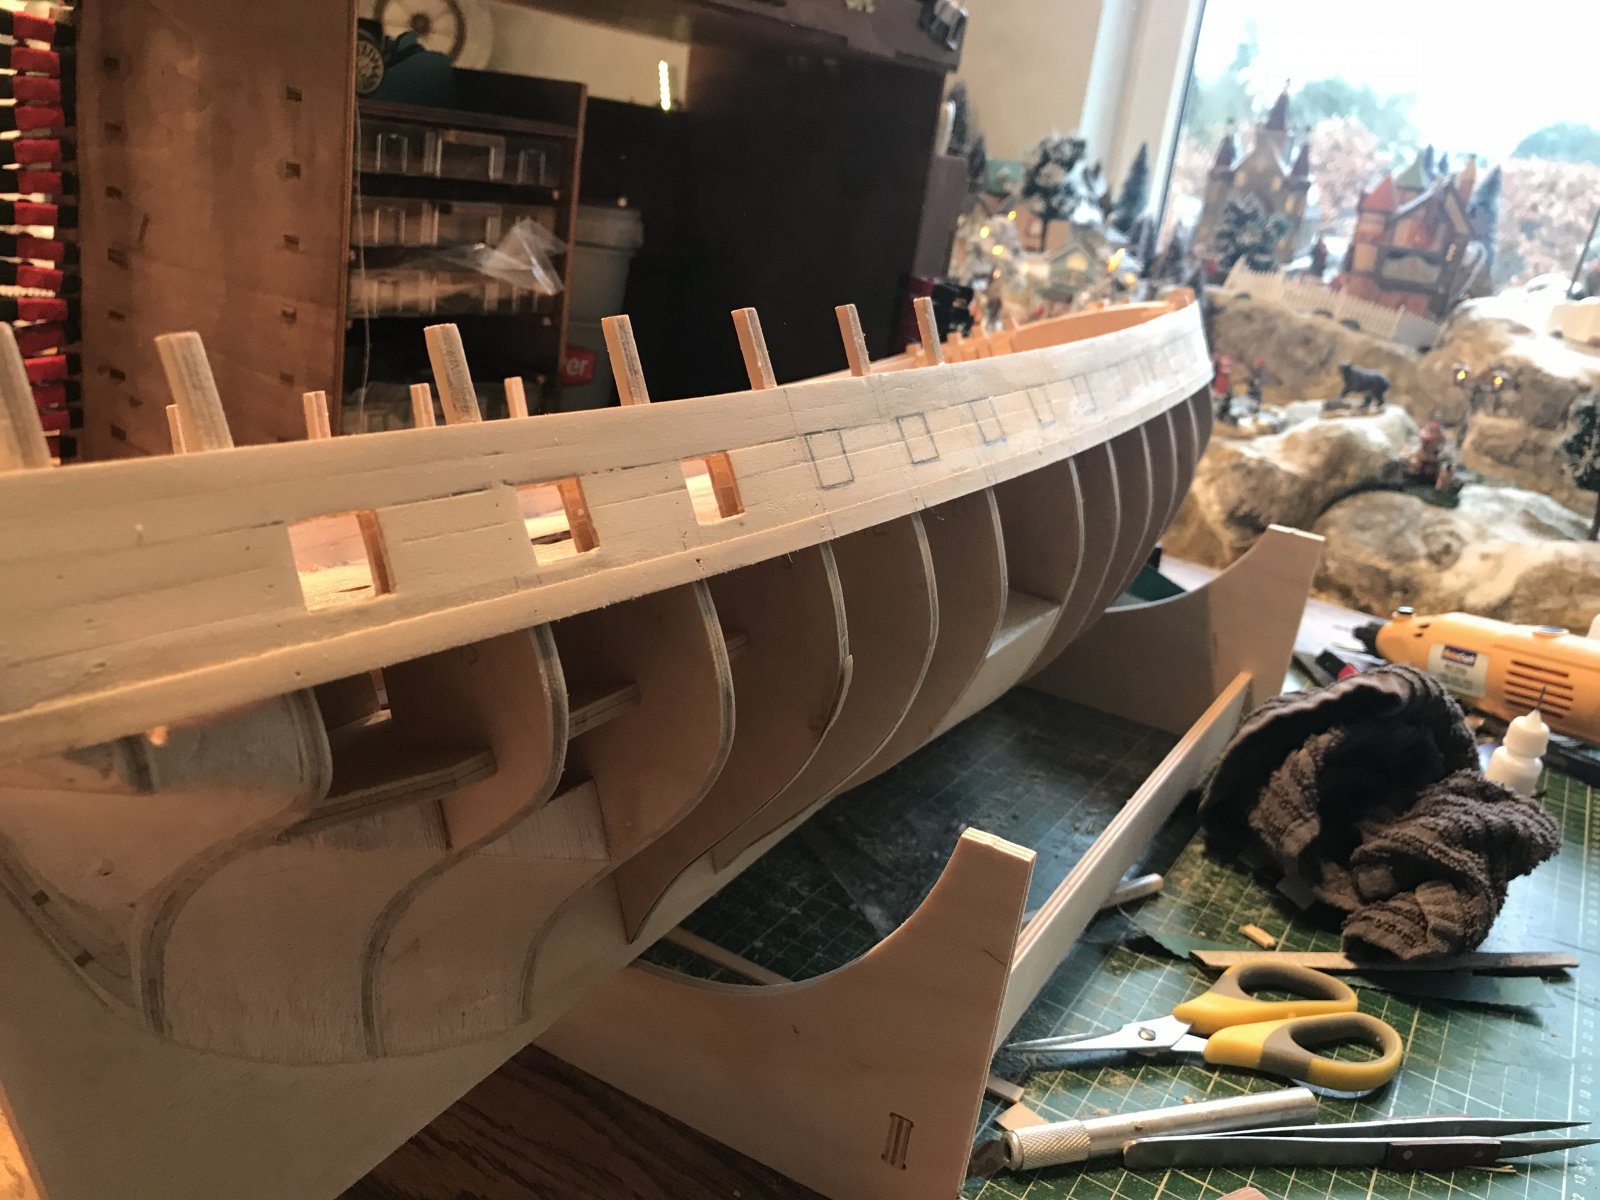
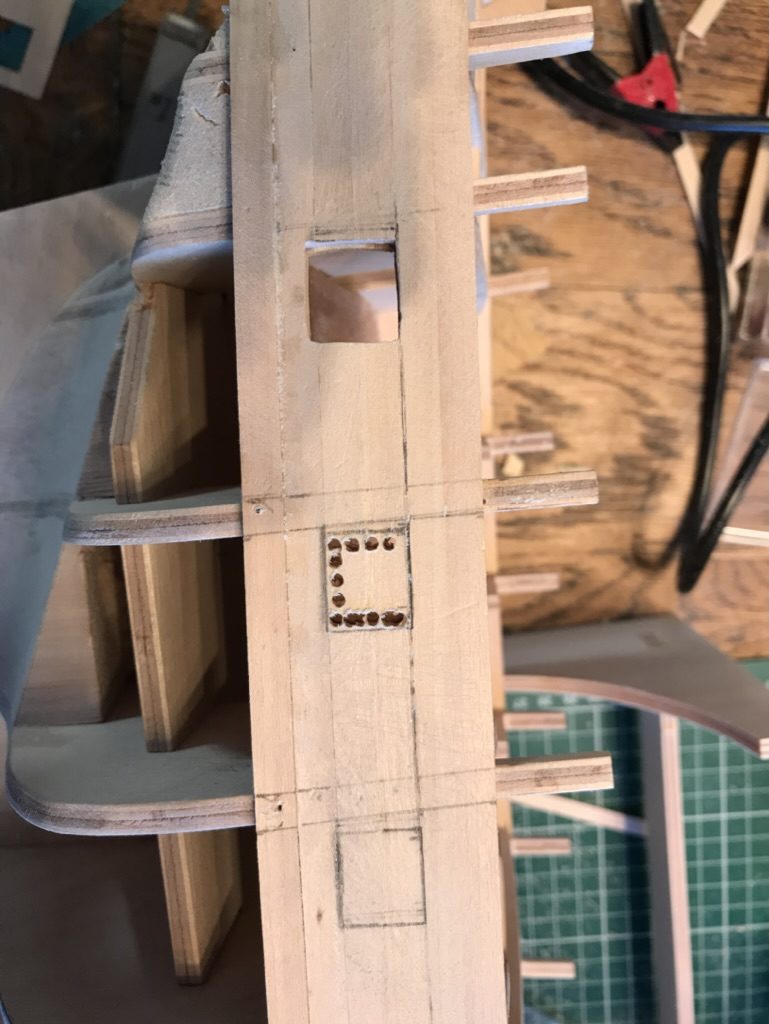
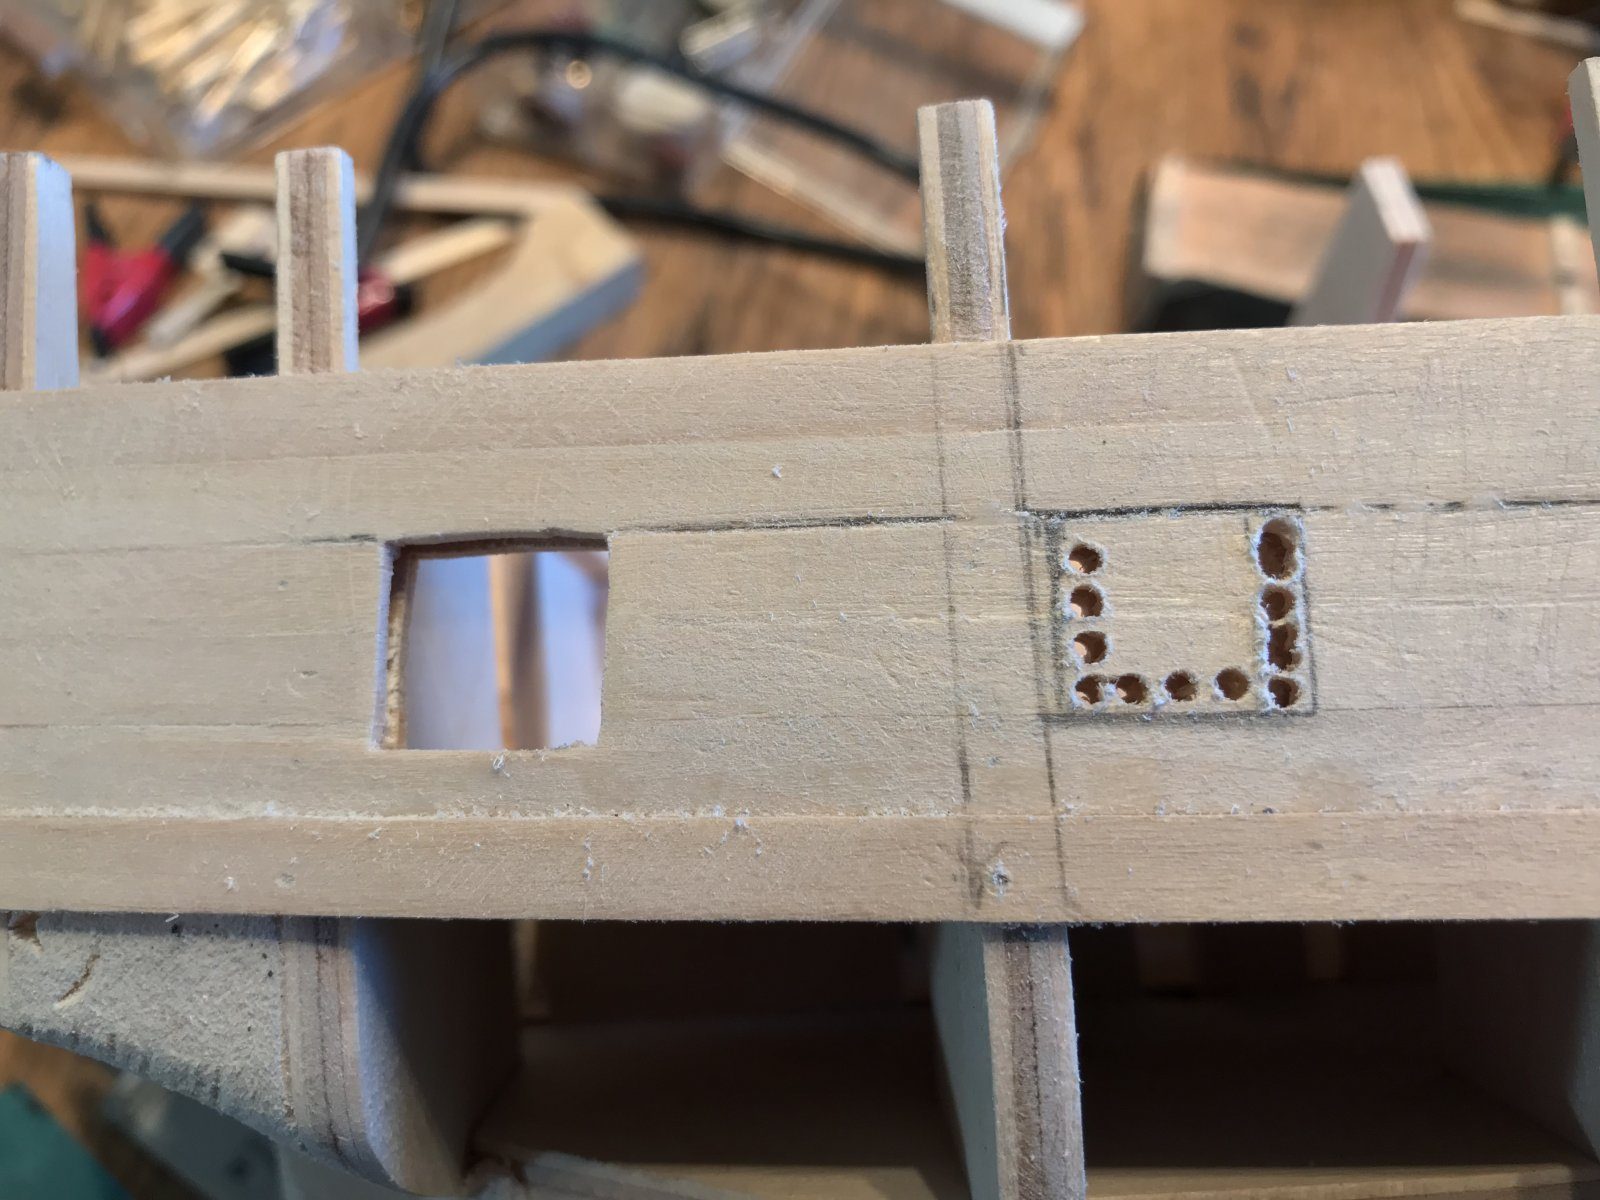
The template and the markings for the next ports. Drill a row of holes just inside the marked line, all the way round the port. That lets you cut the centre free easily without splitting the planking.
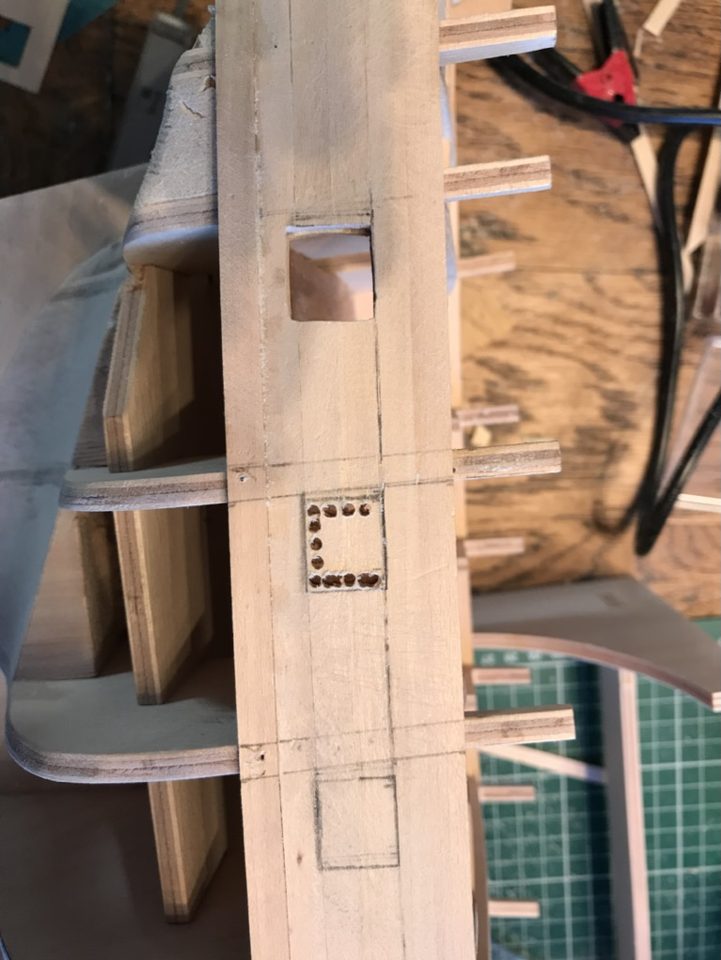
Seen from inside: the row of holes along the outline of a port. Cut the centre free with the hobby knife and cut the edges as close to the line as possible. Cutting turns out more precise than sanding: on the third port we did almost everything with the knife and that gave the crispest result.
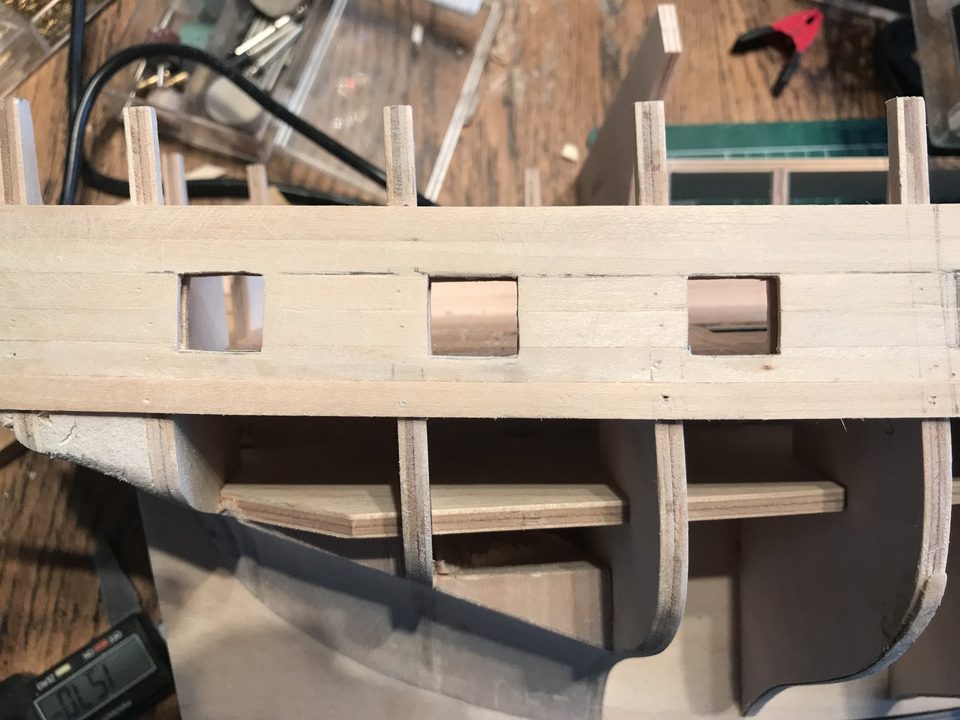
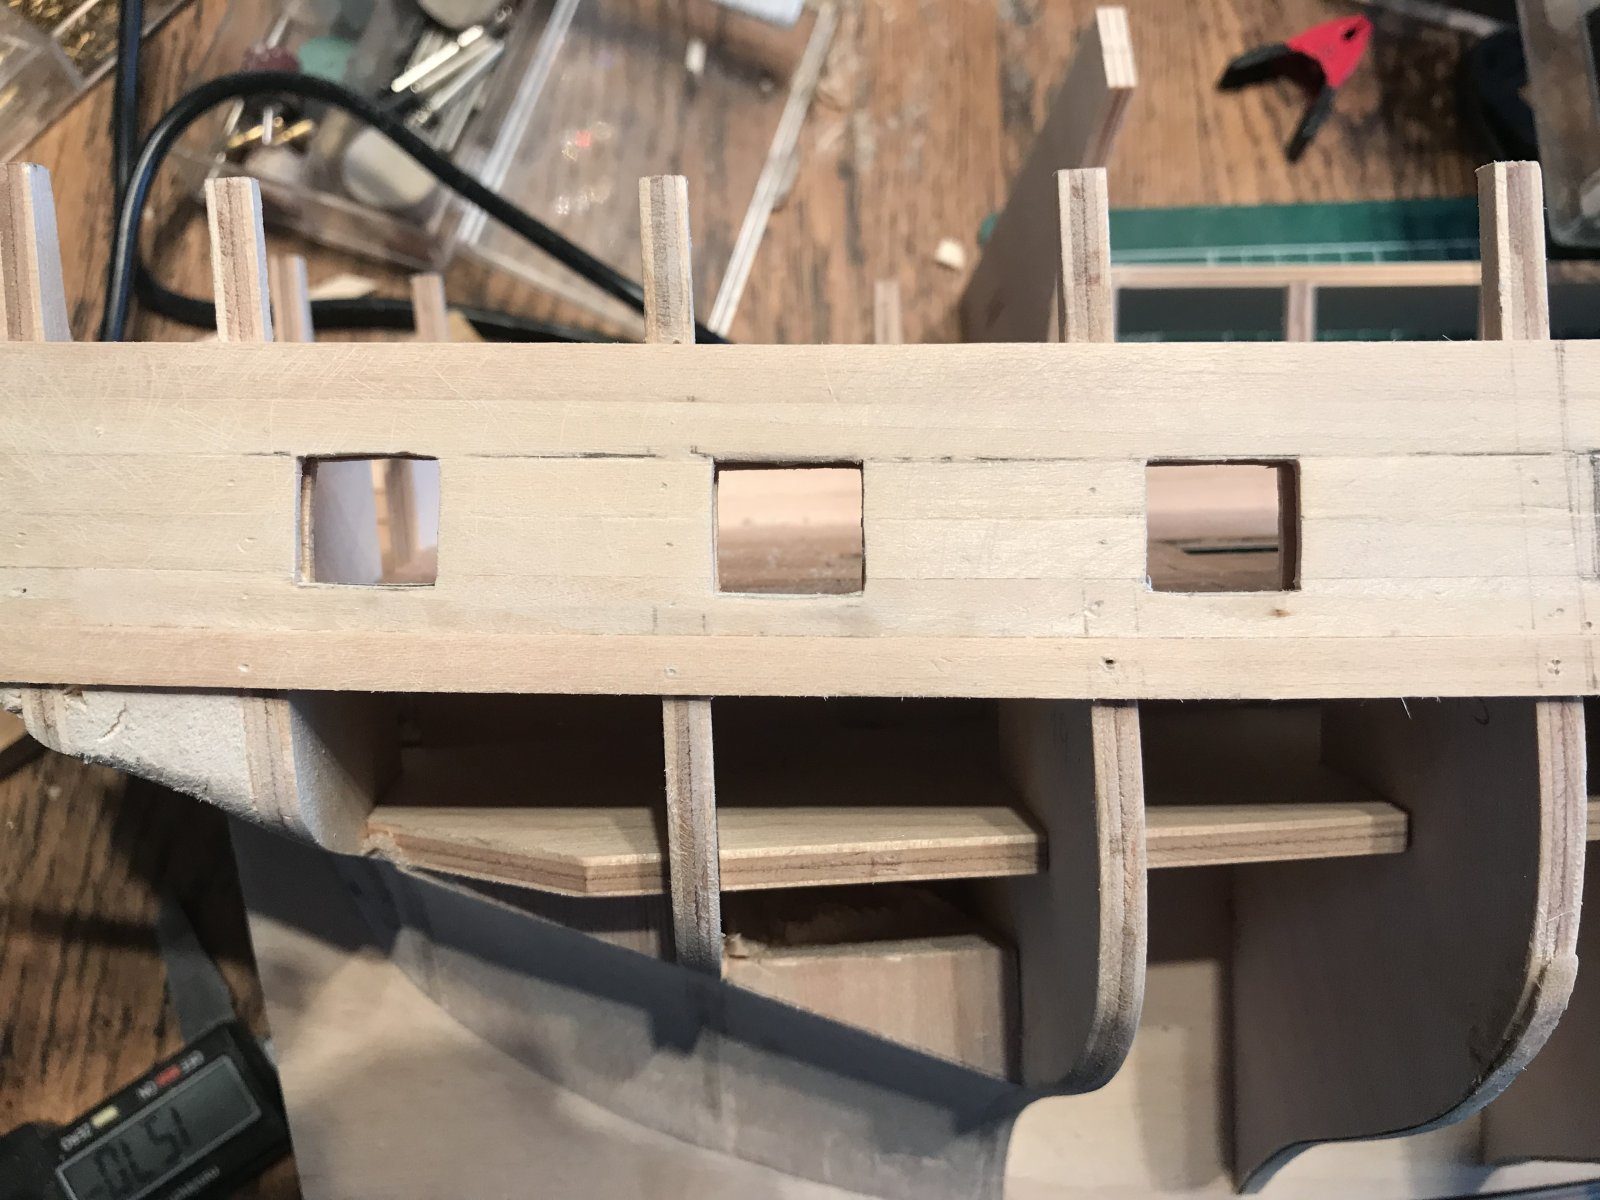
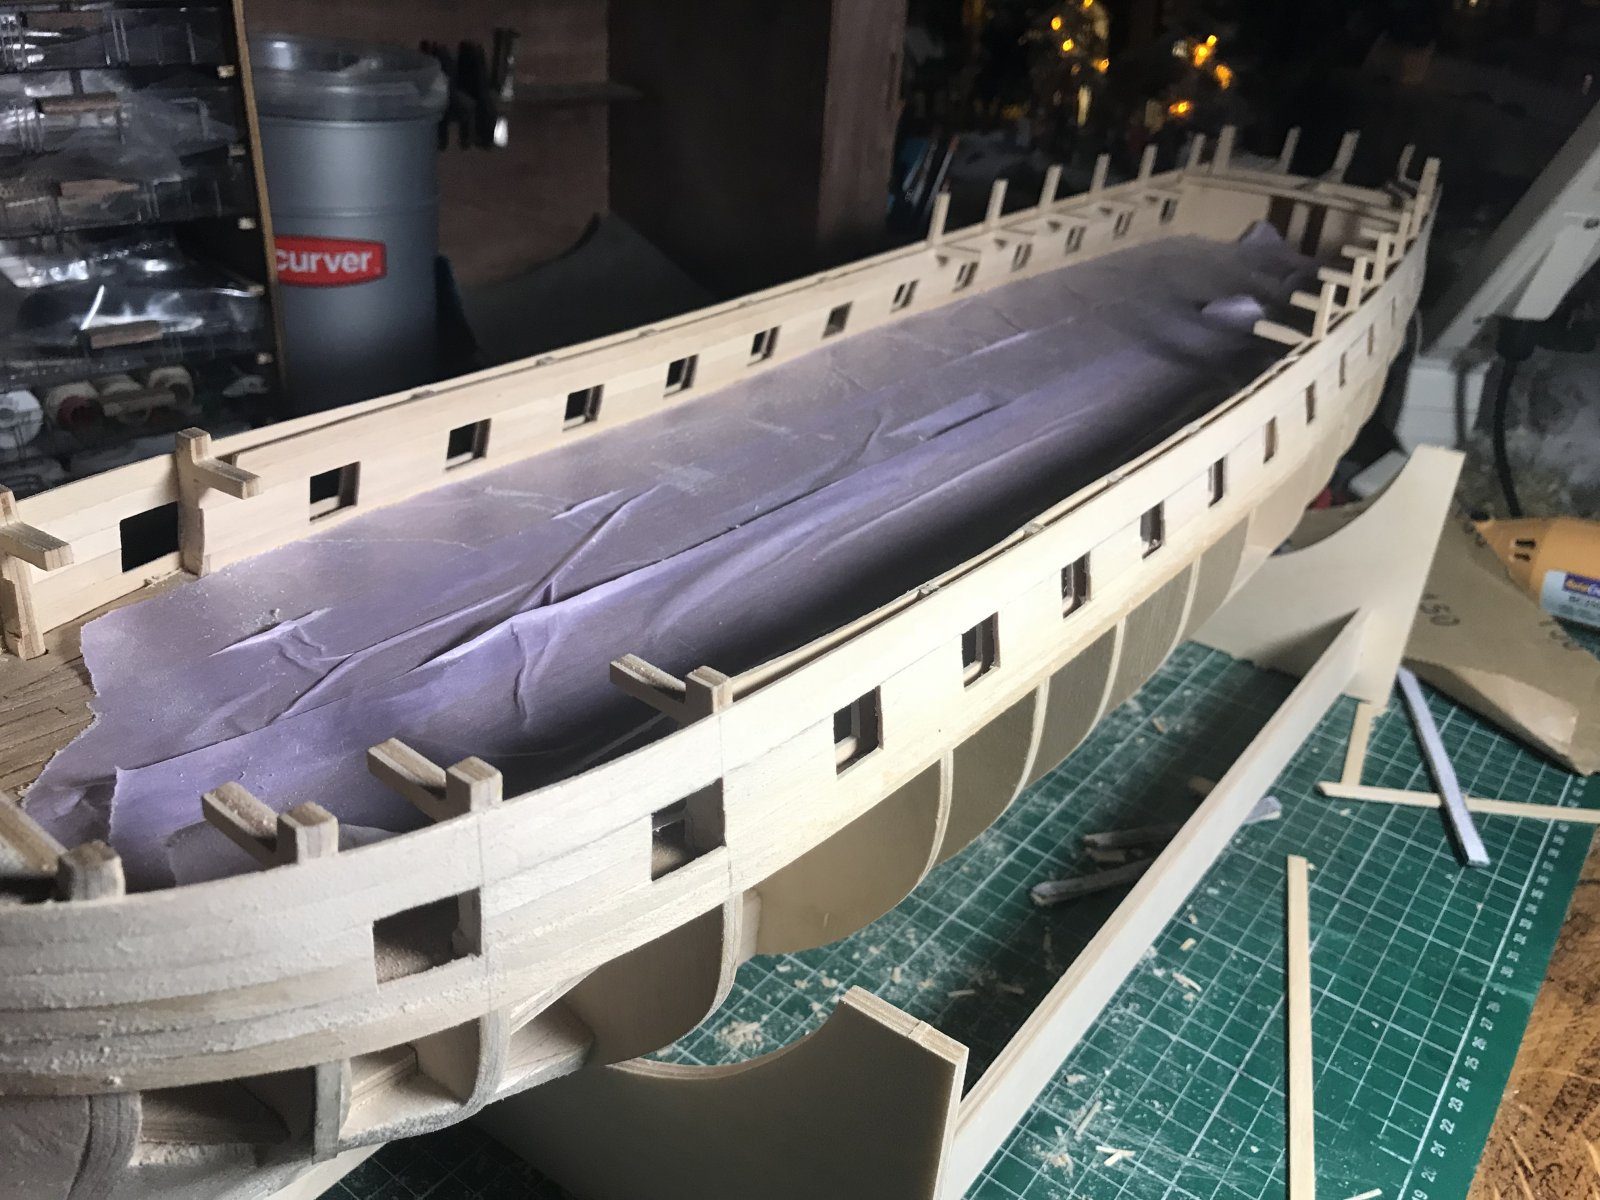
A port after cutting, before final sanding. First put masking tape on the deck and only then sand the last bits of the port to size. The sandpaper touches the deck now and then and that leaves ugly marks.
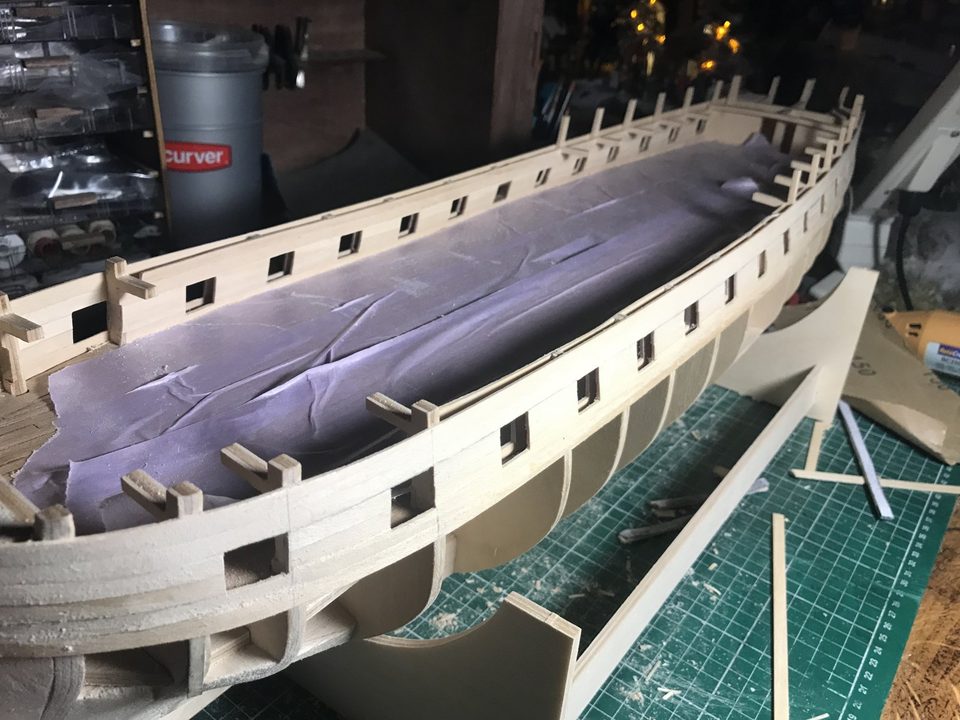
The deck covered while the ports are being sanded. Watch out: Eduard's note to self: masking tape on the deck first. On the first ports the sandpaper touched the deck and left ugly marks.
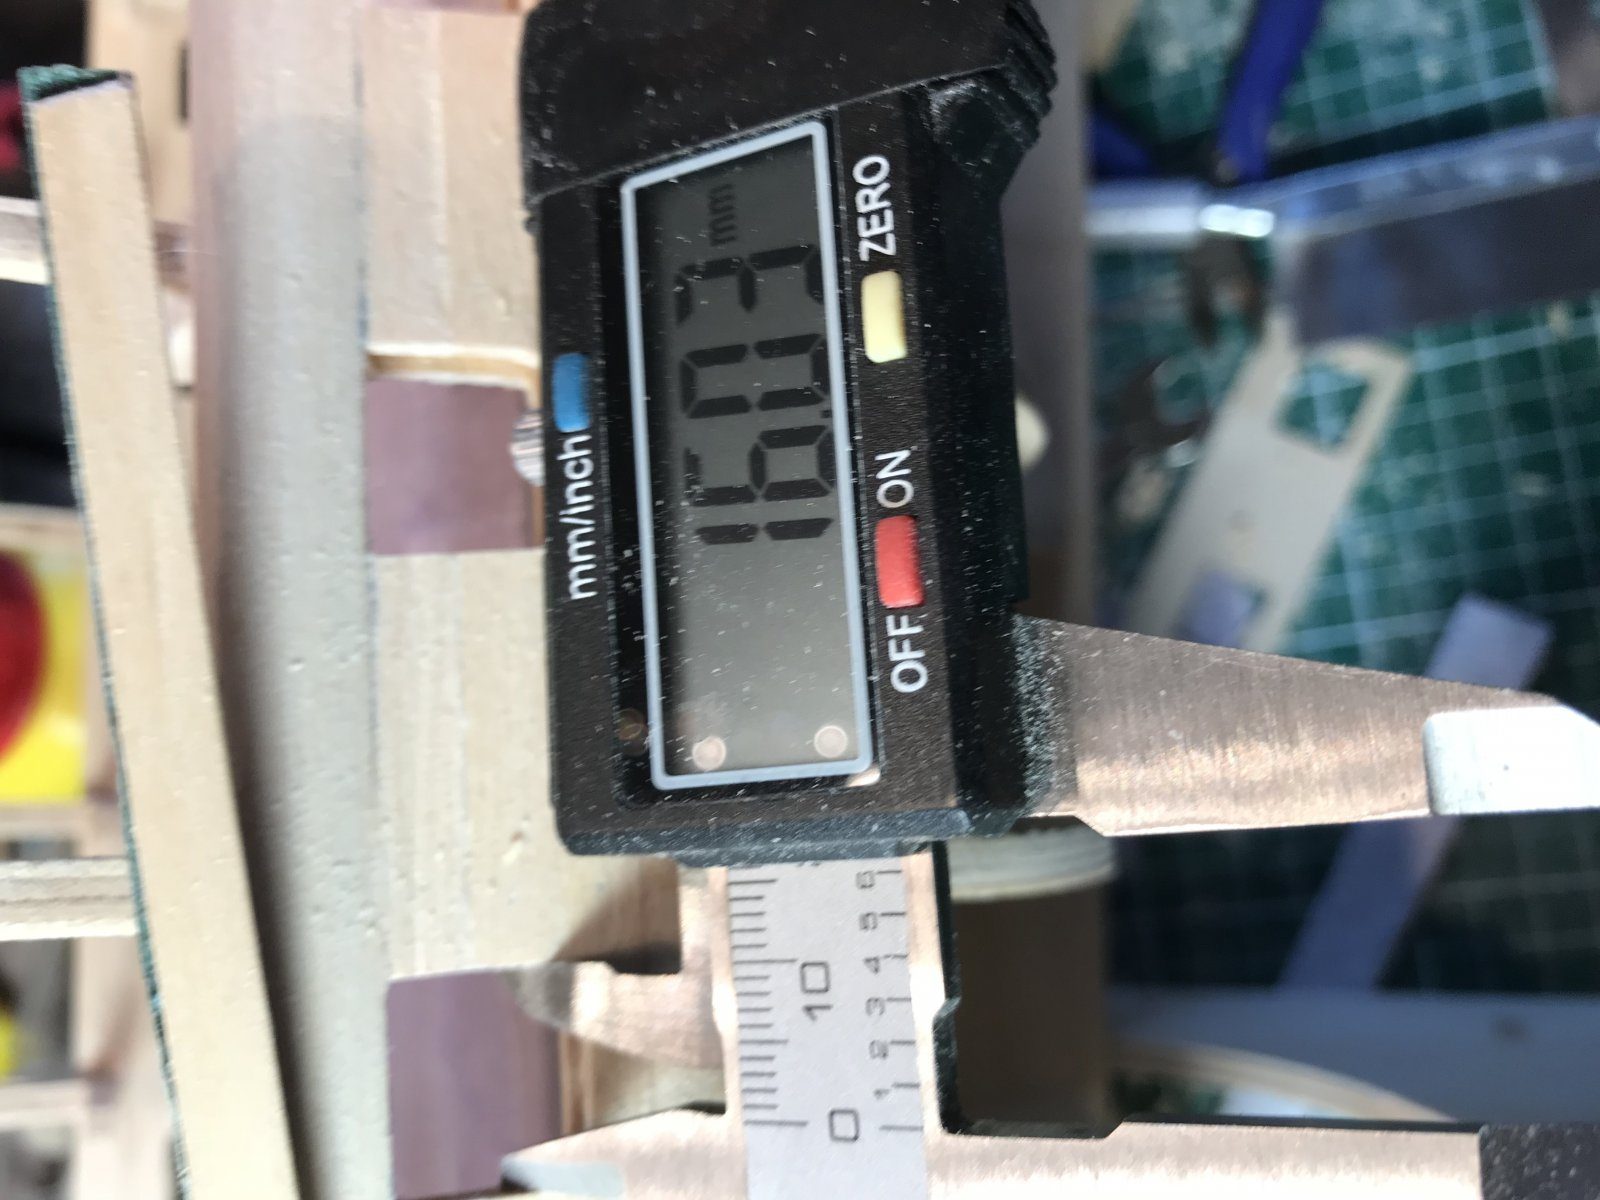
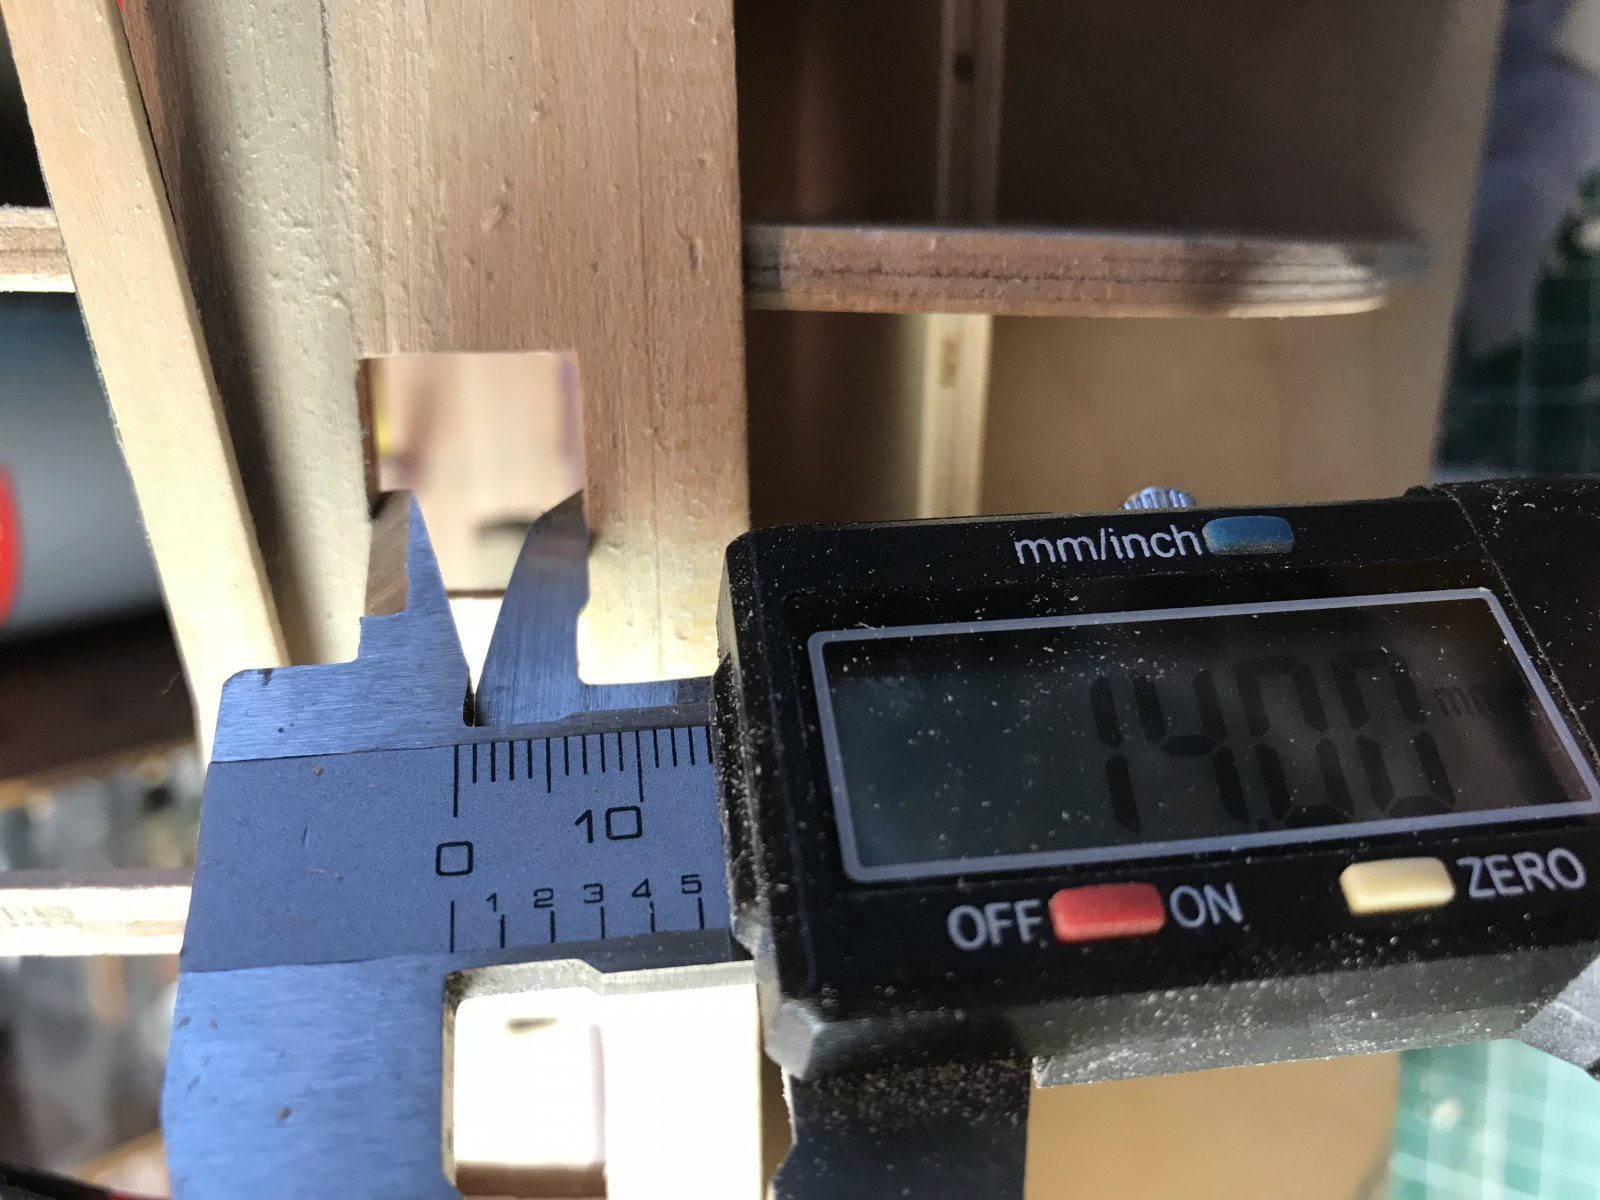
Measure each port with the callipers: 14 mm high and 16 mm wide. All the ports on one side take a long day: fourteen ports from 7 in the morning until 10 at night.
14 x 16 mm
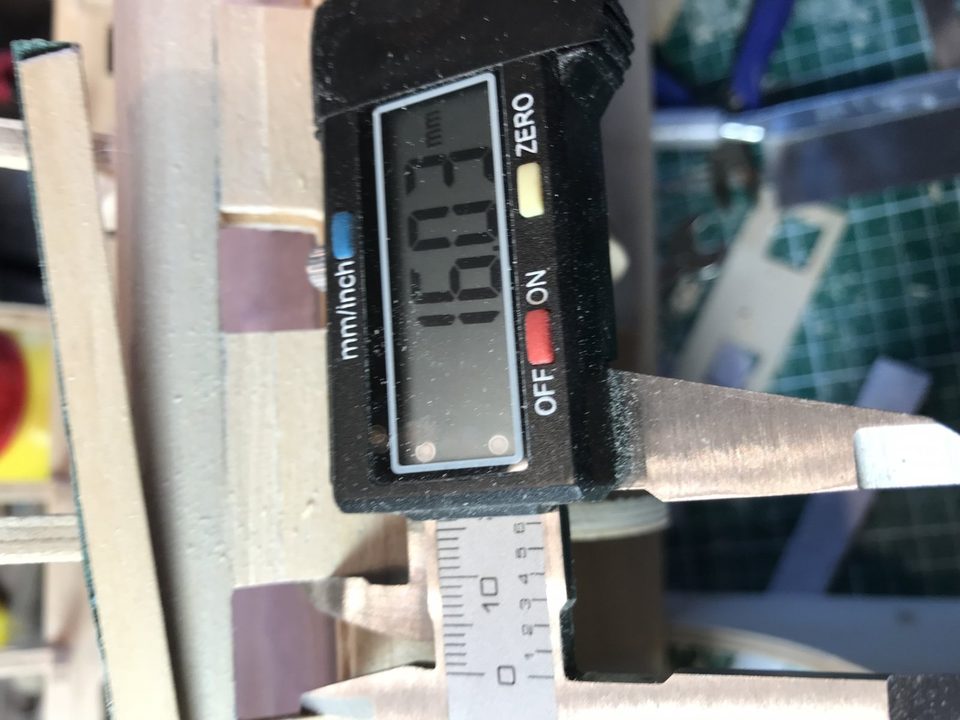
The callipers at 16 mm. 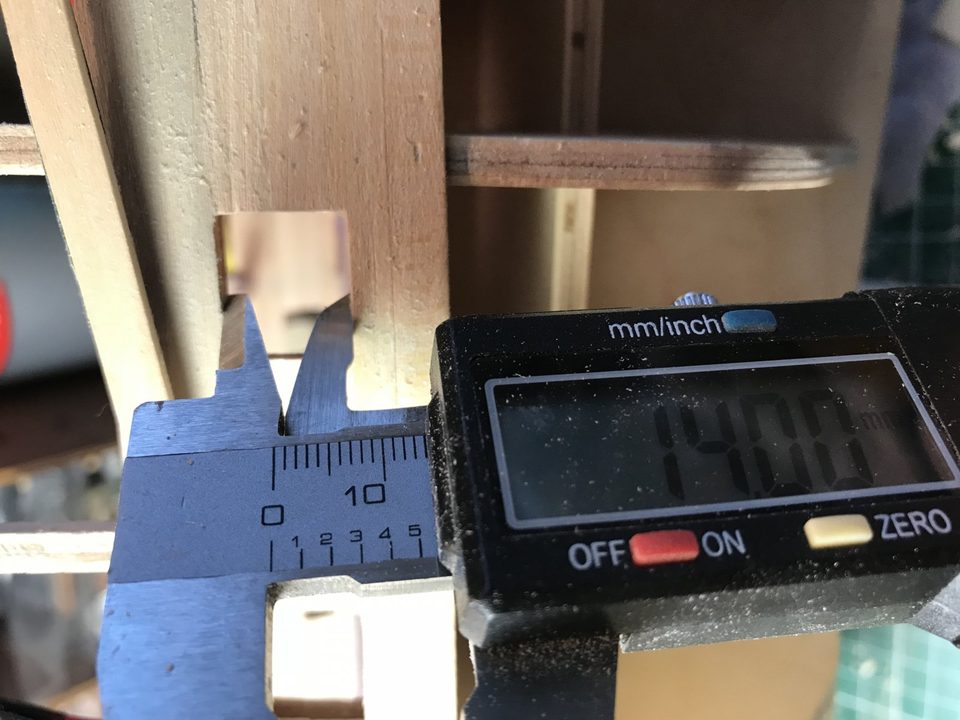
And at 14 mm. Now decide which ports get a lid. The kit supplies eight lids (66); the manual frames those ports only after the second planking and 1 mm deeper (10.4), so a closed lid lies flush with the hull. If you fit all the frames at the same depth straight away, there is no way back. We left those frames open in January 2018.
frames of ports with a lid 1 mm deeper (10.4); eight lids (66) in the kit
Tip from pietsan: Pietsan gave the foremost and the three aftermost ports on each side a lid and kept the very last one closed because his box was two guns short (modelbouwforum, 9 February 2015 and 24 August 2015). So count your guns before you frame the ports.
Result
All the starboard ports were in neatly after two days. Afterwards the upper deck turned out to sit up to 4 mm too high aft relative to the ports; we should have measured that before fitting the gun deck, and now solve it at the guns.
Problems met with this technique
Marking out the gunports at 30 and 31 mm spacing went wrong at bulkhead 5. Measured at 1.2 inch (30.48 mm); fudged half a millimetre here and there. (Tips from pietsan) to the register
While sanding the ports the sandpaper occasionally touched the deck, leaving ugly marks. Stick masking tape on the deck before sanding the ports. to the register
Aft, the upper deck sits up to 4 mm too high relative to the ports; with the port linings in, the gun amidships no longer fits in the port. The gun turned out to fit when turned round (the hole is off-centre); set the axletrees deeper into the carriage so it drops 1.5 mm; the top of the barrel at half the port height is right. (Tips from Pingu57, pietsan, Johan Verschuren, paulbo) to the register