Making the stern port lids with a template
Position the two aft port lids, which are on the drawing but not in the manual, with a template, glue the hinges onto the lid and finish with small pieces of brass against the hull.
What you need
- paper and pencil for the template
- hobby knife
- CA glue
- fine brush
- lids from 1 x 4 mm walnut (277, drawing 7)
- hinges 256 from the etched sheet (four; ours had three holes, pietsan's five)
- small pieces of brass strip
- black paint
- Time
- an evening
- Difficulty
- moderate
- When in the build
- Phase 6,
- From the log post
- The port lids at the stern · forum
Before you start
The transom is planked and the mouldings and the taffrail are on. Look carefully at the drawing: the aft port lids are not in the written manual, so if you follow that you will miss them.
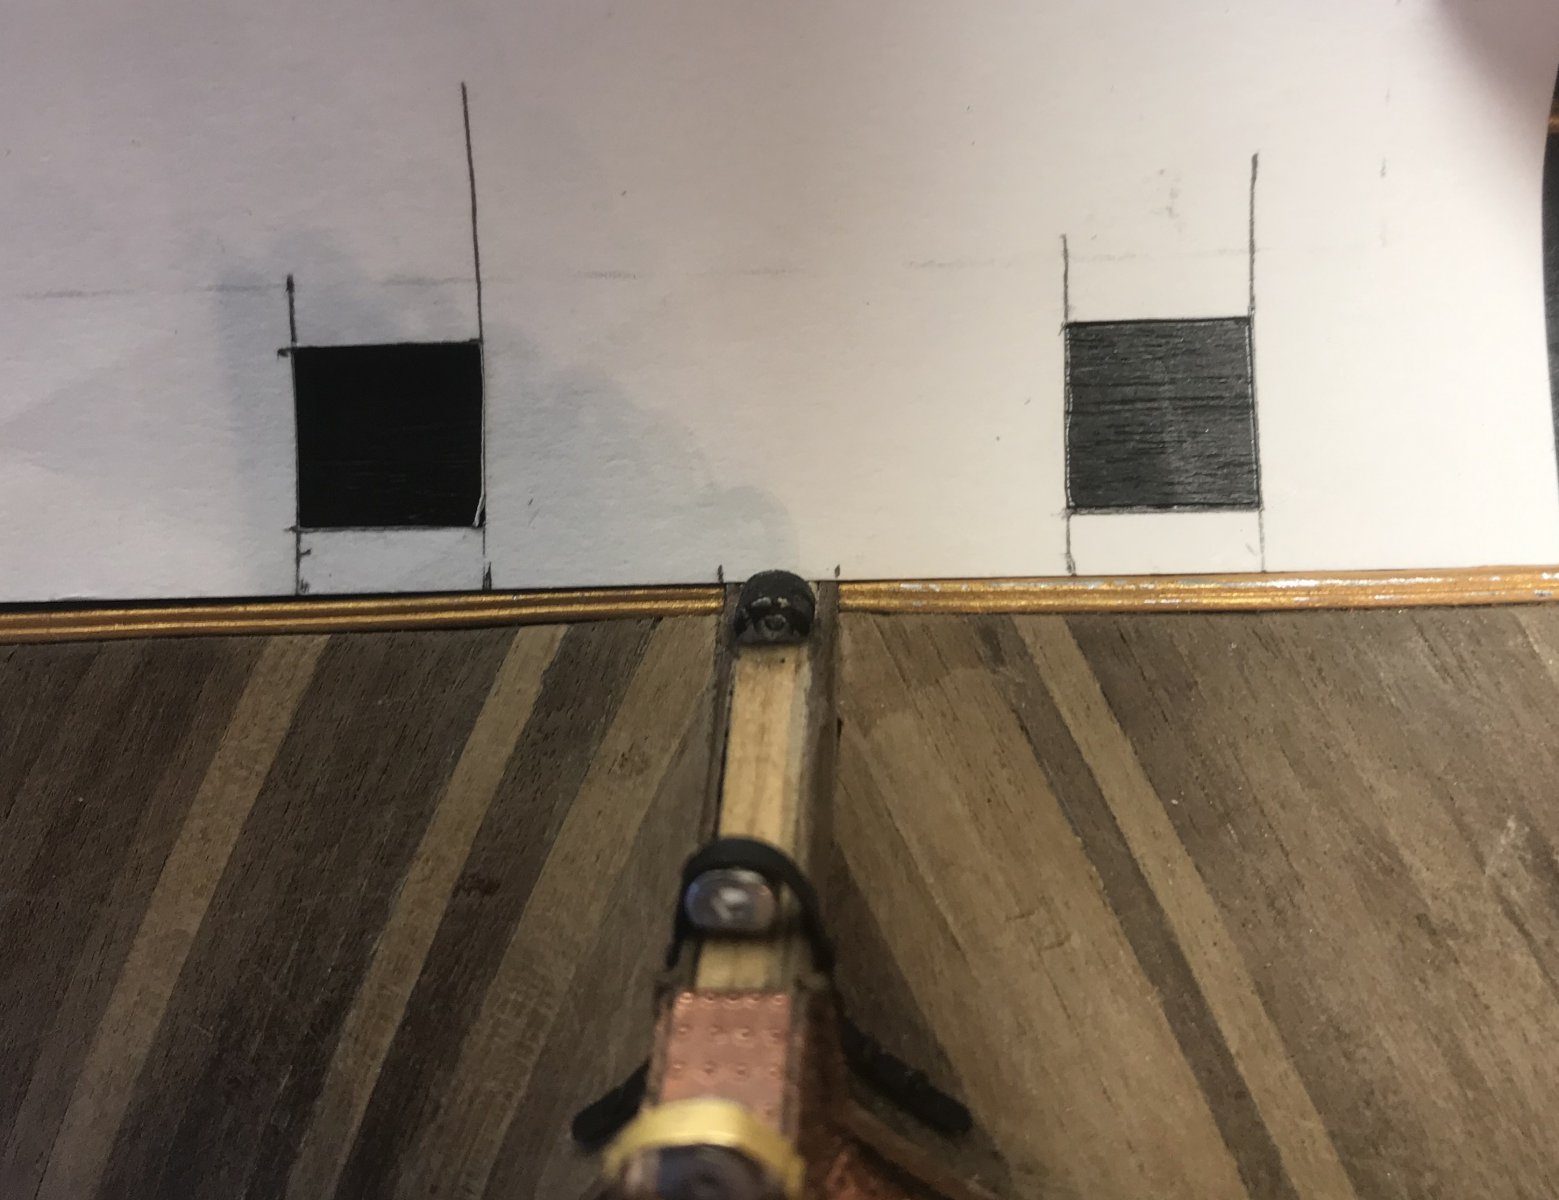
On a strip of paper trace the two lids from the drawing, using the lower edge of the transom as a fixed line. Hold the template against the transom and mark the openings. That way they come at the same height on both sides and equally far from the centre.
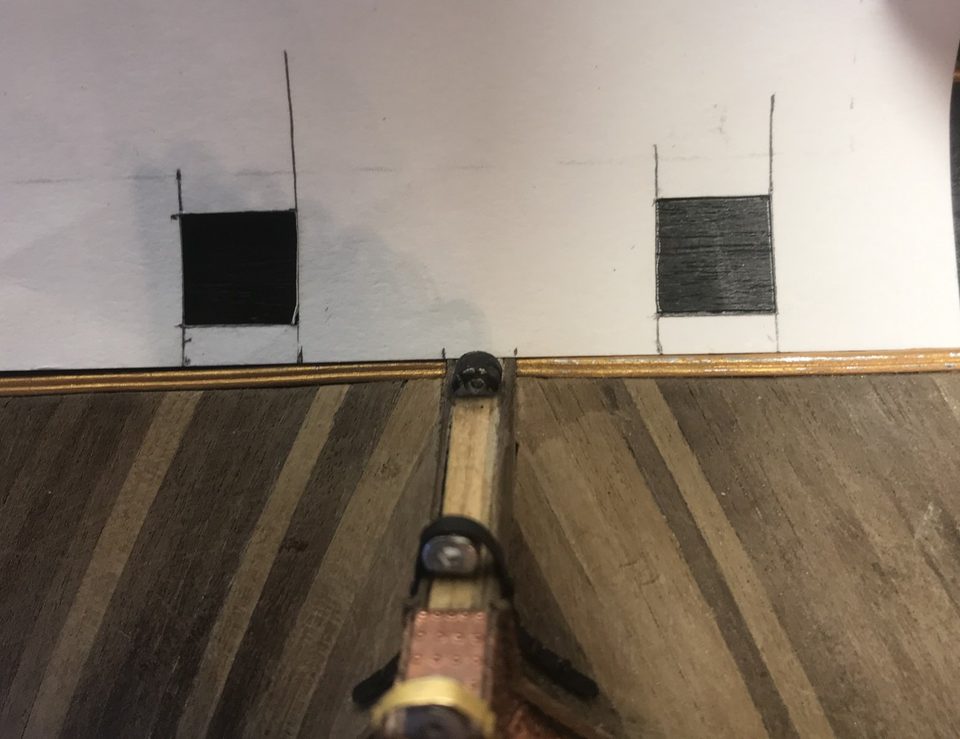
The paper template against the transom, with the two lids as black squares in the right place. Watch out: Without a template you measure each lid separately and they end up not quite symmetrical. We miss details like this because we follow the written manual; the lids only appear on the drawing.
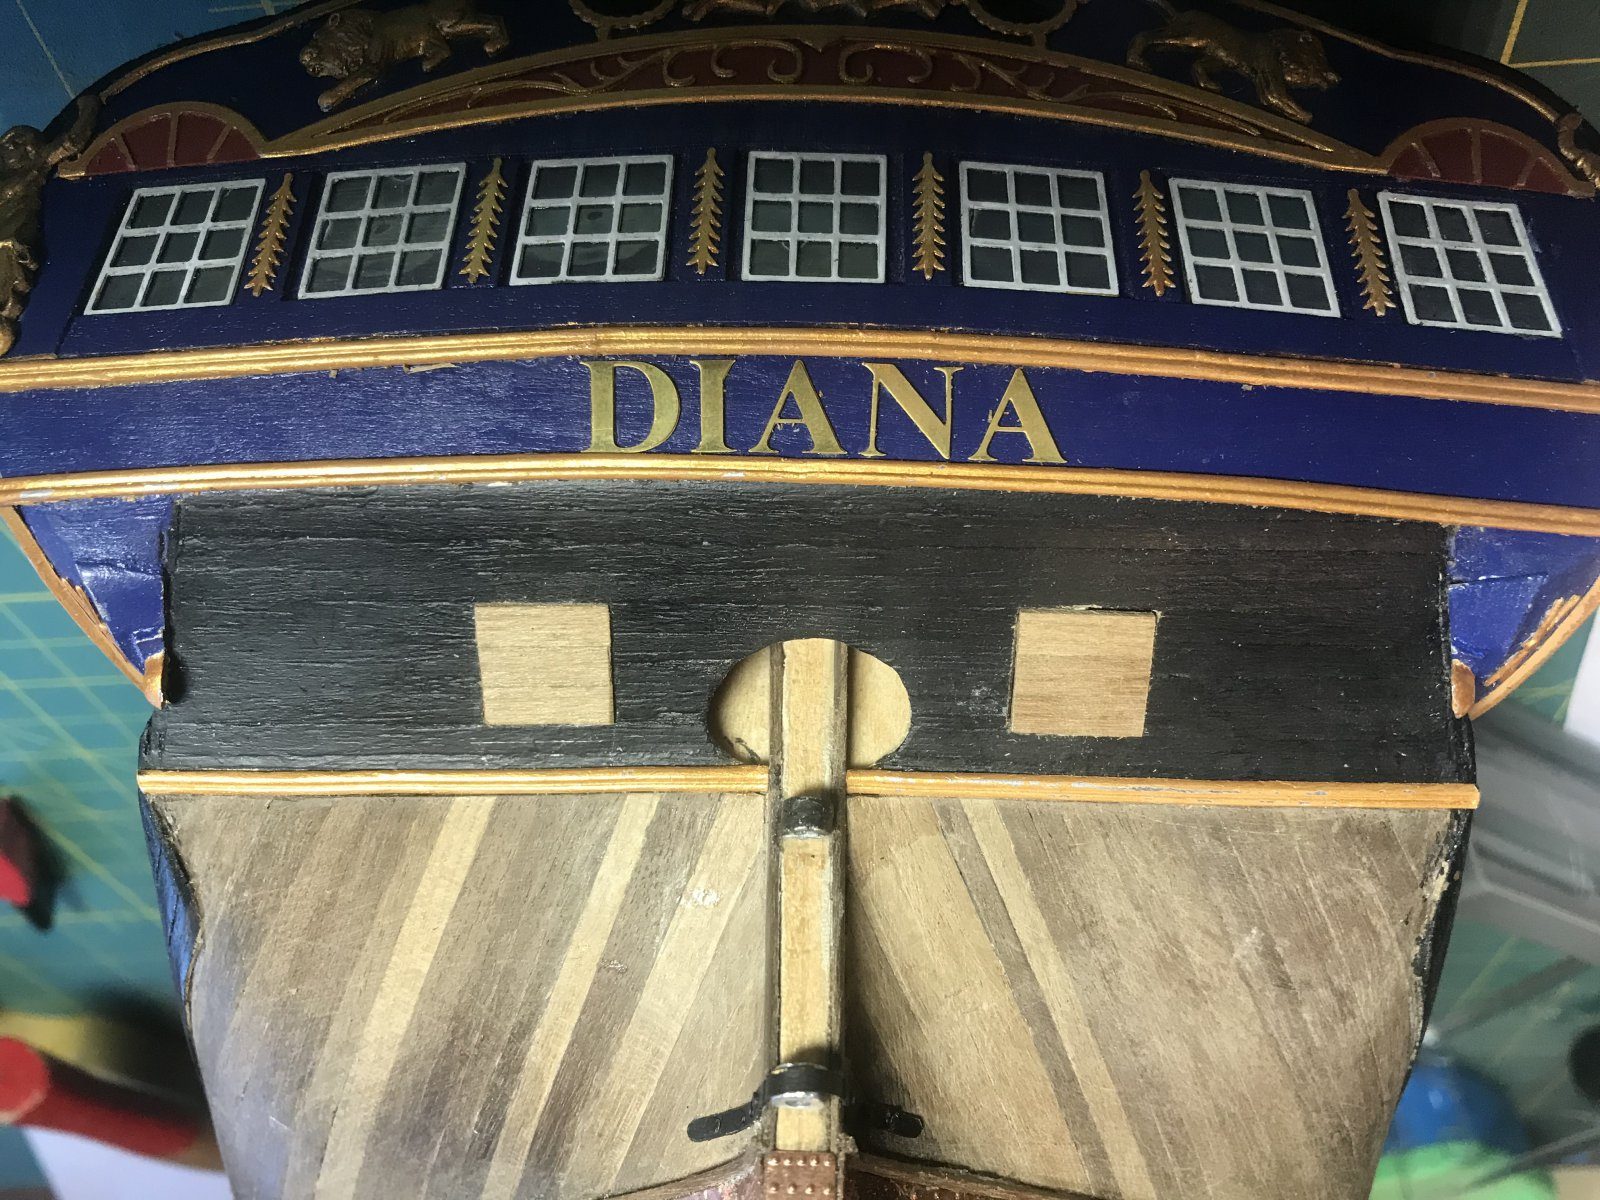
Saw two square lids from thin walnut. Lay each lid in place and cut around it, through the planking, so the opening closes exactly around the lid. Try the lid in the opening and sand where it binds.
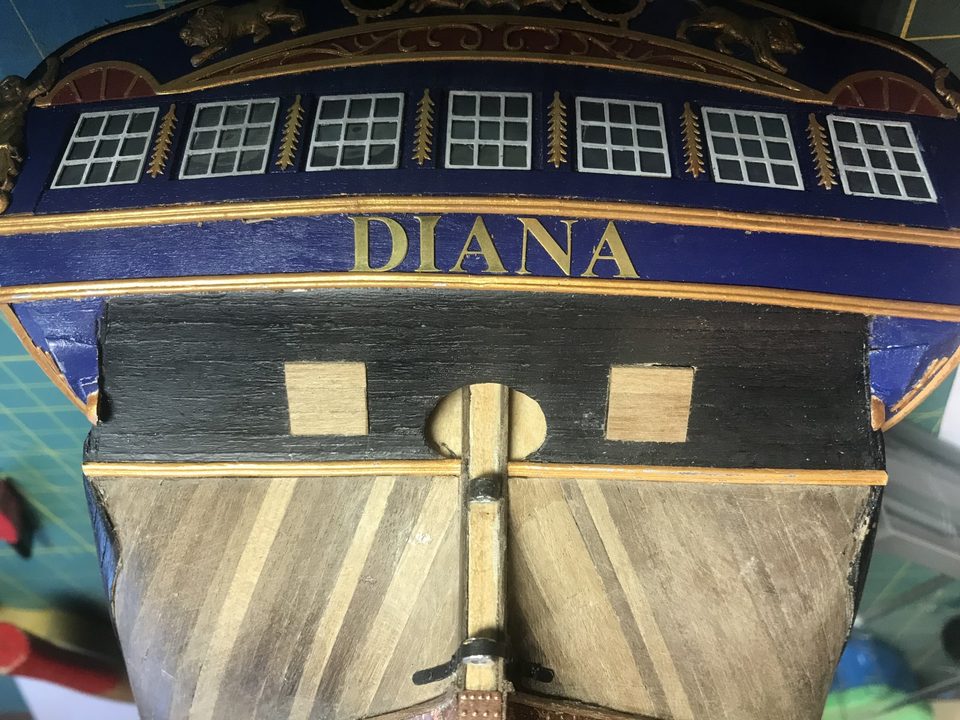
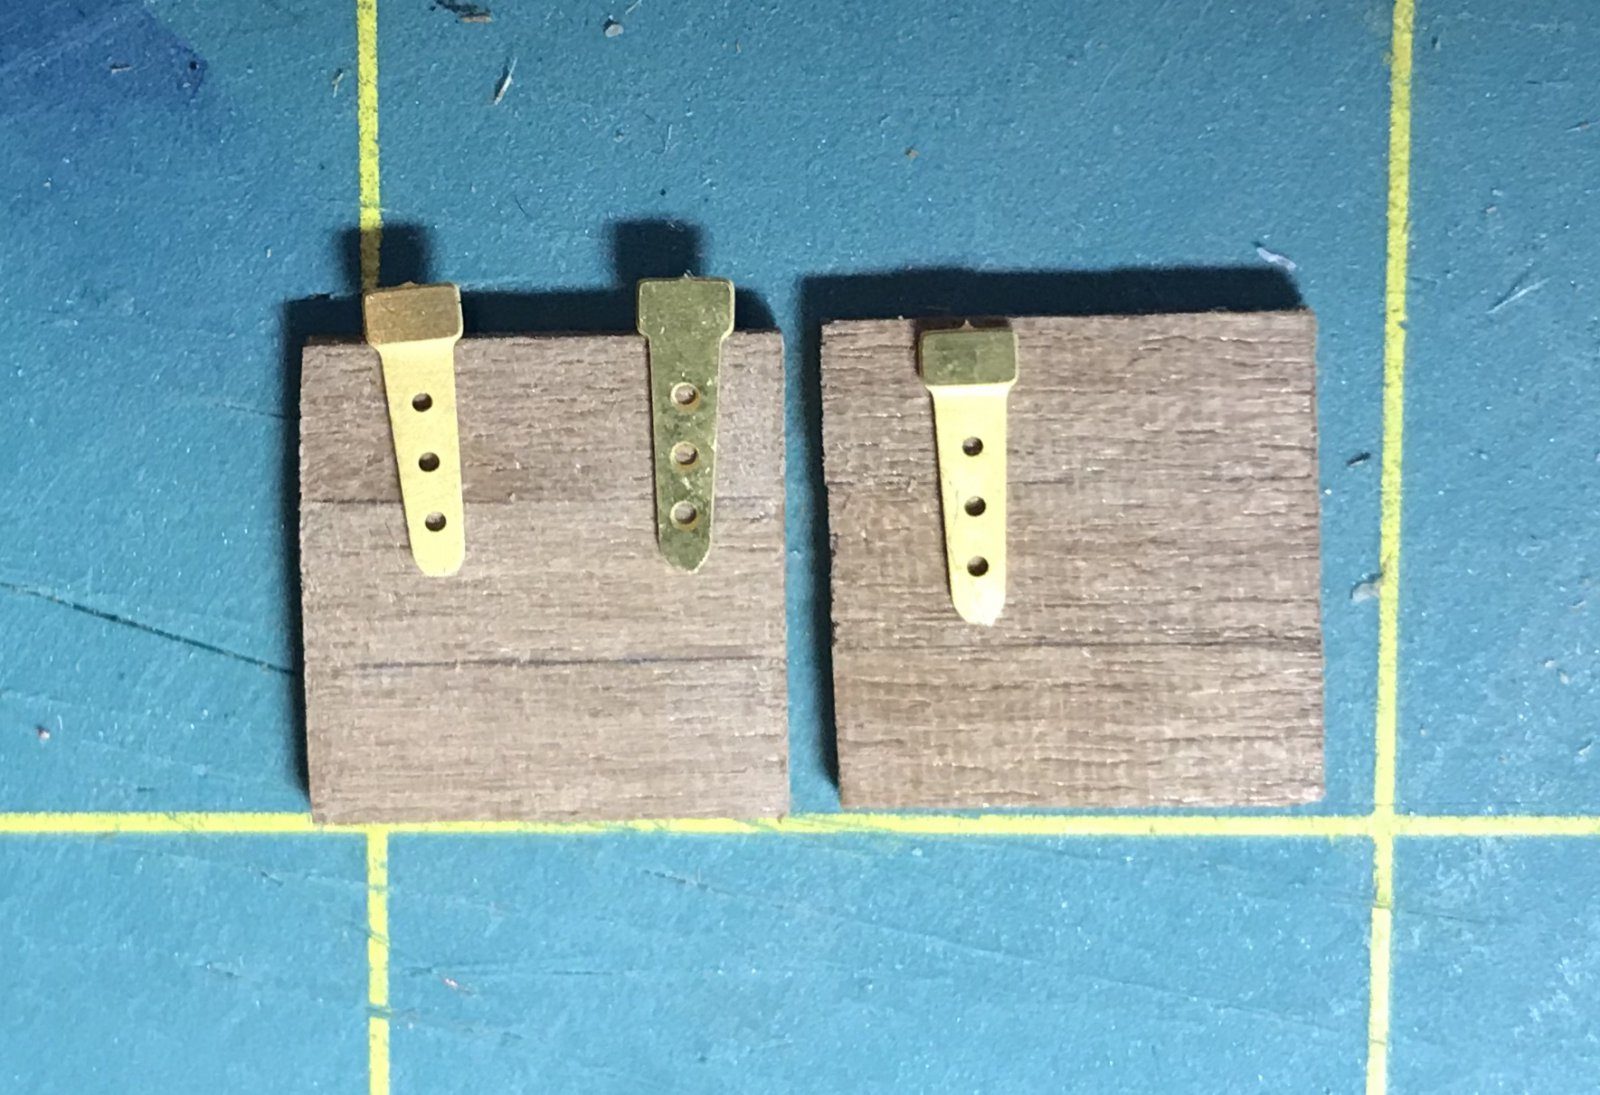
The two openings cut in the transom, with the lids fitted loosely. Lay the hinges on a lid and consider the three possibilities: the thick part on the hull (option 1), the thick part on the lid with the strap outwards (option 2), or the hinge entirely on the lid (option 3). The lid itself would have had eyelets and cord, otherwise it cannot open and close. We chose option 3, because the proportions look best.
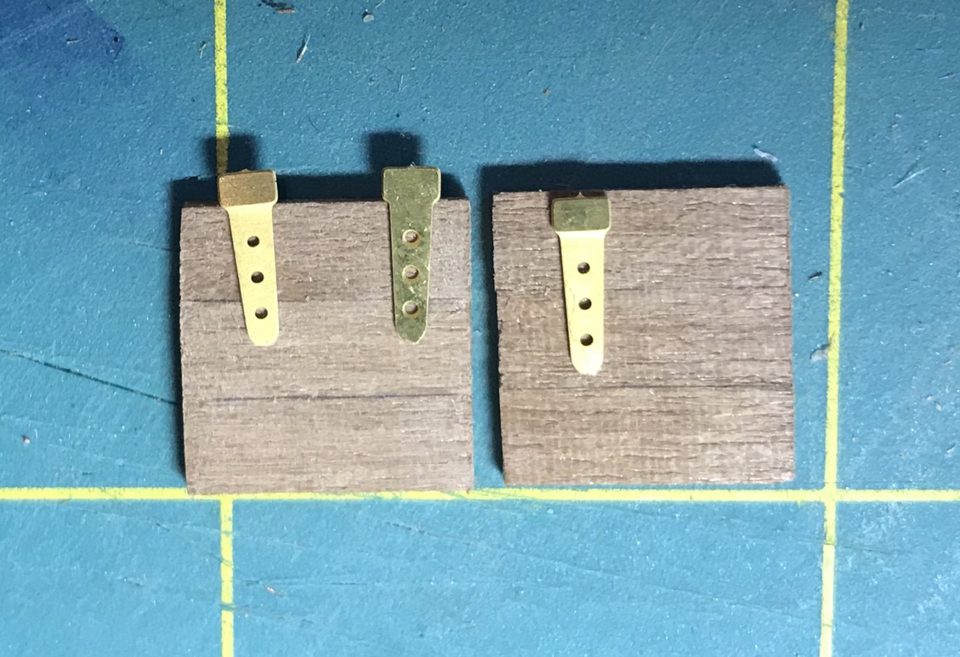
Three ways to lay the hinge; we chose the one on the right, entirely on the lid. Tip from pietsan: For closed lids I chose option 1, which works when the lid sits fully in the rebate and is flush with the hull. For open lids you bend the thick part at right angles and set it on the hull. Beyond that it does not matter much how you tackle it. If you want to bend the wide part over at a right angle, first anneal the brass to red heat and let it cool; then it bends without breaking, as *Hans* advised in another topic (modelbouwforum, 'scharnieren', 31 October 2018).
Watch out: In hindsight we should have glued at least half of the thick part onto the hull. Jan (janzwart) also thought option 1, with the rectangular part bent at right angles as a gluing surface. Note: our hinges had three holes, Piet's five.
Glue the hinges to the lid with a drop of CA, parallel to each other and at equal distance from the sides. Then set the lids in the openings and glue them in.
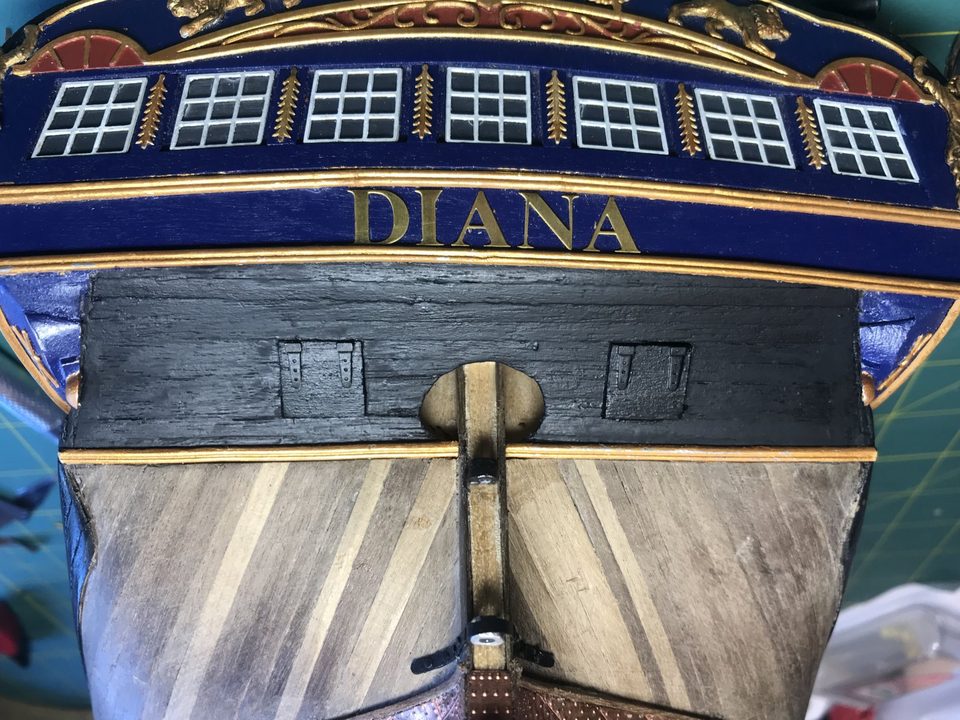
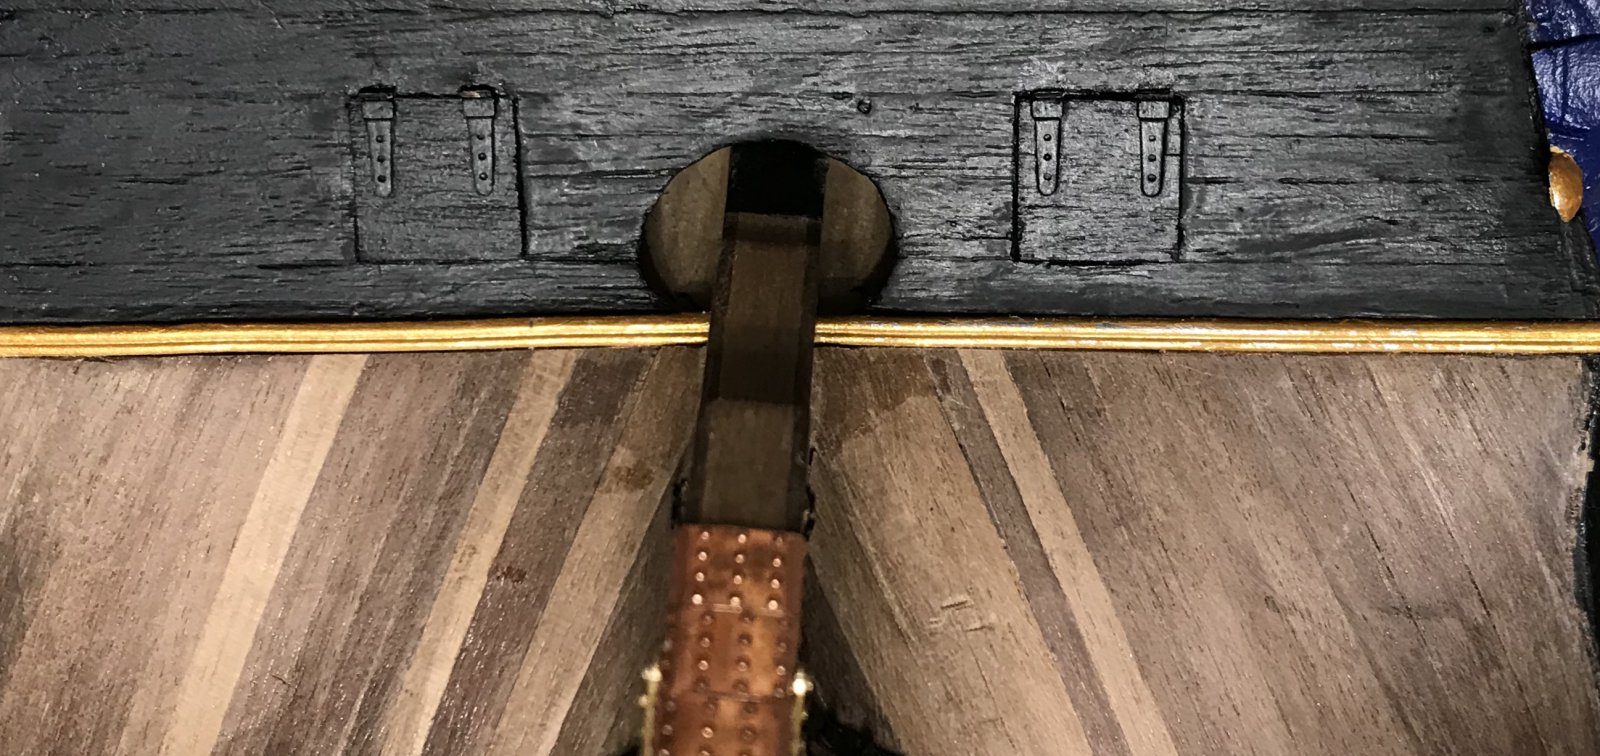
Both lids in the transom with the hinges on the lid as in option 3. 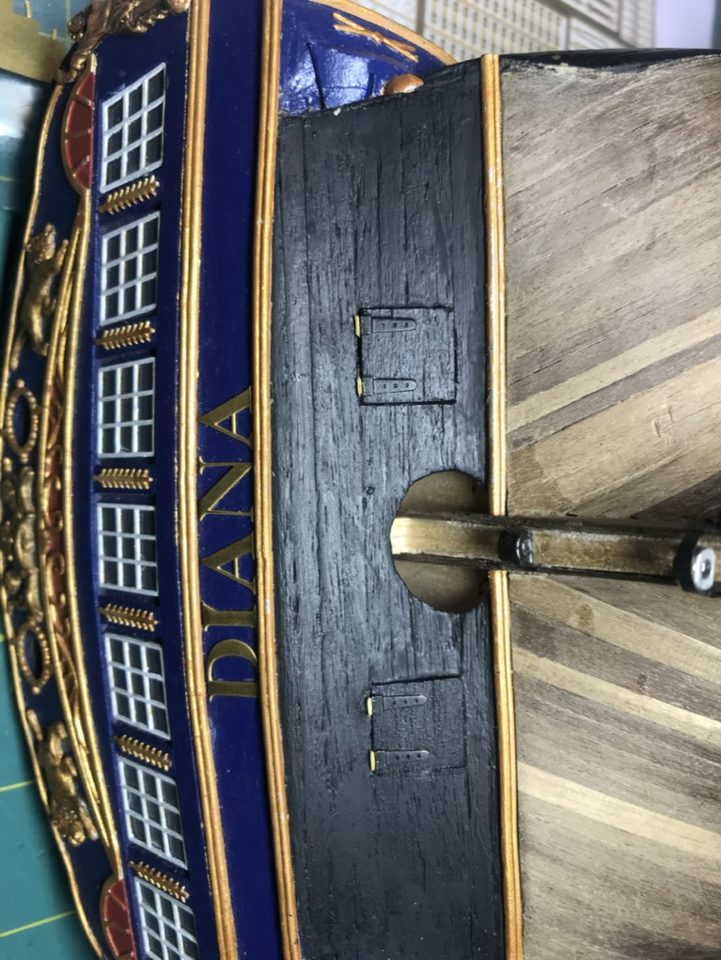
From the side: the hinges lie flat on the lid and do not yet touch the hull. Tip from pietsan: Coat the lid with clear varnish and lay the hinge in the wet varnish; varnish once more after drying. No glue residue. (modelbouwforum, 'Vaardigheden, tips en weetjes', 28 January 2020)
Because a lid with no hinge on the hull at all looks odd, cut small pieces of brass and stick them above each hinge against the hull, to suggest the part that belongs on the hull. After painting you can hardly see them, but they are there.
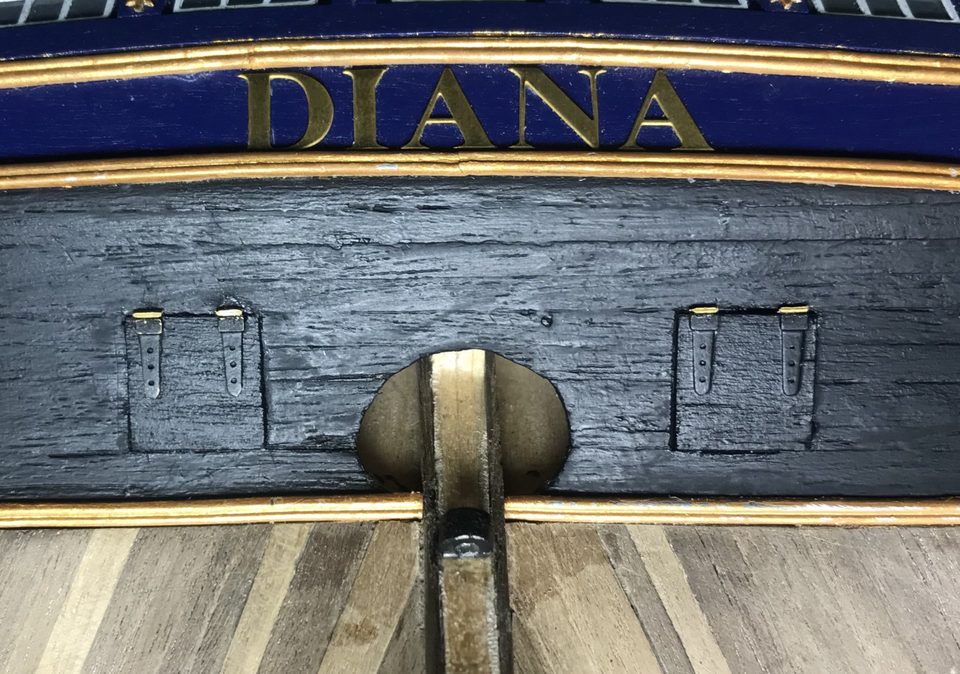
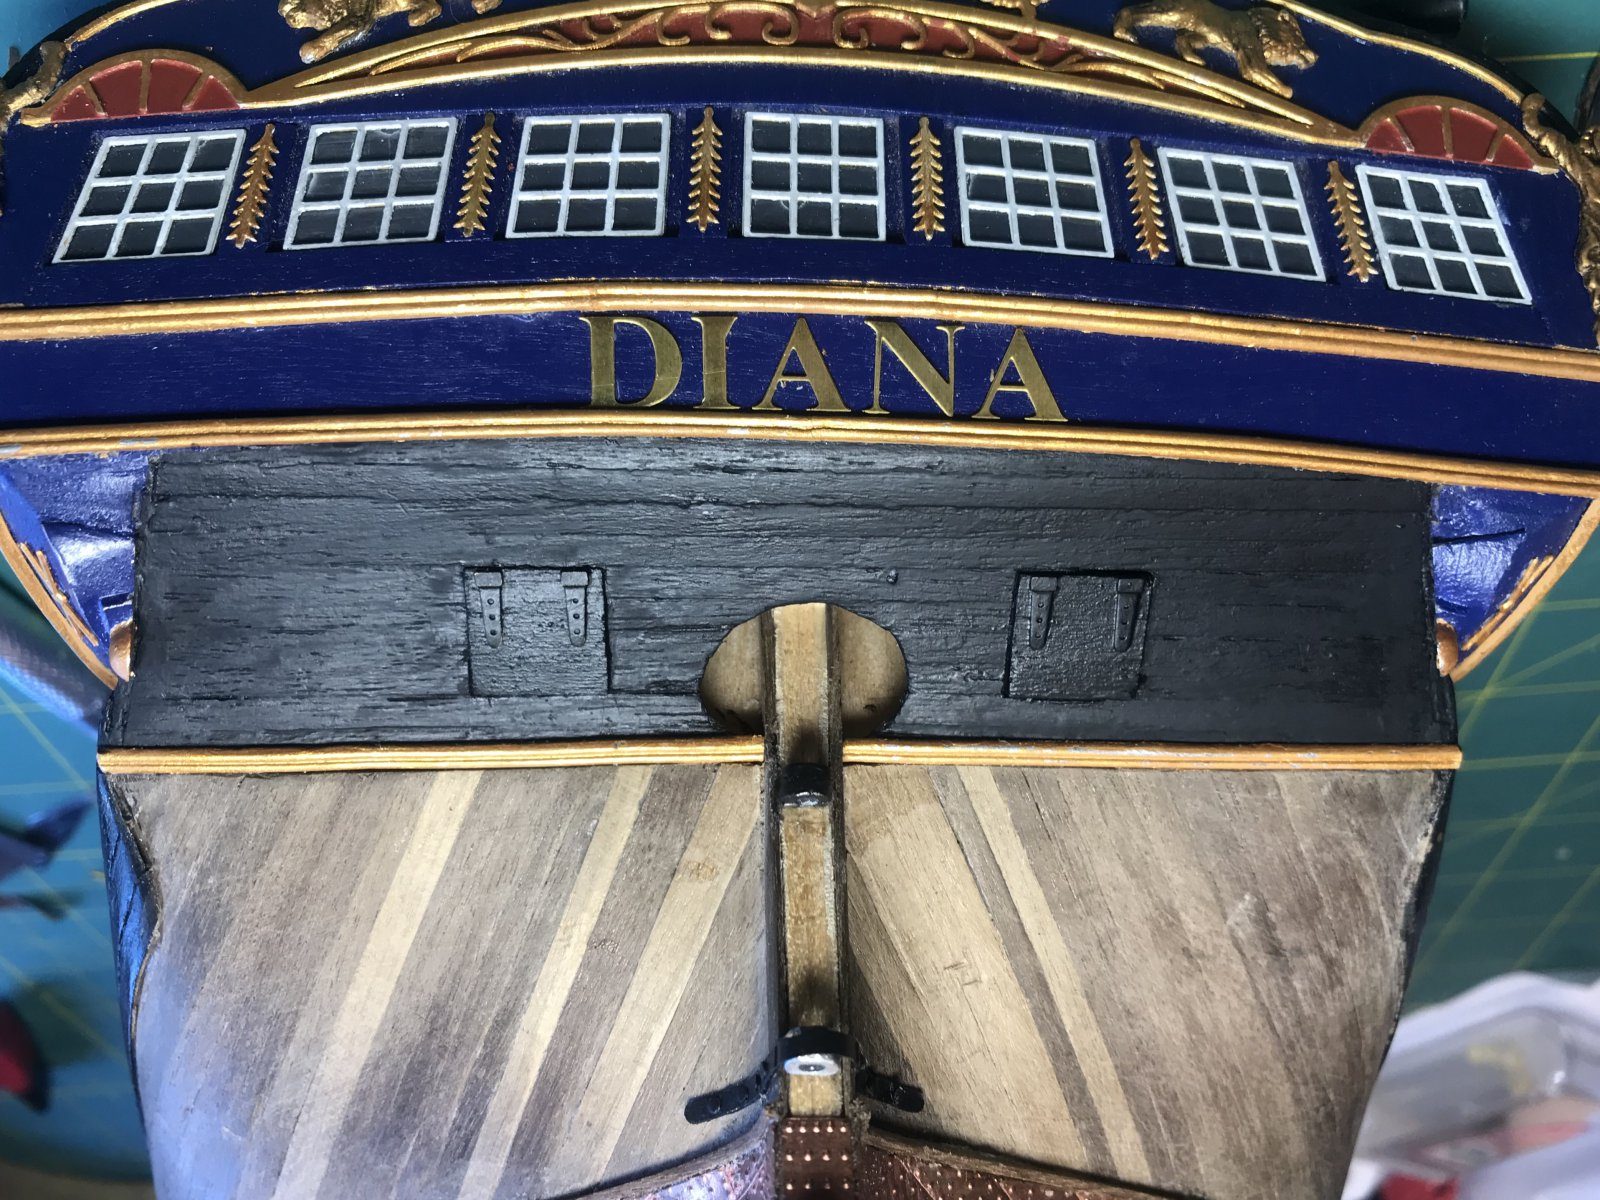
The small brass pieces above the hinges against the hull, still unpainted. Paint the lids, the hinges and the brass pieces black, in the same colour as the transom. Use a fine brush and thin coats so the hinges remain visible as a line.
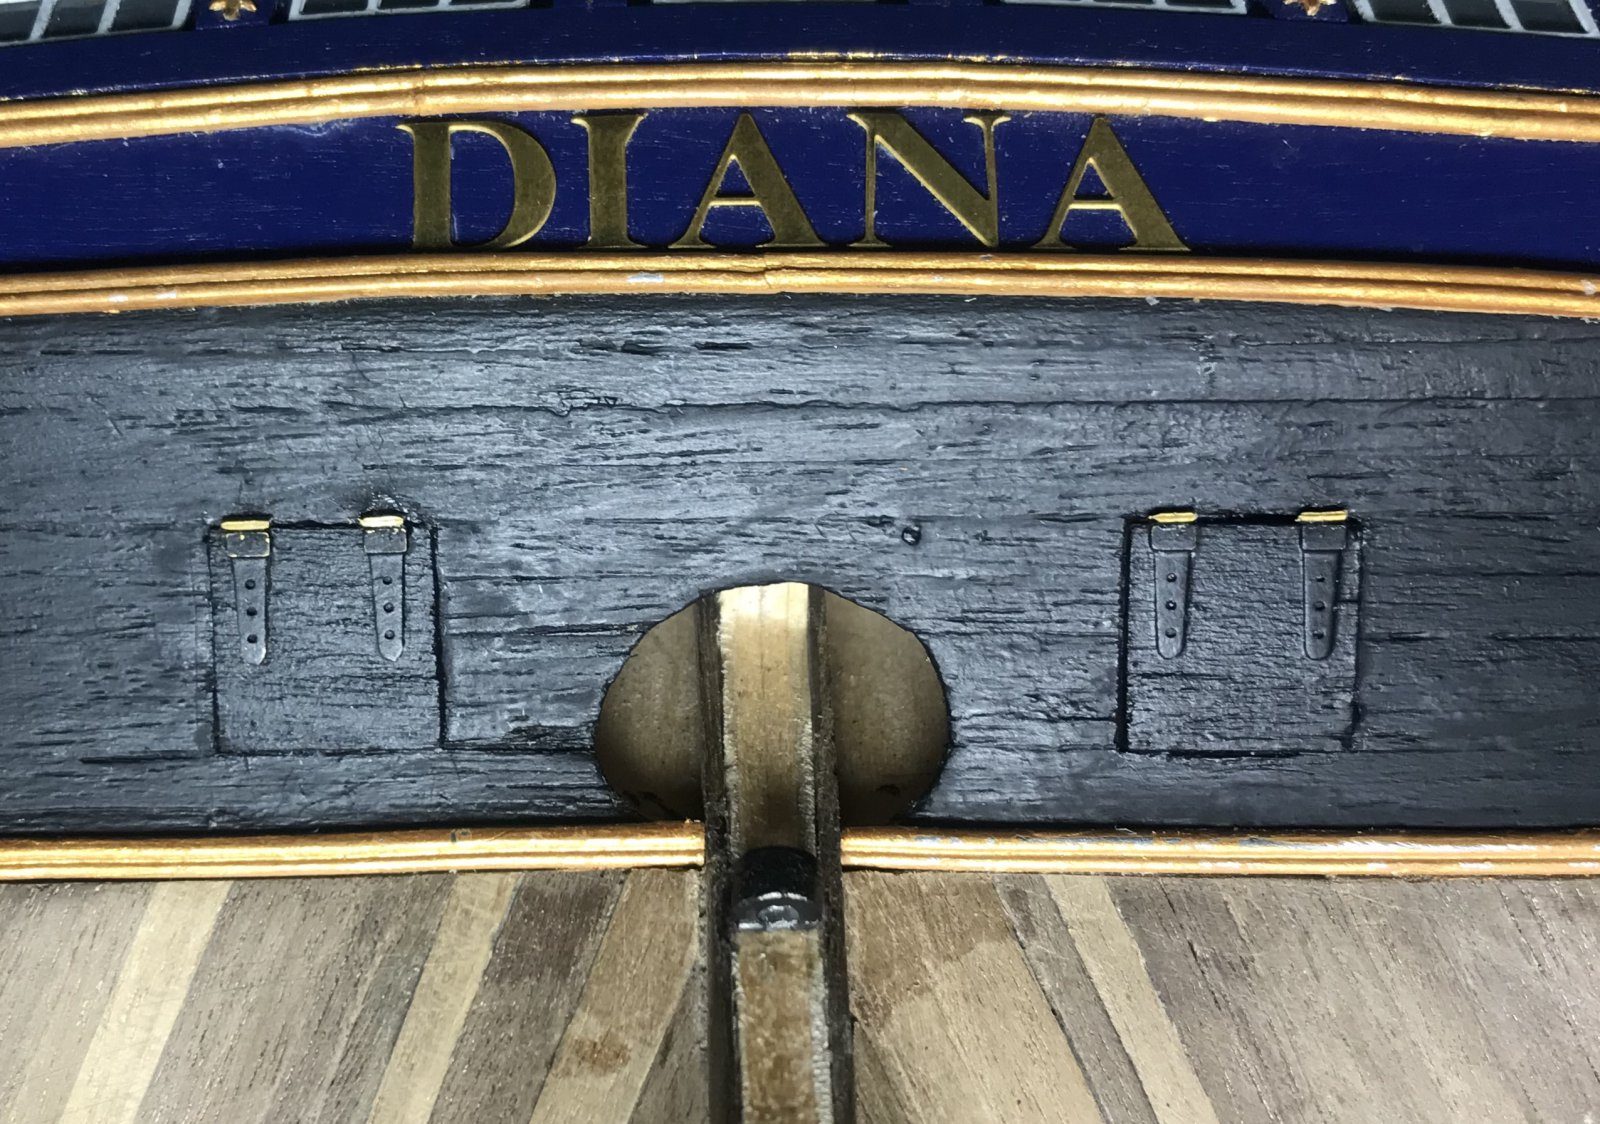
Result
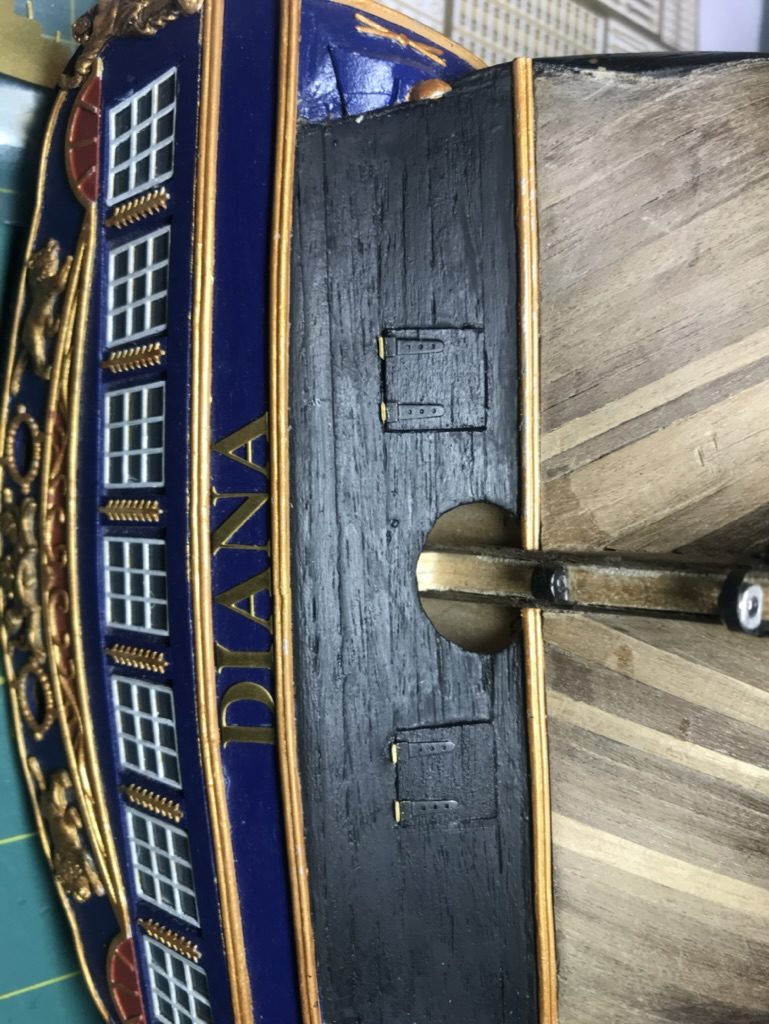
The lids are in and after painting black they blend neatly into the transom; Jaques thought it neatly solved. Next time we glue at least half of the thick part of the hinge onto the hull, or bend it at right angles as Piet and Jan advised.
Problems met with this technique
The aft port lids are missing from the written manual; they only appear on the plan. Made a template for the openings, made the lids, cut the opening out all round. For the eight port lids on the sides (66), still to do: pietsan was two guns short and therefore kept the aftermost port closed on both sides, with a lid in it (modelbouwforum, 9 February 2015, forum post, and the distribution of the lids on 24 August 2015, forum post); so count your guns before deciding which ports stay open. And his trick for the port lid lanyard without a thick knot: a 12 cm thread through wax, through the eye of the lid, the two ends twisted together, lightly coated with PVA, cut to length after drying and pushed into the hole with a little PVA (modelbouwforum, 'Vaardigheden, tips en weetjes', 3 January 2020, forum post). (Tips from pietsan) to the register
Unclear whether the hinges belong on the hull or on the lid. Chose option 3 (hinge entirely on the lid) with small brass pieces against the hull; in hindsight would rather have had them half on the hull. (Tips from pietsan, janzwart) to the register
Kit errata
The lids of the stern chase ports appear on drawing 7 (hinges 256, lids from strip 277) but are absent from the manual text. The ship had a lead-lined hole and a ringbolt for the port lid rope at each lid (book D1/3, numbers 4 and 16); the kit simplifies that to two small holes. Made them with a template; hinges on the lid with brass pieces. to the register
In the same series: Stern and ornaments
- Five trials for the transom windows
- Fitting the quarter gallery windows with a small frame as a jig
- Repairing a white metal figure with solder
- Painting gold-coloured carvings
- Applying the red line in the profile of the mouldings
- Mouldings at the right height first, channels after
- Bending a one-piece moulding round the bow
- Making the stern port lids with a template