Making one-piece walnut catheads and fixing them firmly
Saw two catheads from 5 mm walnut, fit them through the mouldings and secure them with nails, CA glue and PVA, because glue alone does not hold.
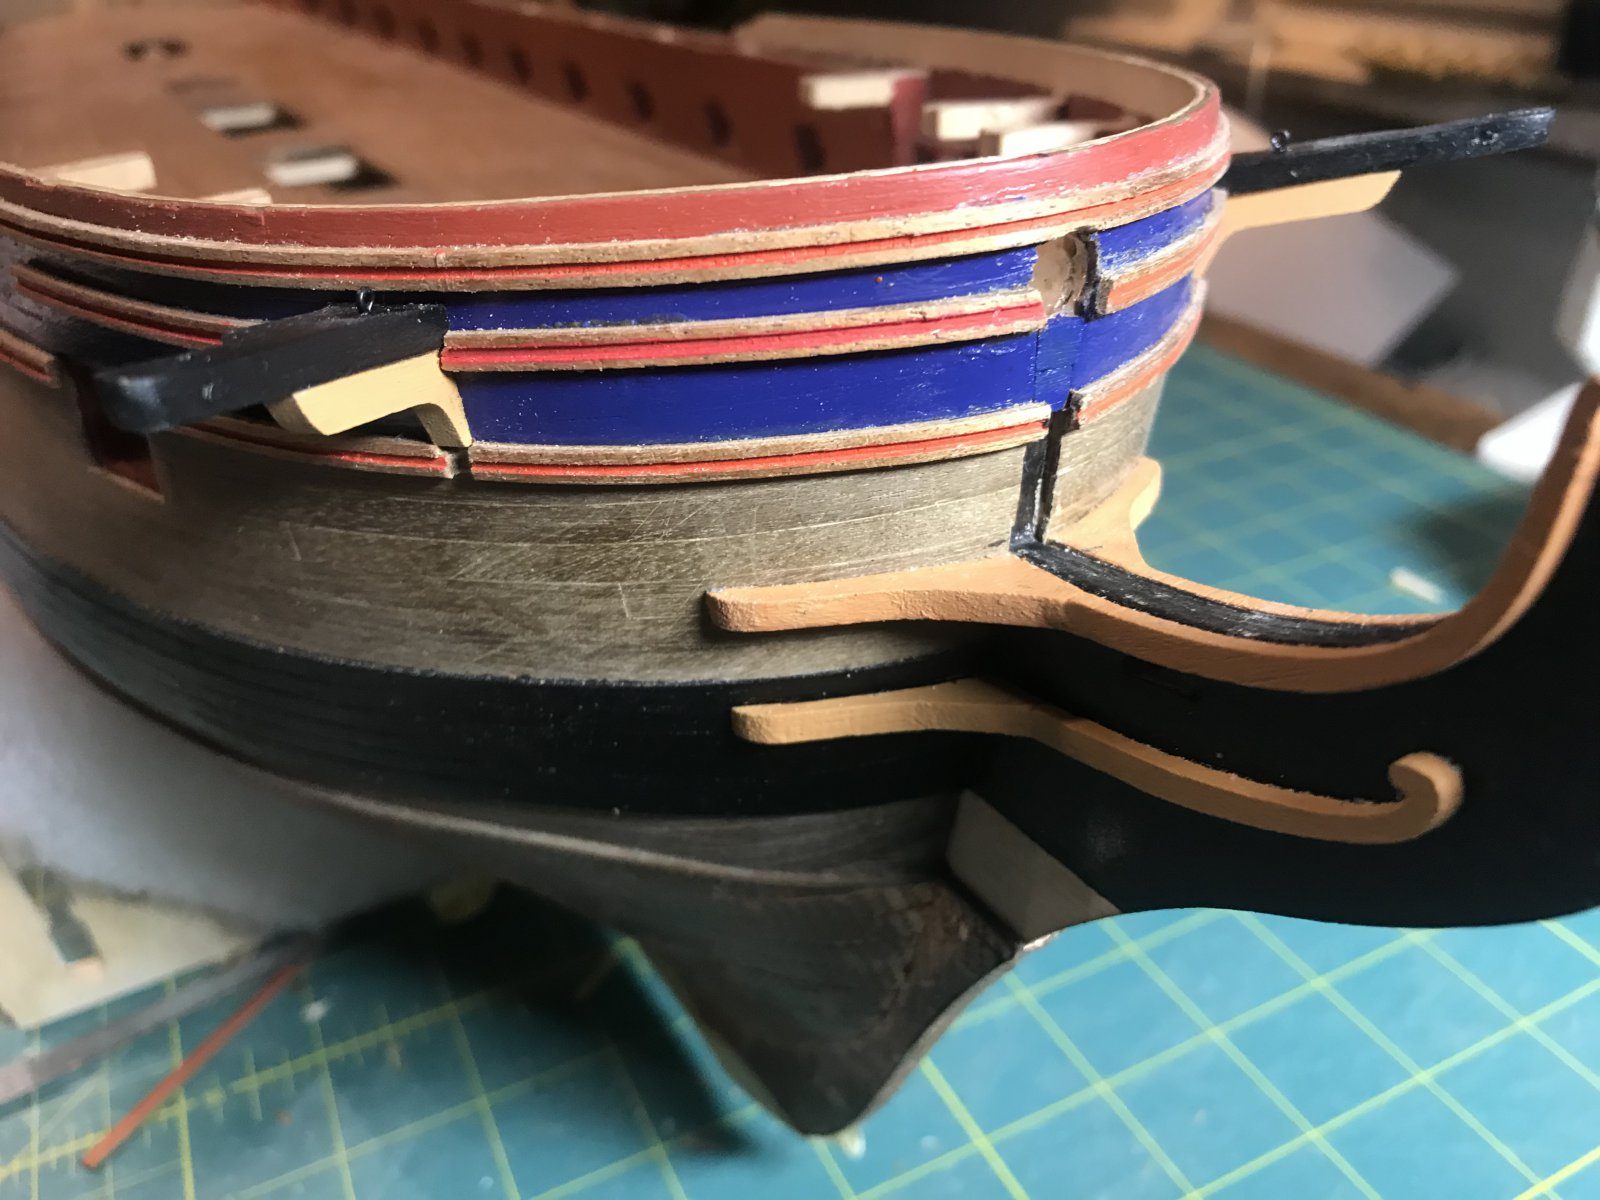
What you need
- saw
- file
- sharp hobby knife
- small drill or awl for the nails
- small hammer
- walnut 5 mm thick
- three nails per cathead
- CA glue
- PVA glue
Dimensions
- cathead from walnut 5 mm thick
- 35 mm long, 30 mm of it outside the hull (drawing 20)
- three nails per cathead
- pin 314 through the cathead into the hull (drawing 20); position beside the main head rail, 1 mm below the upper forward moulding (14.1)
- Time
- an evening
- Difficulty
- moderate
- When in the build
- Phase 6,
- From the log post
- Bowsprit and catheads · forum
Before you start
The mouldings around the bow are on and the bowsprit has been filed to size and fitted. Do fit the bowsprit first: once the head is in place you can no longer get at the hole with a drill, as Piet warned when the mouldings went on at the bow. Mind the angle of the bowsprit hole: sheet 1 draws the bowsprit twice and the lower drawing is too flat, so the bowsprit would later touch the figurehead (reported by dunnock following a remark by Beef Wellington, Model Ship World, 11 January 2021, forum post). Follow the upper drawing or the Anatomy book (F1/8). Pietsan dry-fitted the Diana figure on the head to find the height of the bowsprit (modelbouwforum, 4 March 2015, forum post). If the head is not finished yet, consider HMSFly's order: catheads first, then the lower head rail, because that cast strip has to be bent to shape until it meets the cathead anyway (Ships of Scale, 25 October 2024, forum post).
Saw two catheads from walnut 5 mm thick. The manual (drawing 20) has you build them from five strips of 1 x 3 mm (280) with pieces of 0.5 x 3 mm (281) between them as the sheave slots; those are the same strips as for the wales, and ours were already used up. At the time we read it as five separate pieces and searched in vain. One piece looks better anyway. Keep to the dimensions of the drawing: 35 mm long, 30 mm outside the hull. Round off the head and file the sides smooth.
walnut 5 mm thick; 35 mm long, 30 mm of it outboard
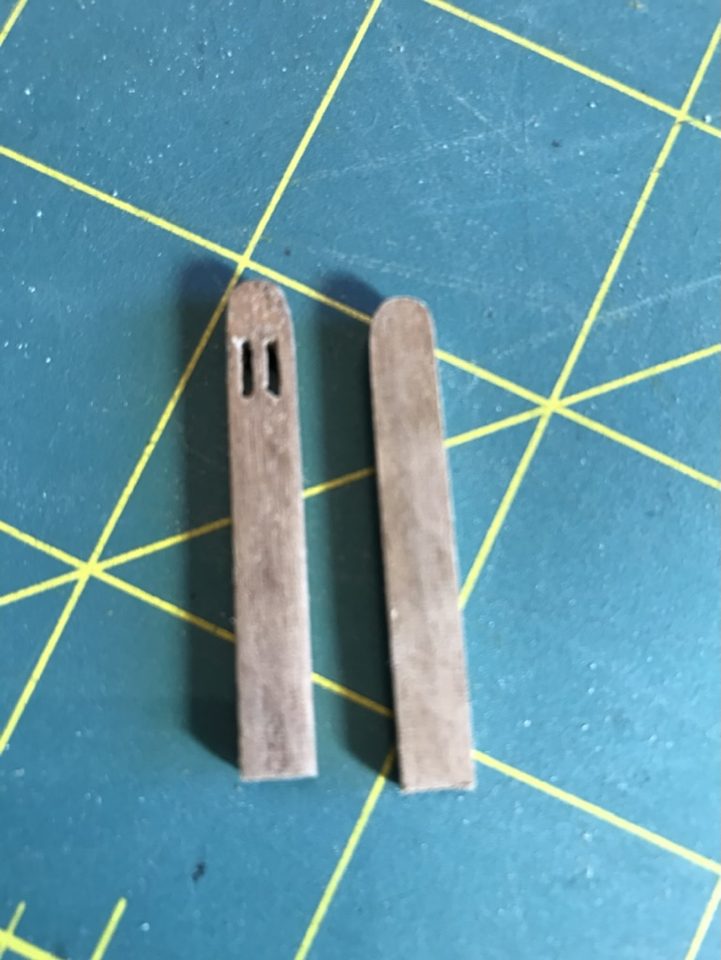
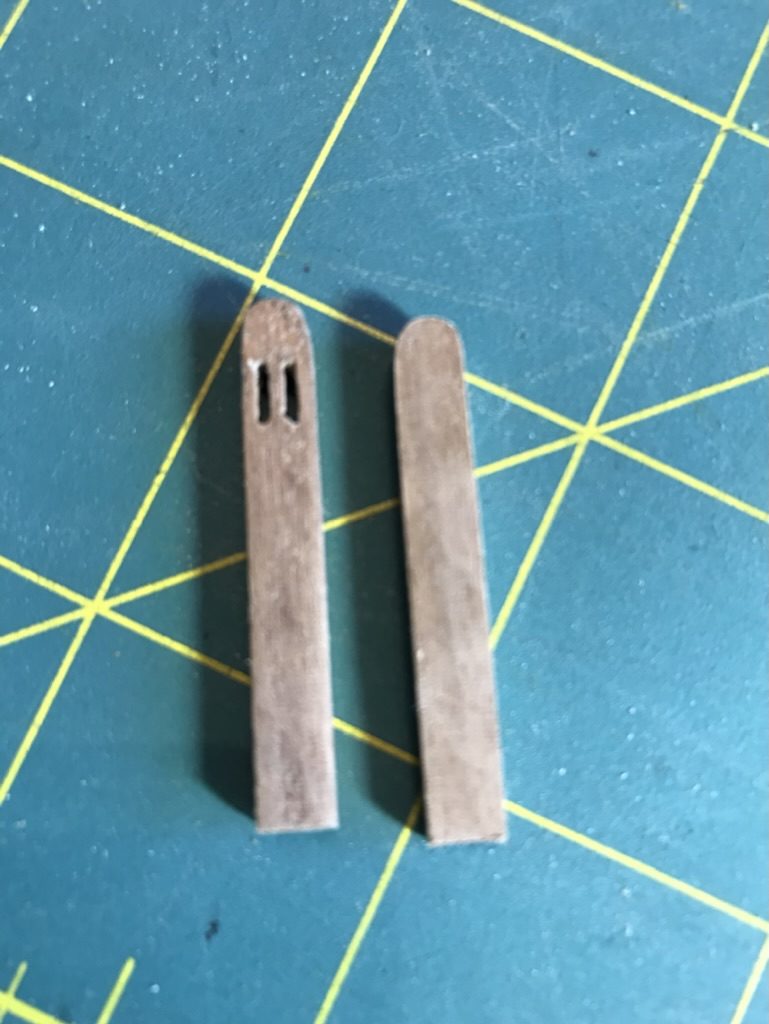
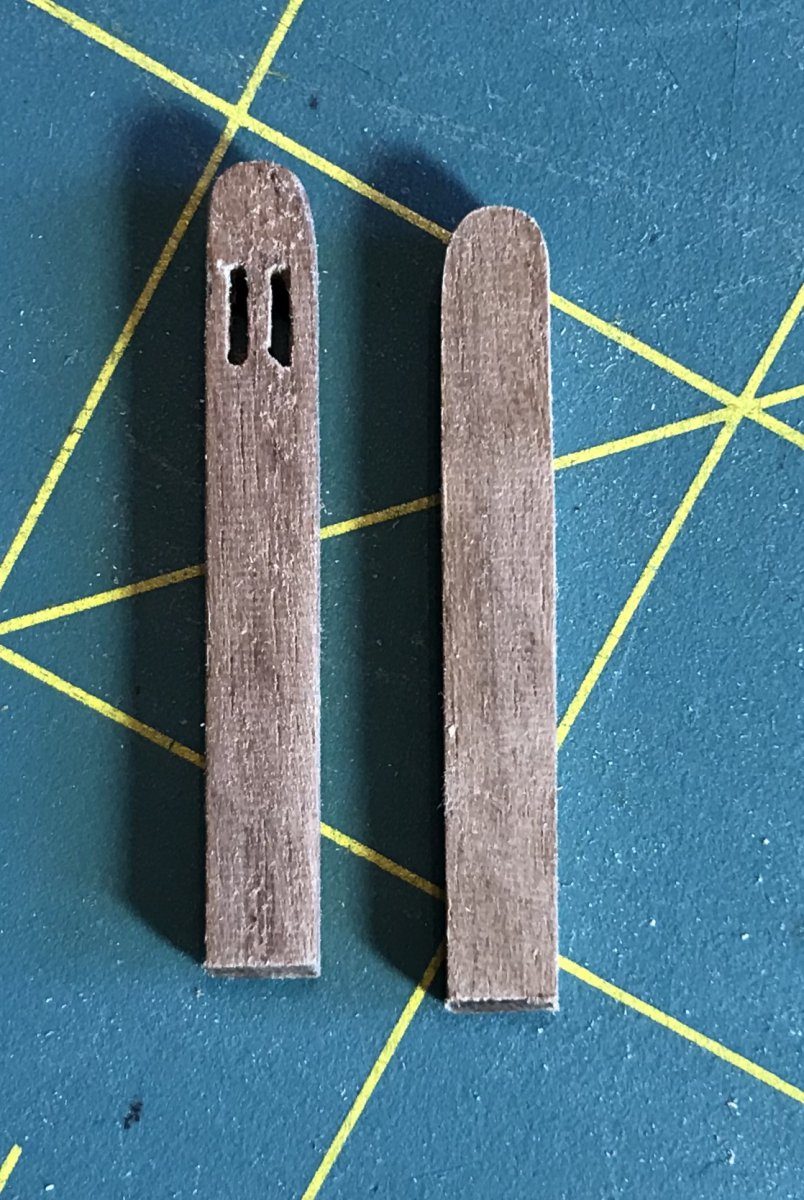
The two catheads from 5 mm walnut side by side on the cutting mat. Watch out: Do not look for five separate pieces: the manual means strip wood 280 and 281, which you have probably already used in the wales.
Mark the two slots for the sheaves in the head of each cathead and cut them out with a sharp blade. Work from both sides towards the middle so the wood does not tear out at the back.
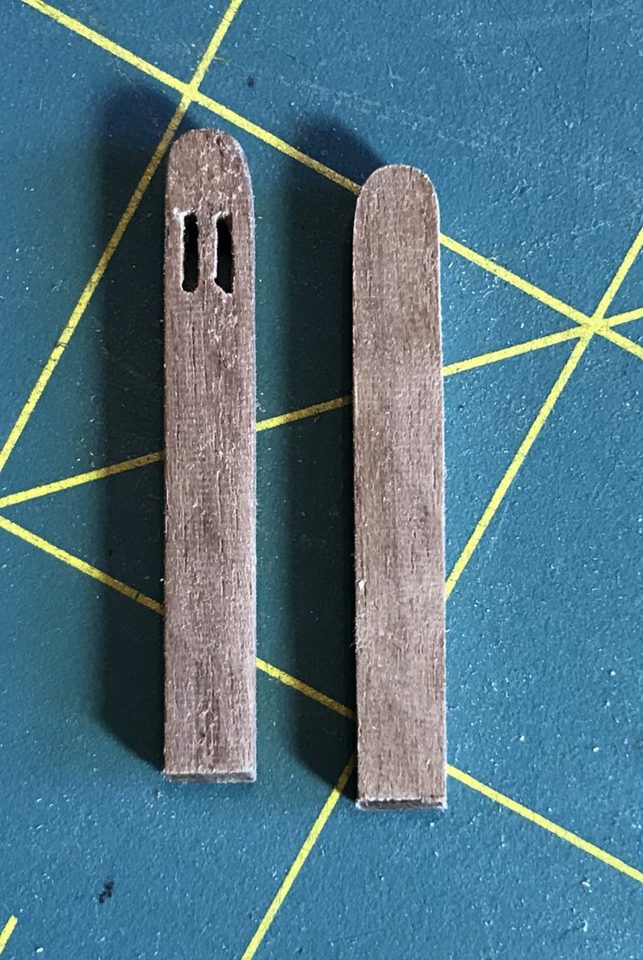
Left, the cathead with the two slots already cut in the head; right, the uncut blank. The catheads pass through the mouldings. Mark the position of the cathead on the mouldings and cut an opening exactly the width of the beam with a sharp blade. With a sharp blade that turned out to be perfectly doable.
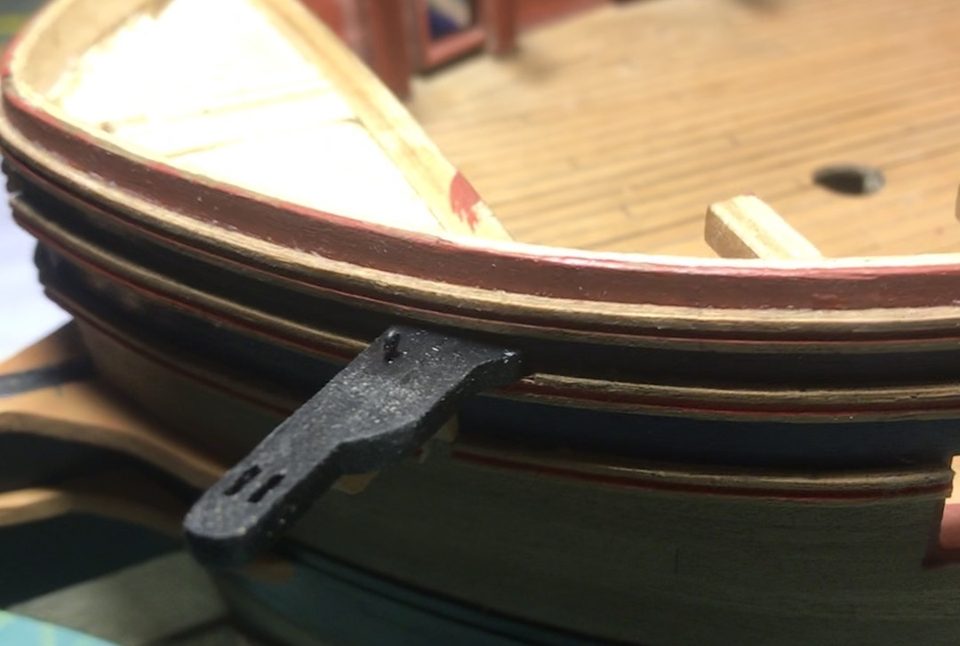
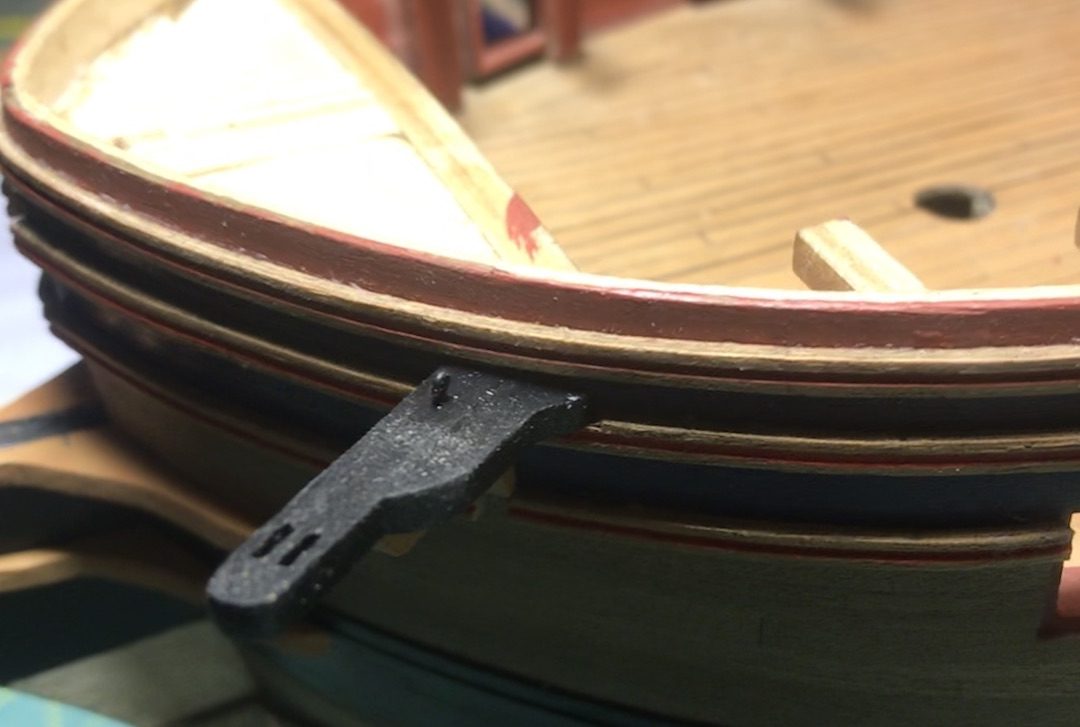
The cathead passes through the cut mouldings; the opening closes tightly around the beam. Tip from pietsan: Piet pointed this out in early October, when the mouldings went around the bow in one piece: bear in mind that the catheads have to pass through those mouldings later.
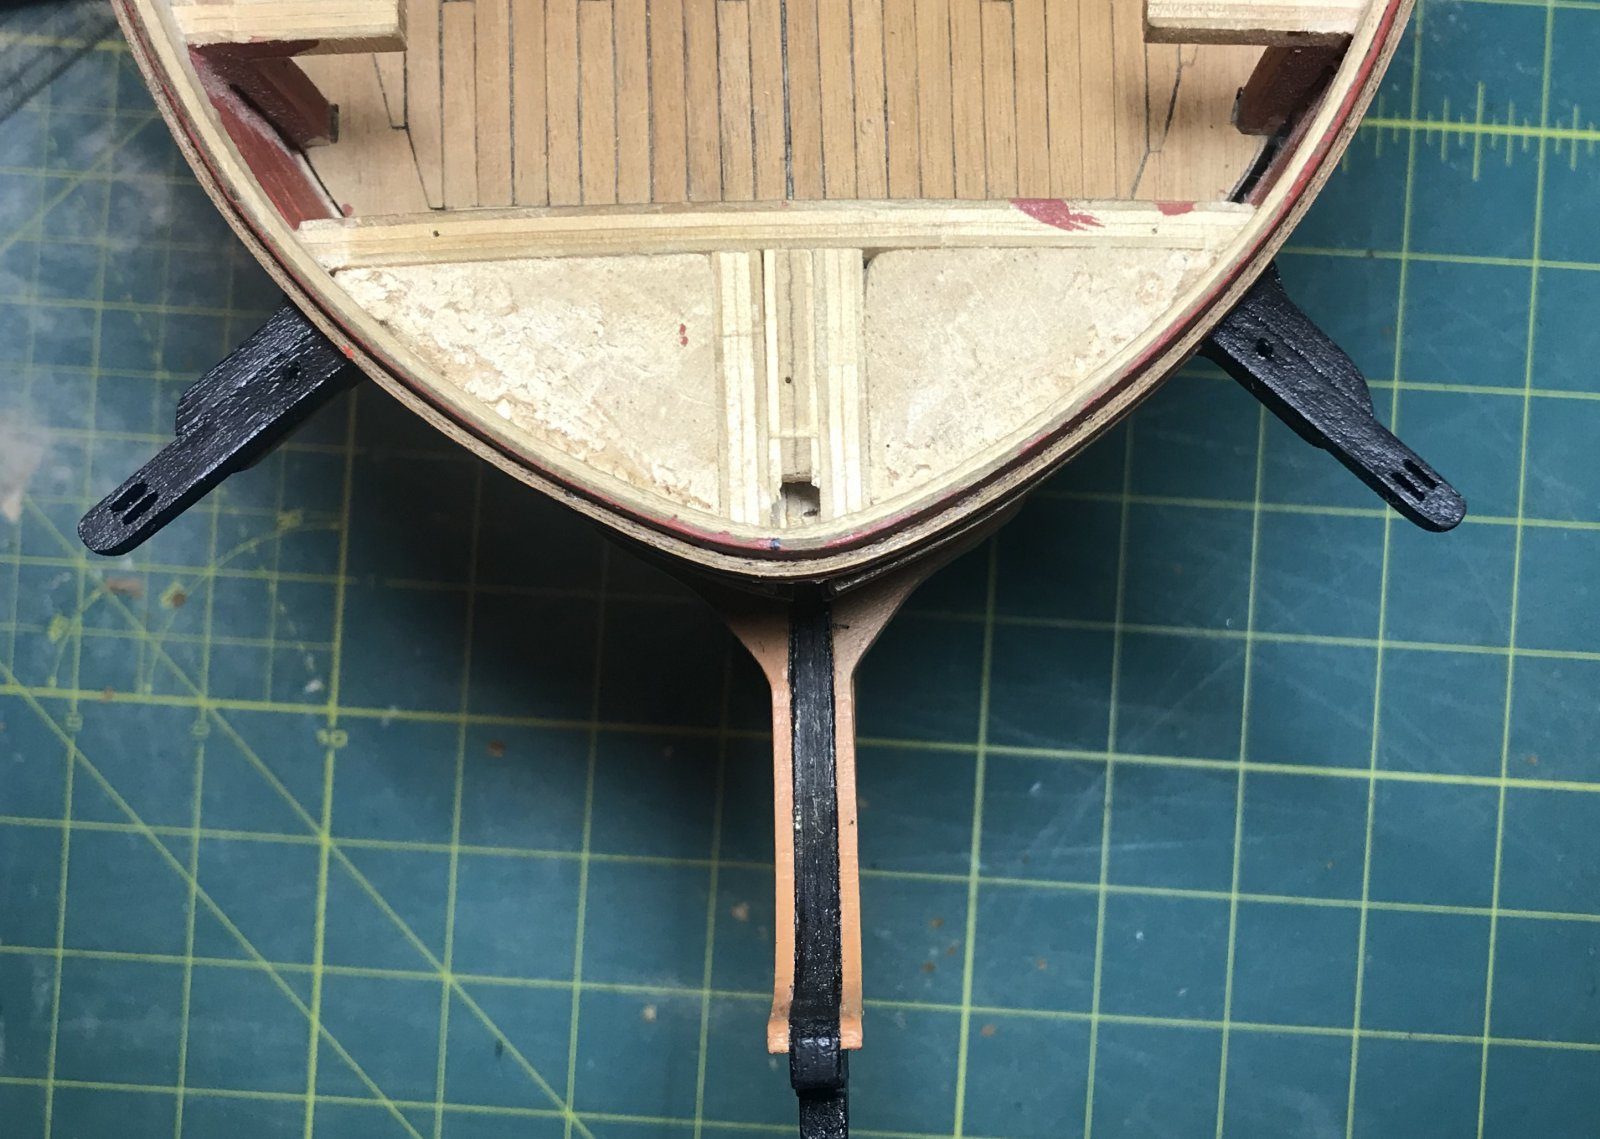
Push both catheads through the openings and look at them from above: they must make the same angle with the hull on both sides and project equally. Also check the fore-and-aft position against the drawing before gluing anything. The manual (14.1) places the cathead directly beside the main head rail, 1 mm below the lower edge of the upper forward moulding. Measure that before gluing anything; the position decides later whether the hawse piece fits under the rails.
beside the main head rail, 1 mm below the upper forward moulding (manual 14.1)
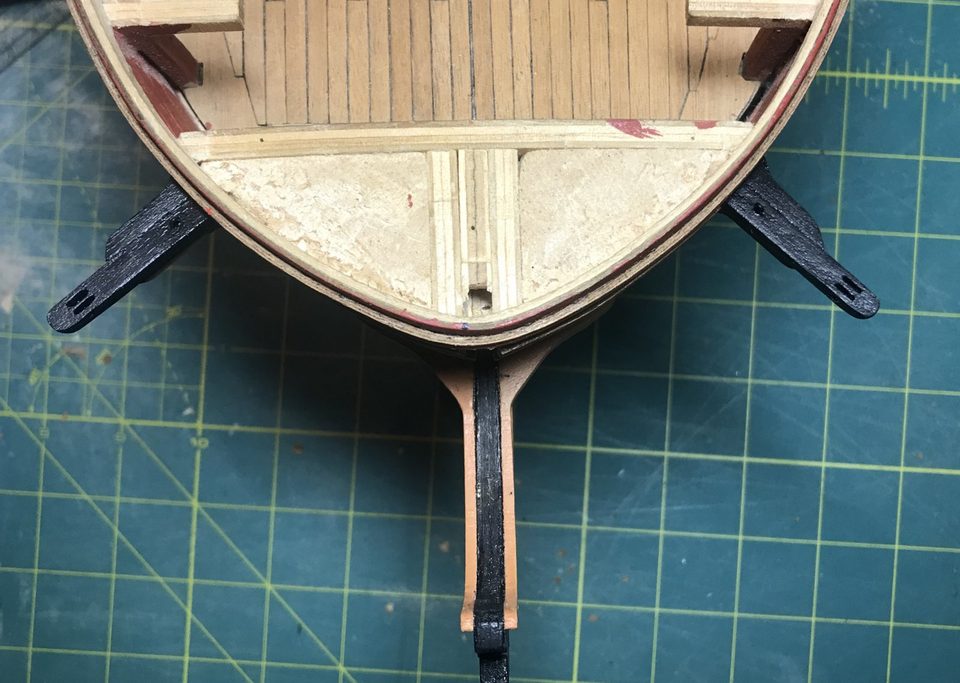
Seen from above: both catheads stand out at the same angle. Watch out: Our cathead sat too far forward, so the piece with the hawse holes no longer fitted under the rails later on. The manual gives the position: beside the main rail, 1 mm below the upper forward moulding. Even that only half helps: HMSFly, with everything measured properly, still ended up with the lower rail over the hawse hole, and according to iutar the dockyard drawing is no different (Ships of Scale, 27 October 2024, forum post).
On the first evening the catheads were held by glue alone and that did not feel right. It turned out the kit never intended that: drawing 20 shows a pin (314) through the cathead into the hull, so pin and glue; we had only read the text. Take them off again, drive three nails into each cathead, put a small drop of CA glue on the nails and then set the beam in place with PVA. That way they sit solid as a house.
three nails per cathead
Watch out: Glue alone does not hold: the cathead has only a small gluing surface on the hull. Nail first, then glue.
Result
After the second round with nails the catheads are rock solid and run neatly through the mouldings. Next time we will check the fore-and-aft position against the drawing more carefully, so that the headrails and the hawse holes fit later without any tricks.
Problems met with this technique
The five pieces for the catheads mentioned in the manual cannot be found anywhere in the box. Made them from 5 mm walnut. to the register
Catheads fixed with glue only did not sit well. Took them off, drove in three nails, a drop of CA on the nails and fixed with PVA. to the register
Kit errata
A manual that has you build the cathead from strip wood as in drawing 20: five strips of 1 x 3 mm (280, the same strip as for the wales) with pieces of 0.5 x 3 mm (281) between them as the sheave slots, and a support 116 from 3 mm walnut. At the time I read that as five separate pieces and could not find them anywhere in the box; those strips had already gone into my wales. Made from 5 mm walnut; one piece looks better anyway. to the register