Making a drop plank with masking tape as a template
Cut a drop plank to the English system, using a piece of masking tape as the template for the lower strip, so that the clinker effect at the bow disappears.
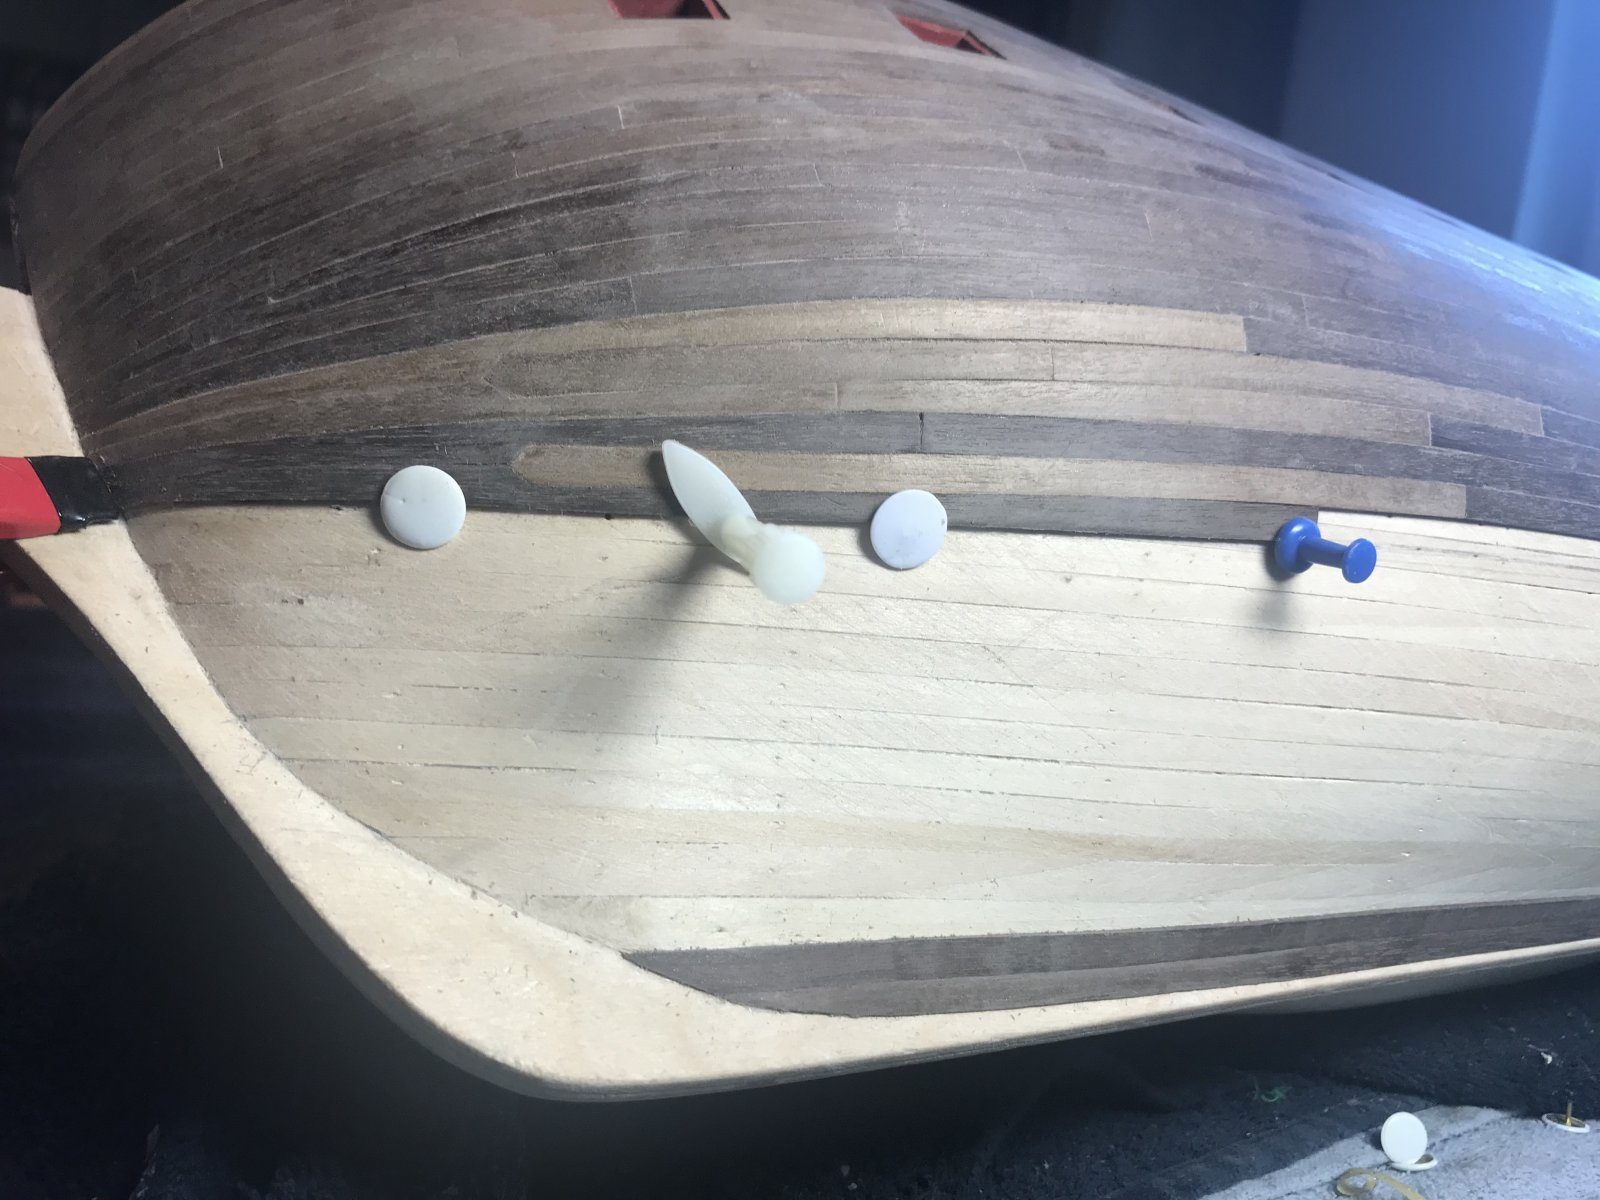
What you need
- masking tape
- hobby knife
- pencil
- drawing pins
- scrap of paper (to transfer a width)
- strips of the second planking (walnut, 5 mm wide)
Dimensions
- taper to half the plank width or a minimum of 2.5 mm (pietsan)
- kit strips are 5 mm wide; at 1:64 they should be 3.9 mm wide and 2.5 mm thick (Henkl)
- plank length 100 mm
- Time
- an evening
- Difficulty
- tricky
- When in the build
- Phase 3,
- From the log post
- A drop plank in eight steps · forum
Before you start
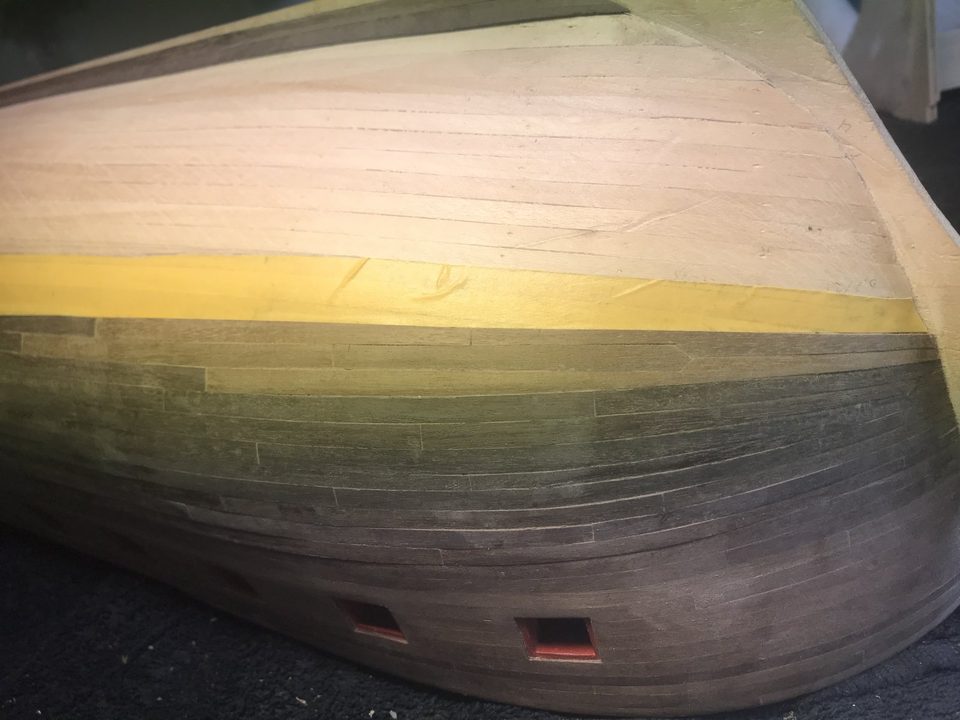
The hull is closed above the wale and the planking is working downwards towards the keel. Divide the remaining part of the hull into three belts with ribbands and mark the boundaries in pencil, so you can work out per belt how you will come out. Read up in Mondfeld on the difference between the Dutch and the English system: in the English system the drop plank ends in a triangular (or half-round) point, not with a square butt end.
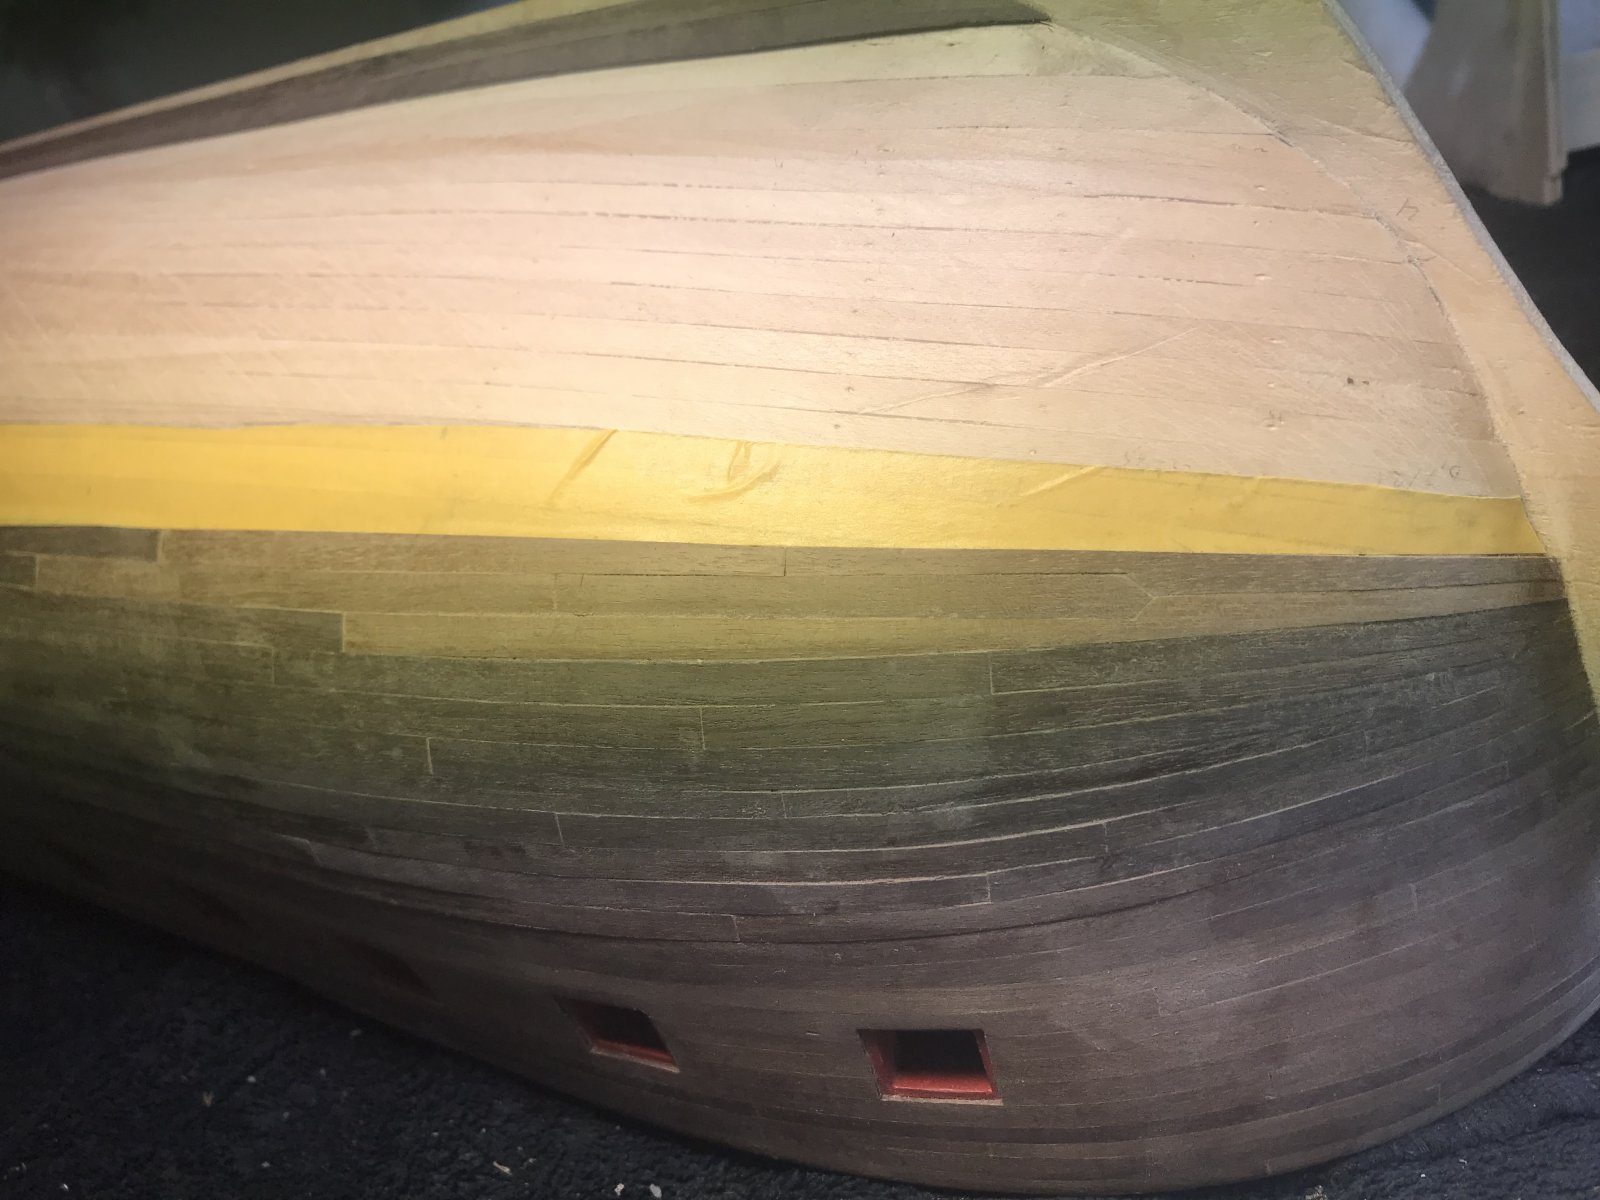
Before bending, hold each next strip under and against the last one and bend it carefully to the shape of the bow. Where the strip wants to lie over the previous one, the clinker effect appears. Lay a drop plank in dry fit: the gap between the top of the drop plank and the plank it has to lie against shows exactly how big the problem is.
taper to half the plank width or a minimum of 2.5 mm
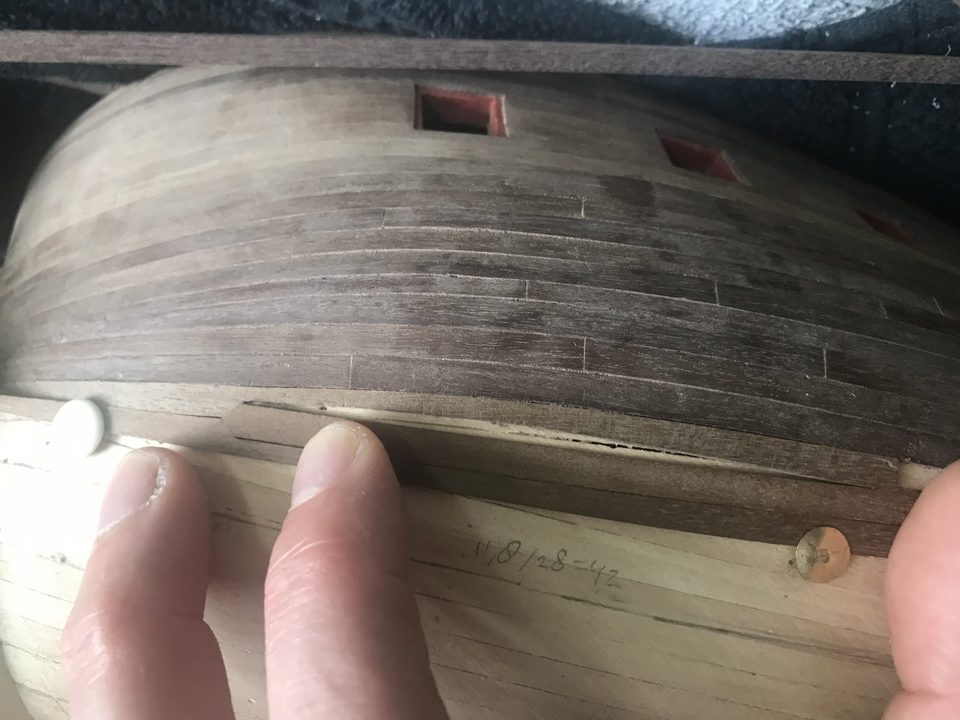
Dry fit of the drop plank: there is a clear gap between the top of the drop plank and the plank above it. That is the problem area. Tip from pietsan: Most builders start tapering too late. Hold each next strip under and against the last one, bend it to the shape of the bow and taper exactly at the point where the strip threatens to ride over the previous one. Repeat that for every strip.
Watch out: At 5 mm the kit strips are too wide for the curves. Tapering alone (to half width) or drop planks alone did not work; we combine the two.
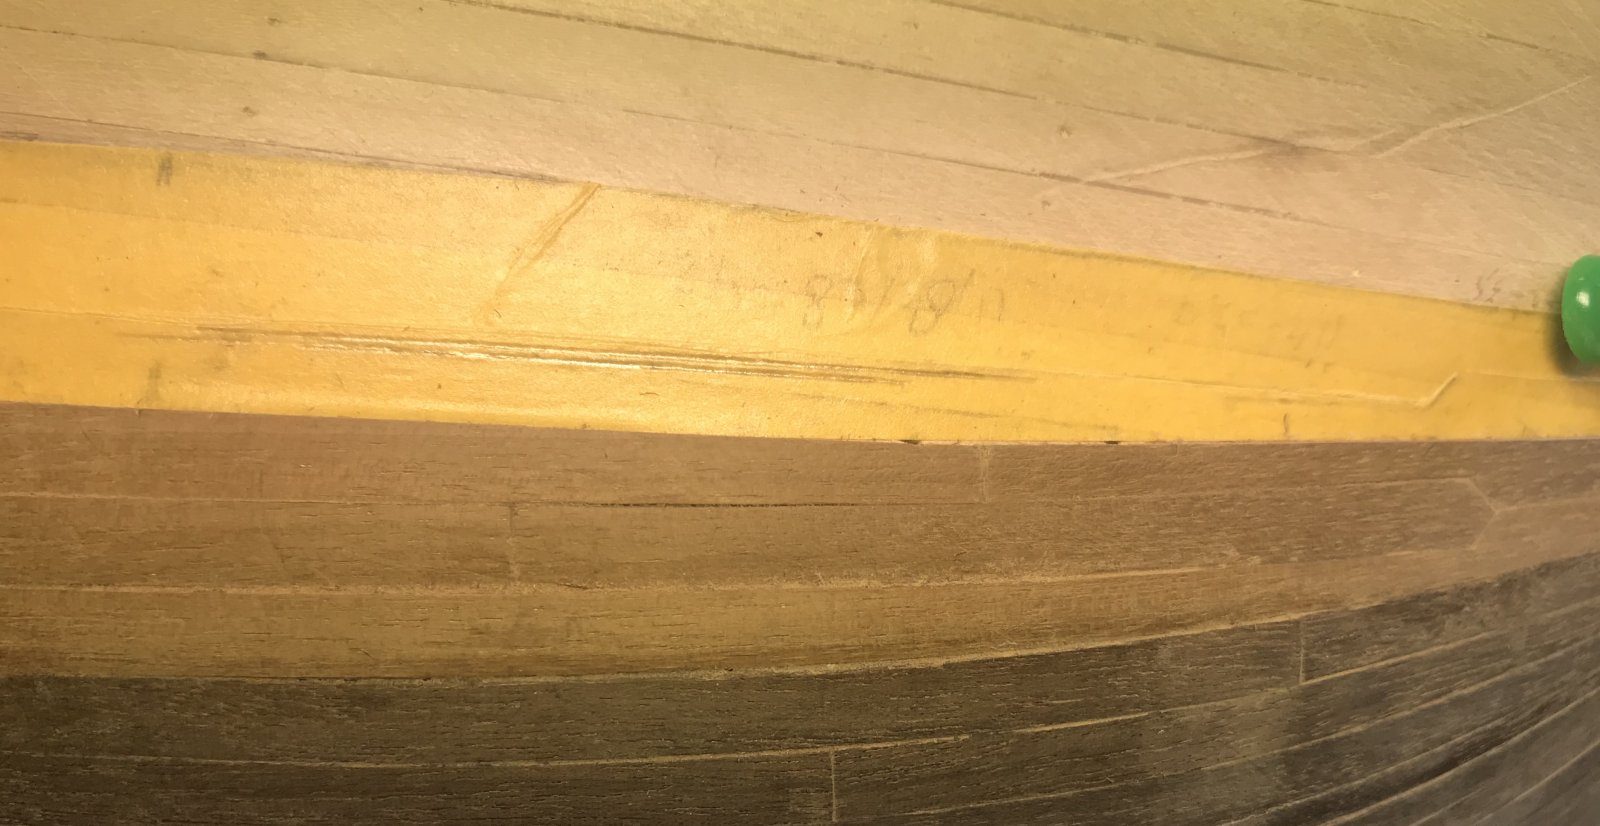
Stick a piece of masking tape on the hull exactly where the drop plank is to go. The tape covers the area of the upper strip, the drop plank itself and the lower strip.
Step 1: the masking tape is on the hull, over the place where the drop plank will go. Tip from Pingu57: Spiling is planking for the advanced. I also suffered from the clinker effect and solved it with an extra drop plank.
Put two pencil marks on the upper strip: on the right where the point of the drop plank goes, on the left where the upper plank regains its full width. Between them comes a straight line. Mark the square cut first, so you can draw that line cleanly.
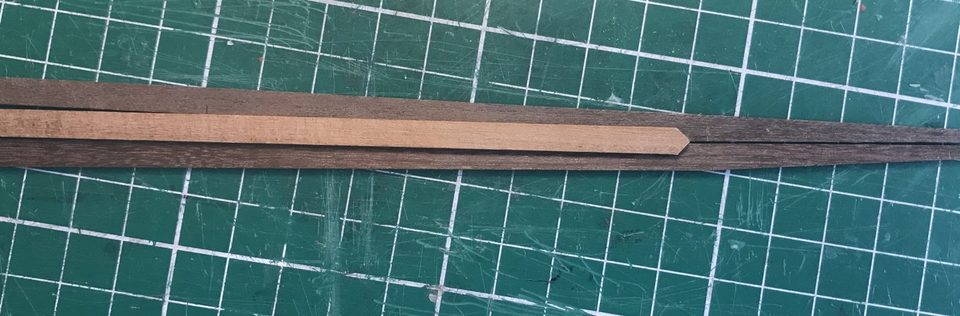
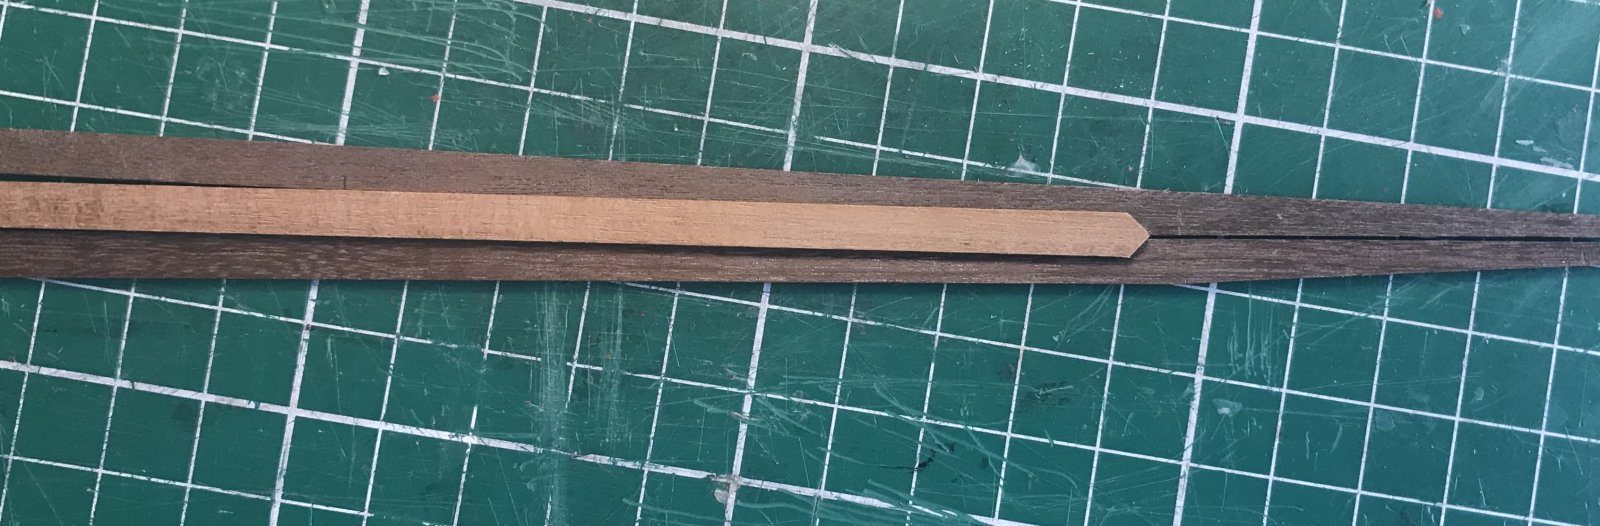
Step 2: the square cut and the diagonal cutting line marked on the upper plank. Cut the upper strip with the hobby knife along the marked line. Work in several light strokes so the edge stays clean. This strip fitted perfectly first time.
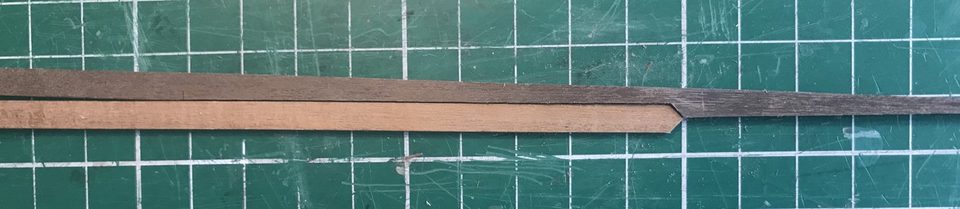
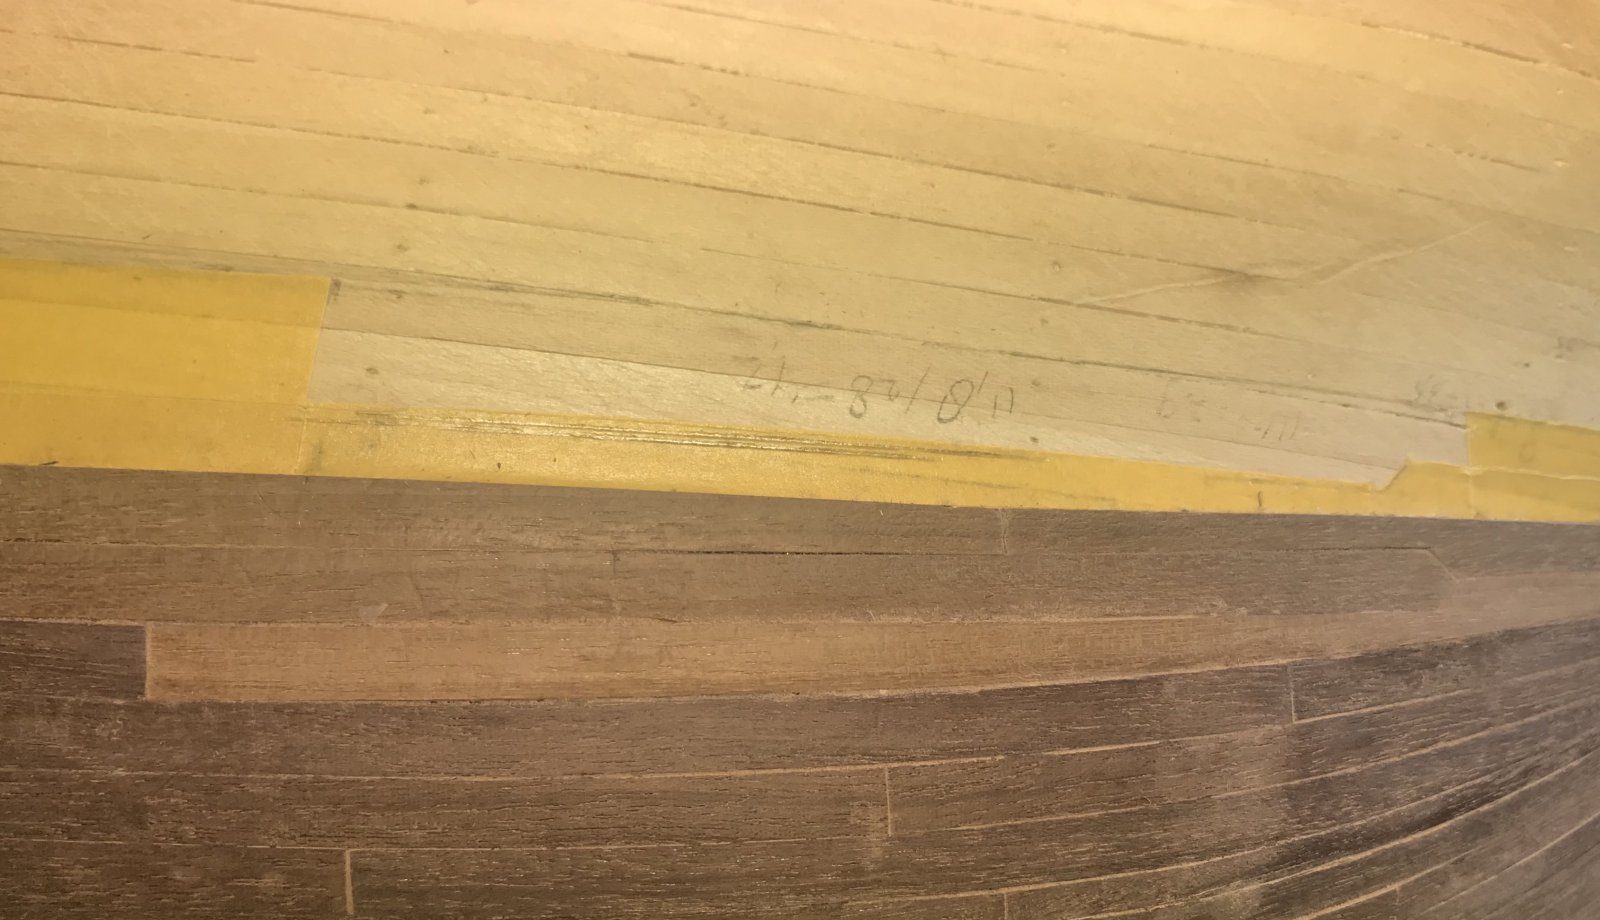
Step 3: the upper plank cut, with the diagonal edge that will meet the drop plank. Lay the cut upper plank and the drop plank in dry fit on the tape and press them down a little to follow the curve of the hull. Pin them with drawing pins if needed.
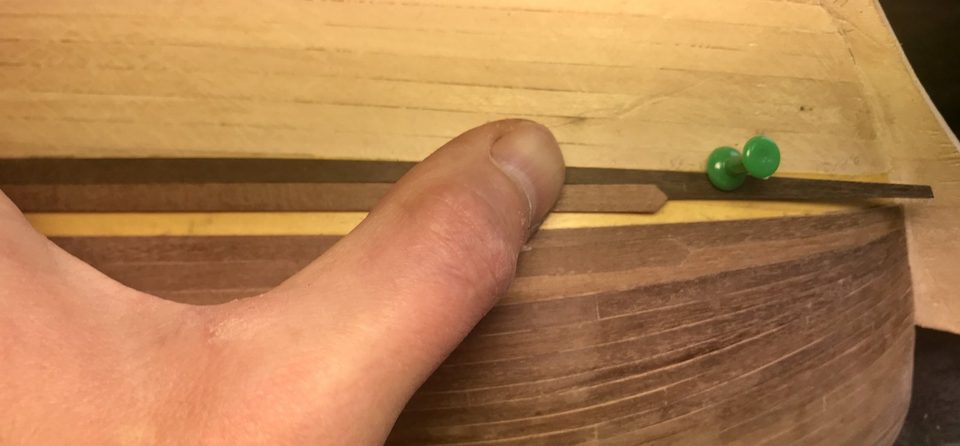
Step 4: upper plank and drop plank lie in dry fit on the tape and follow the curve. With the left hand hold the upper plank and the drop plank in place, and with the right hand cut the tape along the underside of the drop plank. Cut only the tape, not the planking underneath.
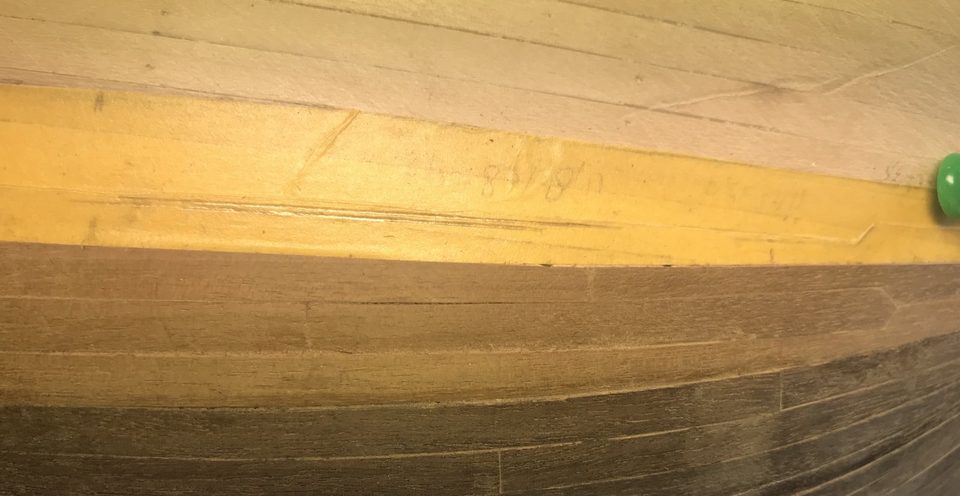
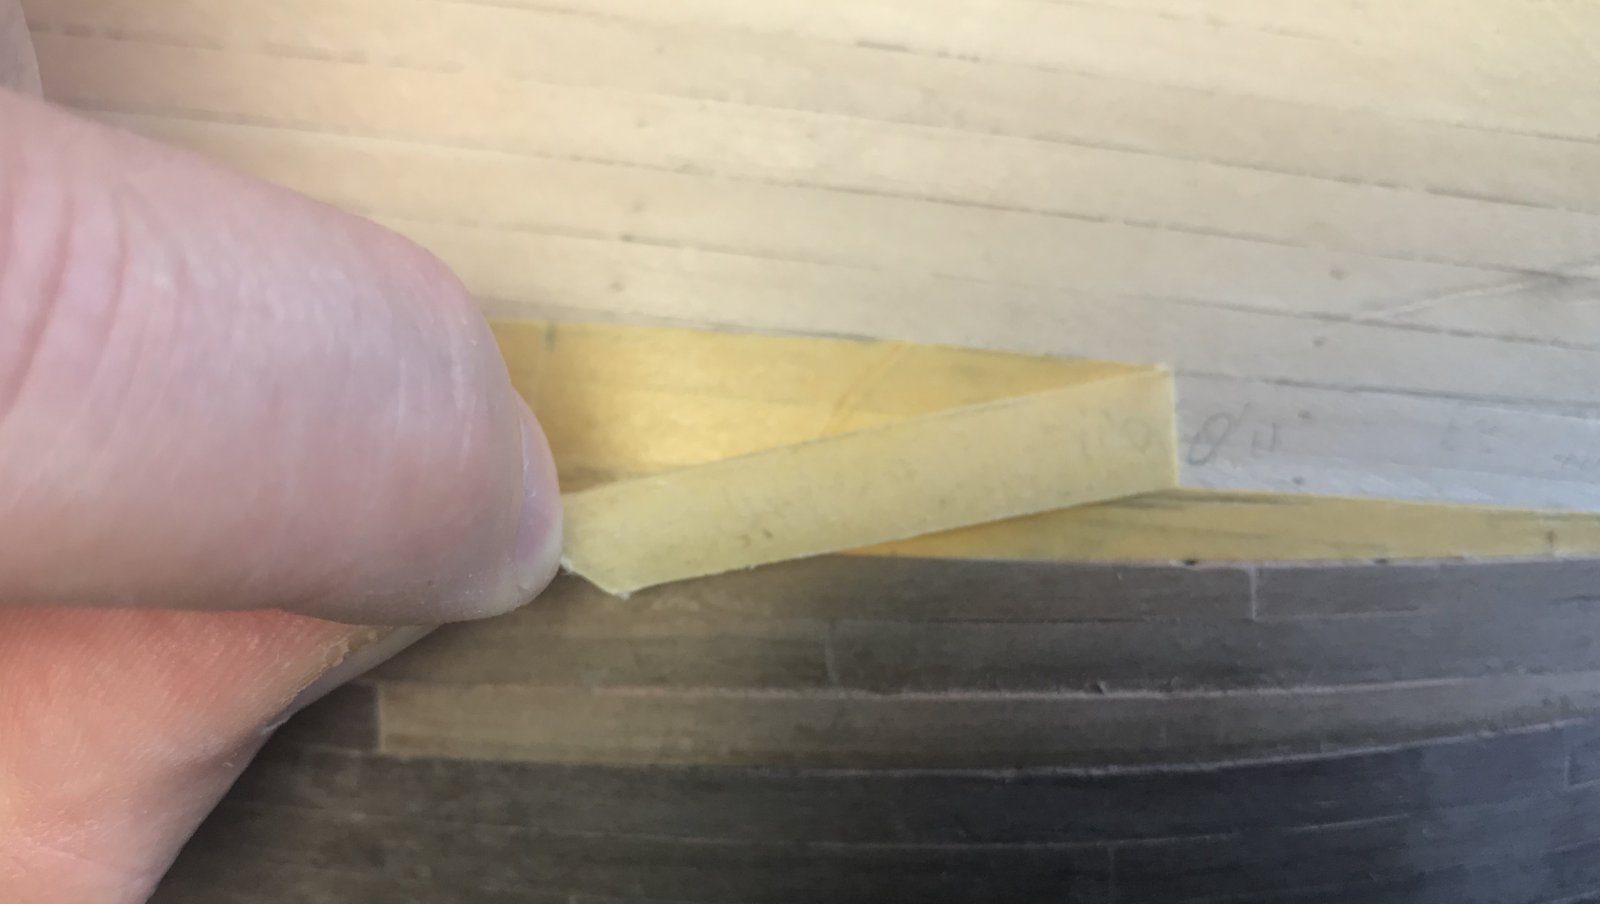
Step 5: the tape has been cut through along the underside of the drop plank. Peel off the upper part of the masking tape; it comes away easily now. What remains is a piece of tape with exactly the shape of the lower strip along the drop plank.
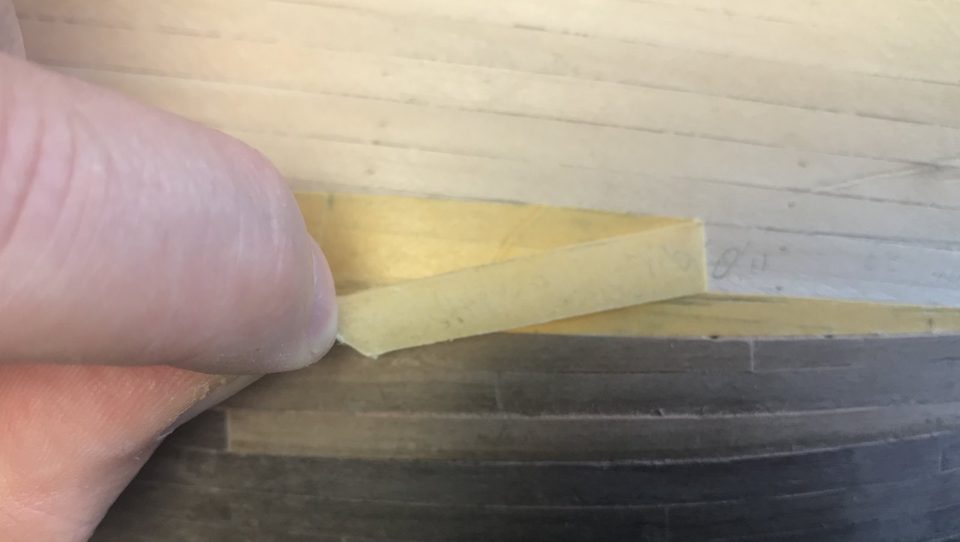
Step 6: the upper part of the tape being removed. 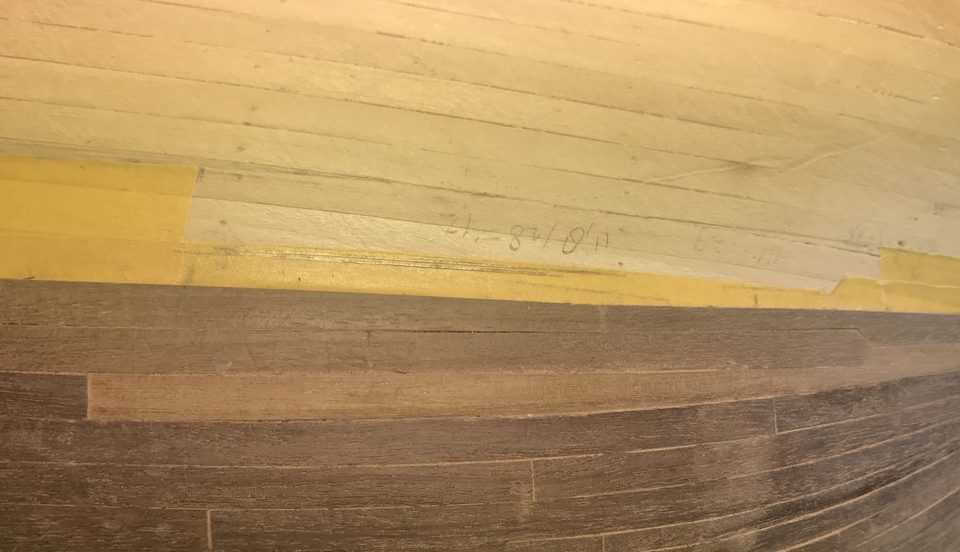
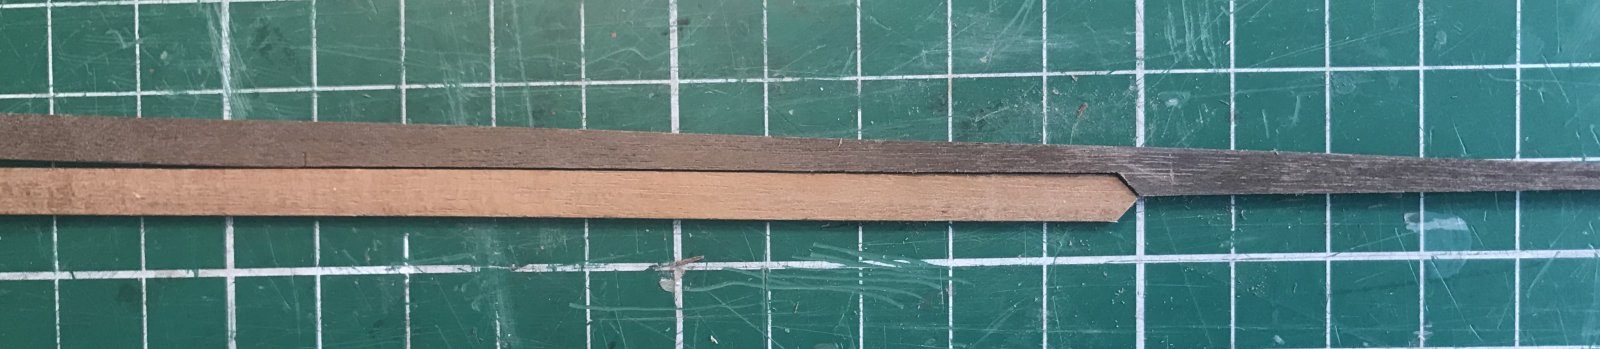
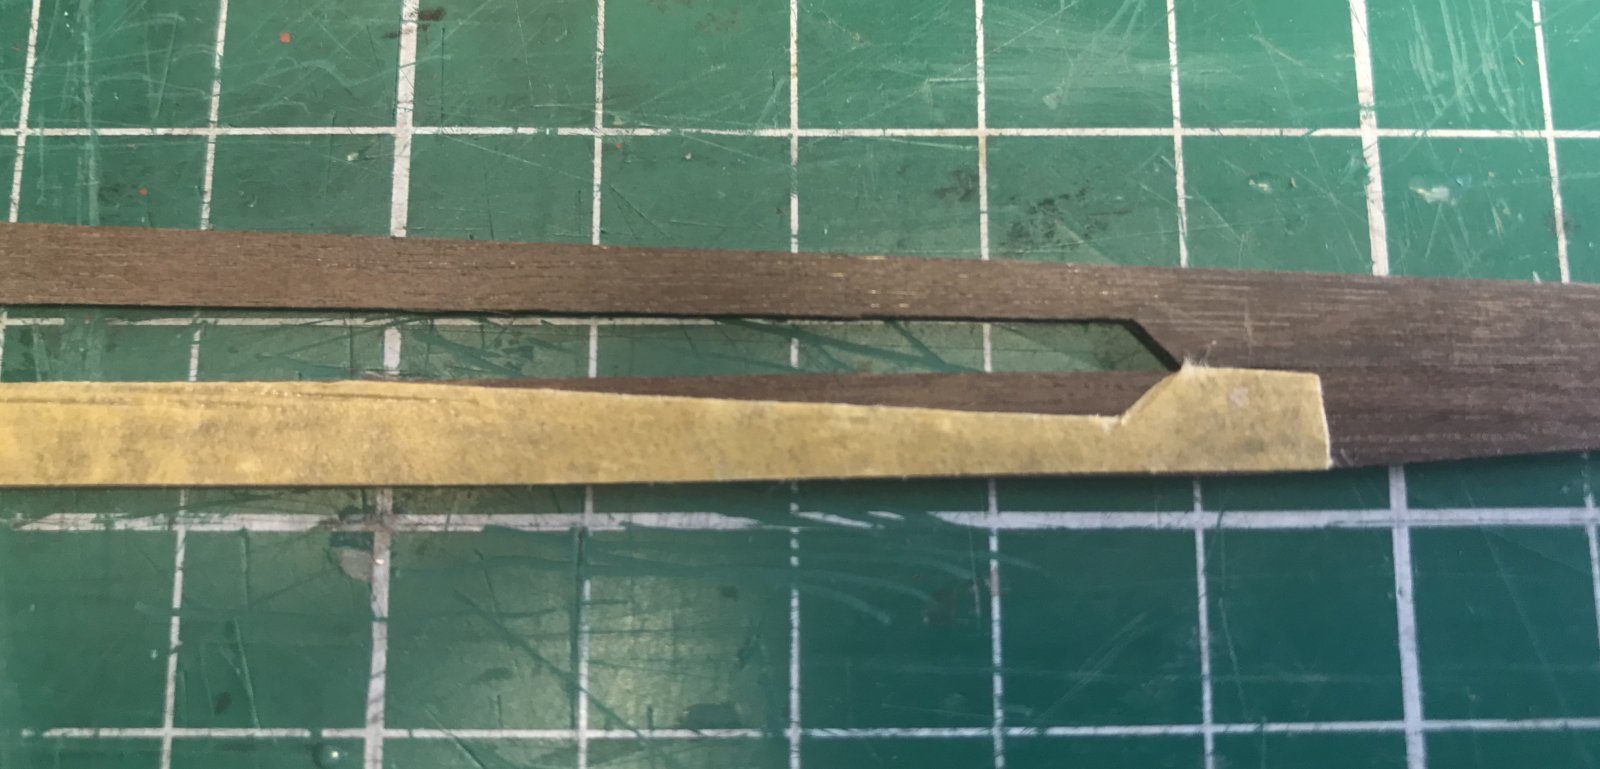
The remaining piece of tape on the hull: this is the template for the lower strip. Stick the piece of tape onto the lower strip and cut the strip along the edge of the tape. You see the difference with the upper strip straight away: because of the curve the lower strip has to stay much wider.
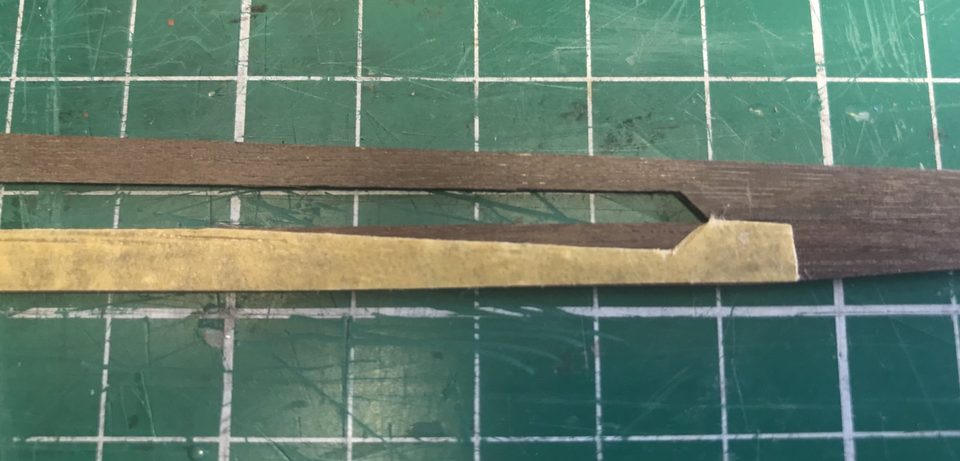
Step 7: the tape as a template on the lower strip; the strip is cut along the tape. Tip from Henkl: With the kit you actually get the wrong sizes of wood to make your curves nice and round. Converted to 1:64 the planks should be about 3.9 mm wide and 2.5 mm thick.
Watch out: With the previous drop plank the adjacent plank was already glued and had to come off again to be made wider. Only cut the lower strip once the template is right.
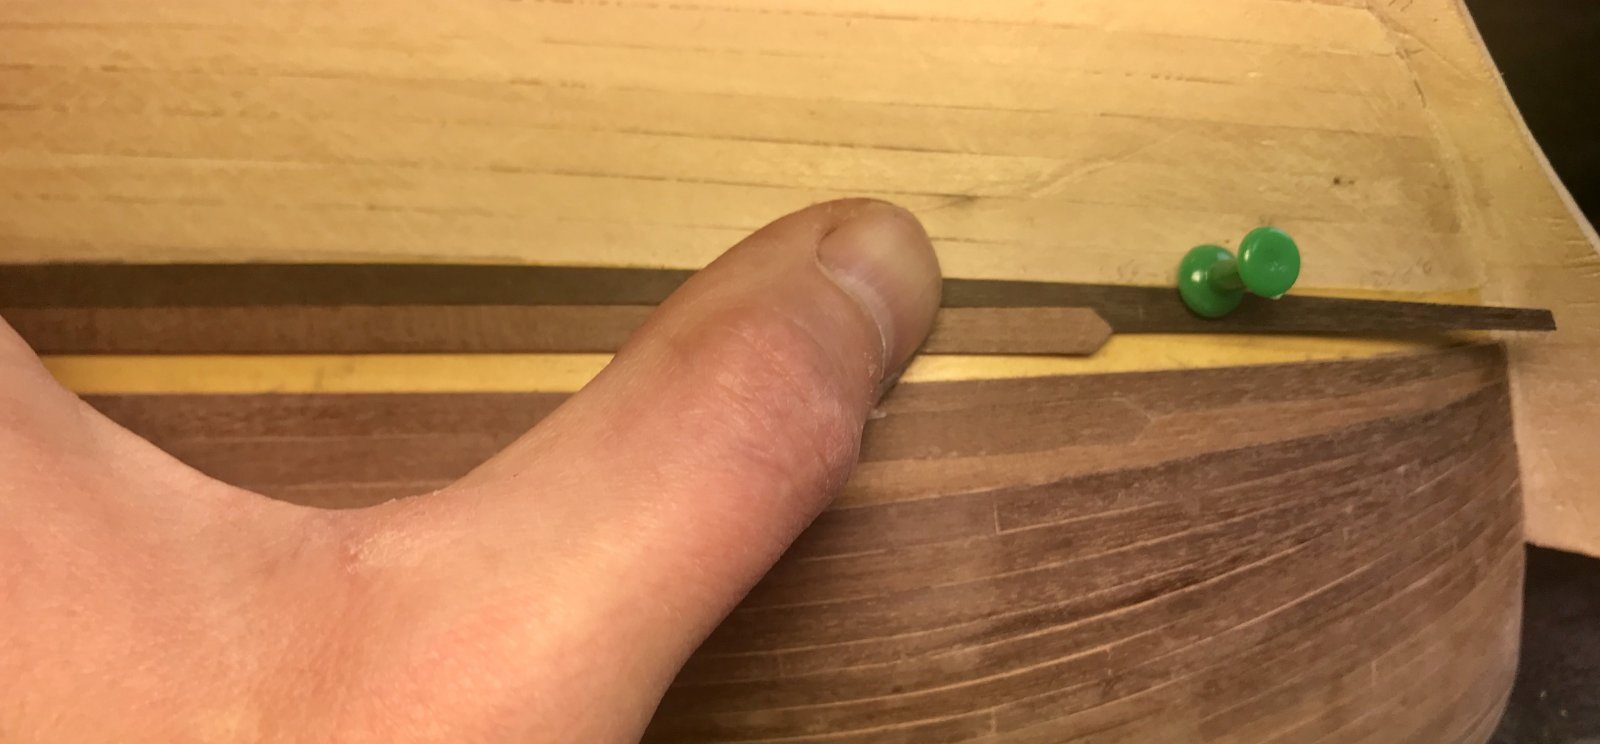
Lay all three parts in dry fit on the hull and check that everything meets without force. Only then glue, and hold with drawing pins until the glue is dry.
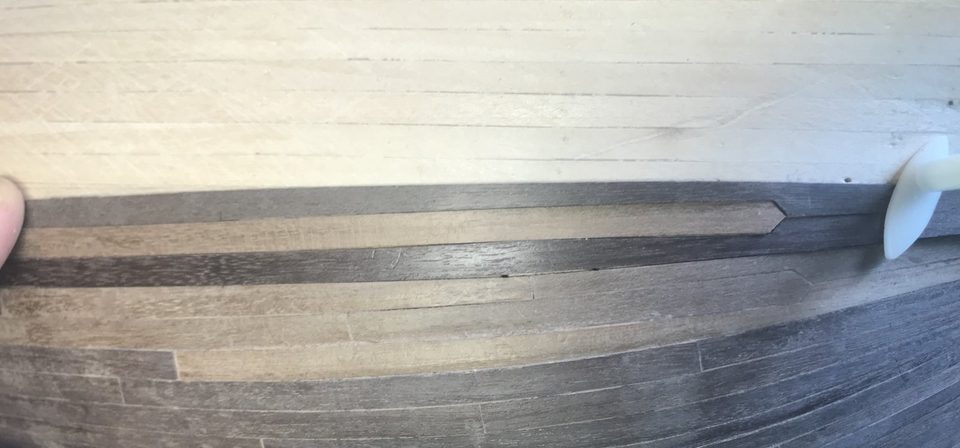
Step 8: dry fit of upper strip, drop plank and lower strip; everything fits. Watch out: The first drop plank was given a square butt end. That is the Dutch system; the Diana is an English frigate, so the drop plank should end in a triangular point. Luckily that first one disappears under the wale.
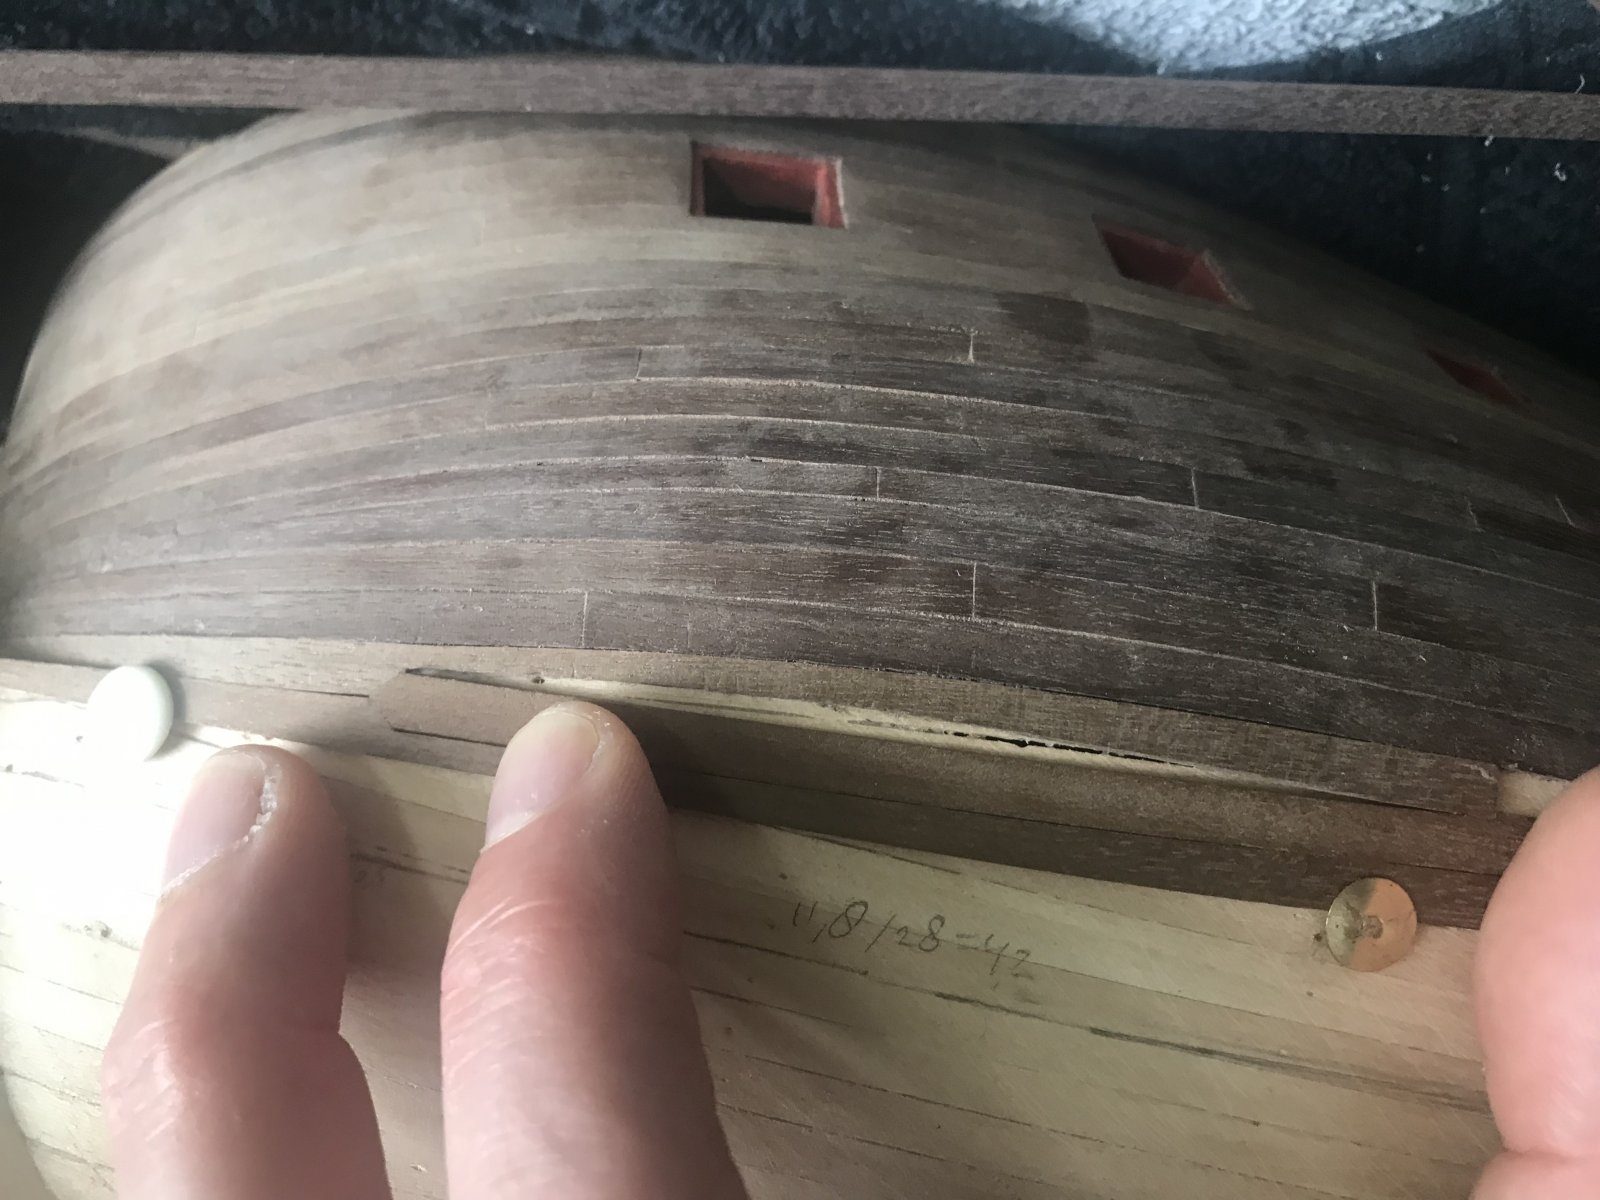
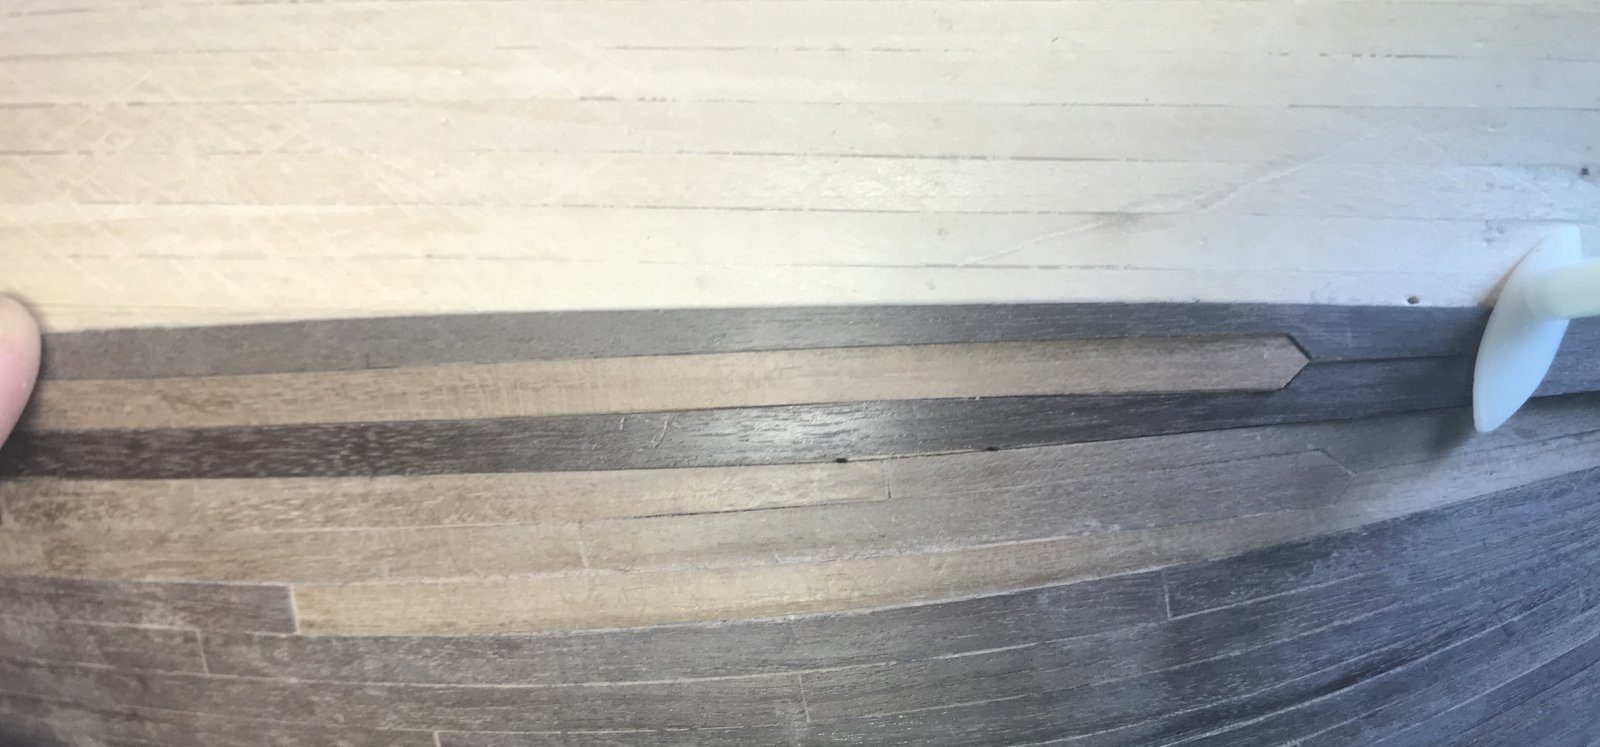
Result
The strips now meet without us having to apply any force; the upper strip on the keel side was only loosely pinned and still closed up nicely. On the other side we have to repeat the same 'mistake', because it does have to be symmetrical.
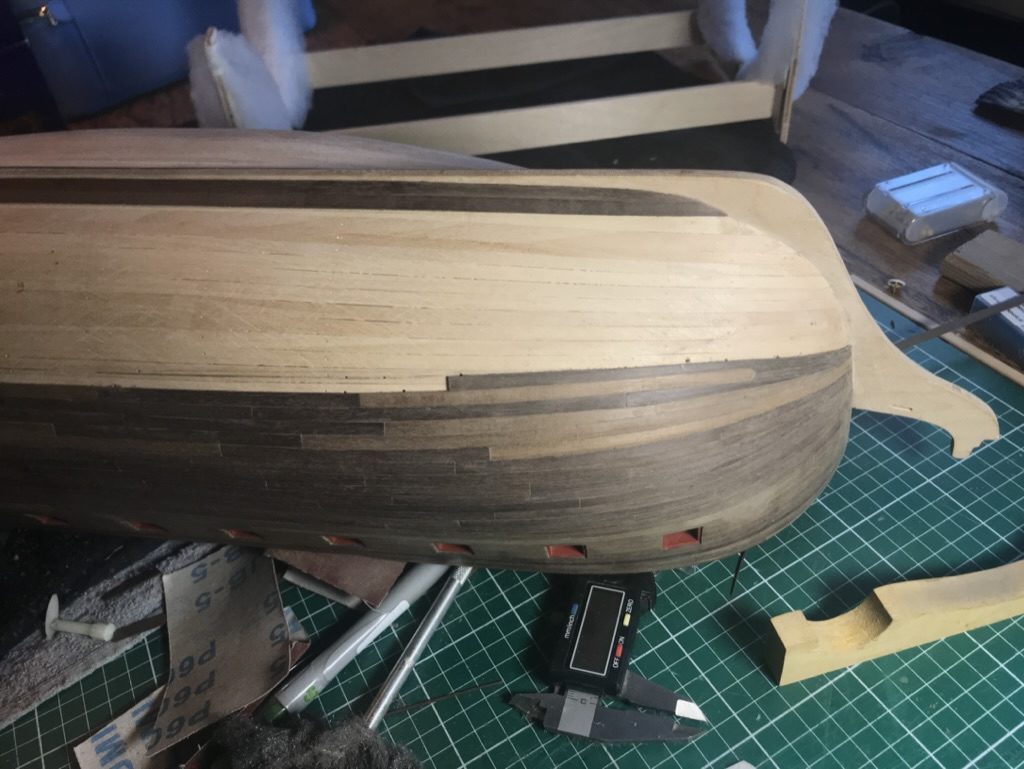
Problems met with this technique
Despite early tapering and drop planks, a clinker effect remains and strips have to be forced into place. Prepared a drop plank on the English system, left the adjacent plank wider and divided the hull into three belts with battens. (Tips from Pingu57, pietsan, Henkl) to the register