Laying copper plates, and removing them again when it goes wrong
Glue the copper plates onto the hull row by row with a minimum of CA glue, lay the first row tight, and know how to lift plates off again if a row turns out wrong.
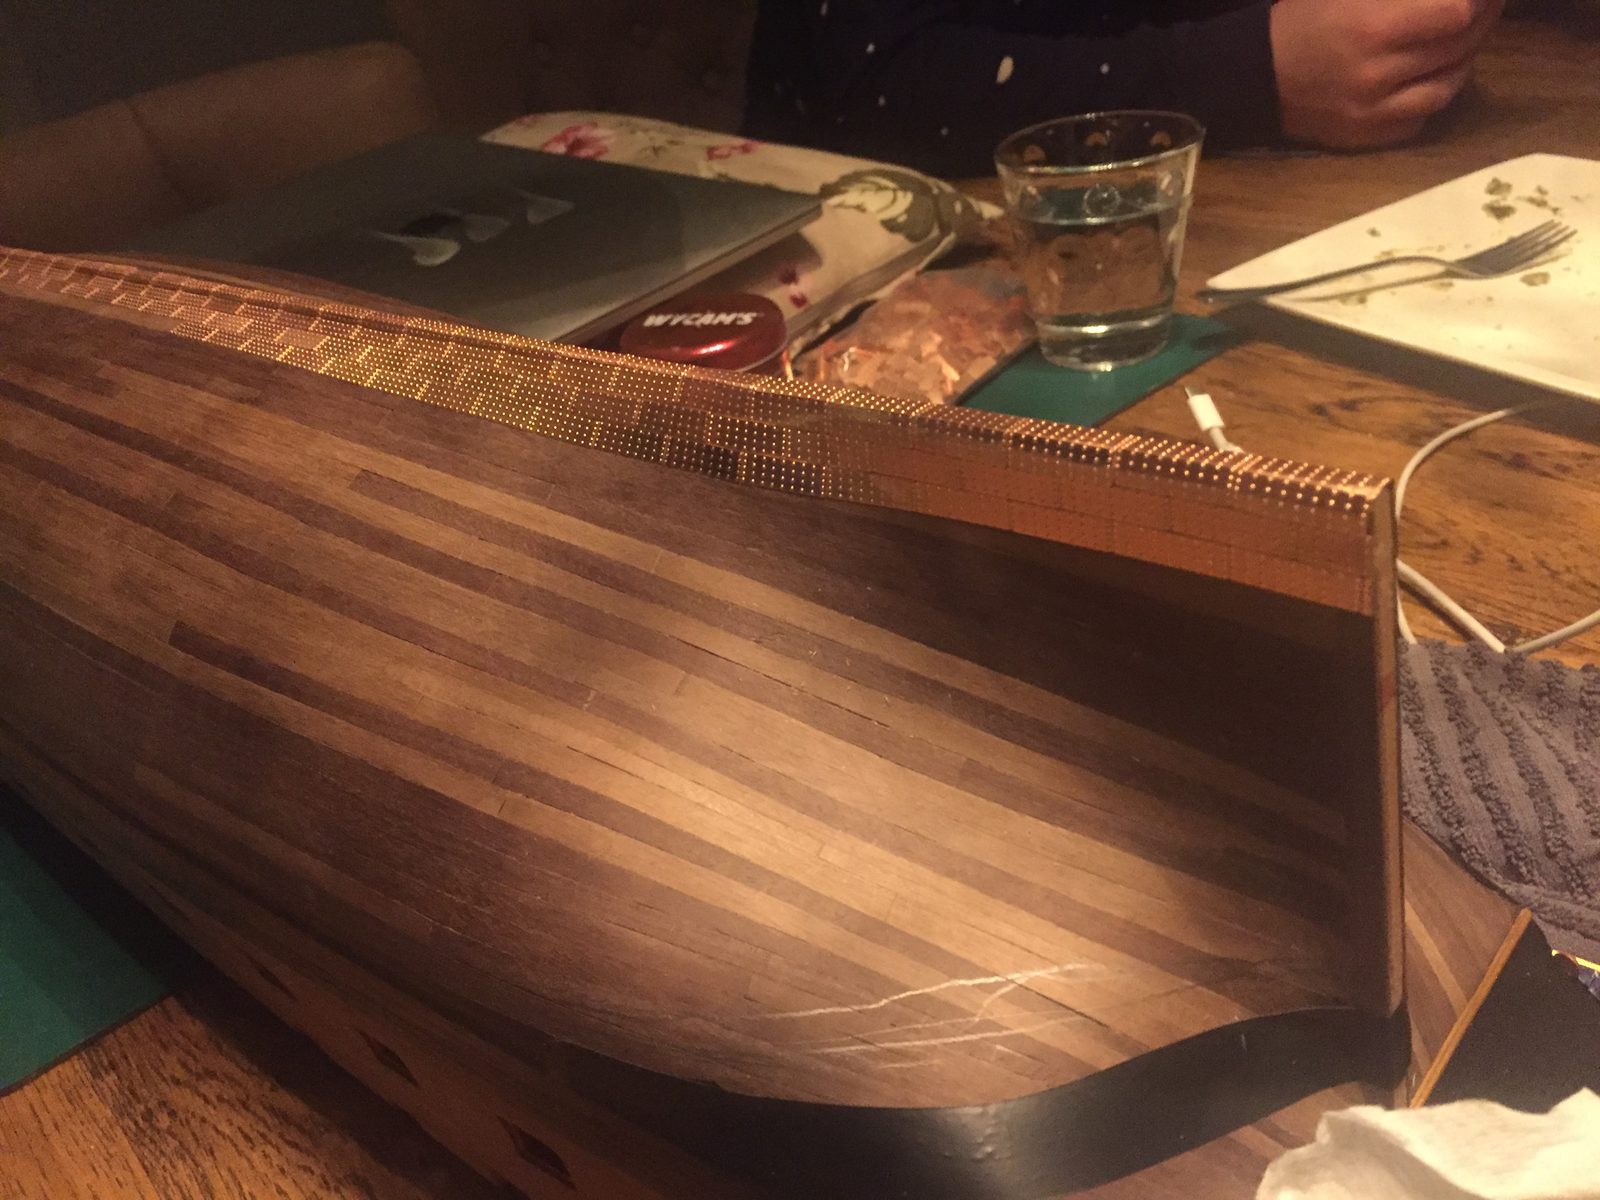
What you need
- hobby knife
- small pliers
- tweezers
- cutting mat
- cushion to lay the ship on upside down
- copper plates from the kit (2,300, part 312)
- CA glue
Dimensions
- two drops of CA glue per plate
- 2,300 plates of about 18 x 5 mm in the kit (part 312)
- Time
- several evenings
- Difficulty
- moderate
- When in the build
- Phase 5,
- From the log post
- The first few hundred plates · forum
Before you start
The waterline has been marked out and the belts planned along the sheer of the strakes; without that planning you will not come out right at the stem and sternpost. The ship lies upside down on a cushion. The planksheer is not fitted yet, so the transom rests on the part that the planksheer will cover later. The kit contains 2,300 plates (part 312), not the 2,500 we long believed, and that is plenty for one hull: HMSFly had plates left over and never needed the 500 extra he had ordered (Ships of Scale, 13 October 2024, forum post). Our shortage came from starting over, not from the kit.
Lay the ship upside down on a cushion, so that nothing presses on the transom and quarter galleries. Without the transom we actually broke off stern frames more often when she was upside down; with the transom and a cushion the damage is limited. Turn the ship so the row you are laying is straight in front of you.
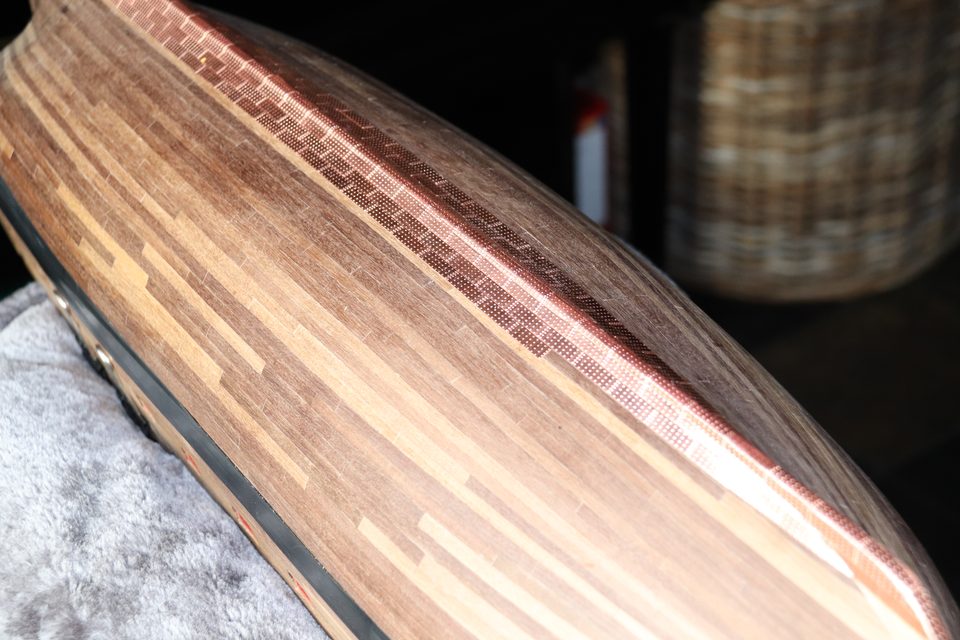
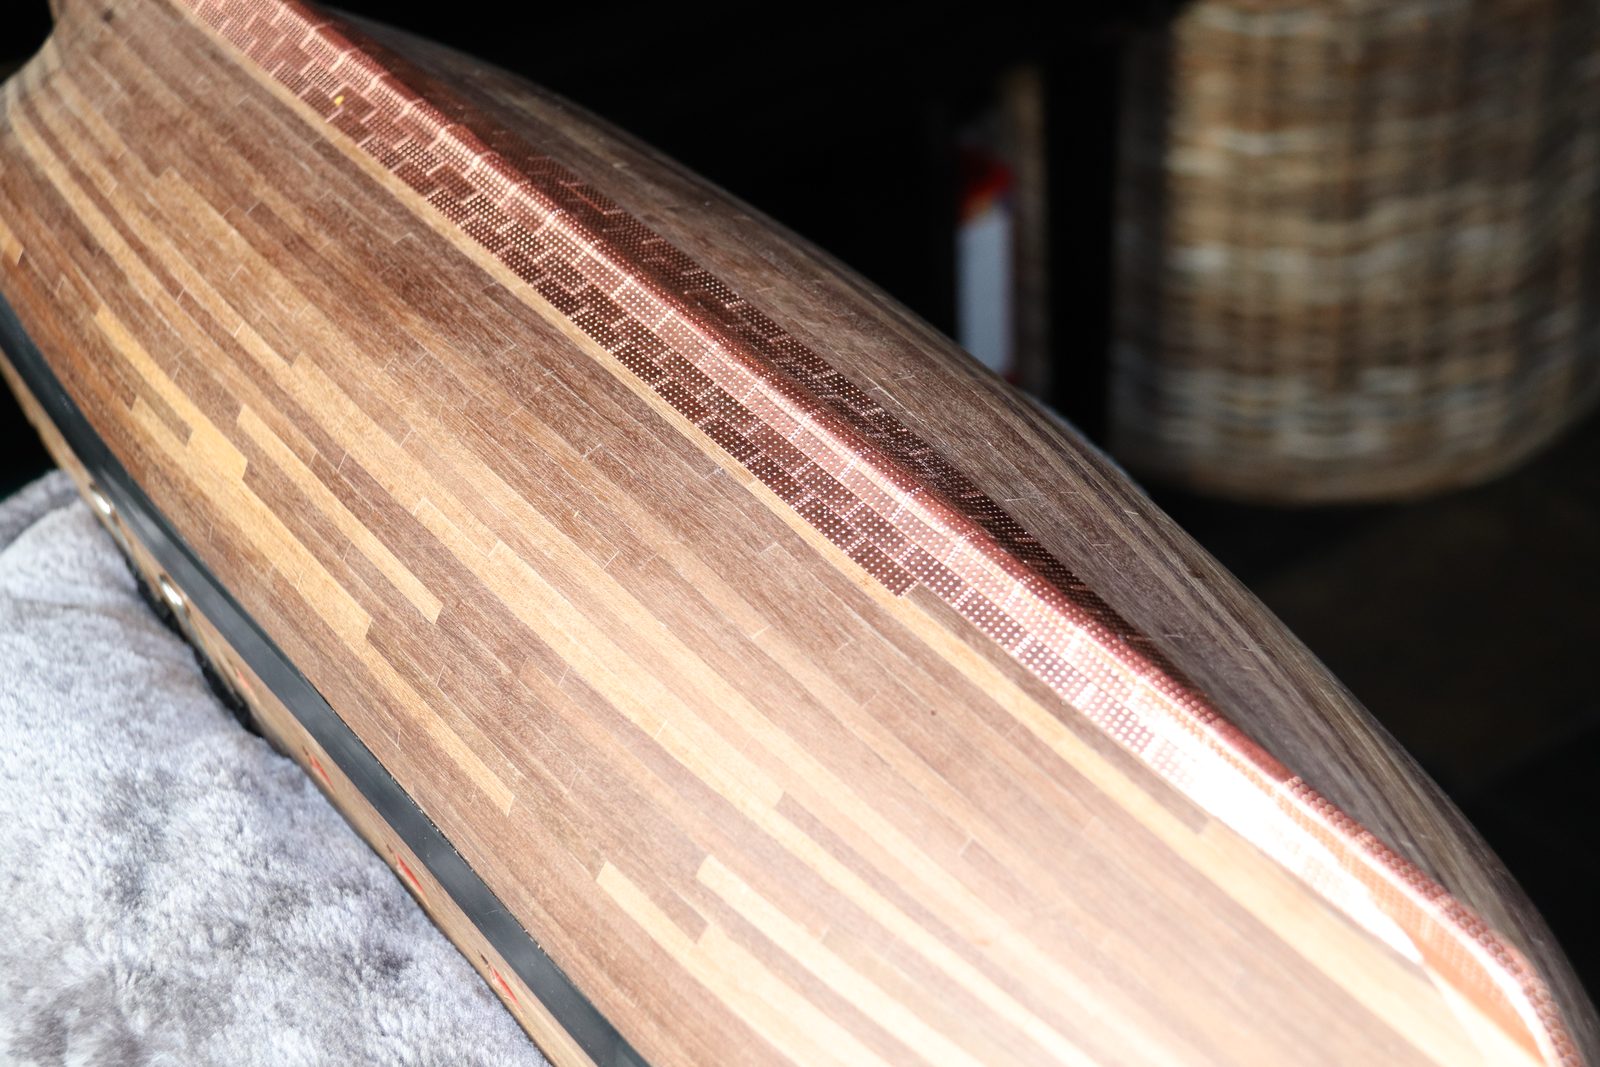
The ship upside down on a cushion, with the first rows of copper along the keel. Put only two drops of CA glue on each plate, on two sides. That holds the plate firmly, but if you make a mistake it also comes off again fairly easily without pulling bits of wood with it. Too much glue also leaves residue that later blocks the patina of the copper.
two drops of CA glue per plate
Tip from pietsan: I always put just a small drop of CA glue on two sides. That holds the plates firmly, but in case of a mistake they come off again fairly easily. So do not use too much glue.
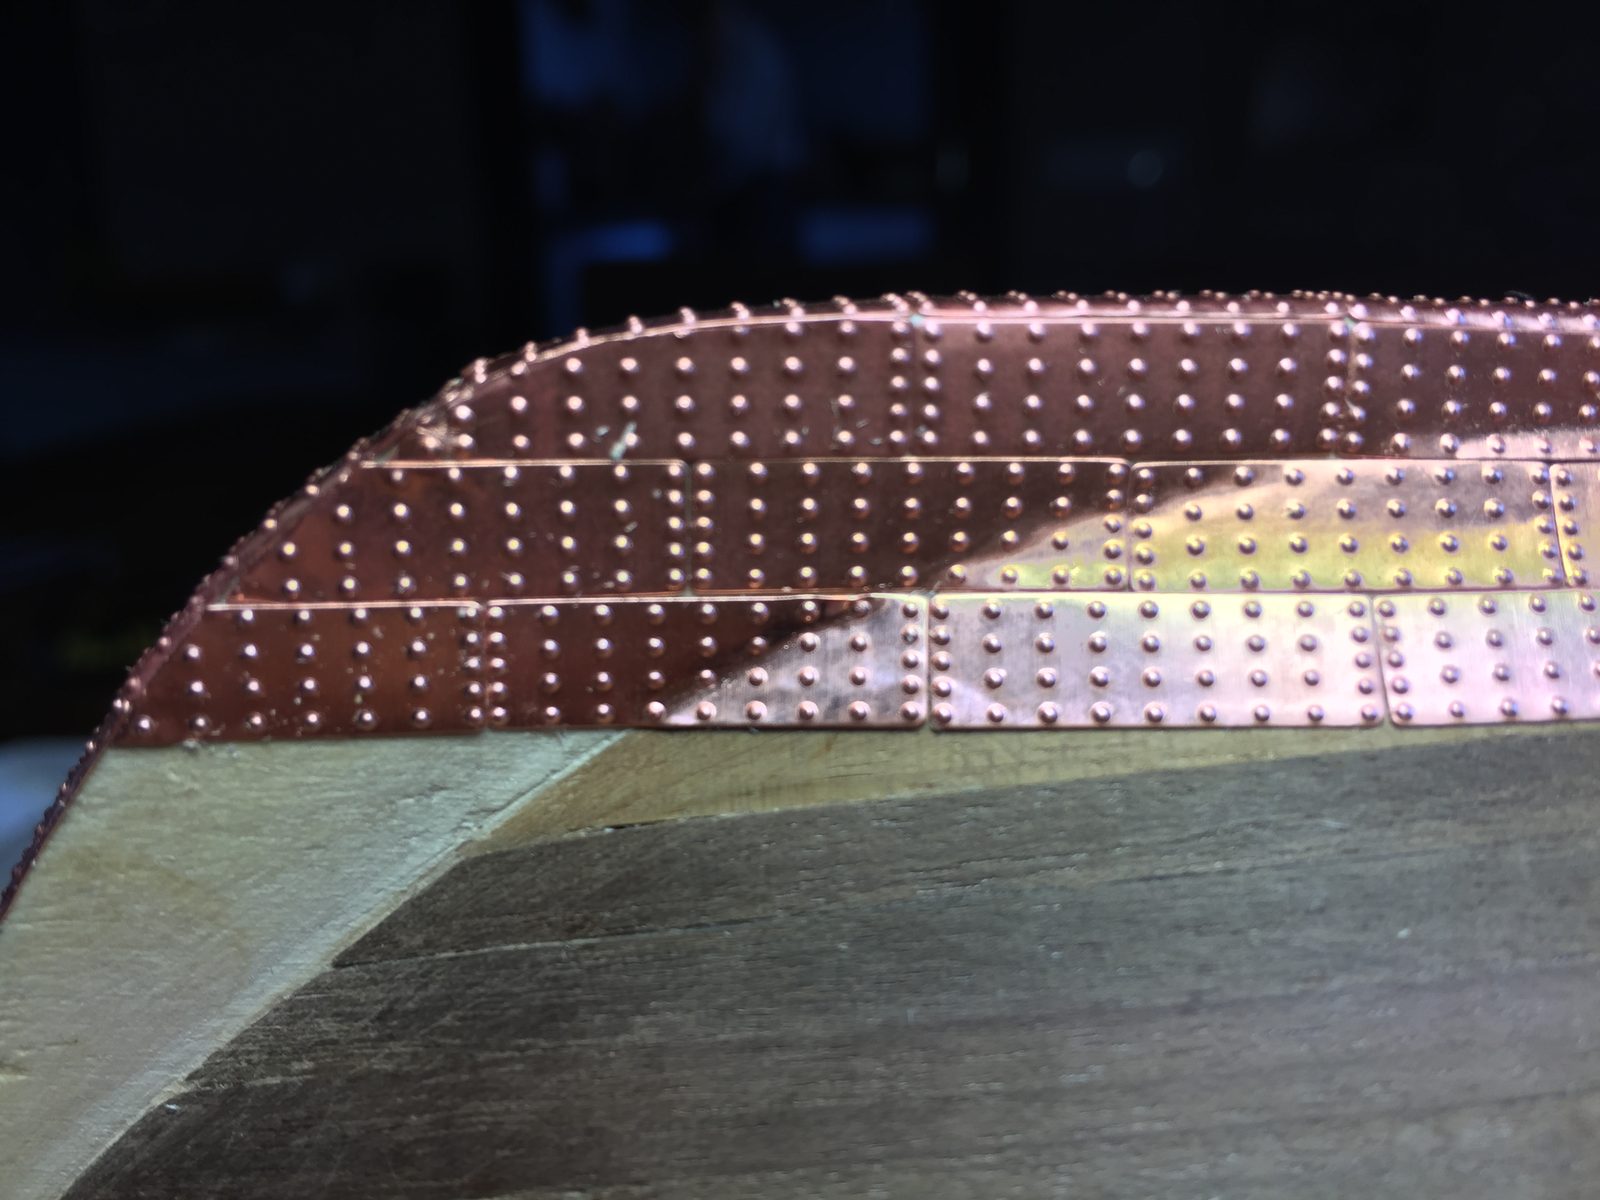
Lay the plates of the first row really hard up against each other, without gaps. A gap you leave in the first row stays with you; the gaps add up and the plates in the following rows start to shift. After every plate, check that it butts up before picking up the next one.
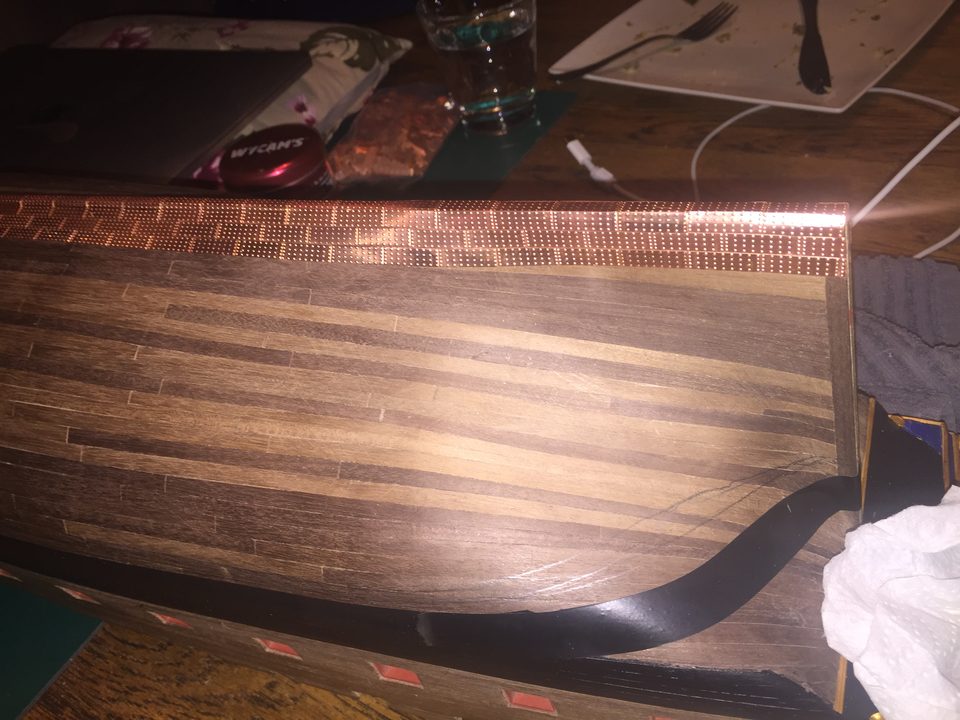
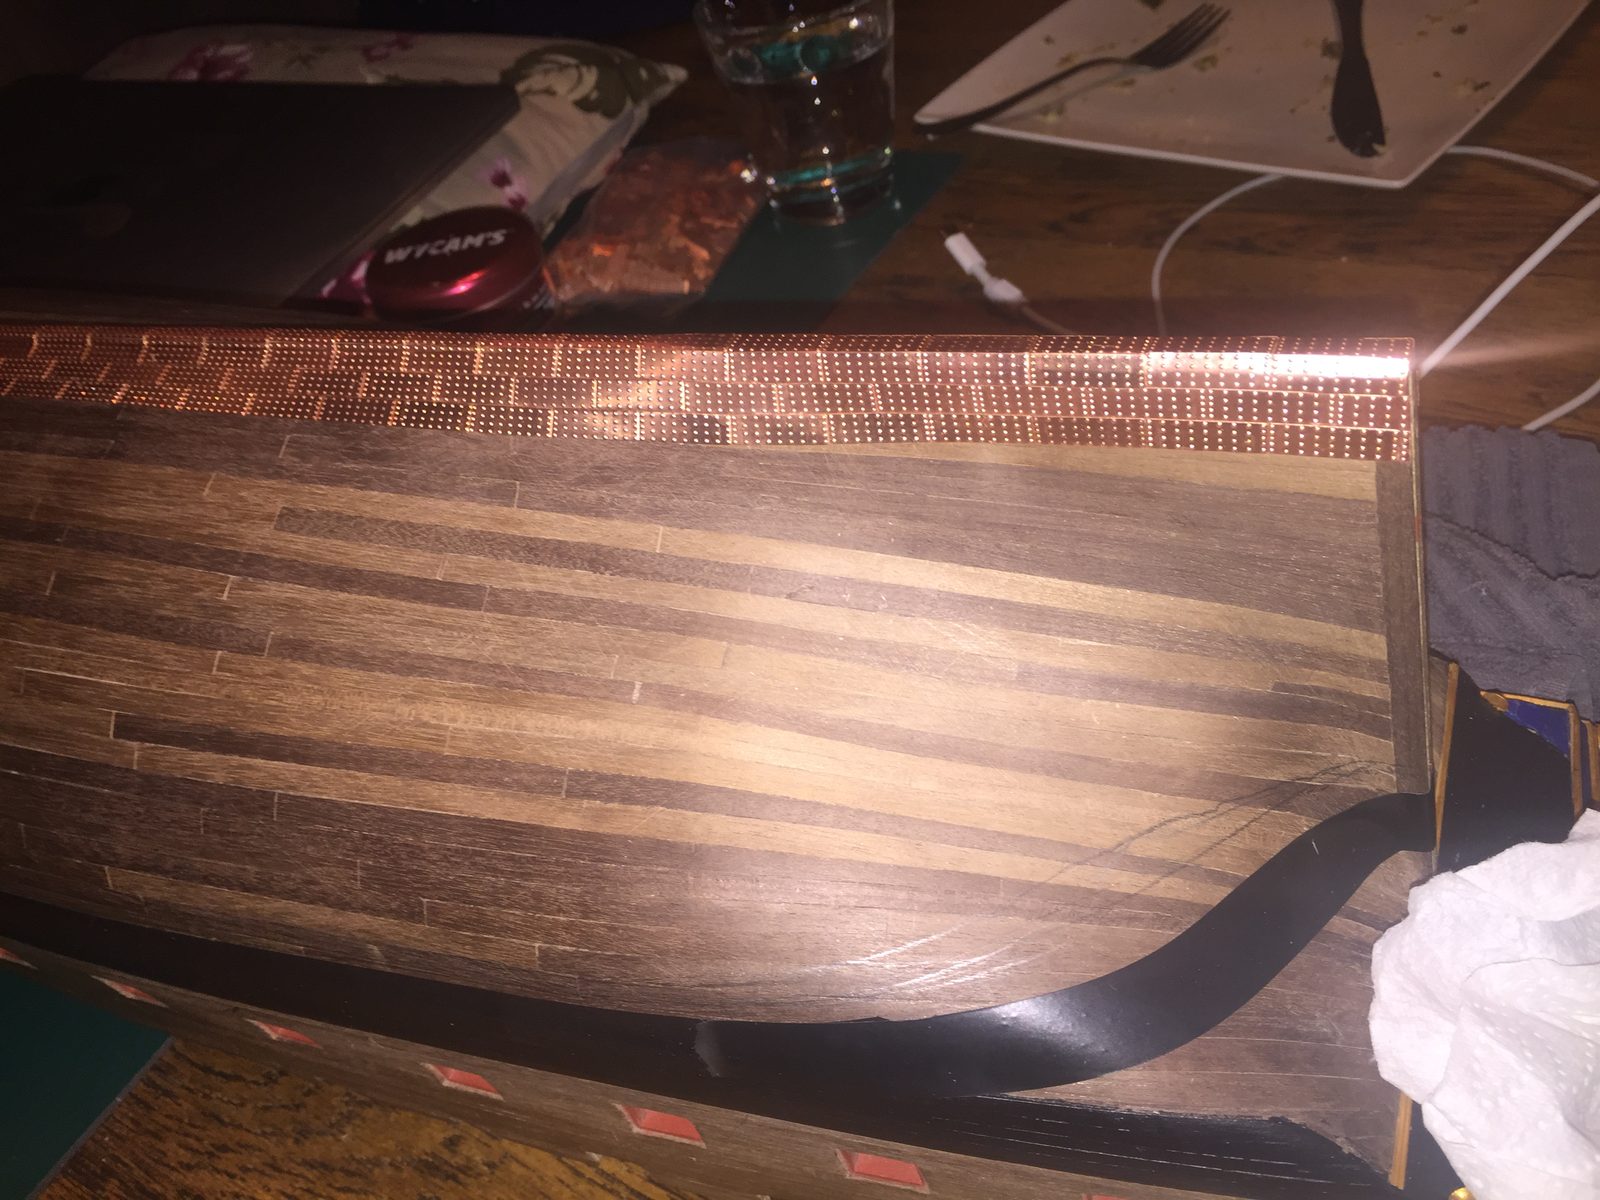
The first rows along the keel: each plate butts tightly against the previous one, so the rows above do not start to shift. Watch out: On the first row we pushed the plates against the hull too quickly, so they stuck at once and a small gap was left here and there. You see those gaps again in every following row.
Lay the plate with the glue on it gently onto the hull, without pressing, so you can still slide it against the previous plate. Press it down only when it sits right. Do not slide for too long, because the CA glue dries quickly.
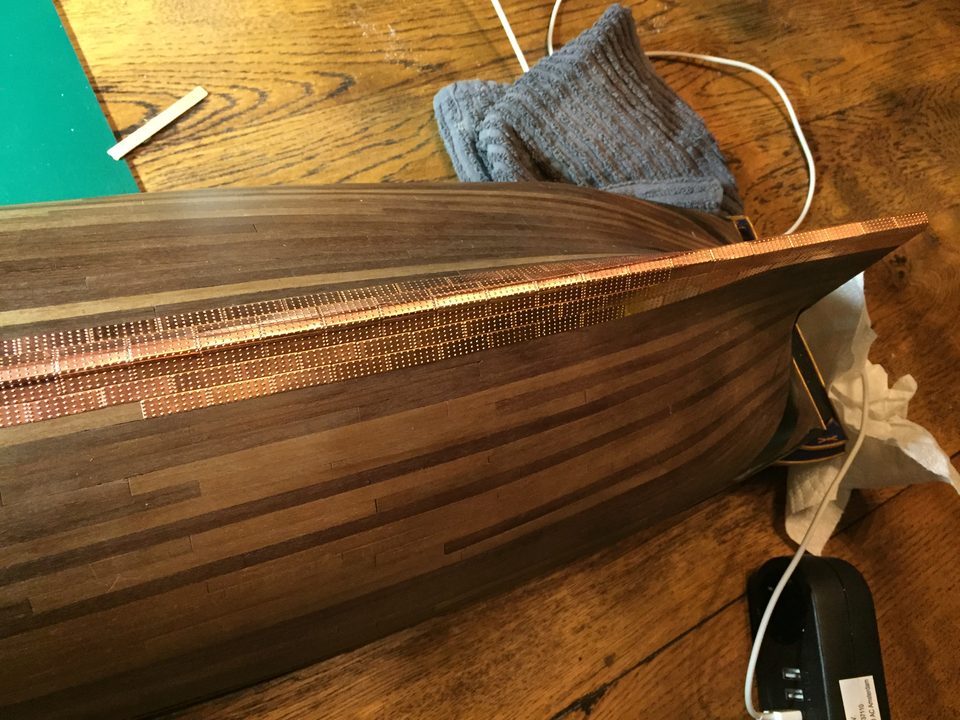
Plate by plate along the keel: press down only once the plate lies against its neighbour. Where a plate has to be shorter or angled, cut it with the hobby knife on the cutting mat. Scissors are easier but pull the plate out of shape, and then it never lies flat again. Plates may also be cut to size on the short side.
Tip from pietsan: Plates may also be cut to size on the short side; with a little patience that is quite doable.
With every new row, watch how the plates stagger relative to the previous row. We decided not to carry the gaps from the first row across the whole hull, so the third row lies about a millimetre out of line with the first. This low on the hull a one-off shift is less noticeable than gaps running the length of the hull.
shift of about 1 mm
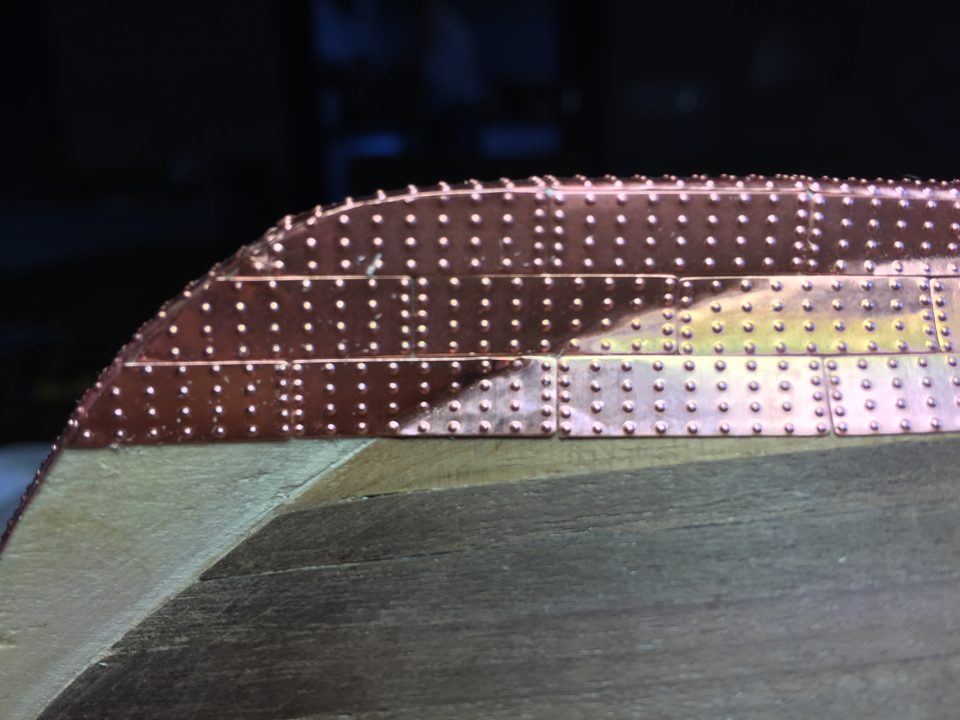
The third row lies about a millimetre out of line with the first: the result of the gaps in the first row. Watch out: After a few hundred plates you get the hang of it, but by then the first row is already laid. Take your time over that first row in particular.
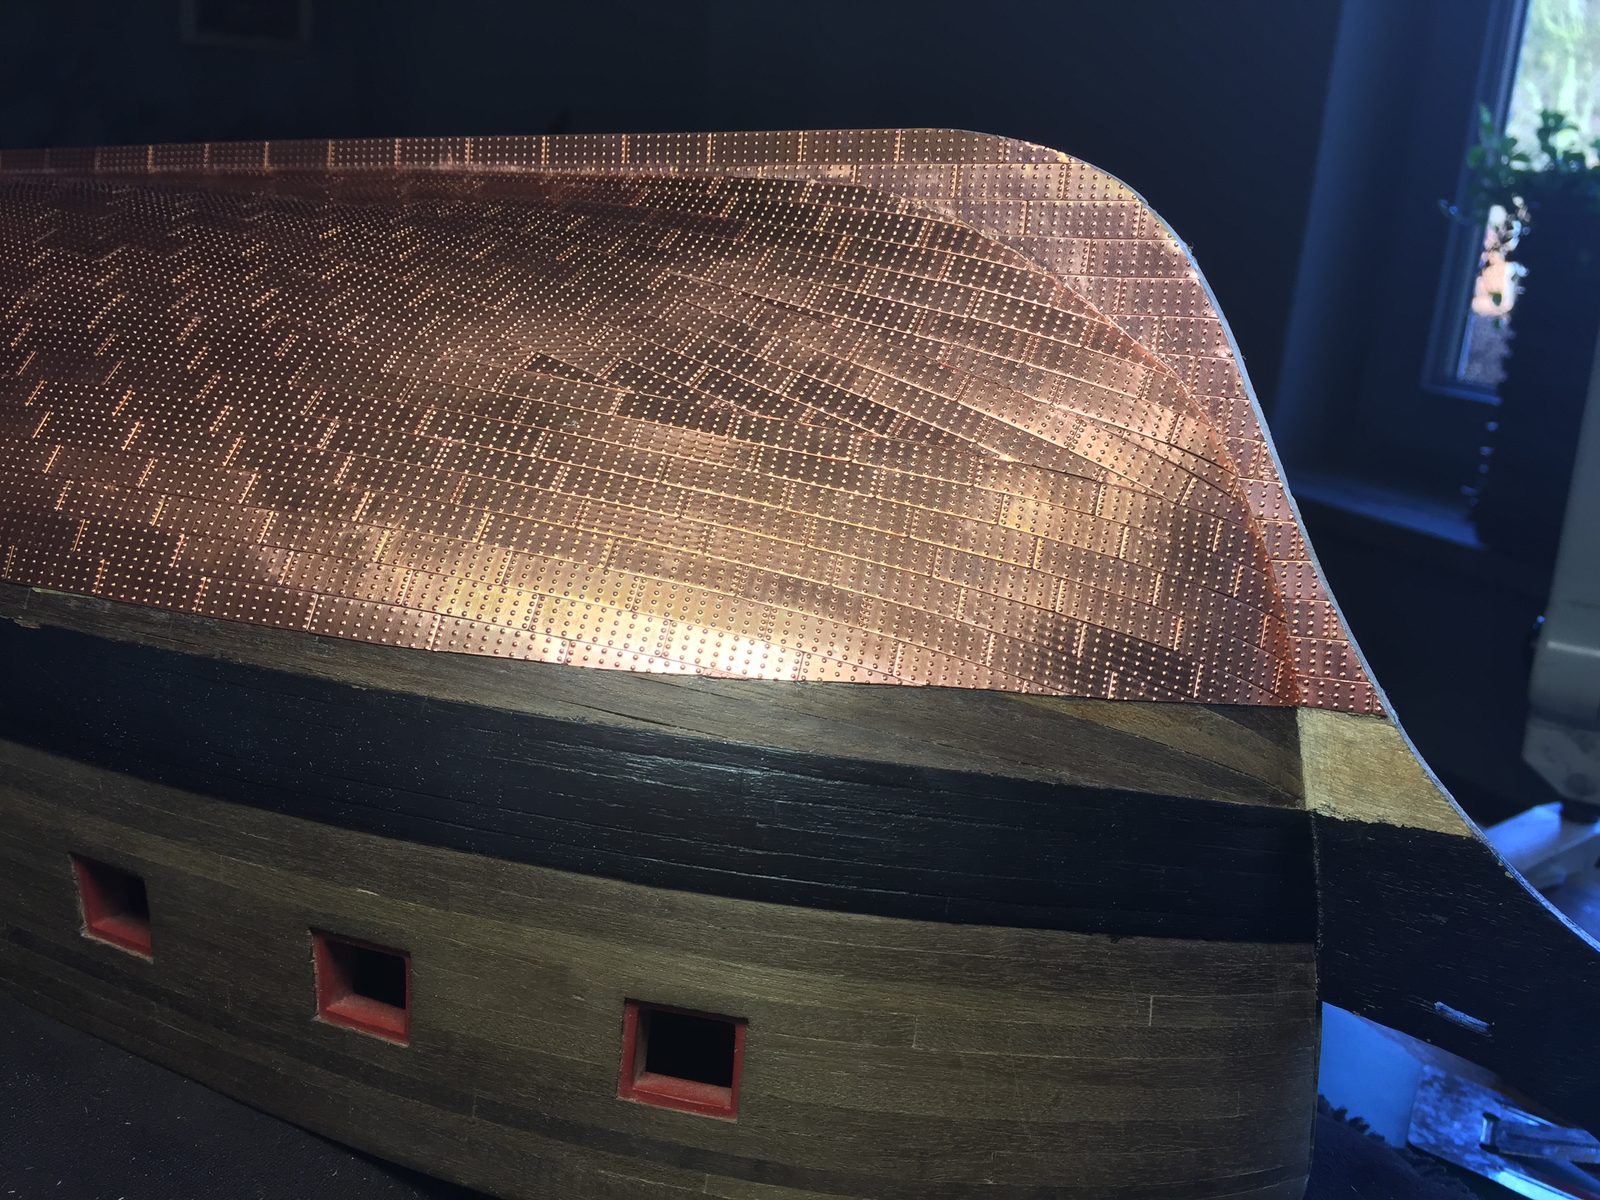
Copper amidships down to the keel first, so you can use as many whole plates as possible there. Then work from the keel towards the stem, so you can lay the curved parts against the line. Treat the sternpost separately; there the plates run horizontally rather than with the planking.
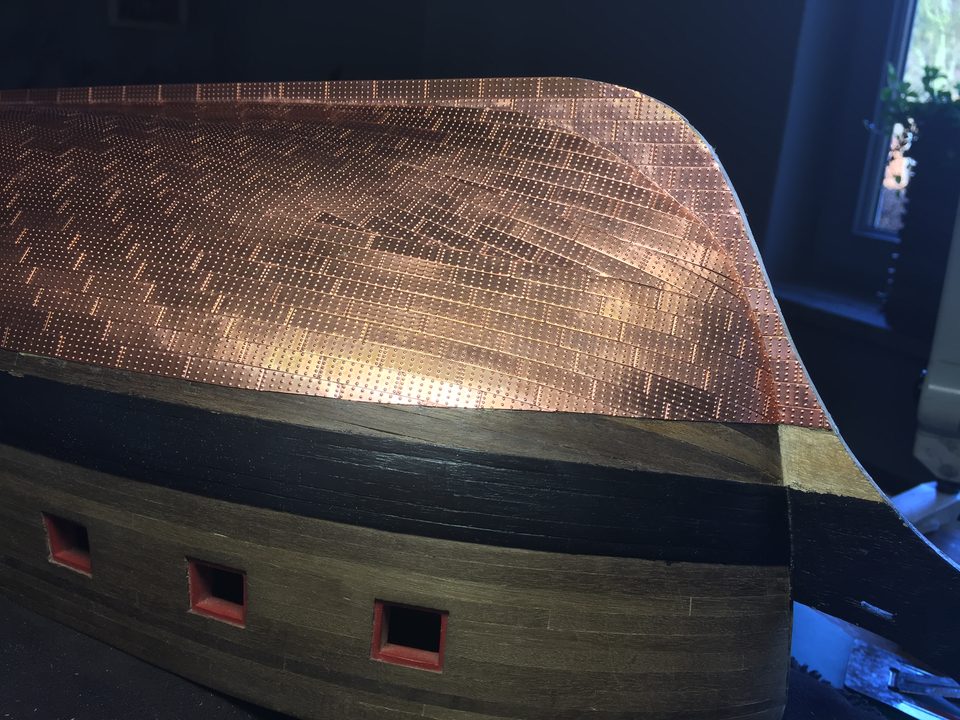
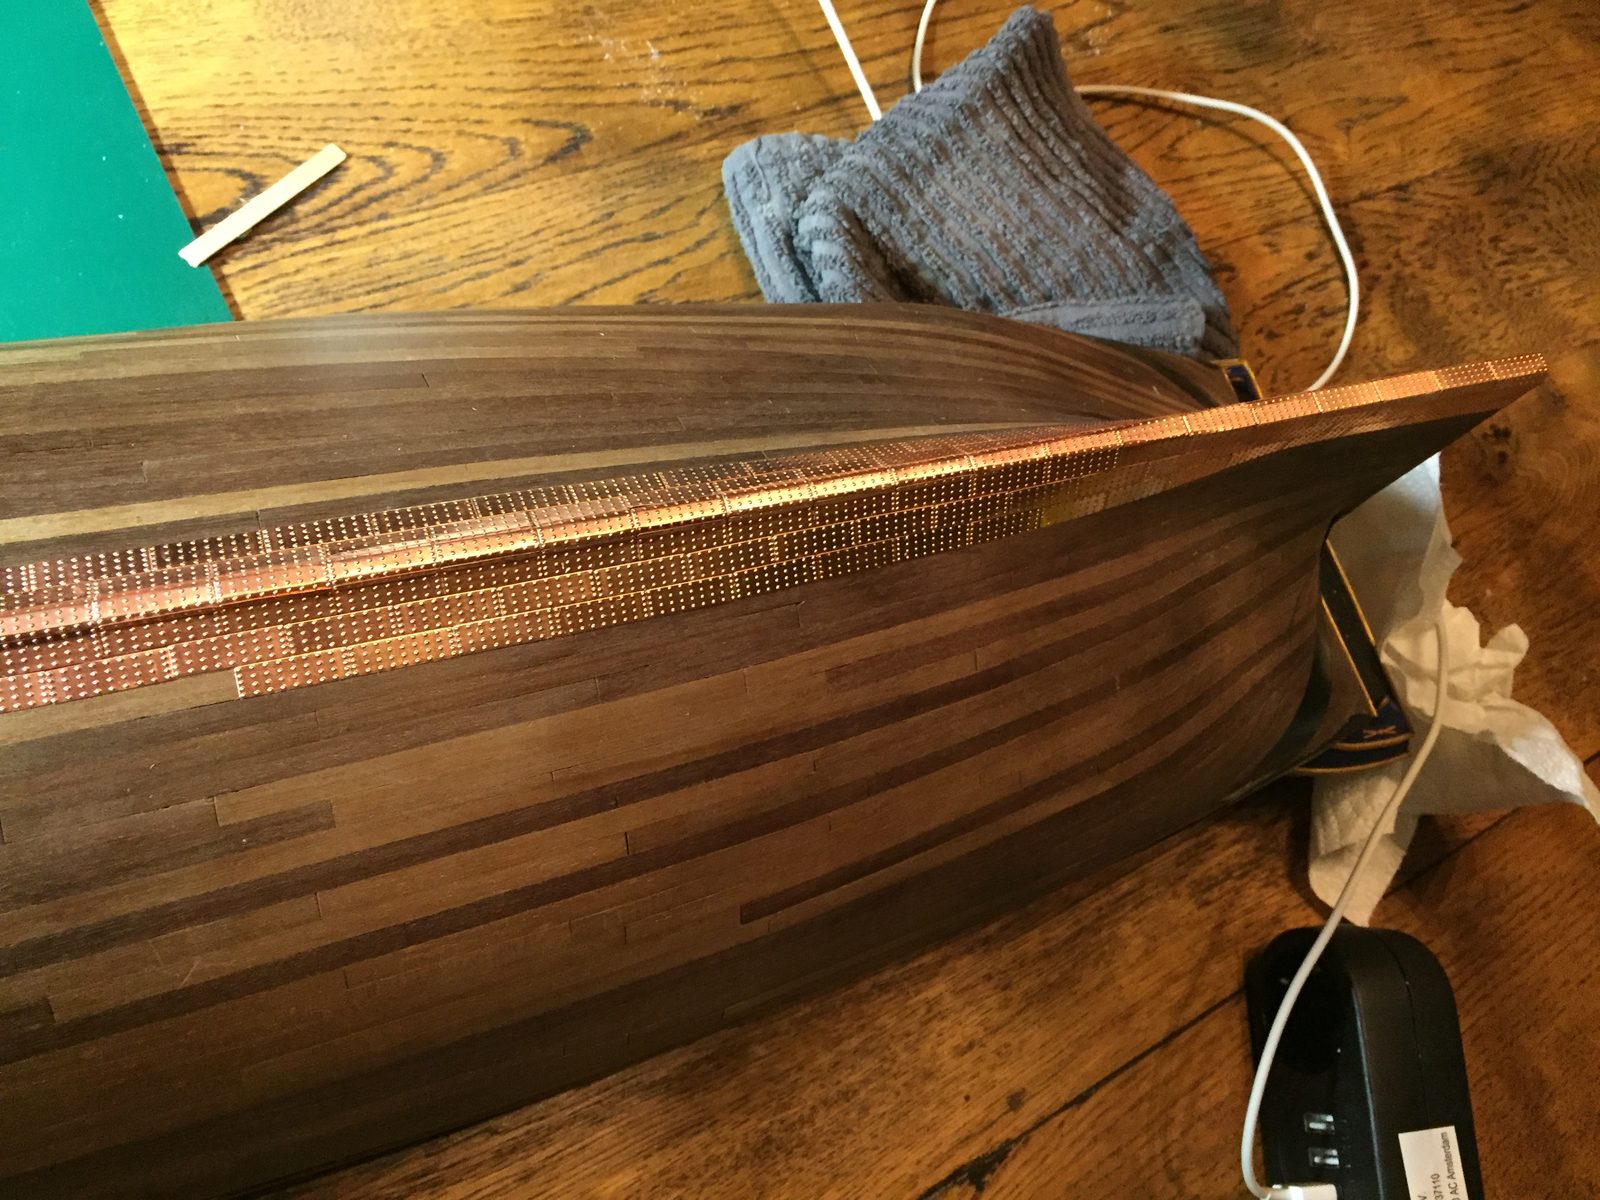
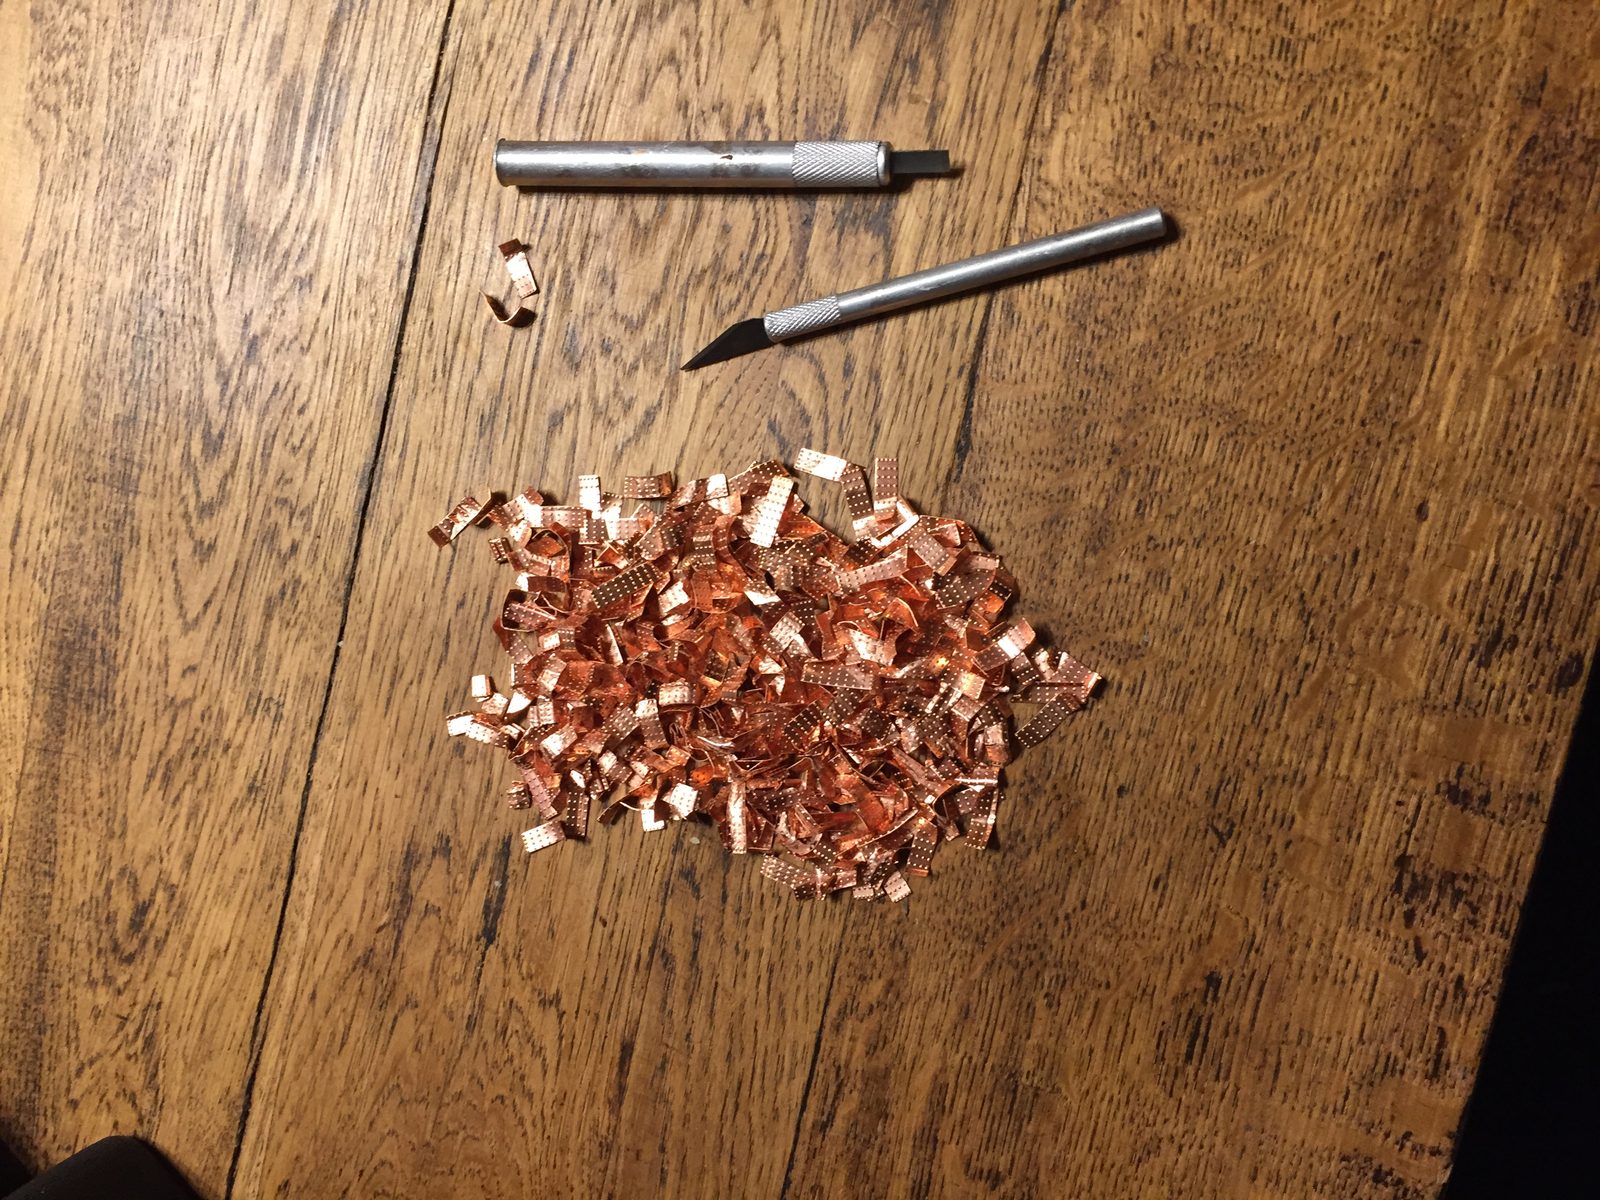
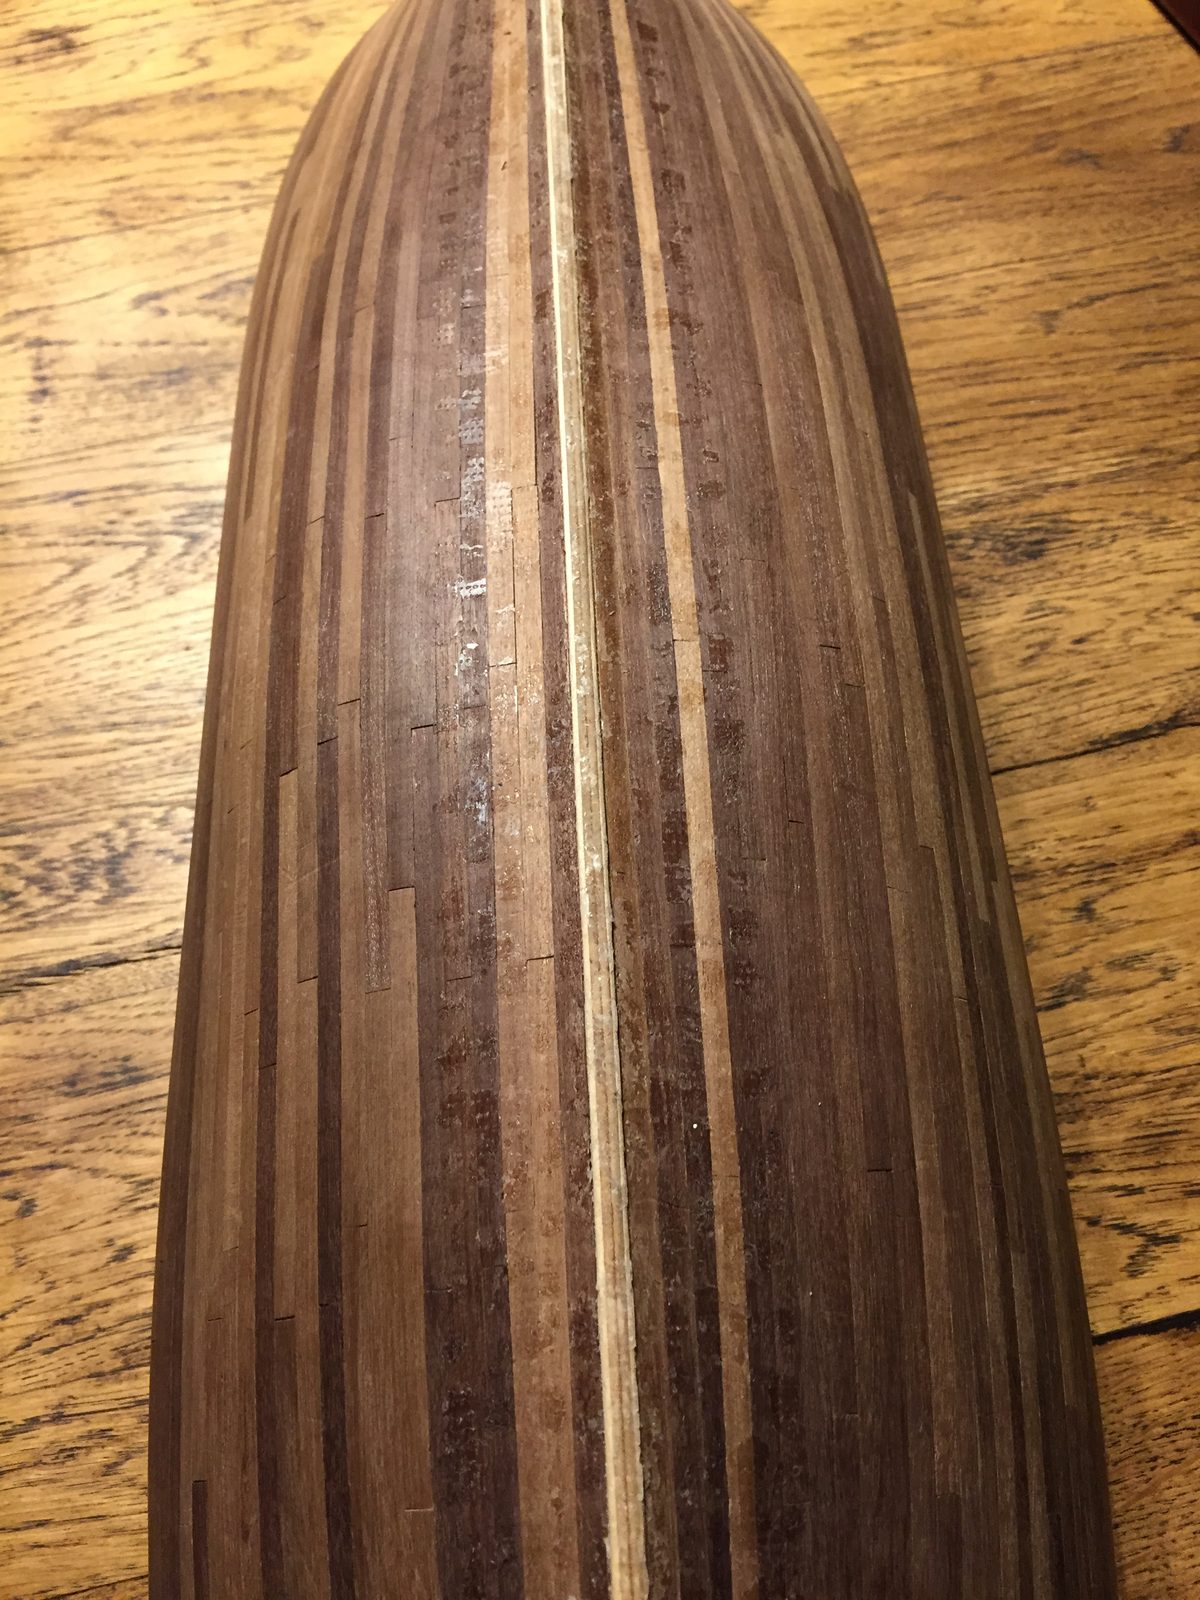
The ship upside down: amidships the copper runs right down to the keel, with as many whole plates as possible. Slip a hobby knife under one corner of the plate, lift a small tip and pull the plate off with small pliers. Then lightly sand the wood and you can start again. Do it carefully: where there is a lot of glue you pull bits of wood off with it. Fortunately ours came off easily.
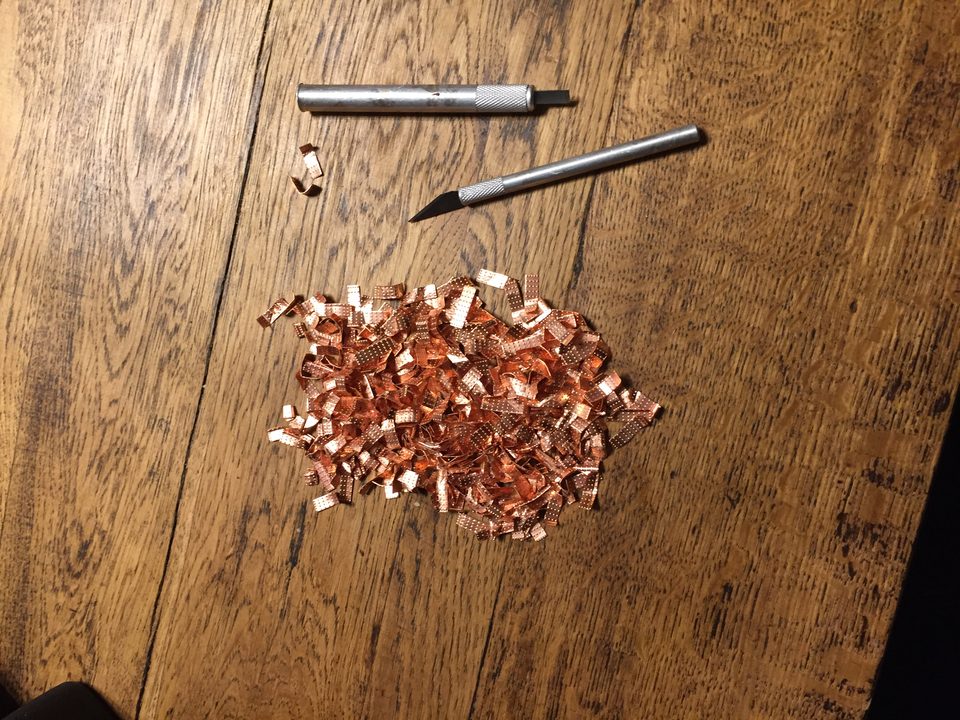
The harvest of an evening's pulling off: a few hundred plates that followed straight lines instead of the strakes. 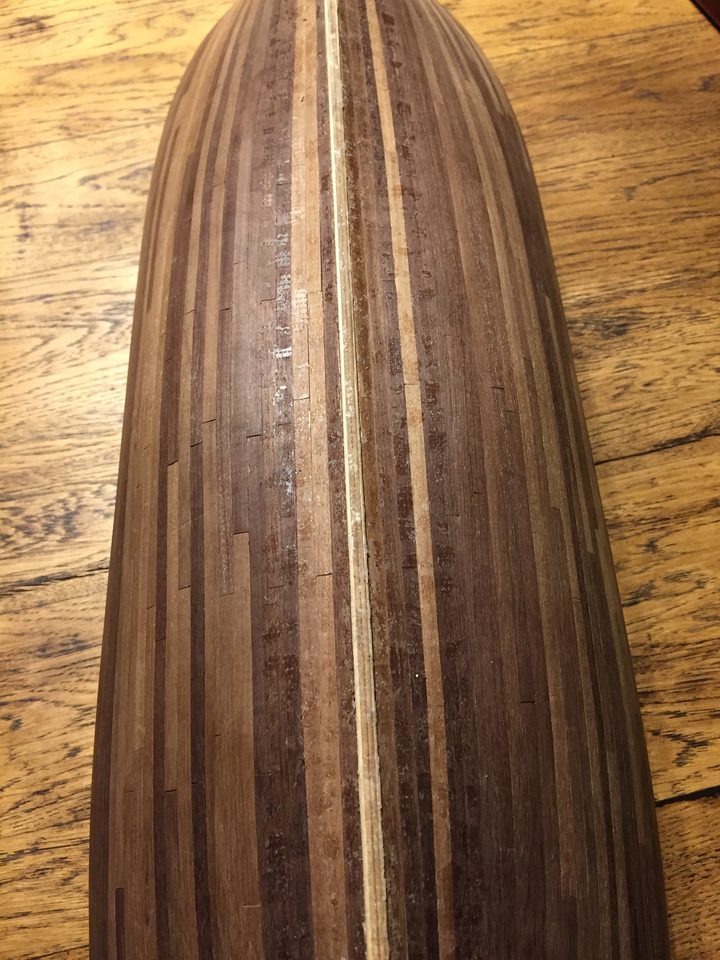
The hull after removal: the wood is intact and can be coppered again after a light sanding. Tip from pietsan: If you want to remove the plates, slip a hobby knife under them and lift a small tip with it, then pull them off with a small pair of pliers. A quick sanding of the wood and you can start again. Carefully, though, because if there is a lot of glue on them you can pull bits of wood off with them.
Watch out: Our first few hundred plates followed straight lines along the keel and sat lower on the port side than on starboard, because the plates under the keel were not centred. Laying the garboard strake first and only then covering the keel would have been better.
Result
The first few hundred plates taught us how to lay them: on gently, little glue, first row tight. They still had to come off because the rows followed straight lines instead of the strakes; next time we would lay the garboard strake first and plan the belts before the first plate goes on.
Problems met with this technique
The plates on the underside of the keel were not centred, so port comes out lower than starboard. Took everything off (came away easily) and started again. (Tips from pietsan) to the register
Cutting plates to size with scissors bends them. Cut with a knife instead of scissors. (Tips from pietsan) to the register
The plates followed straight lines instead of the sheer of the strakes. Marked out rows following the sheer of a plank, stealer plates at stem and stern, keel and posts horizontal. (Tips from pietsan, Henkl, Hans Groenenberg) to the register