Hammock cranes from brass tube round a wooden jig
Replace the fragile hammock cranes from the kit with home-made cranes of 1 mm tube, bent round a wooden jig, with a small ring in the filed-open end.
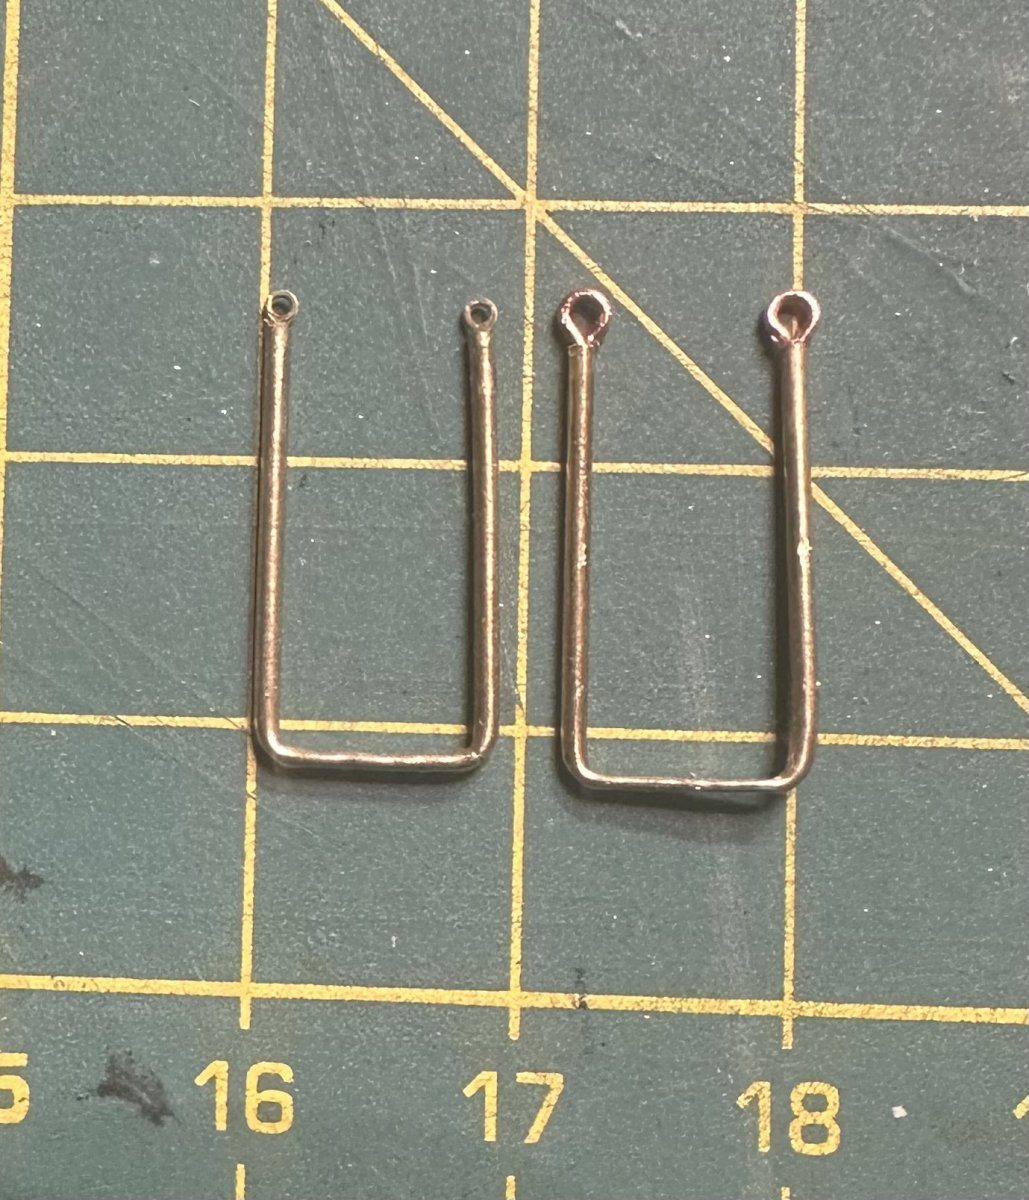
What you need
- wooden jig, sawn to size
- side cutters
- fine needle file
- flat-nosed pliers
- tweezers
- brass tube 1 mm in diameter with a 0.6 mm bore
- flat or round rings that fit exactly into 0.6 mm
Dimensions
- tube 1 mm outside, 0.6 mm inside
- two jigs: long cranes for the waist (266, 267) and short ones for the quarterdeck (270)
- the round rings are slightly larger than the flat ones
- eyebolt 313 for the horizontal rope 20 mm from the ends (20.20)
- 1 mm holes in the planksheer (20.2)
- Time
- several evenings
- Difficulty
- moderate
- When in the build
- Phase 13,
- From the log post
- Hammock cranes from tube · forum
Before you start
Check the hammock cranes from the kit: they are so fragile that nearly all of them break. Order 1 mm brass tube with a 0.6 mm bore and rings that fit into that bore. Look up photographs of the Victory to see how the netting hangs from a rope through the eyes of the cranes.
Saw a wooden jig to the inside width of the crane, so that the tube fits tightly round it. Note: the kit has two lengths, long ones for the waist (266, 18 pieces, plus 2 with a hole in the side, 267) and short ones for the quarterdeck (270, 30 pieces). So make two jigs and keep the two with the hole apart: that is where the eyebolt (313) for the horizontal rope goes, 20 mm from the ends (20.20). Put a kit crane beside it as a reference for width and height. The 1 mm tube bends round the jig by hand without kinking.
tube 1 mm, bore 0.6 mm
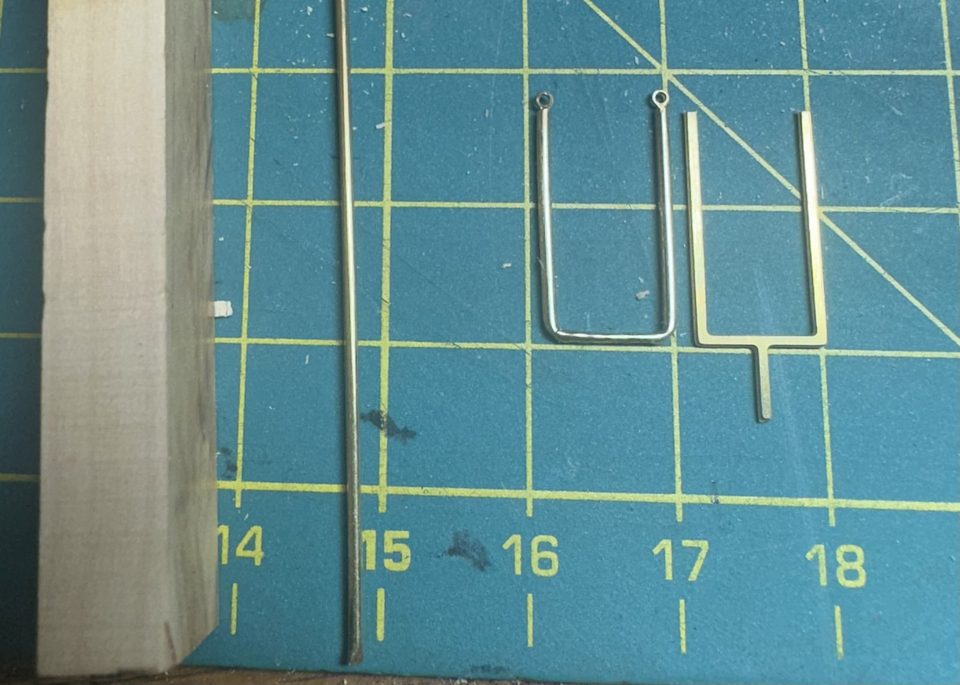
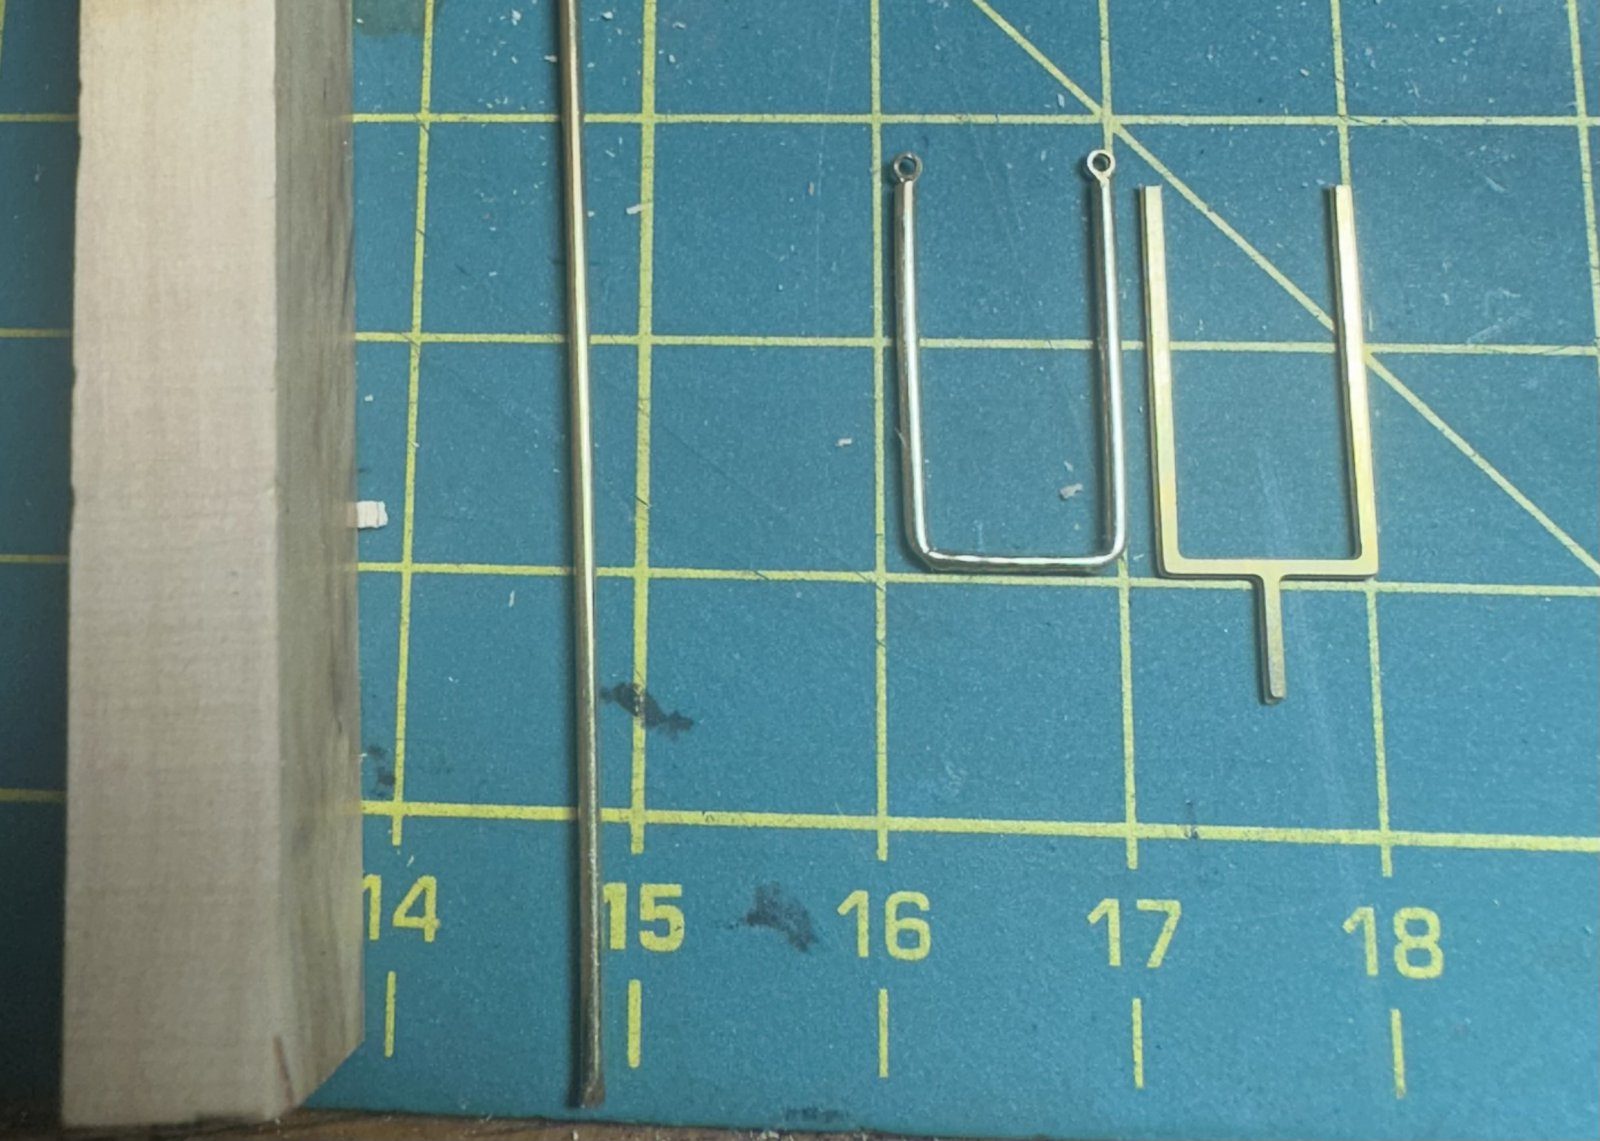
From left to right: the tube, the wooden jig, a first home-made crane with eyes and a crane from the kit. Watch out: The kit cranes are so fragile that nearly all of them were done for before they reached the model. Hence making them yourself.
Lay the tube centrally over the jig and bend both legs down tightly along the sides. Press the corners with flat-nosed pliers so that the crane is square. Make them all on the same jig, then they come out identical.
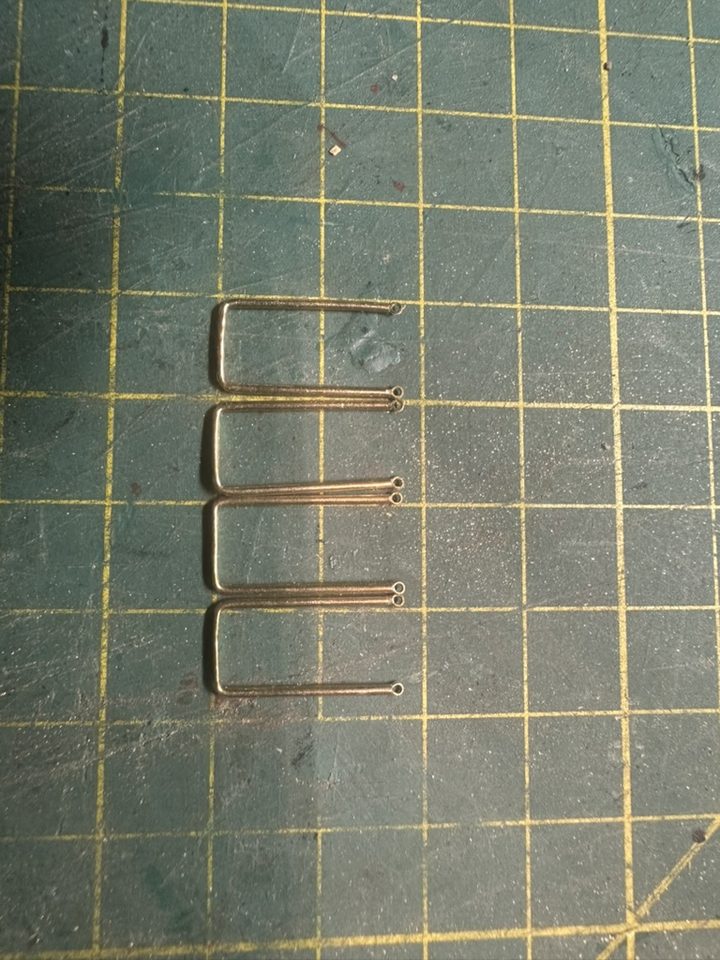
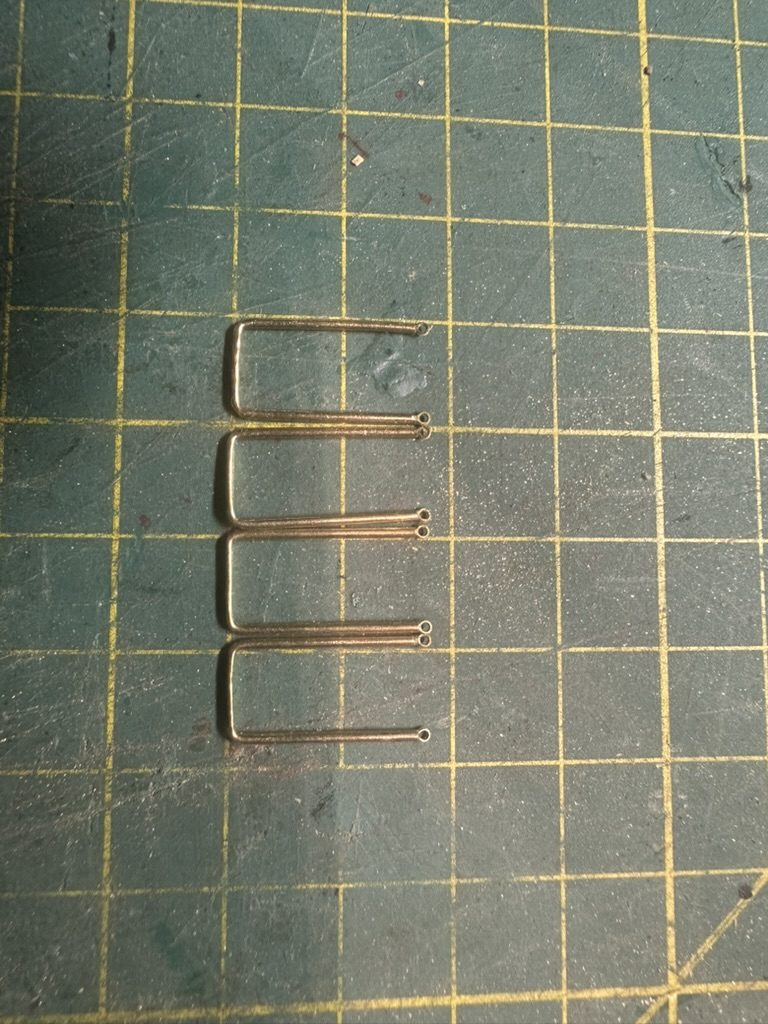
Four bent cranes side by side: thanks to the same jig they are equally wide. Cut the legs to length with the side cutters, equal to the height of the kit crane plus the part that goes into the bulwark. Cutting squeezes the hole at the ends shut; that is normal and you restore it in the next step.
File the squeezed end open again until the 0.6 mm bore is clear. Use a fine file and check with a ring that it fits. Do this at the top of both legs, where the rings go.
bore 0.6 mm
Push a ring that fits exactly into the 0.6 mm hole into each filed-open end. Flat rings look fine, round ones are slightly larger and look more like the Victory, where the netting hangs from a rope through the eyes. Choose one variant for all the cranes.
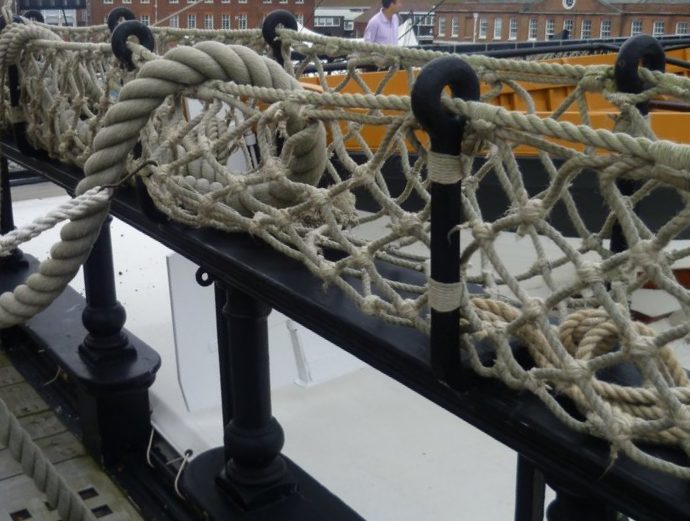
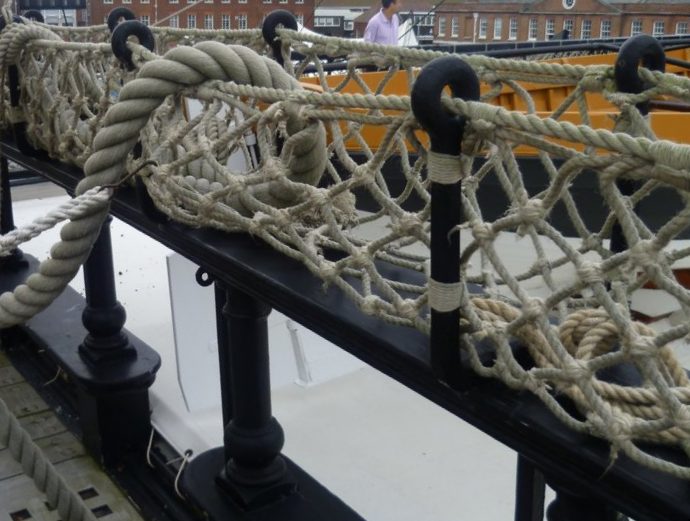
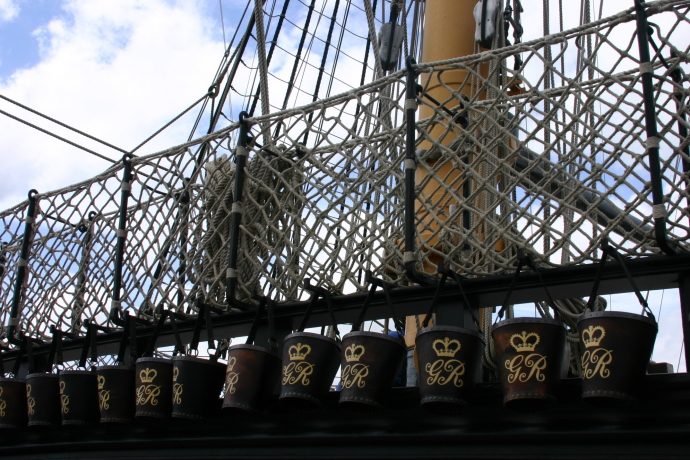
The example on the Victory: the rope of the netting runs through the eyes of the cranes. Watch out: After a few with flat rings came the idea of round ones. Decide that beforehand, otherwise you make the first batch again.
Drill 1 mm holes in the planksheer at the positions of the kit cranes (the manual has you drill them when fitting the planksheer, 20.2) and set the legs in them. Later the netting hangs from a horizontal rope through the eyes, as on the Victory. Check that all the cranes stand equally high before fixing them. Pietsan filed grooves in the planksheer for the cranes and ran brass wire instead of rope through the eyes (pietsan.nl, copy of 2019).
1 mm holes in the planksheer (20.2)
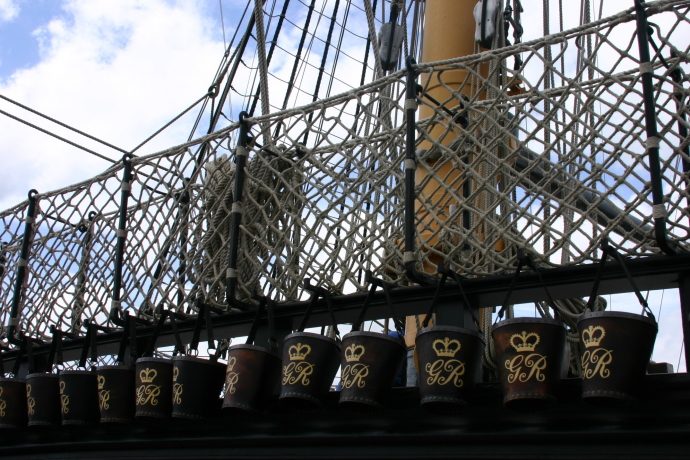
The hammock cranes with nettings on the Victory, the reference for the arrangement. Tip from HMSFly: Fit the cranes before the shrouds, because you cannot get at them afterwards; and look closely, because the kit cranes are not symmetrical, which HMSFly noticed just in time. (Ships of Scale, 19 February 2025)
Result
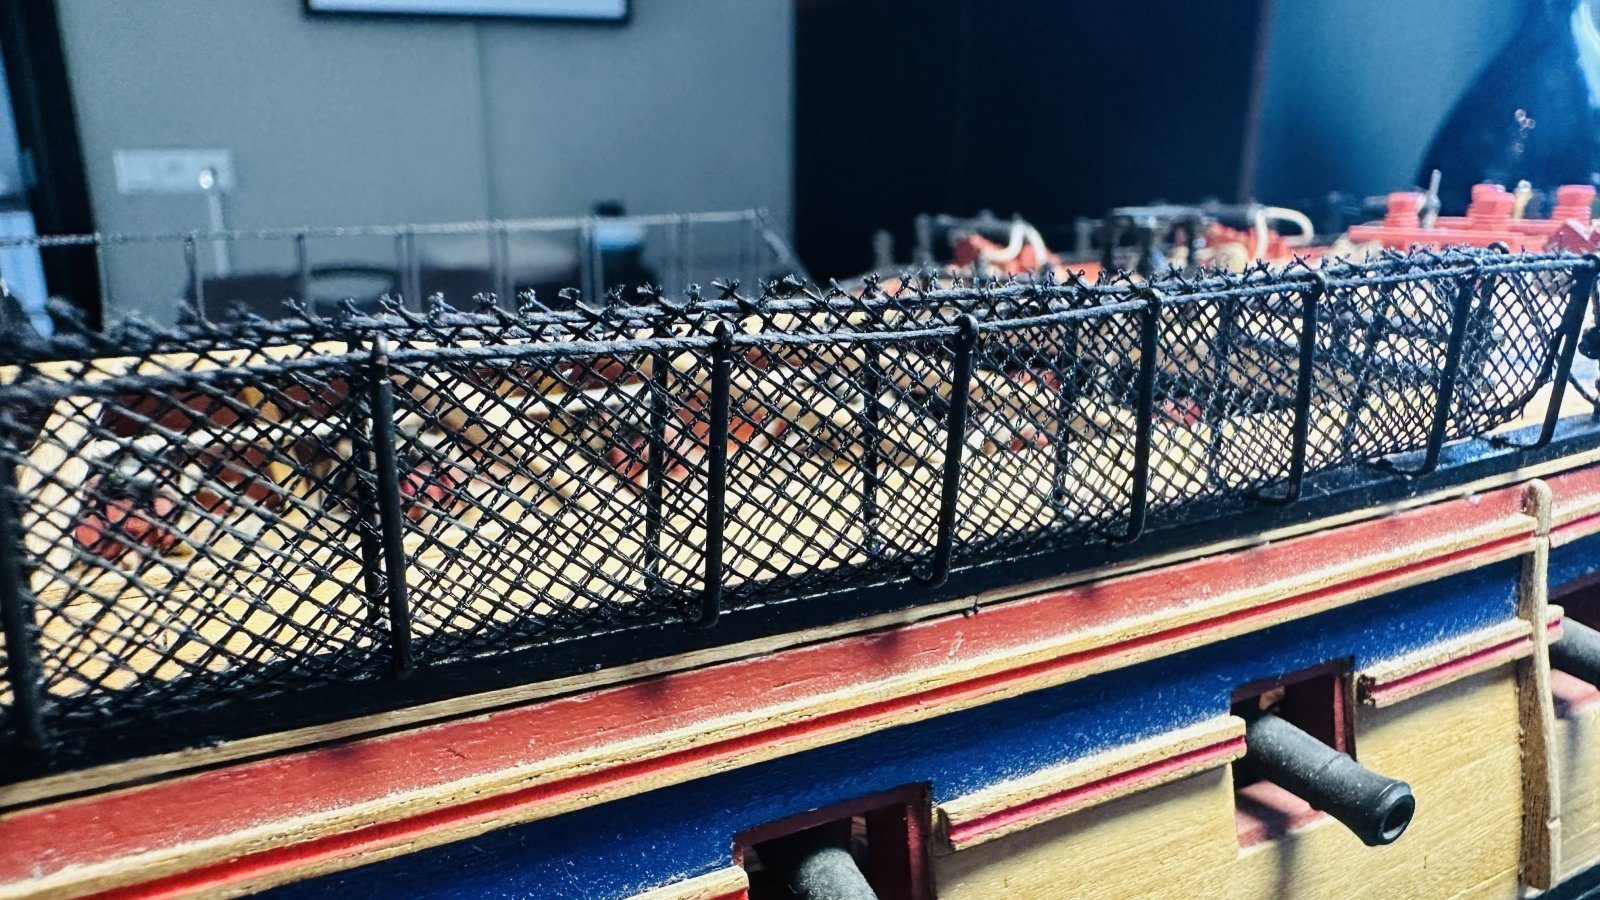
The method is simple and the cranes are a good deal sturdier than the kit ones. The choice between flat and round rings stayed under consideration for a while; look at the Victory example before you start.
Problems met with this technique
The hammock cranes from the kit are so fragile that almost all of them are broken. Made his own from 1 mm brass tube around a wooden former. to the register
Dilemma between flat and round (larger) rings in the hammock cranes. Still under consideration, based on the Victory. to the register
Kit errata
Hammock cranes so fragile that almost all are broken. Made his own from 1 mm brass tube. to the register