Fitting the wale and black strake
Establish the height of the wale with masking tape and the sheer of an existing strake, then glue the black strake and five strips with plank butts cut in.
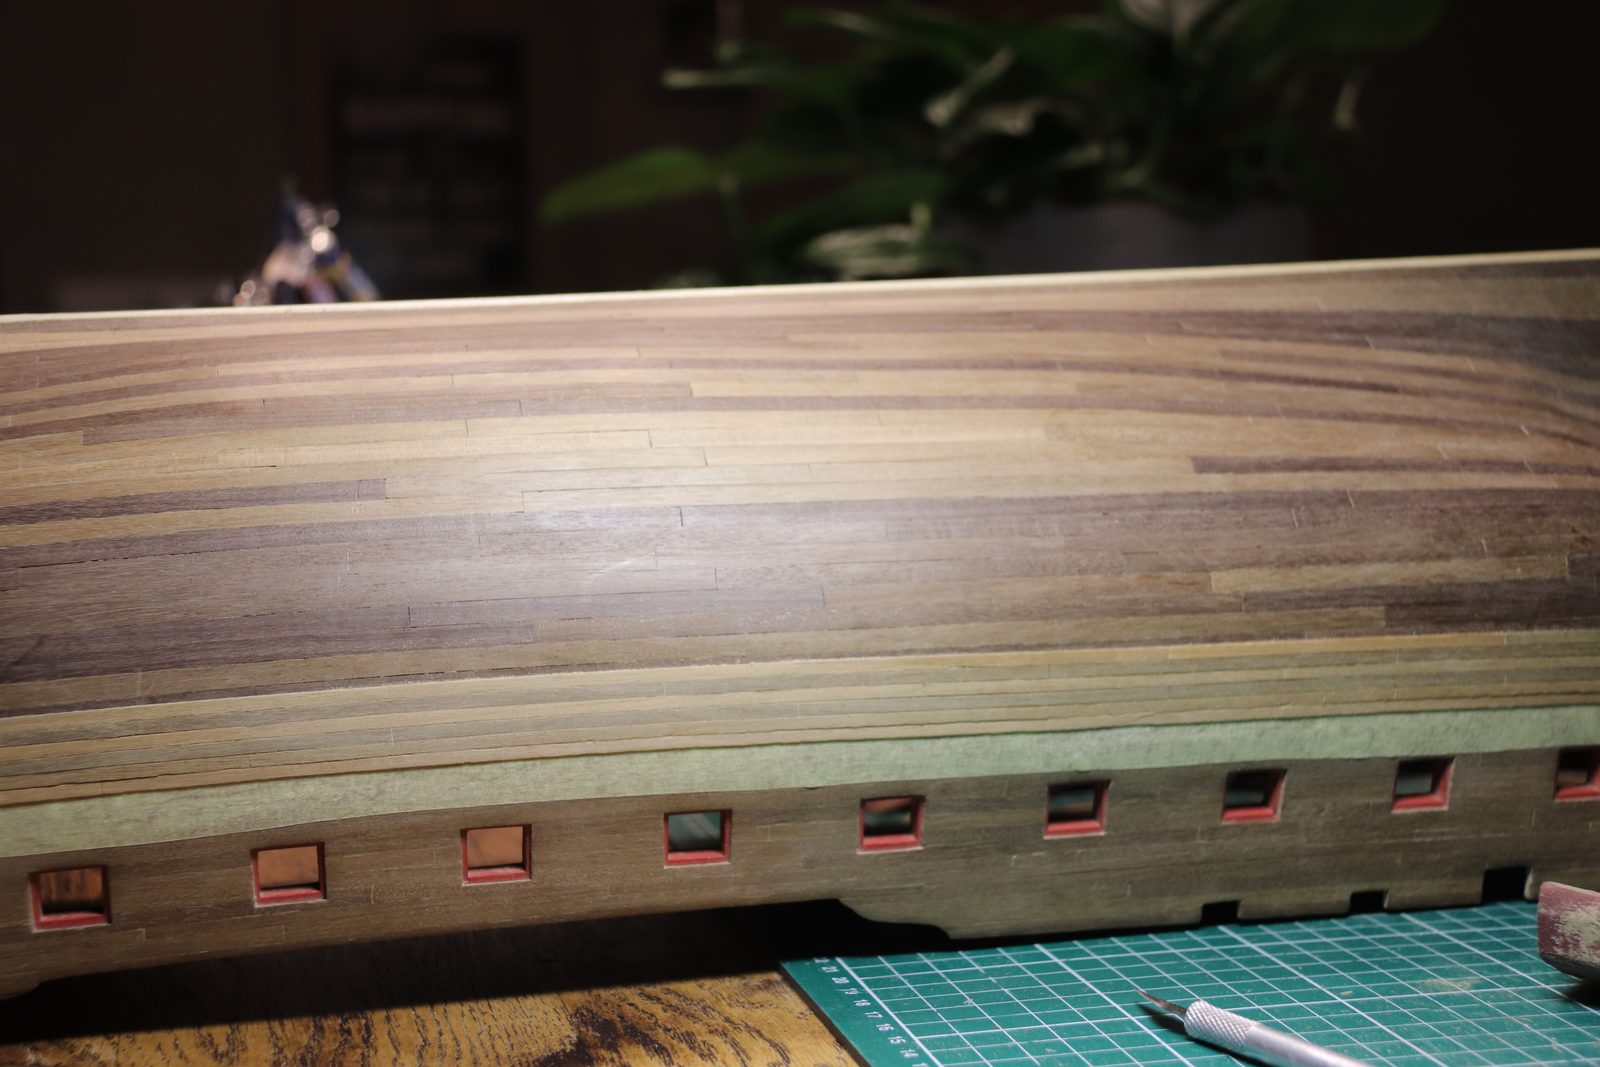
What you need
- masking tape
- 600 grit sandpaper
- hobby knife
- ruler
- pencil
- brush
- black strake 3 x 0.5 mm
- wale strips 3 mm wide, 0.7 mm thick (one of 1 mm in the box)
- PVA glue
- Admiralty matt black
Dimensions
- black strake 3 x 0.5 mm
- wale strips 3 mm wide; the parts list says 1 mm thick (280, twelve pieces), in our box they measured 0.7 mm except one
- wale height on the profile view 18 mm
- black strake plus five strips (not six)
- plank butts every 9.37 cm (6 m at scale, as per Mondfeld)
- Time
- several evenings
- Difficulty
- moderate
- When in the build
- Phase 4,
- From the log post
- The black strake and the height of the wale · forum
Before you start
The whole hull is planked and sanded smooth. Keep the photos from pietsan's build log and the profile view of the plan (1:1) to hand for establishing the height of the wale. Check what is actually in the box: the manual says six strips of 3 x 1 mm below the black strake, but on the profile view the wale is only 18 mm high.
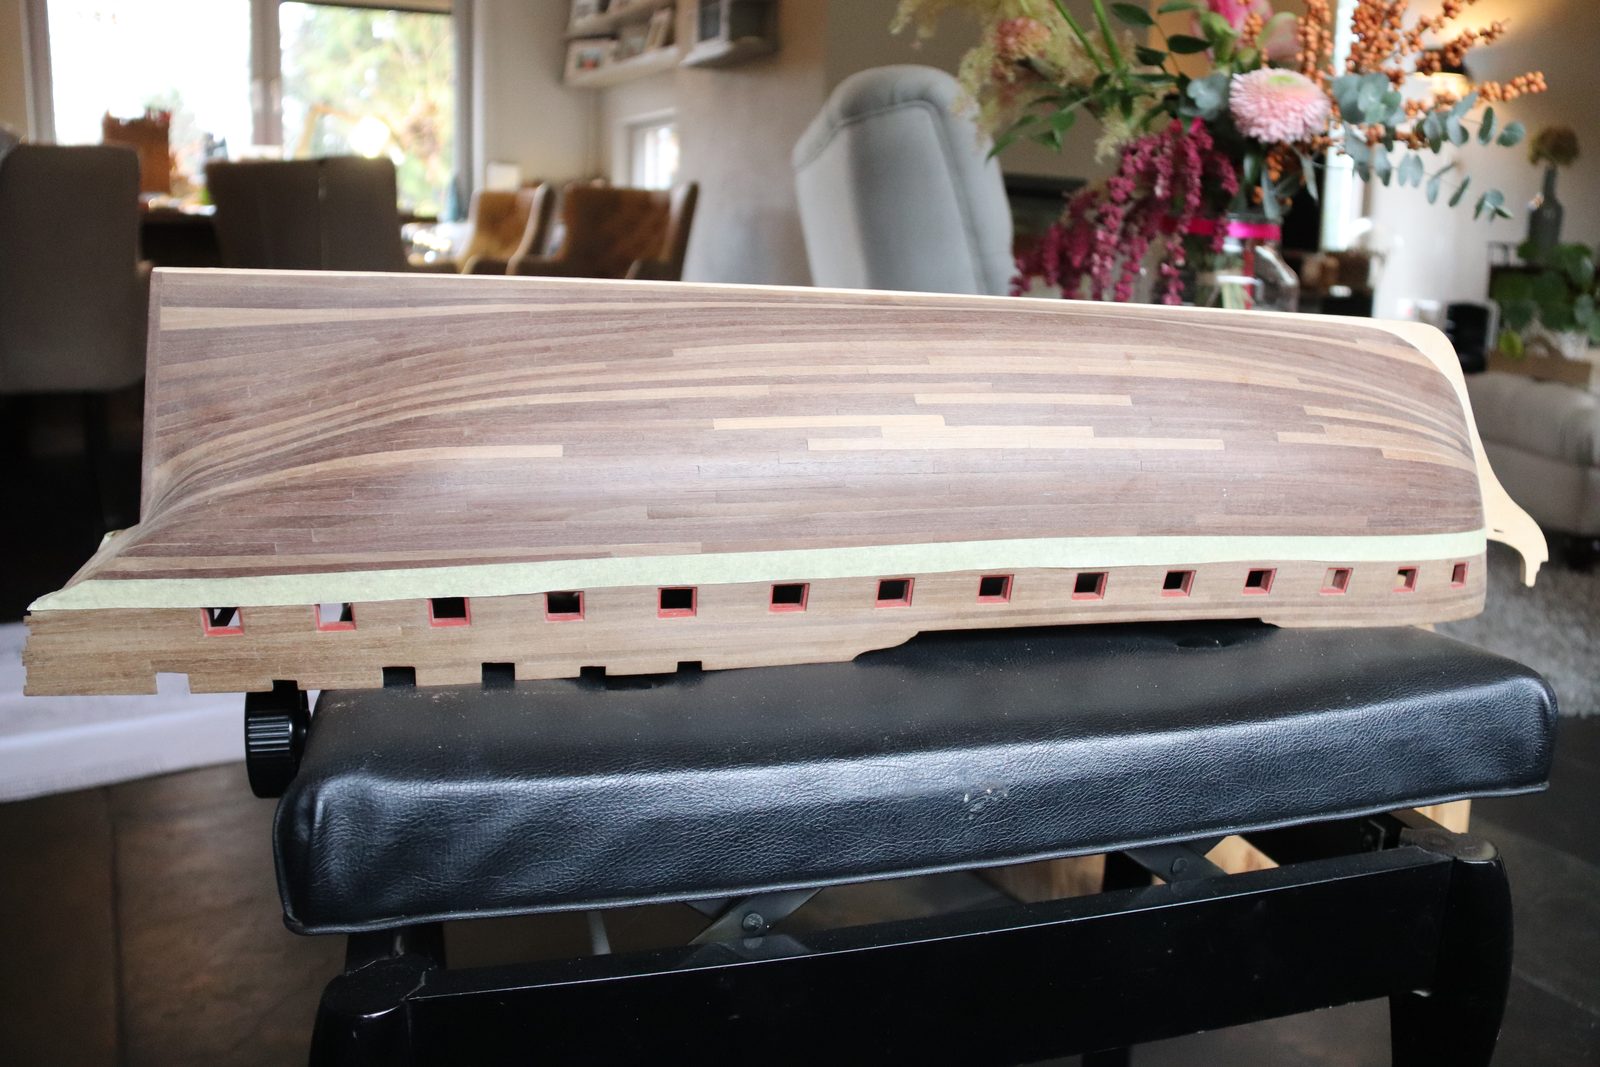
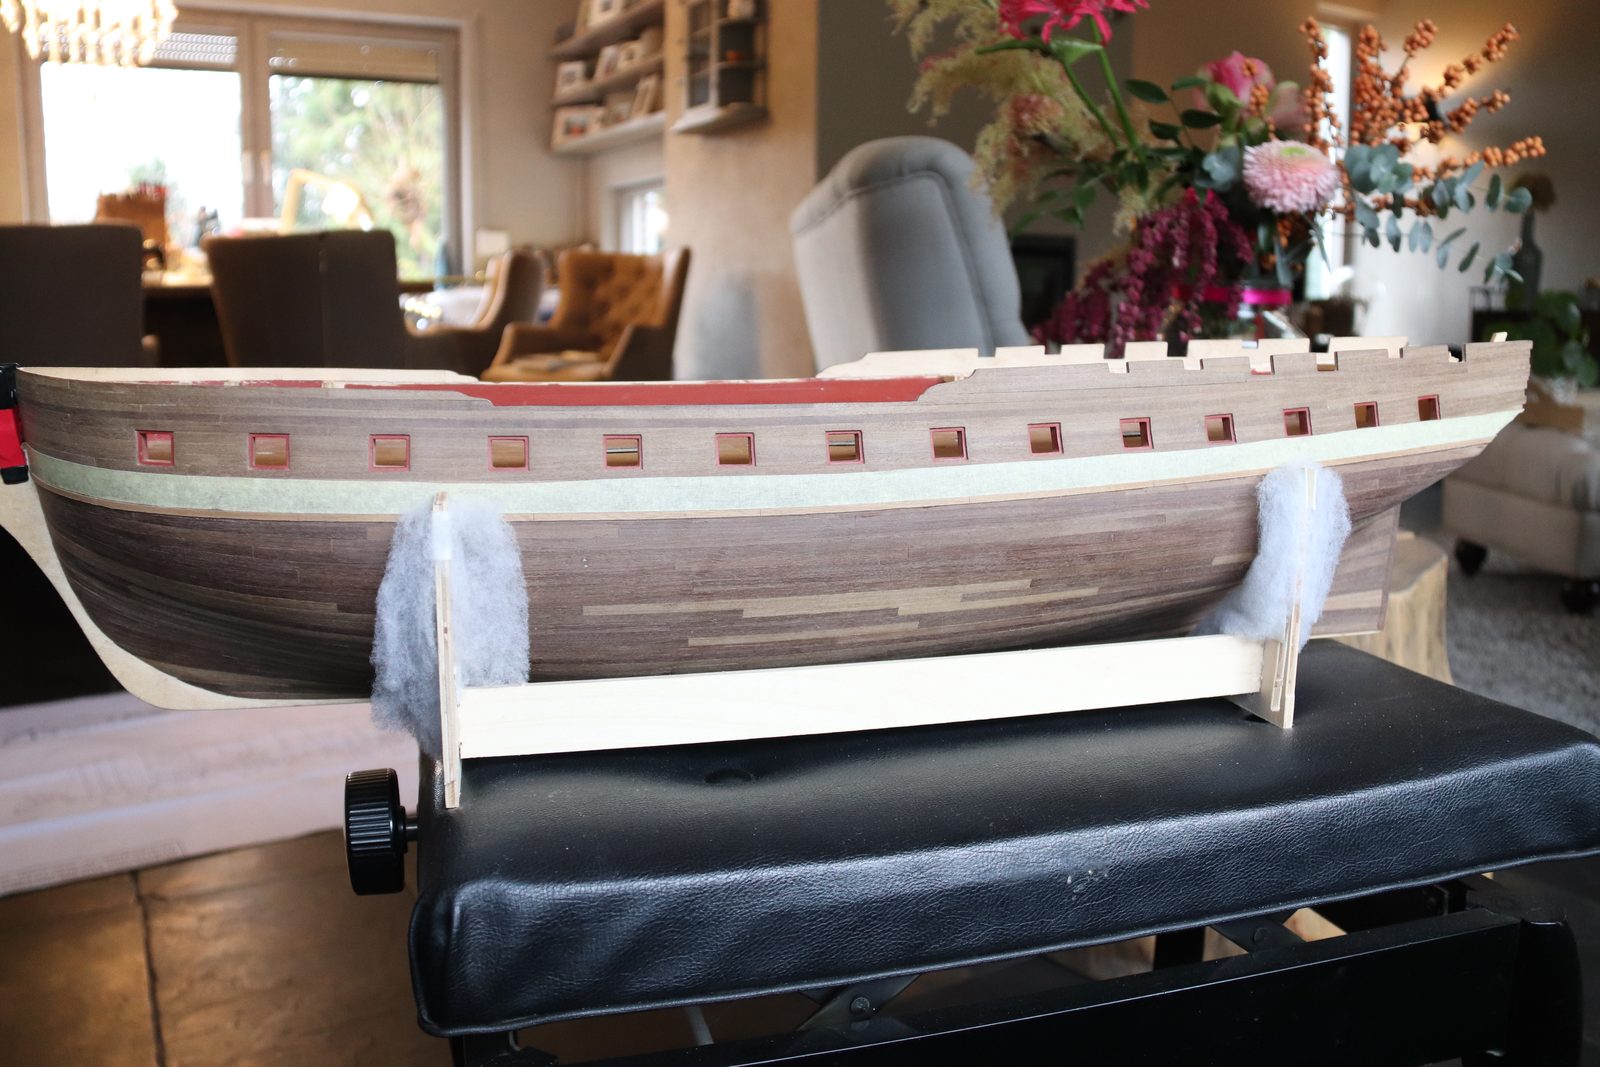
Stick a strip of masking tape on each side of the hull where the top of the black strake is to go. Follow the sheer of a strake of the planking that sits at roughly the right height; that gives you the right line by itself. Work out the height itself by looking closely at pietsan's photos and the profile view.
wale height 18 mm on the profile view
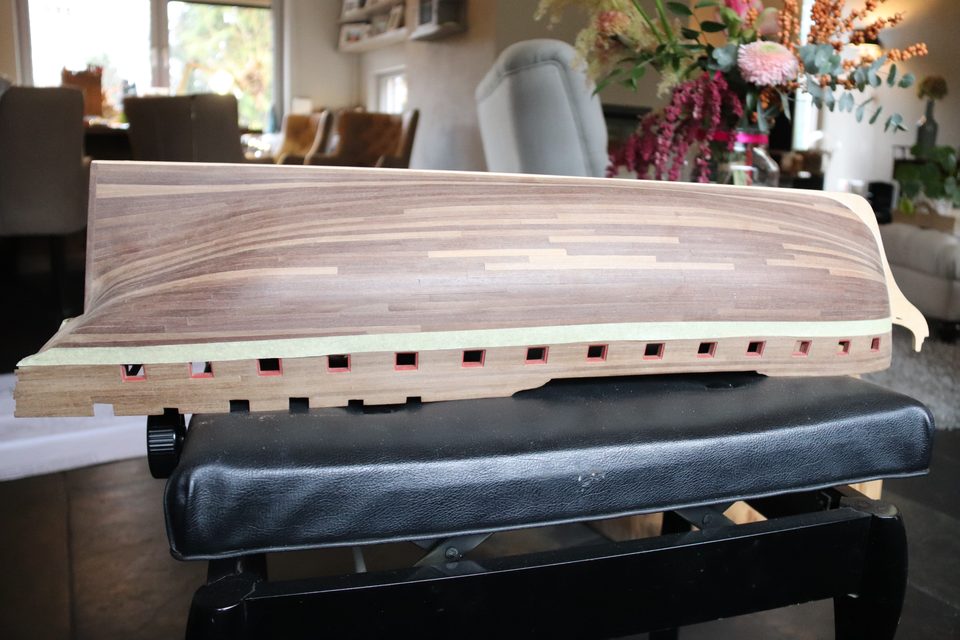
The hull on the stand with the masking tape as the height line for the black strake. Tip from pietsan: It is very important to have measured properly how the wale runs and its height. I did this from the plan, which is 1:1.
Watch out: That took a great deal of measuring. The profile drawings seemed to be half a centimetre out compared with the photos; in the end the sheer of an existing strake gave the best line.
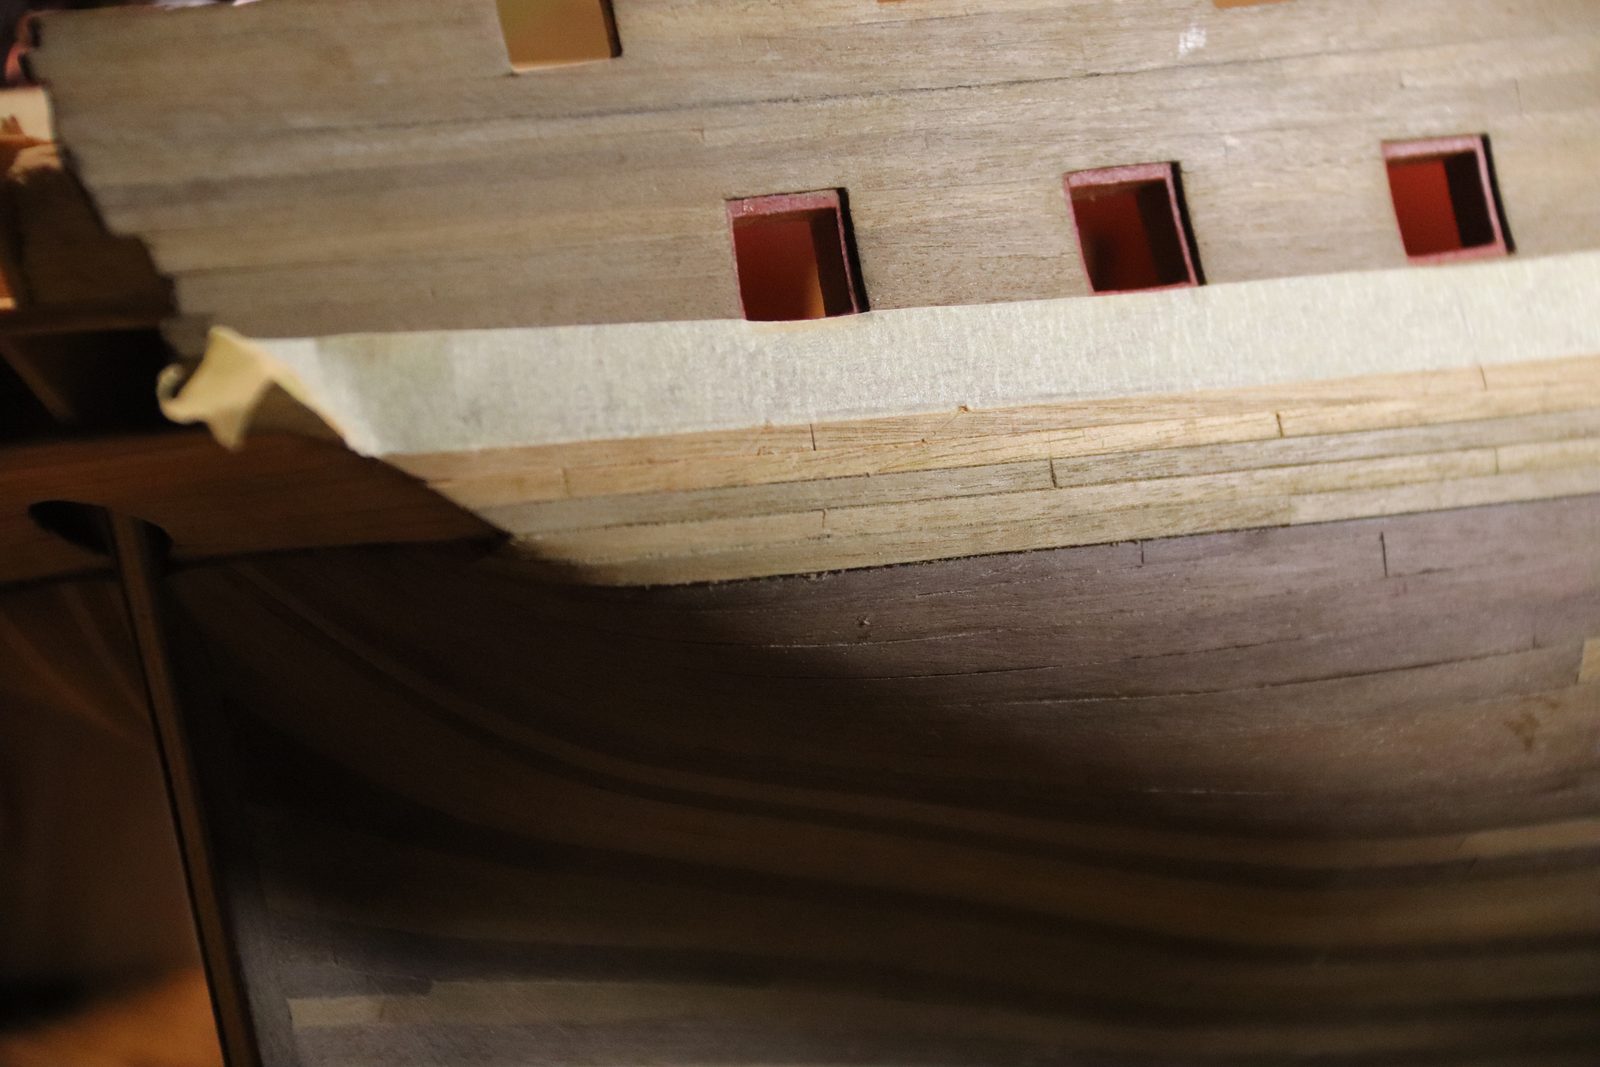
Glue the black strake (3 x 0.5 mm) on both sides against the edge of the tape. Use PVA glue and work in separate short strips; CA glue was quick, but not a success.
black strake 3 x 0.5 mm
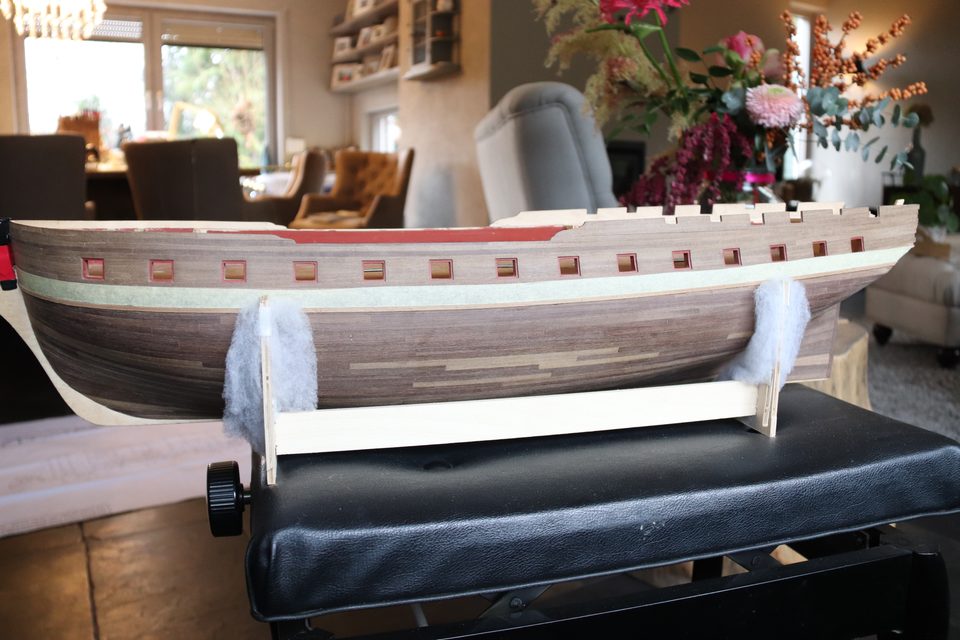
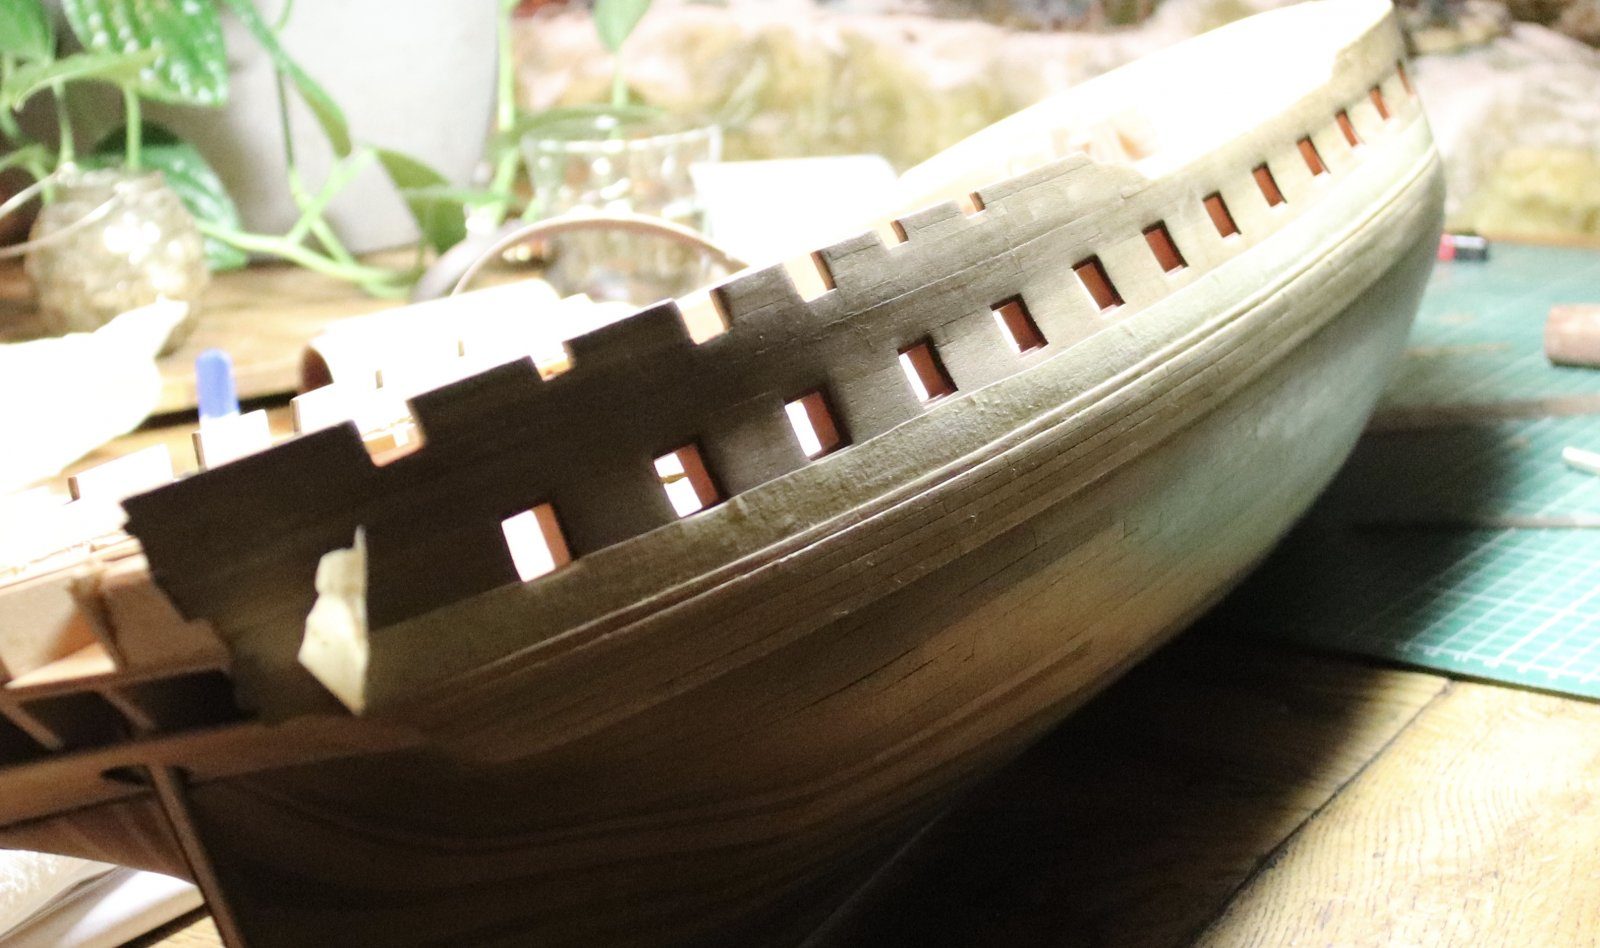
Port side with the black strake as a light band below the gunports. 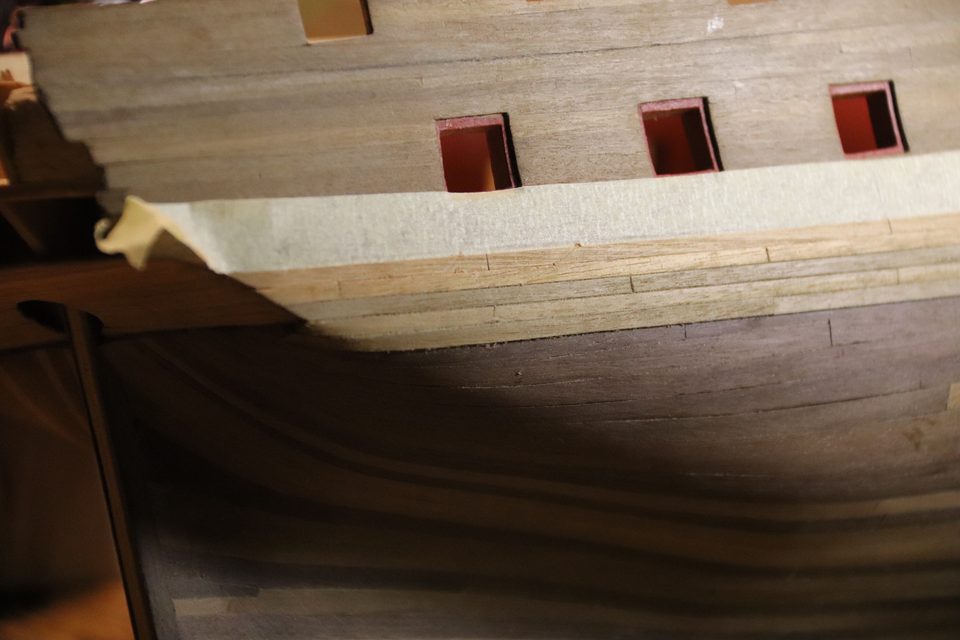
Close-up: the black strake sits tight against the edge of the masking tape. Watch out: The black strake is held on with CA glue. Not the proper way, and not a success either; we soon switched back to PVA.
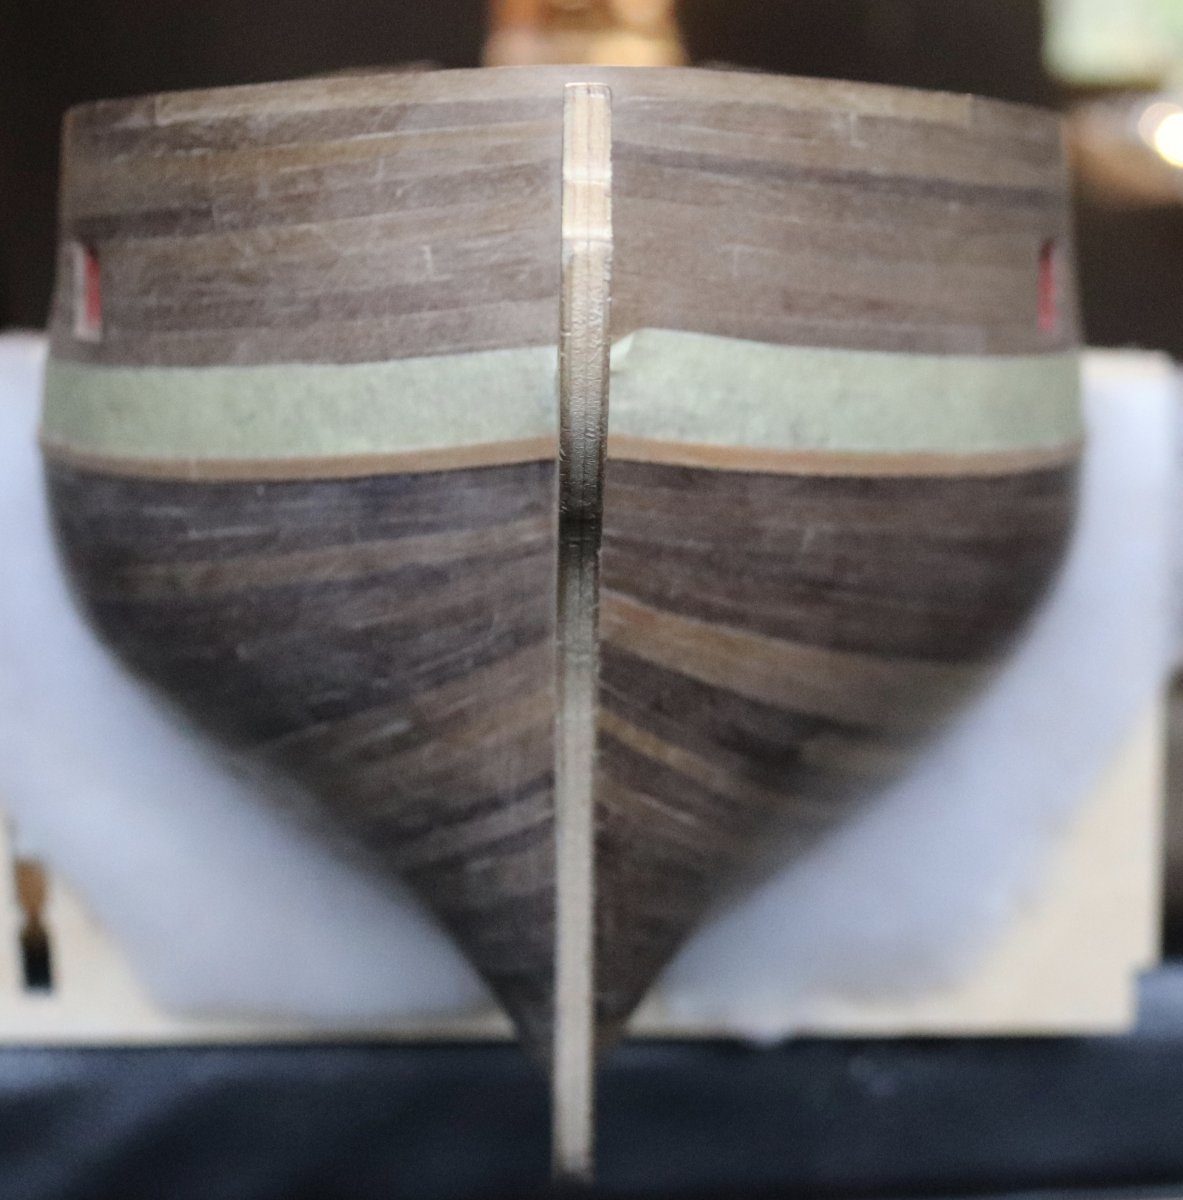
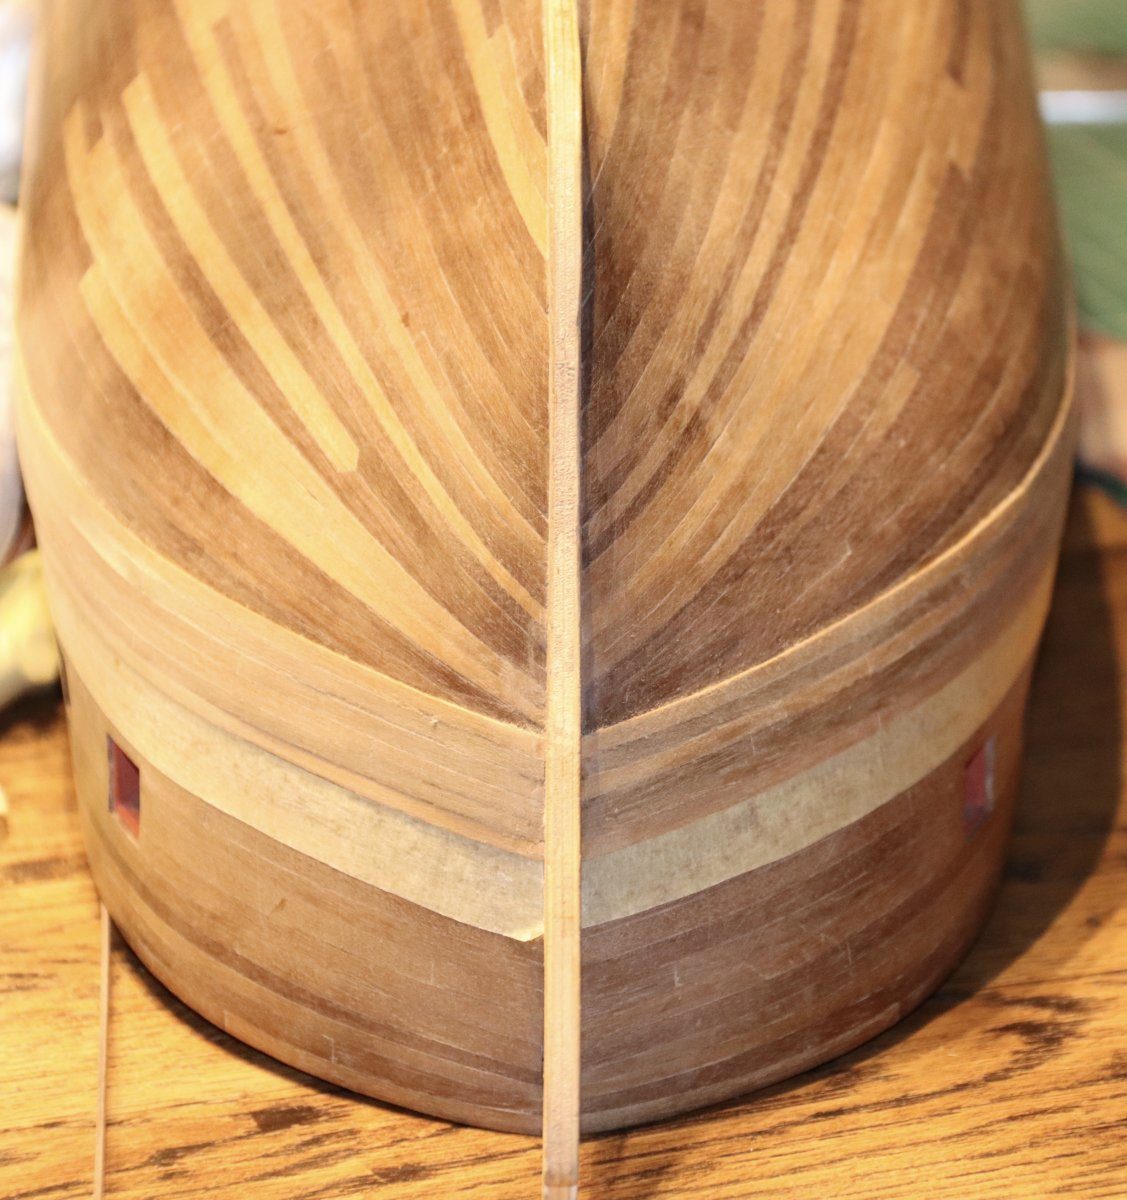
Look straight along the hull from the stem: the black strakes on port and starboard must be at exactly the same height. Correct it now, because the whole wale builds on this.
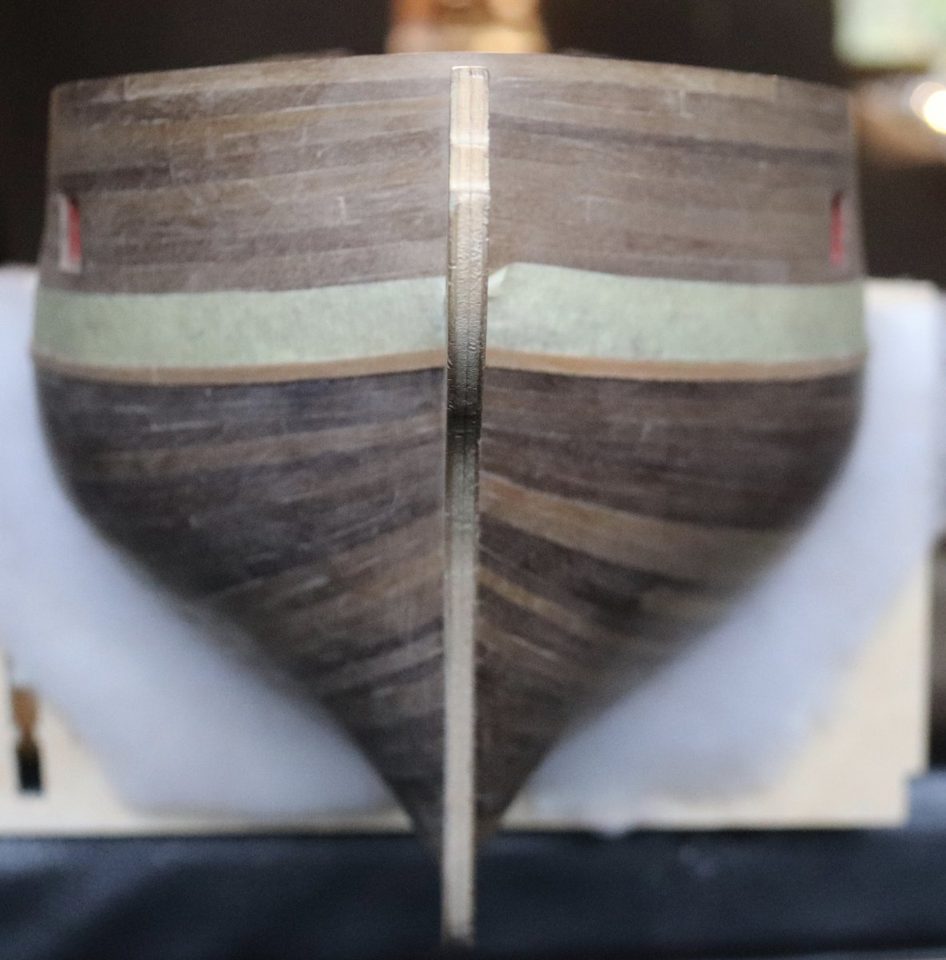
Seen from the bow, the black strakes sit at the same height on both sides. Tip from pietsan: The wale will turn out fine; the first strip sits nice and tight.
After gluing, cut the plank butts into the black strake and later into each wale strip. Keep the plank length at 6 m as per Mondfeld, which is 9.37 cm at scale. Stagger the butts of successive strips.
plank butts every 9.37 cm (6 m at scale)
Sand each strip smooth with 600 grit before gluing, so the thickness is preserved. Below the black strake glue five strips with PVA, in separate pieces of plank length rather than full strips; that is more pleasant to work with and the butts are then in place straight away.
five strips of 0.7 mm below the black strake
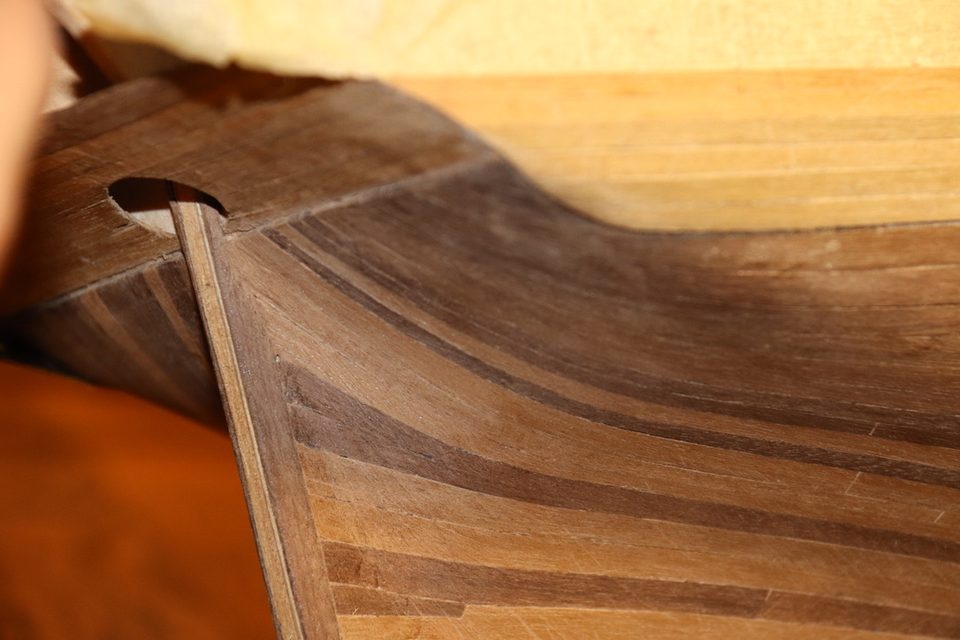
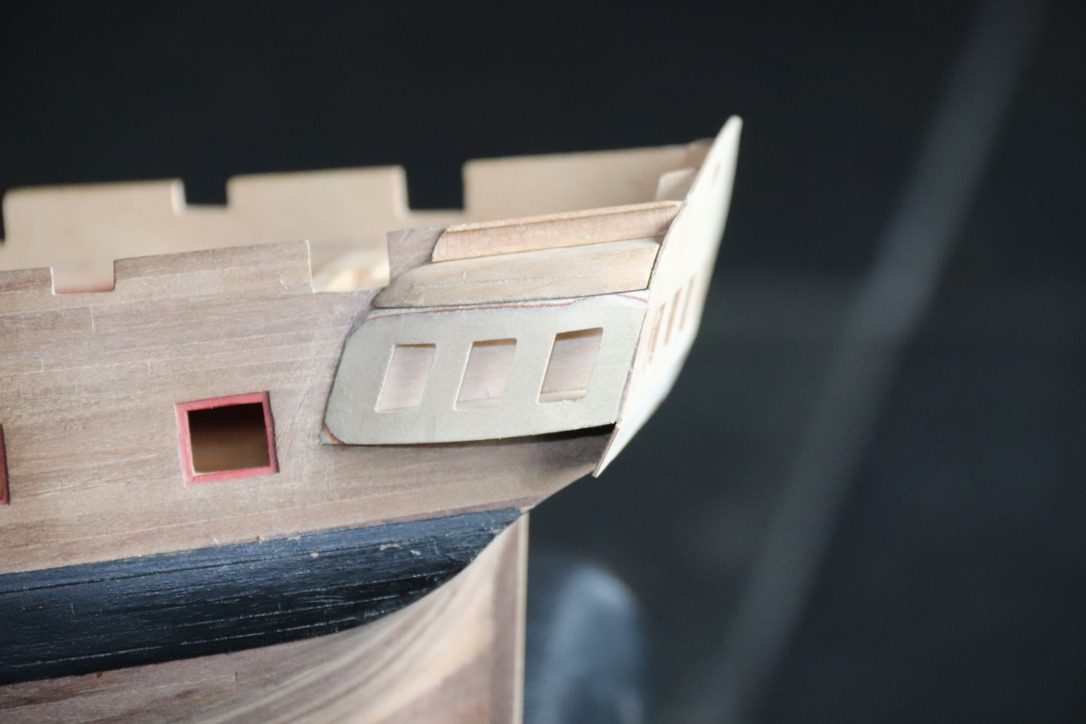
The strips of the wale at the bow, with the masking tape above as the boundary. Tip from pietsan: For things like this, sand your strips first, with a fine grit so the thickness is kept, and only then glue them to the model. If you sand later, you sand away the difference in height. Five strips is ample; with a sixth you get tangled up with the waterline.
Watch out: The quality of the strips was not high, so despite sanding first they still frayed. Gluing full-length strips I did not find pleasant.
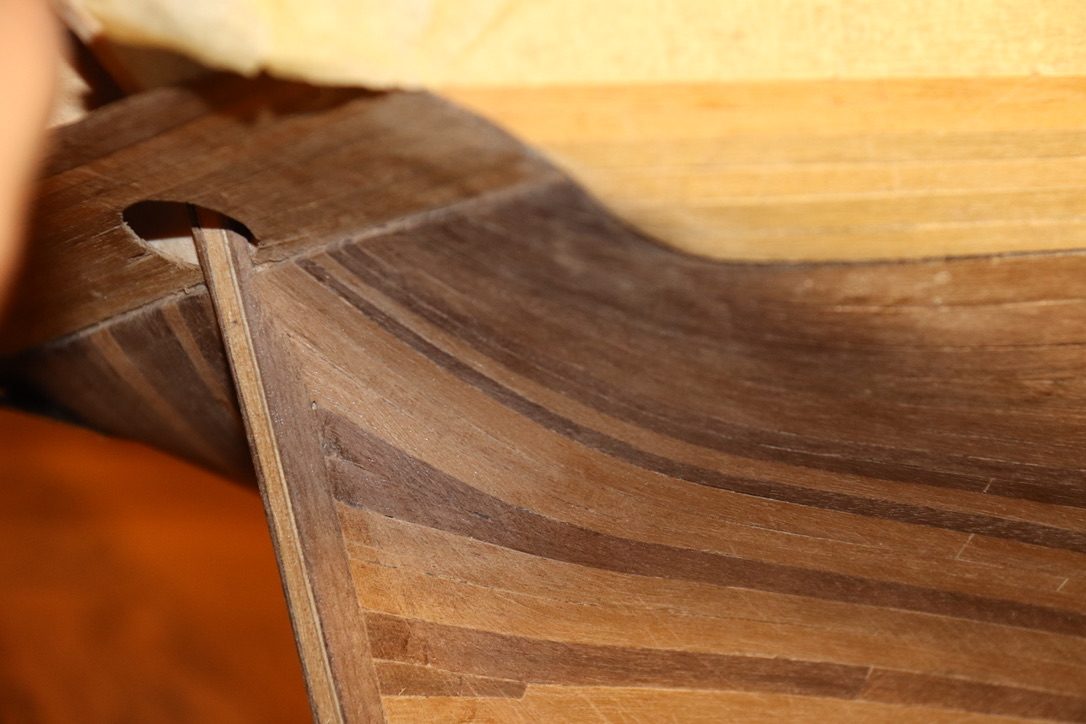
The black strake should be half as thick as the rest of the wale, but the kit supplies 0.5 mm against 0.7 mm. Sand the black strake slightly thinner instead of making the other strips thicker, so the difference stays visible. Sand the rest of the wale only lightly, because the slightest sanding removes the difference.
black strake 0.5 mm, other strips 0.7 mm
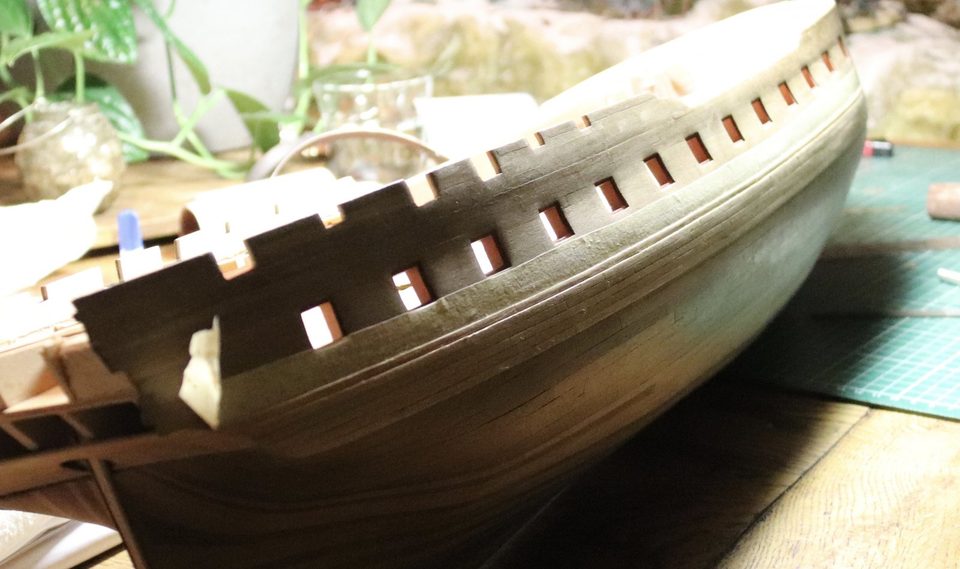
After thinning the black strake you can see it is thinner than the strips below it. Tip from pietsan: The difference in thickness between the black strake and the other strips is not that important; it can be minimal. On my model you see it better because my other strips are 1 mm thick.
Watch out: There was only one strip of 1 mm in the box; the rest was 0.7 mm. We briefly considered gluing 0.5 mm strips on top, but thinning the black strake saves a lot of work.
After fitting and sanding, apply three thin coats of Admiralty matt black. Hold off varnishing the hull: a lot still has to be glued above the wale and PVA does not bond well on varnish.
three coats of Admiralty matt black
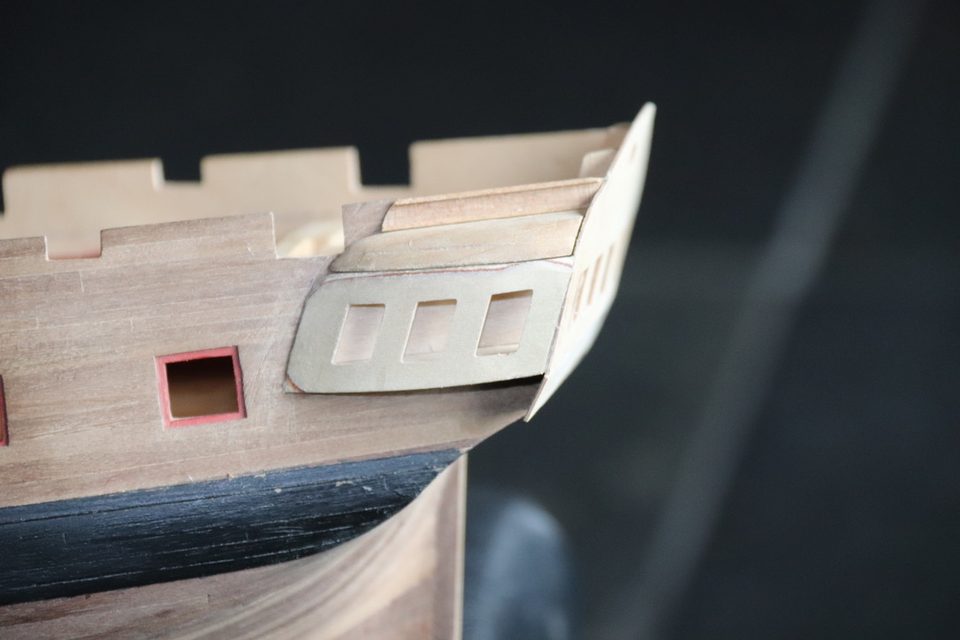
The stern after the first coat of matt black: the wale reads as a dark band below the gallery. Tip from pietsan: Be careful with varnishing; a lot still has to be glued to the hull and varnish and PVA do not work well together. I gave the hull a coat of water-based matt clear varnish and then sanded everything above the wale lightly again. If you are going to copper the hull, varnishing below the waterline is unnecessary. Pietsan himself painted his wale with Admiralty Paints Metal Black, not matt black. (modelbouwforum, 8 February 2015)
Result
The wale is on and after thinning the black strake can still be recognised as the thinner strip. Next time use PVA and separate short strips from the start, and check beforehand which strip thicknesses are really in the box.
Problems met with this technique
The black strake should be half as thick as the rest of the wale, but the kit supplies 0.5 mm against 0.7 mm strips; after light sanding the difference in thickness is gone. CA glue was not a success. Painted the black strake slightly thinned to make the difference visible; back to PVA and short separate strips. (Tips from pietsan) to the register
The manual says six 3x1 mm strips below the black strake, but the height on the profile view is only 18 mm. Black strake plus five strips, as in pietsan's build log. (Tips from pietsan) to the register
Kit errata
One 1 mm strip and otherwise 0.7 mm strips; black strake 0.5 mm. Painted the black strake slightly thinned to keep the difference visible. to the register
Manual: black strake plus six 3x1 mm strips. Fitted five strips. to the register