Fitting the quarter gallery windows with a small frame as a jig
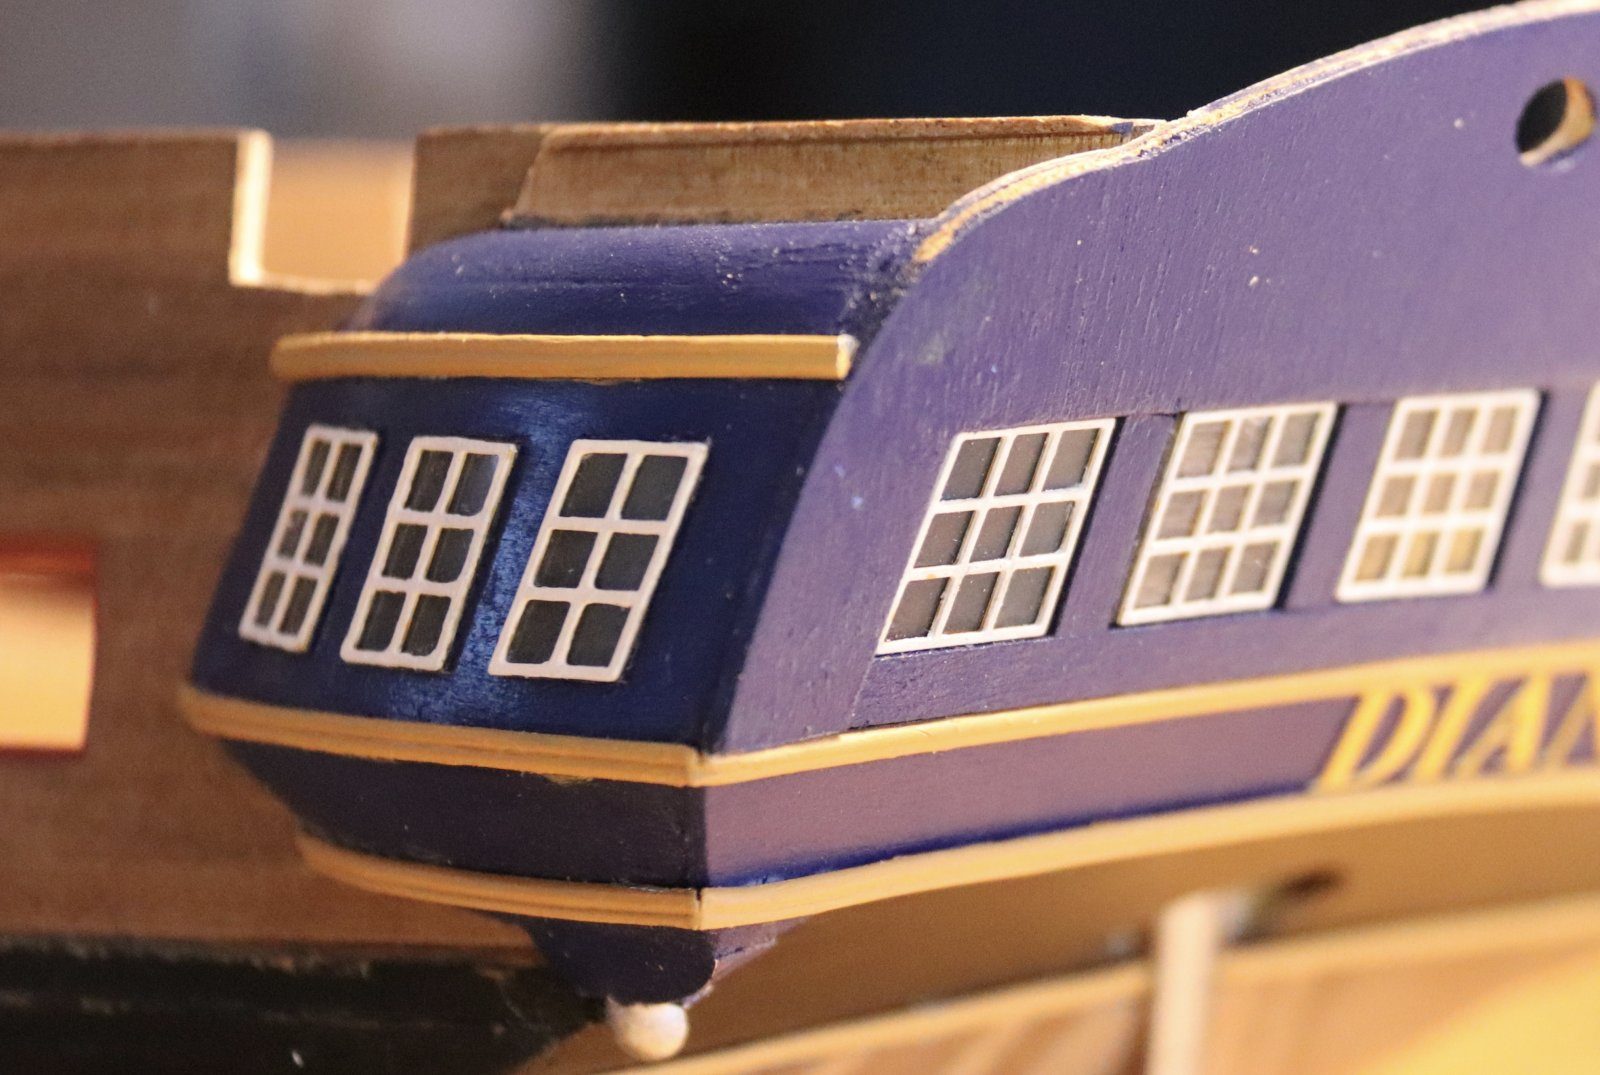
Fit the small windows of the quarter galleries without glue stains by first cutting a tiny frame into which the piece of plastic fits exactly, so the position is right straight away and you do not have to shift anything once the CA glue is on.
What you need
- hobby knife
- tweezers
- old rag (to dab away glue)
- clear plastic with a grey haze
- the white window frames from the kit
- CA glue
- UHU Hart or thick CA glue (gel)
- Pattex Extreme Repair
Dimensions
- Hans Groenenberg's windows are 9 x 6 mm
- Time
- several evenings
- Difficulty
- tricky
- When in the build
- Phase 4,
- From the log post
- Windows in the galleries second attempt · forum
Before you start
The quarter galleries are painted and the windows are prepared as for the transom: clear plastic with a grey haze. The frames are very small, so keep the glue and the tools small. Order a suitable glue in time; UHU Hart only arrived days later.
Do not cut the pieces of plastic to the size of the holes in the gallery to fit them inside: it does not come out neatly and every drop of CA glue leaves stains. If it has gone wrong, take everything off again and clean the openings before starting afresh.
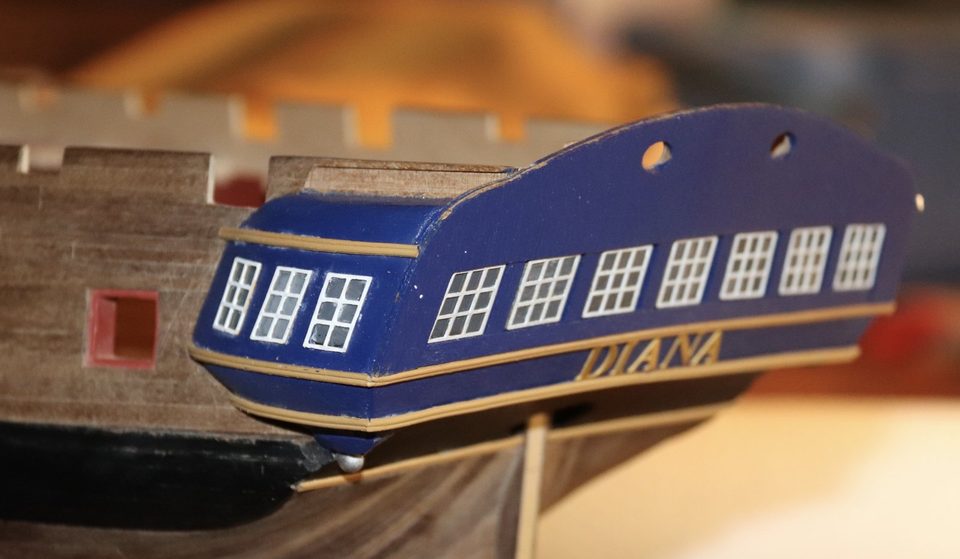
The failed first attempt: the windows sit askew in the openings and the CA glue has left white marks. 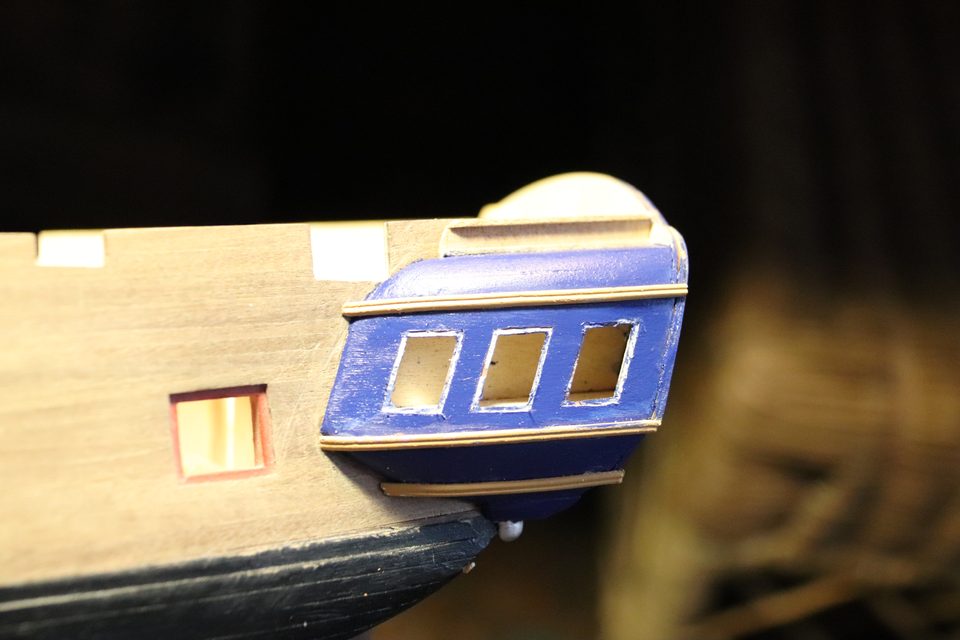
The next morning: everything off, the three openings are empty and clean again. Watch out: Sometimes things go wrong. On the first evening the windows went onto the left-hand gallery and came straight off again.
PVA does not work here and thin CA glue runs out over the plastic. Choose a glue that does not run and does not react with paint: UHU Hart, a thick CA glue (gel) or Pattex Extreme Repair. If you do manage with ordinary CA glue, only do so with a jig that fixes the position (step 3).
Tip from pietsan: For jobs like this I use Pattex Extreme Repair. It does not react with paint, so no white blooming, and the longer drying time is no problem because there is no tension on the windows. CA glue is fairly aggressive; I only use it to secure knots.
Watch out: I was afraid the brass frames would give the same stains as the plastic windows.
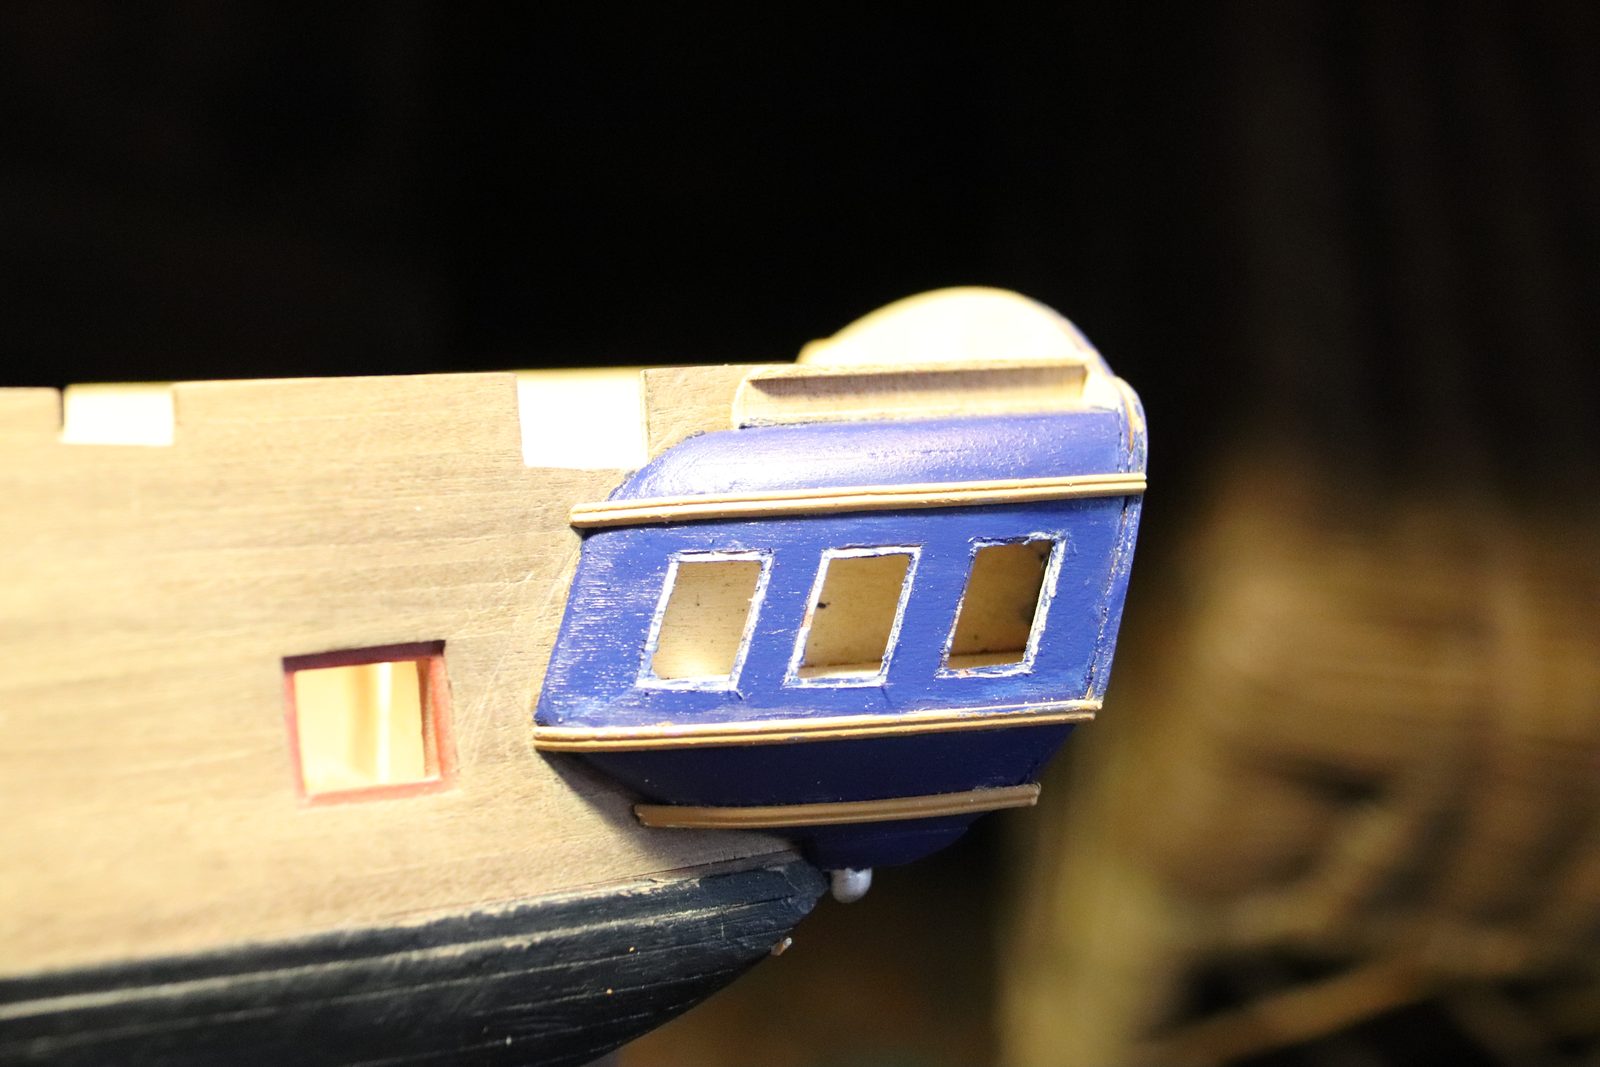
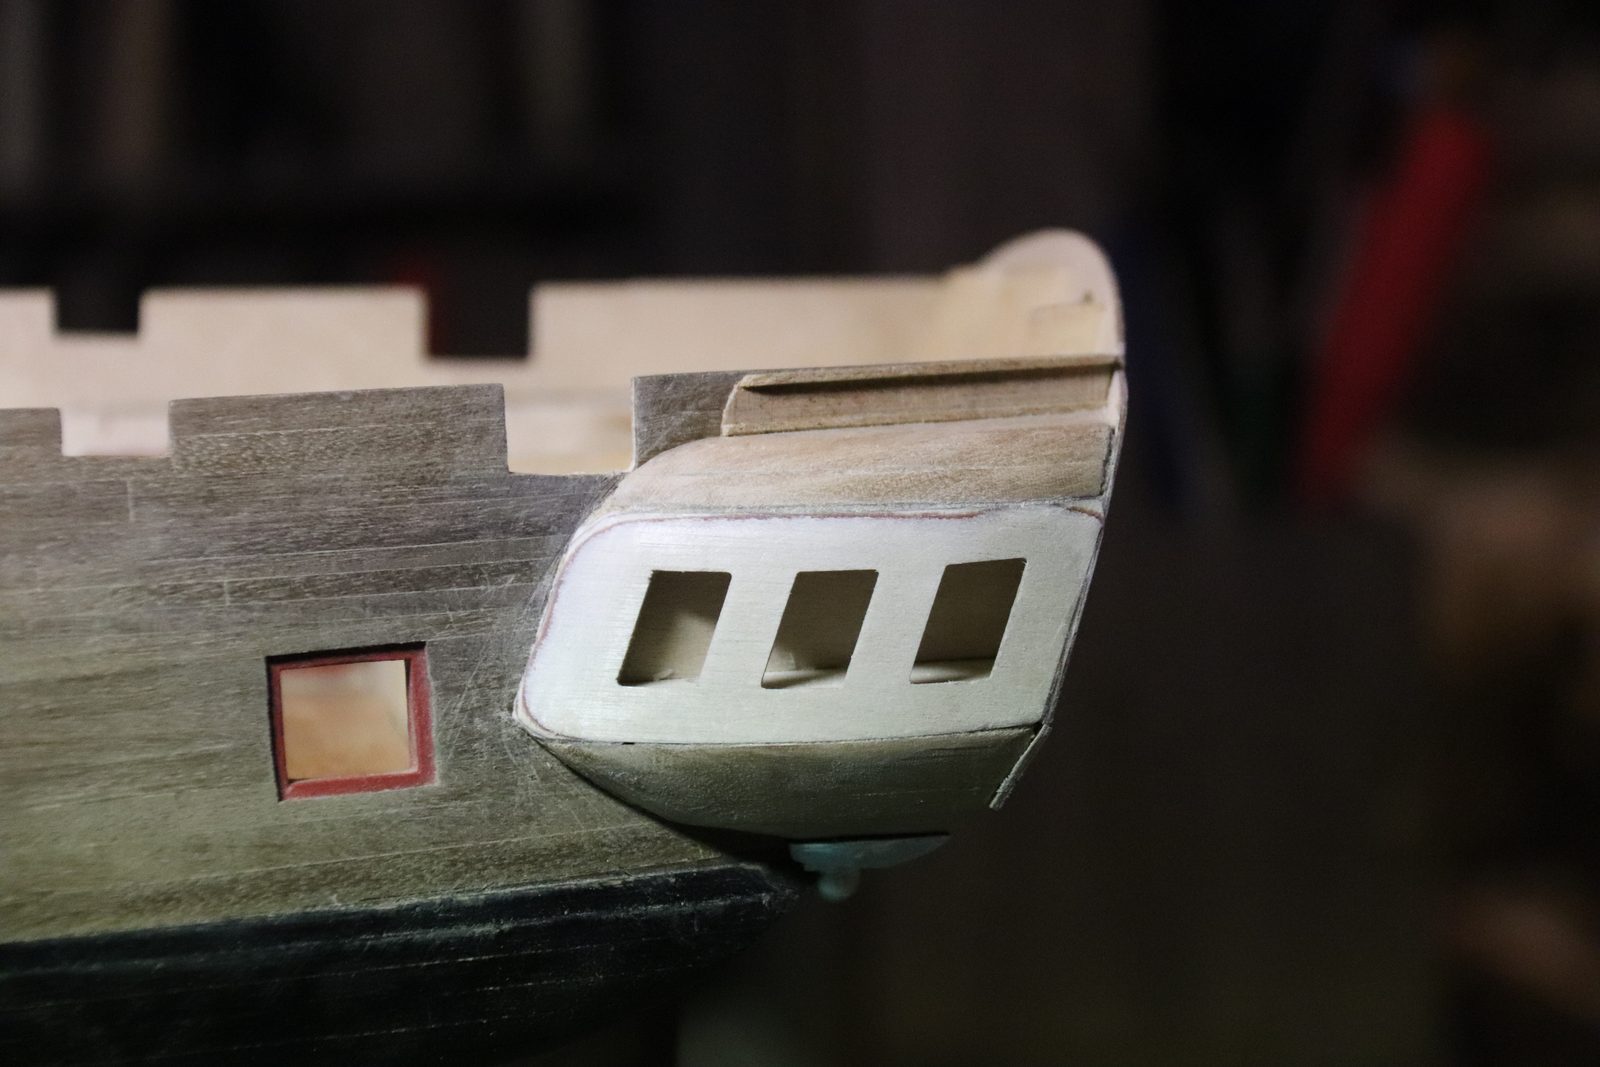
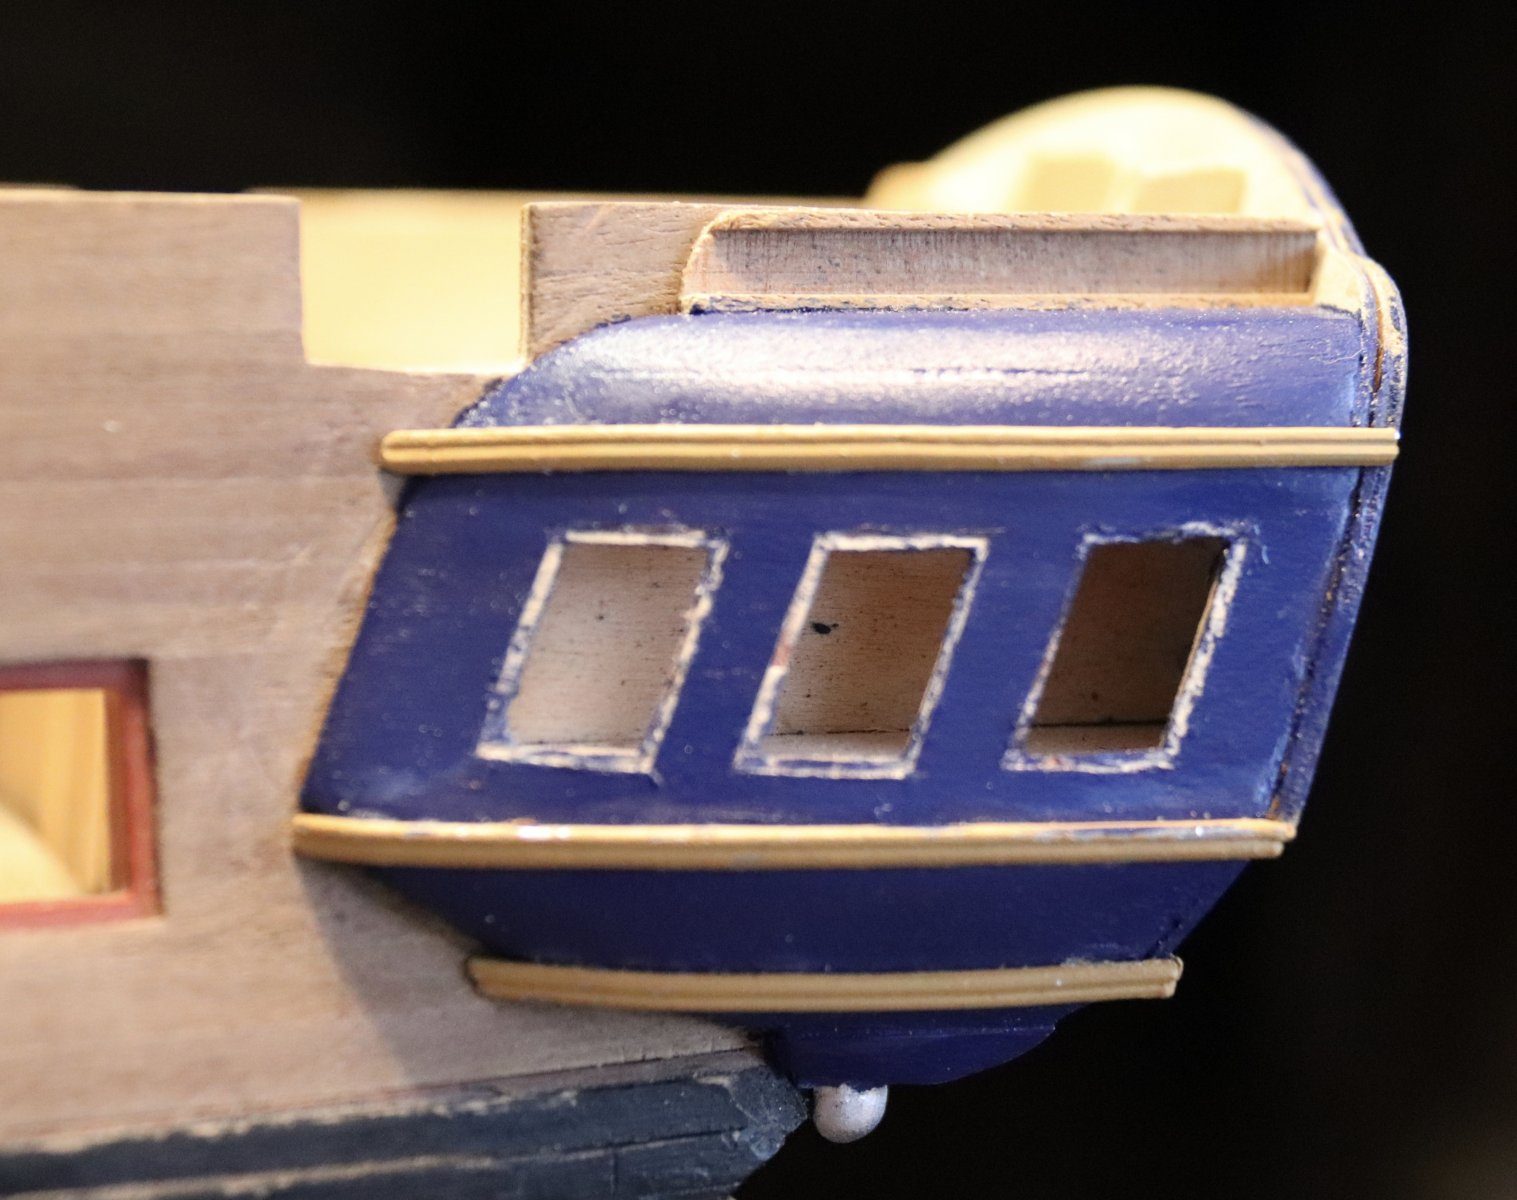
Positioning once the glue is on is impossible because of the fast drying time. So first cut out the outline of the window in the gallery, so that, as it were, a tiny frame is created into which the piece of plastic drops exactly. That fixes the position before any glue is involved.
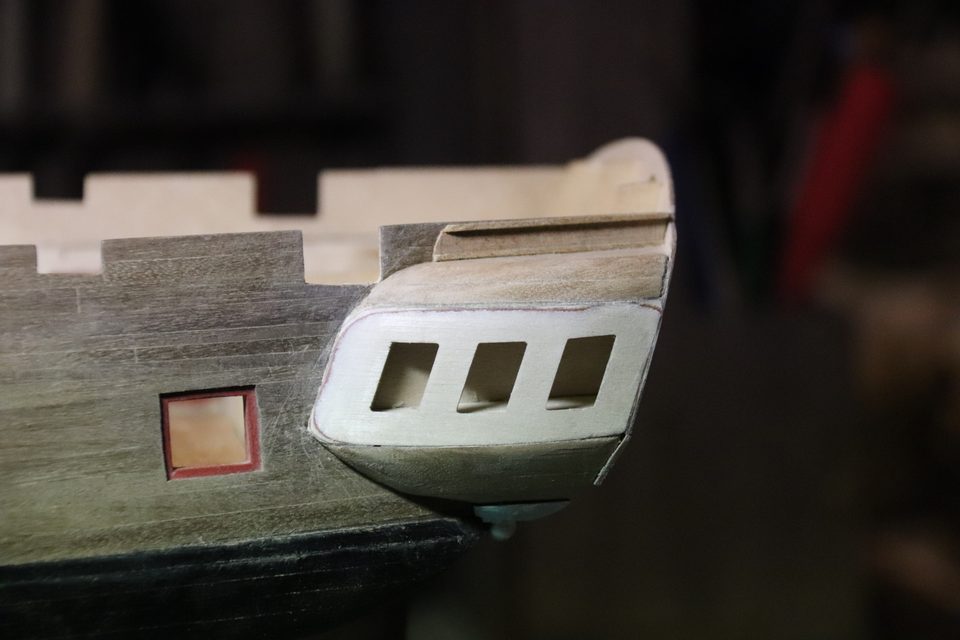
The gallery with the three openings cut out: a small frame for the plastic to drop into. Tip from Hans Groenenberg: On my transom the CA glue also ran out very quickly over the glass. I now use UHU Hart, or otherwise a thicker CA glue (gel) that does not run as much.
Lay the piece of plastic in the frame and fix it with a minimum of glue. Immediately dab away as much glue as possible with an old rag: what is not there cannot run.
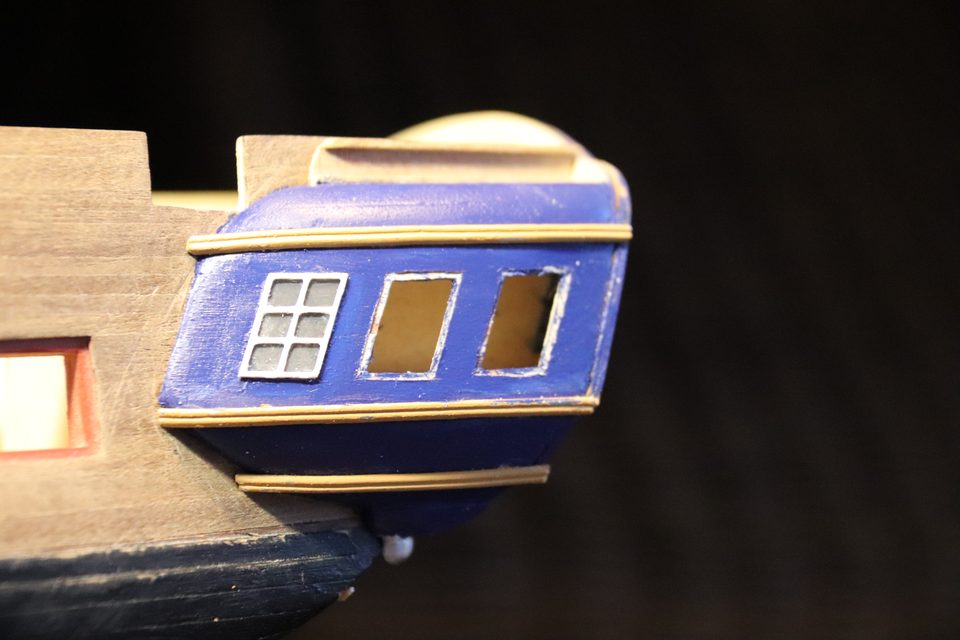
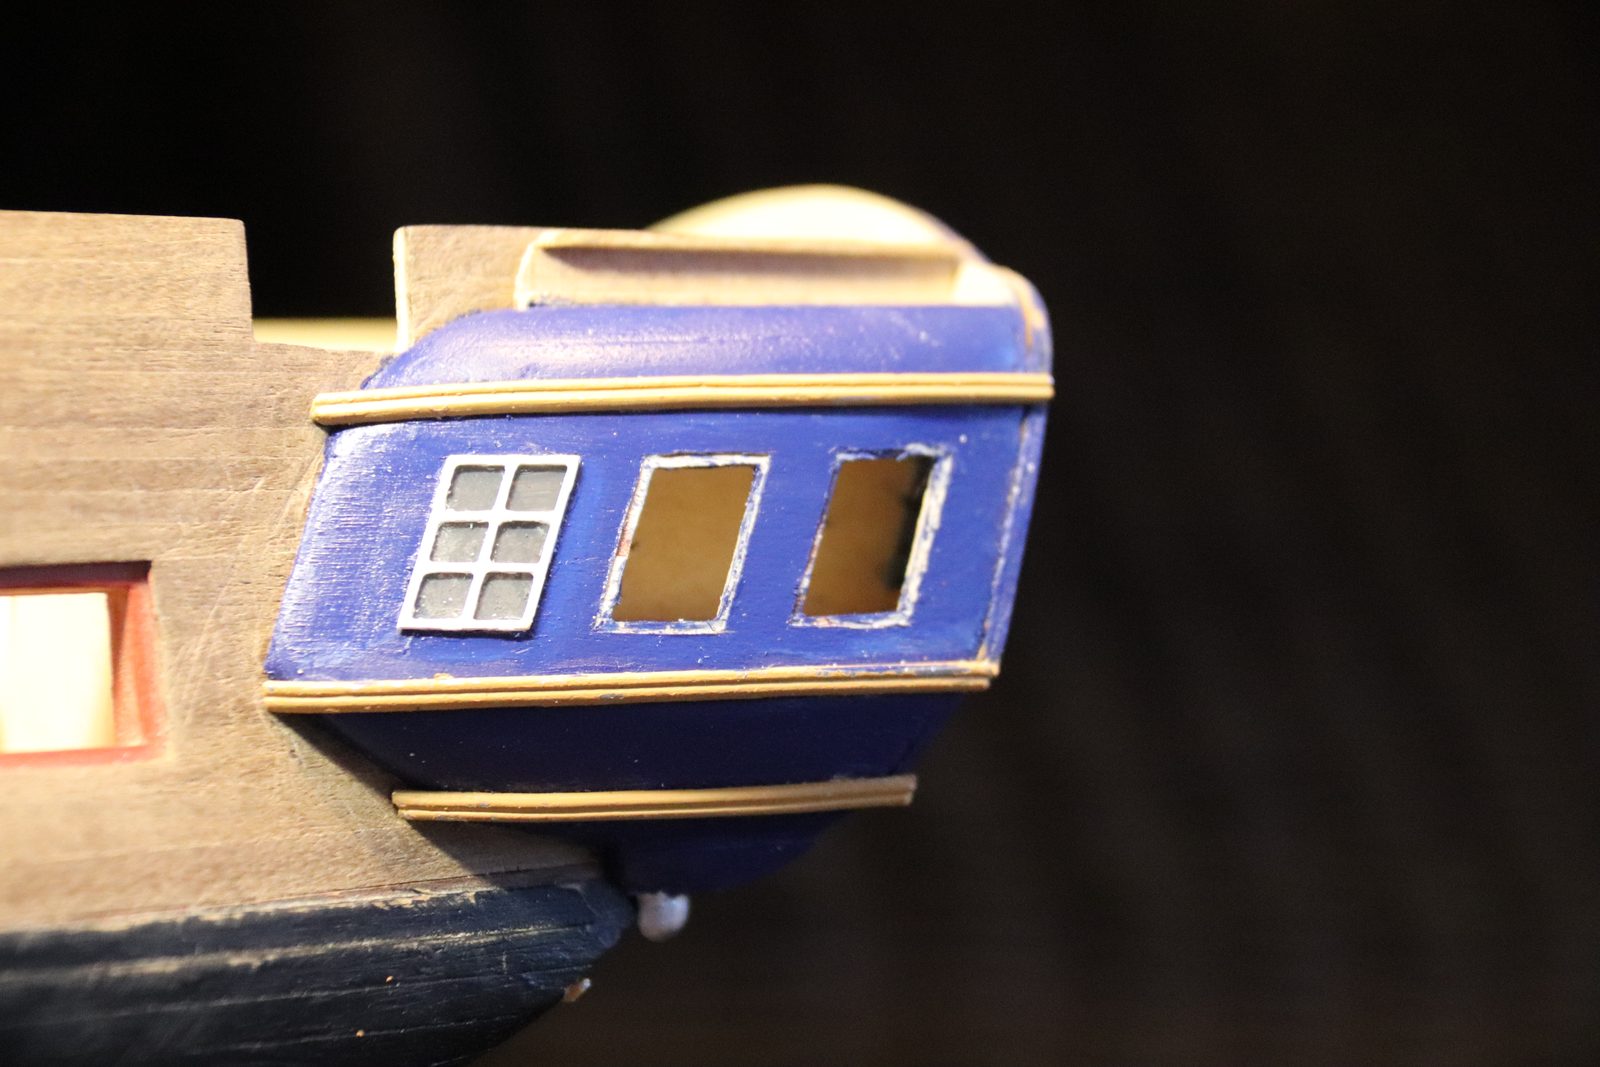
The first window is in: plastic inside and frame on top; the two openings next to it are still waiting. Tip from Building Mouse: After applying, dab away as much glue as possible again, simply with an old rag. Then there is just too little glue to run.
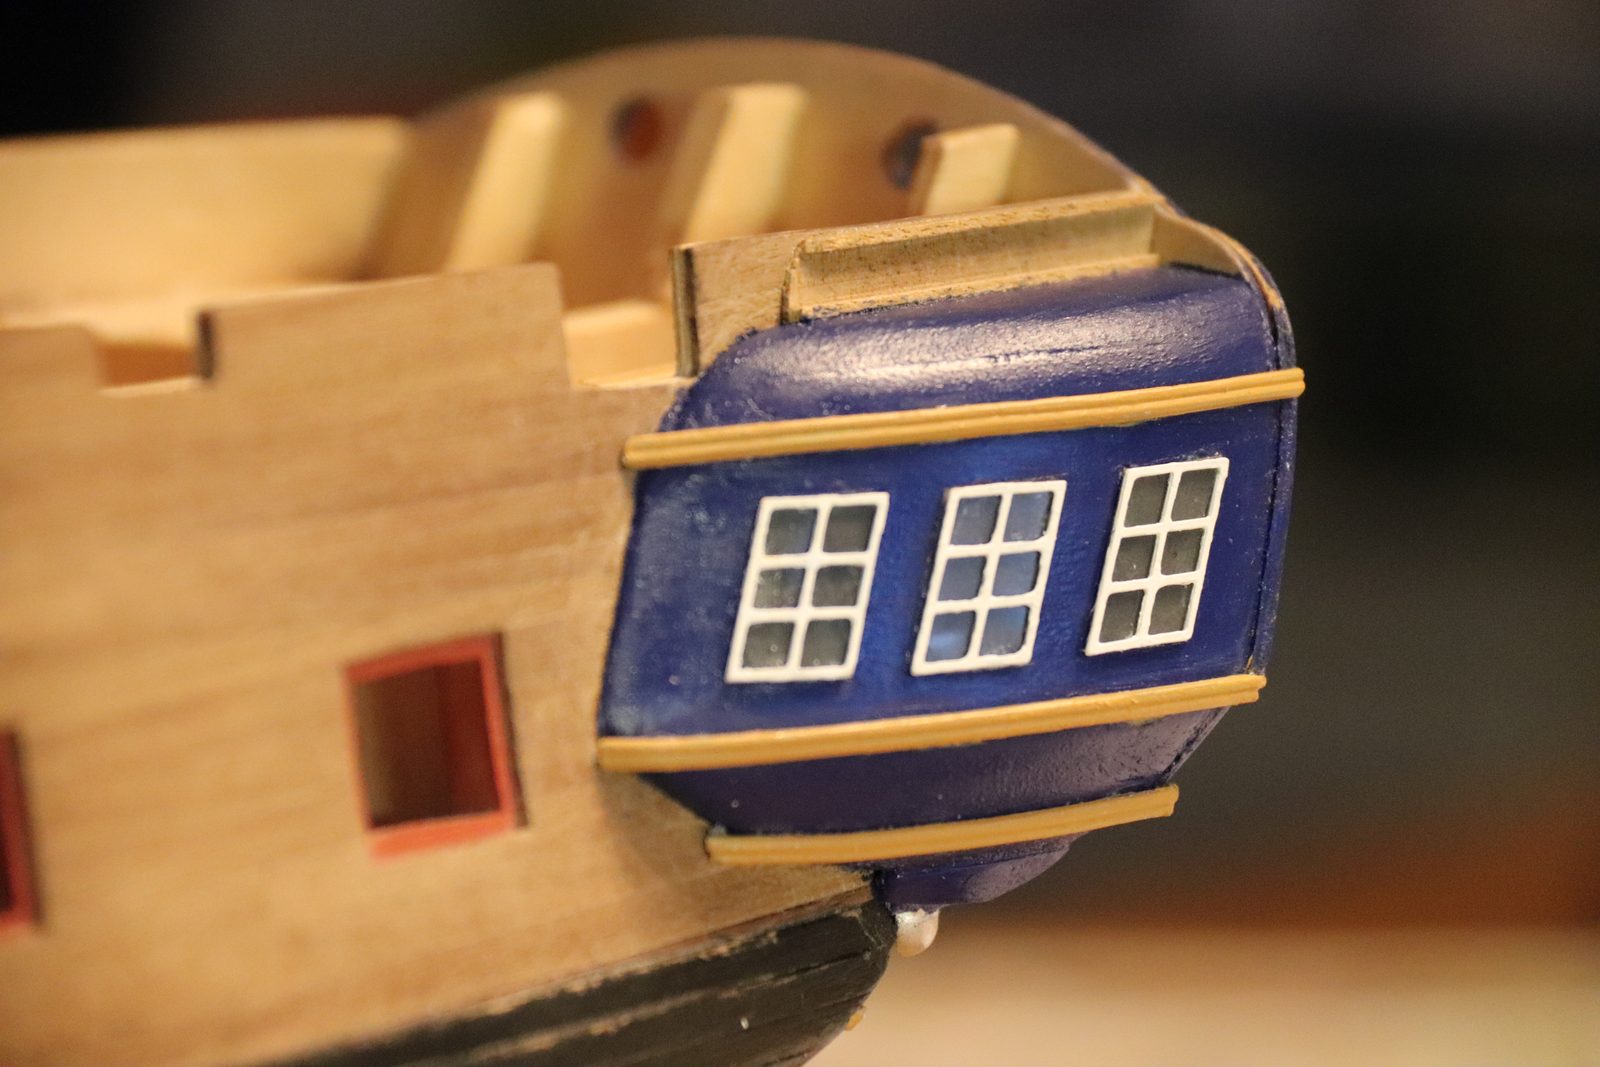
Then glue the white frame from the kit onto the plastic. Repeat this window by window; do not do three at once. This time it stayed without too many stains.
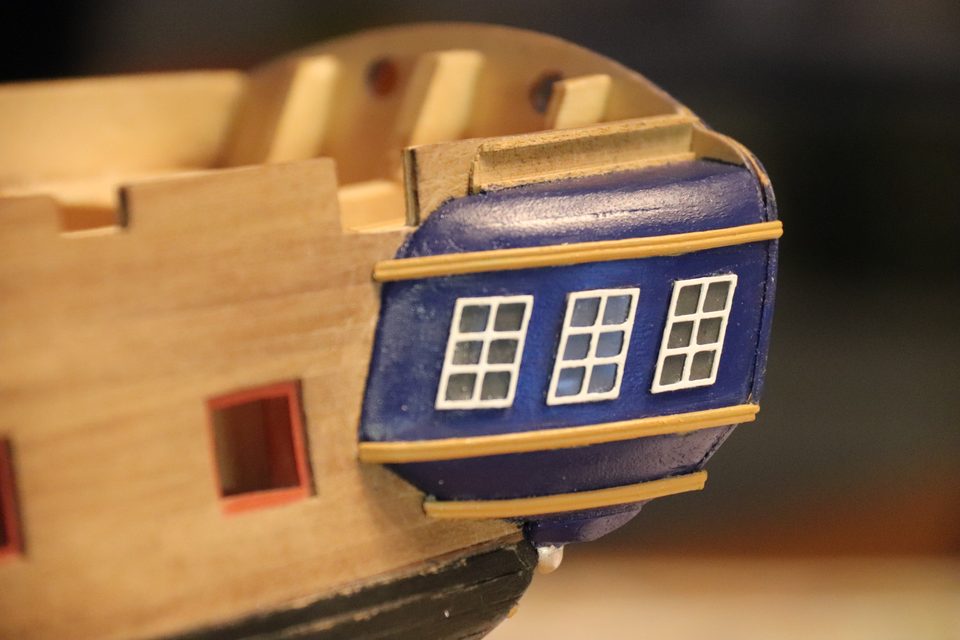
All three white frames sit on their plastic in the left-hand gallery. 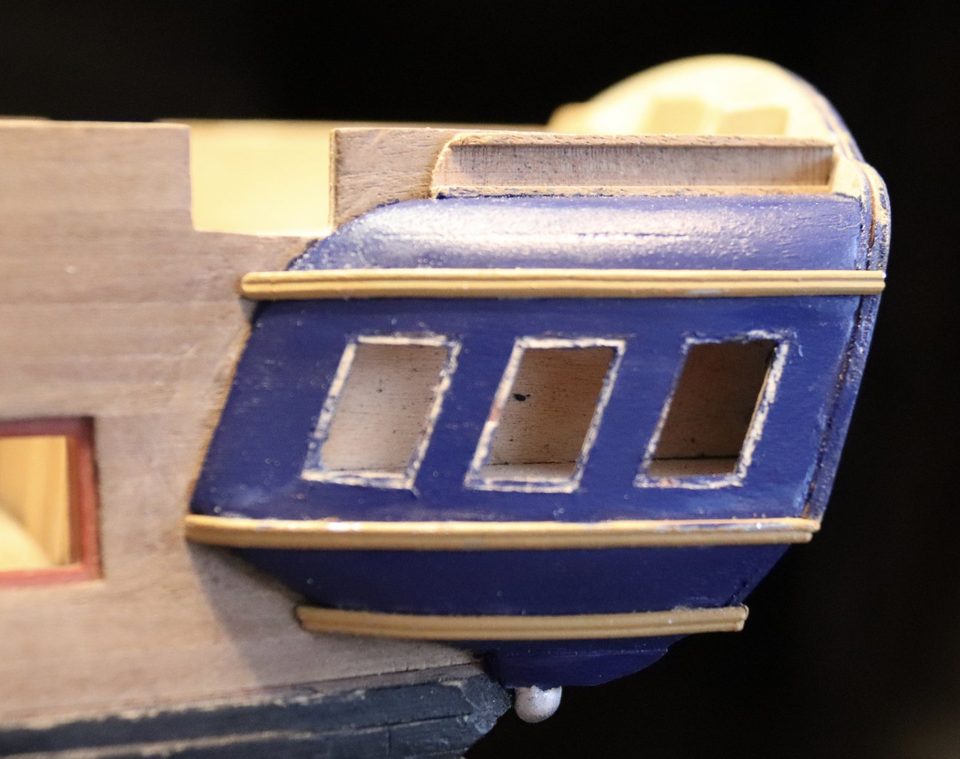
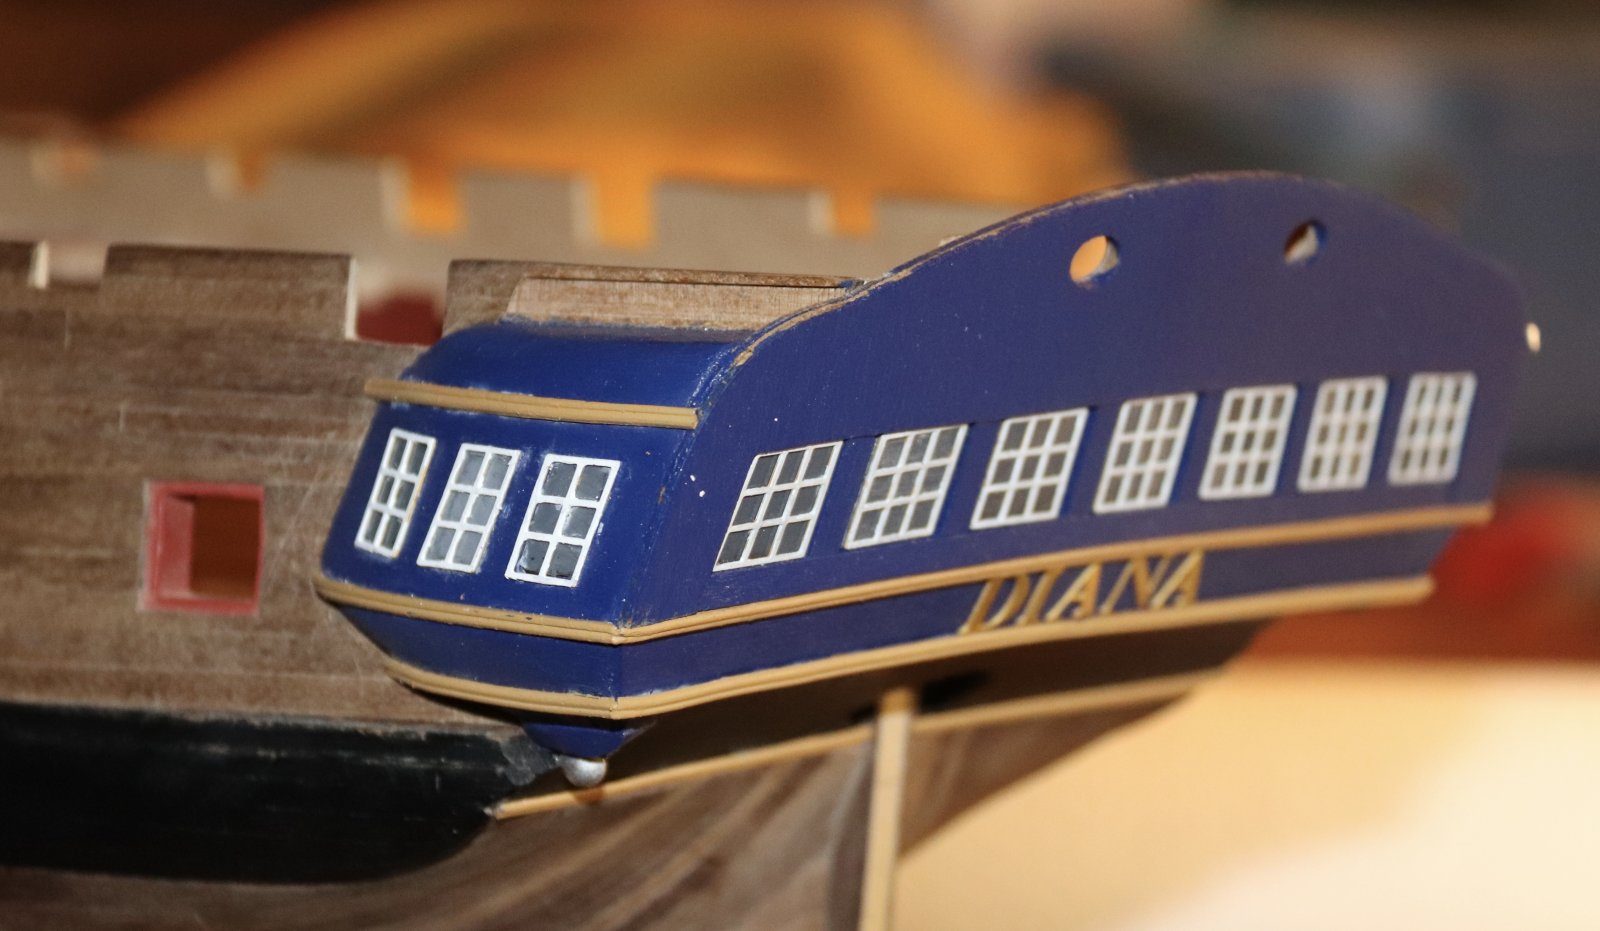
The windows in the left-hand gallery, close up. Fit the windows in the right-hand gallery the same way. Compare the two sides, but do not expect them to match exactly: the left and right sets from the kit are not exactly the same size, so the two sides look just slightly different.
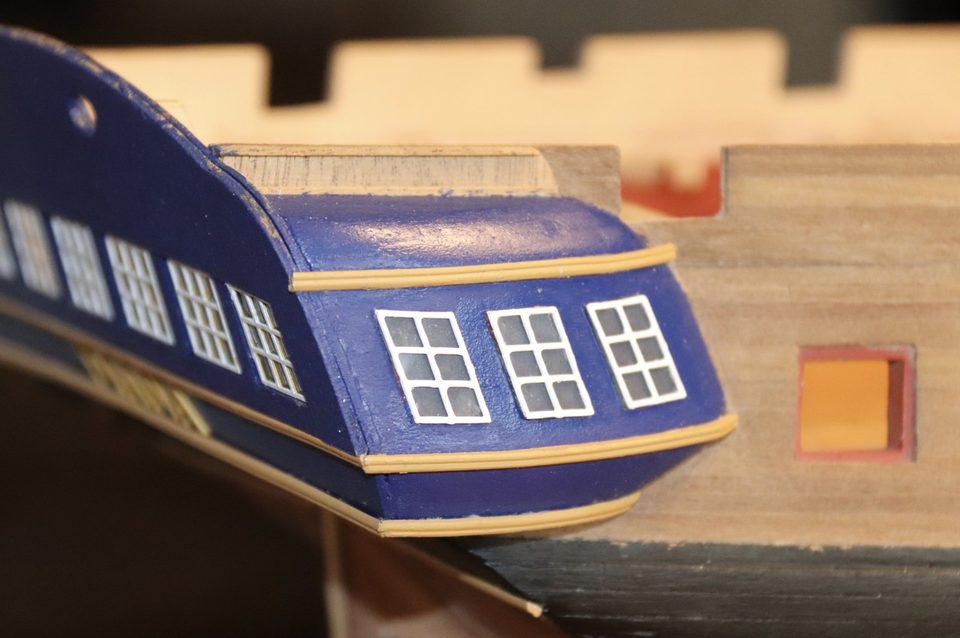
The right-hand gallery with the windows in place. Tip from Building Mouse: You usually only see one side at a time anyway.
Watch out: Getting the position right remains a hassle; I am still not sure everything sits exactly straight.
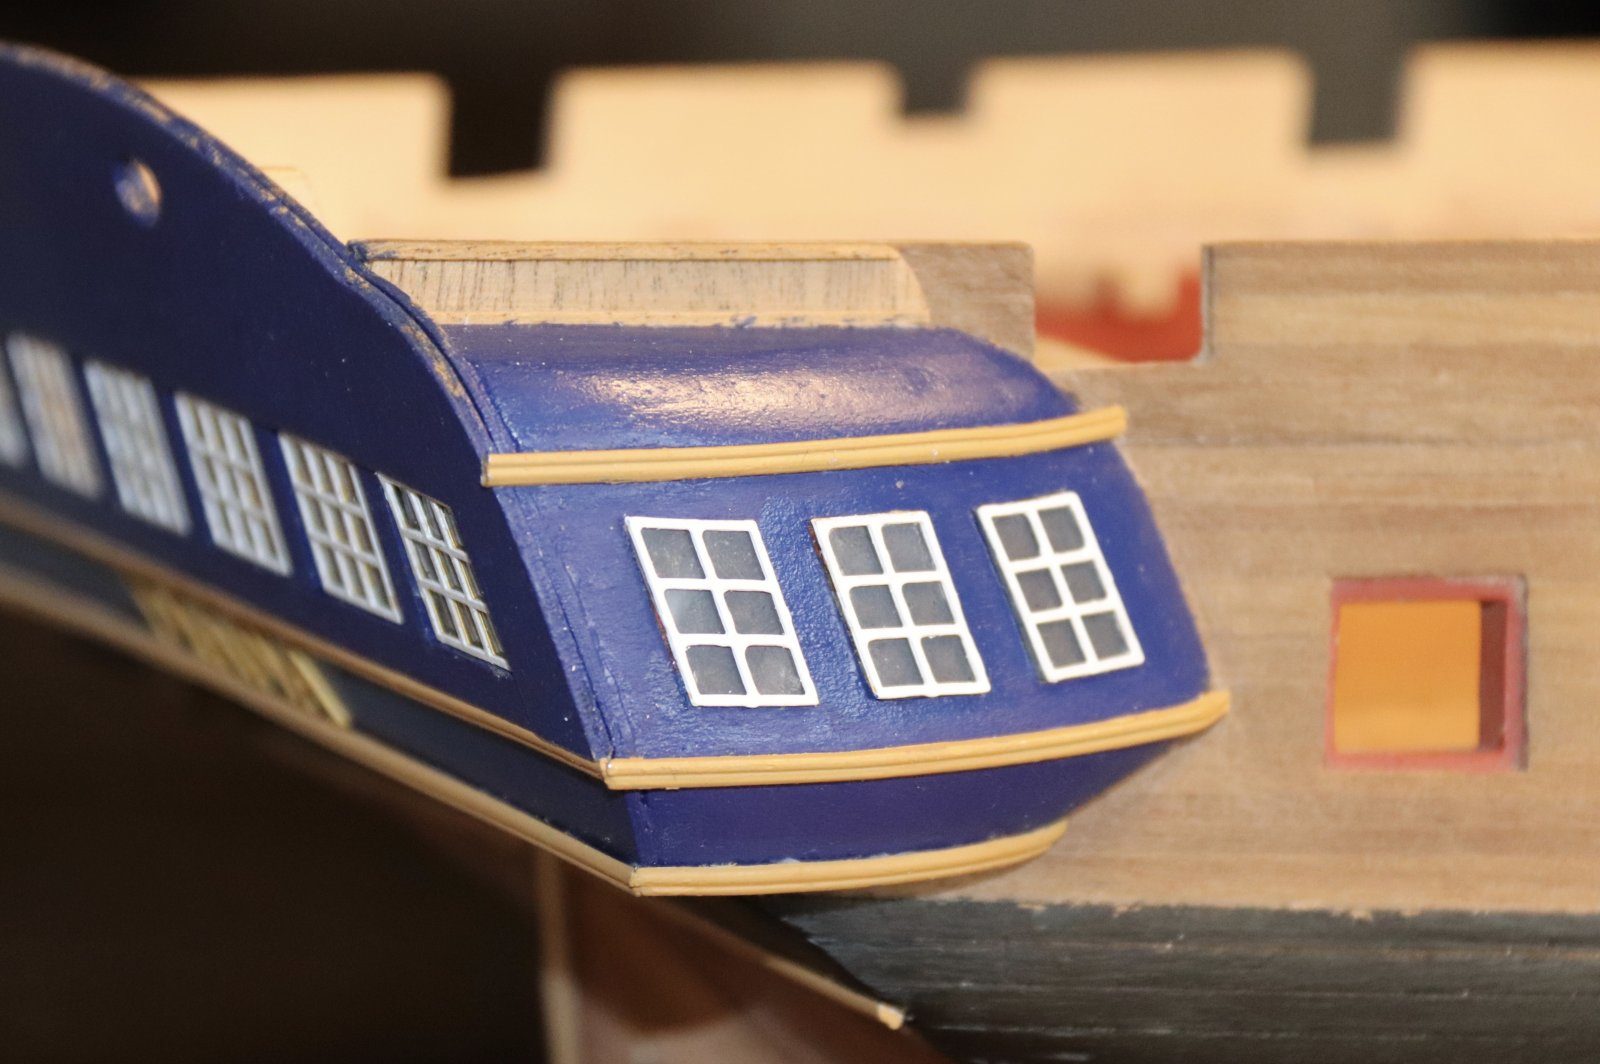
Result
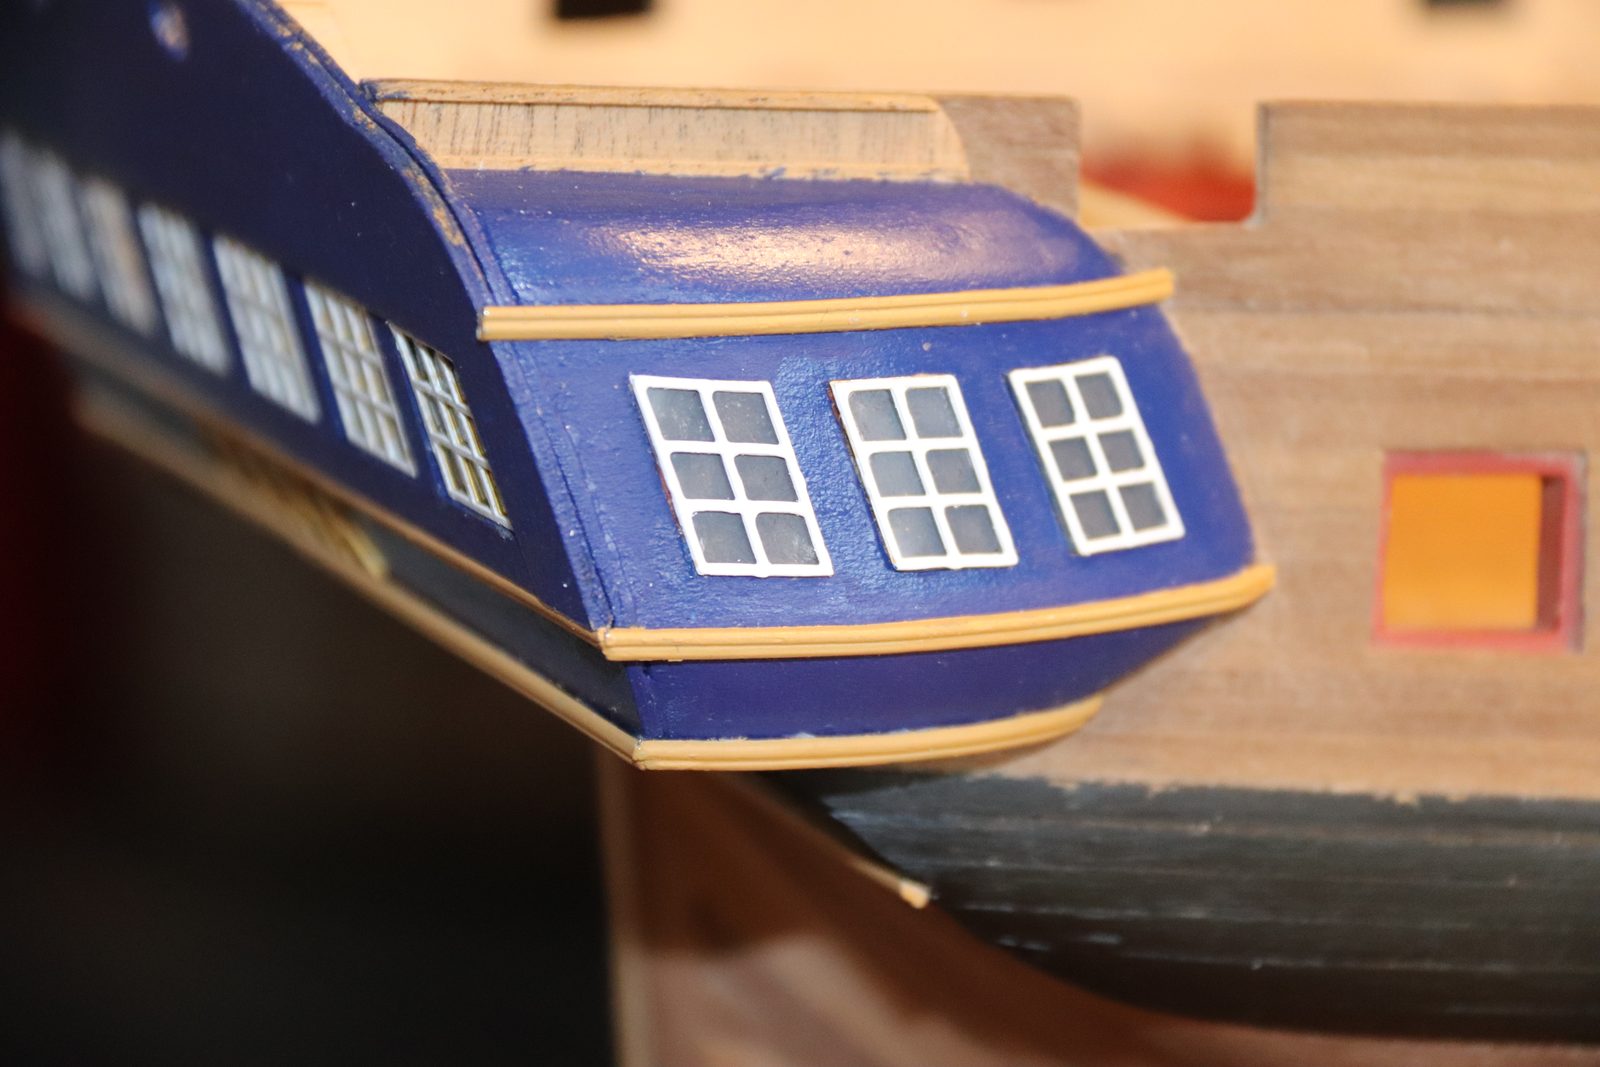
With the frame as a jig the windows were in place in a single morning, without the stains of the first attempt. Next time work with UHU Hart or Pattex from the start instead of thin CA glue.
Problems met with this technique
Every drop of CA glue leaves marks on the small gallery windows; everything had to come off again. Frame method (cut out the outline, plastic in, white frame on top); ordered UHU Hart and bought Pattex Extreme Repair. (Tips from Hans Groenenberg, Building Mouse, pietsan) to the register
In the same series: Stern and ornaments
- Five trials for the transom windows
- Fitting the quarter gallery windows with a small frame as a jig
- Repairing a white metal figure with solder
- Painting gold-coloured carvings
- Applying the red line in the profile of the mouldings
- Mouldings at the right height first, channels after
- Bending a one-piece moulding round the bow
- Making the stern port lids with a template