Fairing the bulkheads and checking with a fairing batten
Fair the bulkheads only once they are glued in, and keep checking with a batten across several bulkheads that the hull runs fair everywhere.
What you need
- file
- fairing batten (thin strip)
- contour gauges (laminate gauges from the DIY shop)
- clamps
- Lego bricks to keep things square
- thin utility knife blade
- PVA glue
- a spare strip to glue on where material is short
- Time
- several evenings
- Difficulty
- moderate
- When in the build
- Phase 1,
- From the log post
- The first bulkhead faired · forum
Before you start
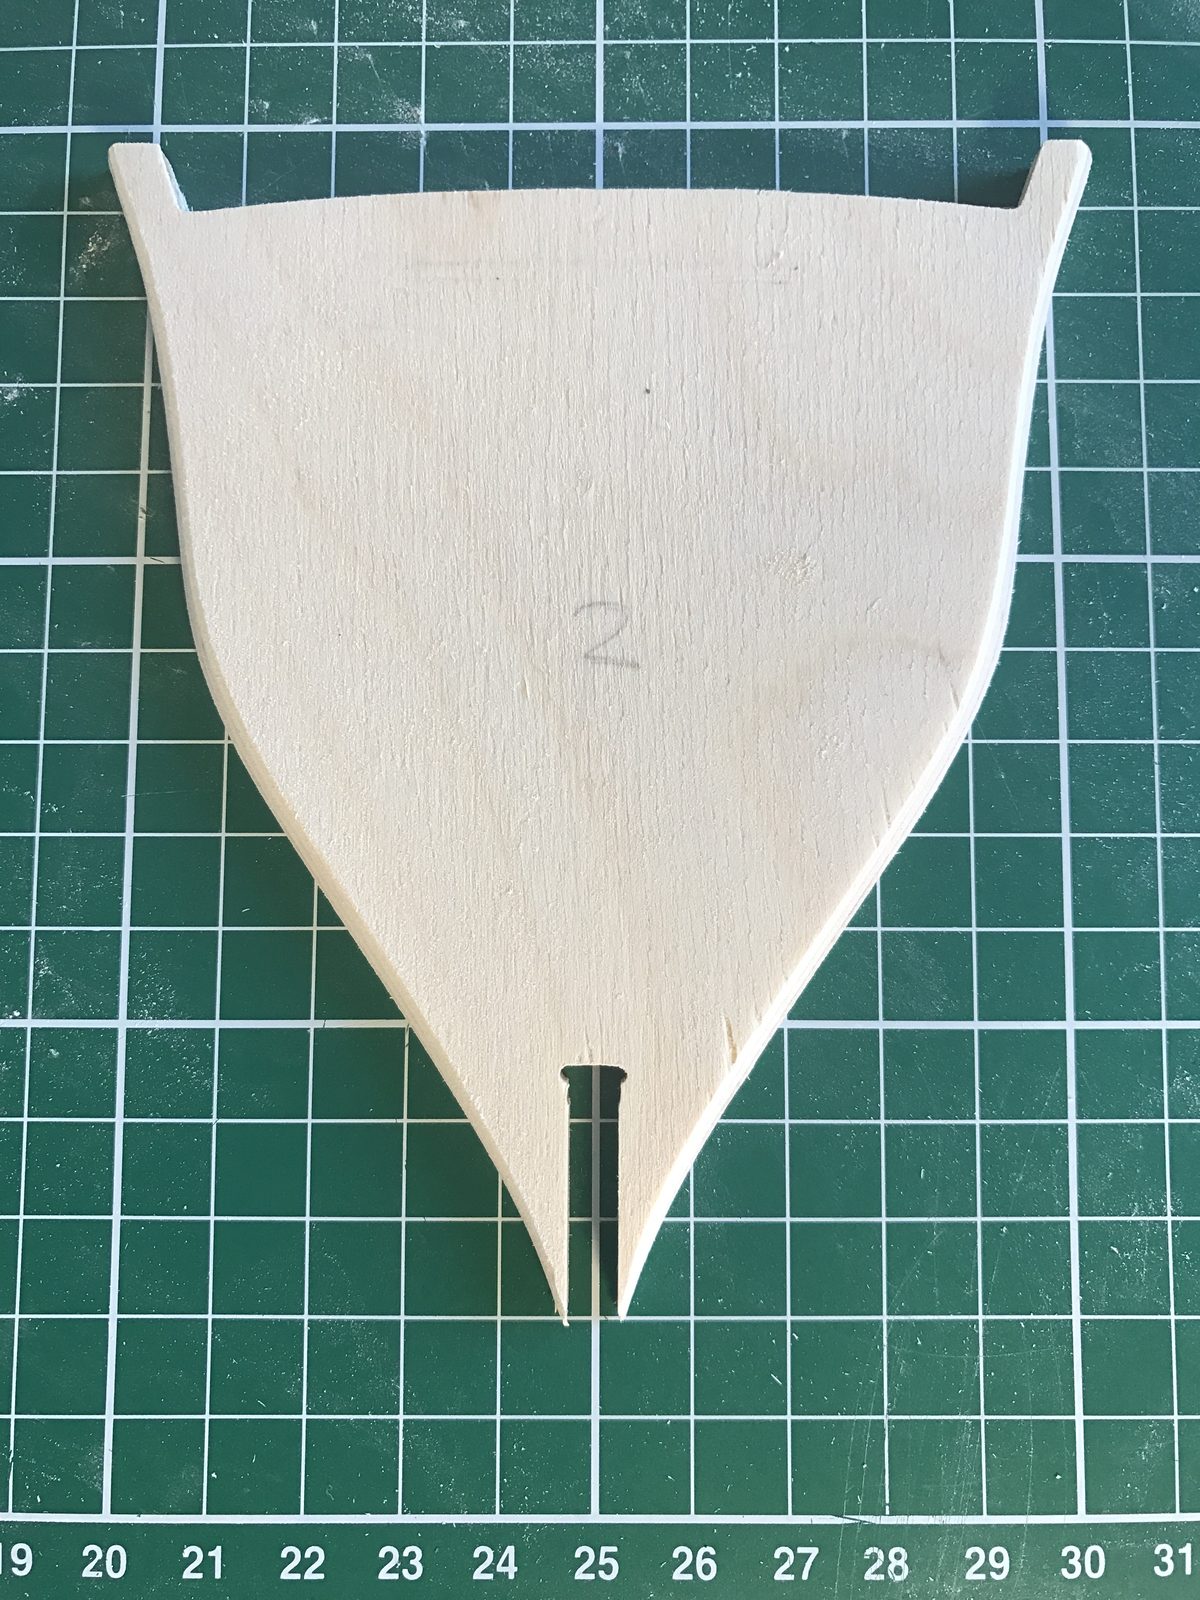
All bulkheads and the keel former have been removed from the sheets and numbered as on the sheet (the numbering starts at 2). Keep the deck at hand to check the curve.
Glue the bulkheads square into the keel former and let the glue dry before you start fairing. Fairing them loose, the so-called 'Piet method', seems handy on a large model, but the forum was almost unanimous that it should be the other way round: you can compare with the other bulkheads far better. Keep everything square with clamps or Lego bricks.
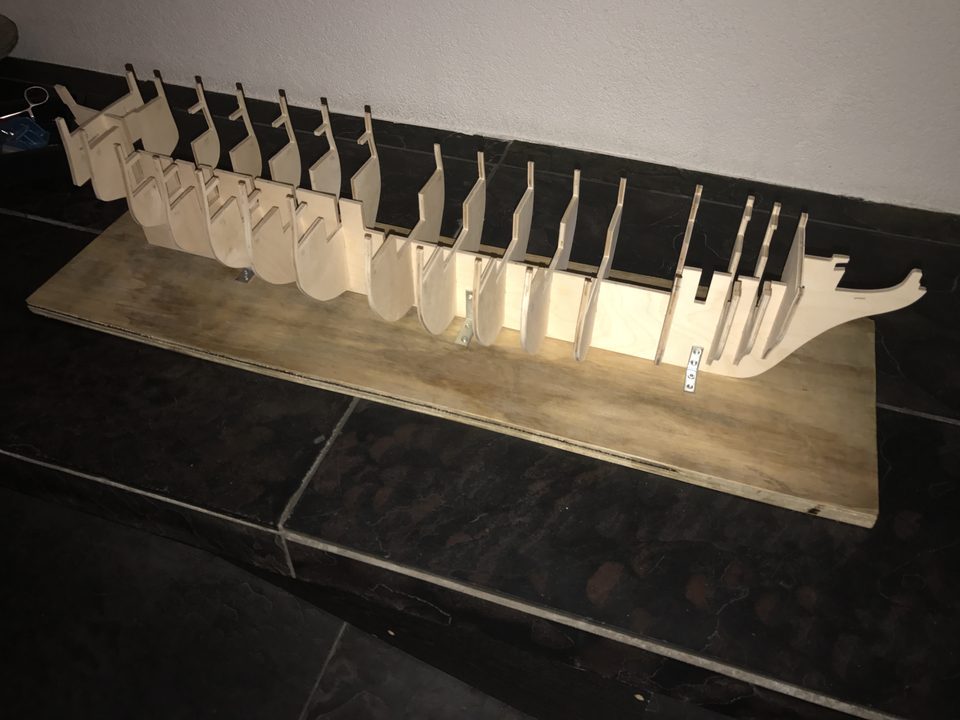
The bulkheads dry-fitted in the keel former. This is the set-up, but glued, in which you fair them. Tip from Danny Mulders: Always glue the bulkheads into the keel first, even on large models. You can compare with the other bulkheads far better to see whether you are on track.
Watch out: Eduard started by fairing loose and noticed the bulkheads still wobble while unglued; that throws things off. The foremost bulkhead also turned out not to be pushed all the way down when it was already stuck fast, and had to be cut loose with a thin utility knife blade.
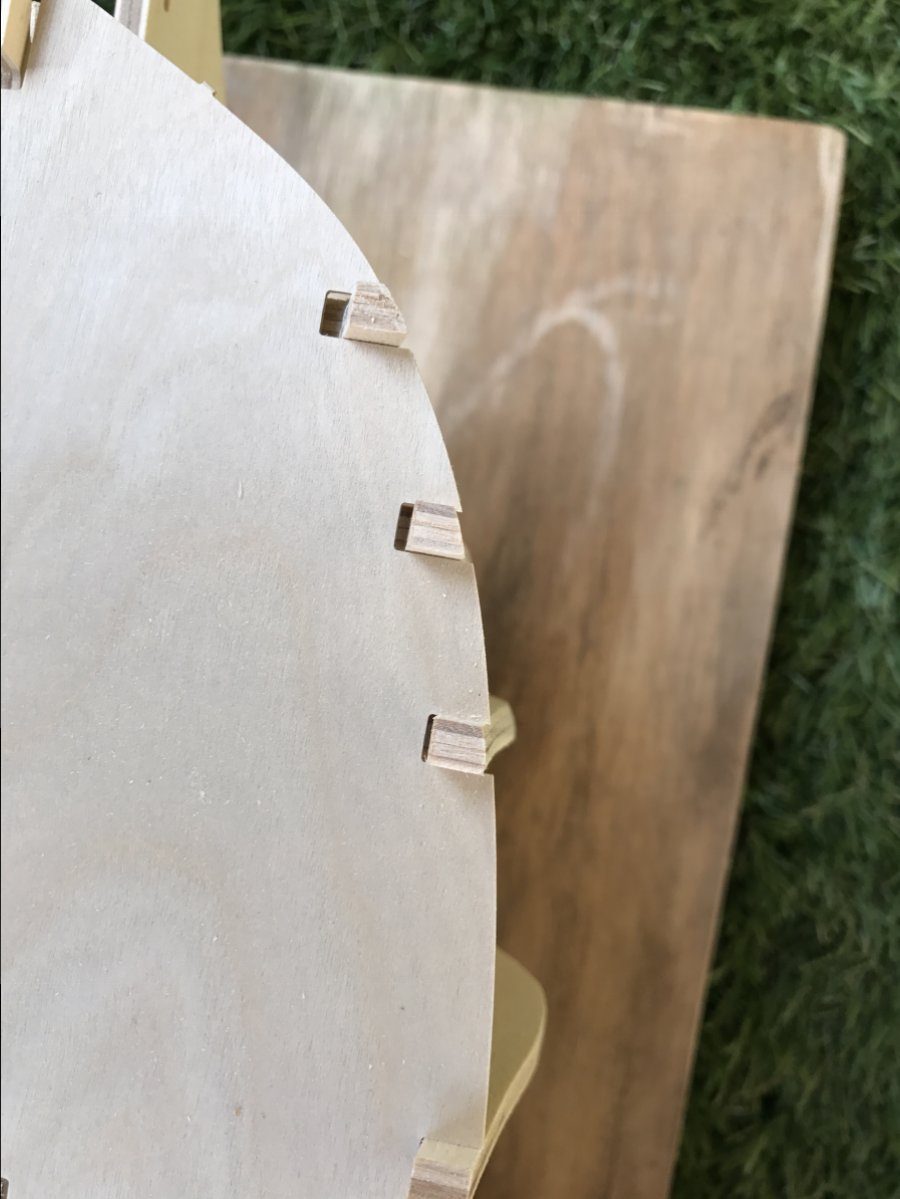
Start at the bow and file the outer edge of the bulkhead to a bevel, so that the hull planks will lie flat on the bulkhead later. Work in small steps: every few strokes of the file, check with a strip. Rather take off too little than too much; you can always touch it up.
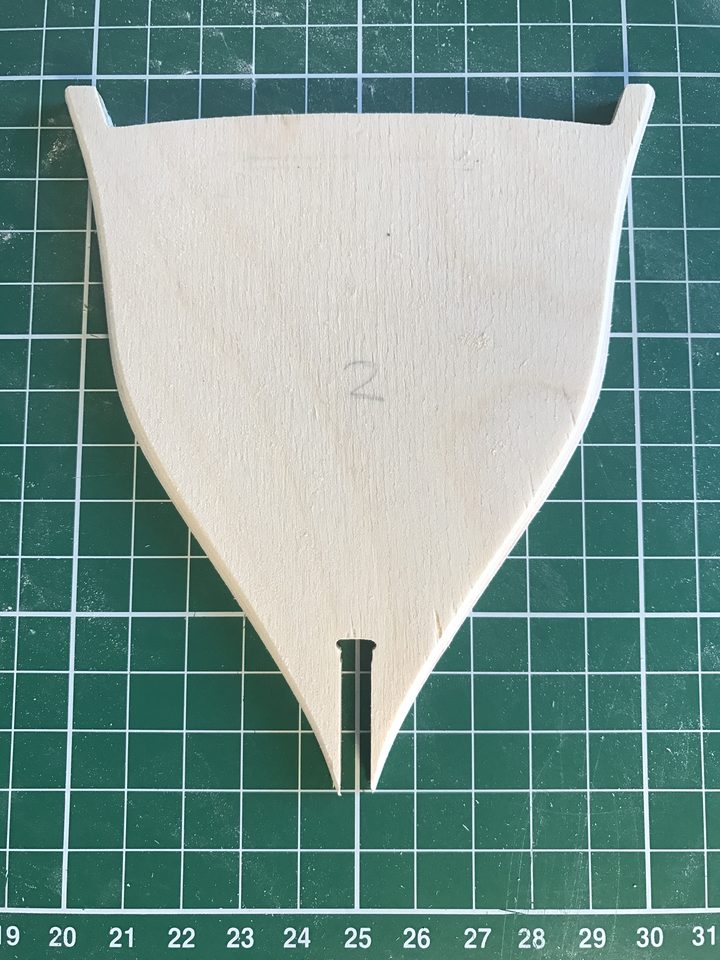
Bulkhead 2 at the bow after fairing: the outer edge is bevelled towards the stern. Tip from Pingu57: Don't take too much off now, because you don't know the exact curve yet. After gluing you only need to fine-tune.
Watch out: One small bulkhead snapped off while filing and had to be glued again. So file with care at the thin parts.
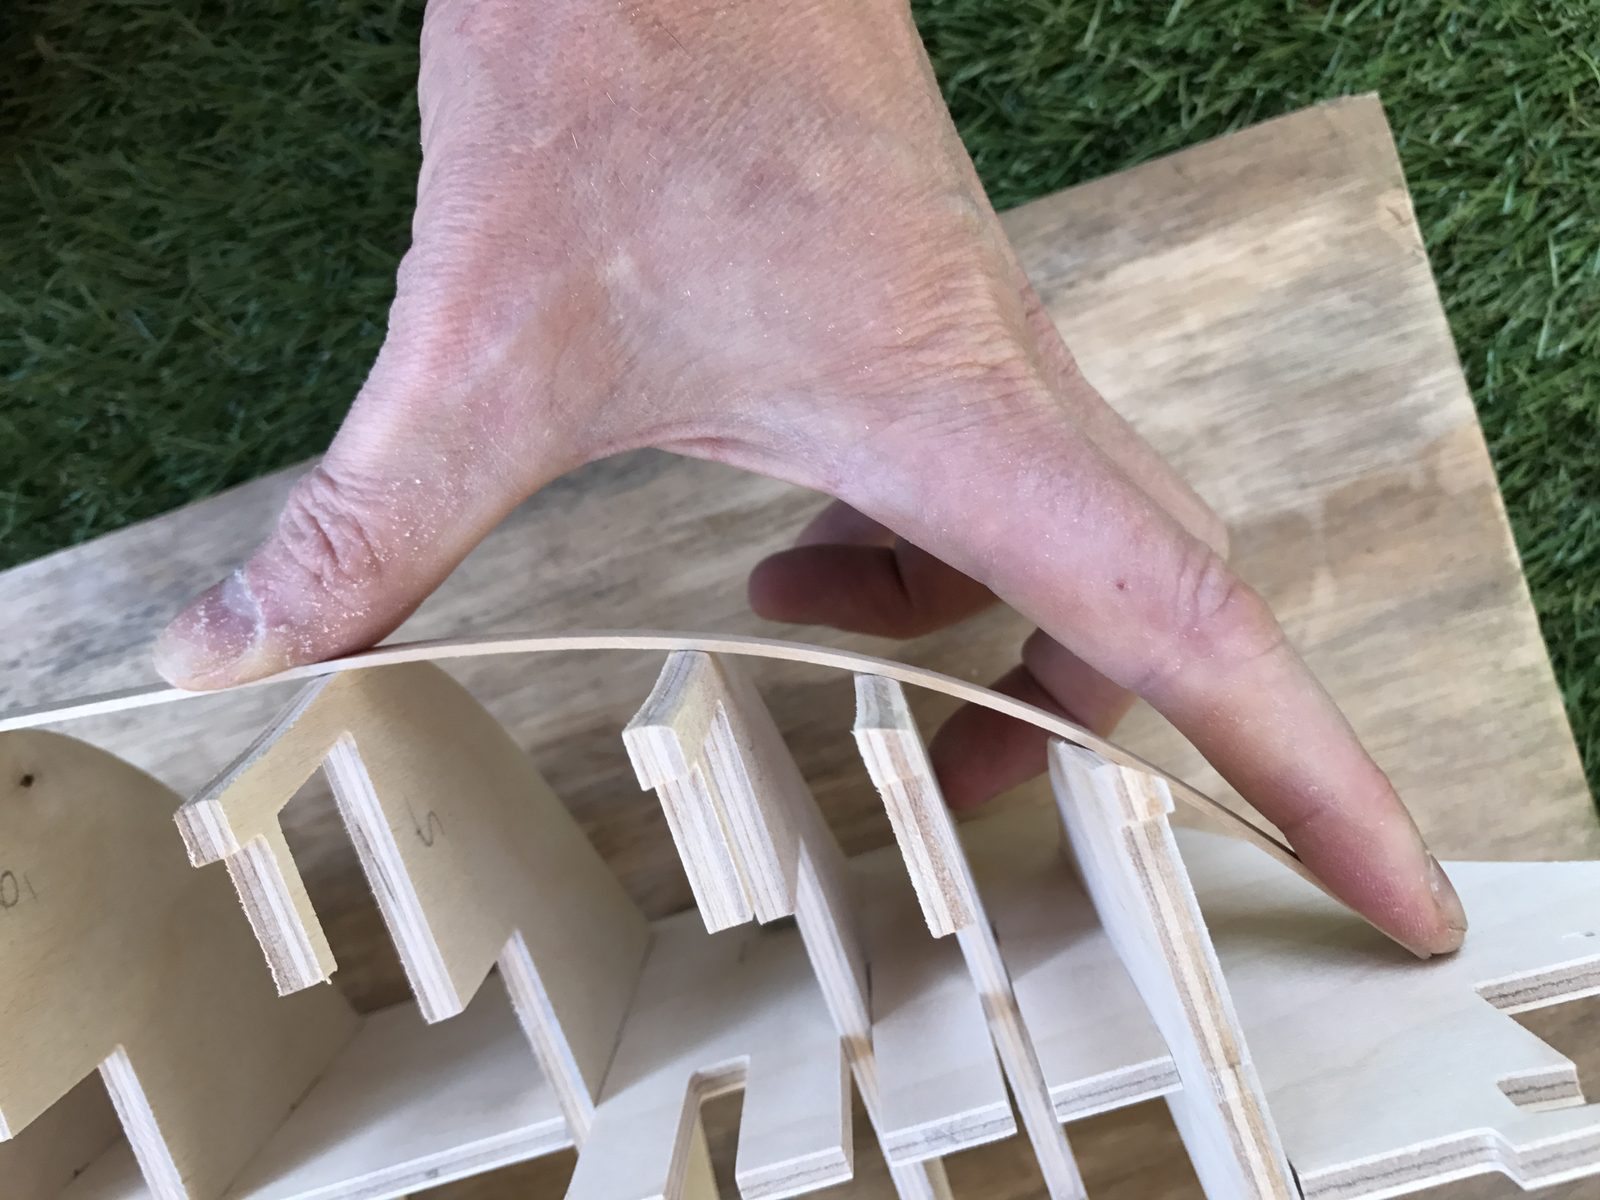
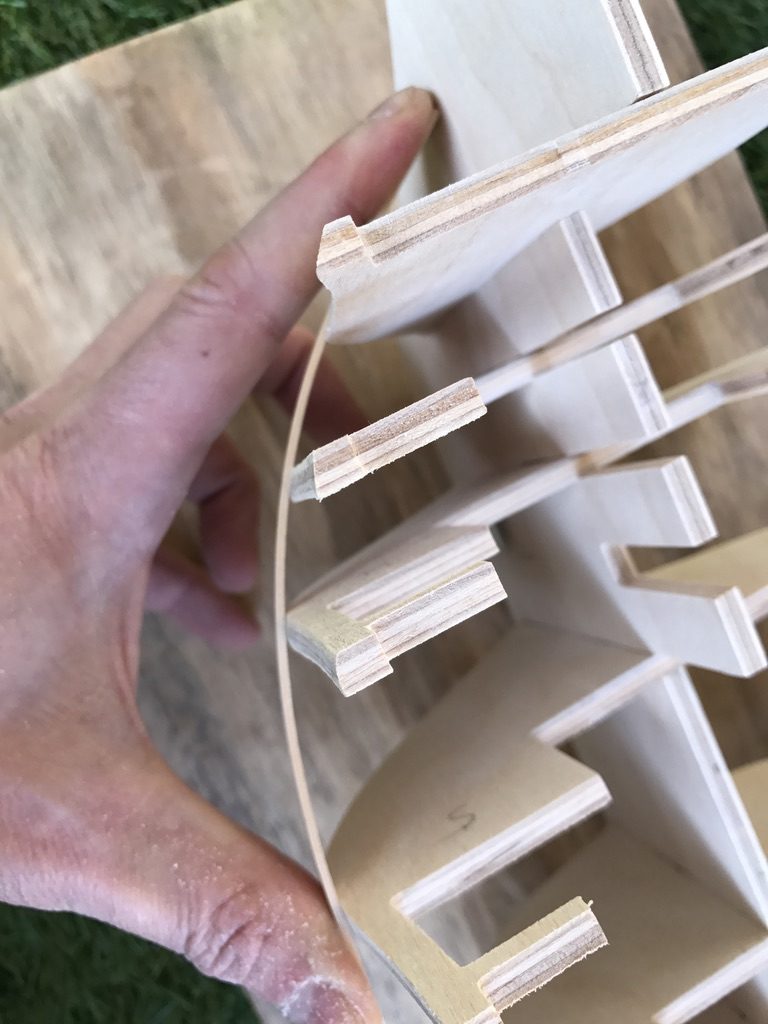
Lay a thin strip across several bulkheads at once and press it against them. The batten must touch every bulkhead without bumps or hollows. If the batten shows a dip, too much has come off: glue an extra strip of the right thickness onto the bulkhead, then sand to shape and measure again.
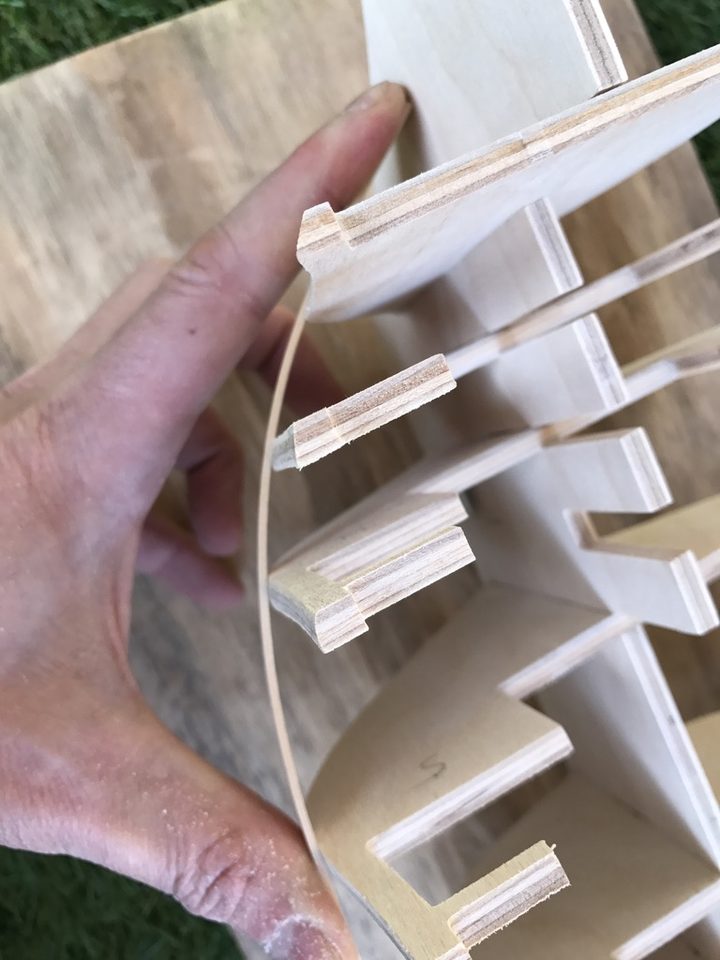
The strip pressed against the foremost bulkheads: where it does not touch, material still has to come off or be added. Tip from pietsan: The batten must touch the bulkheads everywhere without bumps or hollows. If your batten shows a dip, you need to glue some material on.
Watch out: At the sternpost, bulkhead 14 came nowhere near the batten. Hans Groenenberg's solution: really press the batten against the bulkhead, that is how the hull gets its shape. The gap turned out not to be a mistake; there is a slight kink in the hull at that point.
Lay the loose deck on the bulkheads to look at the curve. If the deck overhangs the bulkheads slightly, that is no problem: a deck usually has a little extra, so that you can fit it to the faired bulkheads later. So only sand the deck to size once the bulkheads are fixed.
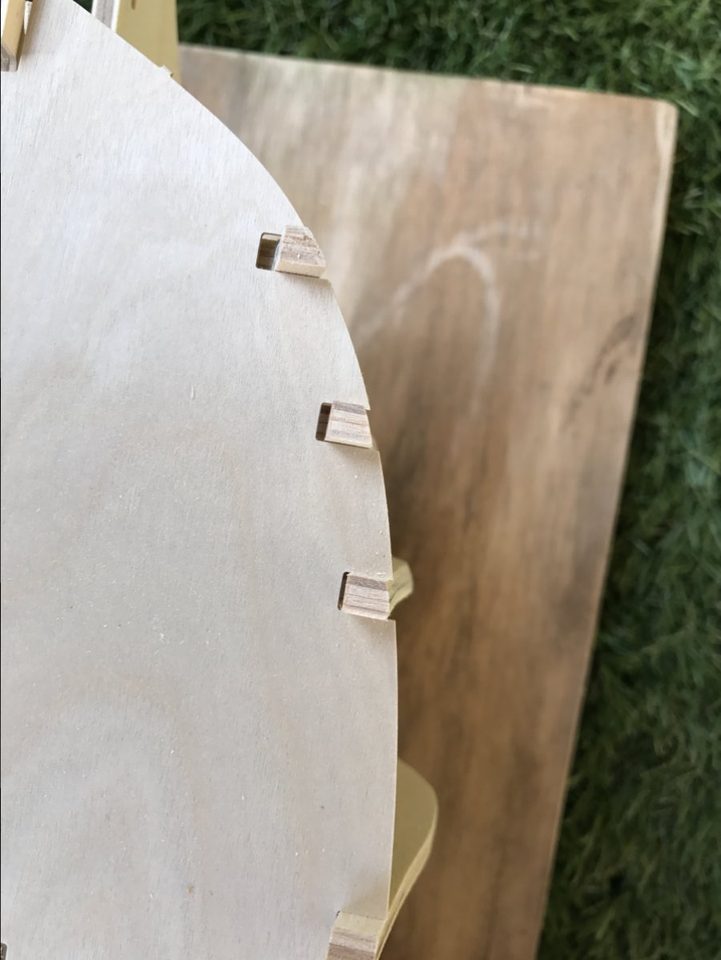
Starboard: the deck overhangs the bulkheads slightly, even where nothing has been filed yet. Tip from *Hans*: A deck usually has a little extra, so that you can fit it to the faired bulkheads later.
On the aftermost bulkheads, fair only the lower parts, the section below the sharp curve. Leave the square part above it alone. Only measure with the batten once these bulkheads are fully faired; the gap at bulkhead 14 often turns out much smaller then. If you are still short of material after that, glue a strip on.
Tip from pietsan: Don't fair the square part of the bulkheads, the section above the sharp curve. Only the lower parts. After that you will see the gap at bulkhead 15 is not so large any more.
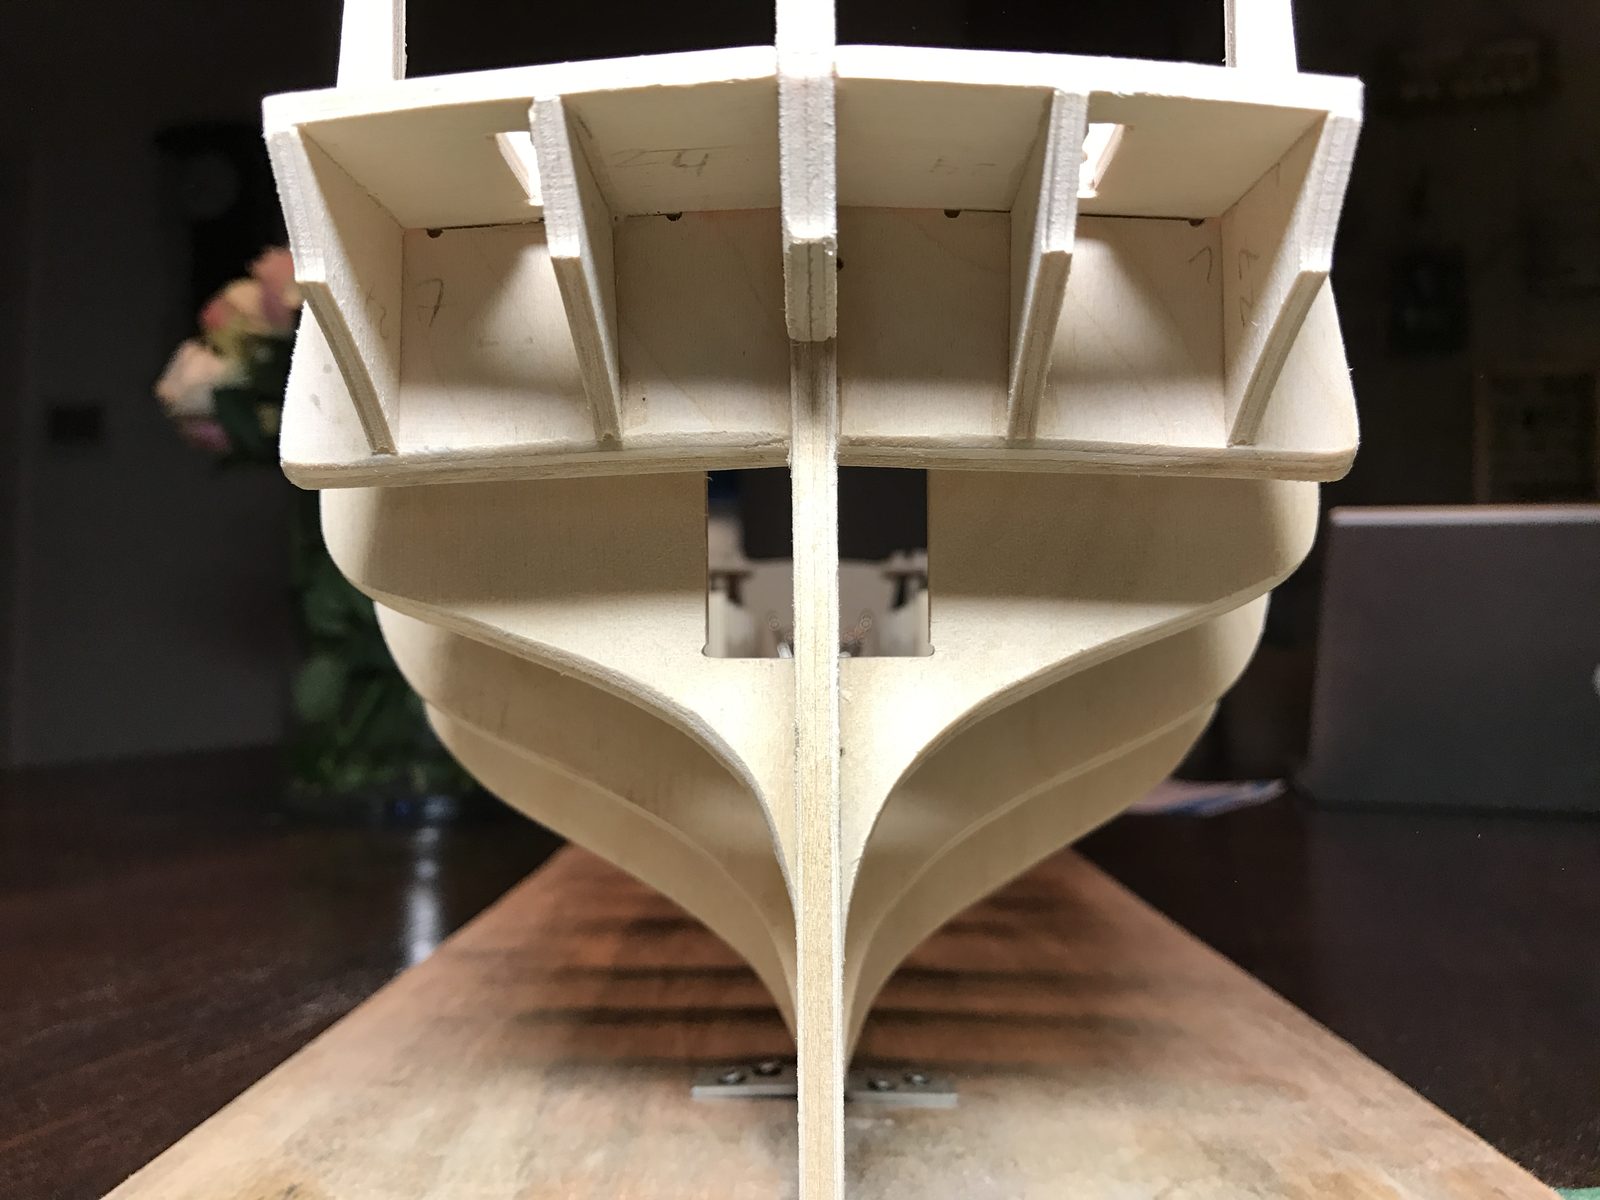
Fit stern frames 26 and 27 before you fair the lower edge of the last bulkhead (17), then fair them together so that the stern frames run on automatically with the bulkhead. If they stick out, adjust the stern frames to the bulkhead, not the other way round: raising the bulkhead changes the stern and the hollow counter under the transom may then not work out. When in doubt, show a dry fit on the forum first.
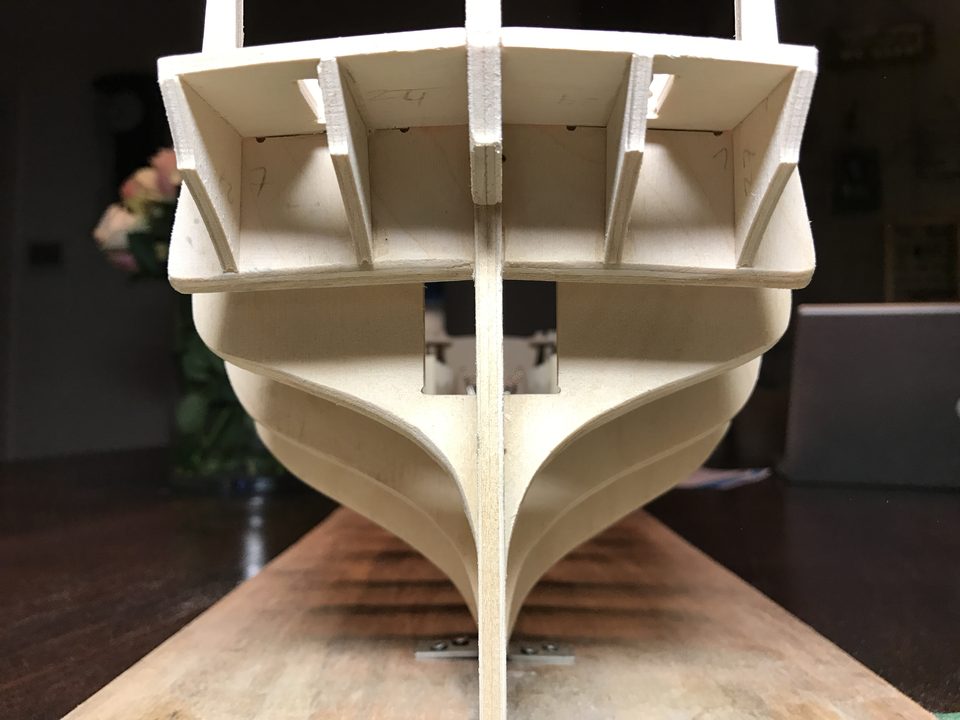
The stern seen from aft: the transom pieces line up with the last bulkhead, still dry fitted. Tip from pietsan: The idea is to fair the stern frames together with the bulkhead, so that they fit automatically. Raising the bulkhead afterwards is not really right.
Watch out: Eduard first raised the aftermost bulkhead because the stern frames stuck out. That had to be undone again. Don't follow the drawing blindly either: on it, bulkhead 15 doesn't even touch the planking line.
Compare both sides with contour gauges so that you can see exactly where they differ, and make the same curve on both sides. The ship must end up symmetrical; the gauges copy the profile from one side to the other.
Tip from Pingu57: In any case try to get the ship symmetrical. The DIY shop sells gauges with which you can copy both sides exactly; I believe they are called laminate gauges.
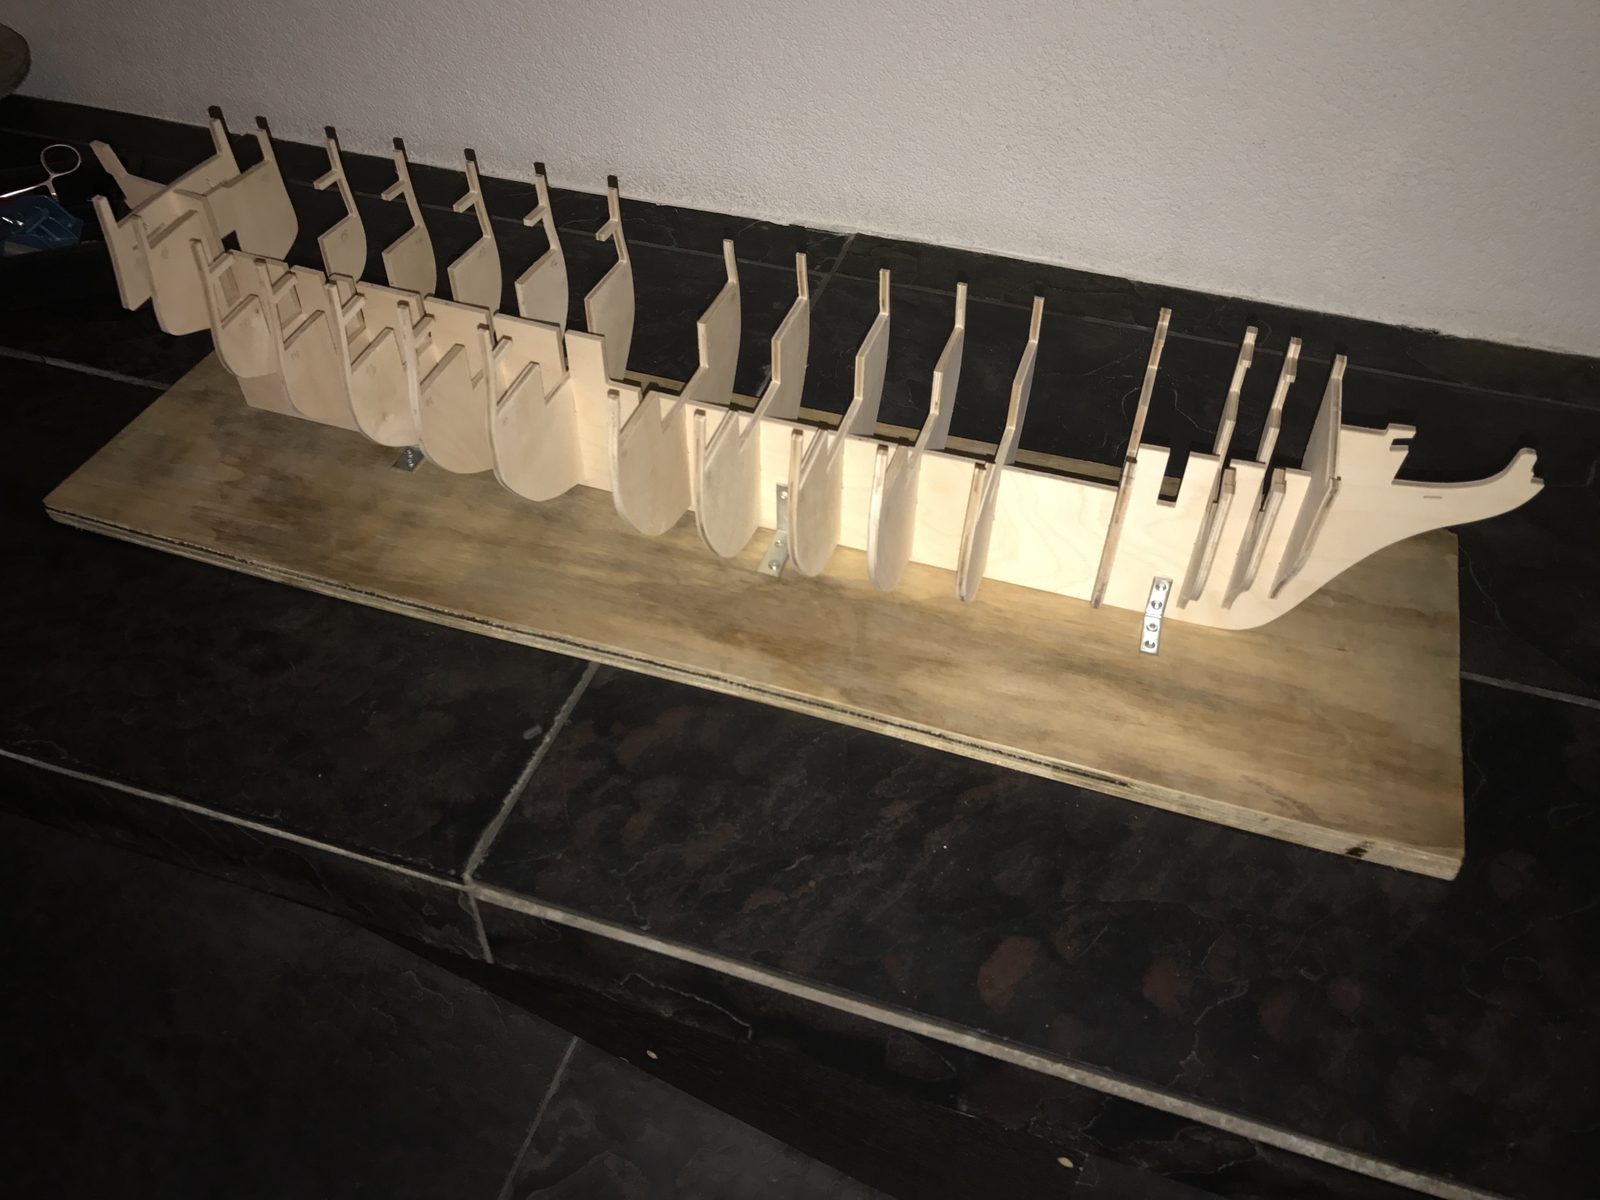
Result
The first bulkhead was faired loose; the rest was touched up once the bulkheads were glued in. Next time we would glue everything first and rely entirely on the fairing batten and the contour gauges rather than on the eye.
Problems met with this technique
After fairing the bulkheads, the gun deck projects slightly beyond them. Do not take off too much; trim later. The deck is only sanded to size once the bulkheads are fixed. (Tips from *Hans*) to the register
Bulkhead 14 (Eduard's numbering) does not touch the fairing batten when it is laid across several bulkheads. Press the batten against the bulkhead and only judge after fairing is complete; glue on material if needed. Compare port and starboard symmetry with a contour gauge. (Tips from Pingu57, Hans Groenenberg, pietsan) to the register
Stern frames 26 and 27 stand proud of the last bulkhead. Eduard first built up the bulkhead. Removed the build-up again and bevelled the stern frames towards the bulkhead so they run flush with it; set stern frame 24 square. (Tips from Hans Groenenberg, pietsan) to the register
Kit errata
A plan on which bulkhead 15 does not touch the planking line and part 27 cannot fit once bulkhead 17 is bevelled. Adapted the stern frames to the bulkhead, did not follow the plan. to the register