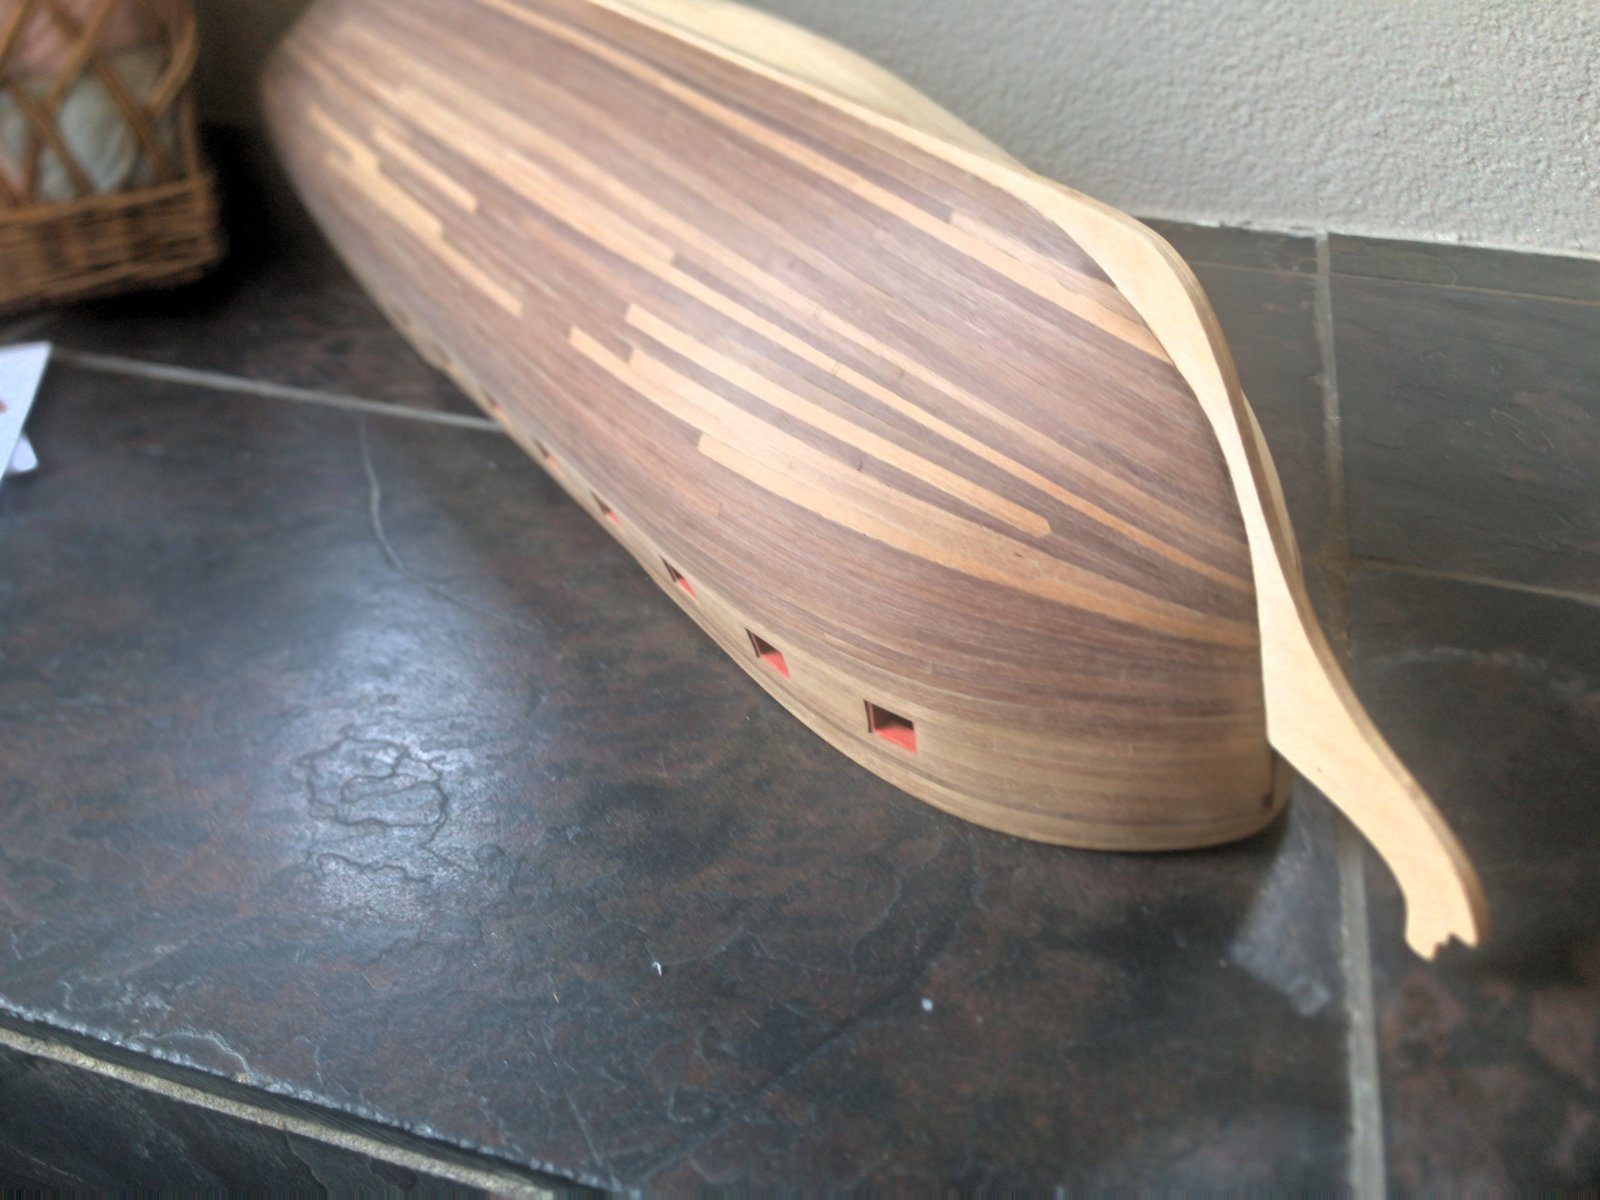
Dividing the hull into belts and tapering per belt
Divide the hull into four equal belts with ribbands and work with seven planks per belt, so you calculate the taper per belt rather than over the whole hull and no longer get stuck.
What you need
- ribbands (thin strips as guide lines)
- pencil
- callipers or ruler
- hobby knife
- drawing pins
- strips of the second planking (walnut, 5 mm wide)
Dimensions
- hull in four equal belts
- seven planks per belt
- taper to half the plank width or a minimum of 2.5 mm (pietsan)
- at scale the planks would be 3.9 mm wide and 2.5 mm thick (Henkl)
- Time
- several evenings
- Difficulty
- moderate
- When in the build
- Phase 3,
- From the log post
- Port closed starboard started · forum
Before you start
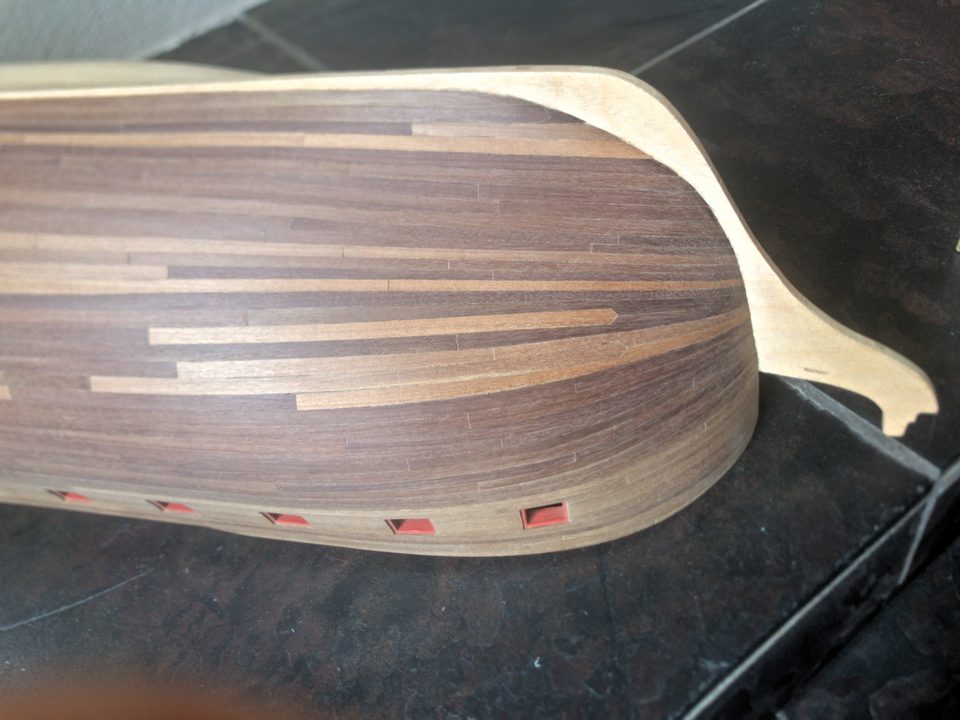
The wale and the garboard strake give the upper and lower limits of the area to be planked. The first side (port) is already closed; there we calculated the taper over the whole hull, and that did not always work out well, as the clinker effect in May showed. For the second side we take a different approach.
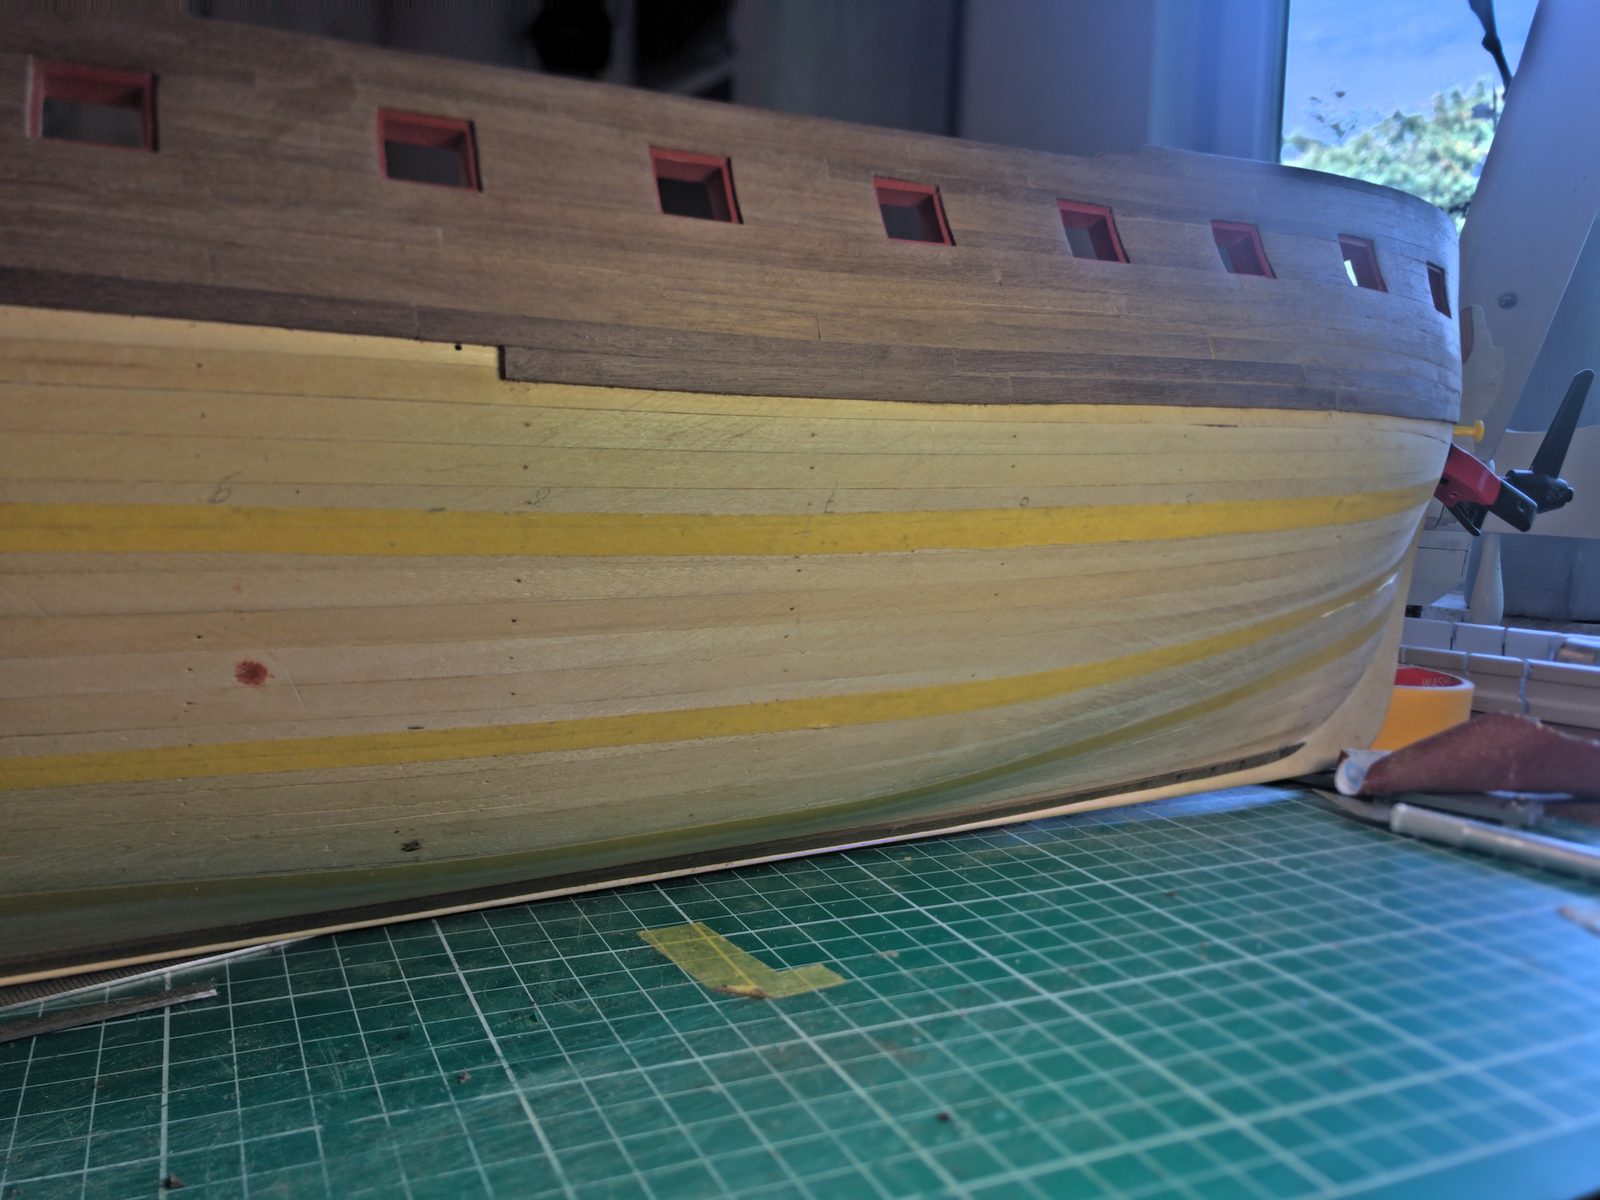
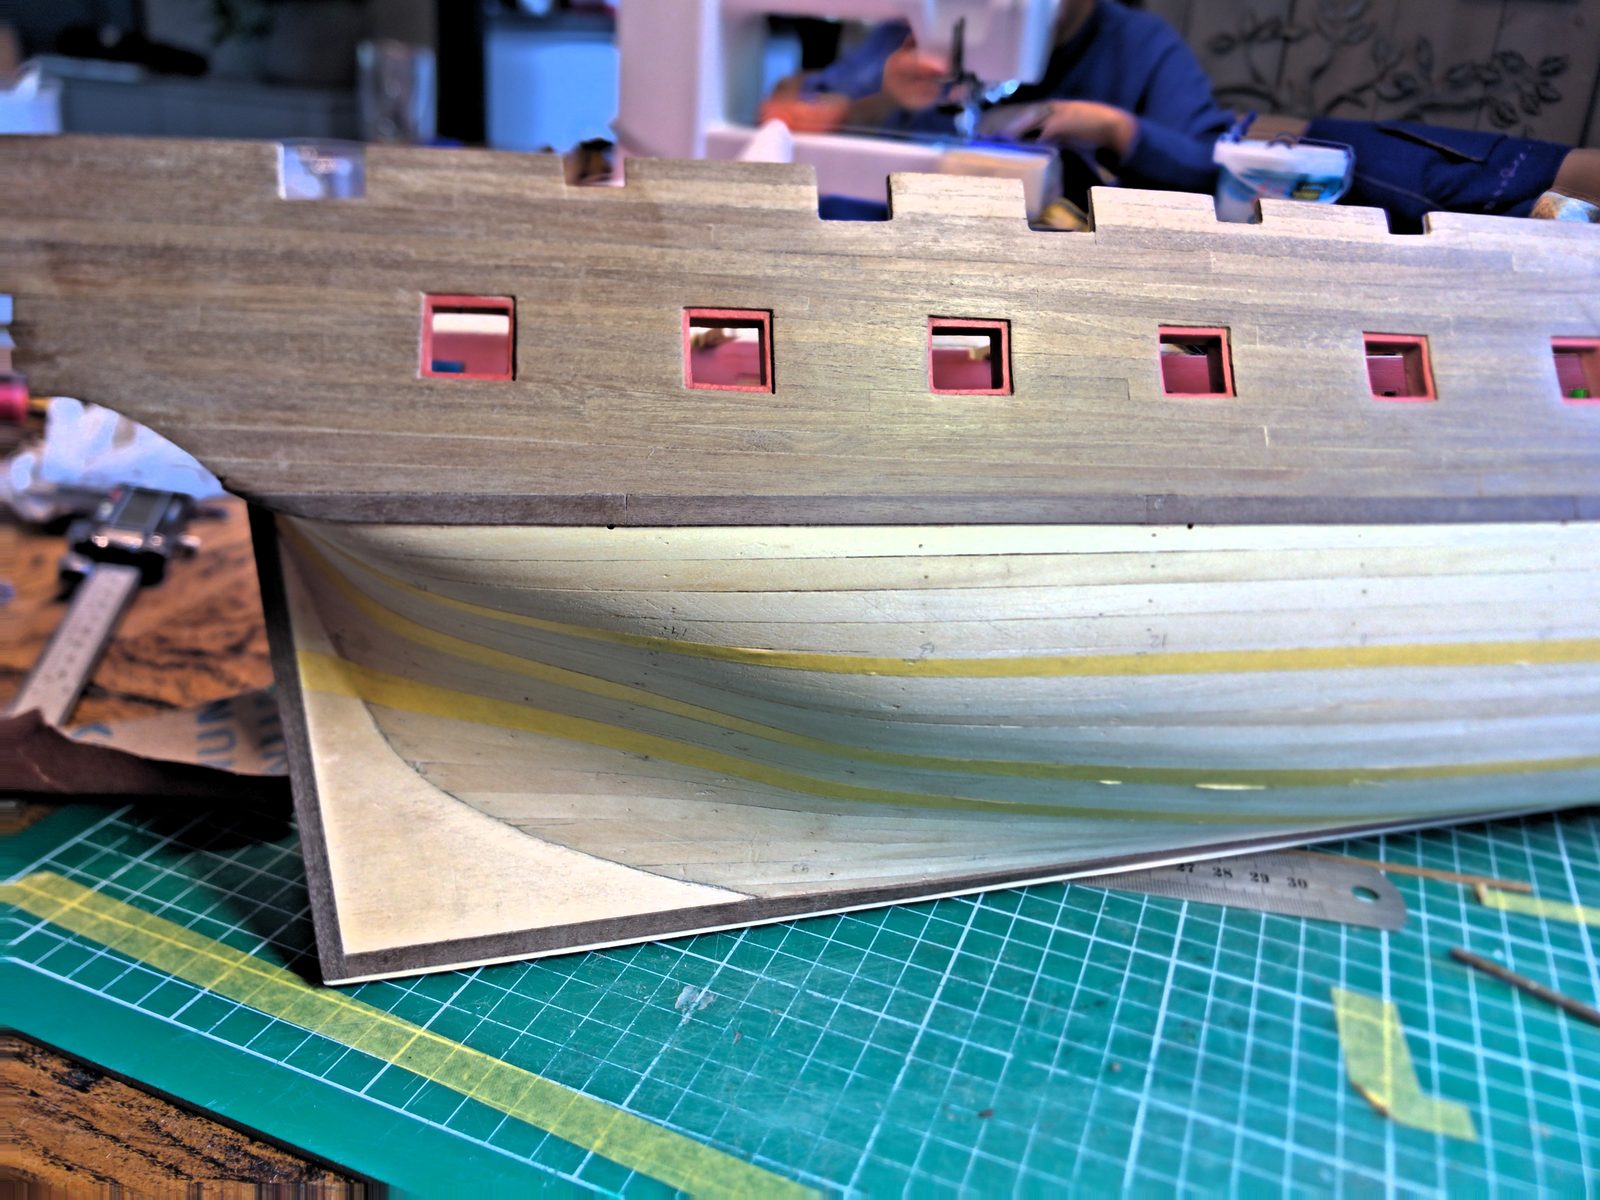
Lay ribbands over the hull that divide the area between wale and garboard strake into four equal belts, and mark the boundaries in pencil on each bulkhead. The boundaries follow the sheer of the hull, not a straight line.
four equal belts
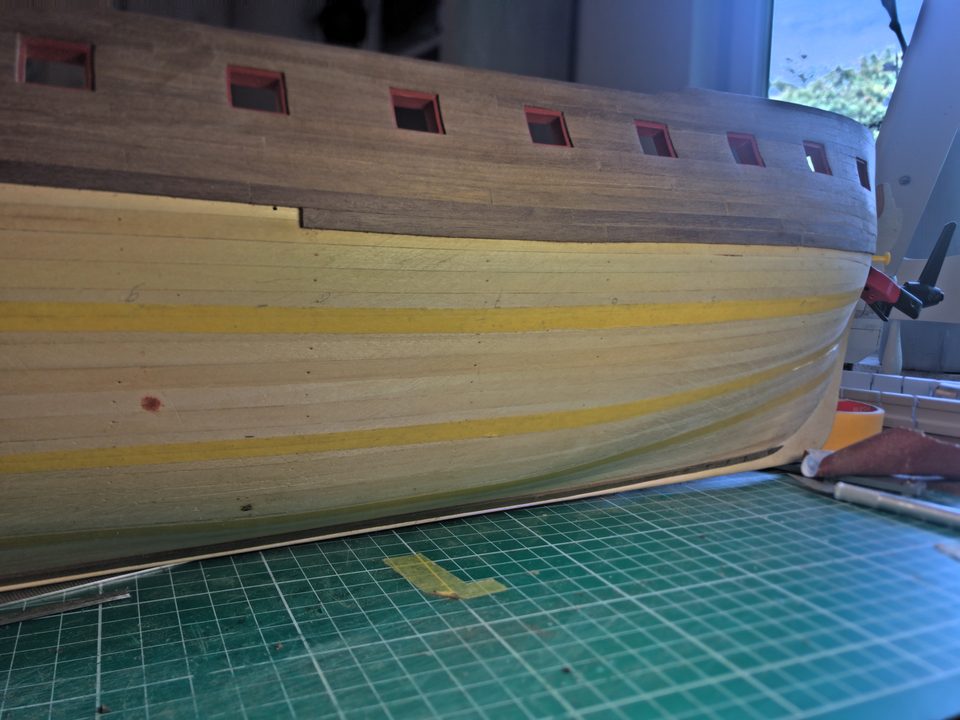
Starboard seen from the stern: the boundaries between the four belts run as light bands following the shape of the hull. Watch out: In May we only divided the hull into three halfway through. Do it right at the start of the underwater hull, otherwise the first strips are already cut to the wrong width.
Work with seven planks per belt. For each belt, measure the width between the two boundaries on every bulkhead and divide it over seven planks: that tells you how wide each plank has to be at that bulkhead. Towards the bow and the sternpost the belts narrow, so every plank has to be tapered.
seven planks per belt
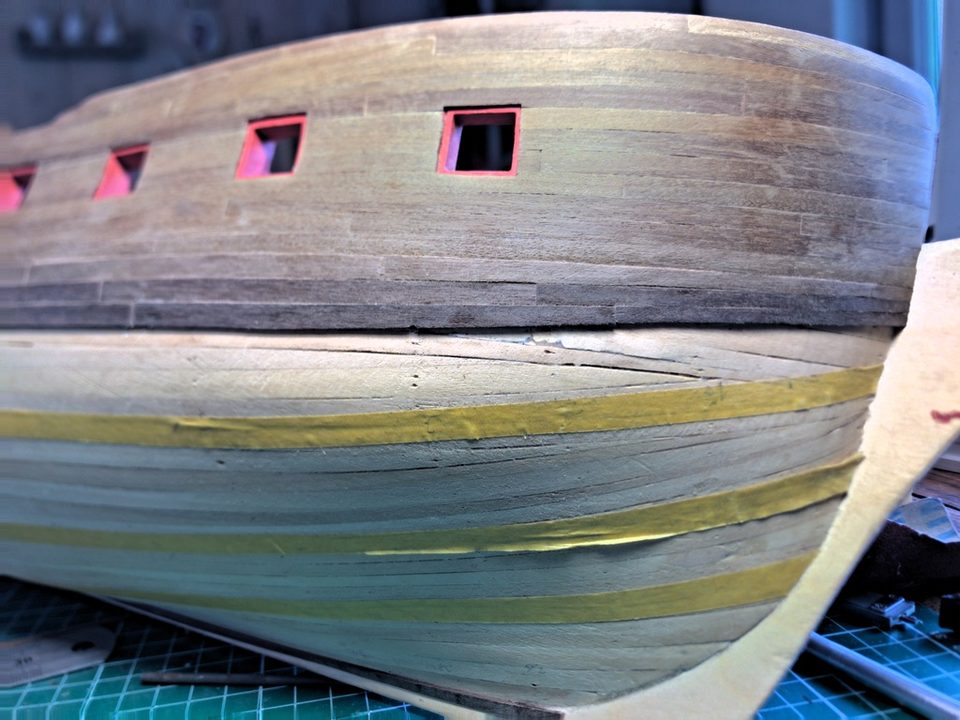
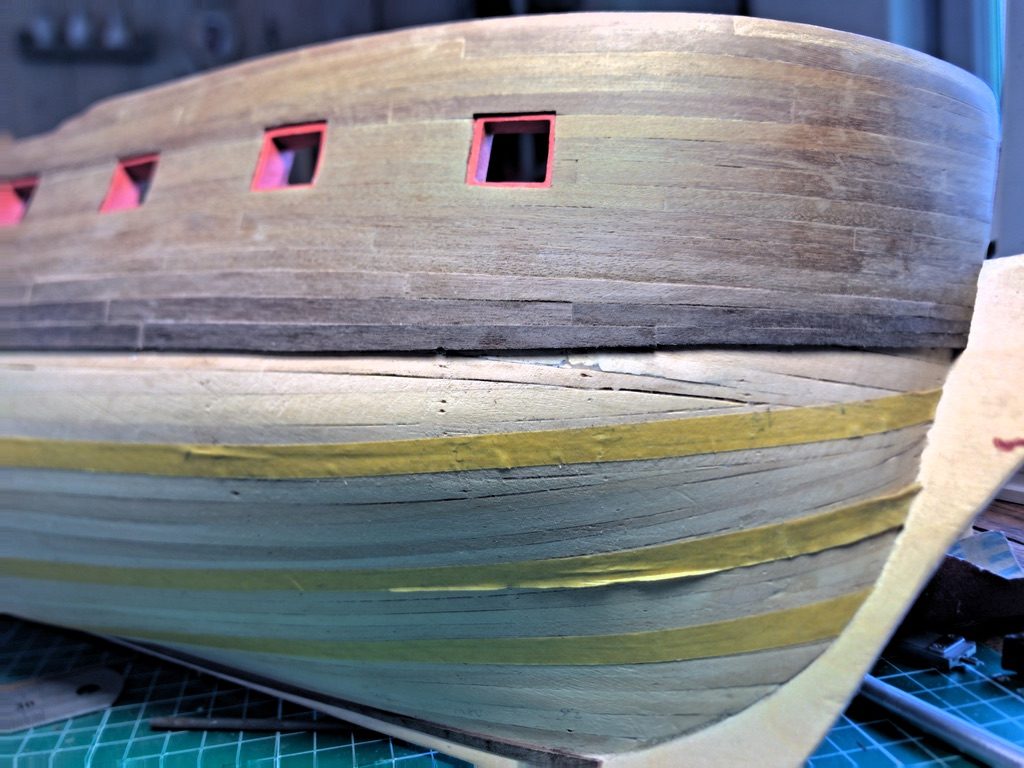
At the bow the belts converge: here the same seven planks have to fit into a much narrower band. Tip from Henkl: Converted to 1:64 the planks should be about 3.9 mm wide and 2.5 mm thick. The 5 mm kit strips are too wide to make the curves nicely.
Watch out: Previously we calculated the taper from the distance between wale and garboard strake at the foremost bulkhead, over the whole hull. That cost us the few millimetres we needed later.
Hold each next strip under and against the last one and bend it carefully to the shape of the bow. Where it wants to ride over the previous strip, the taper begins. Cut the strip to the width you calculated per bulkhead from that point, but never narrower than half the plank width.
taper to half the plank width or a minimum of 2.5 mm
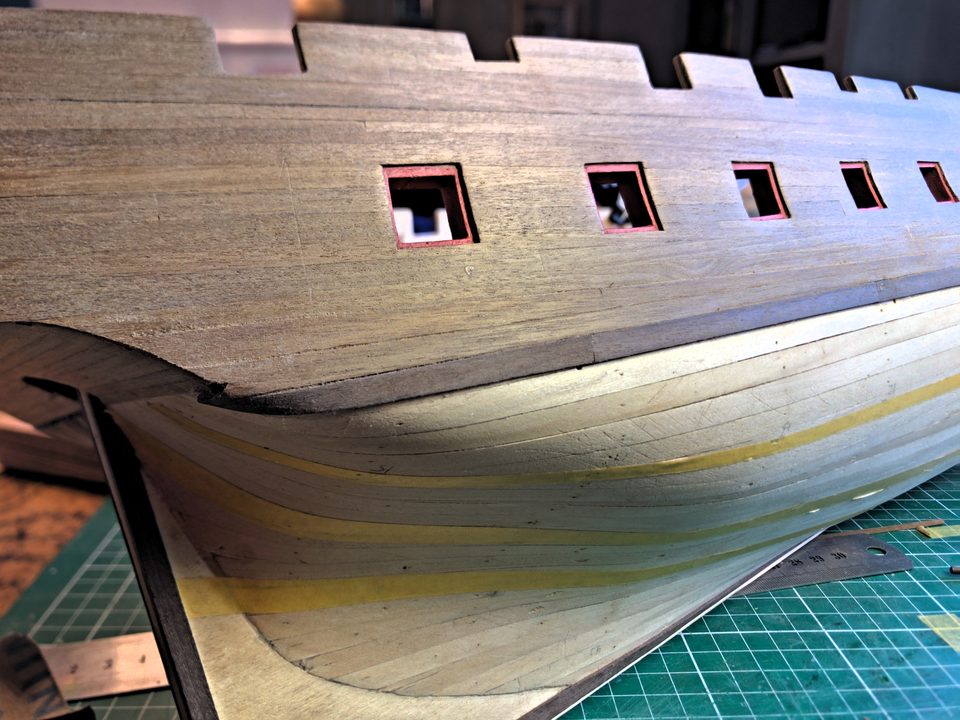
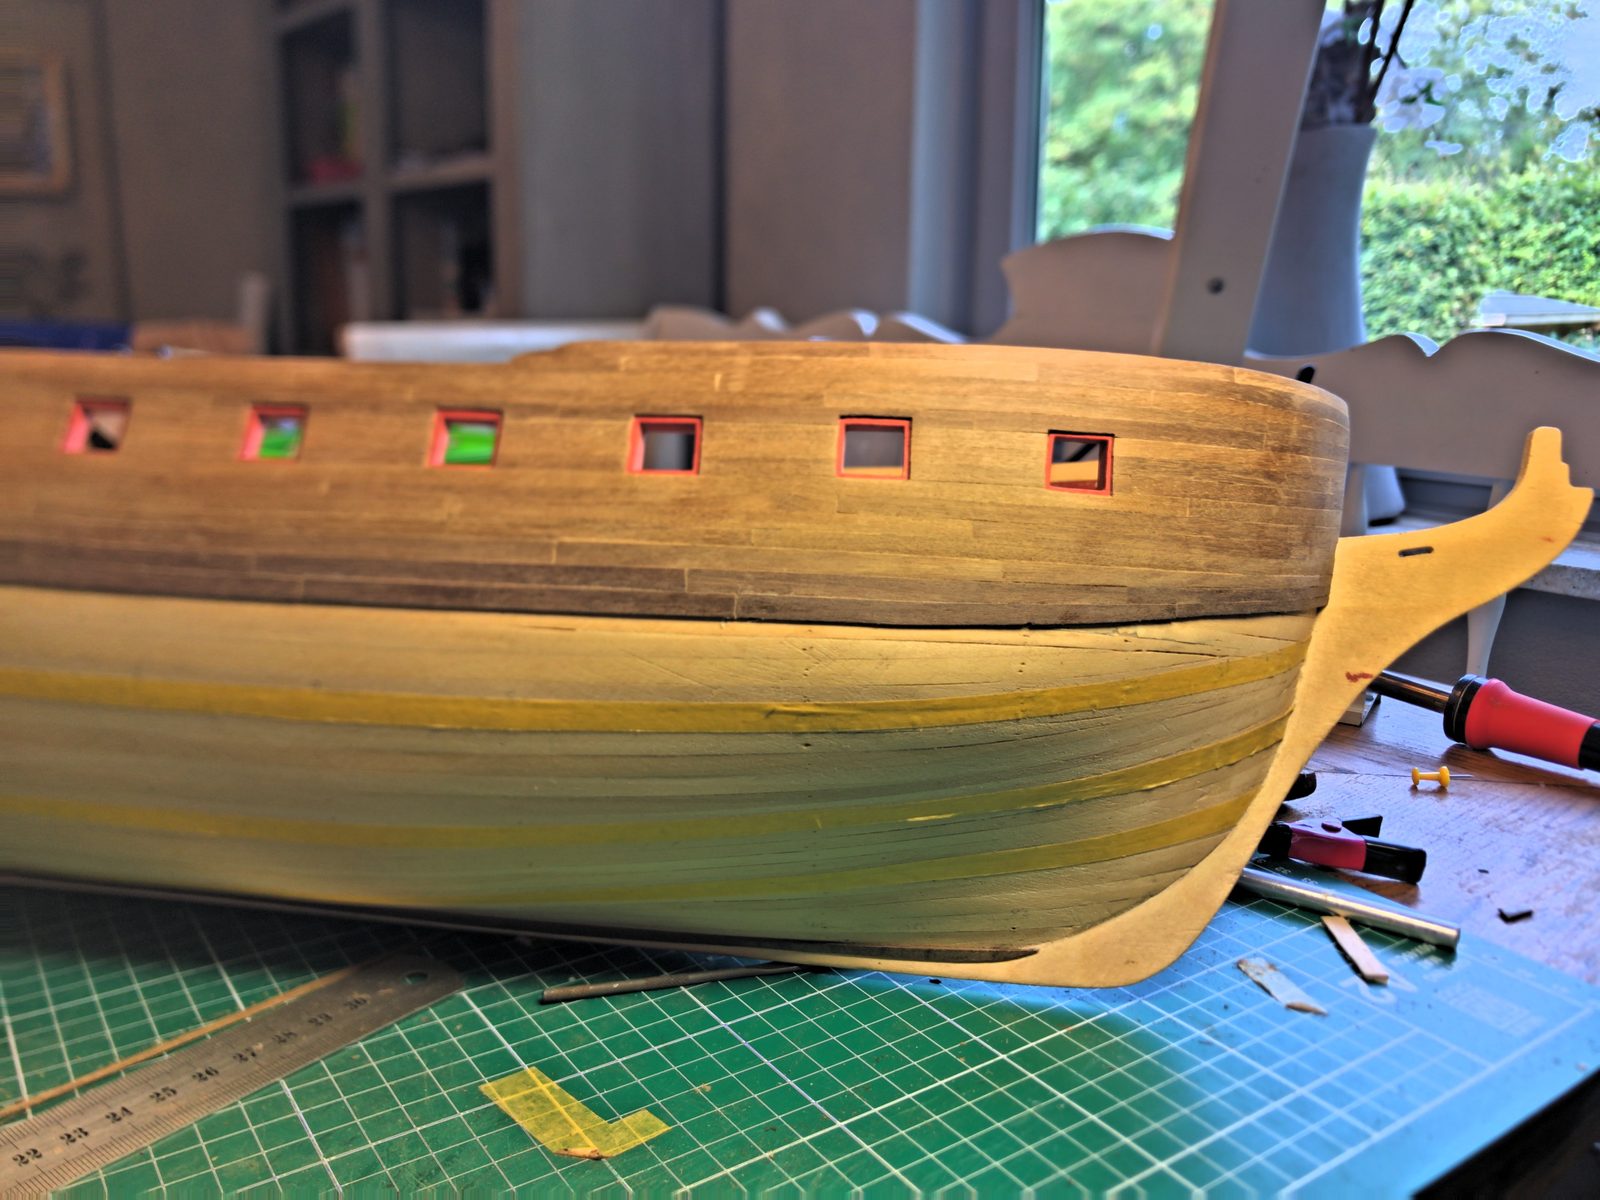
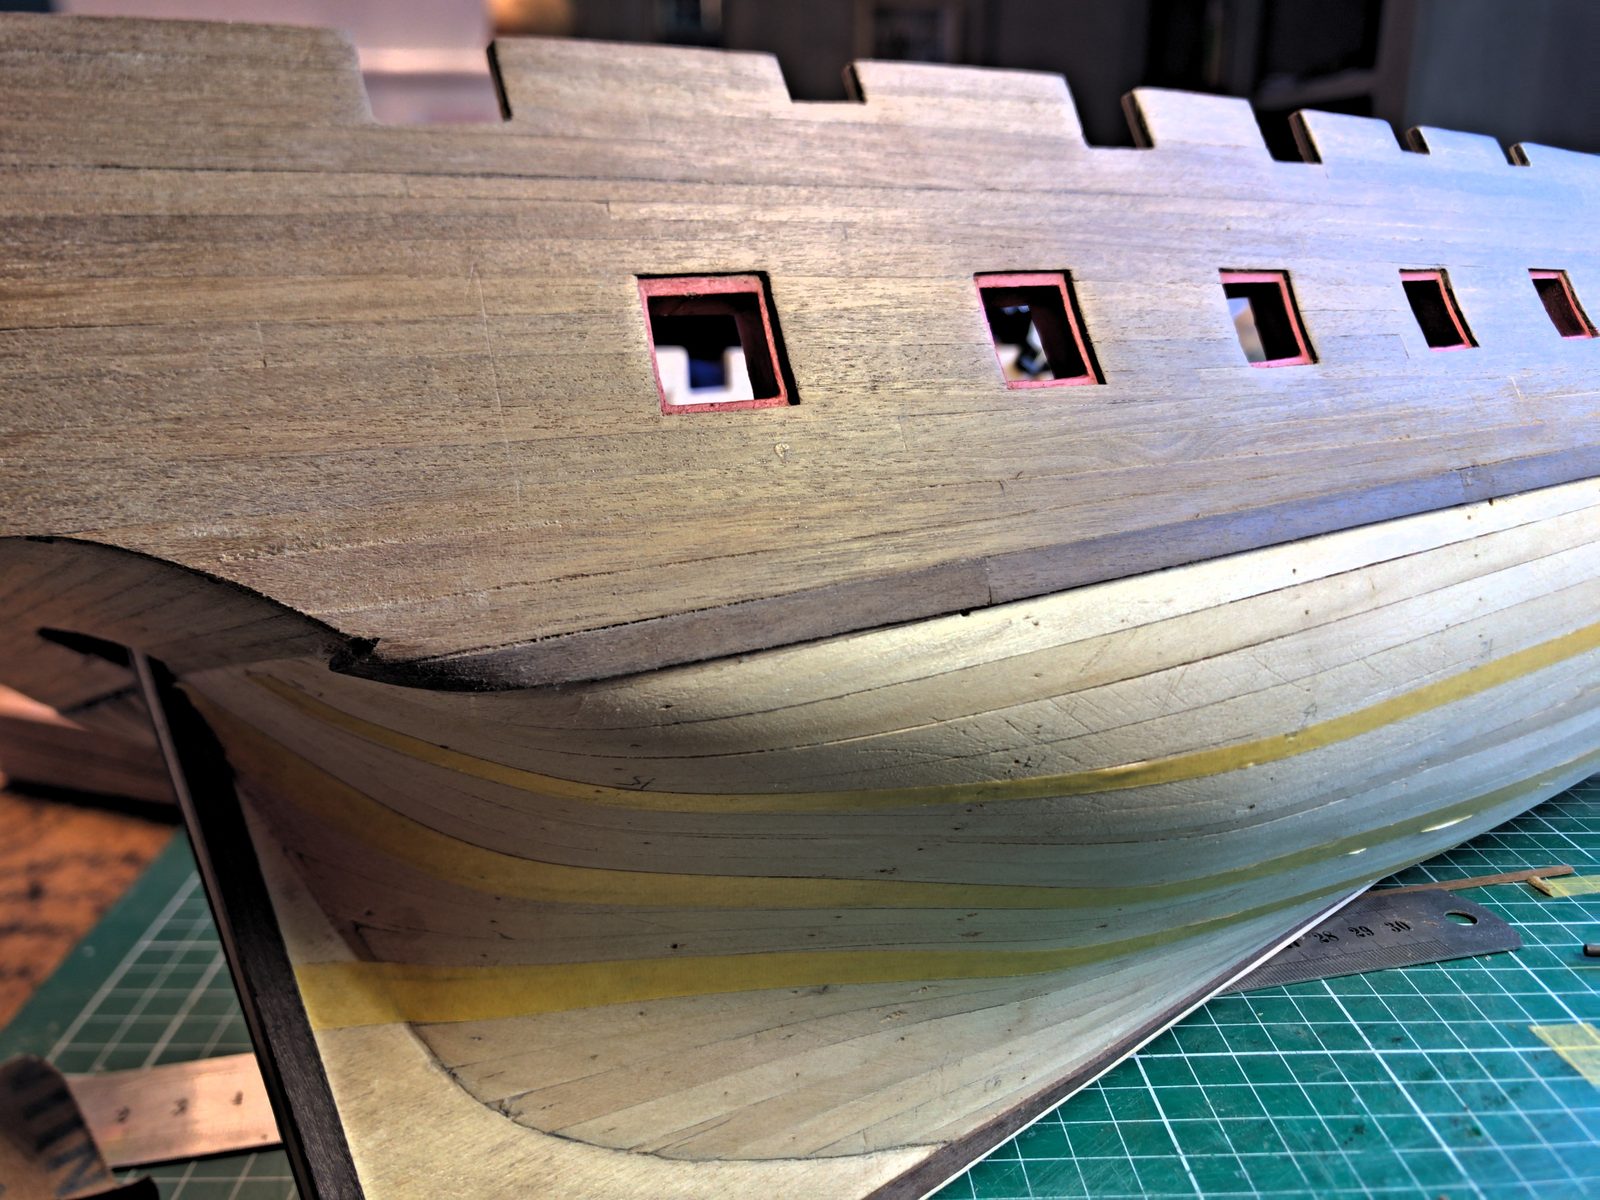
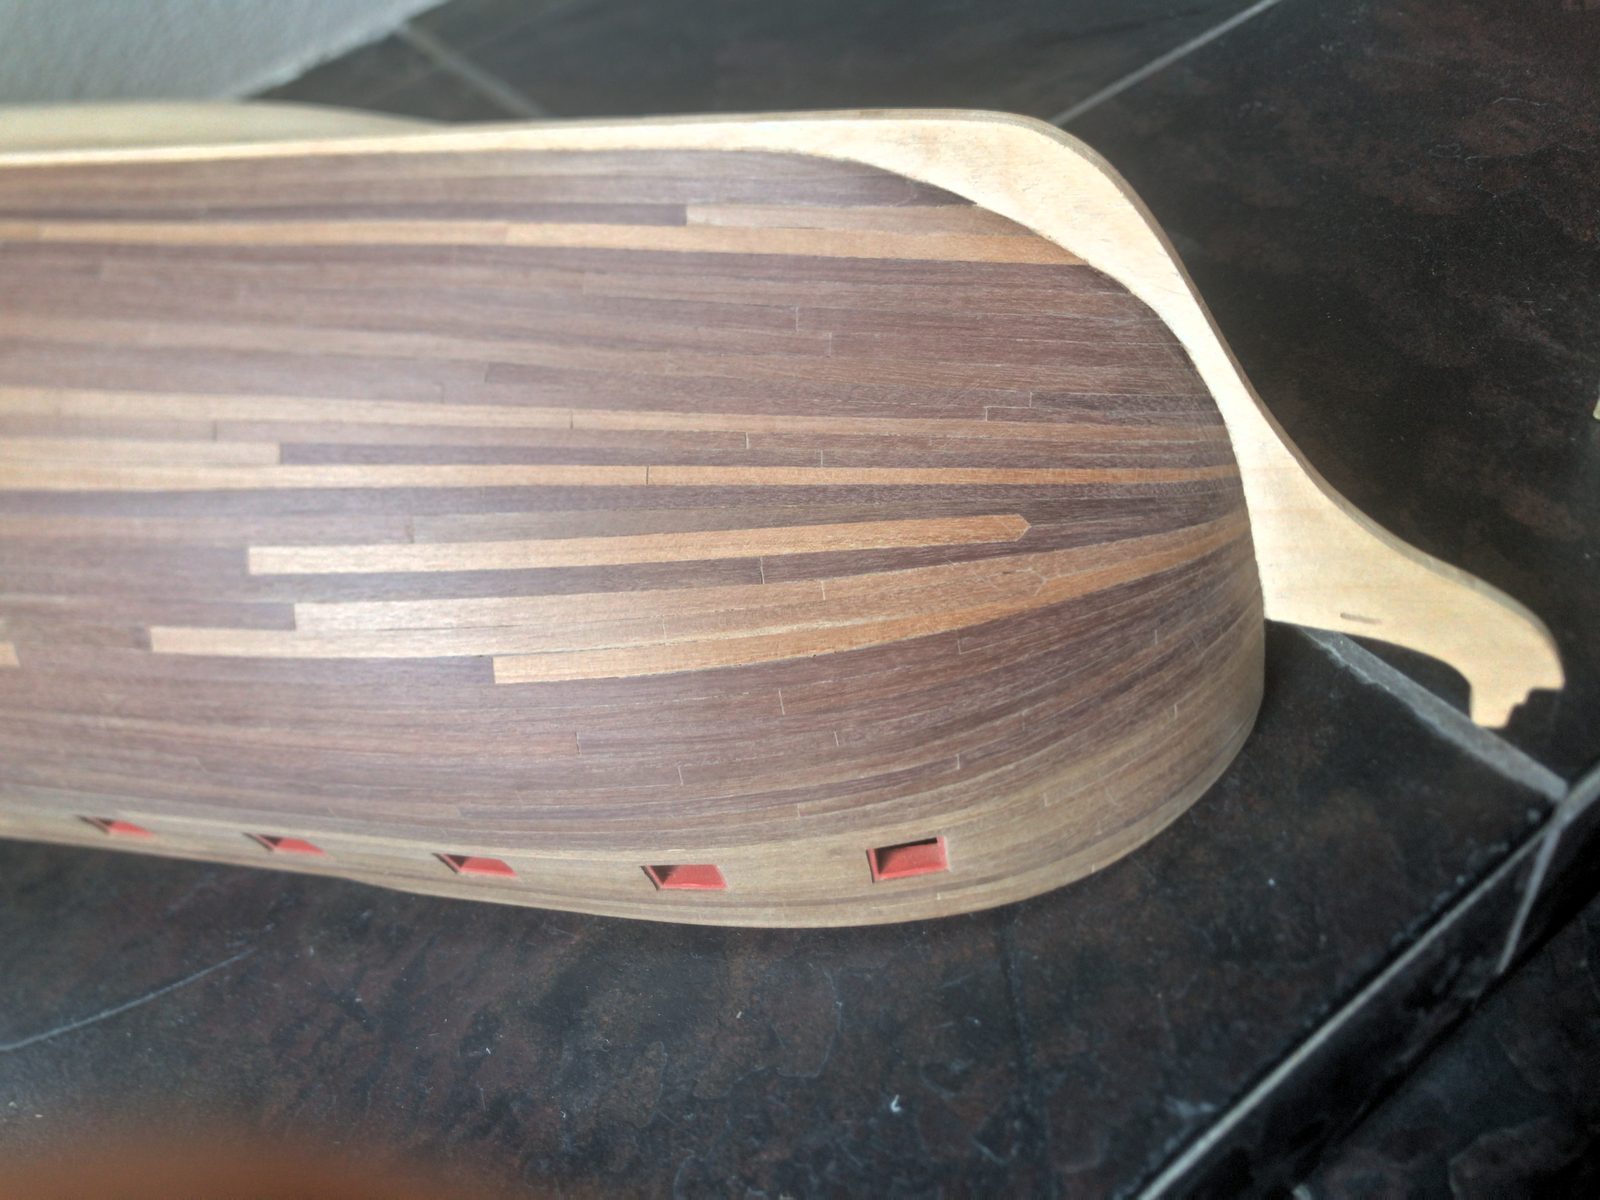
The bow on the starboard side: the tapered planks of the first belt run cleanly to the stem. 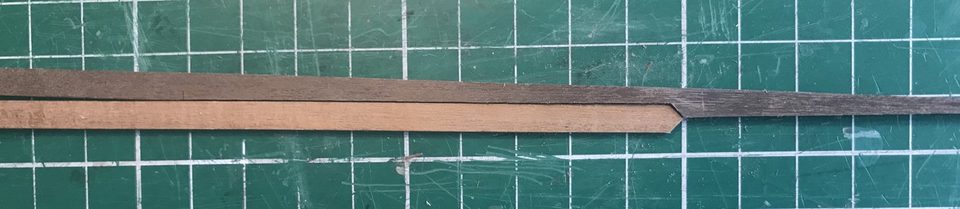
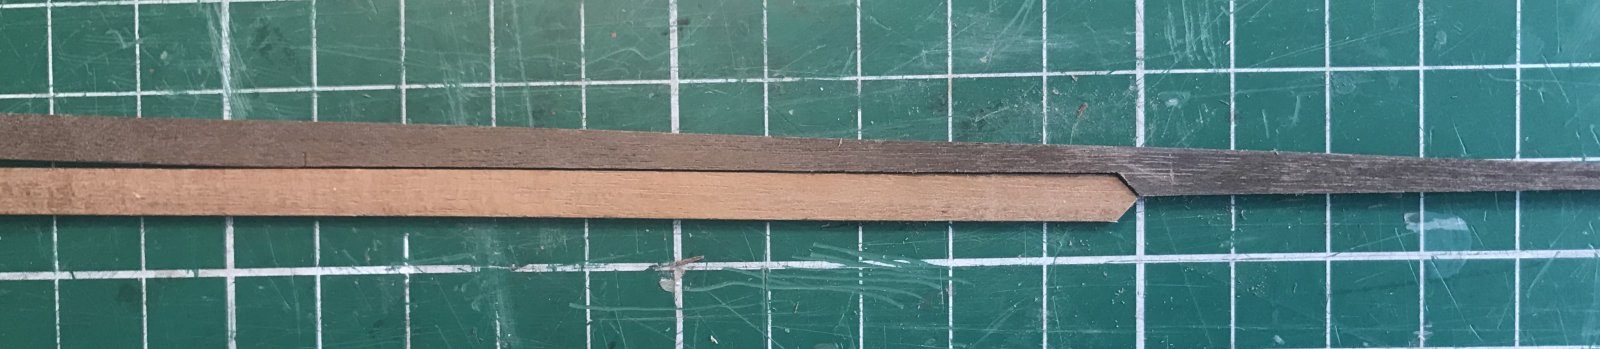
Two strips on the cutting mat: the lower one is tapered and runs to a point on the right, the upper one is still straight. Tip from pietsan: Most builders start tapering too late. Before bending, hold each next strip under and against the last one and taper exactly at the point where the strip threatens to ride over the previous one.
Watch out: On the first planking we tapered too late and ended up with sliver planks at the stern. All the planks at the sternpost are now tapered.
Because of the upward twist at the sternpost, tapering alone will not get you there; a stealer is needed. First fit the real strip dry to take the measurement, then glue the stealer, and only then glue the strip. At the end the stealer needs a sharp bend, and the strip above it has to fit exactly again.
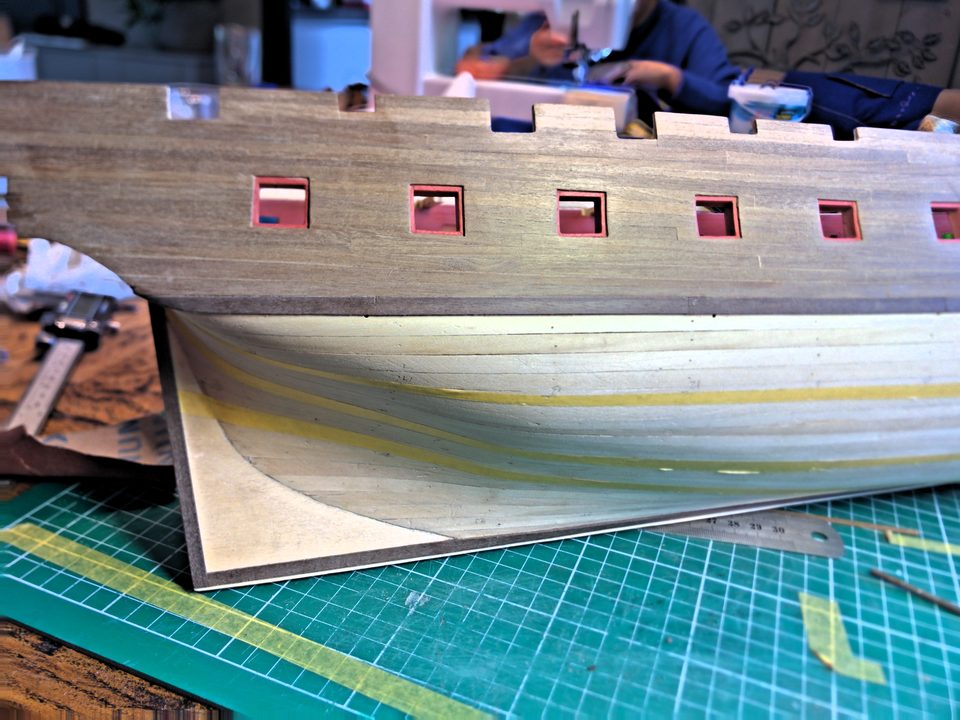
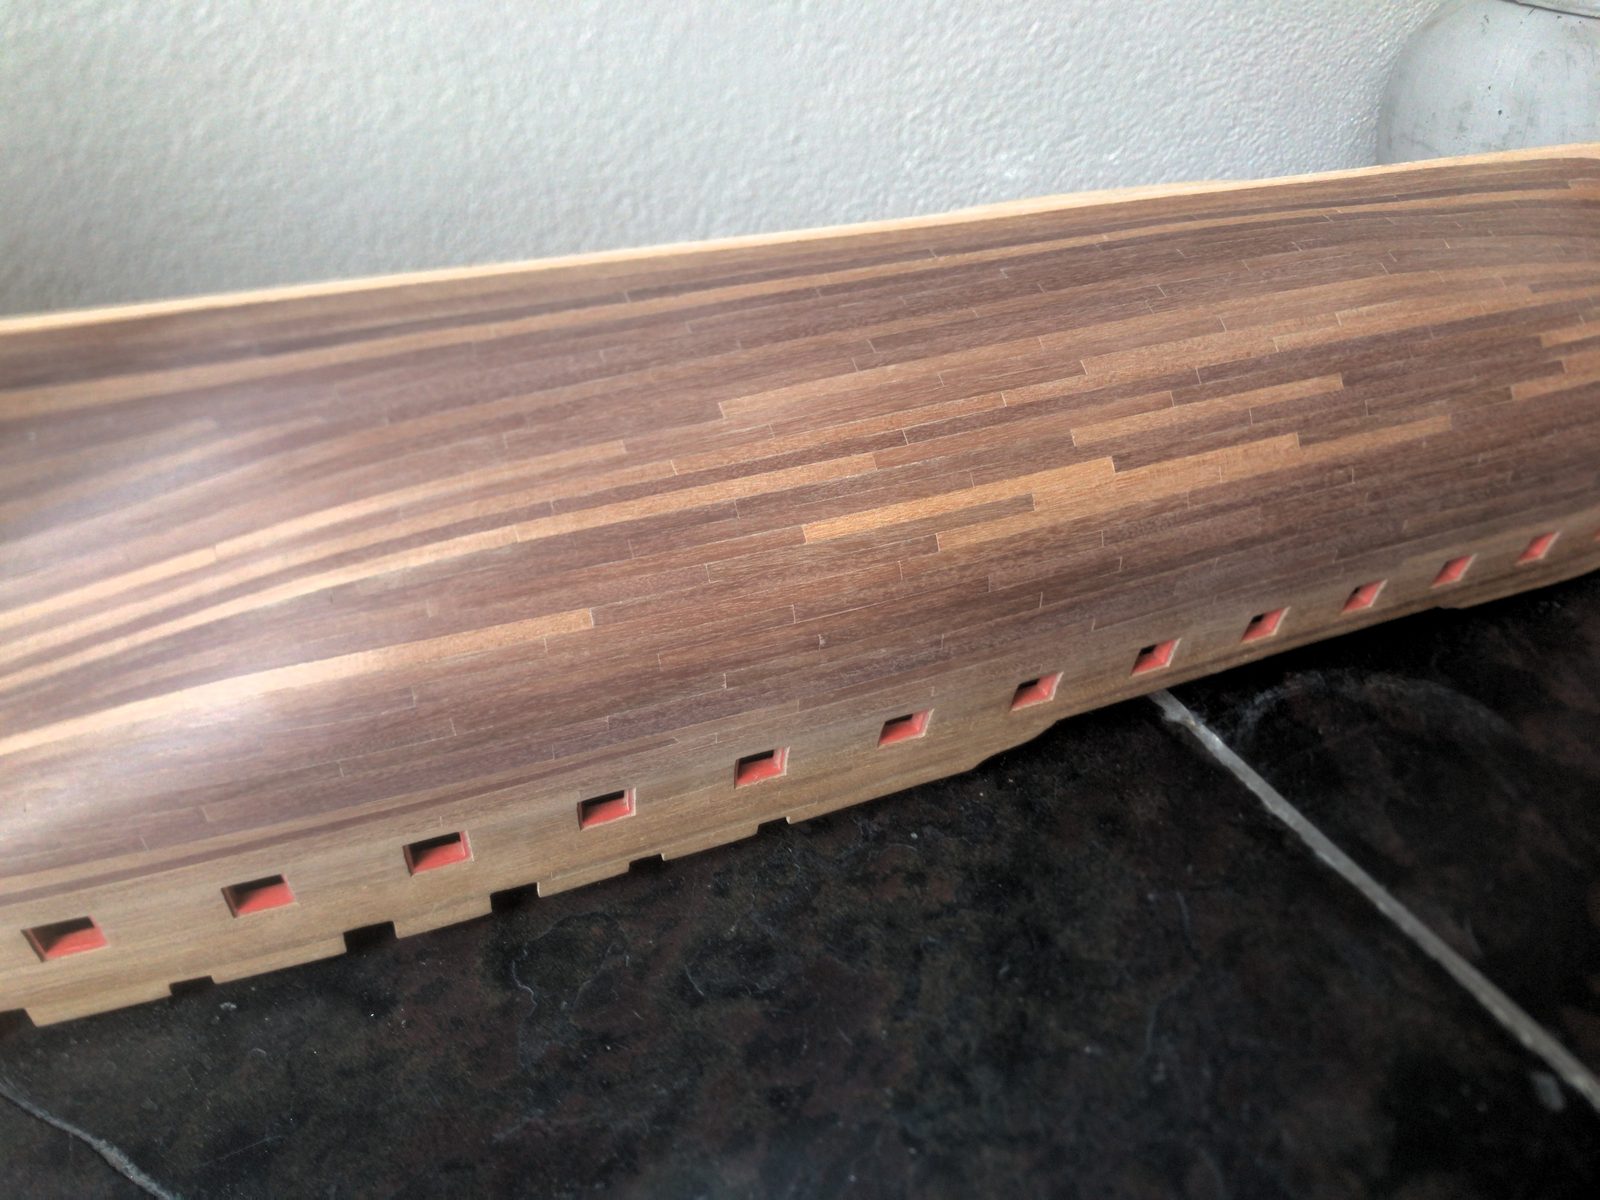
The stealer at the sternpost on the starboard side; hard to see because both planks are the same colour. 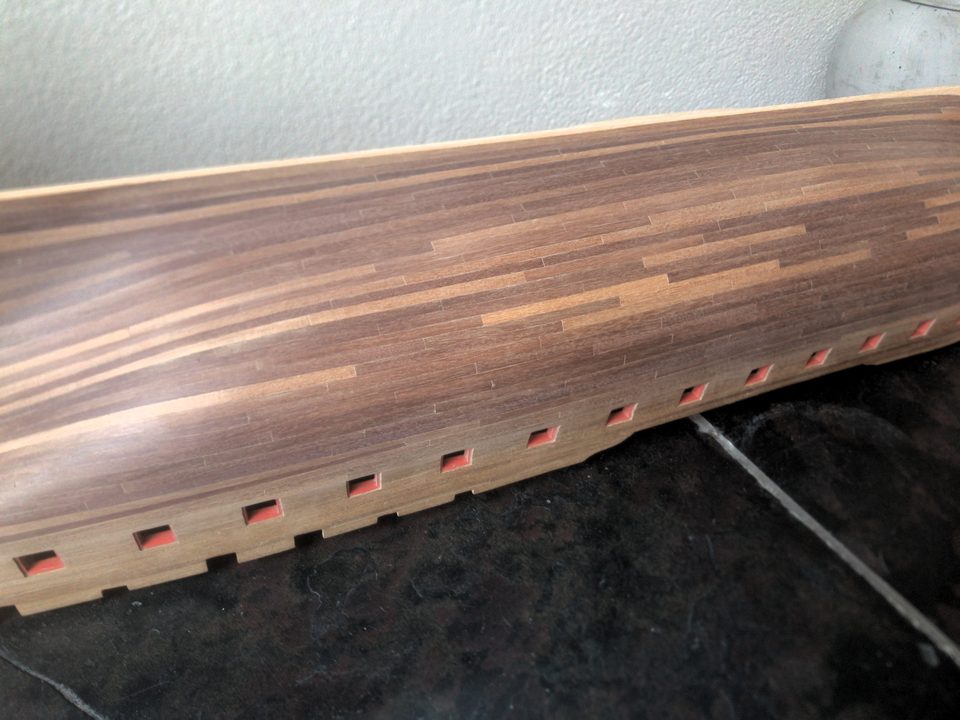
Detail of the four stealers on the port side at the sternpost. Watch out: On the port side four stealers were still needed to get everything closed. With the new division one stealer was enough on the starboard side.
Below the waterline the copper plates go on later. So do not fill every seam there with sanding dust and glue as you did above the wale, because none of it will be visible. Do sand the hull smooth.
The underwater hull on the port side from the side: closed, but the seams here have deliberately been left unfilled.
Result
The port side is closed with four stealers at the sternpost; on the starboard side, with four belts and seven planks per belt, it worked out better, with a single stealer. Next time we divide the hull right at the start and not halfway through.