Deck planking with caulking seam and four-butt shift
Cut the planks to length, apply the caulking seam with an oil-based pencil, scrape and mark them, and lay them in a four-butt shift from the king plank out to the margin plank.
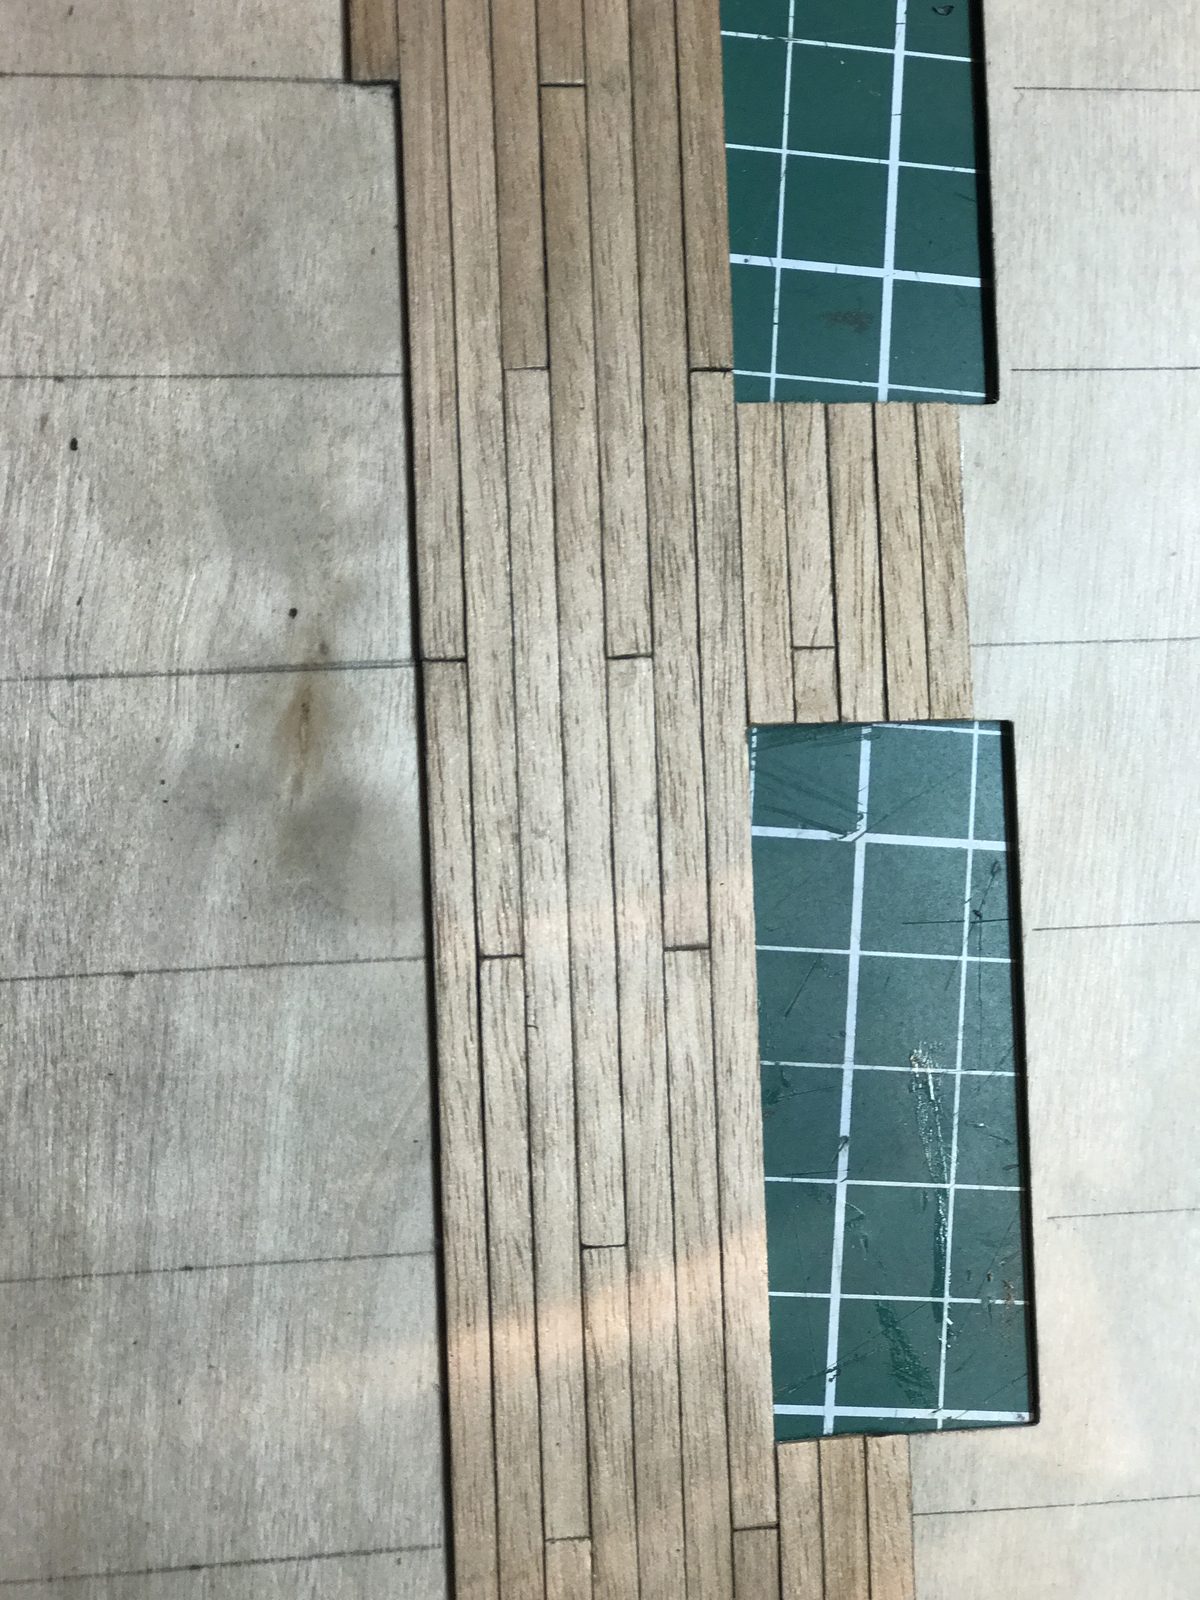
What you need
- Pitt oil base pencil (oil-based pencil)
- new, razor-sharp hobby knife blade
- cutting mat with ruler
- double-sided tape
- PVA glue
- 1 x 4 mm tanganyika strips, pre-sanded
Dimensions
- planks 10 cm long (about 6.4 m at 1:64; the manual says 150 mm for the upper deck, 20.6)
- tanganyika 1 x 4 mm
- well over 225 planks for the gun deck
- king plank in the middle a quarter wider
- Time
- several evenings
- Difficulty
- moderate
- When in the build
- Phase 2,
- From the log post
- The first planks and the joggling · forum
Before you start
The margin plank is on the deck and the strips have been pre-sanded with 320 grit. Count on well over 225 planks for the gun deck, so make them in batches.
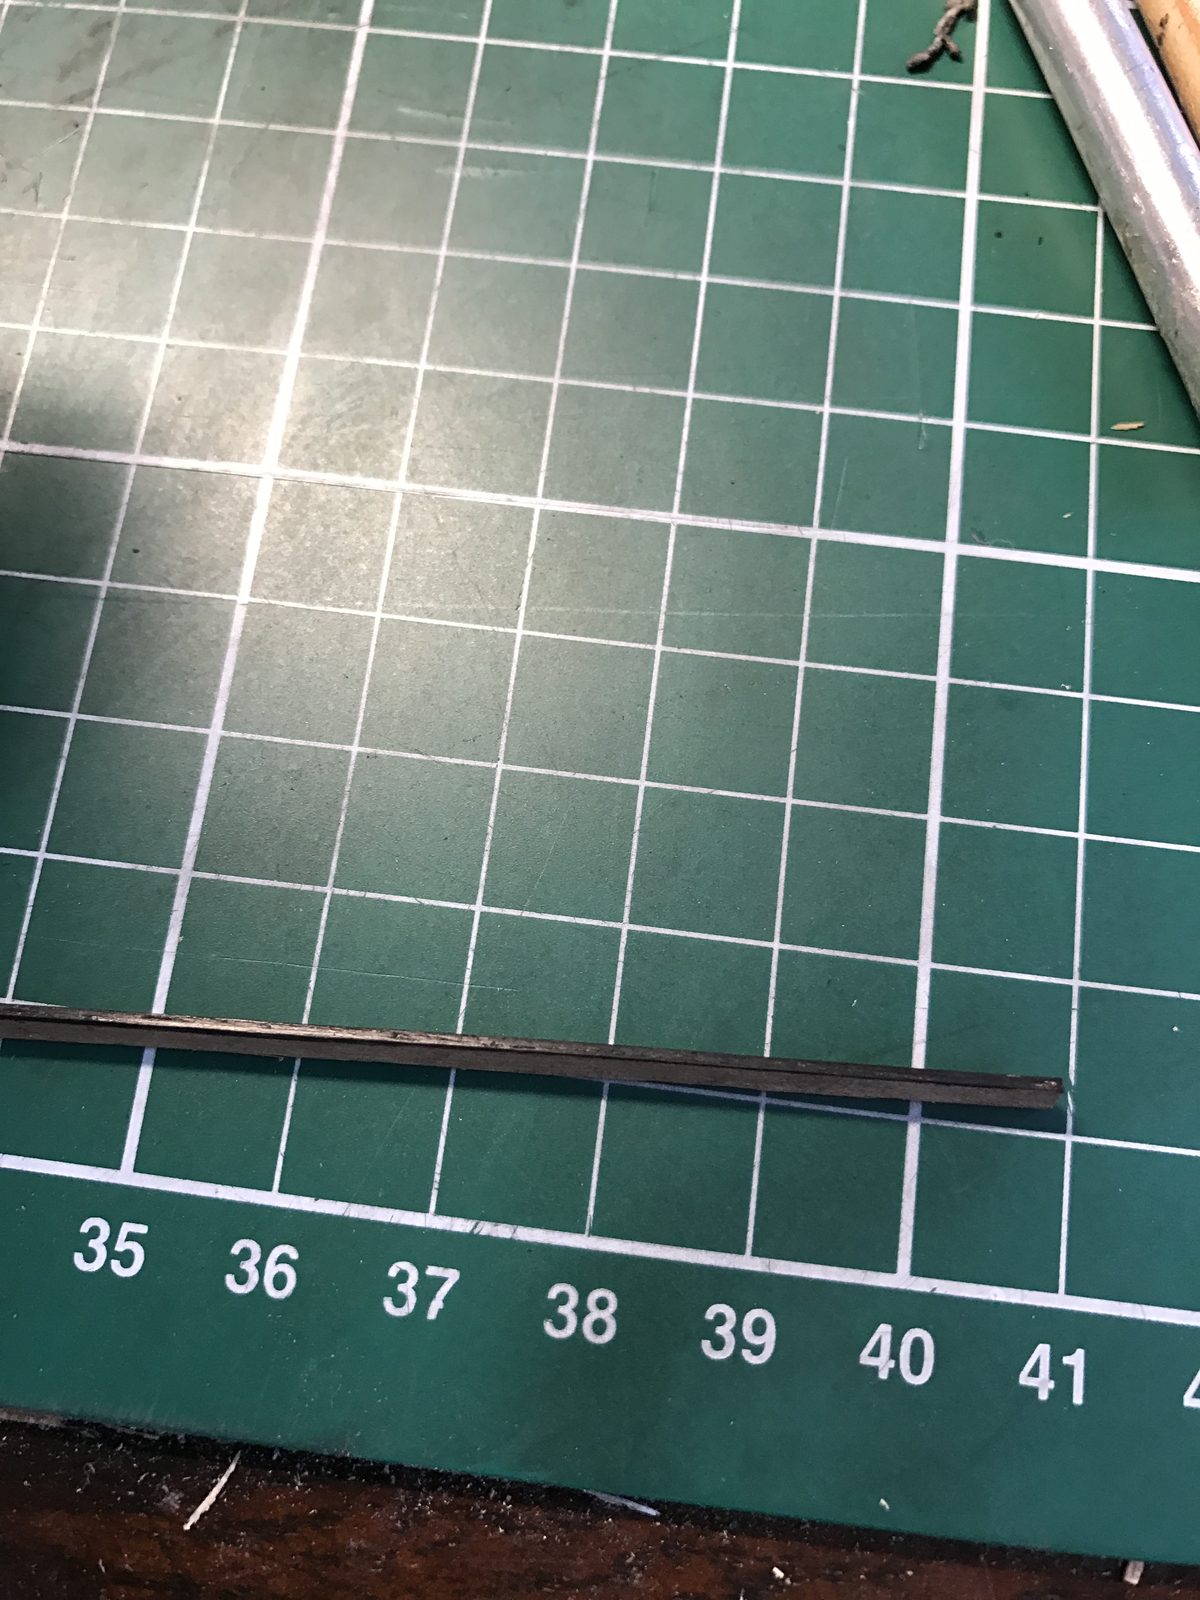
Cut the strips to 10 cm. That corresponds to a plank of about 6.4 m at 1:64, roughly what a tree trunk yields in straight plank. Measure on the cutting mat and cut square.
10 cm per plank (the manual keeps 150 mm for the upper deck, 20.6; we followed Mondfeld)
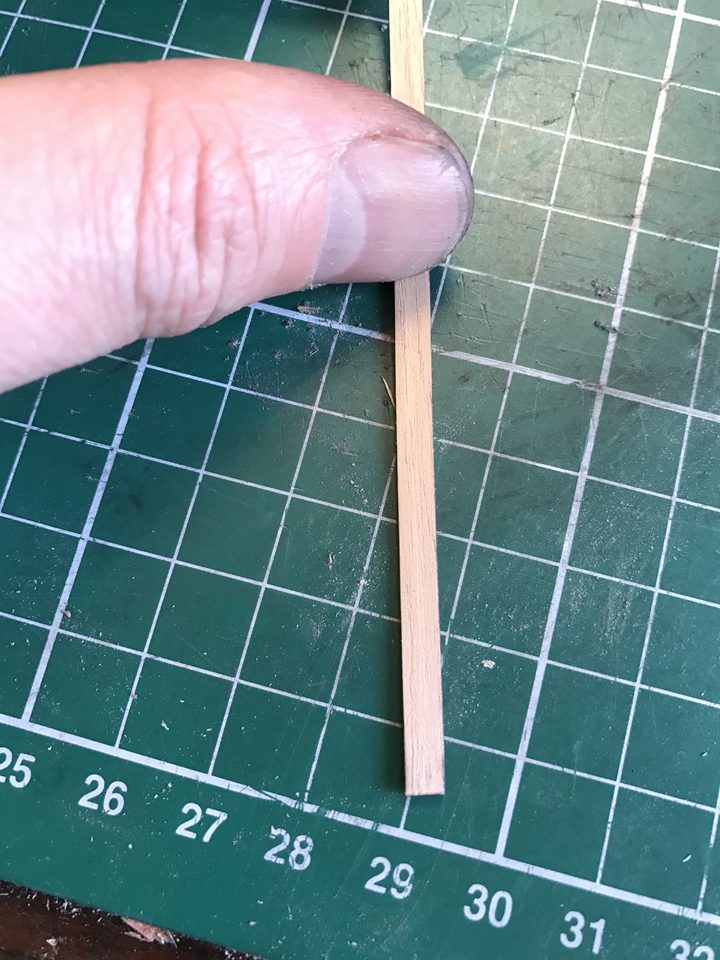
Measuring a strip against the ruler of the cutting mat. Blacken the sides of each plank with the oil-based pencil. It works well and comes out very black. Do it over the full thickness, so that the seam remains visible when you sand or scrape the deck later.
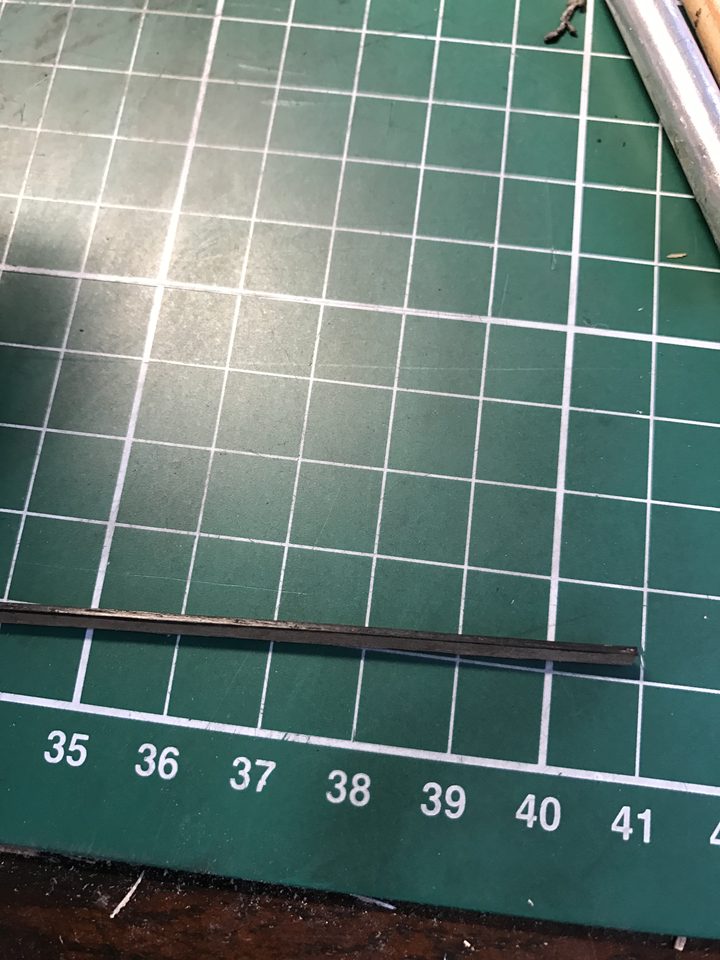
The caulking seam, applied with the oil-based pencil. Tip from *Hans*: If you blacken the side edges with a pencil the side is black over its full thickness; you can sand right down and the caulking seam remains visible.
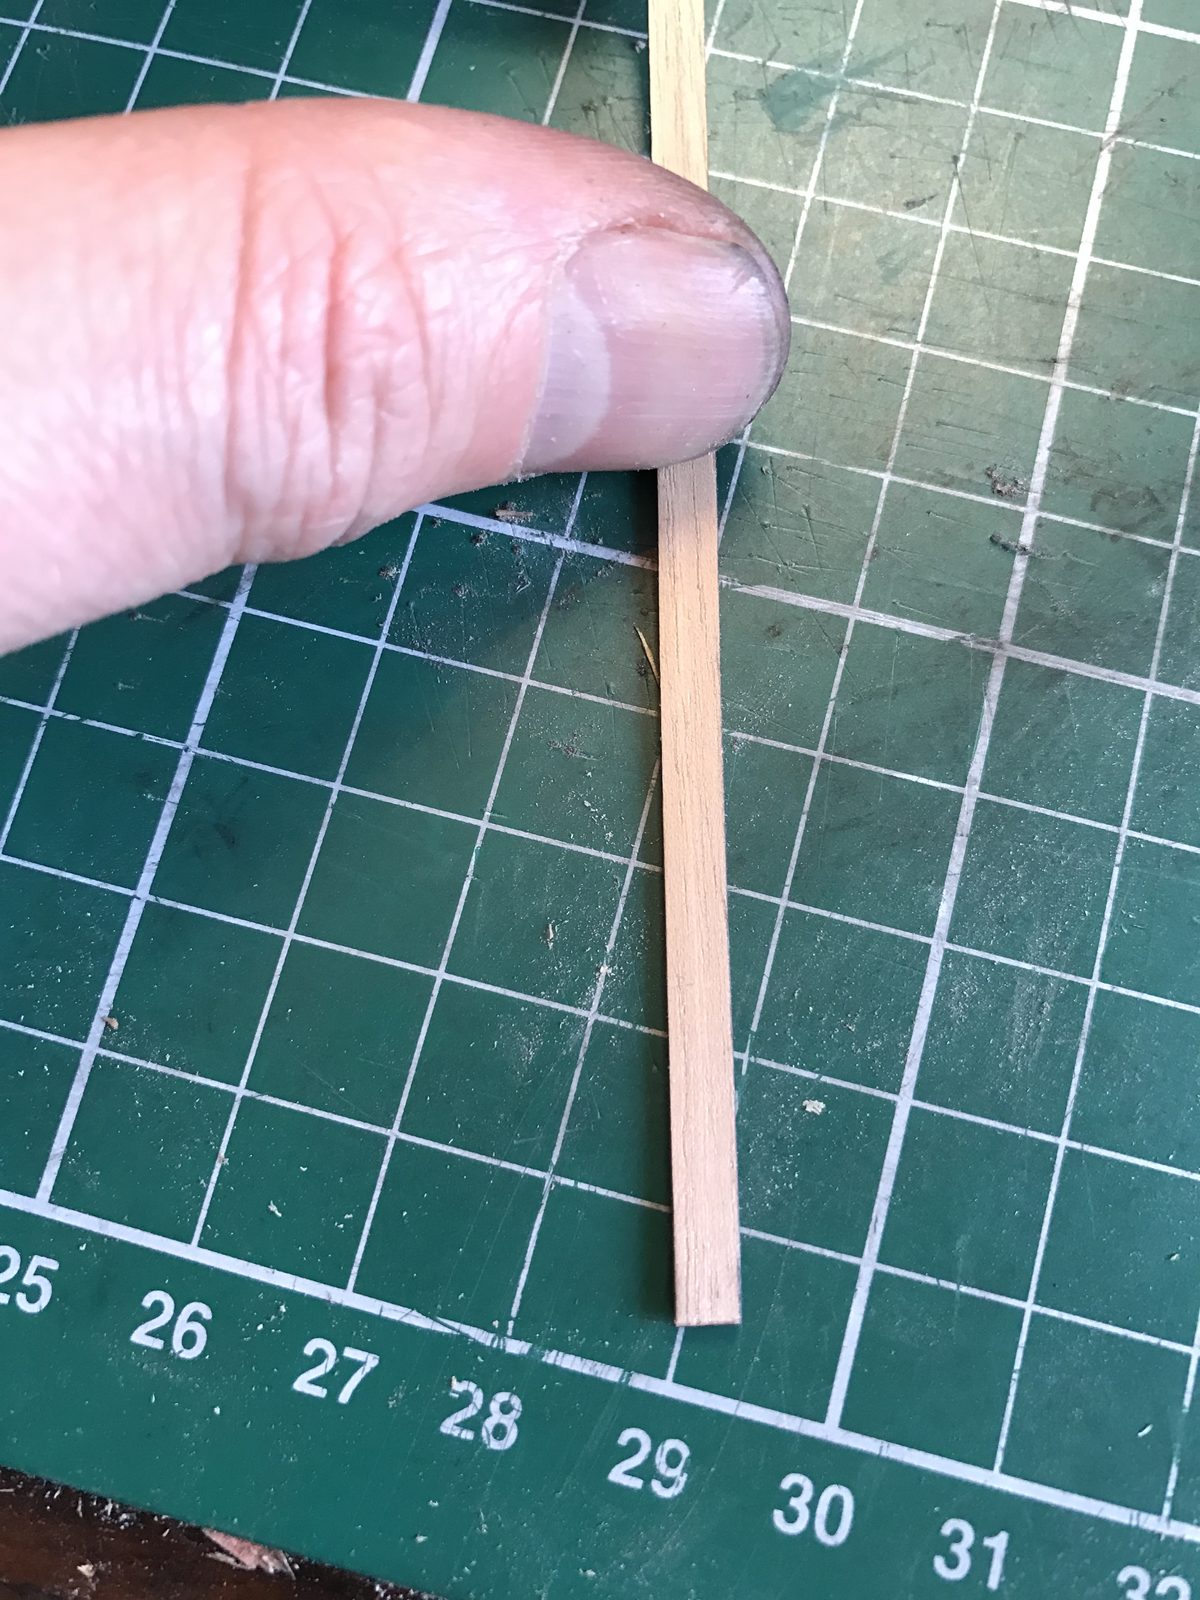
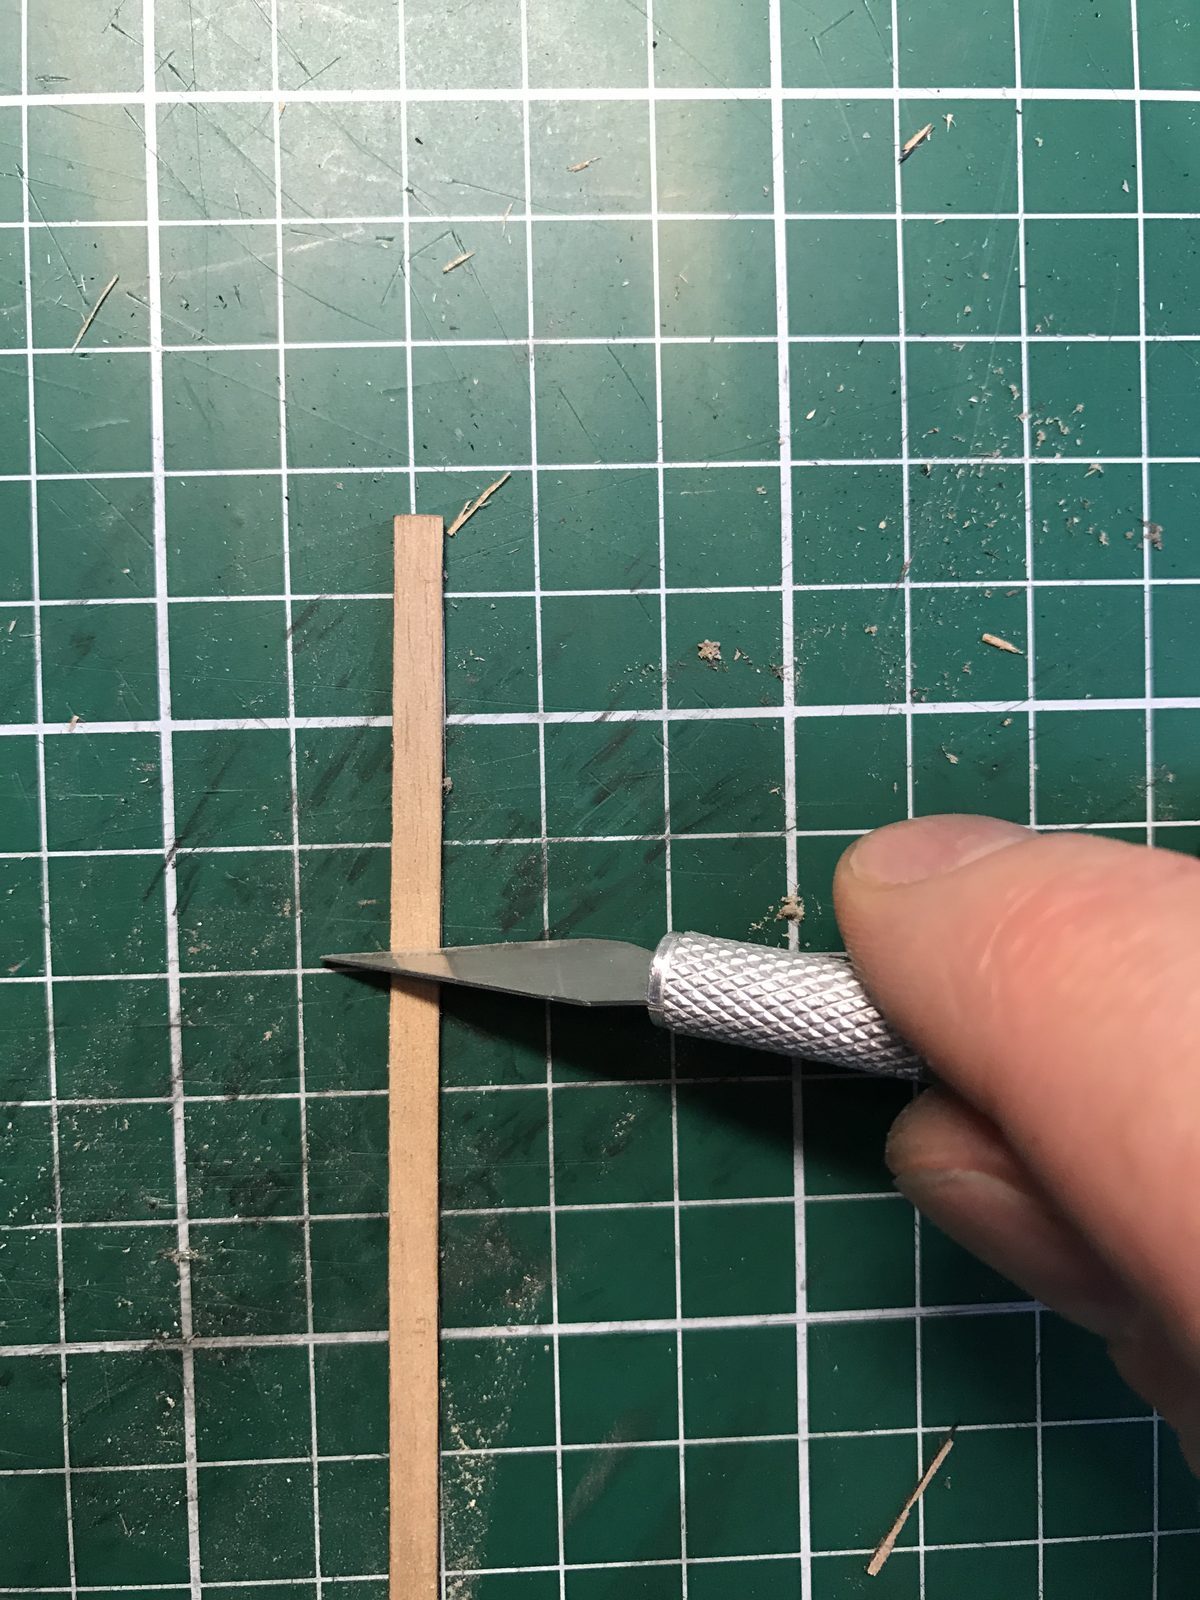
Scrape the top face of the plank smooth in advance with a new, razor-sharp blade. You feel at once which way the grain runs: against the grain the blade raises splinters.
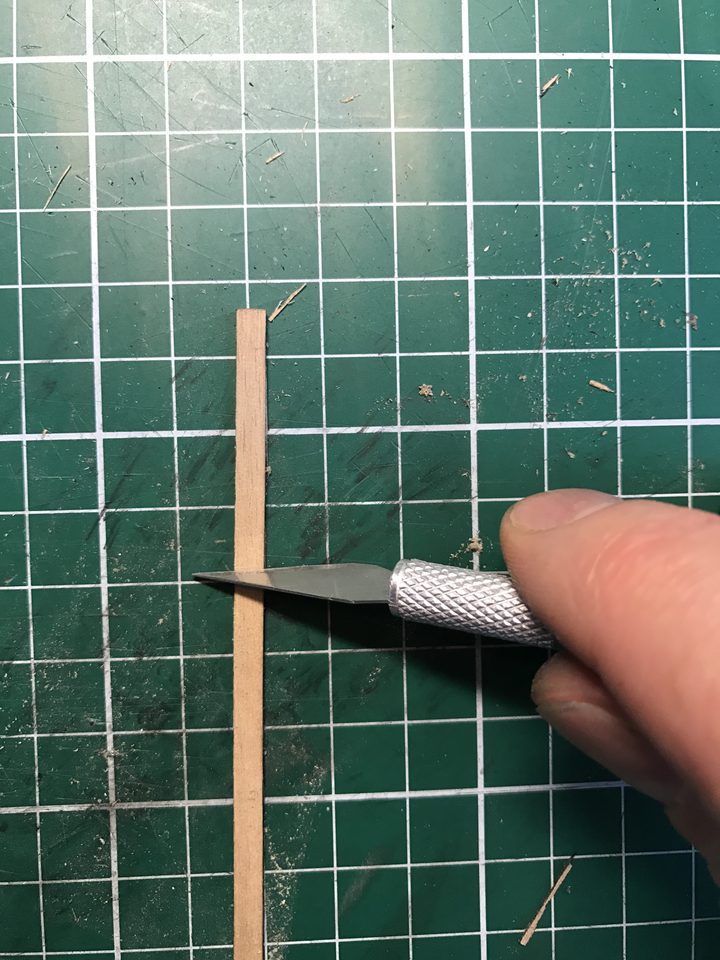
Scraping with a new blade: testing the grain and smoothing the plank. Put a mark on each plank so that you know which is the front and which way the grain runs. Lay all the planks with the grain the same way. When you scrape the deck once more later on, nothing gets damaged.
Fix the margin plank temporarily with double-sided tape, so that it comes off easily. Start in the middle of the deck with the king plank, a quarter wider than the ordinary planks, and work outwards from there.
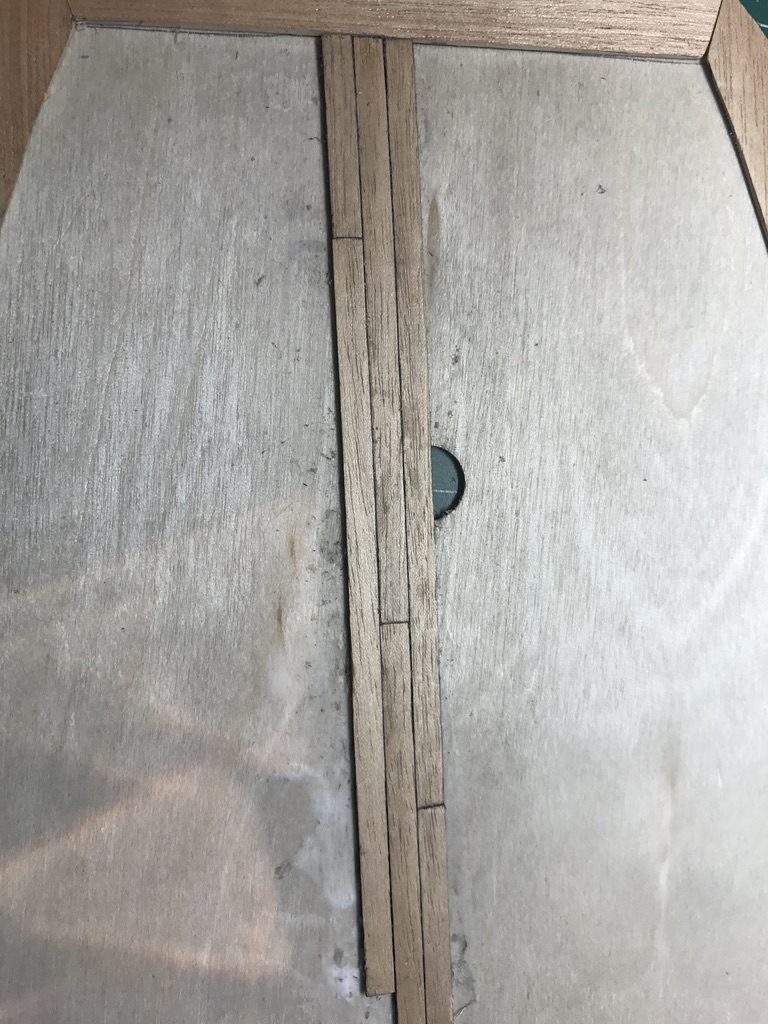
king plank a quarter wider
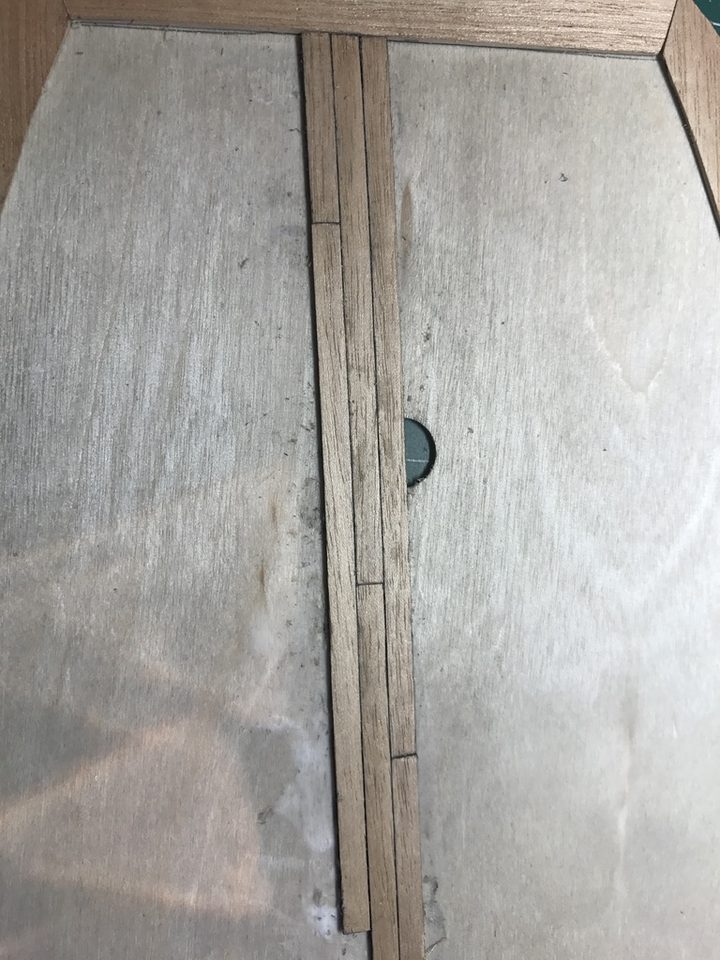
The first row down the middle of the gun deck, past the openings for the masts. Stagger the butt ends so that a seam only returns to the same place after four rows. With a trial pattern of every fourth strip the ends are 25 mm apart; according to the forum that looks realistic for an English ship.
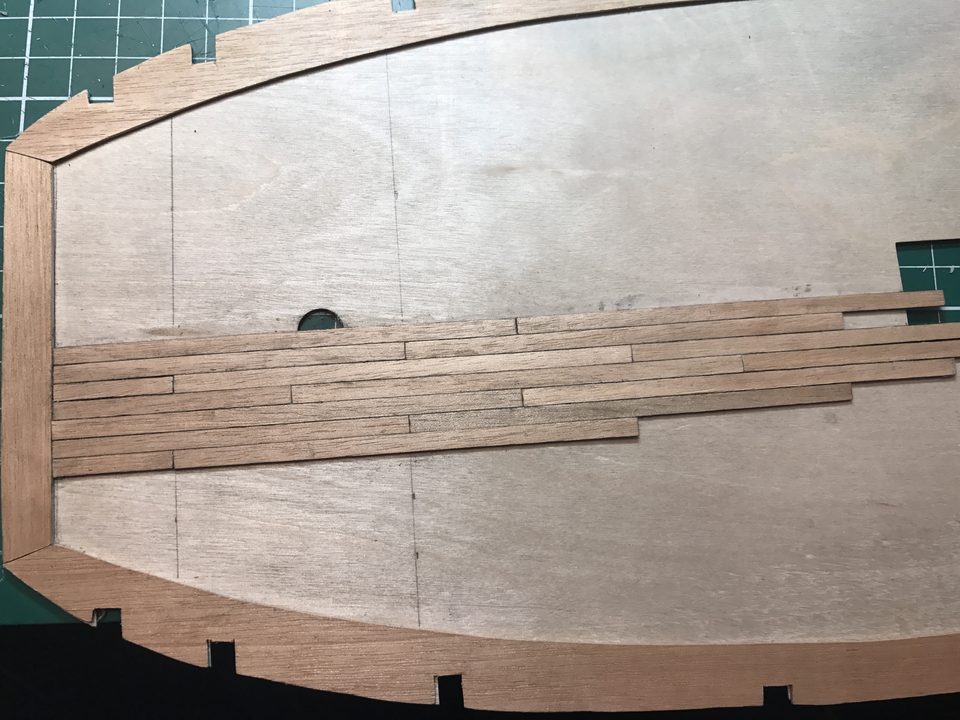
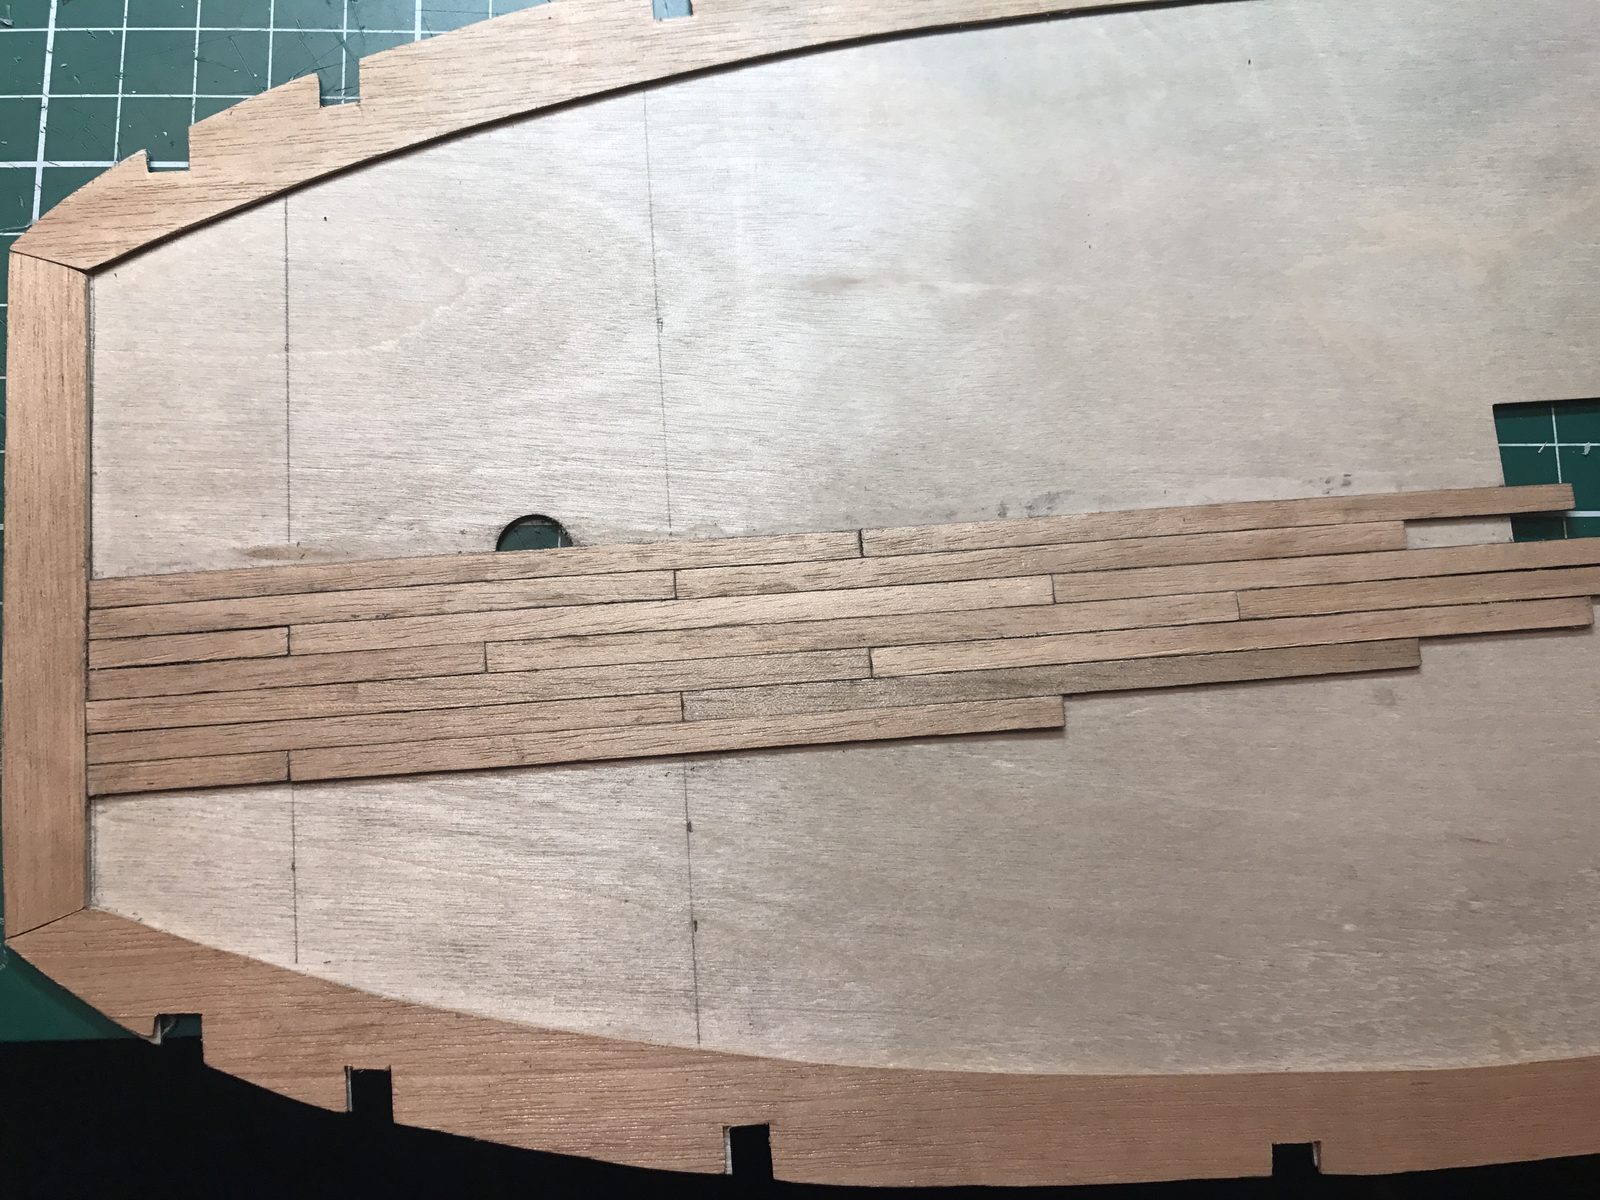
The first planks on the deck against the margin plank, with staggered butt ends. Tip from Pingu57: This is what they call a four-butt shift.
Start joggling as soon as the angled edge of the plank that meets the margin plank gets longer than the plank width. Stop as soon as the angled part gets too long: so only at the bow and sometimes at the stern; amidships you simply lay the plank tight against the margin plank. Symmetry by eye is good enough, the strips are not all identical by nature either.
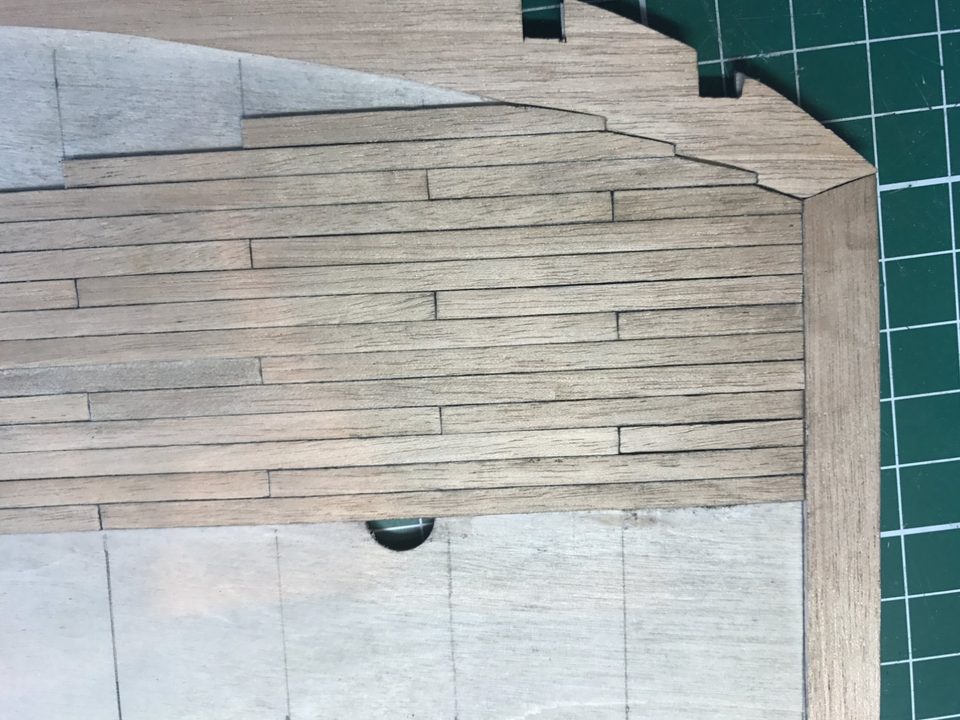
The start of the joggling at the bow. Tip from pietsan: When to stop joggling? When the angled side of your plank starts getting too long. So only at the bow and sometimes at the stern too.
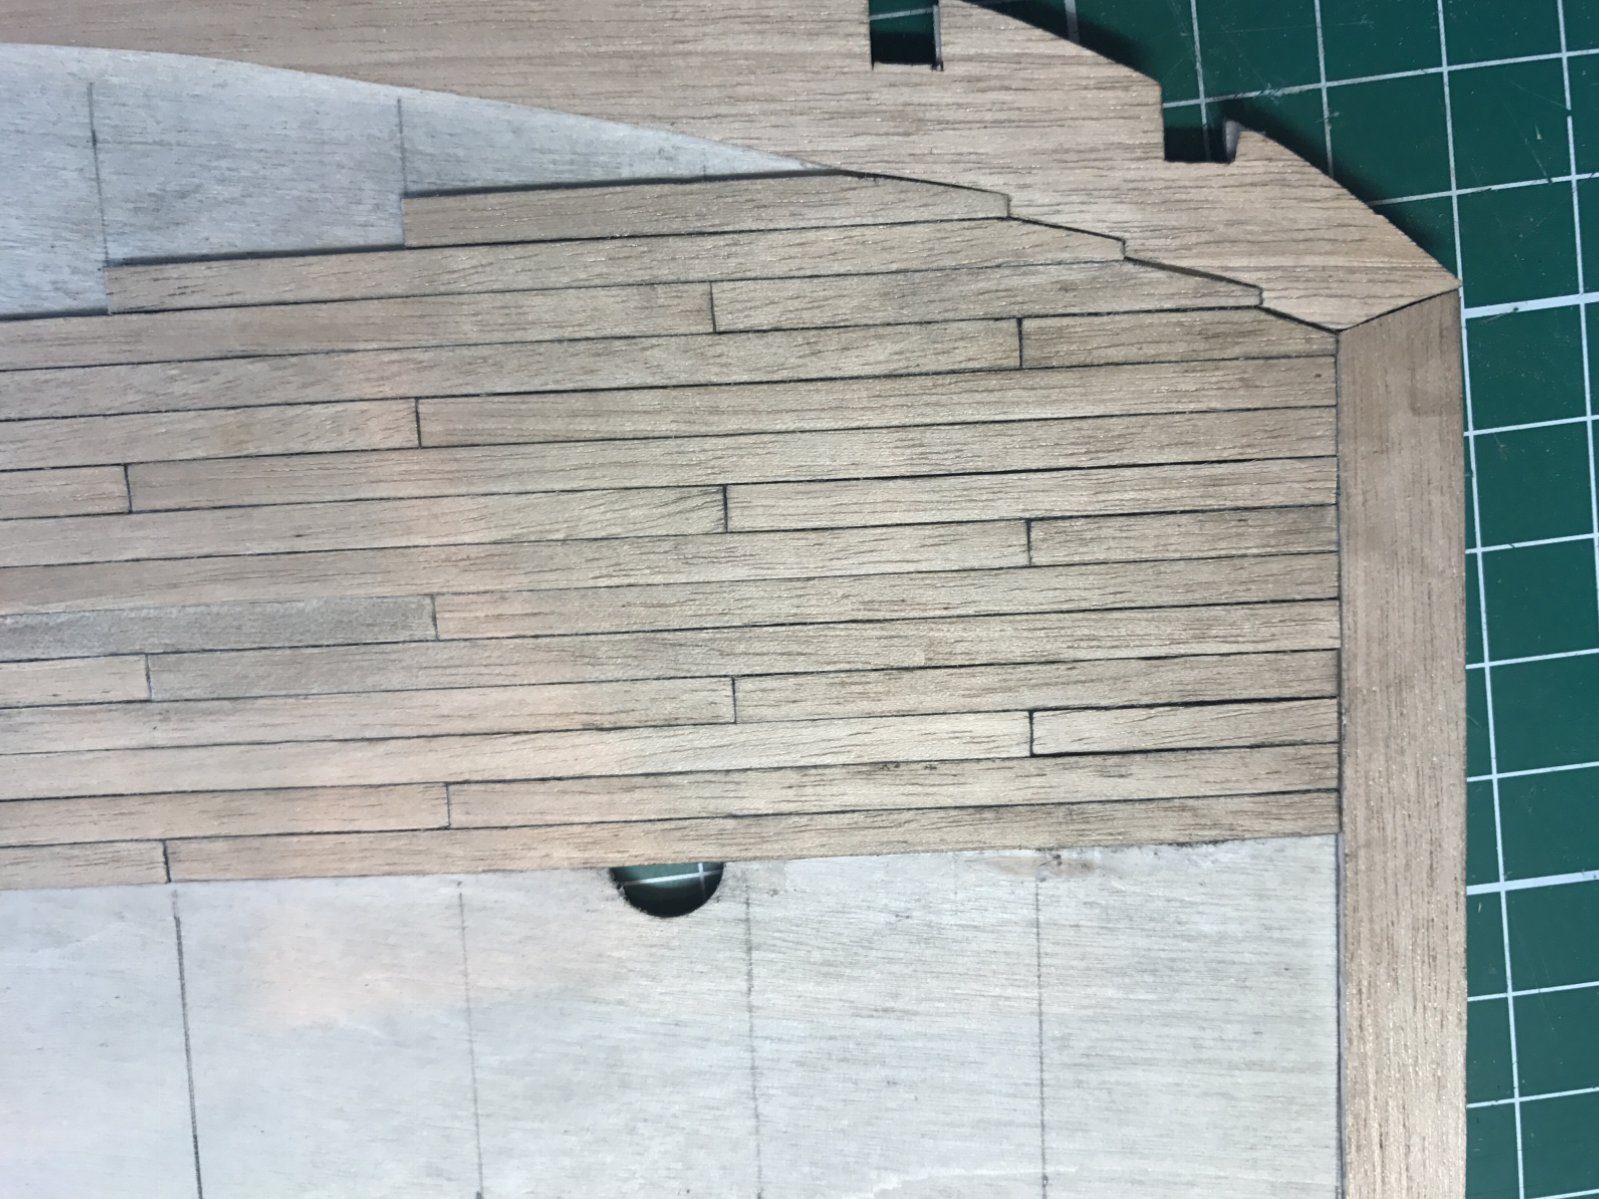
Result
After one weekend the first planks were down neatly and the joggling at the bow went better than feared. In hindsight the caulking seam was not equally thick everywhere, because we cut all the planks in advance; how we solved that is in the 'plank by plank' guide.
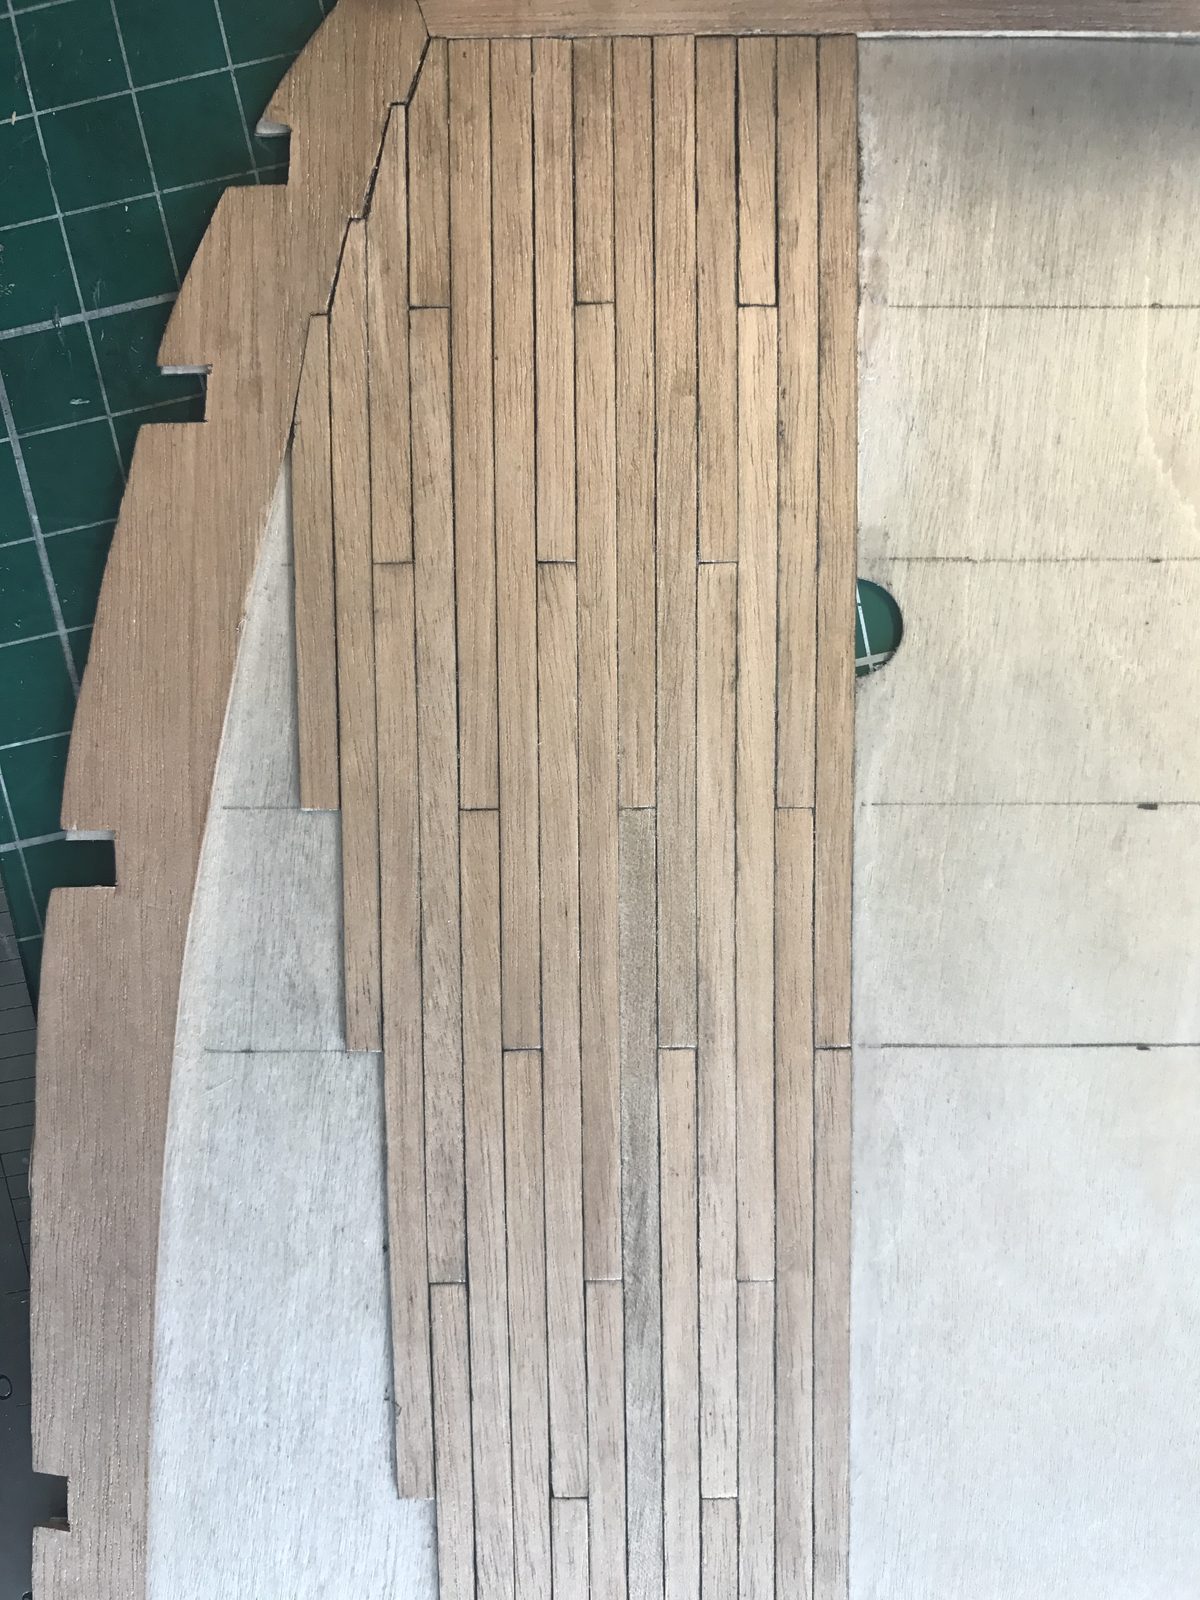
Problems met with this technique
The 1x4 mm tanganyika strips splinter when the caulking seam is applied; some strips are rougher or narrower, and the rasp leaves scratches in the deck. Sort the strips beforehand, lightly chamfer (break) the edges, blacken the edge over its full thickness and pre-sand the strips with 320 grit. (Tips from Pingu57, *Hans*, pietsan) to the register
In the same series: Decks
- Pre-sanding deck strips with 320 grit
- Making the margin plank and joggling the deck planks
- Deck planking with caulking seam and four-butt shift
- Deck planking plank by plank
- Planking the upper deck off the ship with thread as caulking seam
All how-tos · Deck planking: margin plank, joggling and caulking seams