Deck planking plank by plank
Glue each plank separately and only cut the next one off the long strip once the previous one is fixed, so that the caulking seam runs on and the planks stay the same width.
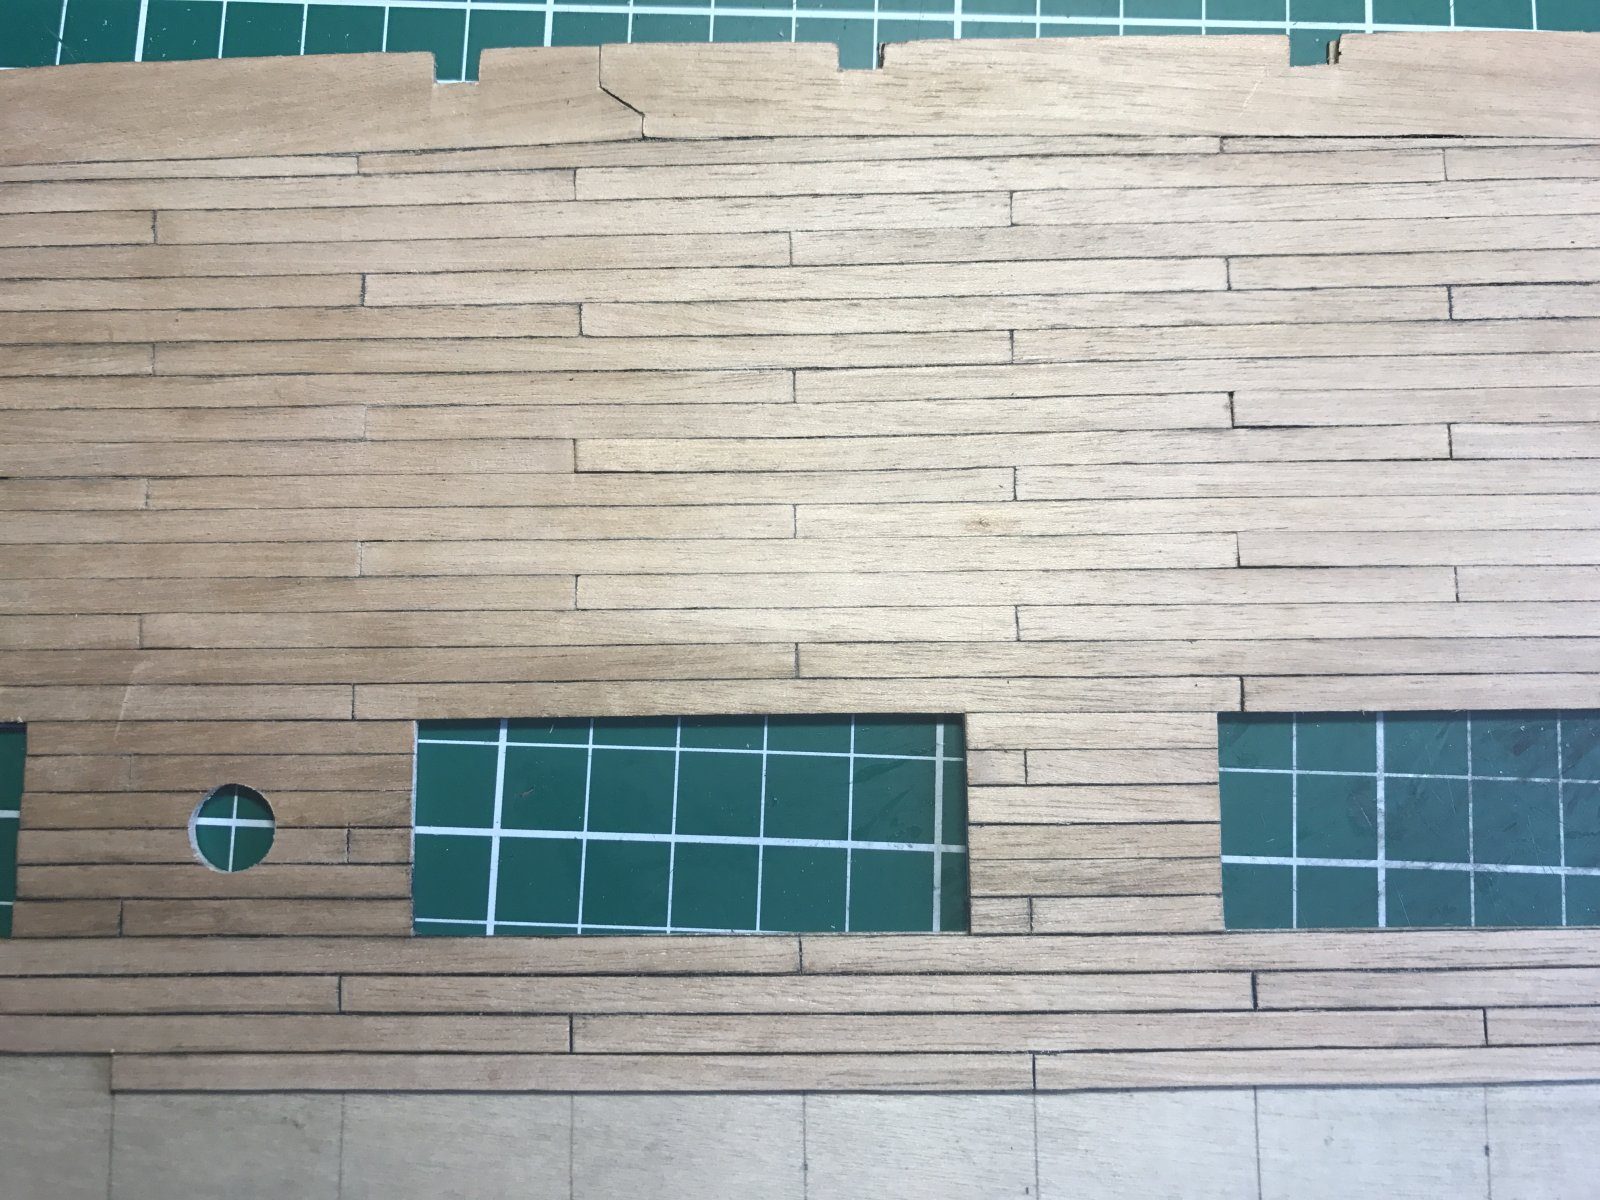
What you need
- hobby knife
- PVA glue
- oil-based pencil
- sandpaper
- 1 x 4 mm tanganyika strips, pre-sanded
- Time
- a weekend
- Difficulty
- moderate
- When in the build
- Phase 2,
- From the log post
- First half done and a better method · forum
Before you start
The margin plank and the first rows are down; the strips have been pre-sanded and the sides blackened. This guide improves on the method in 'Deck planking with caulking seam and four-butt shift'.
Look at the first half of the deck in raking light. Ours had inconsistent caulking seams, although all the sides were blackened equally, and there was unevenness in the deck. The cause: all the planks cut to length in advance, then everything glued and pressed hermetically tight. As a result the planks weren't always the same width and the caulking seam was practically squeezed away.
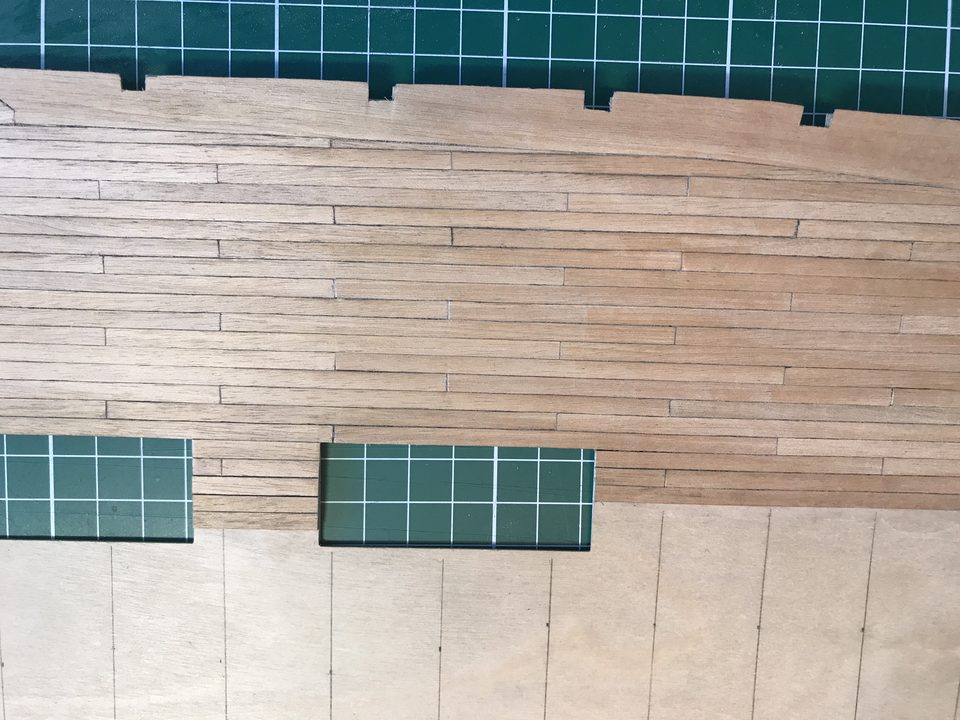
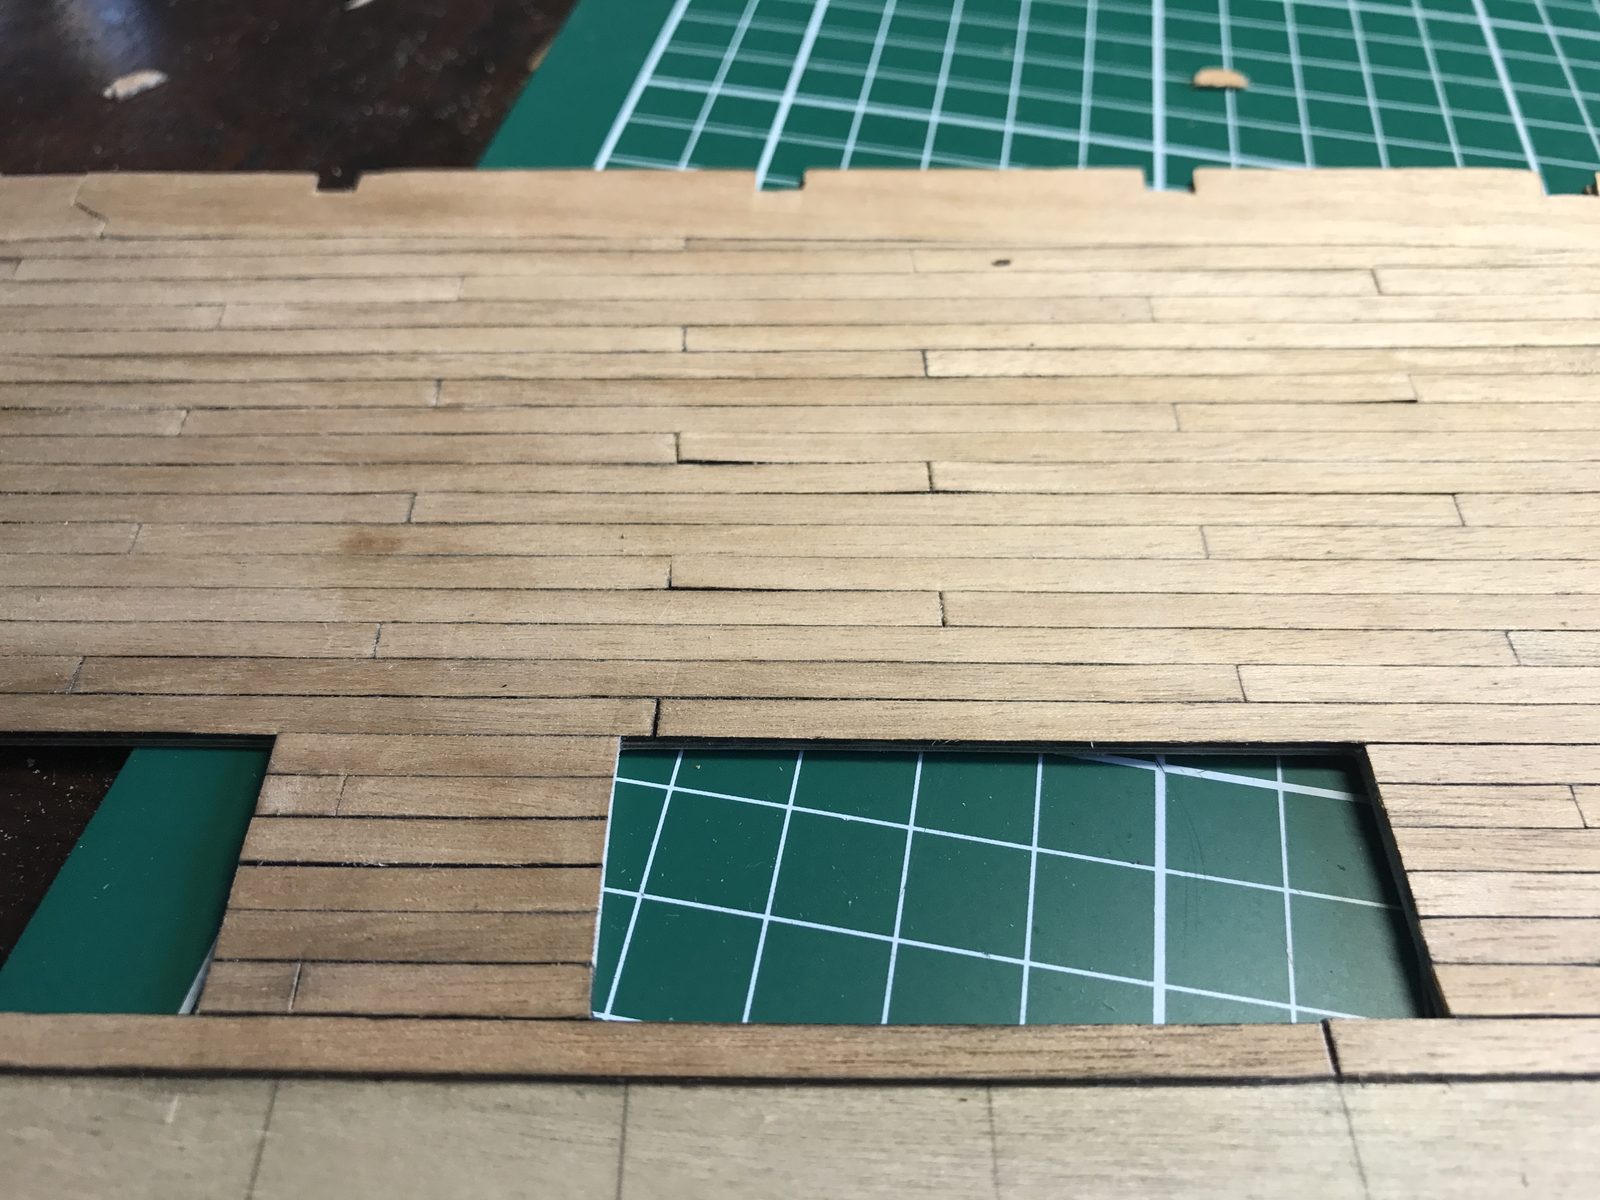
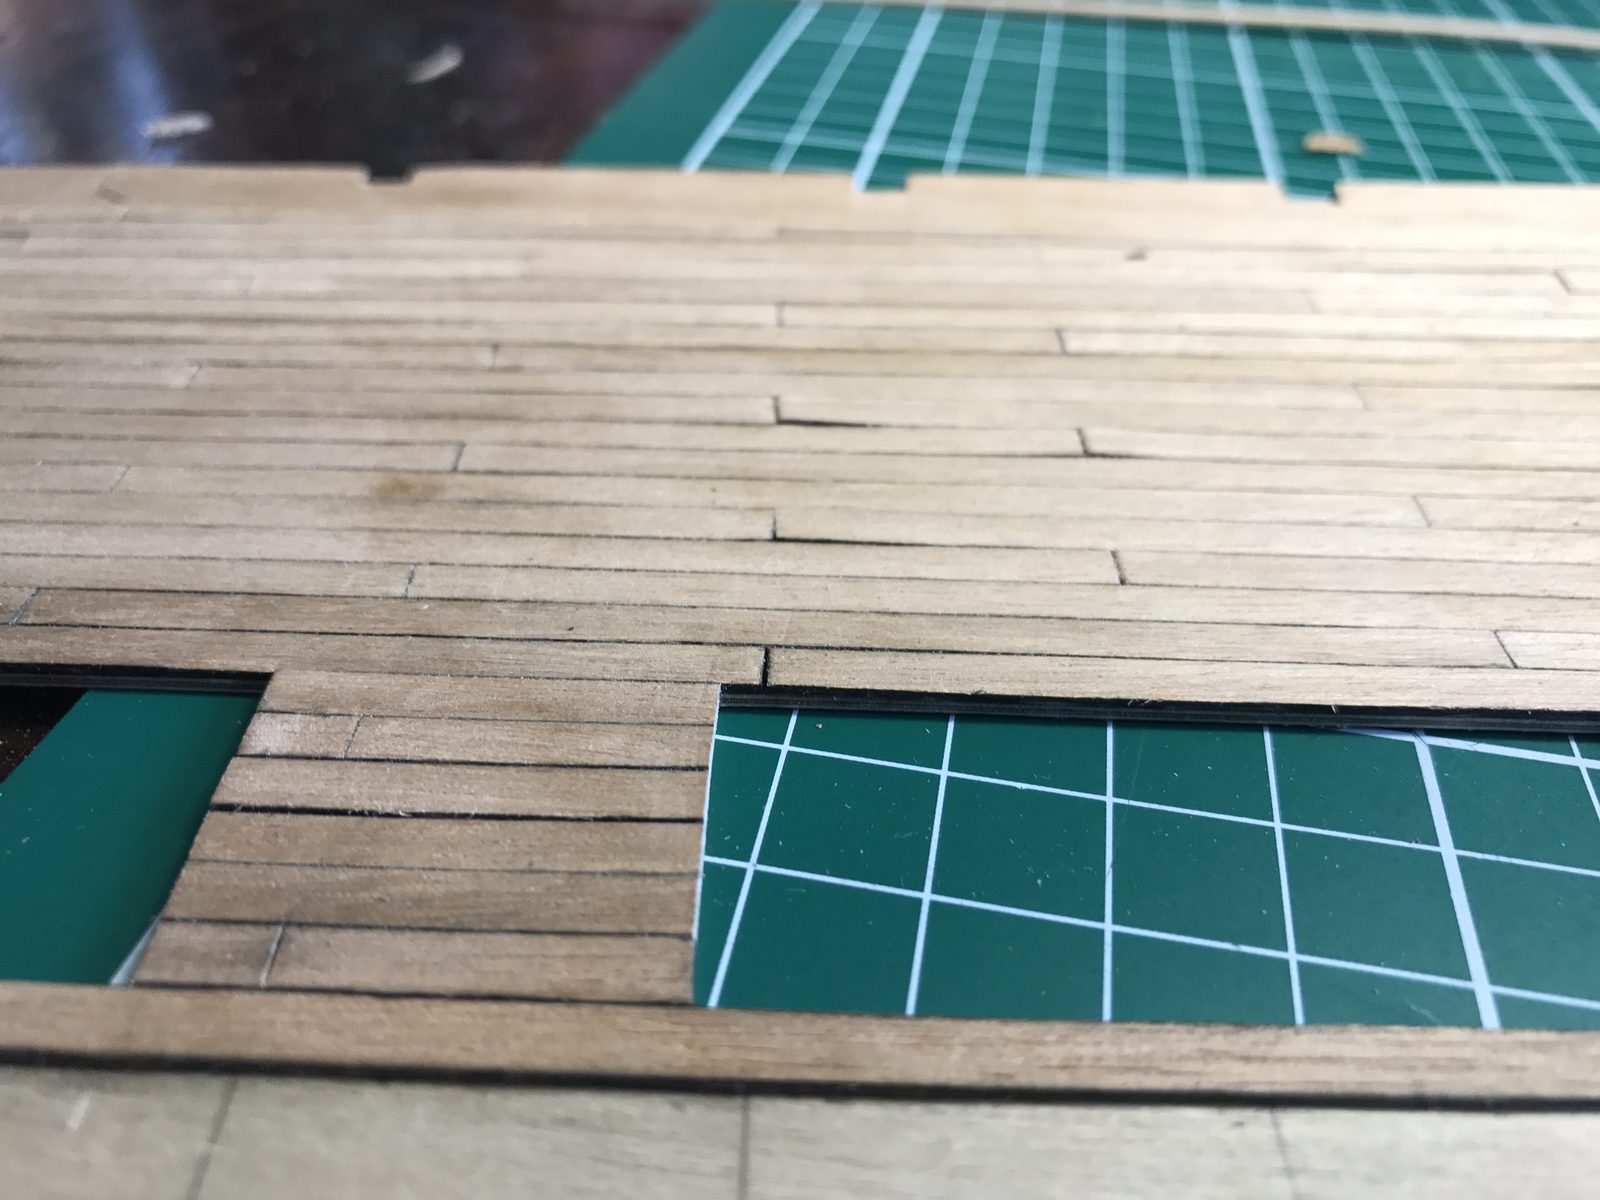
Amidships around the hatches with the old method: the caulking seam is irregular. 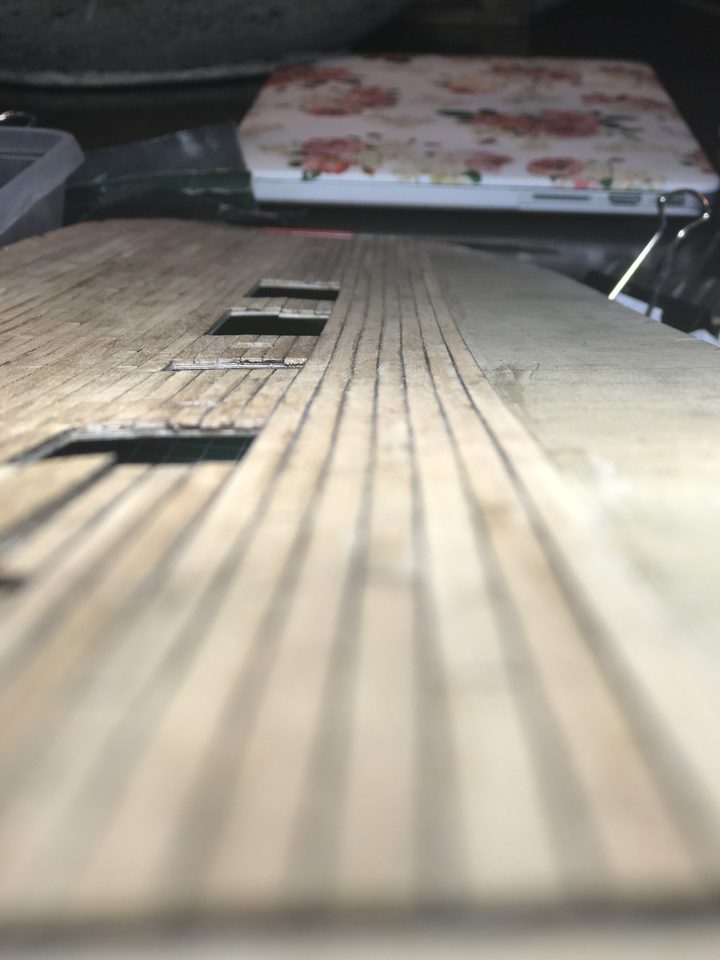
Raking light shows the unevenness in the deck best. Tip from pietsan: I avoid unevenness by sanding the strips before I fit them. Then they end up practically the same thickness and smooth, and the caulking seams more even.
Watch out: Don't be too critical either: after sleeping on it Eduard was happy with the first half after all. Little of the gun deck will be visible later.
Make one plank: sides blackened, cut to length, top face scraped. Glue it very carefully against the previous row, without pressing it hermetically tight. That way the caulking seam runs on exactly and becomes slightly thicker and more visible.
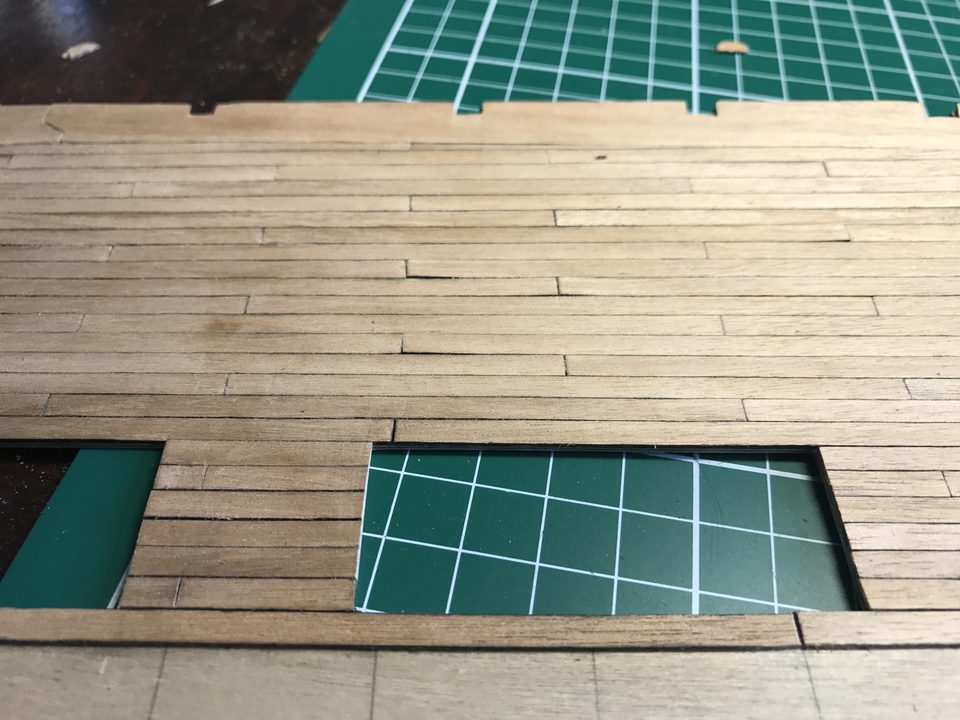
The new rows along the hatch: the seam runs on and is the same thickness everywhere. Watch out: On the first half Eduard pressed everything hermetically tight. Then the caulking seam almost disappears.
Only cut the next plank off the long strip that the previous plank came from once the previous one is in place. That way the planks are always the same width as their neighbour and the butt end always fits properly too.
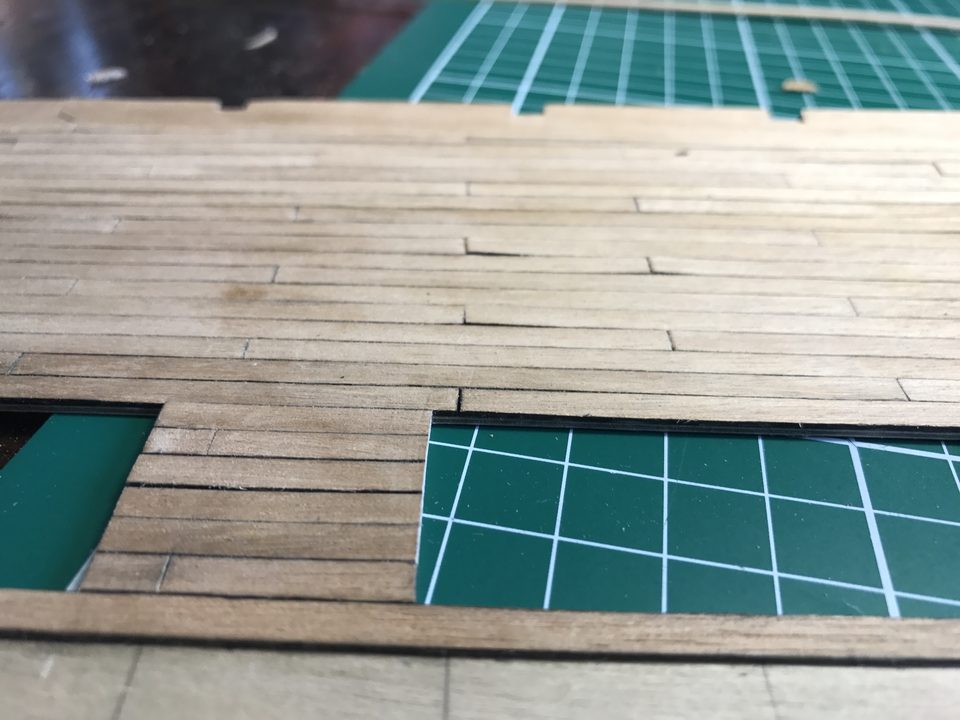
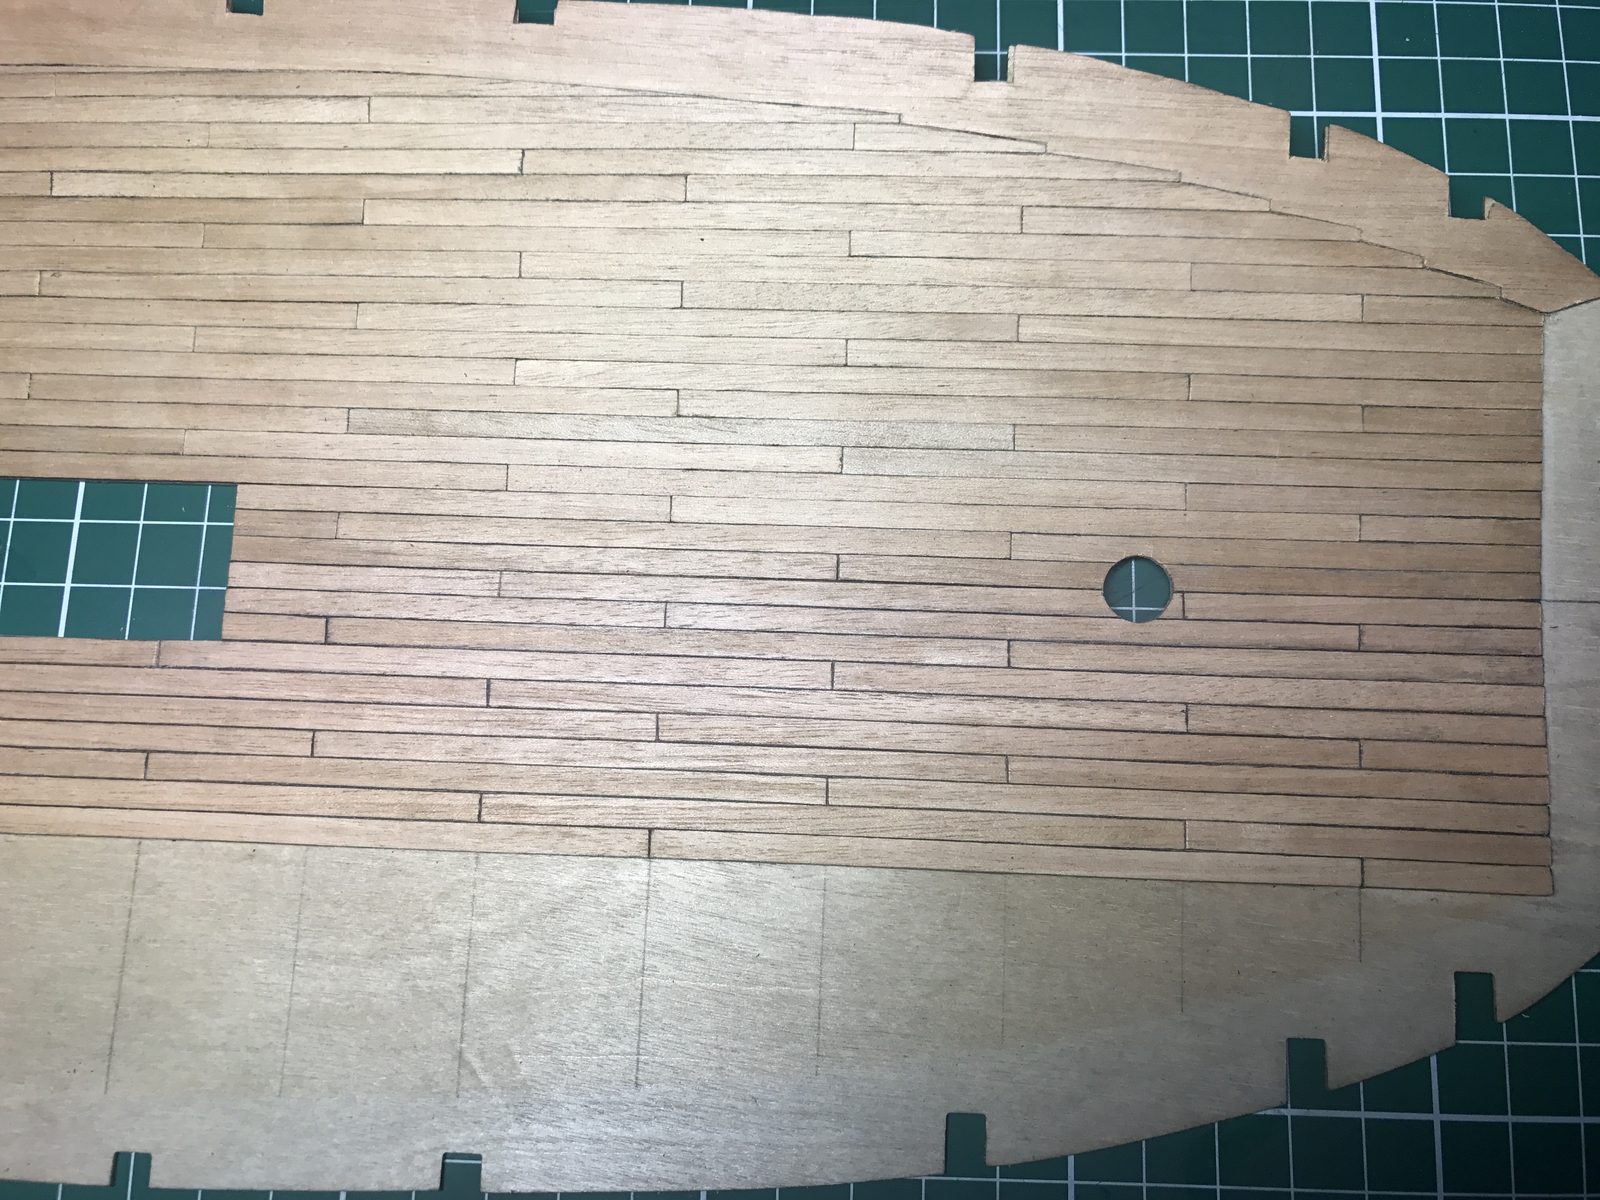
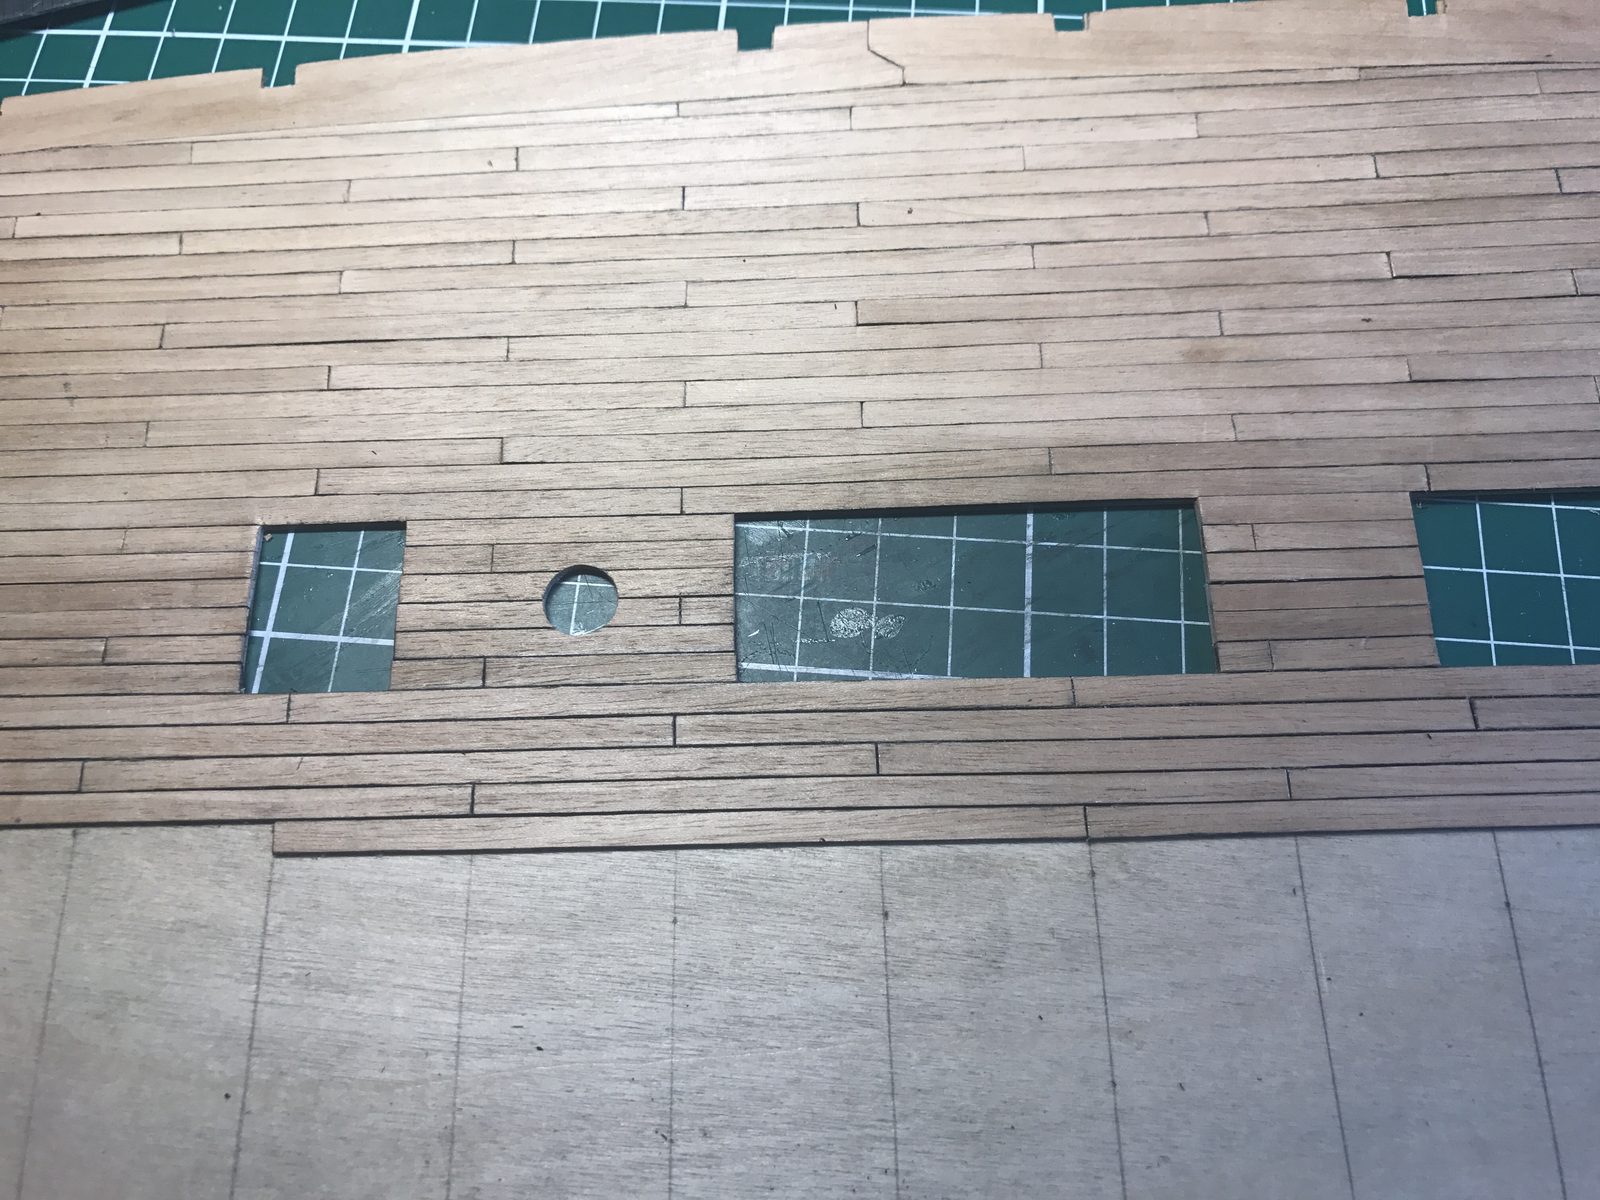
Filled in row by row from the long strip; the butt ends meet properly. Compare the new rows with the old. The bottom rows in the photos are the new ones, the top rows the old. The difference in the caulking seam is immediately visible. Finish the second half this way.
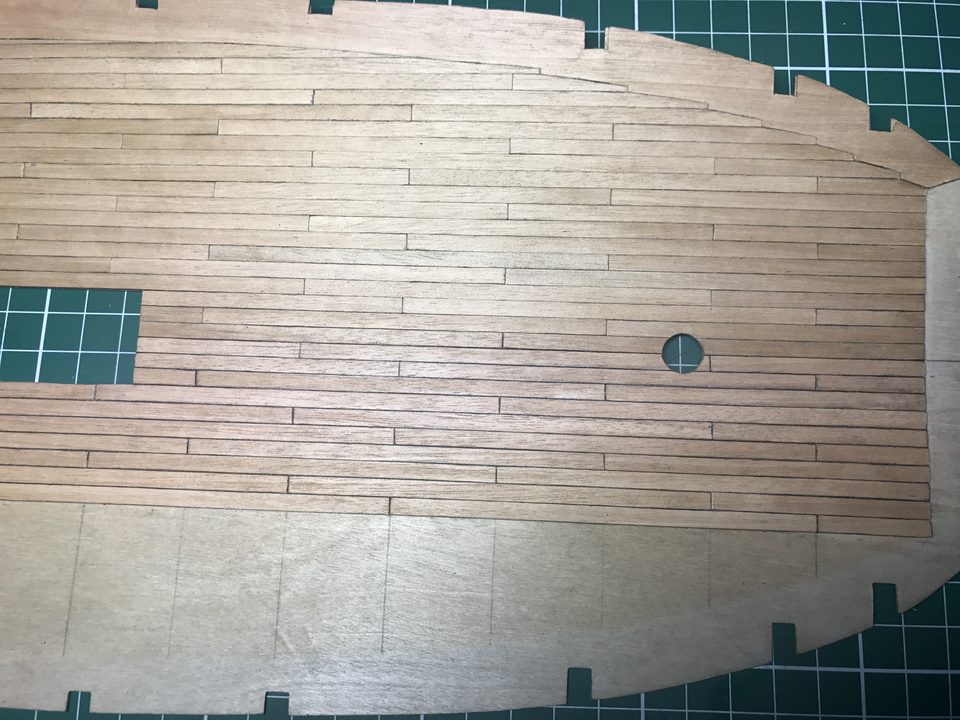
Old and new rows side by side at the bow.
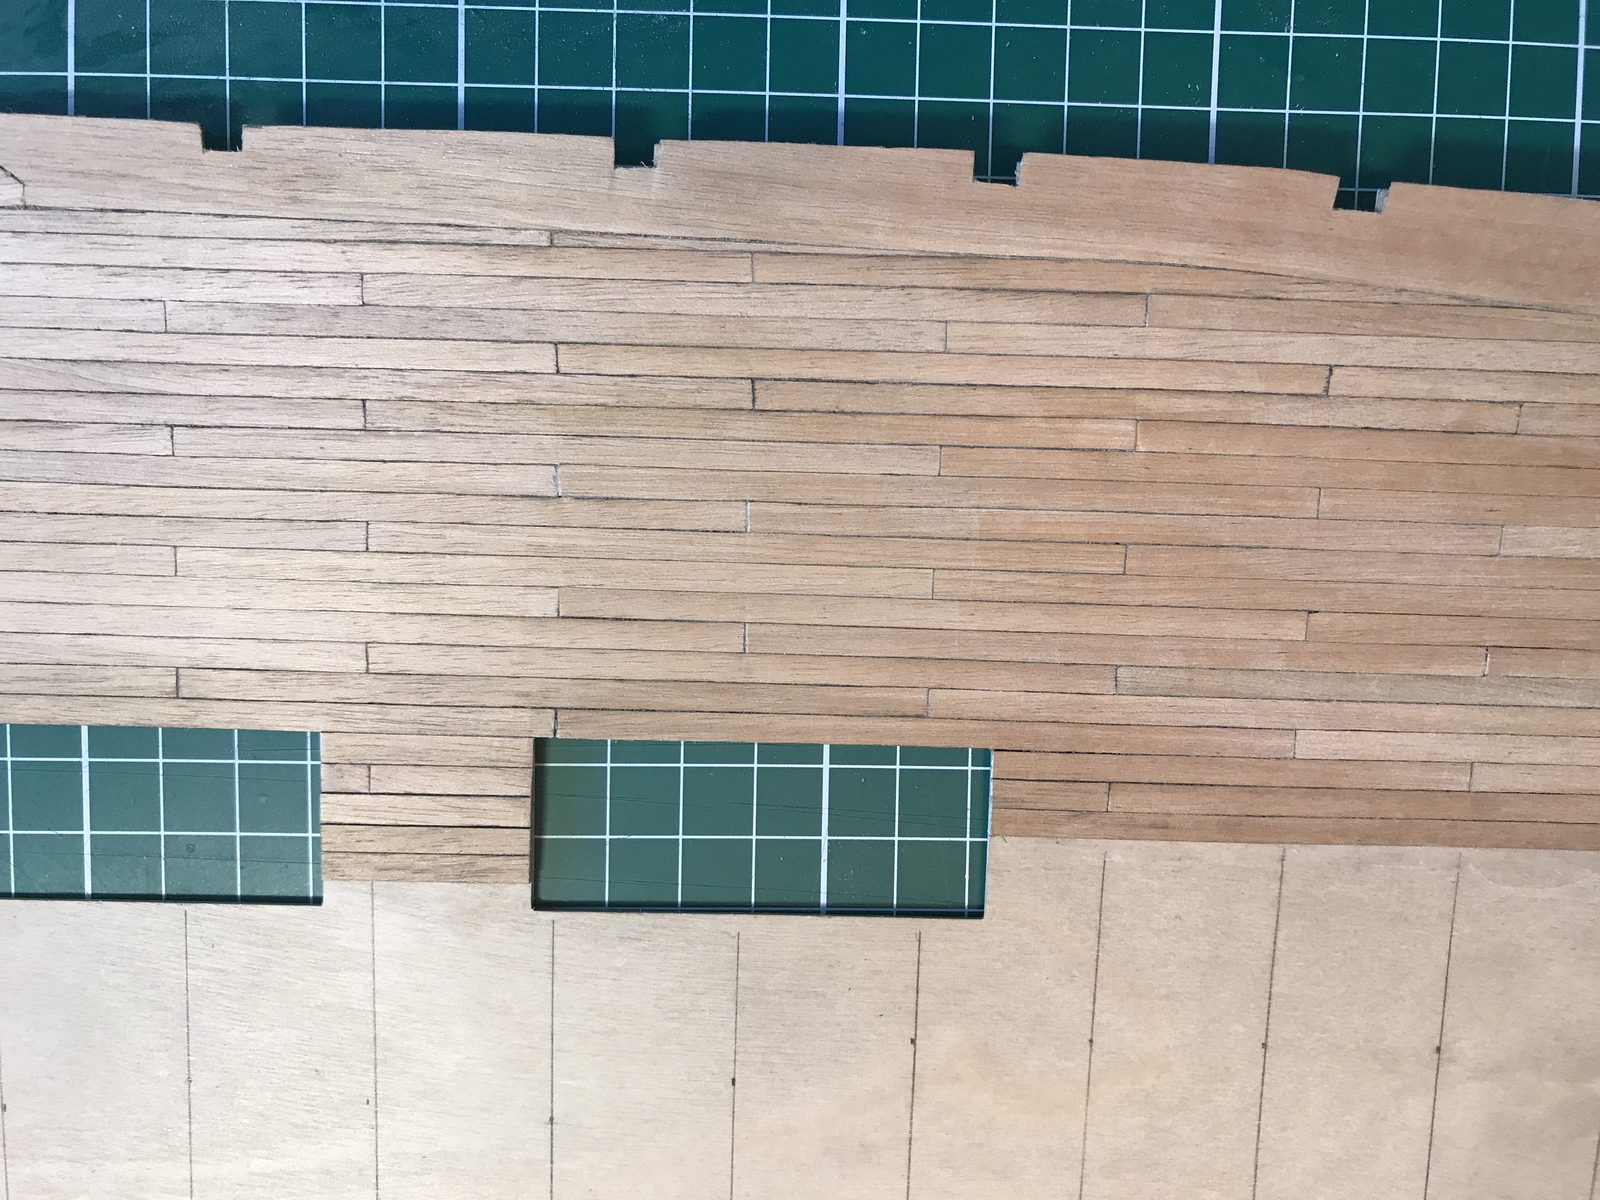
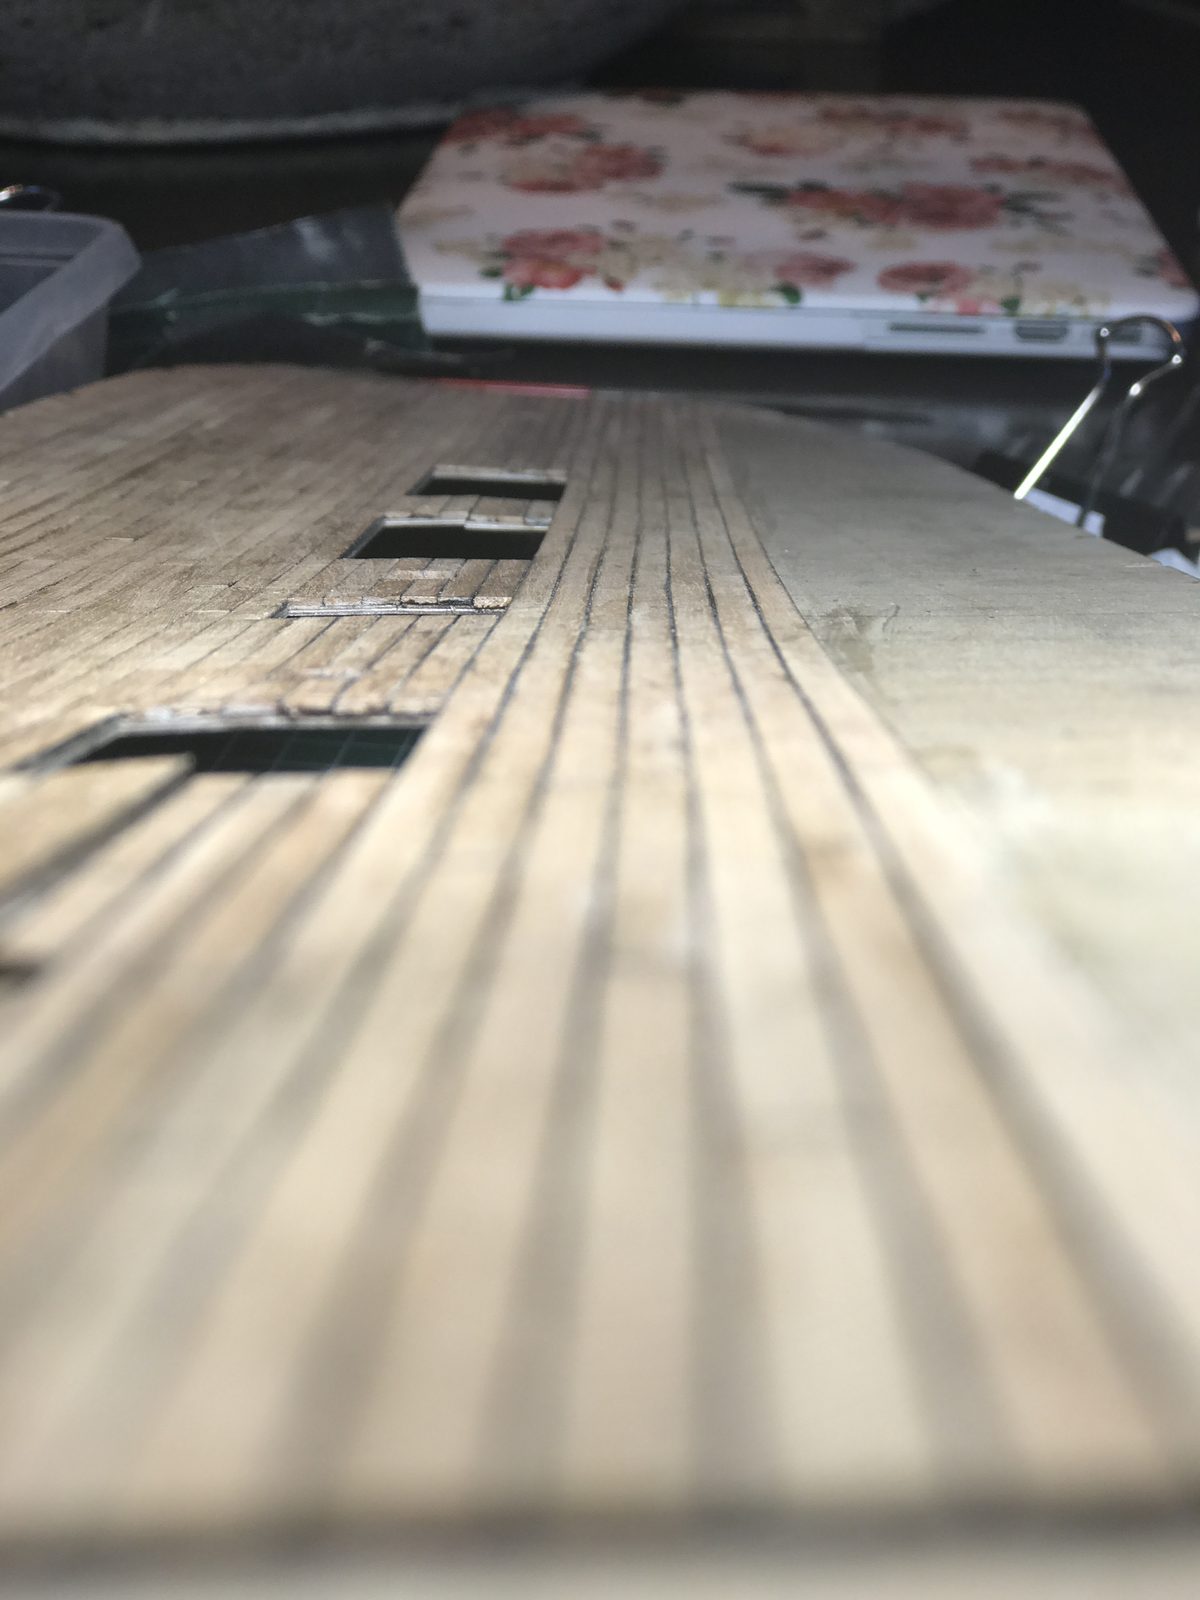
Result
With this method the caulking seam is even and visible and the planks are the same width everywhere. We will do the upper deck this way from the start; it takes a little longer per plank but saves sanding afterwards.
In the same series: Decks
- Pre-sanding deck strips with 320 grit
- Making the margin plank and joggling the deck planks
- Deck planking with caulking seam and four-butt shift
- Deck planking plank by plank
- Planking the upper deck off the ship with thread as caulking seam
All how-tos · Deck planking: margin plank, joggling and caulking seams