Cutting a head grating by hand
Mark out all the grating openings first and then cut only with a No. 11 hobby knife blade, because drilling and tidying up gives a ragged grating.
What you need
- fretsaw
- pencil and ruler
- hobby knife with No. 11 blades (plenty of them)
- cutting mat
- thin sheet of wood for the grating
- the kit drawing of the head as a template
- Time
- several evenings
- Difficulty
- hard
- When in the build
- Phase 6,
- From the log post
- Twelve hobby knife blades later · forum
Before you start
The catheads and the bowsprit are on. Have the kit drawing of the head to hand for marking out the grating, and know where the seats of ease and the bumkins will go. Order a good stock of blades beforehand: we wore out twelve on one grating.
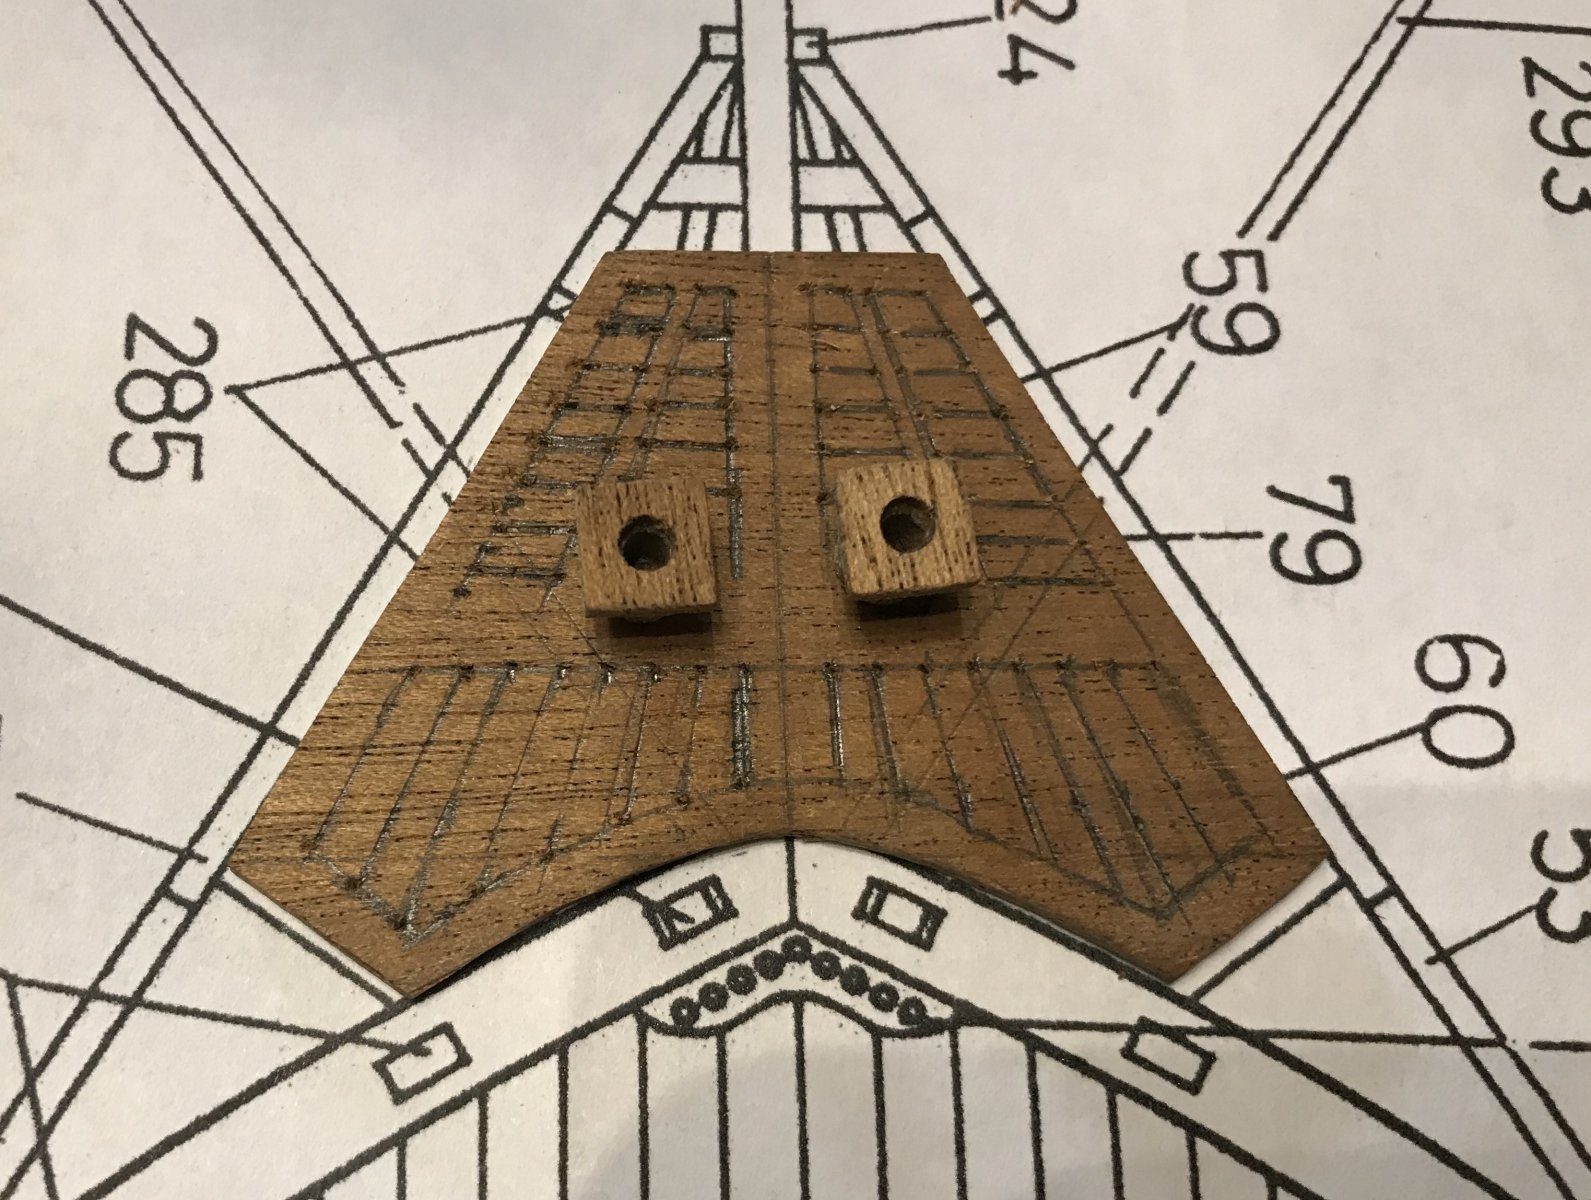
Saw out the outline of the grating and lay it on the kit drawing of the head. Check that it meets the bow and the upper headrails, and decide where the holes for the seats of ease go. Ours sit slightly closer to the centre than on the drawing, so the bumkins can pass outside them.
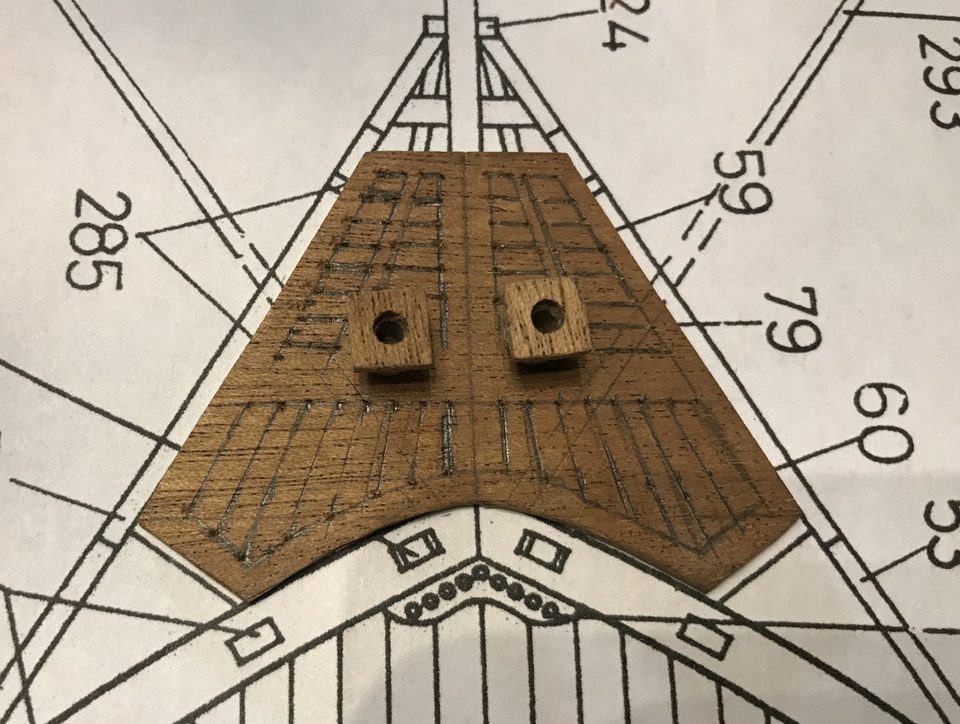
The sawn-out grating on the kit drawing, with the two holes for the seats of ease moved towards the centre. Tip from Herby63: Make the grating again with the holes for the seats of ease a little closer to the centre, and while you are at it make it wider at the back so it follows the run of the upper headrail better.
Watch out: Do not follow the drawing blindly: on it the bumkins run over the seats of ease. That cost us two earlier gratings.
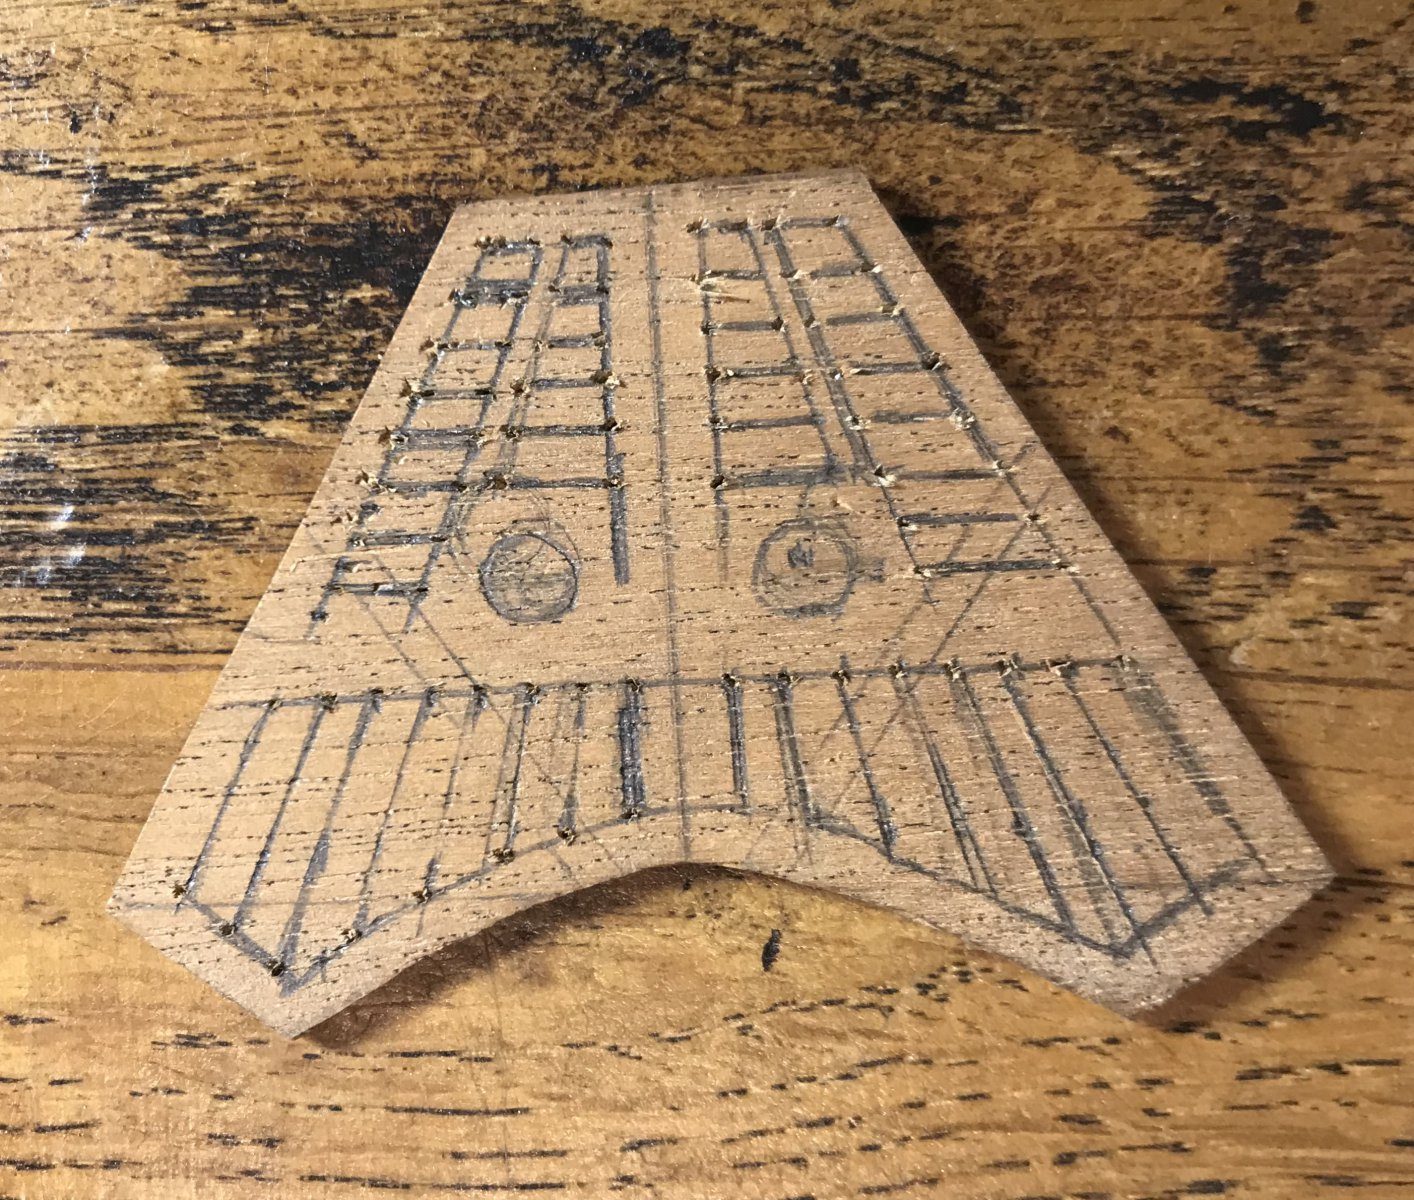
Mark out every grating opening in pencil before making a single cut. Use a ruler and keep the bars between the openings the same width everywhere. Lining them up is the hardest part of the job, so take your time.
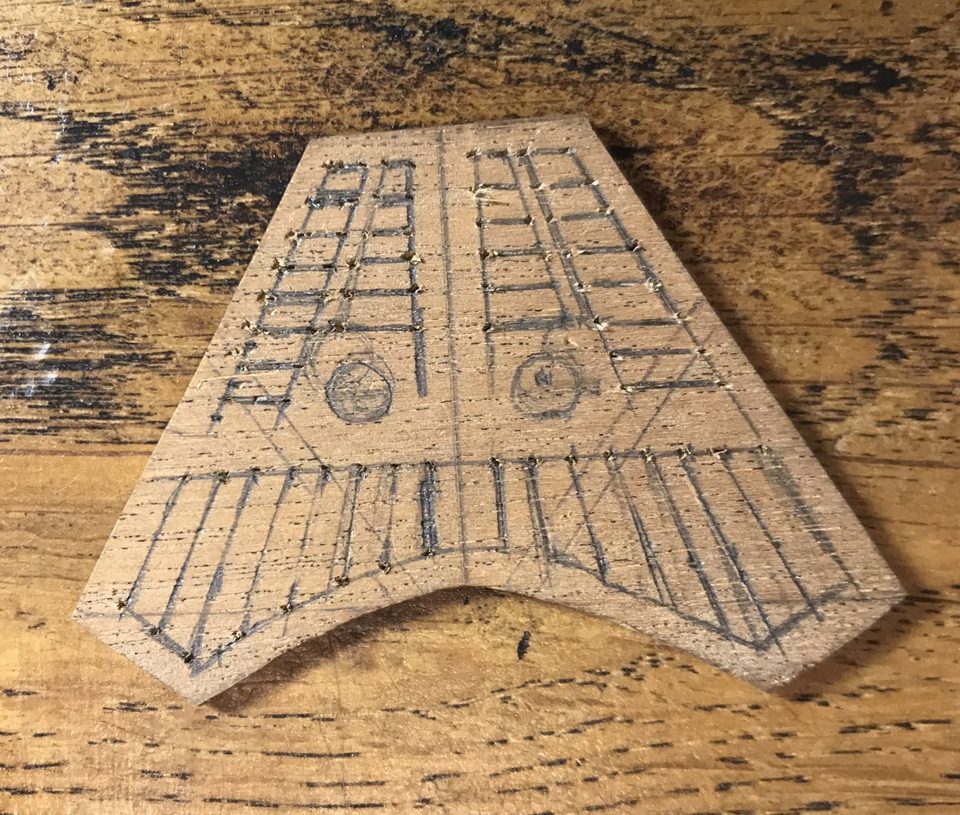
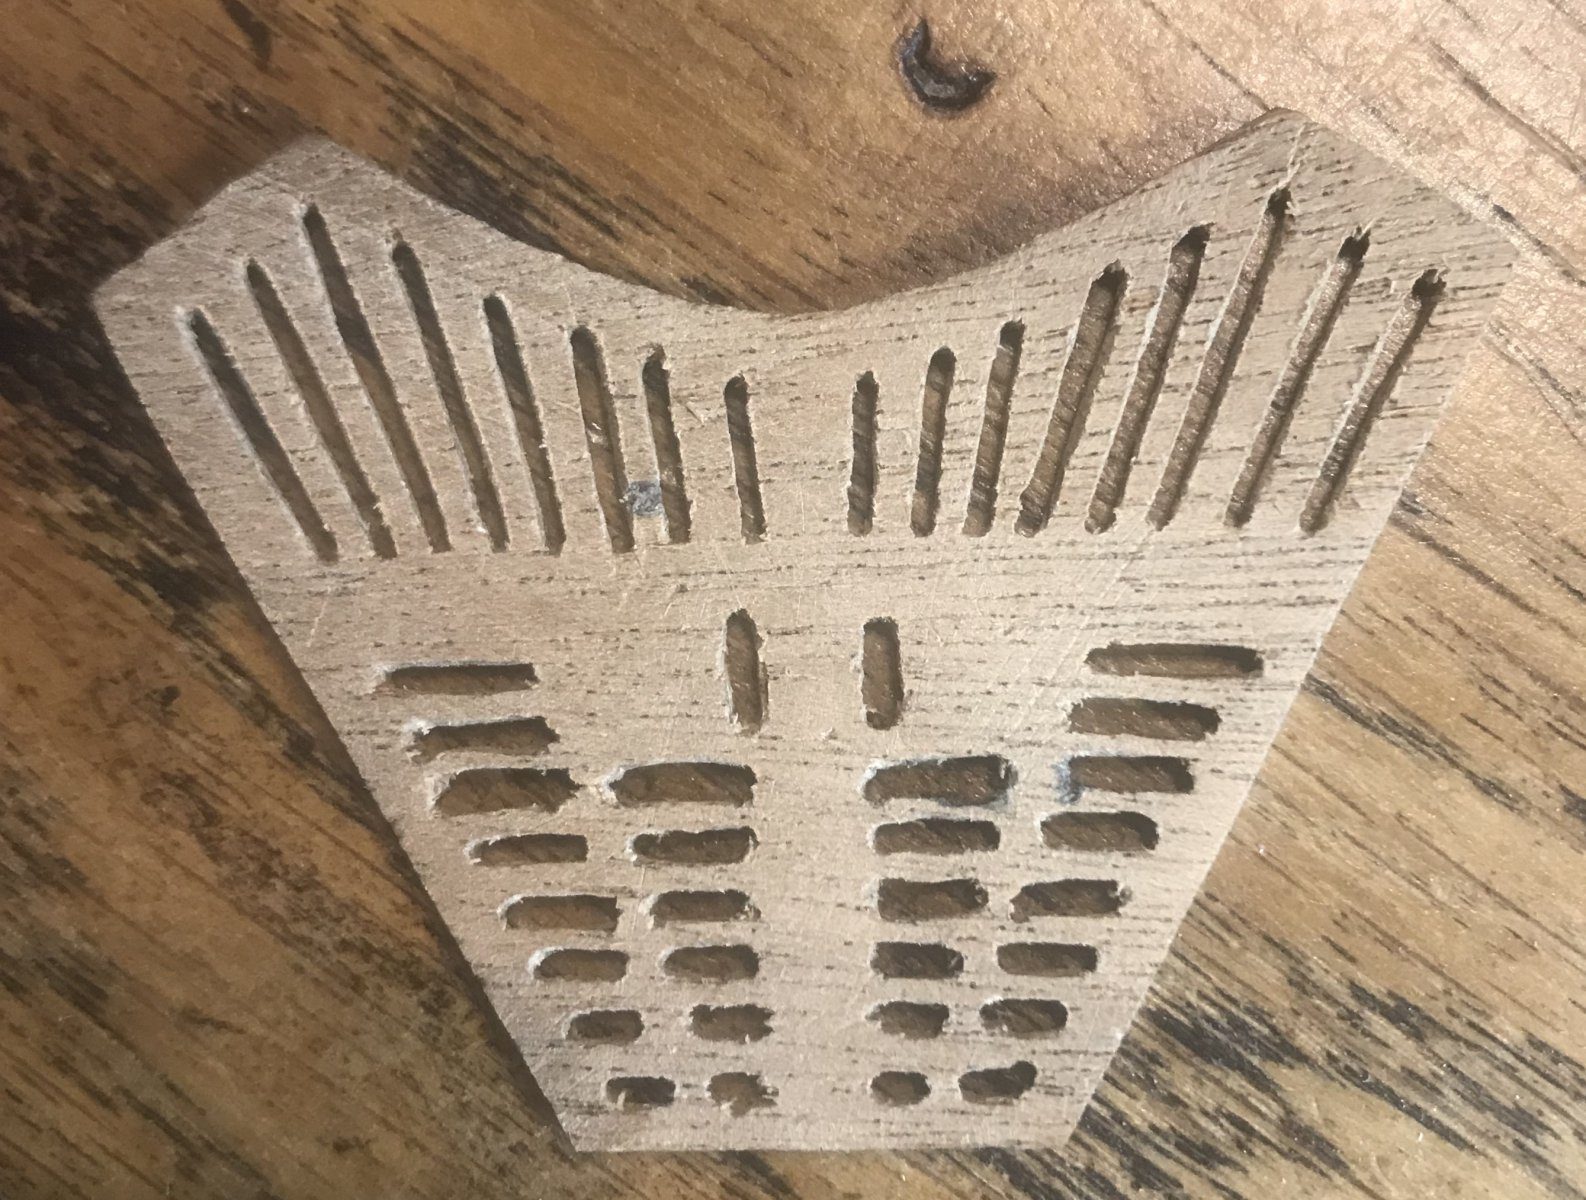
The grating with all openings marked in pencil, ready for cutting. Our first attempt used two drilled holes per opening, then cutting along the length and smoothing with the drill. That was pretty hopeless: the openings come out uneven and ragged. So do not pre-drill, cut straight away.
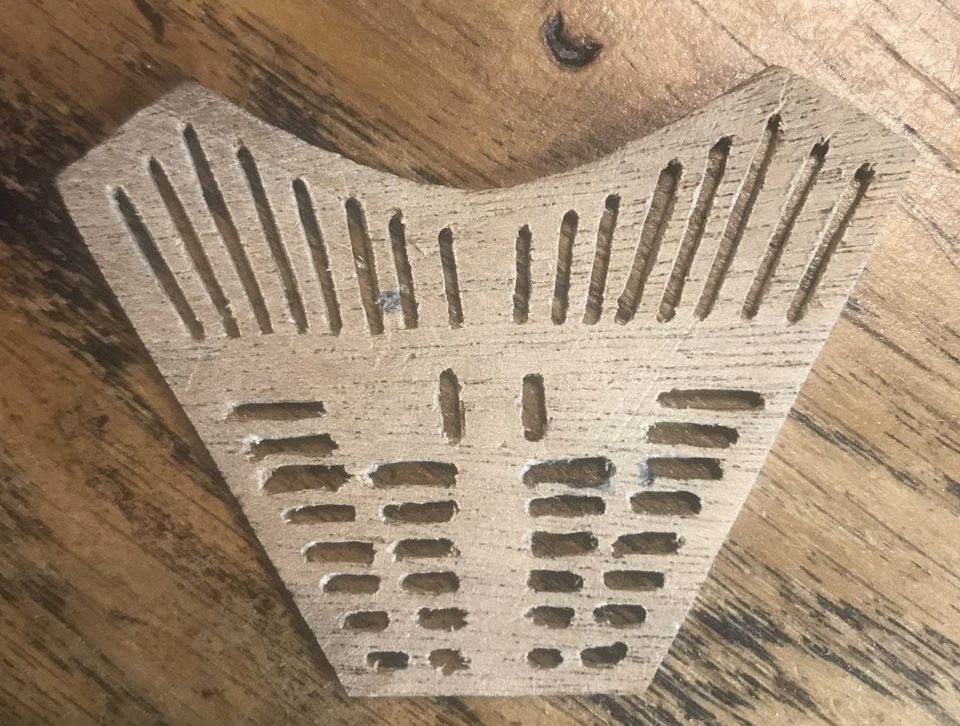
The first attempt with drilled holes: the openings vary in width and the edges are ragged. Watch out: Drilled holes as a start for an opening look handy, but you never get the edges straight afterwards. We had to redo the whole lower part.
Cut the openings out with a No. 11 hobby knife blade along the pencil lines, using several light cuts rather than one heavy one. Stab in the short ends first, then cut the long sides. Replace a blade as soon as the tip goes.
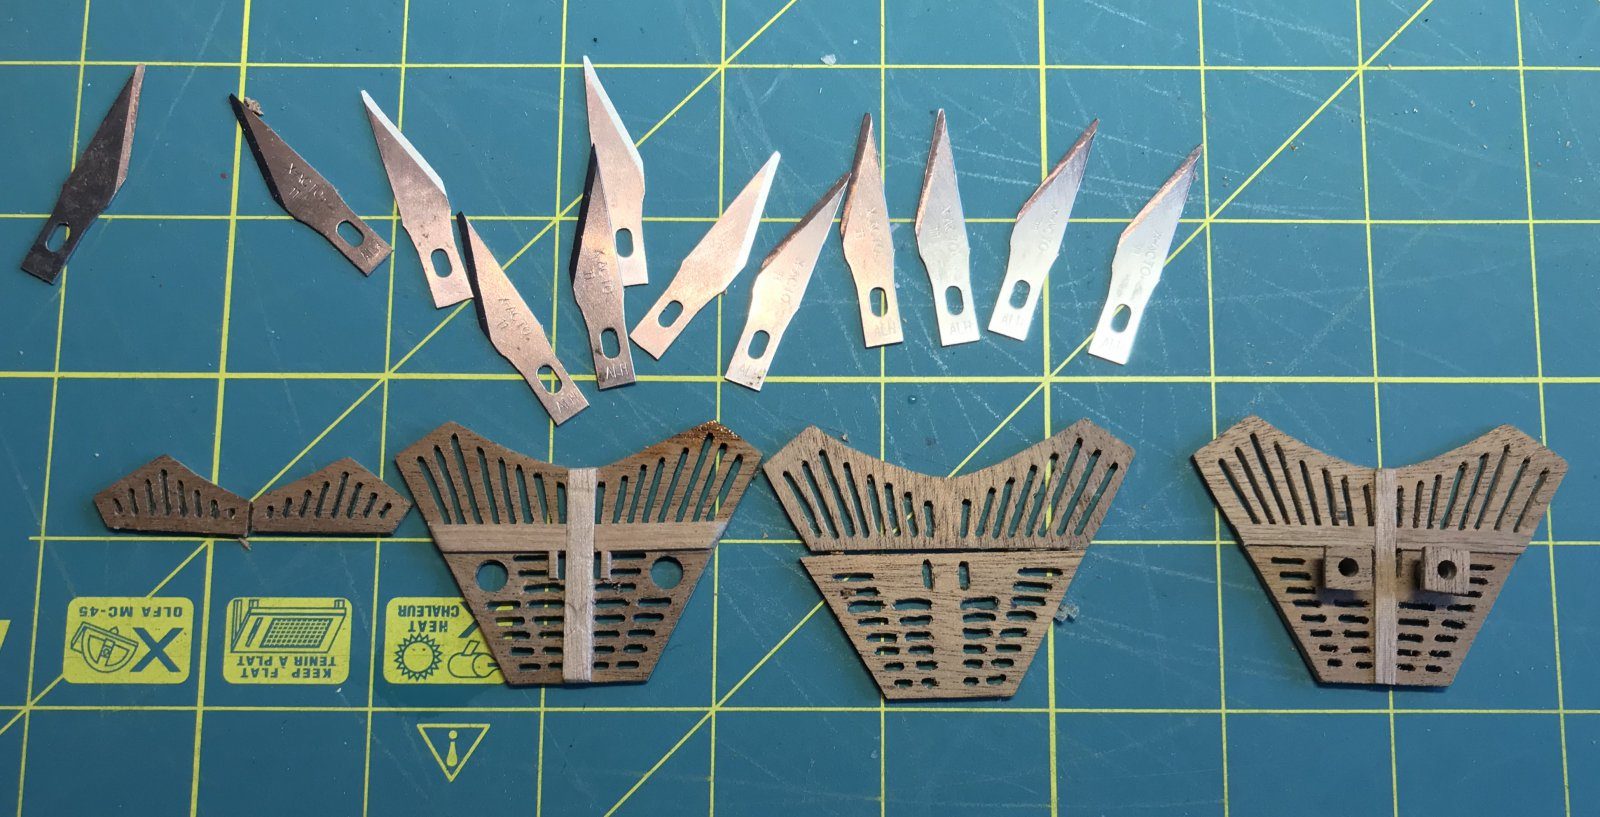
Watch out: Because of the tight spaces the tips of the blades snap constantly. We used twelve blades for one grating; have a stock ready.
Lay the grating in place on the bow and check that it meets the hull and the rails, and that the holes for the seats of ease and the bowsprit are in the right place. Put the earlier attempts next to it to see whether this really is the best one.
Up to this grating nothing on our Diana had been varnished. Decide whether to leave the grating bare or give it a very thin coat of varnish; try it on one of the rejected gratings and pick what you like best.
Tip from pietsan: Varnish is a matter of taste. I sometimes put on a very thin coat of water-based matt varnish to keep the colour, because untreated wood discolours over time.
Watch out: A spray can is usually not a success for us: you get carried away and the varnish runs.
Result
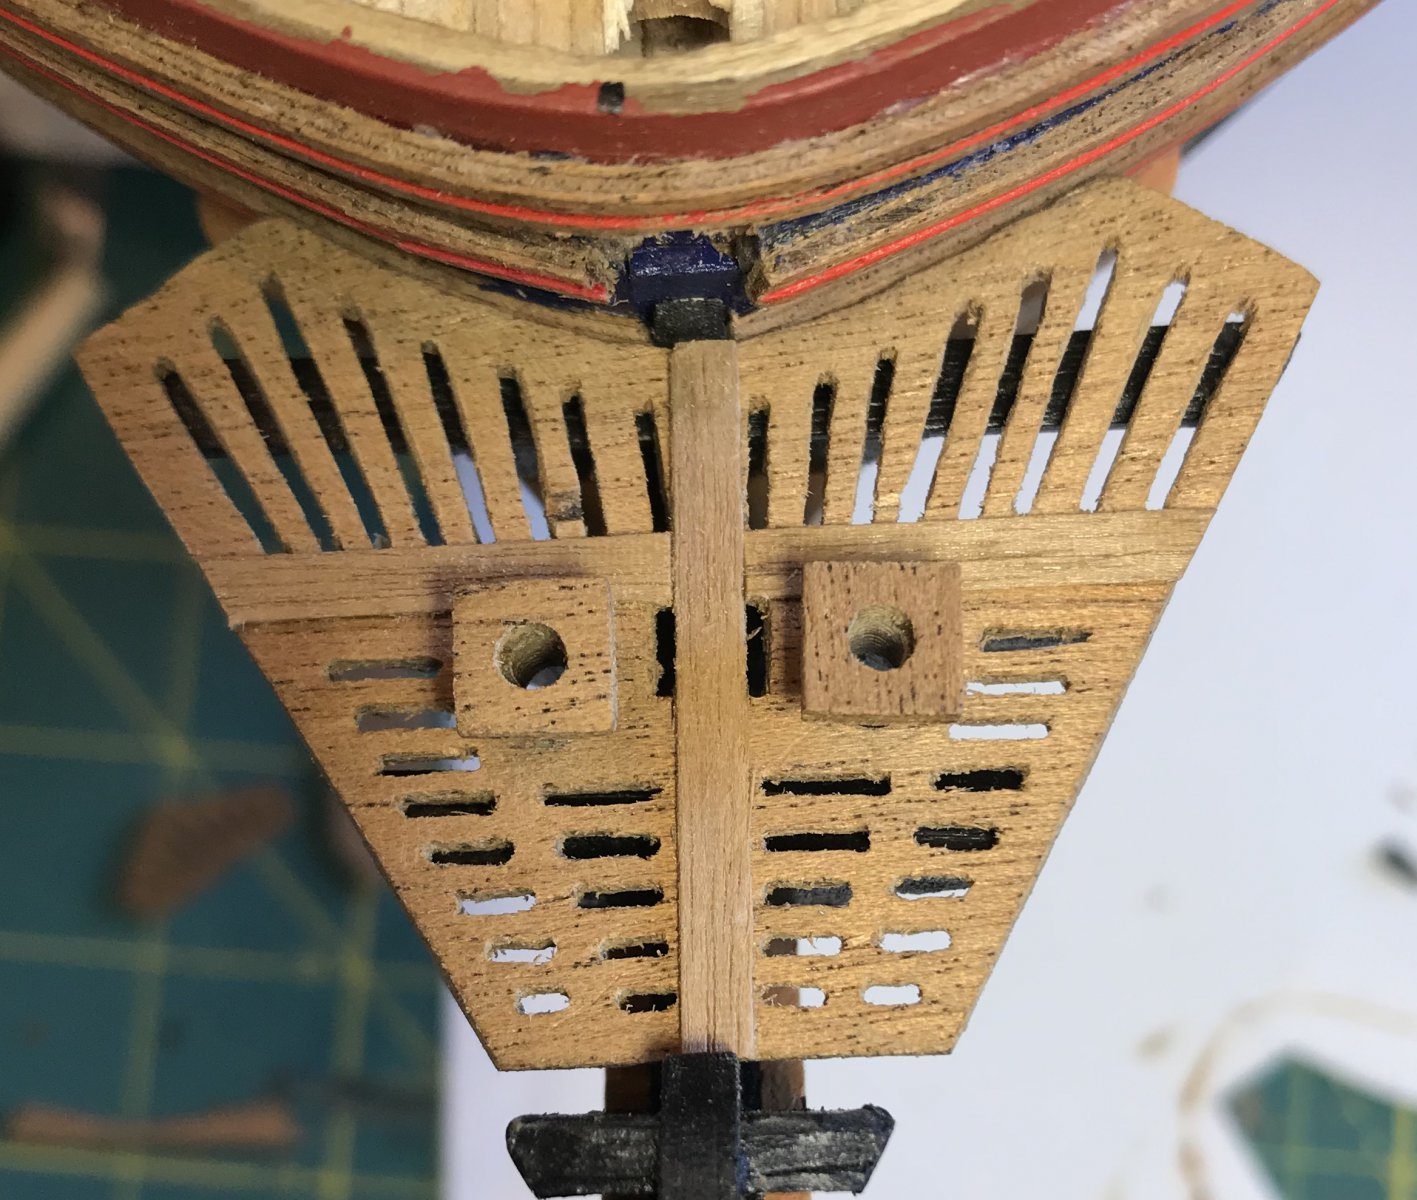
After three gratings and twelve blades we have a grating we are very pleased with: the one on the right of the row. Next time we skip the drilling straight away and start with marking out and cutting.
Problems met with this technique
According to the plan the bumkins run over the seats of ease. Made a third grating with the holes moved towards the centre. (Tips from Jaques, pietsan, Herby63) to the register
There is a gap between the bow and the head grating. We did not like it and made a new grating anyway that runs through to the bow (two attempts). For looks, then, not to correct a fault. (Tips from Pingu57, pietsan) to the register
The bowsprit gammoning has to be able to pass through the grating. Made two elongated holes in the grating. Pietsan only discovered it on his own build when fitting the bowsprit and then cut a strip out of the grating, with two tiny strips beside it for strength (modelbouwforum, 20 August 2015, forum post); hence his advice to make the holes straight away. (Tips from pietsan) to the register