Closing tiny gaps with sanding dust and thinned PVA
Fill the tiny gaps between the planks of the second planking with the wood's own sanding dust, fixed with PVA glue thinned to a milky consistency, so the colour stays the same and you get no glue stains.
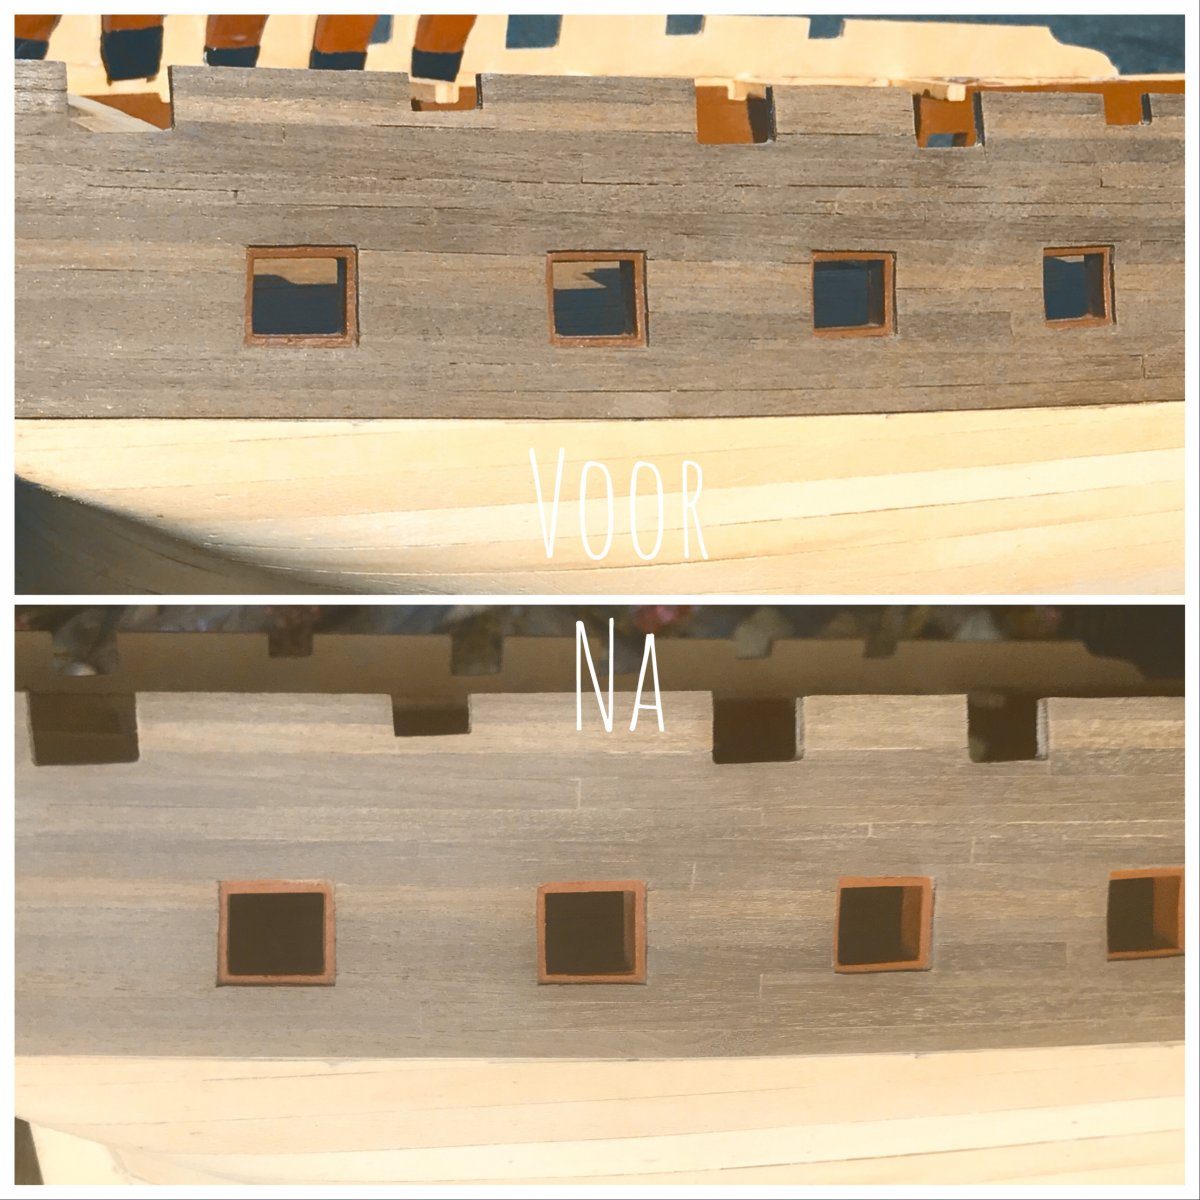
What you need
- very fine sandpaper
- fine brush
- small pot
- hobby knife or scraper (for the strip edges)
- PVA glue
- water
Before you start
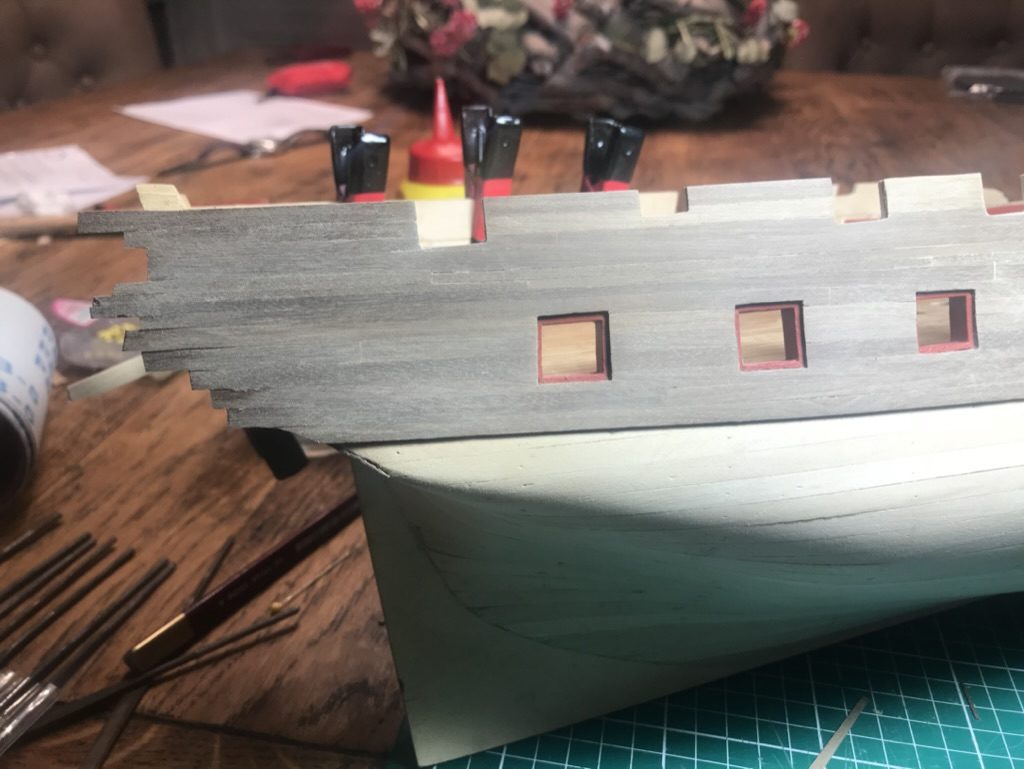
The second planking of one part of the hull is closed and roughly sanded. Take a photo of the hull: a photo shows gaps you miss with the naked eye while fitting. These are small irregularities in the strip edges from cutting, not gaps down to the first planking.
Scrape the top edge of every fitted strip clean of small glue residues before the next strip goes on. That is the real cause of the gaps: on the side where we did this consistently, the problem no longer occurred.
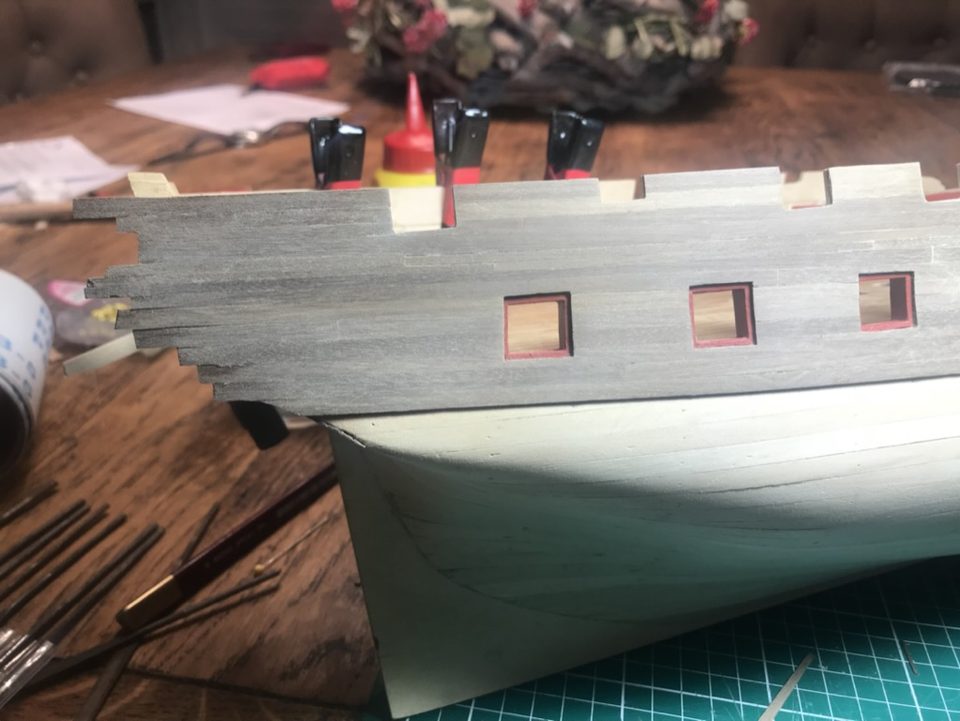
Planking the second side: each strip is clamped, and its top edge is scraped clean before the next one goes on. Tip from Henkl: You can apply this process continuously while planking and sanding.
Watch out: On the first side we forgot to scrape the top edges of the strips clean. As a result there were very small gaps here and there, which only became clearly visible in a photo.
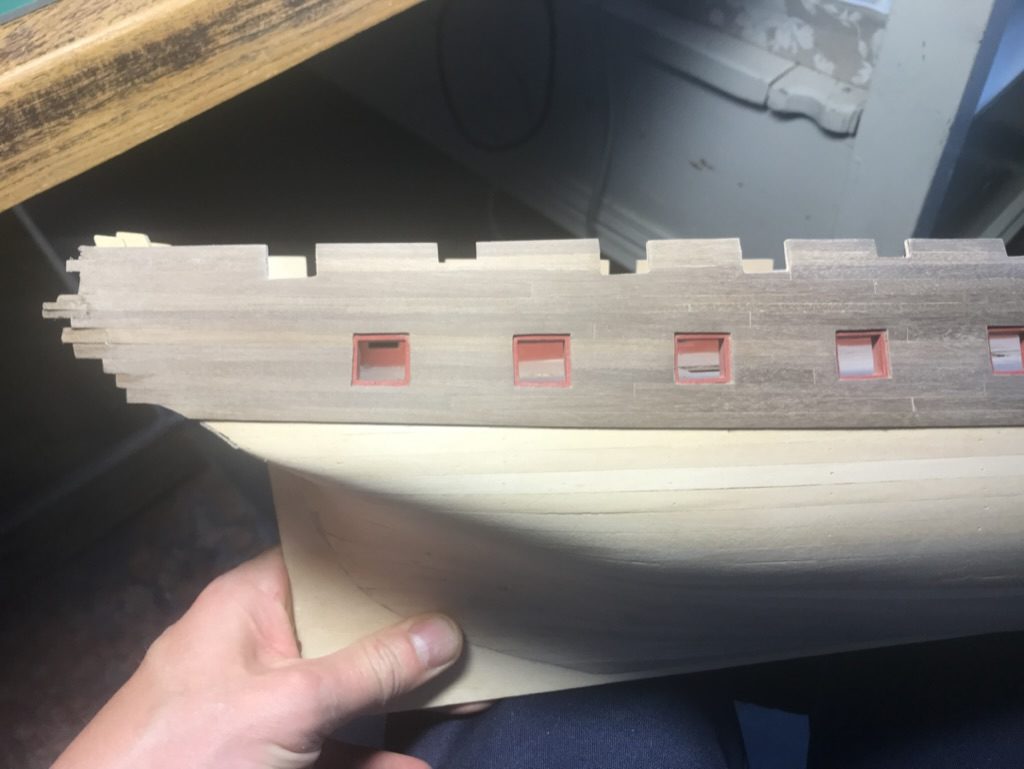
Lay the hull on her side so that the seams of the area you are treating face upwards. The sanding dust has to run into the seams and stay there, so work on one flat area at a time.
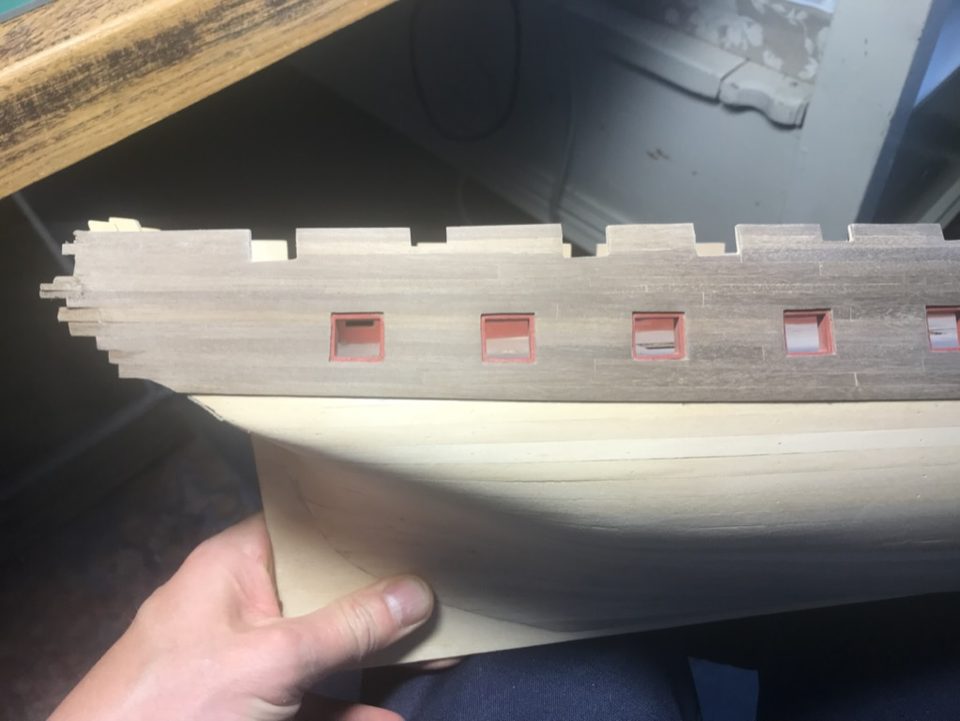
The hull on her side, with the planking above the wale facing upwards. Sand the surface with very fine sandpaper. The dust from the planks themselves runs into the seams by itself and fills them completely. Do not use other sawdust: dust from the same planks always gives the same wood colour.
Tip from Pingu57: Those gaps will not disappear by themselves. Collect some sanding dust from the planks concerned and put it in the gap with glue.
Watch out: Loose sawdust from the kit looked lighter in colour than the planking. So use the dust that comes off when sanding the hull itself.
Put some PVA glue in a small pot and thin it with water until the mixture looks like milk. Too thick gives glue stains, too thin does not fix the dust.
thin the PVA glue to a milky consistency
Brush the thinned glue with a fine brush precisely over the seams, once or twice. This fixes the sanding dust in the gaps without getting glue on the planks themselves.
once or twice over the seams
Tip from Henkl: This way you always keep the same wood colour and have the least trouble with glue stains.
Let the glue dry and then sand lightly once more. Take another photo of the same part of the hull and compare: gaps that are still visible get a second treatment.
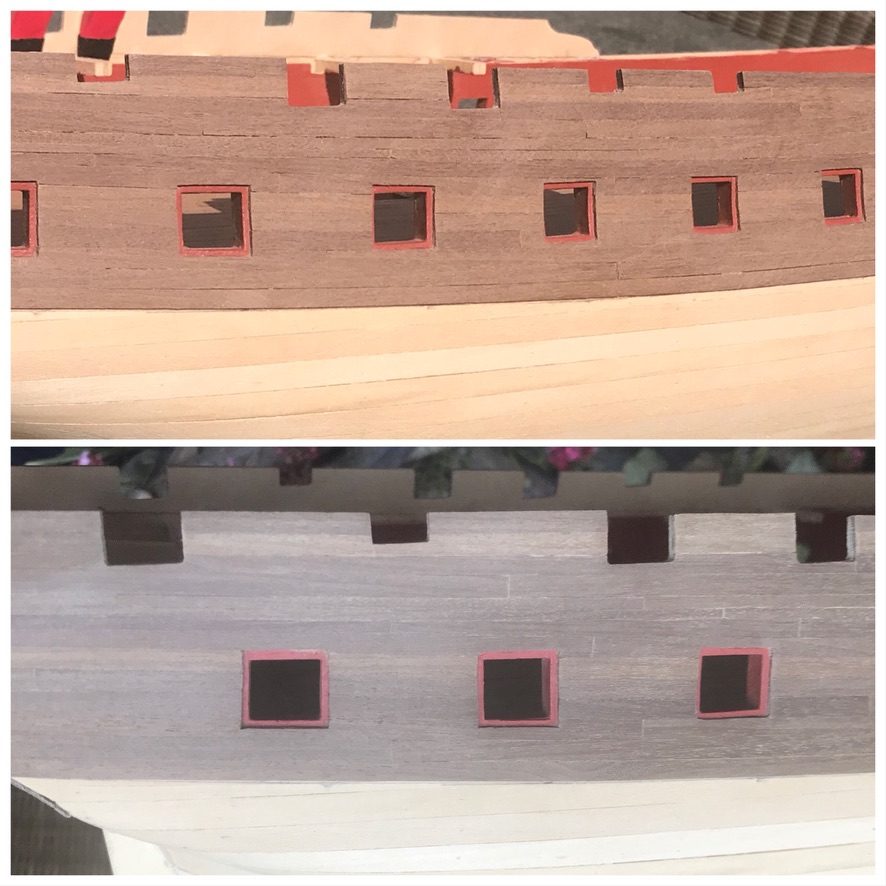
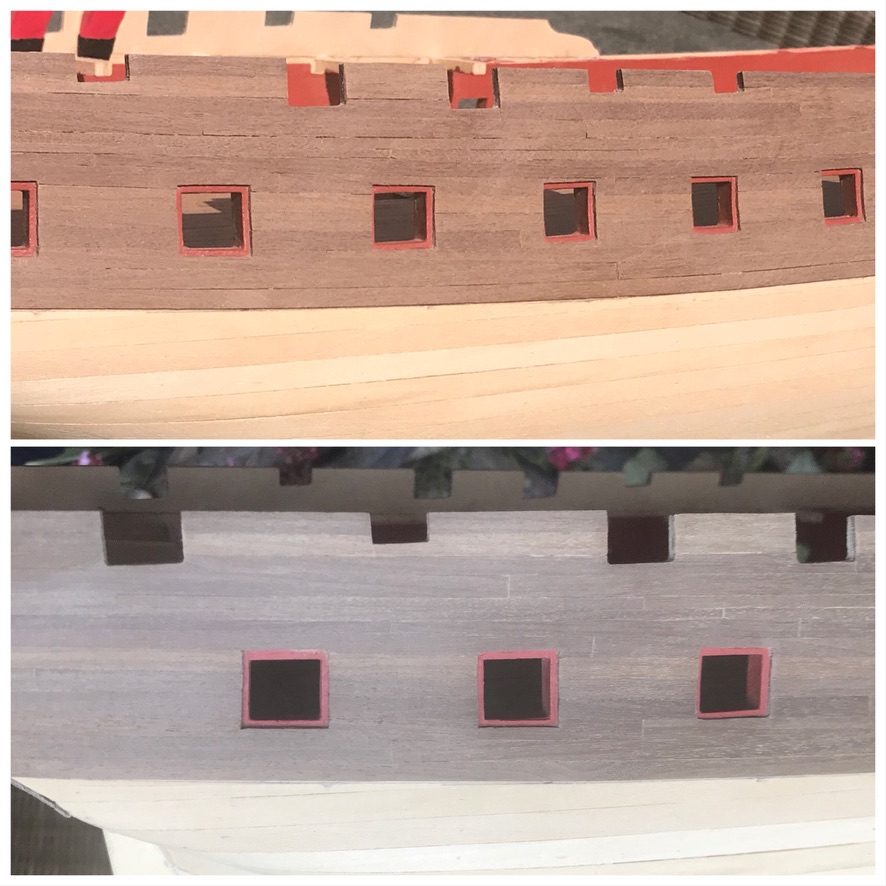
Above the hull with the gaps, below the same area after filling and light sanding: the seams are closed and the colour has stayed the same. Tip from Marc w: Small irregularities also disappear under varnish, provided you apply several thin coats rather than one thick one. With stain it gets harder because it soaks into the wood. Test it on a scrap plank first.
Result
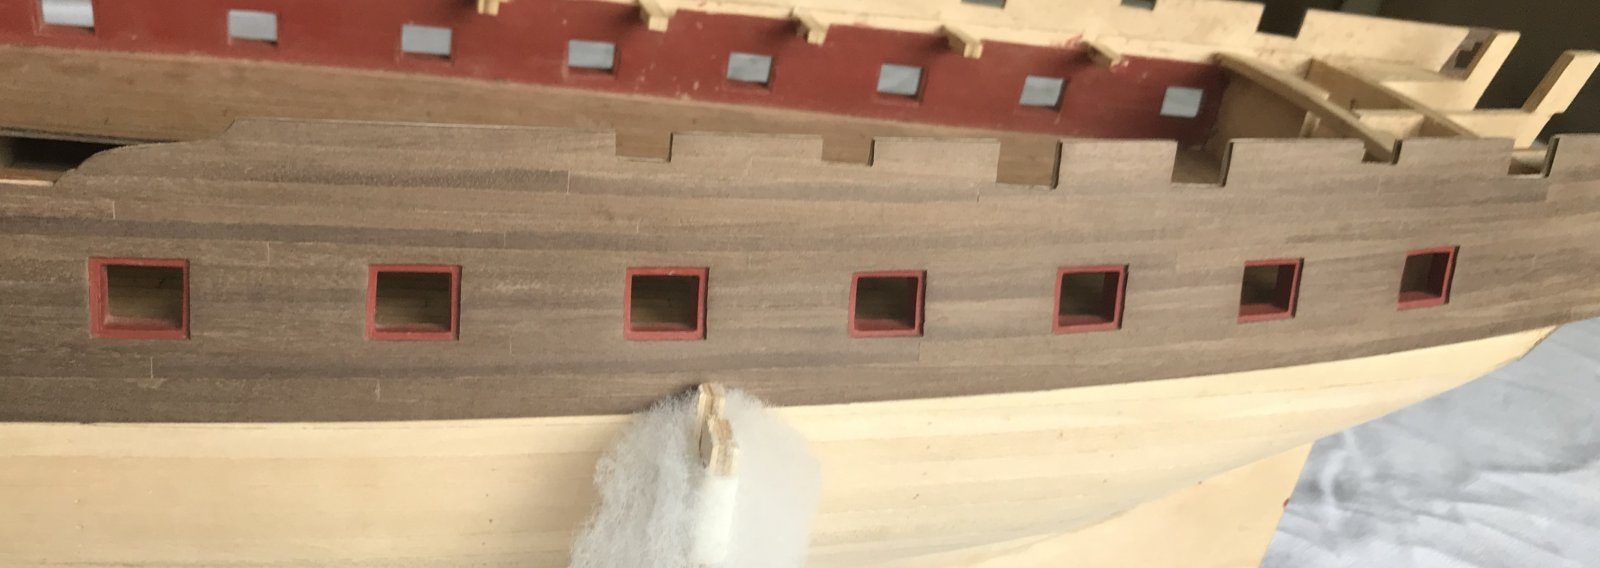
It really works well: the gaps are closed, the wood colour is the same everywhere and there are no glue stains. Below the waterline we did not bother, as the copper plates go over that anyway.
Problems met with this technique
Here and there very small gaps between the planks of the second planking. Sanding dust plus PVA thinned with water in the seams (Henk van Luinen's trick); it really works well. (Tips from Pingu57, Marc w, Henkl) to the register