Cleaning and polishing the copper for an even patina
Remove the glue residue from the coppering with steel wool and copper polish, so the copper can then age evenly everywhere; do not varnish it.
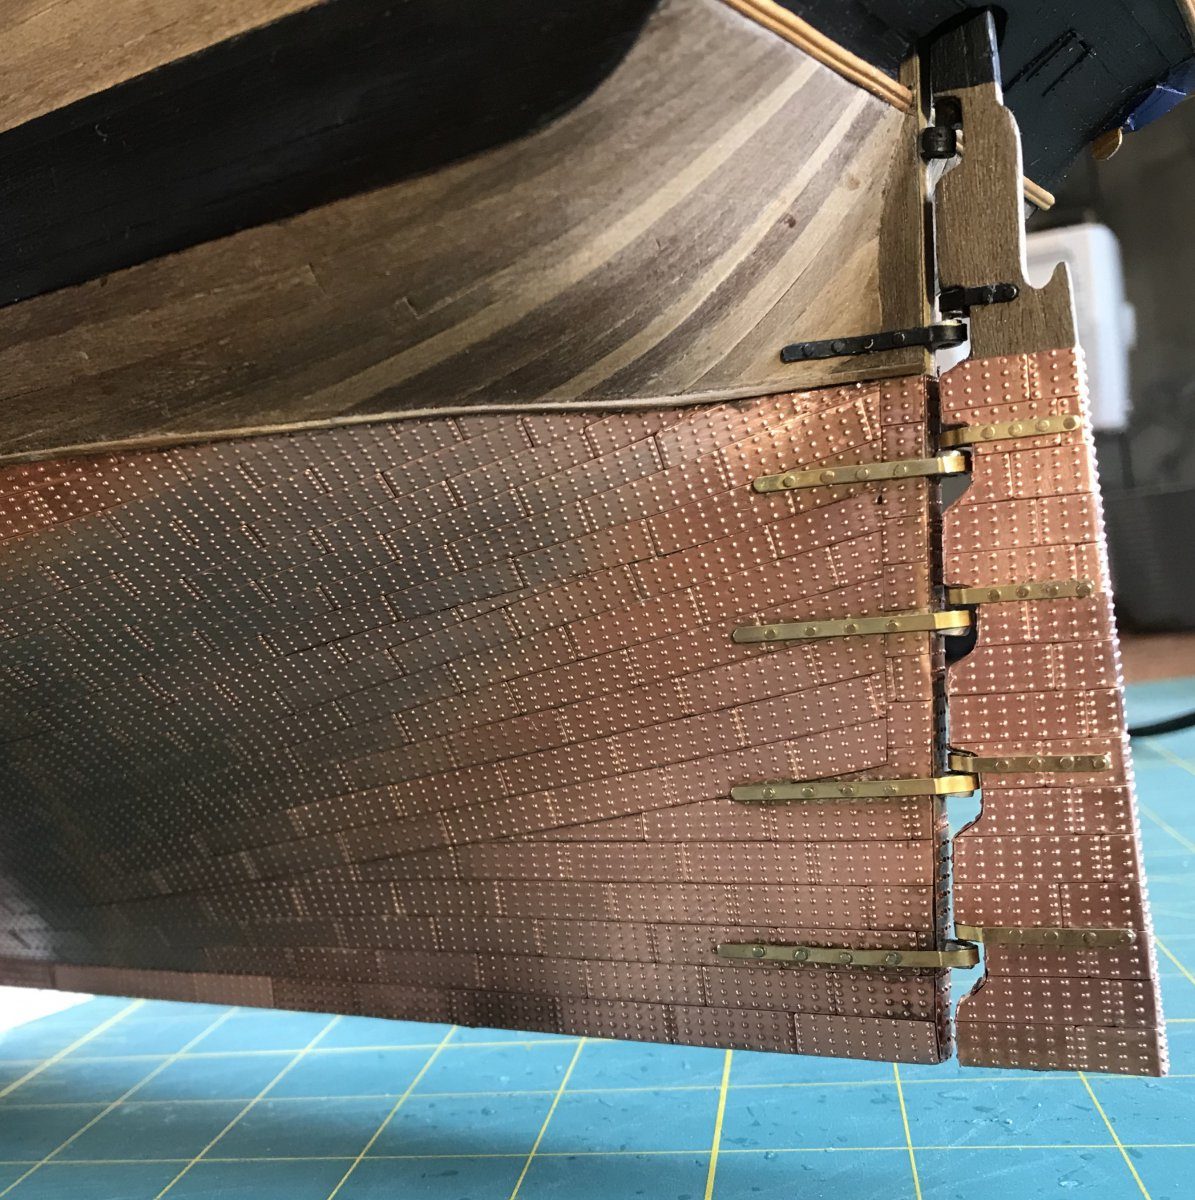
What you need
- fine steel wool (very fine grade)
- soft cloth
- Alabastine sticker remover or alcohol for stubborn glue residue
- old-fashioned copper polish
- Time
- a morning
- Difficulty
- easy
- When in the build
- Phase 6,
- From the log post
- Scrubbing the copper clean · forum
Before you start
The coppering is complete and has had a few months to darken. The rudder and gudgeons may already be fitted; if so, work carefully around the brass parts.
Do not clean the copper immediately after laying it, but wait until it starts to darken. Where there is glue, the copper stays light, because the glue keeps skin oils and air away. That makes the glue residue much easier to find now than when everything still shines.
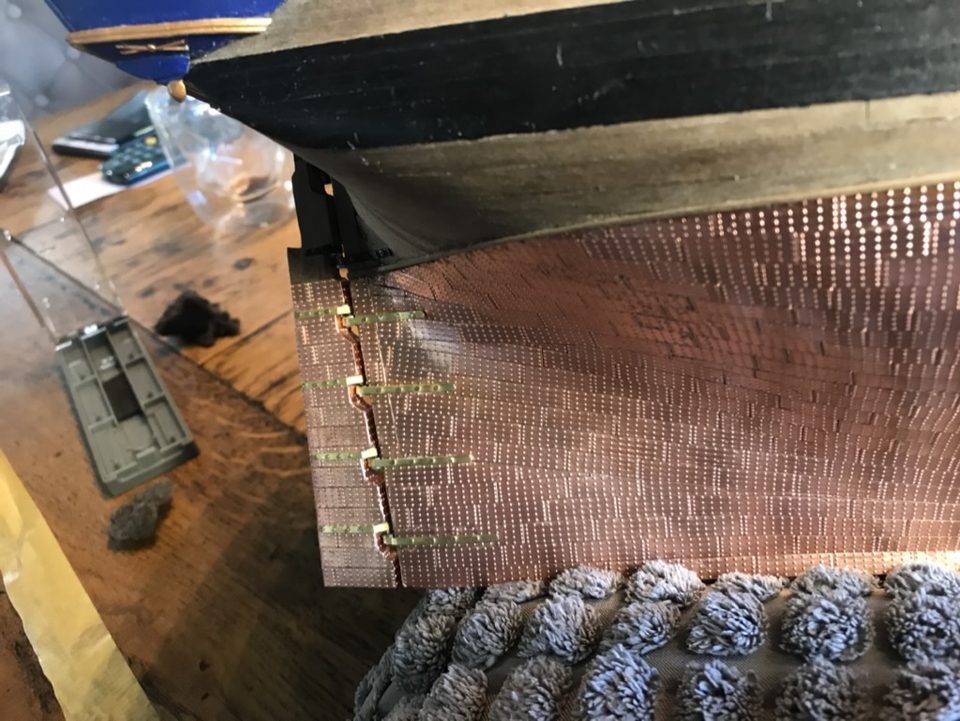
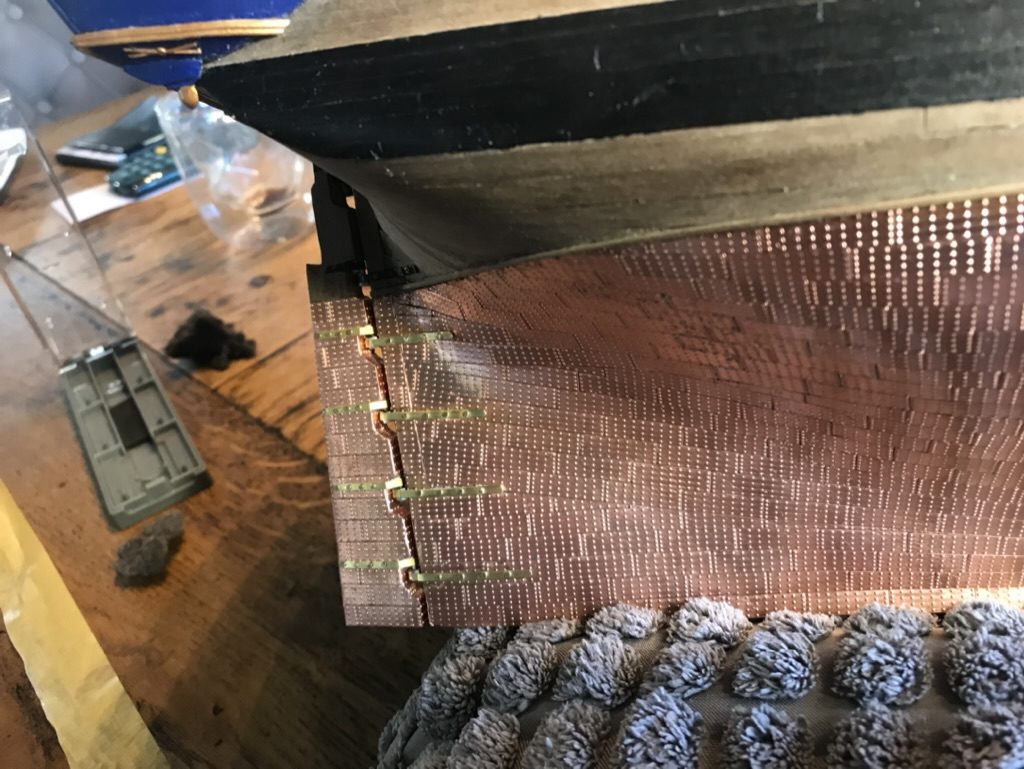
The darkened coppering at the sternpost: the light patches are spots where glue remains. Tip from Danny Mulders: The discolouration is probably mostly skin oil, which gets onto all the plates by itself. Glue residue does need to come off, because it keeps skin oil and air away; those spots stay shiny while the rest discolours.
Watch out: An earlier clean with steel wool and white spirit, while the copper still shone, did not remove all the glue. The marks only appeared months later.
First take off thick glue residue with sticker remover or alcohol on a cloth, so the steel wool does not have to work over lumps of glue later. Try any product on an inconspicuous spot first. All visible glue has to go, even very small traces.
Tip from pietsan: Glue should really always be removed straight away before it has cured, and with CA glue that happens very quickly. For next time: only two small drops of glue under the plates, that is more than enough and then no glue squeezes out either.
Give the complete coppering a thorough scrub with fine steel wool, along the length of the plates. Work spot by spot and keep checking that the light patches disappear. Then wipe the copper with a cloth to remove the steel wool fibres.
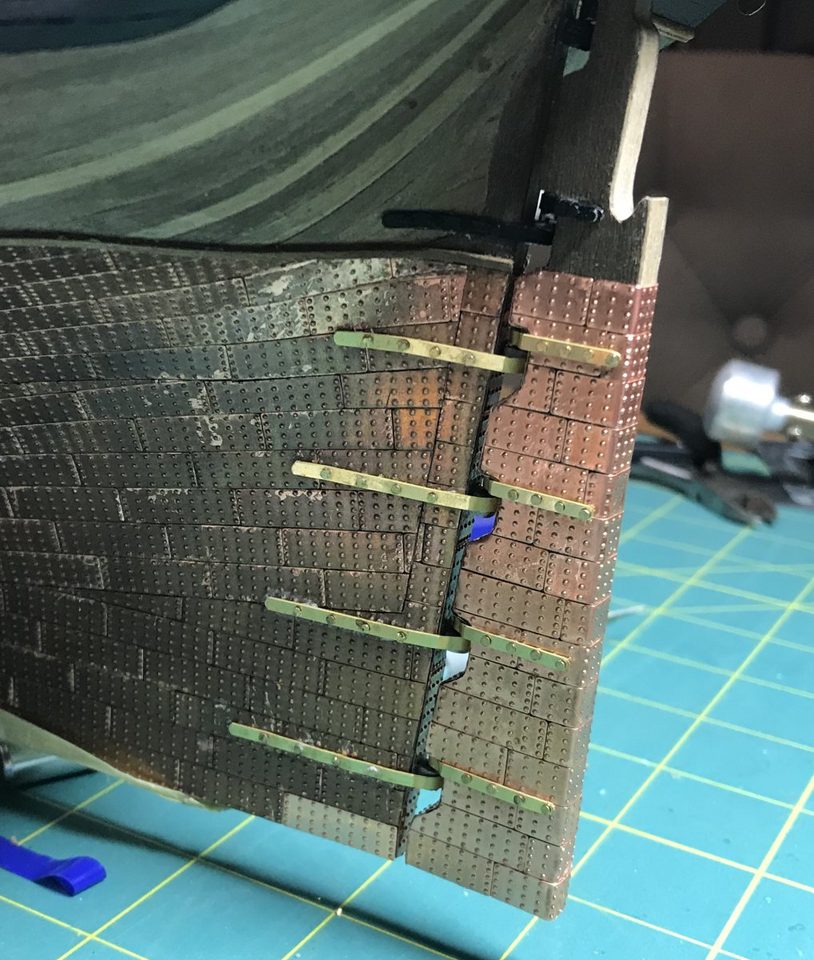
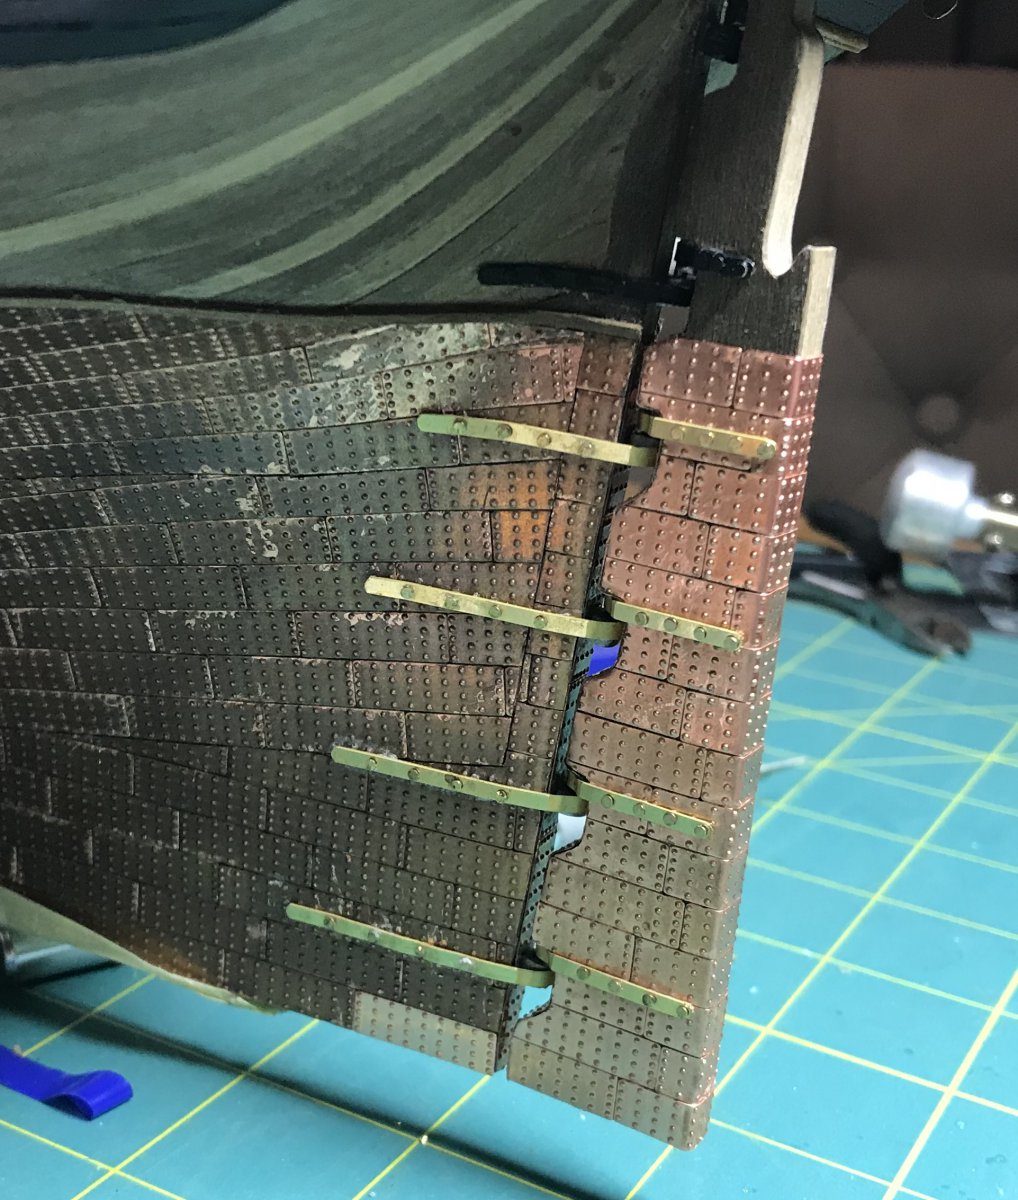
Before scrubbing: the sternpost with the light glue marks among the dark plates. Then polish the copper with old-fashioned copper polish and buff it with a clean cloth. The acids in the glue attack the metal; the polish removes those last traces and makes the surface uniform, so the patina can come up evenly later.
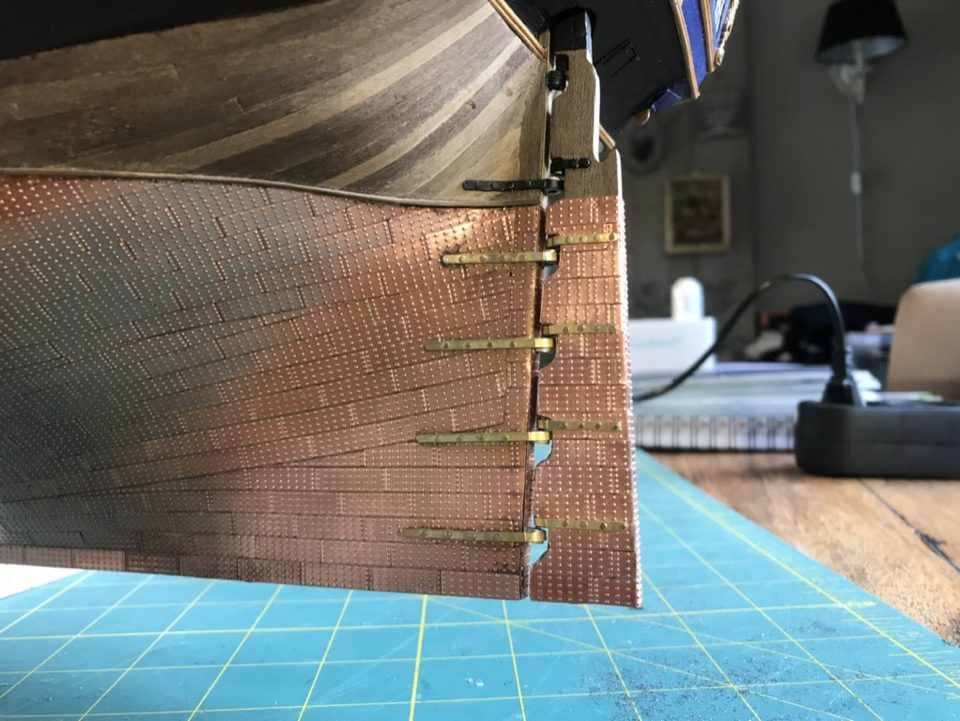
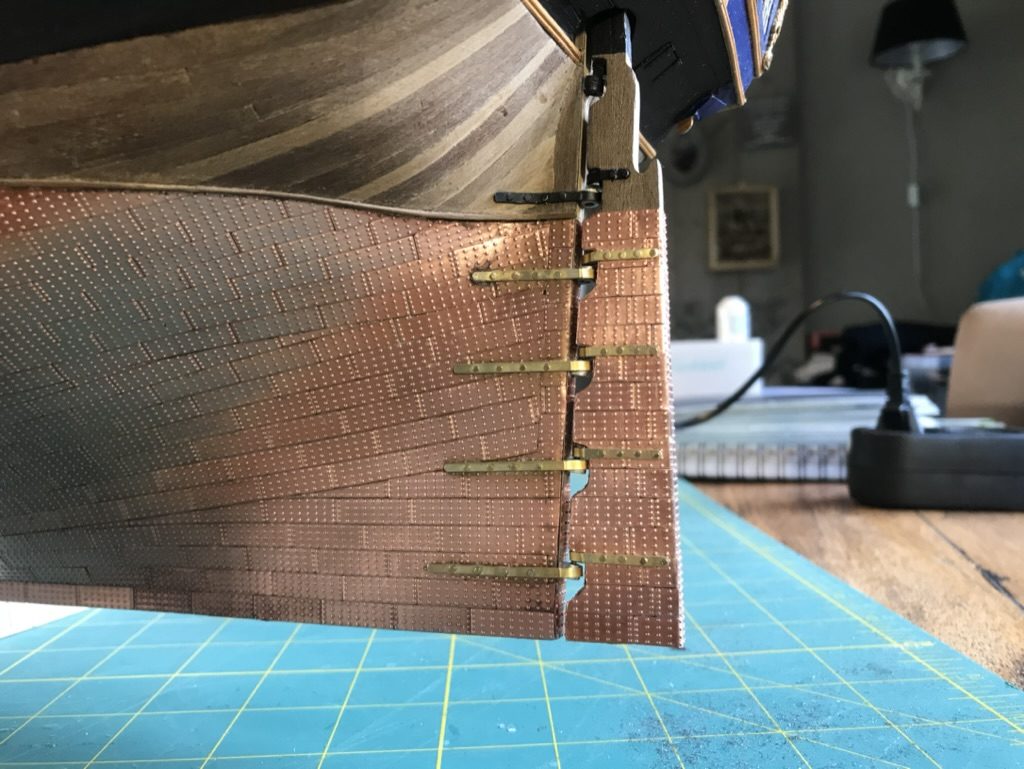
After steel wool and copper polish: the copper shines evenly again, including around the gudgeons of the rudder. Tip from Stephan Kertész: Try the old-fashioned copper polish. The acids in the glue attack metal. Do try it on a test piece first.
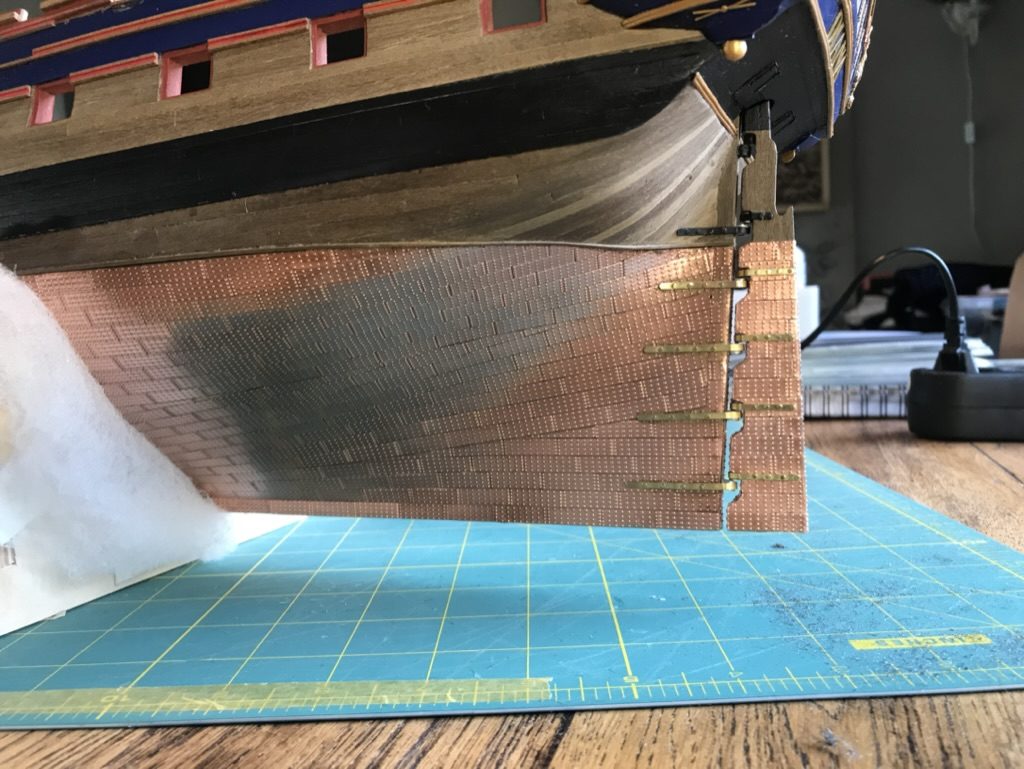
Do not put the copper in lacquer or varnish: any coat holds back the ageing, while the plates actually get better looking with time and lose their shine. The slight colour difference between fore and aft disappears by itself. Simply a matter of patience.
Tip from pietsan: Personally I would do nothing to it and let the plates age slowly; any form of lacquer or varnish holds that back. I know this from my coppered cross-section of the Victory: it only gets better.
Result
The morning of scrubbing and polishing was worth it: the light marks are gone and the copper can now age evenly. On the next boat we will use only two small drops of glue per plate and remove glue straight away, and then this clean-up will not be needed.
Problems met with this technique
Considerable colour difference between the copper fore and aft. No varnish, let it age; only remove the glue residue. (Tips from pietsan, Danny Mulders) to the register