Building up a drumhead from seven layers of walnut
Scratch-build the drumhead of the upper deck capstan from seven walnut discs of different thickness, with square capstan bar sockets in the 1.5 mm layer, after the example in The Anatomy of the Ship.
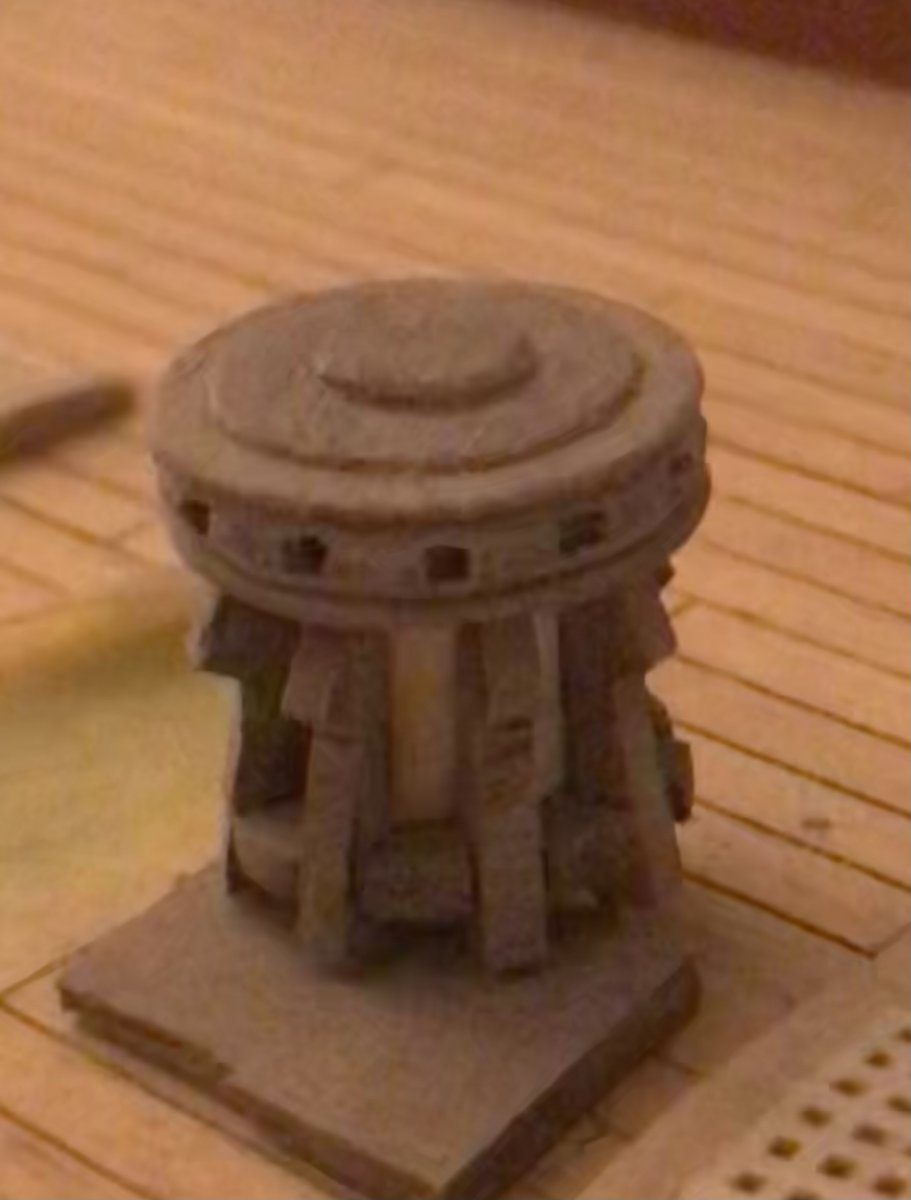
What you need
- circular saw
- drill
- hobby knife
- needle file
- sandpaper
- walnut, offcuts from the display stand
- PVA glue
Dimensions
- layers from bottom to top: 0.75 mm, 0.5 mm, 1.5 mm (with the bar sockets), 0.5 mm, 0.75 mm, 0.5 mm and a 1 mm cap
- 4.5 mm high in total (28.8 cm full size)
- bar sockets 9.8 cm high and wide full size
- capstan bars 4.9 mm long (over 3 m) and 1.25 mm thick (8 cm), six of them
- Time
- several evenings
- Difficulty
- hard
- When in the build
- Phase 10,
- From the log post
- A drumhead in three attempts · forum
Before you start
The upper deck is planked and the position of the capstan is known. Find the drawing and photo of the capstan in The Anatomy of the Ship as an example and convert the dimensions to 1:64 scale. Walnut left over from the display stand is good enough.
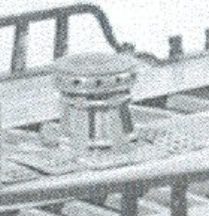
Take the photo and the drawing of the capstan in The Anatomy of the Ship as inspiration. Convert the dimensions: a 4.5 mm drumhead is 28.8 cm at full size and sockets of almost 10 cm agree with the drawing. Granted, the example is far nicer, but it is only inspiration after all.
drumhead 4.5 mm = 28.8 cm
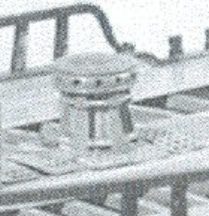
The source of inspiration: the capstan in a photo in The Anatomy of the Ship, with the rings round the drumhead and the square sockets. Watch out: On closer inspection the first capstan in oak was a botched job. Take a wood fine enough for the purpose and do not hesitate to throw a failure away.
Saw seven discs from walnut: from bottom to top 0.75 mm, 0.5 mm, 1.5 mm for the layer with the sockets, 0.5 mm, 0.75 mm, 0.5 mm and a 1 mm cap. Together 4.5 mm high. Vary the diameters, so the thin layers read as rings round the drumhead.
0.75 / 0.5 / 1.5 / 0.5 / 0.75 / 0.5 / 1 mm
Drill the sockets for the capstan bars slightly into the 1.5 mm layer and make them square, so the bars sit firmly but loose. Round holes are easier, but square is correct and you see it straight away.
sockets 9.8 cm high and wide full size
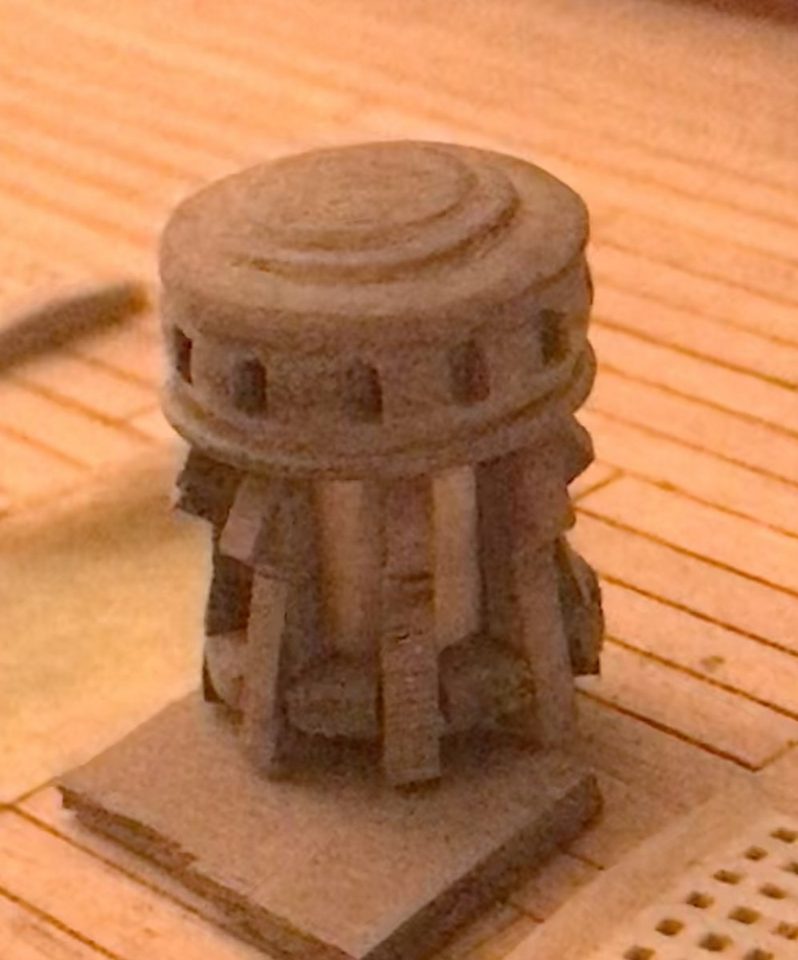
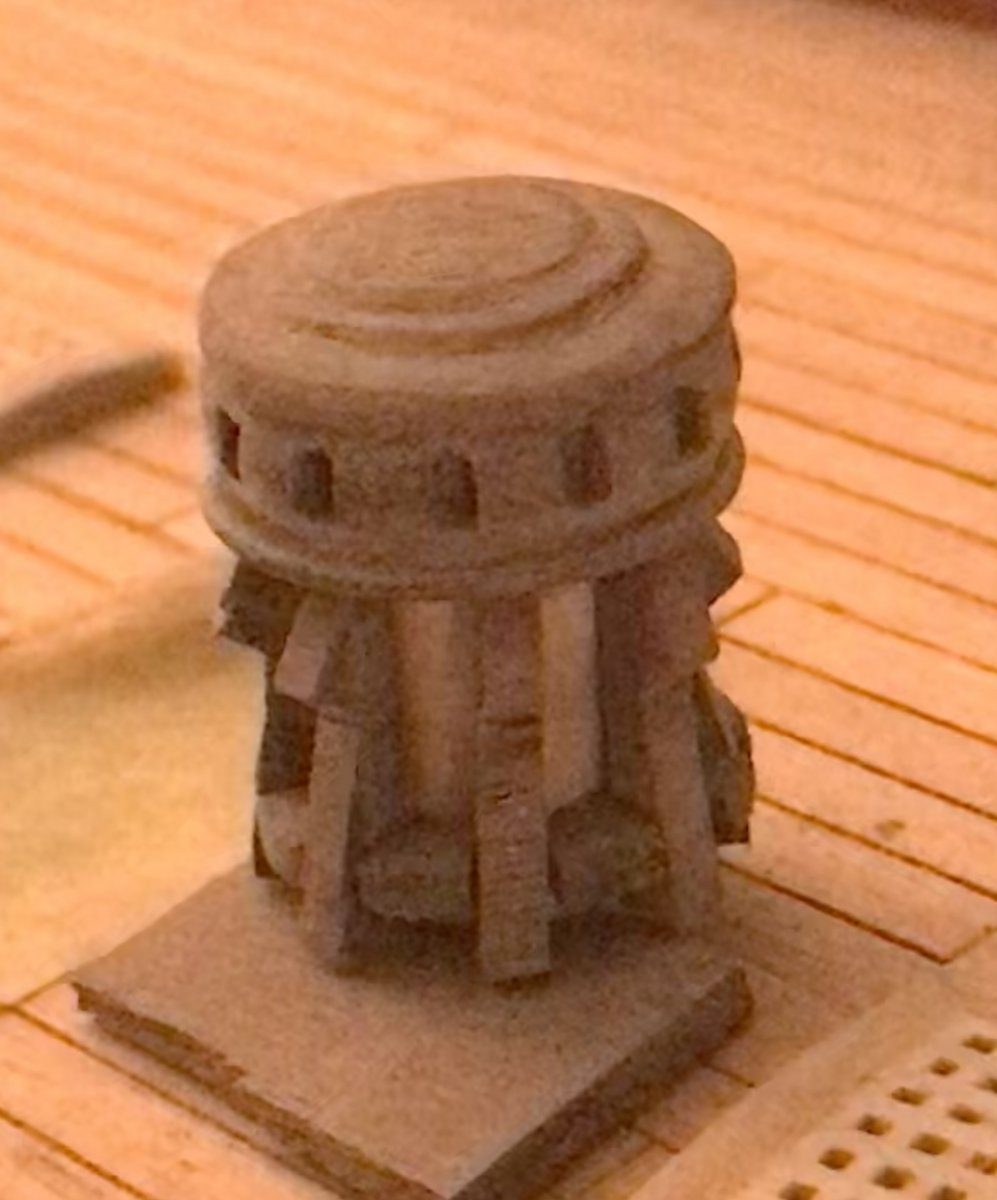
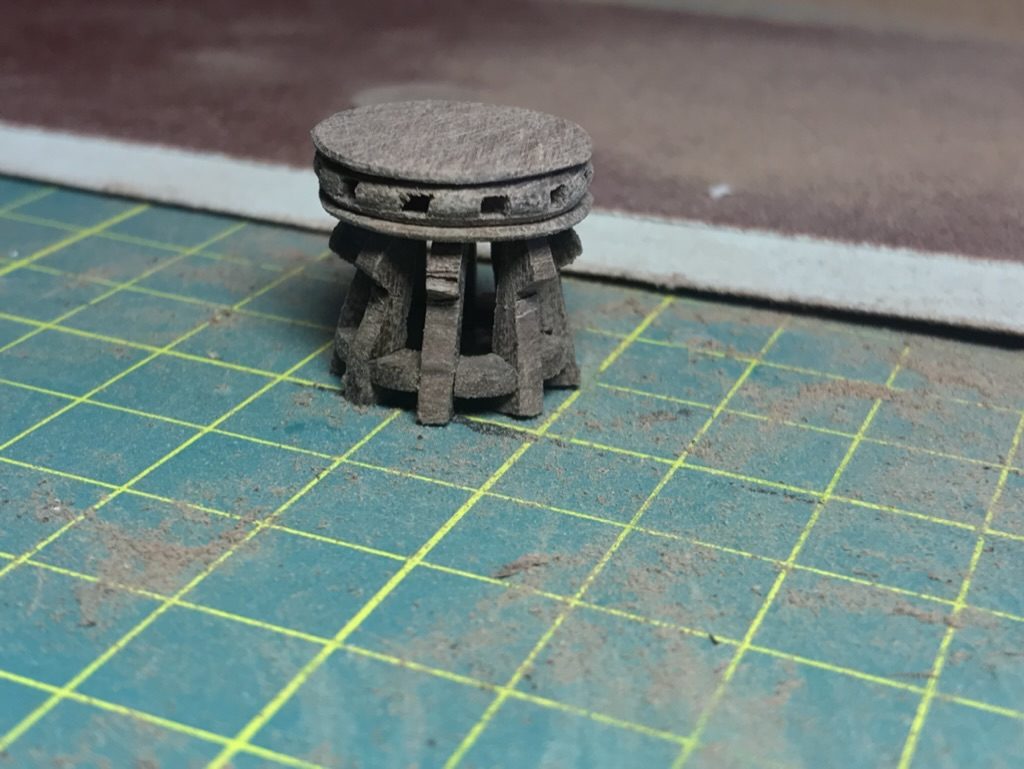
Attempt two, with round bar sockets: the reason for making the drumhead again. 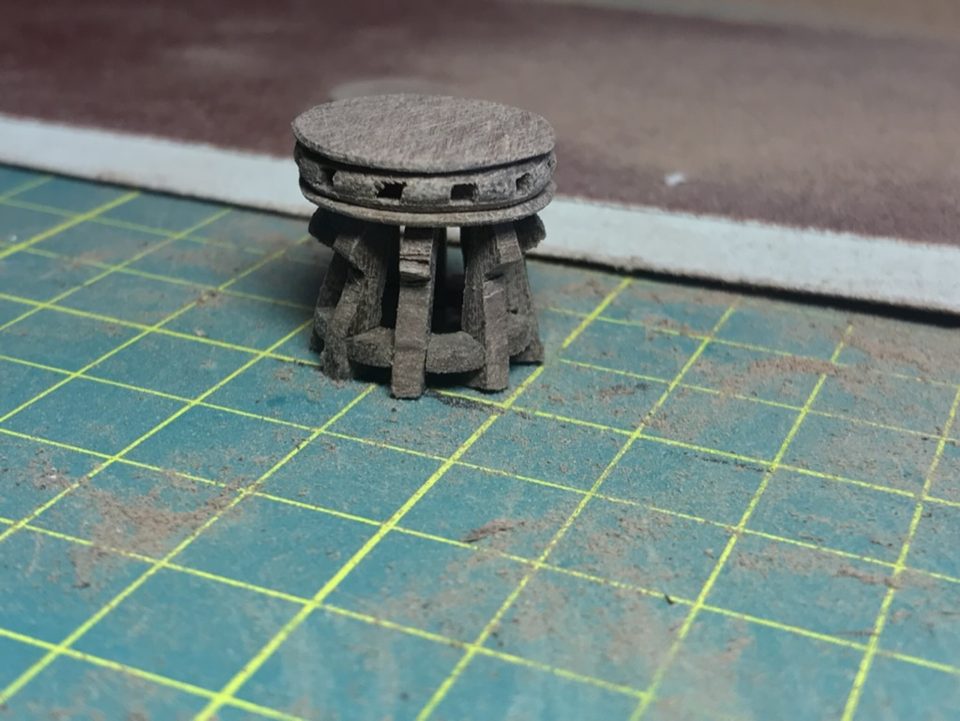
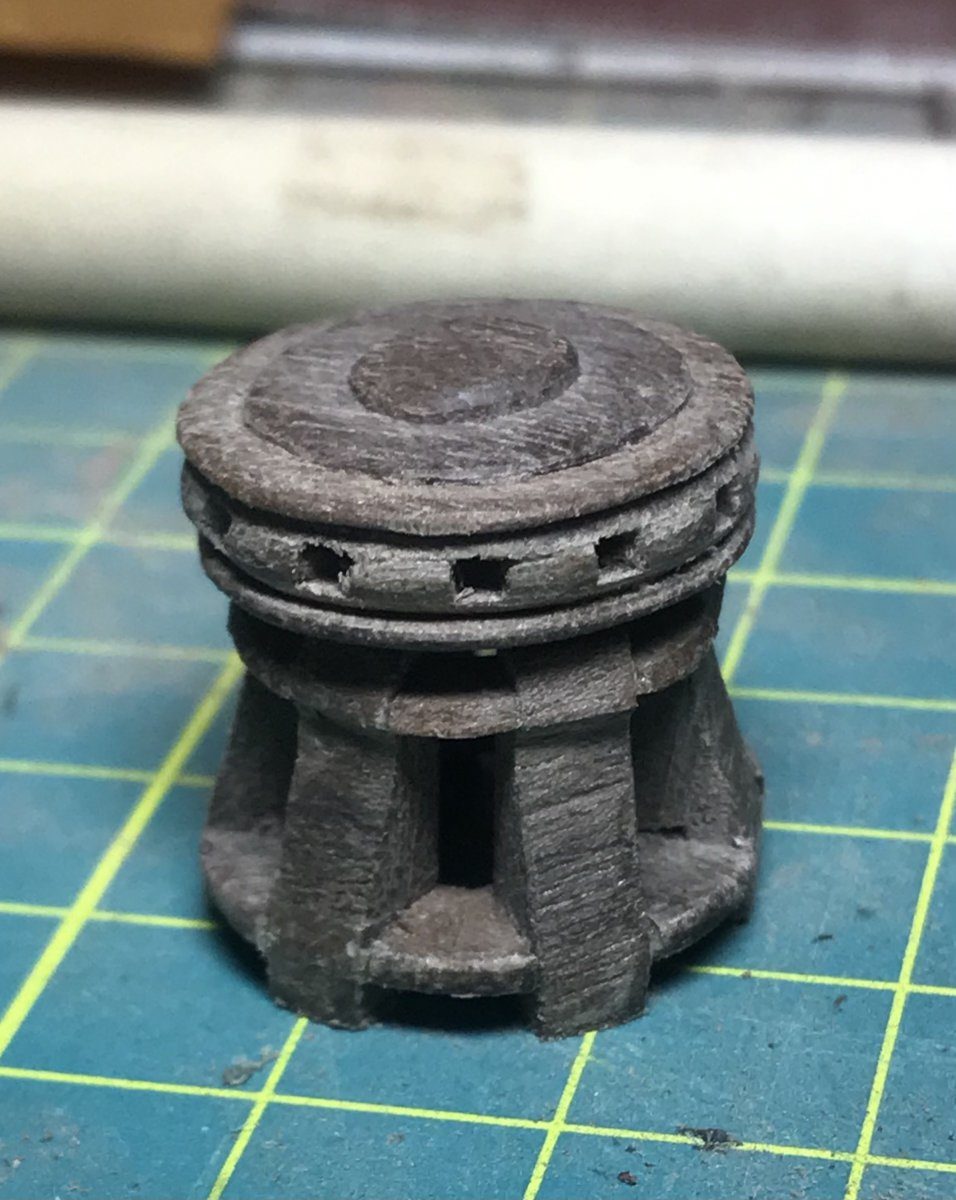
Attempt three on the cutting mat: the square sockets in the thick middle layer are clearly visible. Tip from pietsan: The bottom one is the only one with square capstan bar sockets, which is how it should be, in principle.
Glue the discs on top of each other with the layer with the sockets in the middle and the 1 mm cap on top. Make sure the layers are exactly centred, otherwise the rings round the drumhead run askew.
4.5 mm in total
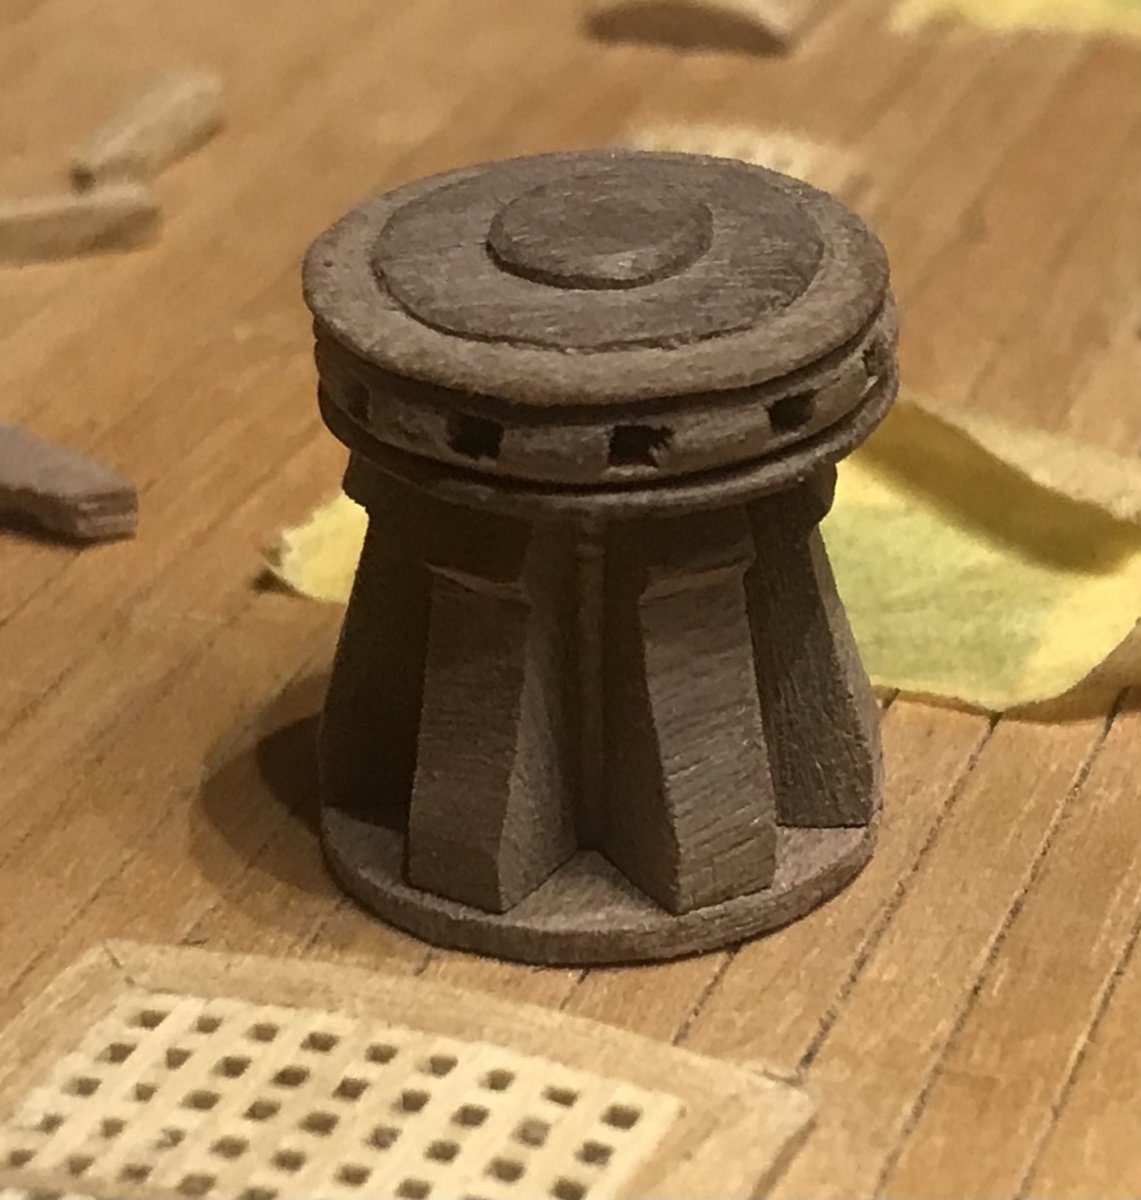
Make the vertical whelps of the barrel twice as thick and then use half as many; that looks better than many narrow ones. Set the ring they stand on 1.5 mm above the deck, so the ring exactly continues the top of the vertical part of the whelps. Getting them equally spaced is a job in itself.
ring 1.5 mm above the deck
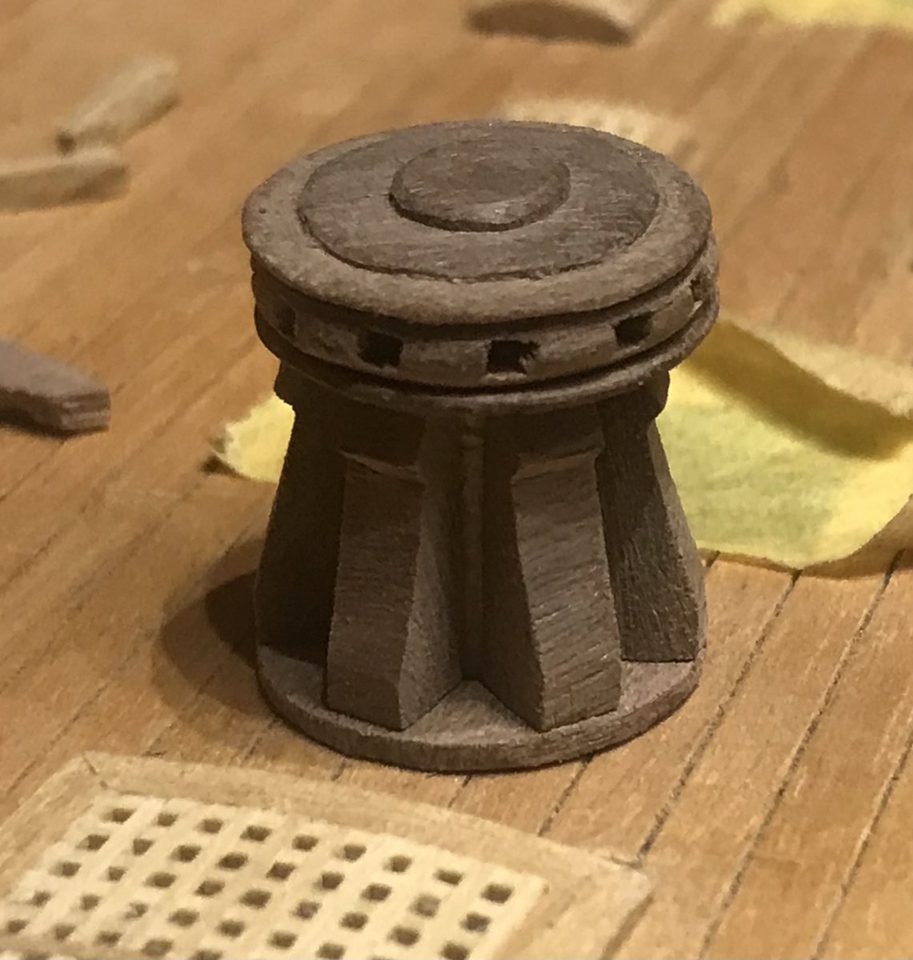
The drumhead on the thicker vertical whelps; the ring at the bottom still has to come up 1.5 mm. Tip from pietsan: Those vertical uprights are called whelps (klampen of schenen in Dutch).
Watch out: The narrow whelps of attempt two were still a bit clumsy. Try first before gluing everything in place.
Fit the horizontal wedges between the whelps. It is fiddly work, especially as the top ones are only 1 mm thick. Then finish the drumhead and give it oil or varnish.
top wedges 1 mm thick
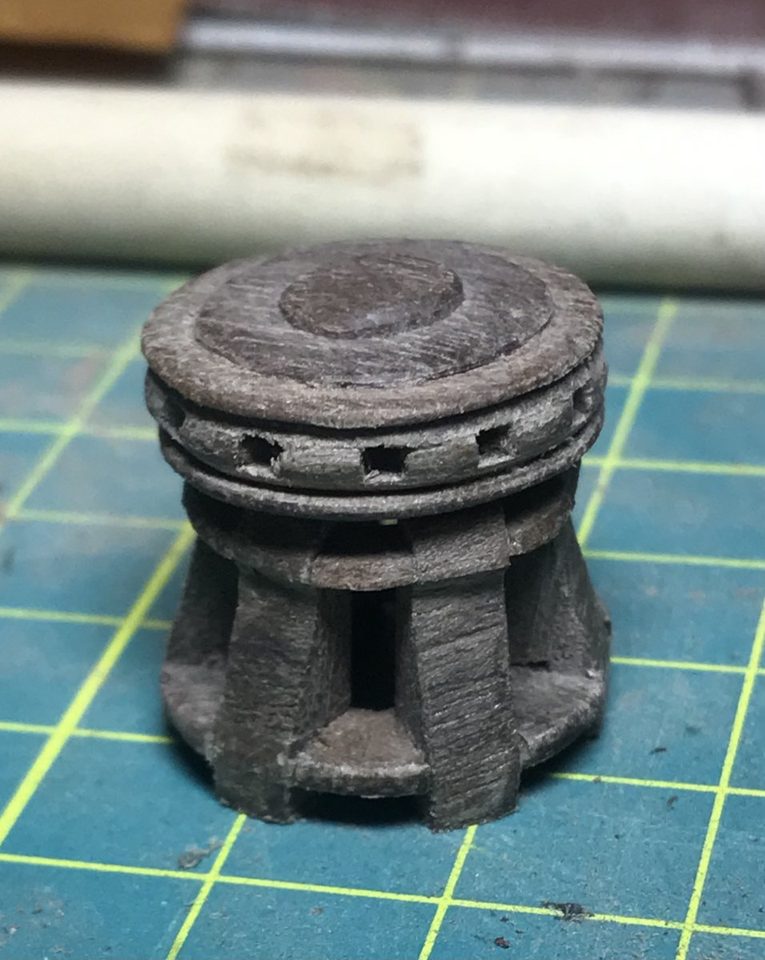
The provisional result with the horizontal wedges between the whelps; finishing still to follow. Saw six capstan bars 4.9 mm long and about 1.25 mm thick, after the drawings in The Anatomy of the Ship; that comes to over 3 m in length and 8 cm in thickness at full size. Twelve will fit, but on many models you see six.
4.9 mm long, 1.25 mm thick
Tip from Hans Groenenberg: Seems a nice thickness to me like this.
Result
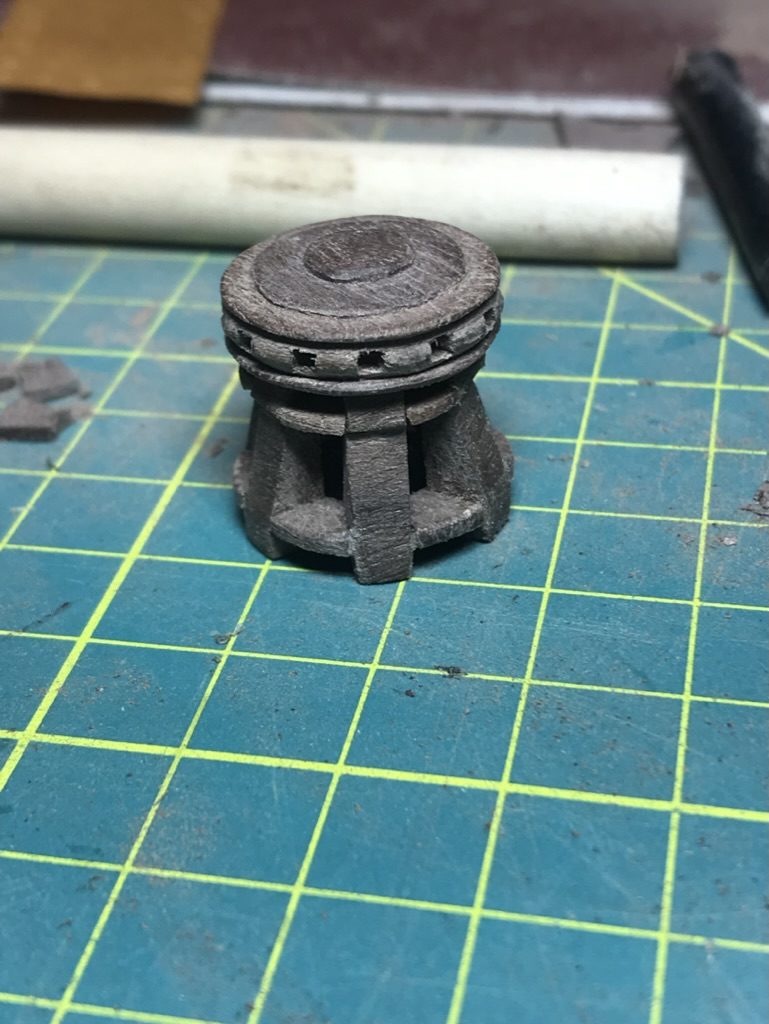
The verdict on the forum was unanimous for the drumhead with square bar sockets, and the size turned out to agree with the drawing in The Anatomy of the Ship. A lucky break. With the thicker whelps I am in the end also happier than with the narrow variants.
Problems met with this technique
The first scratch-built capstan in oak was 'a botch job'. Redone in walnut after Anatomy of the Ship; the third version of the drumhead with square bar sockets was chosen unanimously. (Tips from pietsan, Stephan Kertész, Gerko511) to the register
The kit's walnut plate under the capstan is a different colour from the walnut of the capstan. Made his own plate from oak, like the edges of the grating. to the register
In the same series: Deck fittings
- Shot garlands with every shot equally spaced, using a small template
- Making the upper deck gratings lower with a camber
- Bending a strip for the planksheer in a PVC pipe of water
- Building up a drumhead from seven layers of walnut
- Turning and fitting rail stanchions for the ladderway
- A mast coat from dyed lining fabric, after the masts of the Victory
- A ship's wheel rim from ten walnut segments, turned round on a faceplate
- Turning spokes for the ship's wheel with a pre-shaped blade
All how-tos · Deck fittings: capstan, ship's wheel, gratings and bitts