Blackening brass gun barrels with blackening solution
Degrease the 28 brass barrels and soak them in blackening solution in a few rounds, rinsing and dabbing dry in between, until they are dark; the result varies from barrel to barrel and that is fine.
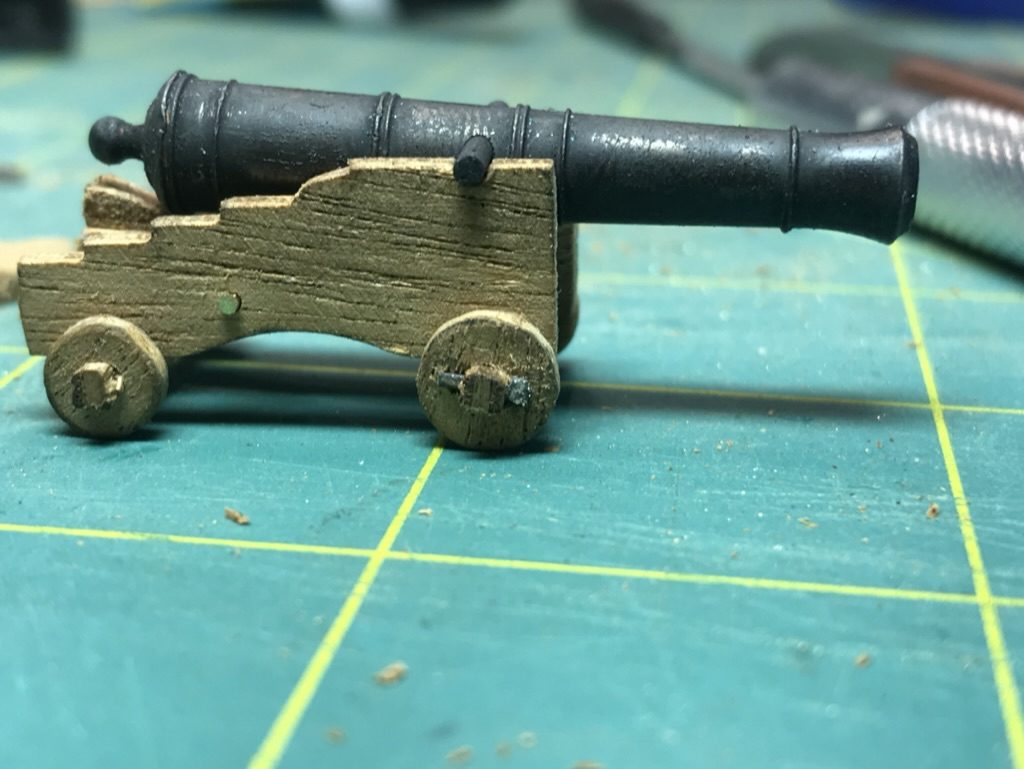
What you need
- tray or dish for the solution
- dish of clean water
- kitchen paper
- gloves
- blackening solution (from the French-polish supplier)
- washing-up liquid
- 28 brass gun barrels from the kit
Dimensions
- 28 barrels for the gun deck
- Time
- several evenings
- Difficulty
- moderate
- When in the build
- Phase 8,
- From the log post
- Blackening the barrels · forum
Before you start
All barrels are out of the kit and cleaned of casting seams. Make sure you can treat all 28 in one go, so they go through the same rounds. The solution works on brass; it does nothing on the white metal parts.
Wash the barrels with washing-up liquid and warm water and afterwards handle them as little as possible with bare fingers. Grease and fingerprints hold the solution off and leave patches.
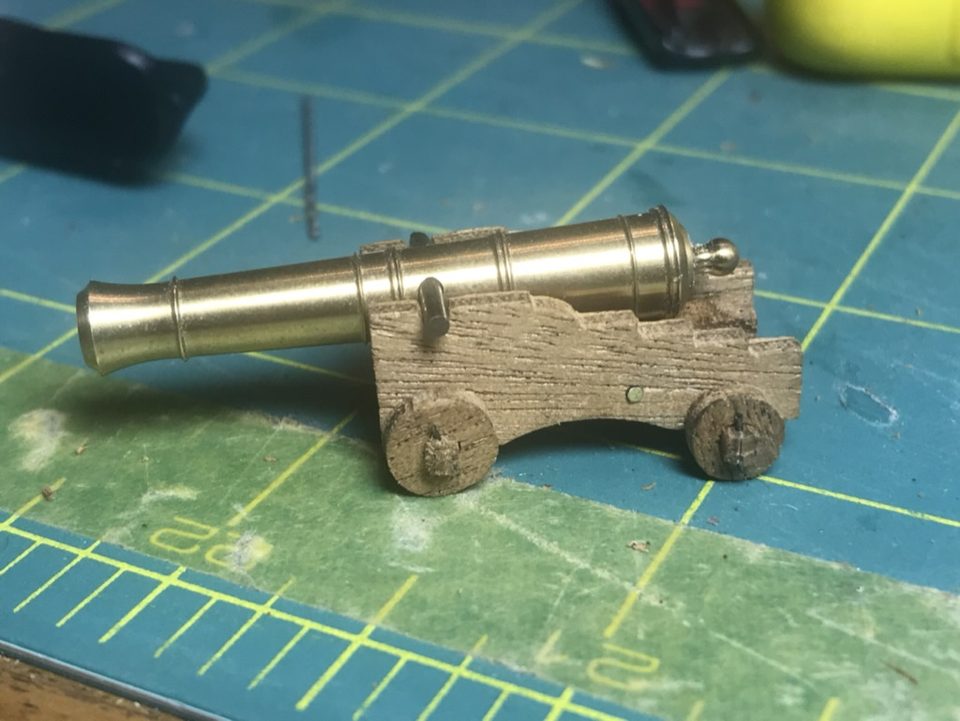
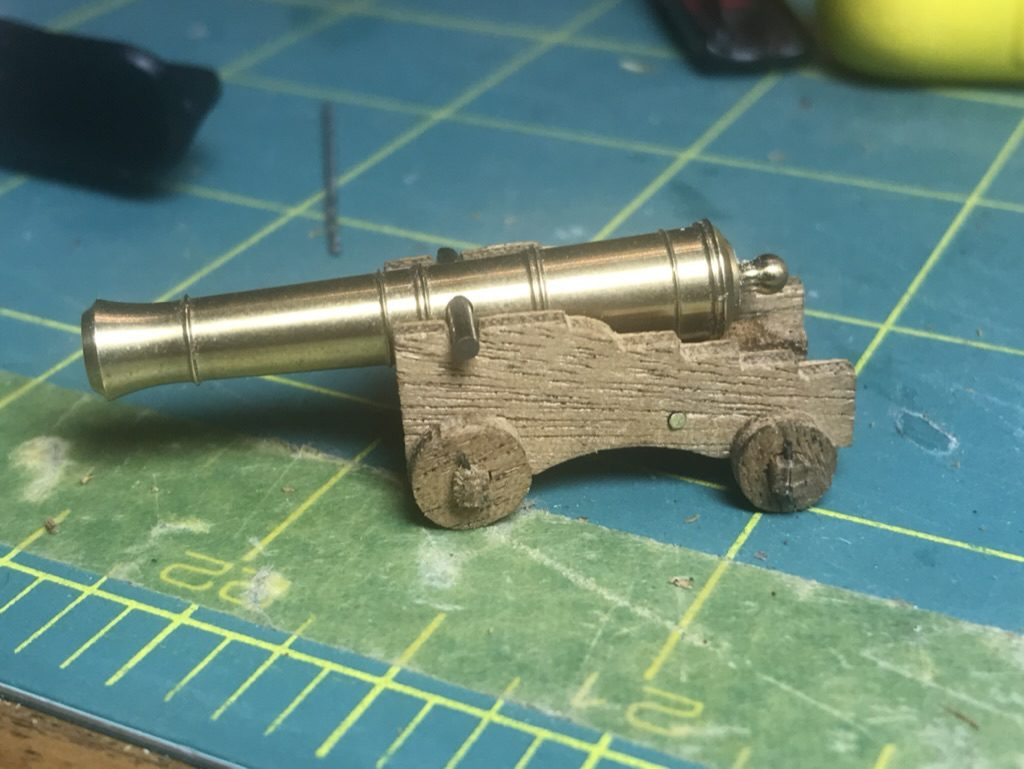
This is how the brass barrel comes out of the kit: shiny and still greasy, here trial-fitted on an unpainted carriage. Tip from walter de bouwer: Hang small eyes and rings on a thread in the blackening solution; painting loose rings is not doable (Dutch forum, 'hms diana', October 2015). And if you prefer paint: pietsan puts etched brass and castings in black multi-primer first and then Humbrol matt black 33, which he finds nicer than blackening (May 2015).
Pour the blackening solution into a dish and lay the barrels in it. We used undiluted solution from the French-polish supplier. Leave them until they visibly start to darken.
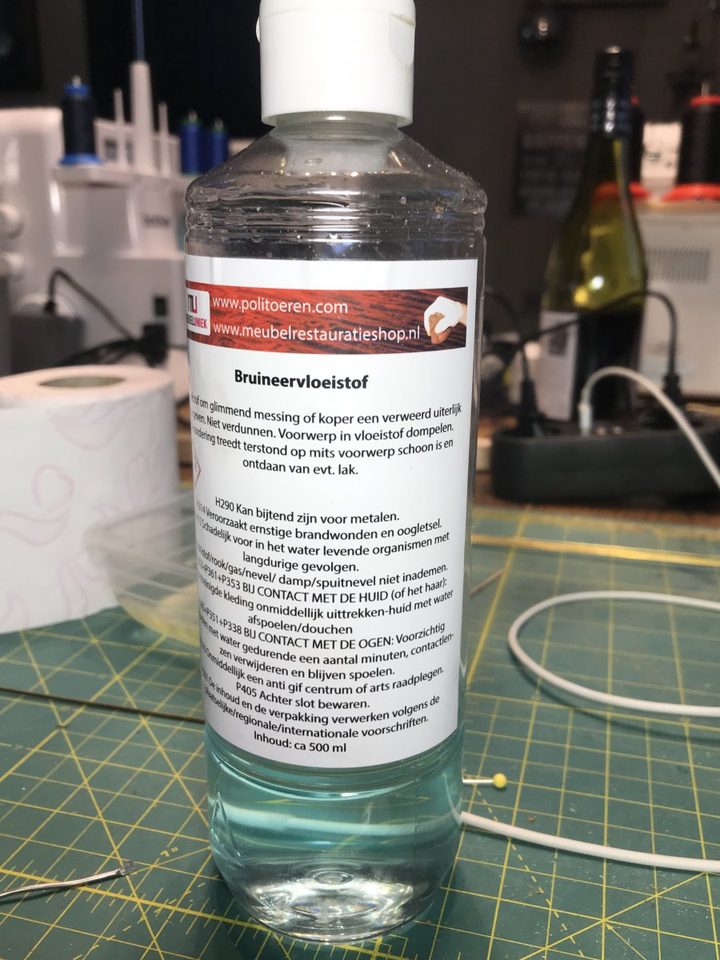
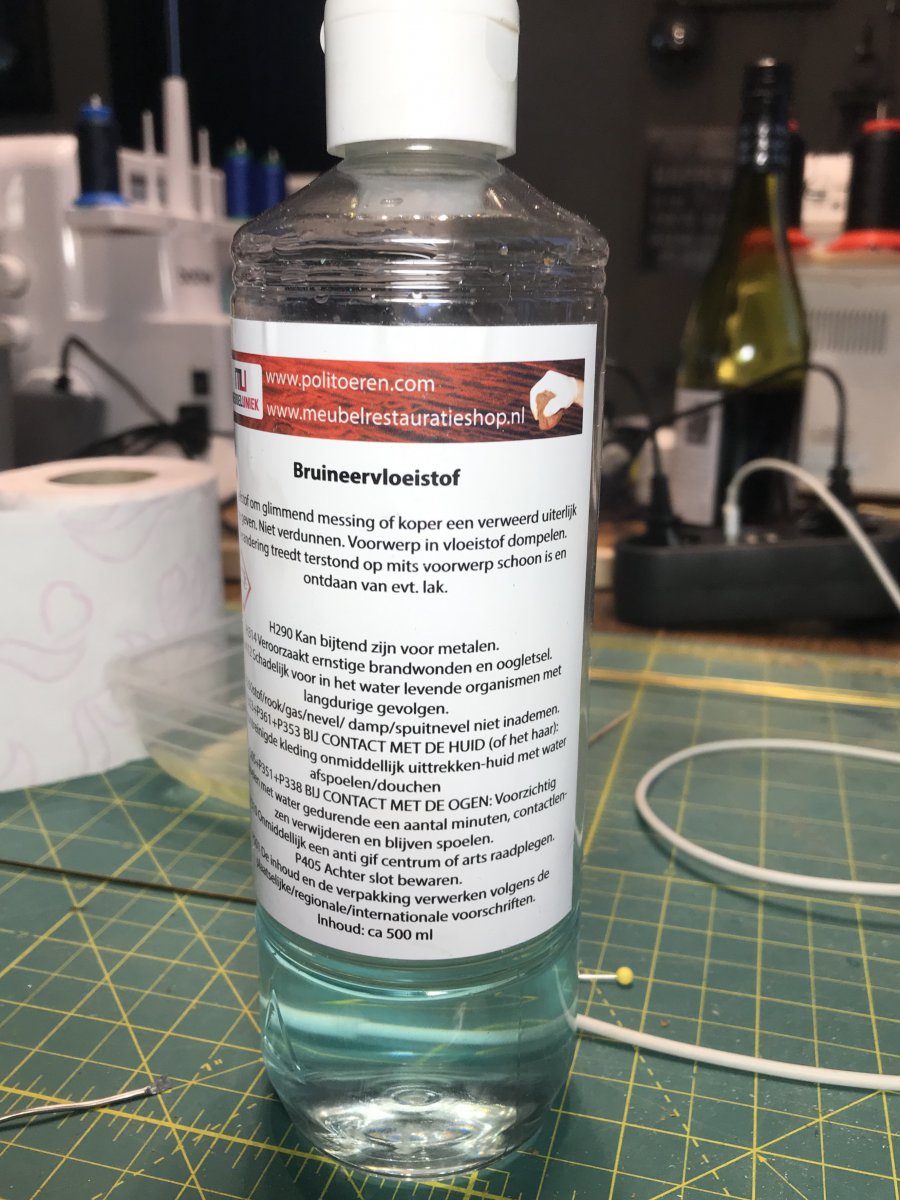
The blackening solution used: a 500 ml bottle for shiny brass or copper. Tip from Jaques: I used that once too and found it a lot of fuss; I now work with Patina, which is a good deal quicker with the same result.
Watch out: This solution does not work on white metal, and neither does the Kolderstok patina that Prutsertje uses. White metal parts have to be painted.
Take the barrels out, rinse them in water and dab them dry with kitchen paper. Put them back in the solution and repeat this a few times, until they are all dark.
Tip from Stephan Kertész: I once saw a builder who chucked the barrels in a lathe or drill and worked them with steel wool; that gave a nice effect too.
Watch out: We had already bought steel wool for that, but the shiny effect does not suit the rest of our ship. On the ship where we saw it, it suited very well; so choose what fits your model.
After the last round put all the barrels in clean water, dab them clean and let them dry completely. Then leave them in the solution for a whole night for a deeper black.
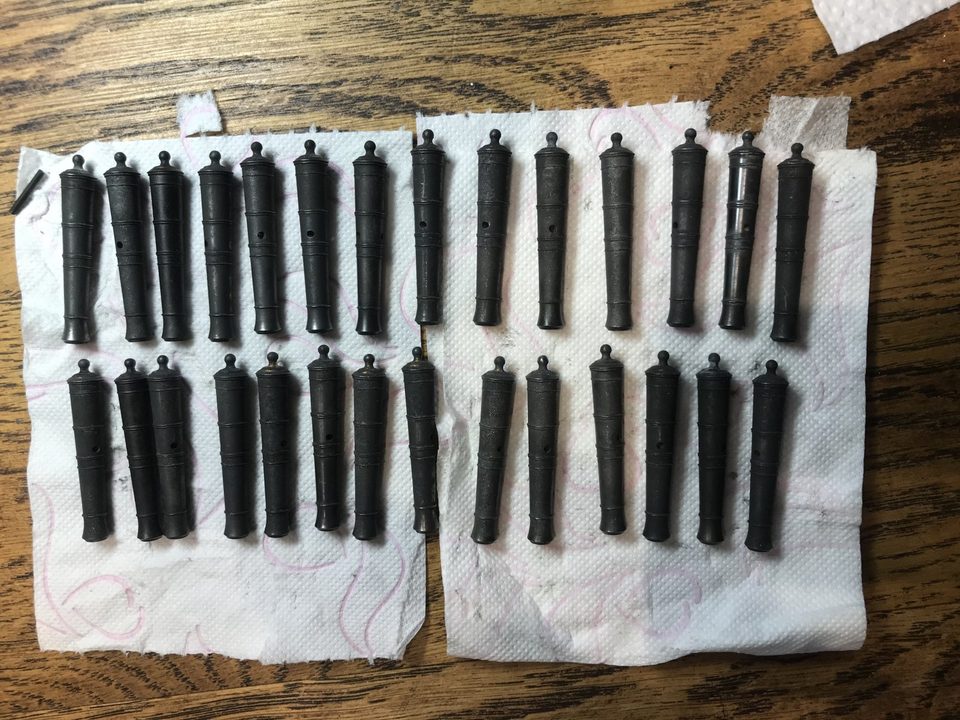
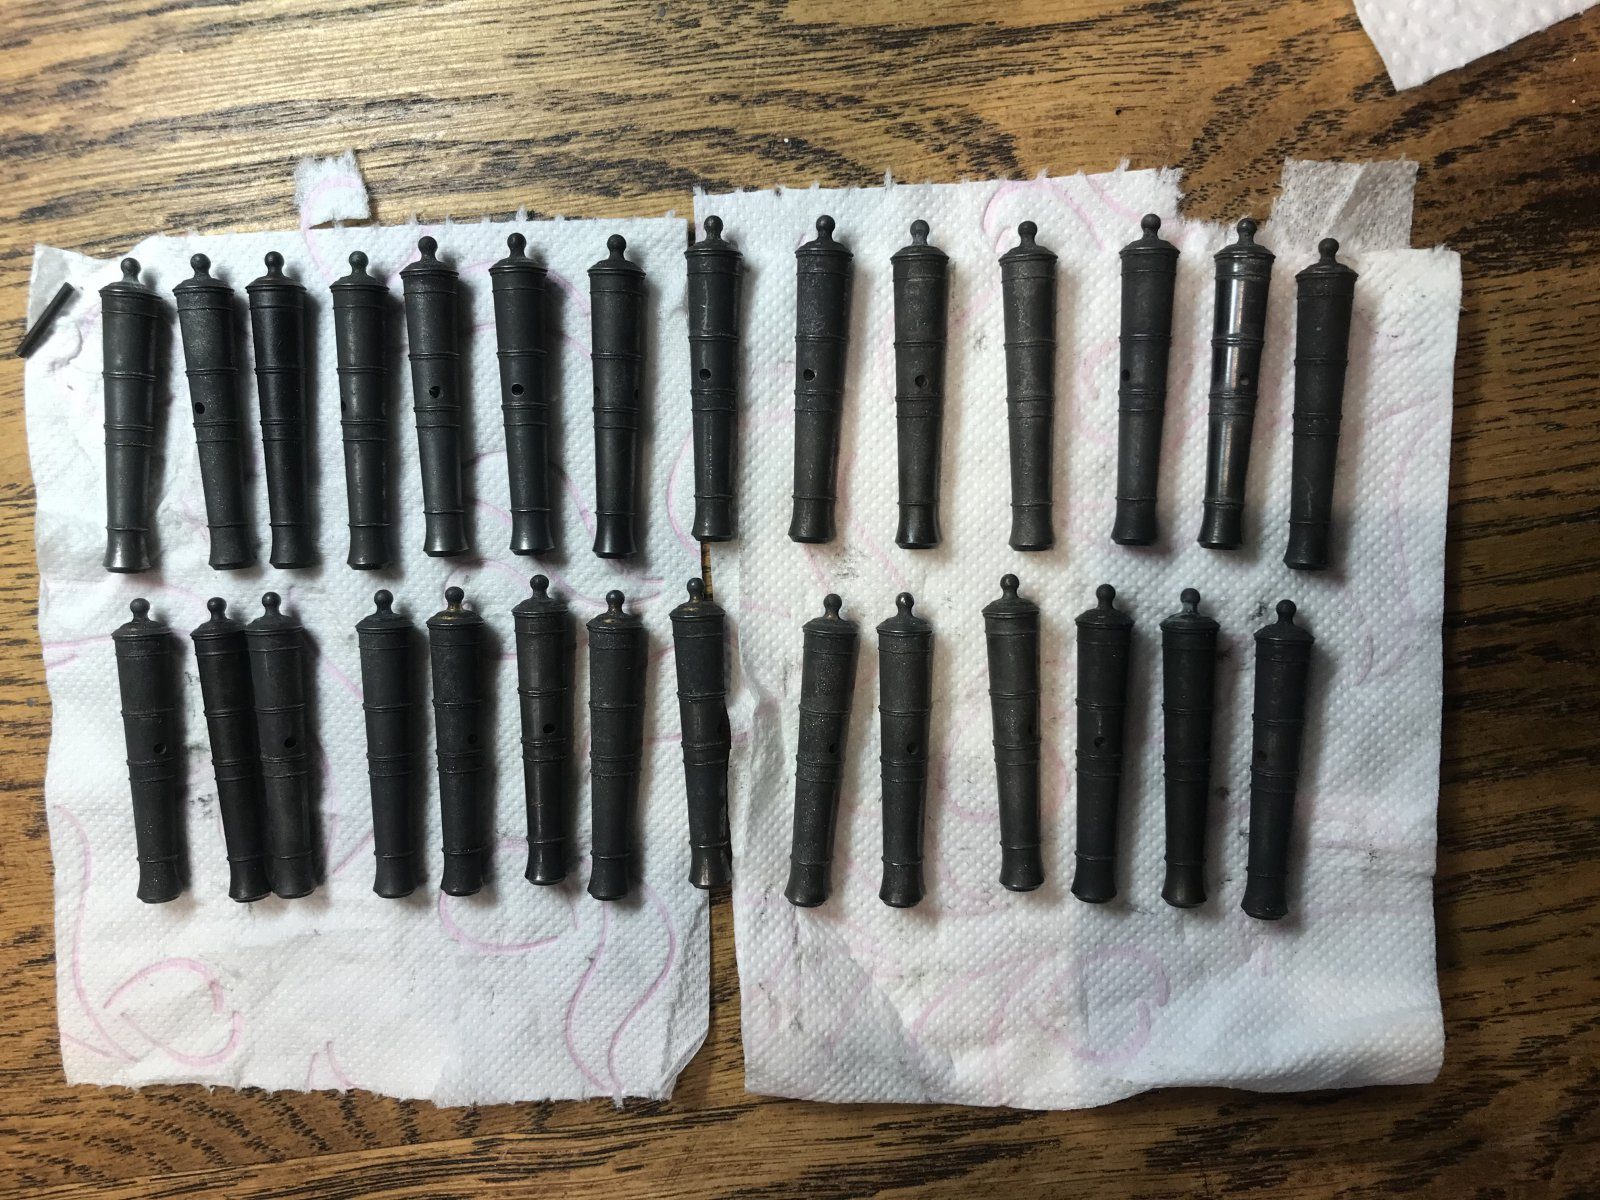
The 28 blackened barrels on kitchen paper: the same treatment, clearly different shades. Rinse the barrels in clean water, dab them dry and lay them side by side. Despite the same treatment they differ quite a bit in shade and sheen; for us the third from the left on the top row came out best. Accept that difference, with blackening solution you have little influence over it.
28 barrels
Tip from pietsan: In reality they will not all have had the same shade either. I usually paint mine with metal black from Admiralty Paints, but I think these look pretty good as they are.
Watch out: We spent a day puzzling over how to get the barrels more even and did not get much further. Piet's remark was confirmation enough to leave it as it is.
Result
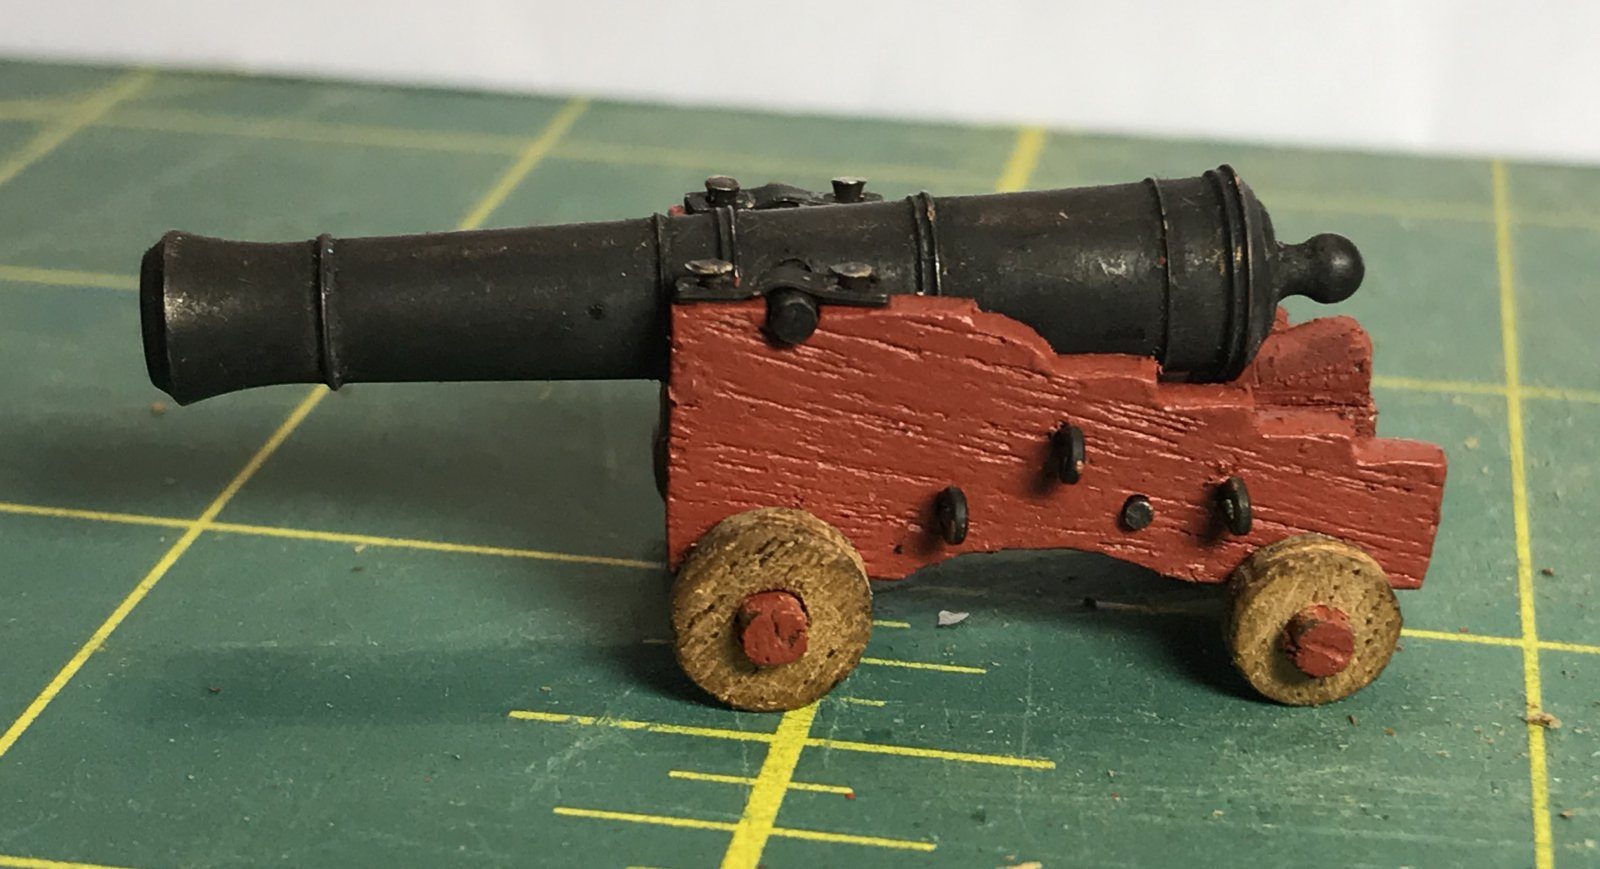
All 28 barrels are dull black, no two the same, and on the red carriage that looks good. Next time we will try patina (Kolderstok), which according to Prutsertje discolours brass immediately.
Problems met with this technique
After identical treatment with blackening solution the barrels are uneven in tone. Left as is; 'in reality they will not all have had the same tone either'. (Tips from Stephan Kertész, pietsan, Jaques, Prutsertje) to the register
In the same series: Guns
- Lowering the gun in the port by setting the axletrees deeper
- Blackening brass gun barrels with blackening solution
- Detailing a kit gun carriage with bolts, linchpins, quoin handle and breeching ring
- Turning the quoin handle from a satay skewer
- Milling gun carriages for the 9-pounders on the cross-slide table
- Making washers and linchpins from brass pin heads
- Carronades: trucks from brass tube and a working elevating screw