Bending a strip for the planksheer in a PVC pipe of water
Soak a 5x2 mm beech strip for five minutes in a PVC pipe of water and bend it round a jig of nails, so the planksheer of the forecastle deck runs round the curve in one piece.
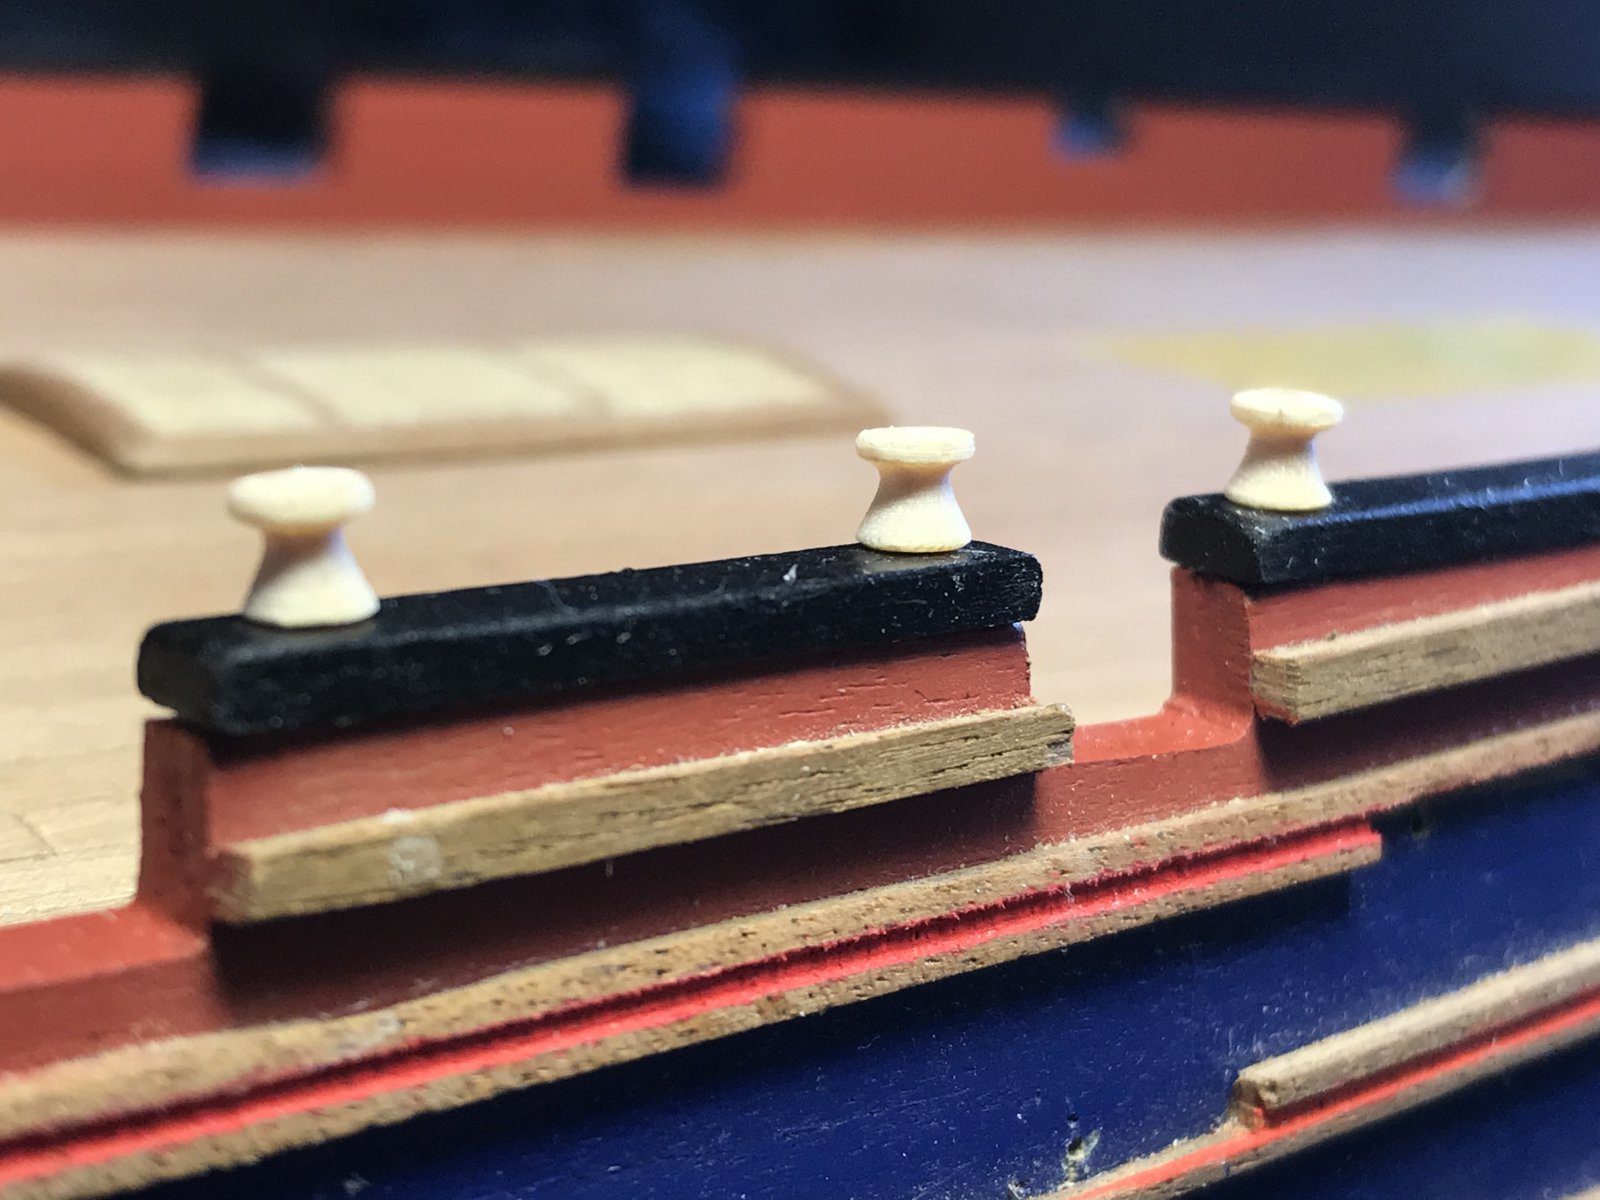
What you need
- PVC pipe, closed at one end
- board with nails as a jig
- hammer
- hobby knife
- bendable beech strips 5x2 mm (kit part 284; we bought ours separately)
- water
Dimensions
- beech strips 5x2 mm (part 284, manual 20.2)
- kit: the 2x4 mm strips are part 282, for the bitts, not for the planksheer; the walnut strips for the forecastle deck (93 and 94) are too short
- five minutes soaking
- Time
- an hour
- Difficulty
- easy
- When in the build
- Phase 9,
- From the log post
- Planksheer stanchions and the first rail · forum
Before you start
The gratings are on the upper deck and the lower part of the planksheer aft is in place, with the open rail. Use the stern to decide how wide and how long the strip for the forecastle deck has to be.
Use bendable beech of 2x5 mm. That should be in the kit as part 284 (two strips, manual 20.2); we only found the walnut strips of 2x4 mm (282), which are for the bitts, and then bought the same beech separately. The walnut parts for the forecastle deck (93 and 94) really are narrower than the planksheer aft and just too short: they only reach as far as the curve. You want the strip to carry on round the curve, as at the stern.
5x2 mm
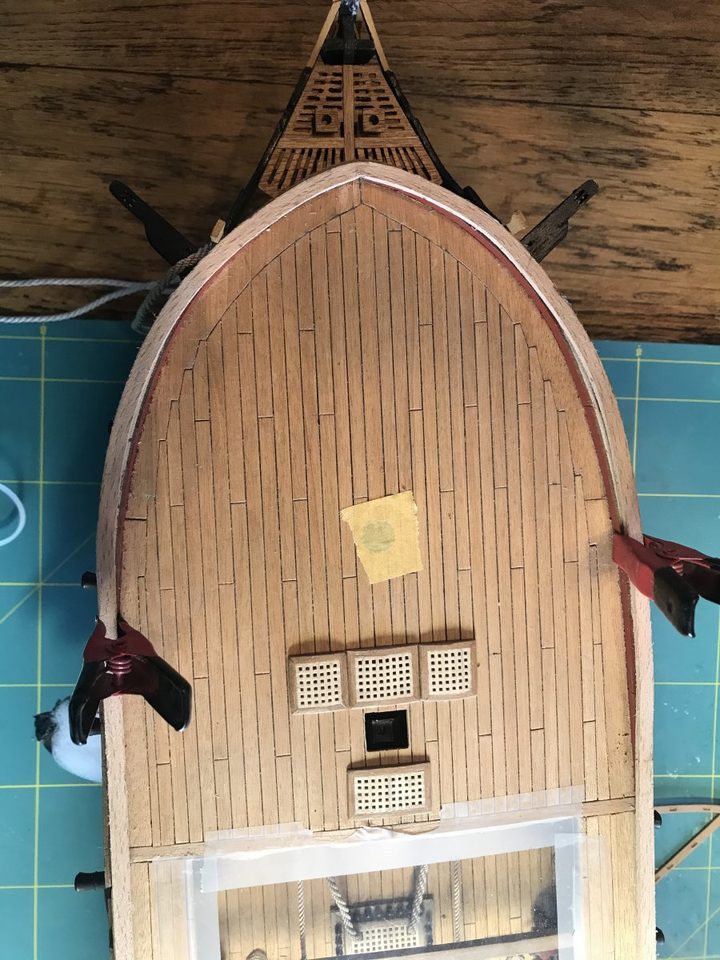
The walnut strips from the kit for the forecastle deck, with the pre-cut holes, lying loose on the deck: too narrow and too short. 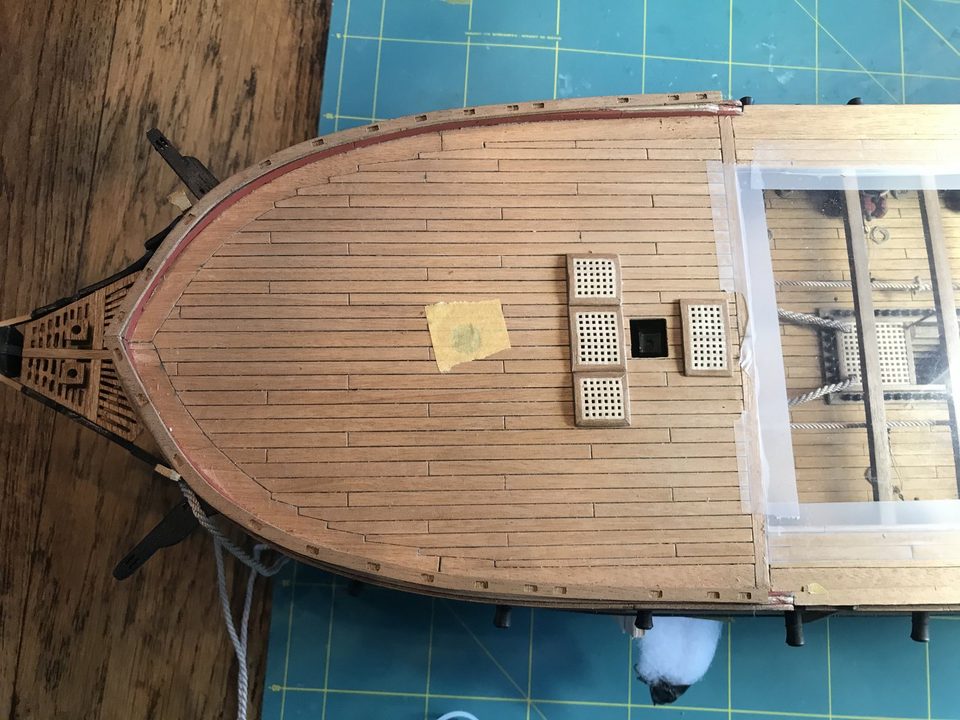
This is how the planksheer aft runs round the curve; the bow should do the same. Watch out: First check whether 284 is in the box. If you have to buy extra, buy enough at once: because of the open rail aft you need more than you think.
Fill a length of PVC pipe with water and put the strip in. Leave it for five minutes; longer is not needed, the wood becomes surprisingly flexible.
five minutes
Drive nails into a board in the shape of the curve of the forecastle deck. Take the wet strip out of the pipe and bend it straight away round the nails. Secure the end so the strip keeps its shape.
Let the strip dry in the jig. Take it out and lay it on the bulwark of the forecastle deck; if all is well it fits round the curve in one piece. Voilà.
The walnut strips from the kit have pre-cut holes. Your own strip does not, so cut them in yourself now, in the positions the kit strips indicate.
Watch out: The only drawback of a strip of your own: all those holes have to be cut by hand. It works, but allow time for it.
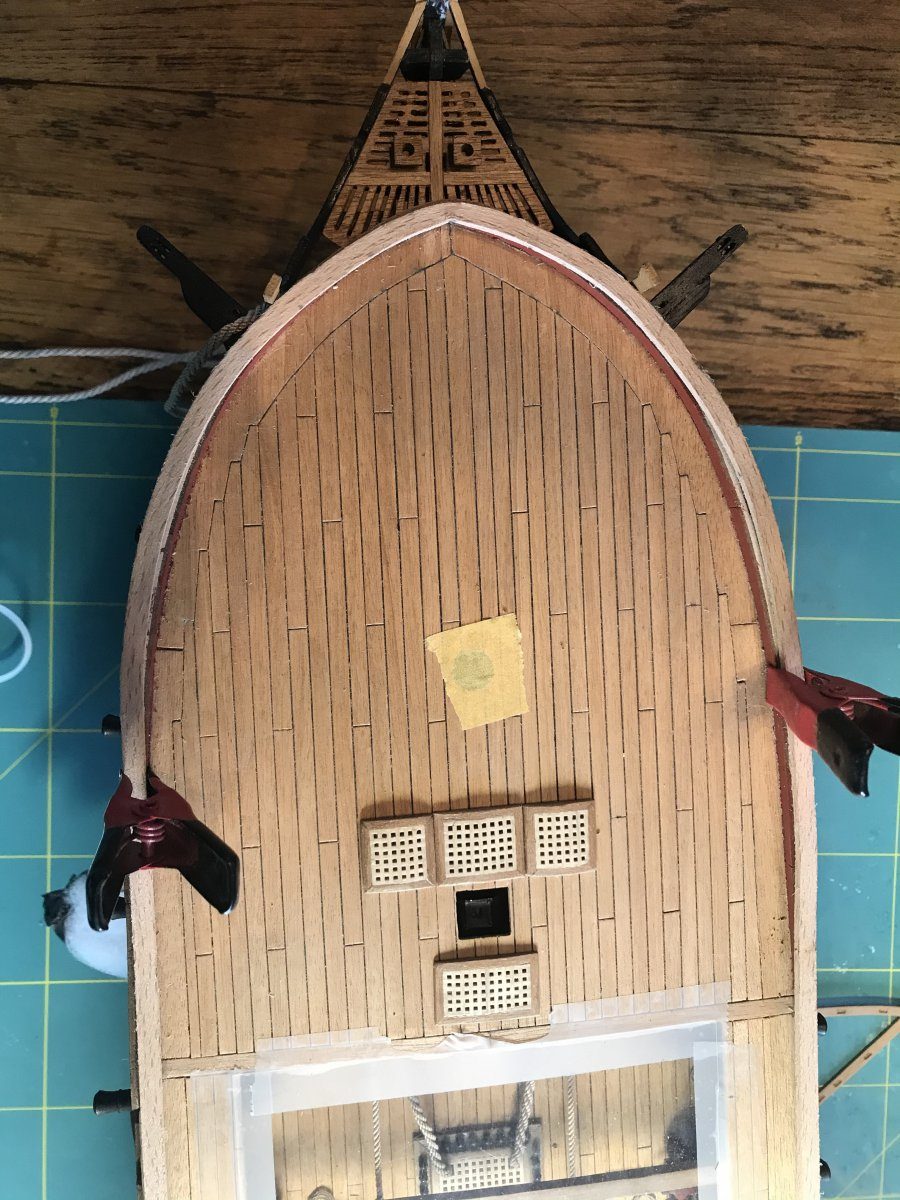
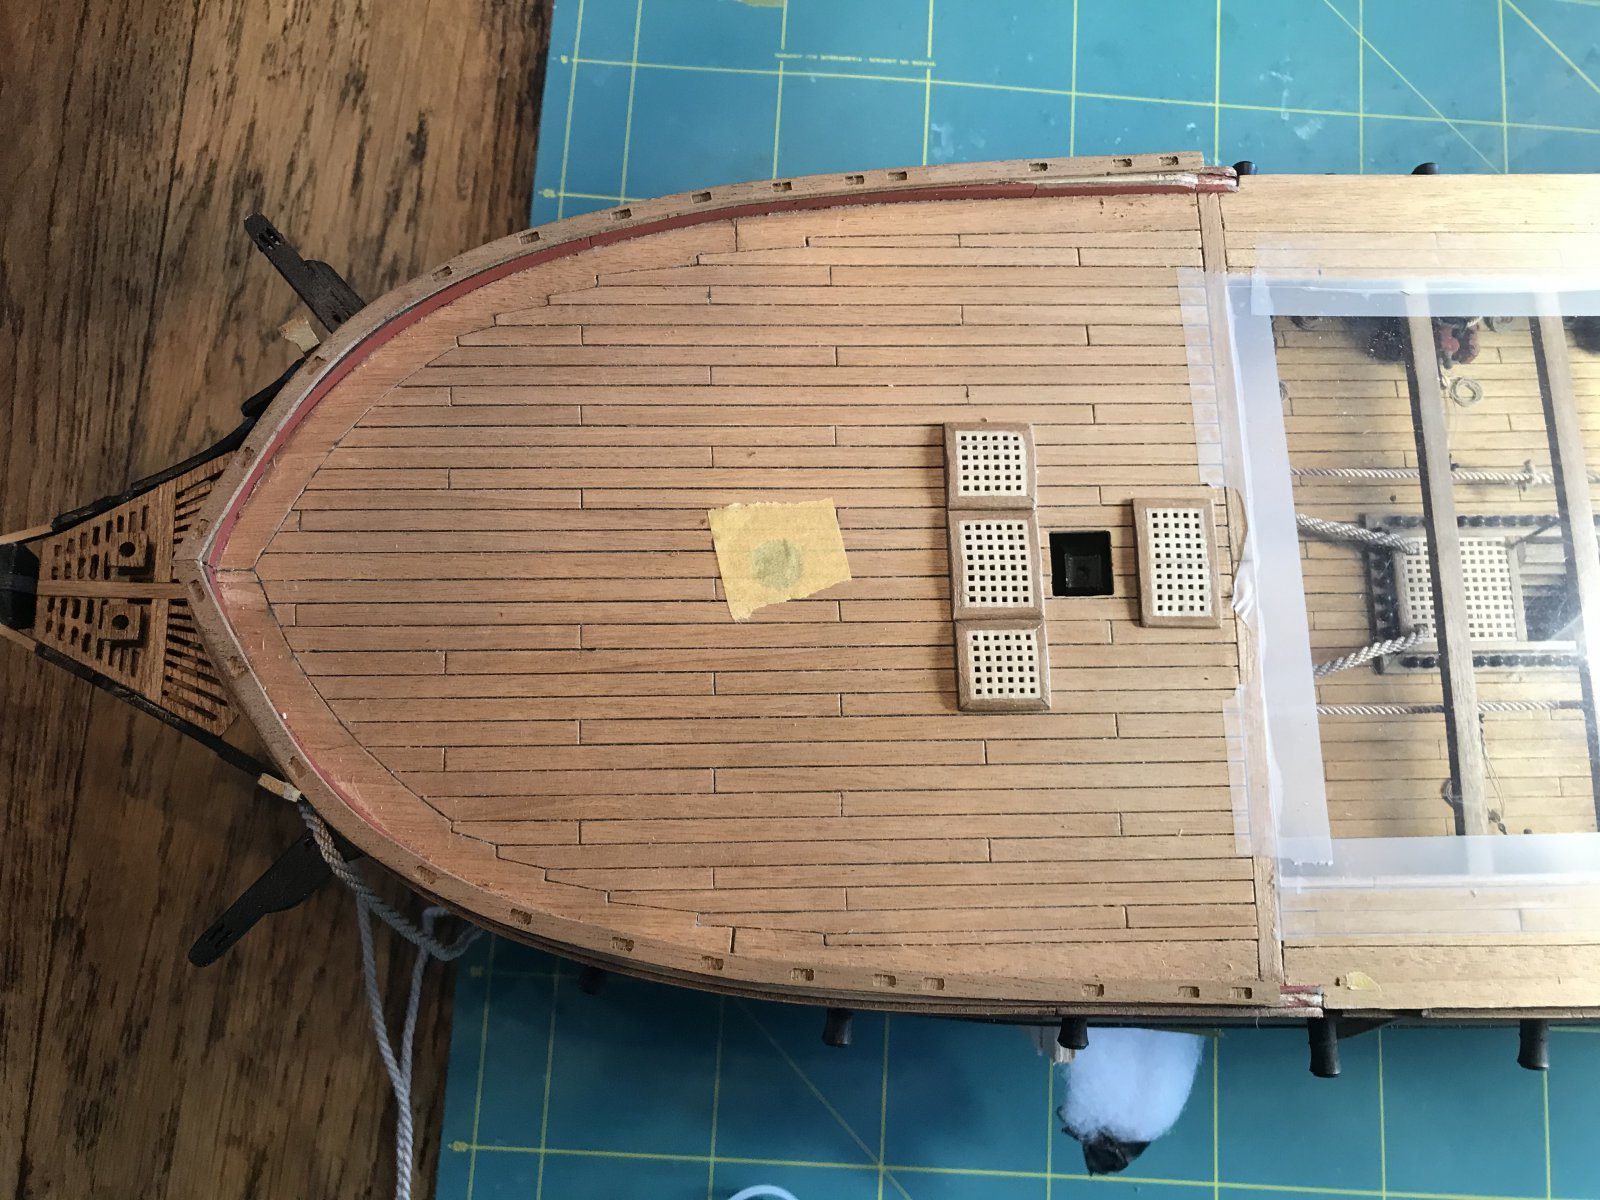
Result
Remarkable how flexible beech is after five minutes in water. The curves in particular were a challenge, but with a strip in one piece the forecastle deck looks just as crisp as the stern.
Problems met with this technique
The kit strips for the planksheer (2x4 mm) are too narrow and the walnut strips for the forecastle too short. Bought bendable 5x2 mm beech strips; bent his own strip in a PVC pipe with water. to the register
Kit errata
According to the parts list two strips of flexible beech 2 x 5 mm (284), exactly for the planksheer of the waist and quarterdeck, and for the forecastle two laser-cut slotted walnut parts (93 and 94). At the time I only found walnut of 2 x 4 mm (282, the strips for the bitts) and took that for the planksheer strip. Bought 5x2 mm beech strips, the same as 284, and bent them in a PVC pipe; with the open rail aft I needed more anyway. to the register
In the same series: Deck fittings
- Shot garlands with every shot equally spaced, using a small template
- Making the upper deck gratings lower with a camber
- Bending a strip for the planksheer in a PVC pipe of water
- Building up a drumhead from seven layers of walnut
- Turning and fitting rail stanchions for the ladderway
- A mast coat from dyed lining fabric, after the masts of the Victory
- A ship's wheel rim from ten walnut segments, turned round on a faceplate
- Turning spokes for the ship's wheel with a pre-shaped blade
All how-tos · Deck fittings: capstan, ship's wheel, gratings and bitts