Bending a one-piece moulding round the bow
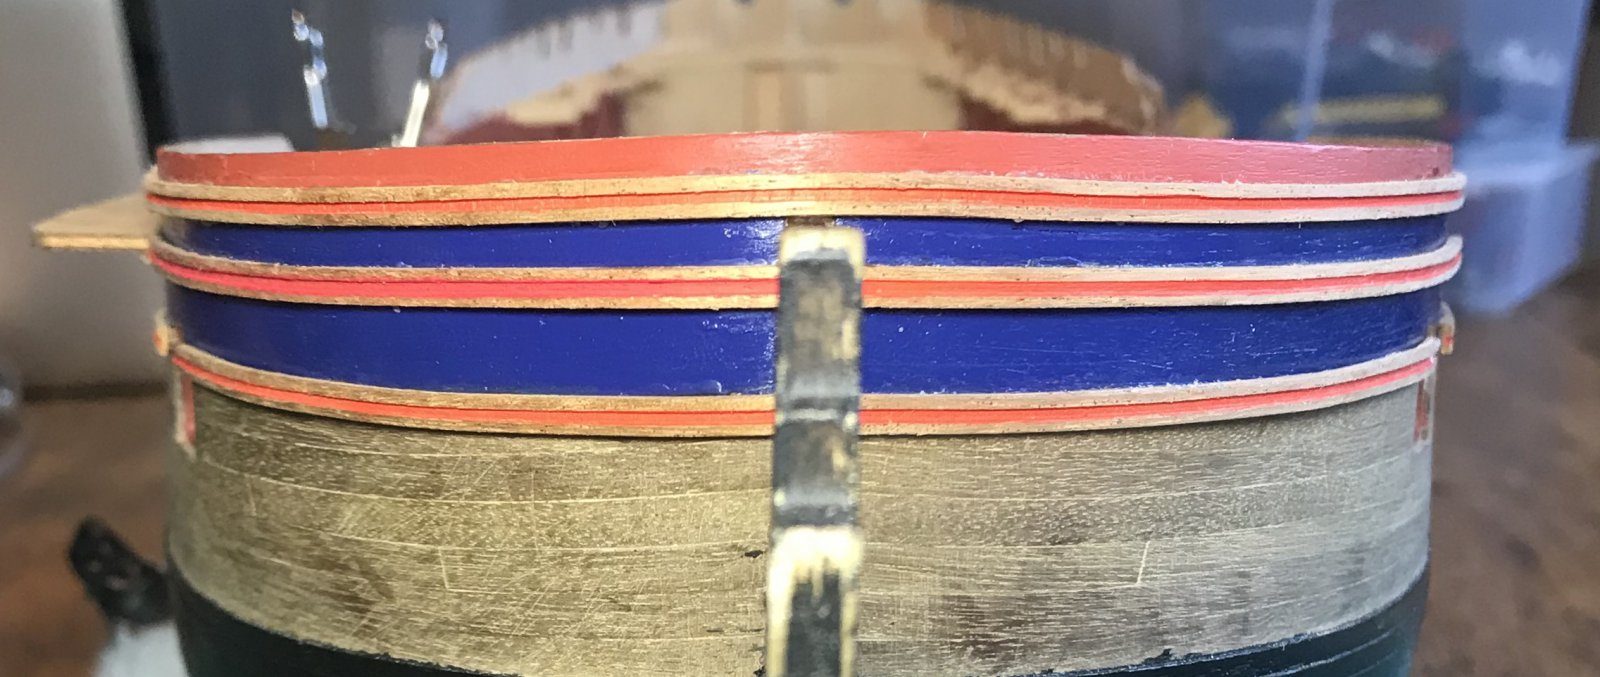
Fit the mouldings at the bow in one piece round the curve, with the bend put in beforehand and an extra row of clamps, so the mouldings stay parallel.
What you need
- plenty of small clamps (a few more than you think you need)
- very sharp hobby knife blades
- a means of pre-bending the strip
- moulding from the kit, in one piece
- PVA glue
- Time
- an evening
- Difficulty
- hard
- When in the build
- Phase 6,
- From the log post
- A strip that stands out too much · forum
Before you start
The mouldings on the straight parts of the hull are on and the height of the mouldings at the bow is settled. Save the bow for a moment when you have patience: it is the hardest part. Work out beforehand where the catheads and the hole for the bowsprit will pass through the mouldings.
Form the curve of the bow in the moulding before you start gluing. A dry strip that you force round the bow on the spot obviously snaps. Bend gradually and hold the moulding against the bow regularly until the curve is right.
0.7 mm holes for the kit's wedges (12.4)
Tip from pietsan: The plank bender splits these thin mouldings. Soak them well and clamp them round a pan of roughly the right curve; once dry they fit round the bow. (modelbouwforum, 8 April 2015)
Watch out: The manual (12.3) also says: soak the moulding for the bow thoroughly in warm water, and pin it at the bow with thin wooden wedges in 0.7 mm holes (12.4). We used a dense row of small clamps; that worked too.
Use one continuous moulding for the whole curve rather than separate pieces. In separate pieces the moulding goes onto the hull less neatly and every joint shows. Start at one side where it meets the moulding on the hull and work towards the stem.
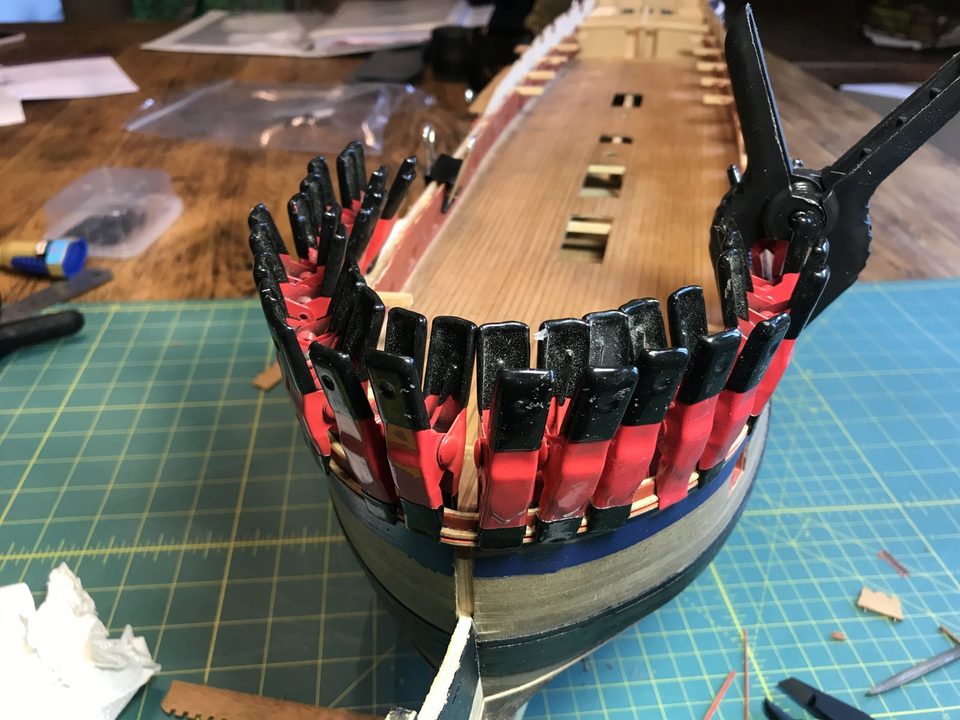
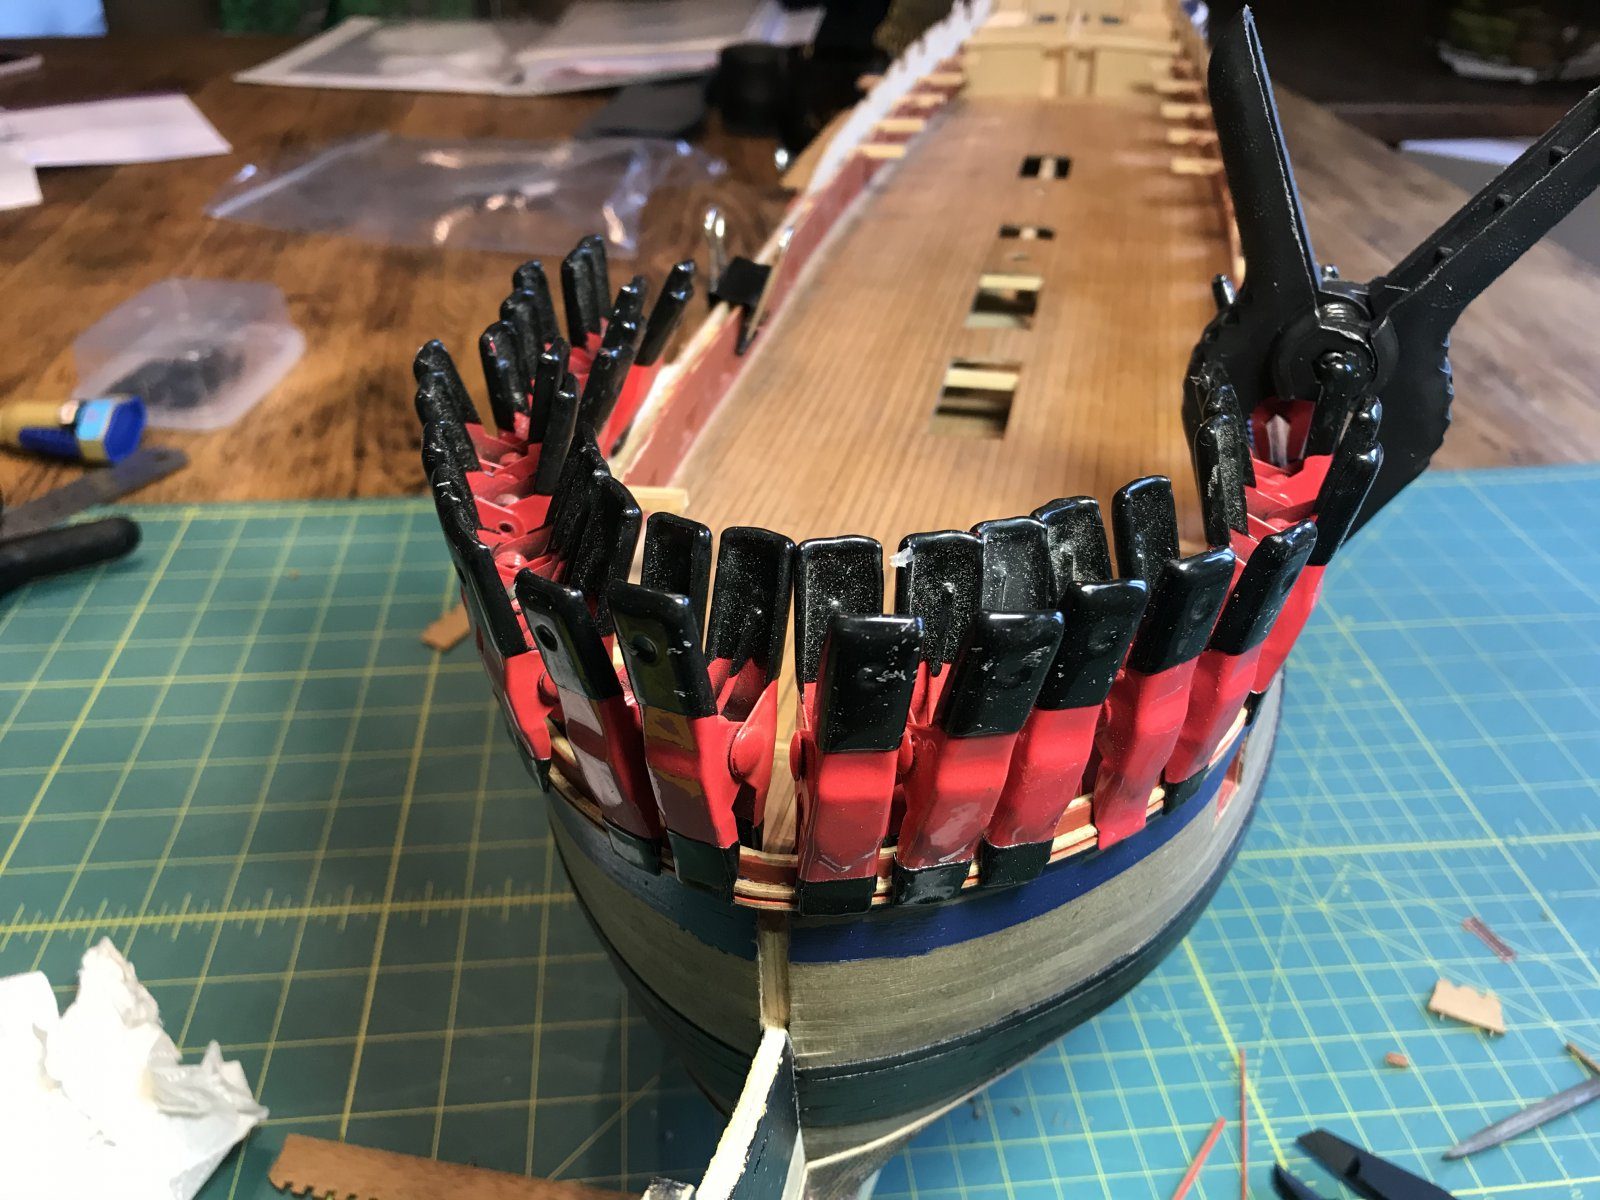
The top moulding seen from above: one piece following the whole curve of the bow, the bend already put in beforehand. Hold the moulding with a dense row of small clamps, a few extra to be on the safe side. On a curve the moulding wants to lift between two clamps, so leave no large gaps. Let the glue dry properly before removing the clamps.
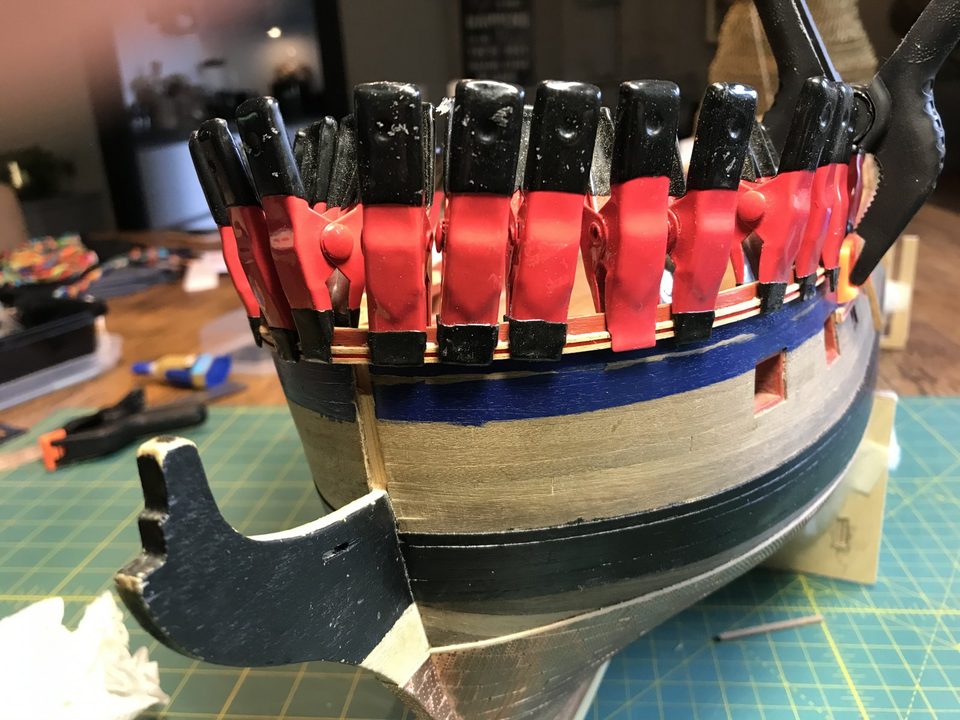
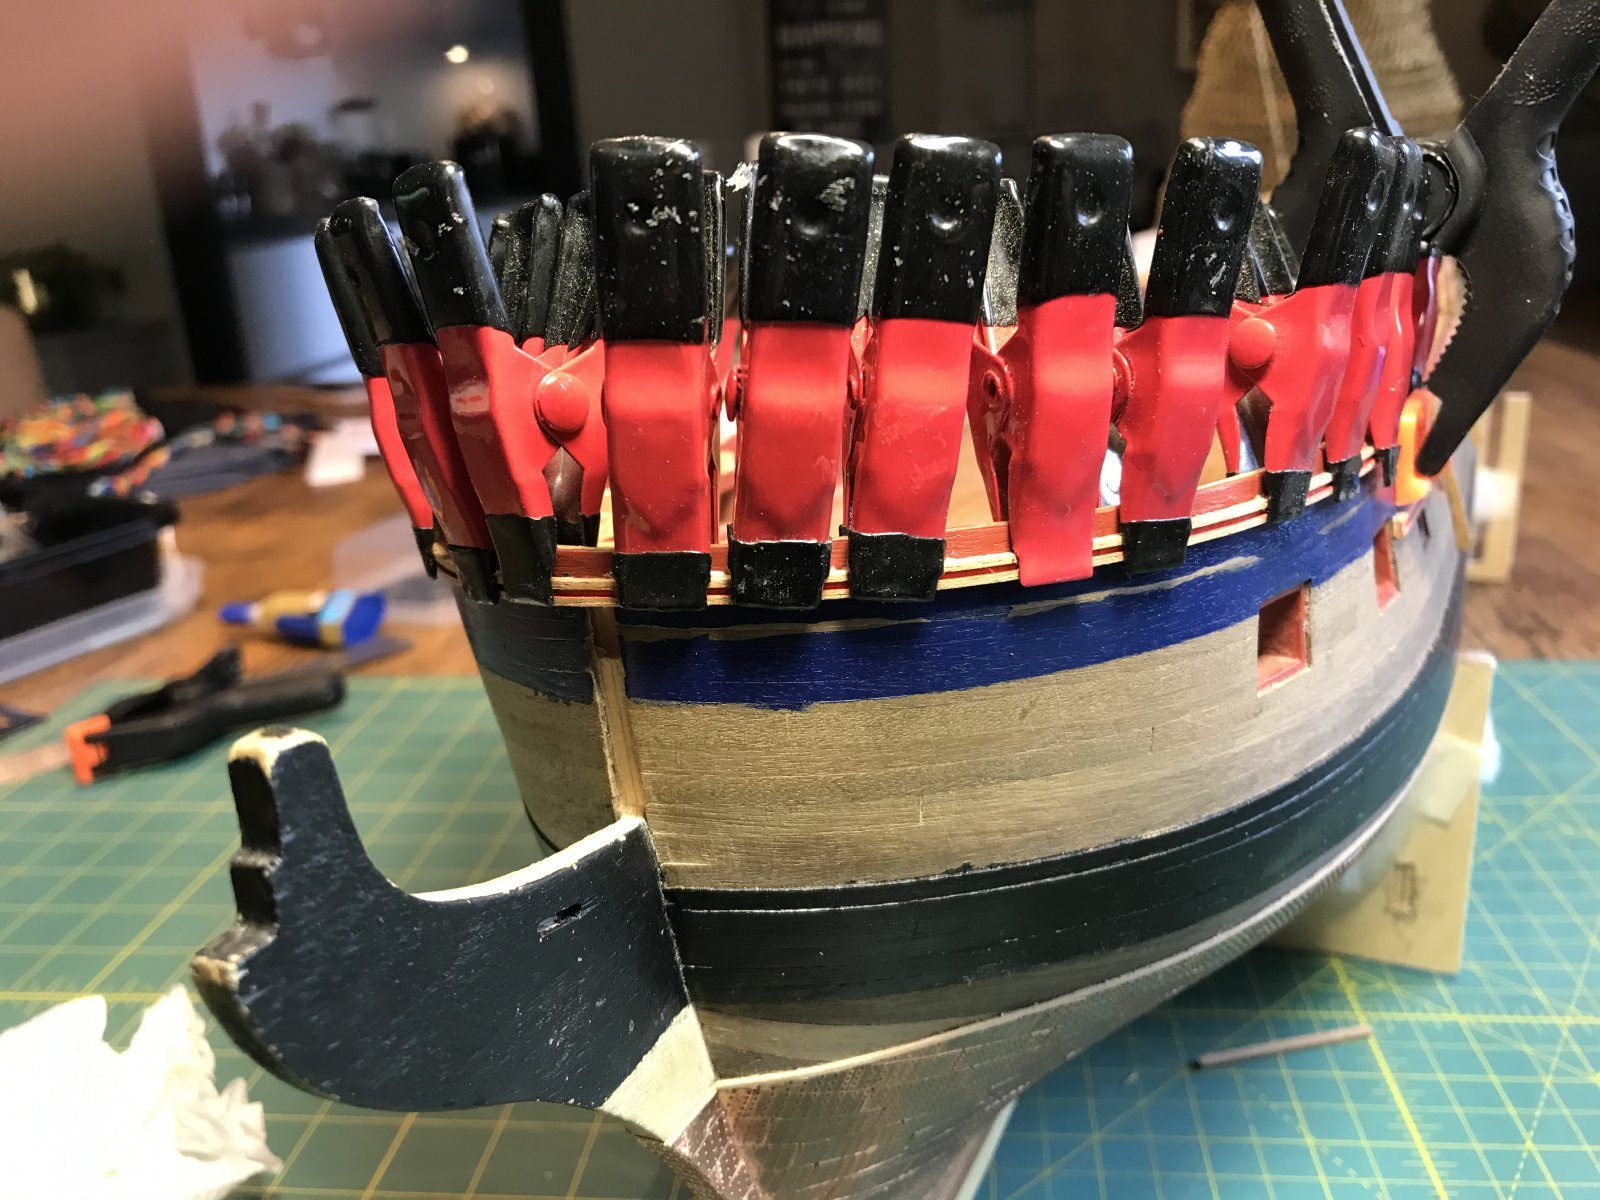
The top moulding at the bow with a dense row of clamps all round the curve. Fit the mouldings below it the same way, also in one piece, and keep checking from the front and the side that they stay parallel to the top one. A sharp curve magnifies every difference in spacing, so measure in several places.
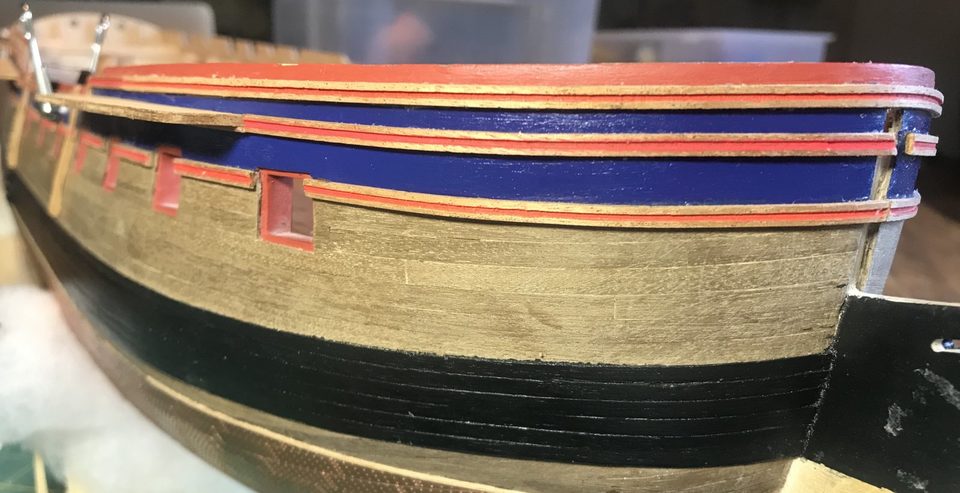
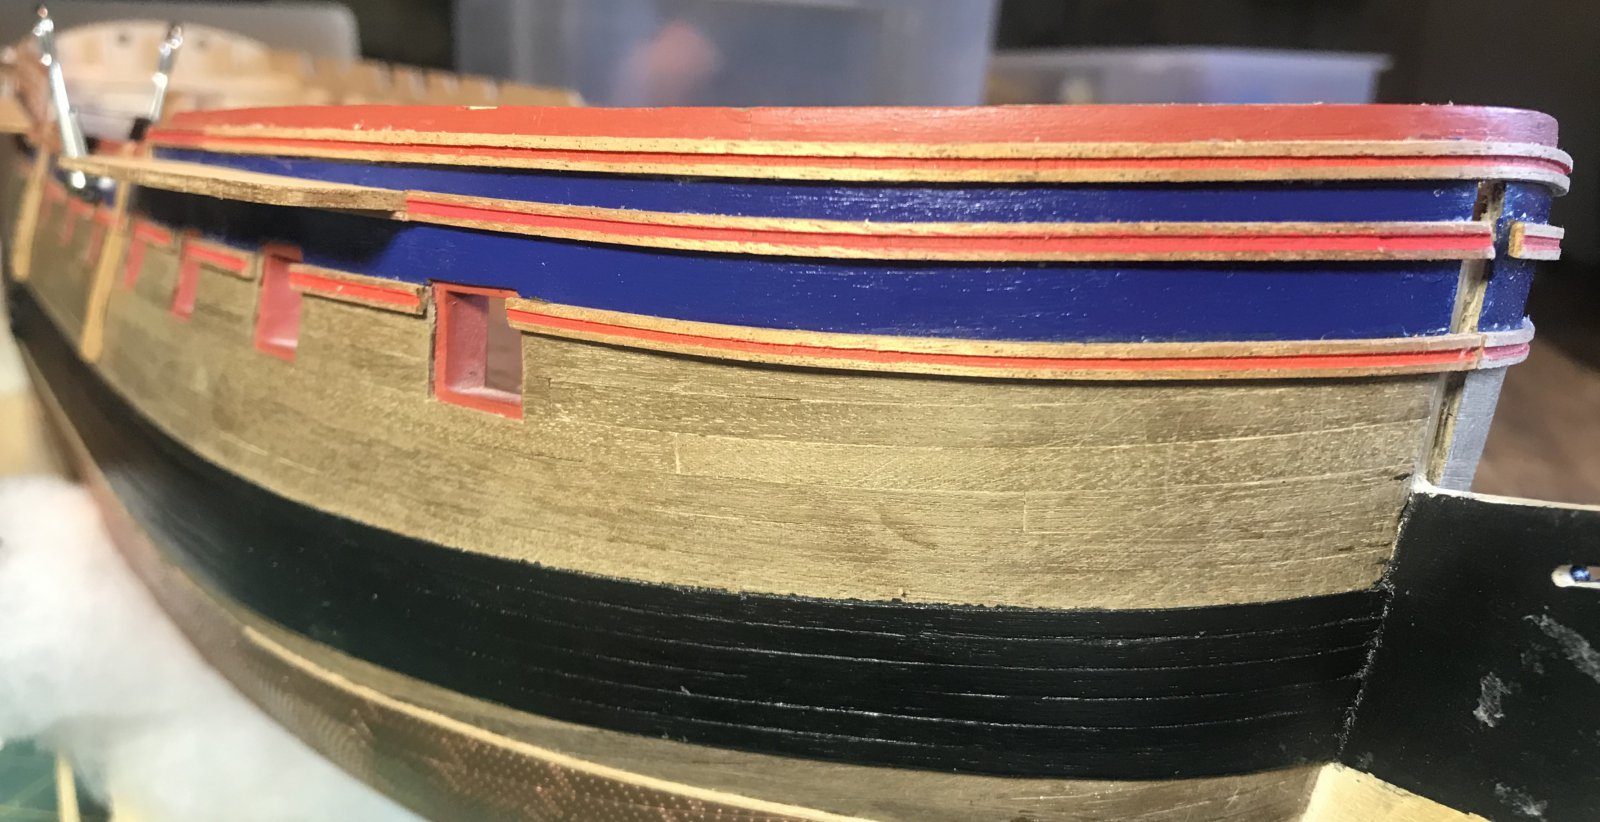
The bow on the port side with all the mouldings on, evenly spaced right up to the gunports. The catheads, whose supporting knee runs into the headrails, and the hole for the bowsprit will later pass through the mouldings. Cut those openings with a very sharp blade when the time comes. The advantage of continuous mouldings is that they always stay in line with each other. Mind the angle of the bowsprit hole: sheet 1 draws the bowsprit twice and the lower drawing is too flat, so the bowsprit would later touch the figurehead (dunnock following a remark by Beef Wellington, Model Ship World, 11 January 2021, forum post). Follow the upper drawing or the Anatomy book (F1/8); pietsan dry-fitted the figure on the head to find the height of the bowsprit (modelbouwforum, 4 March 2015, forum post).
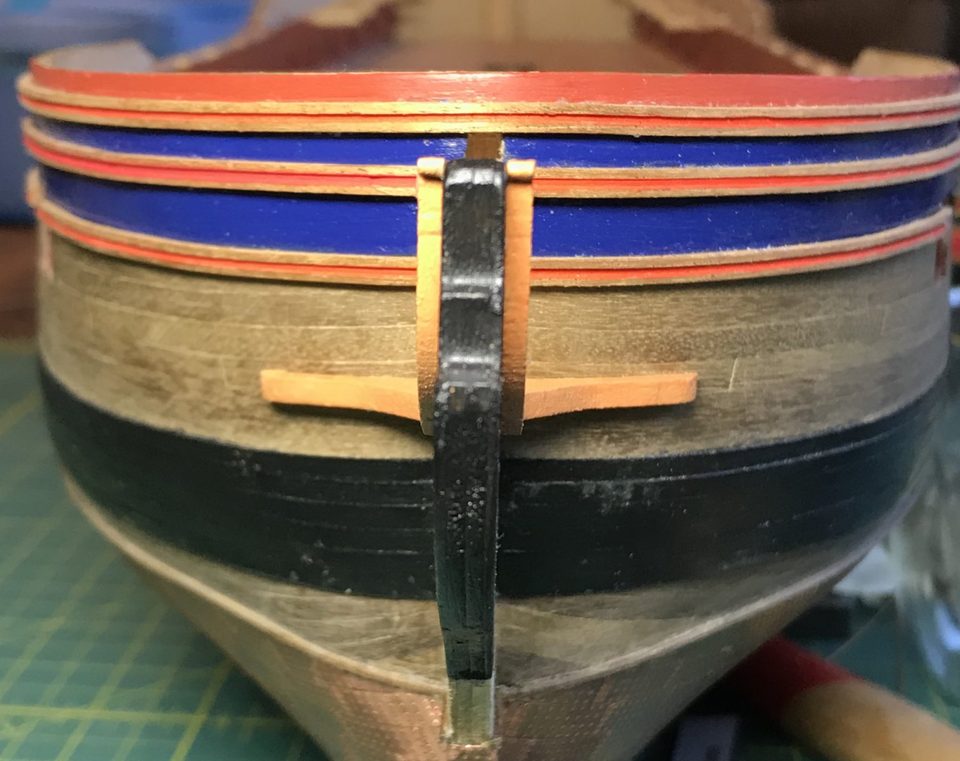
The cathead passes straight through the continuous mouldings; that opening was cut out later with a very sharp knife. Tip from pietsan: When fitting them, allow for the catheads and later the hole for the bowsprit. It can be done this way too, and it even has an advantage: the mouldings then always lie in line with each other. There are many things to take into account before you fit something. Also tape a piece of the future head rail temporarily under the mouldings, so they will meet it later; and if the gammoning knee is a little too long for the middle moulding, take a small bite out of it. (modelbouwforum, 12 April 2015)
Watch out: We had not thought about the catheads by the time the mouldings were on. Sharp blades solve it, but thinking ahead is easier.
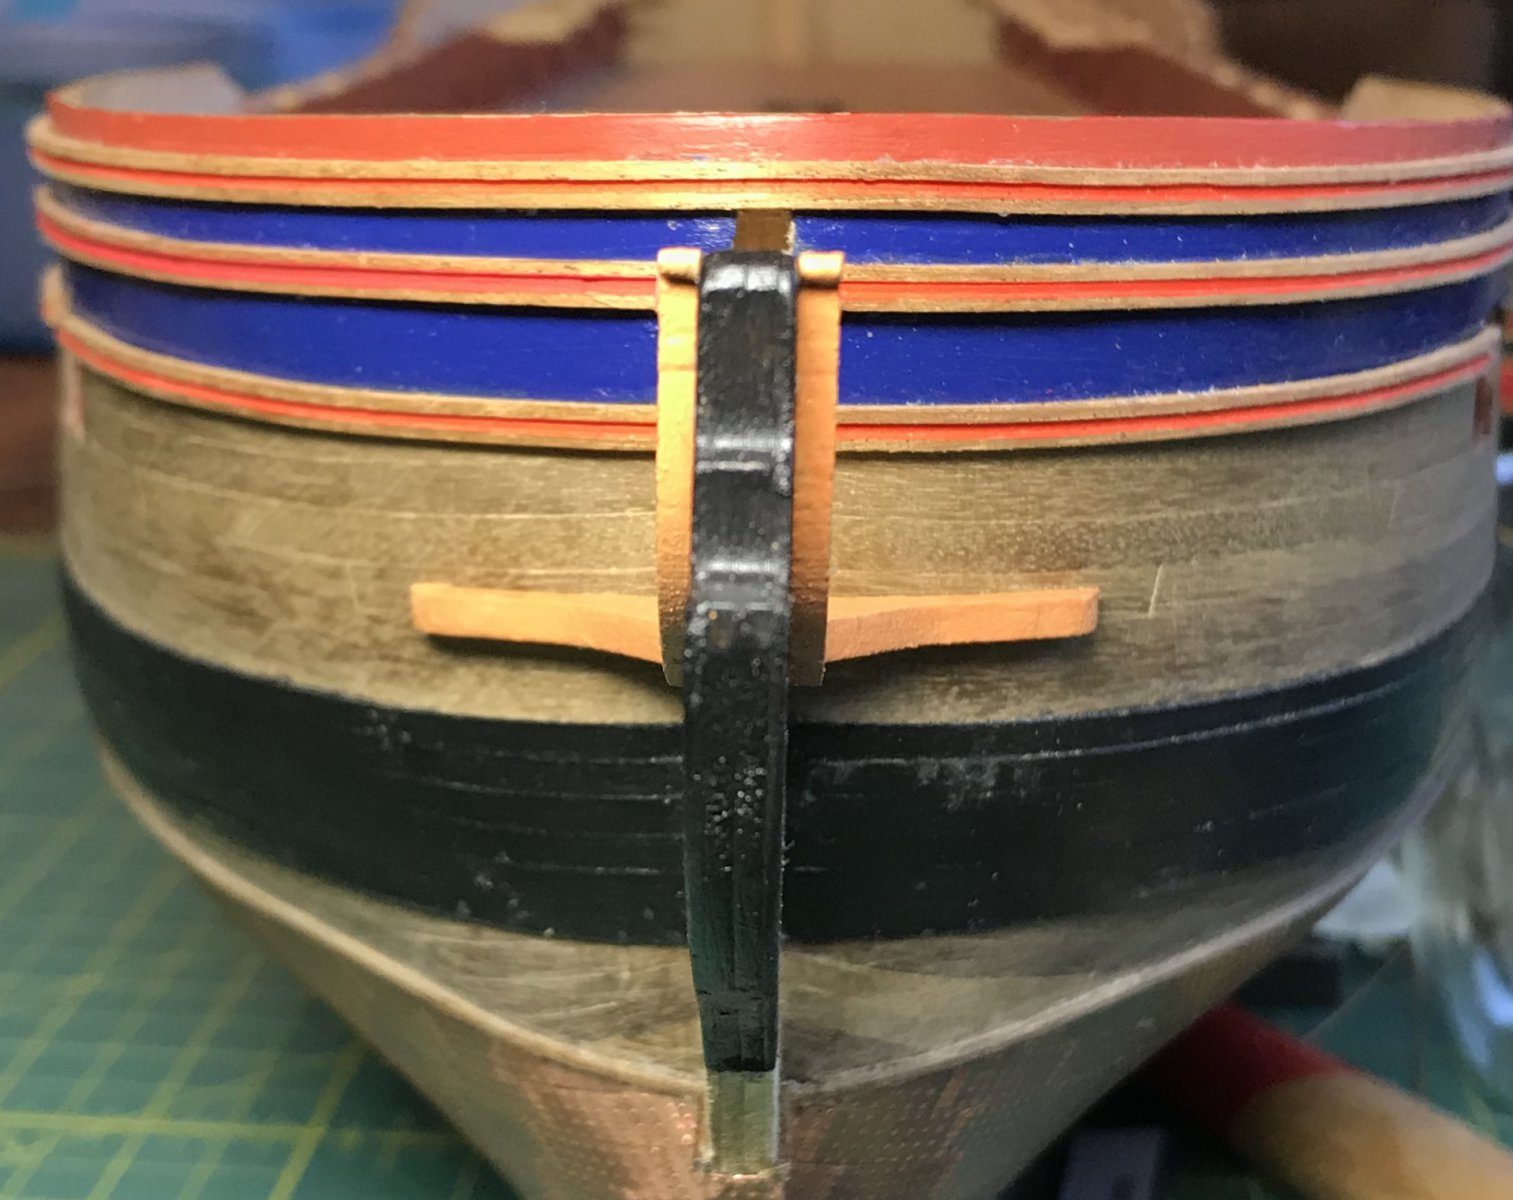
Result
The mouldings run parallel round the bow and the transition to the mouldings on the hull cannot be seen; in separate pieces that would not have worked. Next time we would mark beforehand where catheads and bowsprit pass through the mouldings.
In the same series: Stern and ornaments
- Five trials for the transom windows
- Fitting the quarter gallery windows with a small frame as a jig
- Repairing a white metal figure with solder
- Painting gold-coloured carvings
- Applying the red line in the profile of the mouldings
- Mouldings at the right height first, channels after
- Bending a one-piece moulding round the bow
- Making the stern port lids with a template