Applying the red line in the profile of the mouldings
Test three ways of getting a red line into the profile of the mouldings (brush, waterproof marker, acrylic paint marker) and paint the real mouldings with whichever works most neatly on the deep profiles.
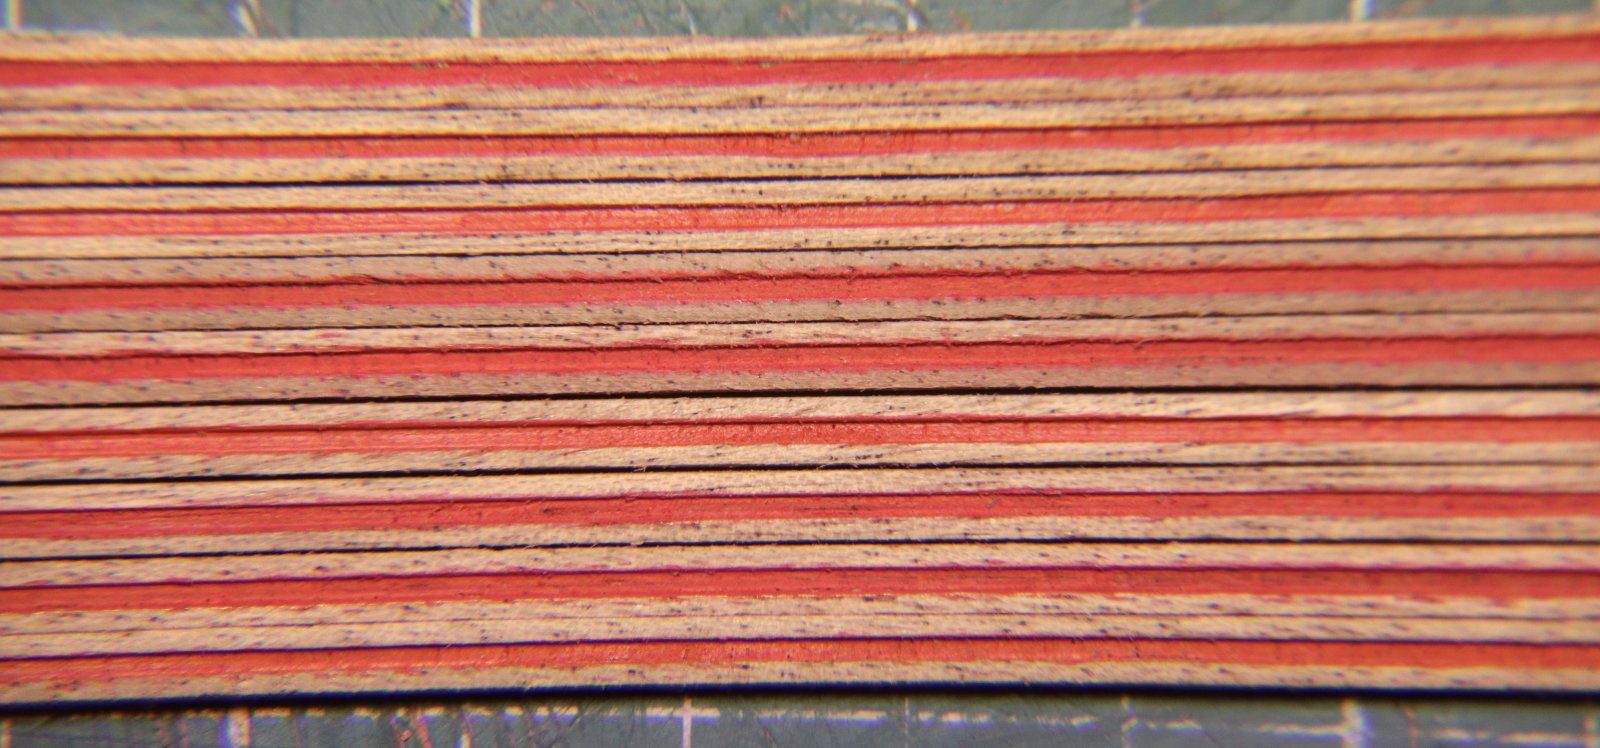
What you need
- size 0 brush
- fine waterproof marker
- 1.5 mm acrylic paint marker
- cutting mat as a work surface
- pot of red hobby paint
- test piece of moulding with the same profile
- the mouldings of the transom, quarter galleries and hull
Dimensions
- 1.5 mm acrylic paint marker (1 mm was not available)
- size 0 brush
- Time
- an evening
- Difficulty
- moderate
- When in the build
- Phase 4,
- From the log post
- Red in the profiles of the mouldings · forum
Before you start
The mouldings of the transom and quarter galleries have been painted or gilded and the profile is clean. Keep a loose test piece of the same moulding so you do not have to experiment on the model.
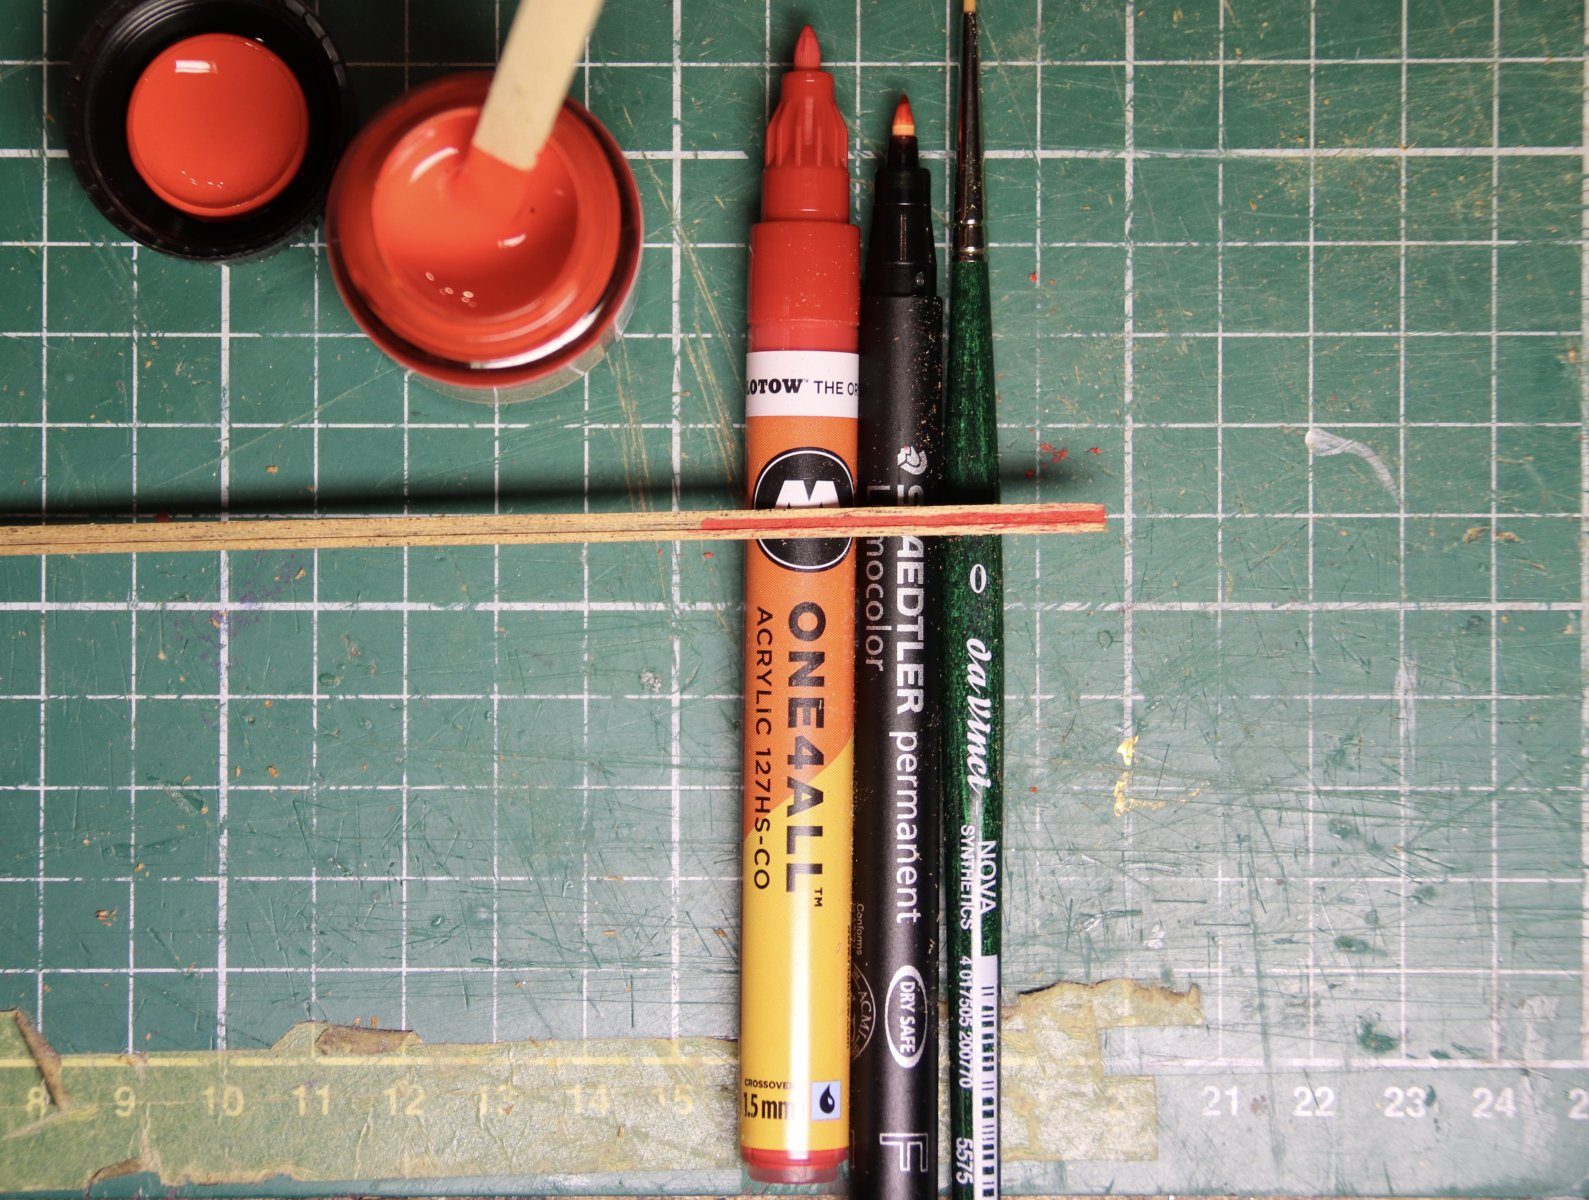
Buy three options from a hobby paint shop: a pot of red paint with a size 0 brush, a fine waterproof marker and an acrylic paint marker. Take the thinnest acrylic marker available; 1 mm was not in stock for us, 1.5 mm was. Lay everything out on the cutting mat.
1.5 mm acrylic paint marker, size 0 brush
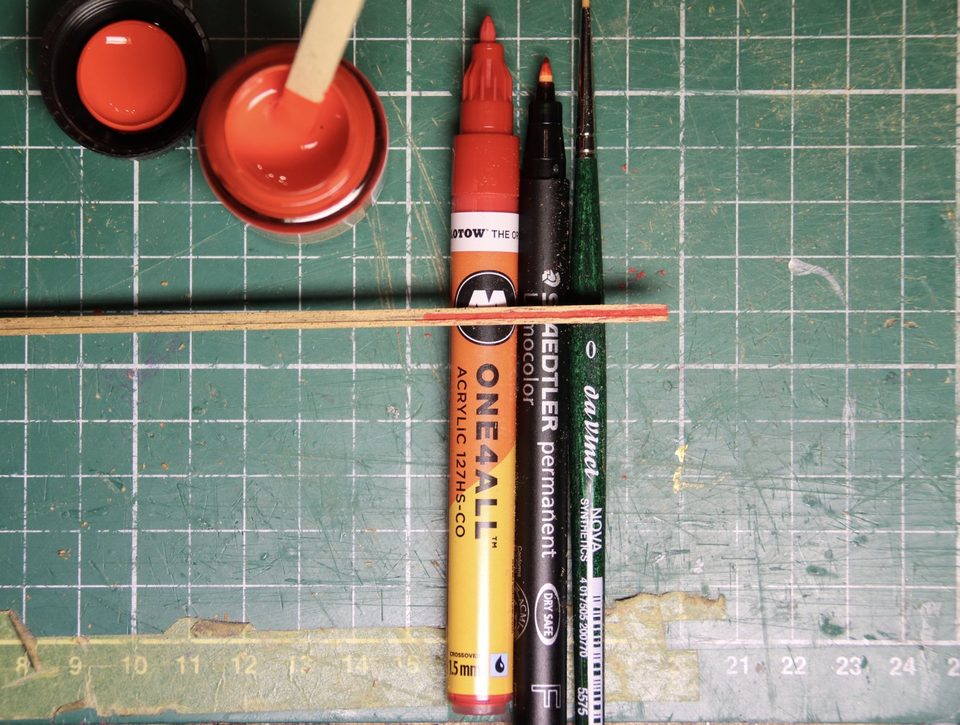
The three tools side by side: pot of red paint with brush, 1.5 mm acrylic paint marker and waterproof fineliner, with the test piece between them. Tip from pietsan: Colour the profile of the loose moulding red with a fine felt-tip pen, before gluing. A fourth option for the test list. (modelbouwforum, 5 March 2015)
On a loose piece of moulding with the same profile, draw a length of line with each of the three tools, side by side. Work along the profile and let it dry before judging. That way one piece shows you how the paint settles into the groove and how crisp the edge stays.
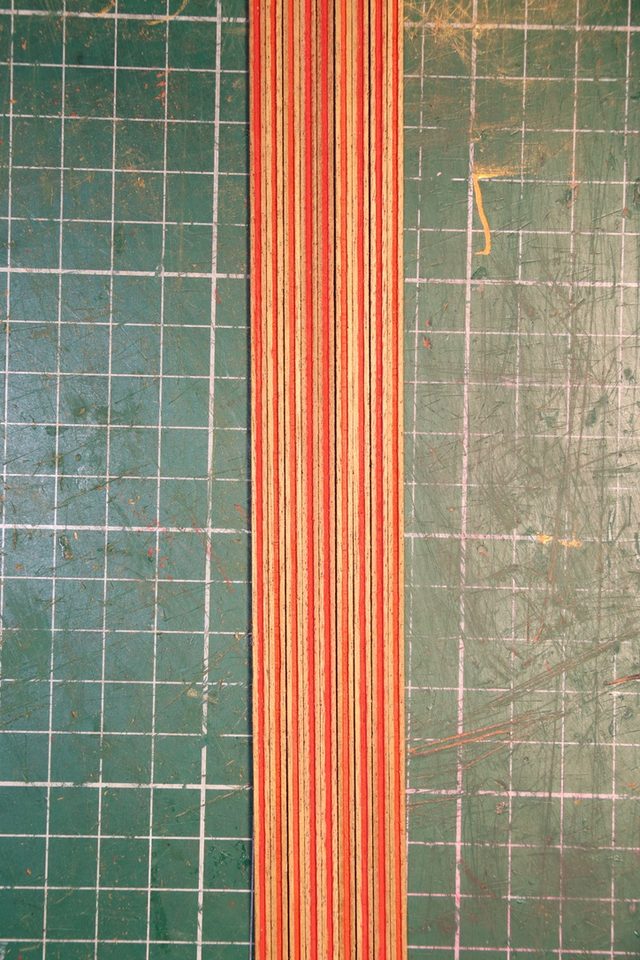
The test piece on the cutting mat: a different tool on each part of the moulding, so you can compare coverage and edges directly. Look at which tool really gets the paint into the profile. For us the acrylic marker worked best on the test piece: it simply puts paint into the groove, which looks slightly better than the waterproof marker. The brush is less predictable because the hairs bend.
Tip from *Hans*: An acrylic marker has a tip that barely deforms, if at all, which a brush does. A waterproof marker has that advantage too, but there you do not get the choice of colours you want.
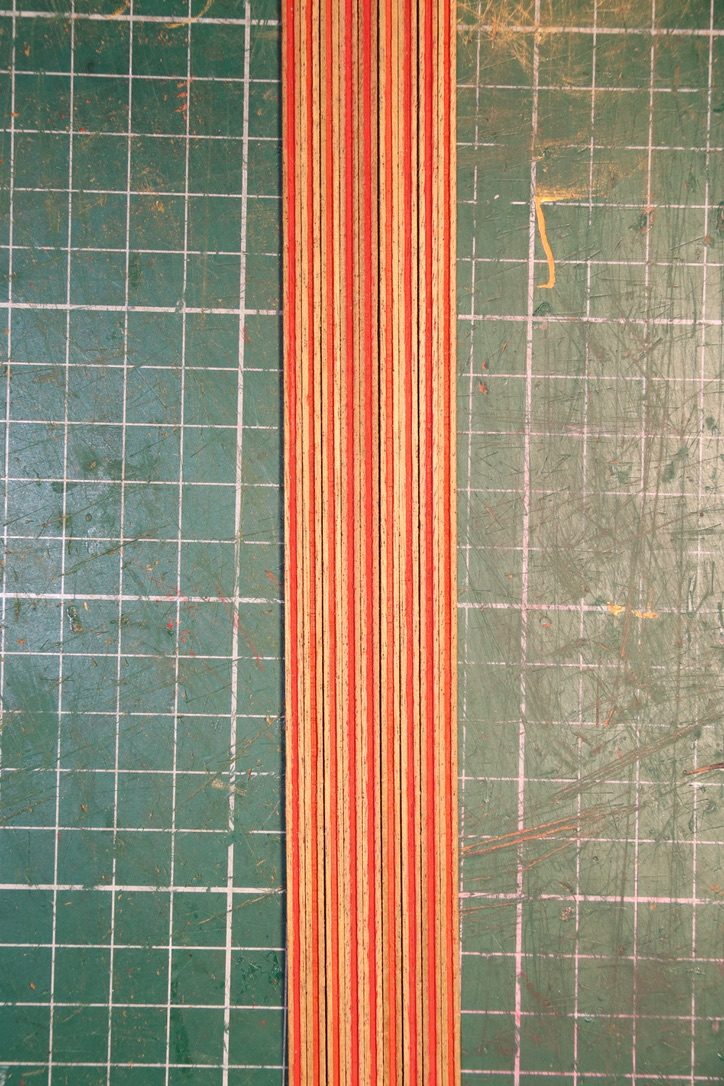
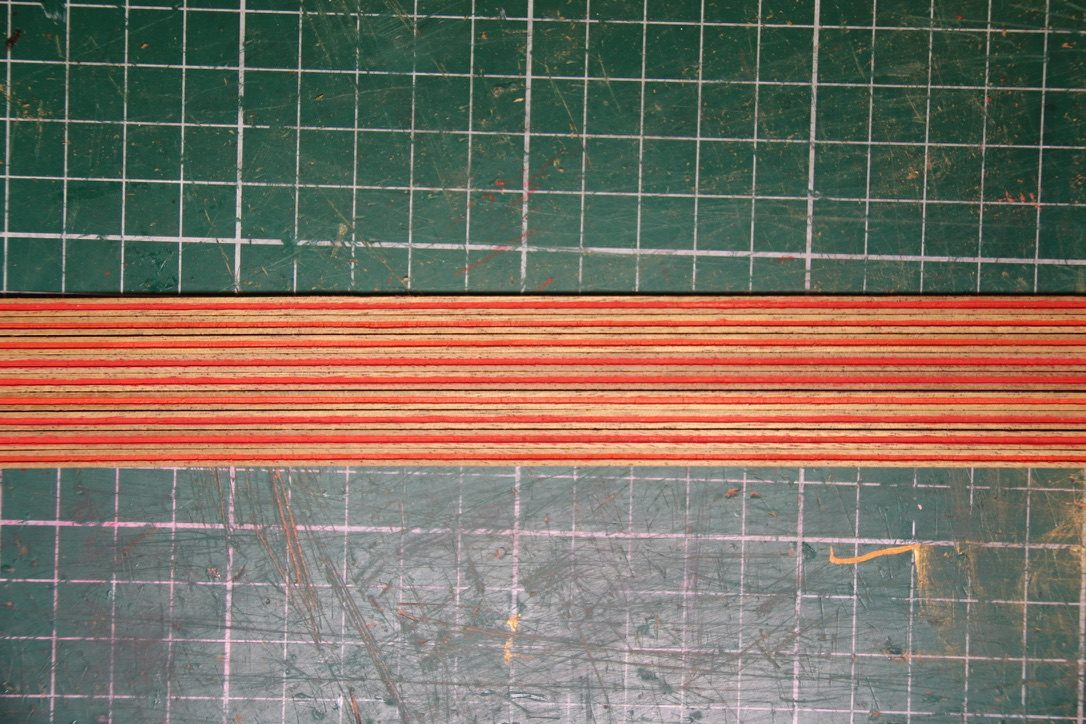
Move on to the real mouldings with the tool you chose, but be prepared to switch. For us the profiles of the real mouldings turned out to be too deep for the tip of the acrylic marker; the size 0 brush did reach into the groove and in the end gave the neatest result. Paint the mouldings loose on the mat, one at a time, and let them dry flat.
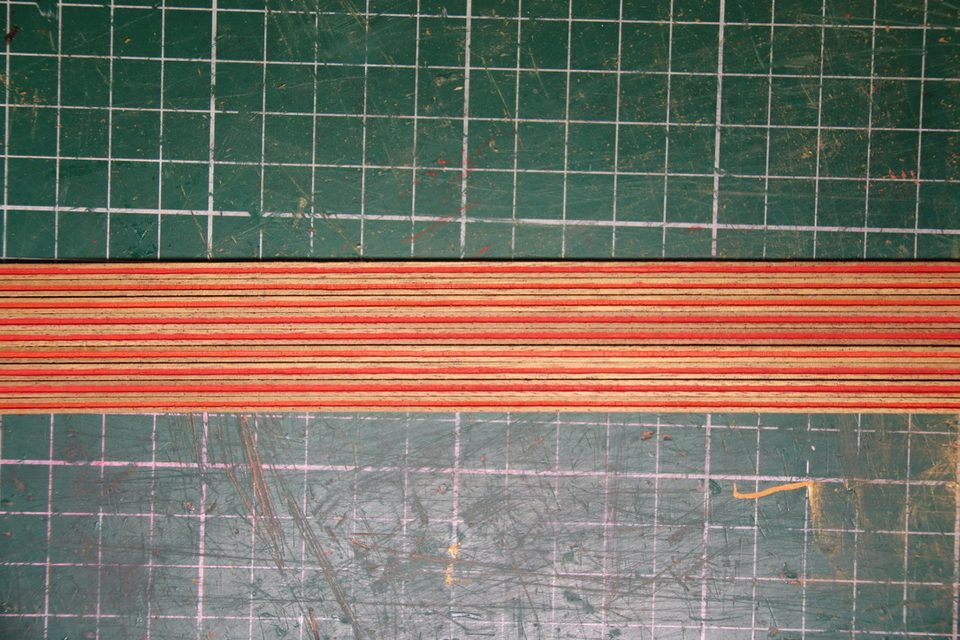
The mouldings loose on the cutting mat during painting: the red line follows the groove in the profile exactly. Watch out: What wins on the test piece does not have to win on the real mouldings. The 1.5 mm acrylic marker was too thick for the deep profile on our mouldings.
Lay the painted mouldings side by side and check that the red line is the same width and unbroken everywhere. Touch up any spots where the paint did not reach into the groove with the brush. After that the red is in the mouldings of the transom and galleries and you can carry on with the mouldings on the hull.
Result
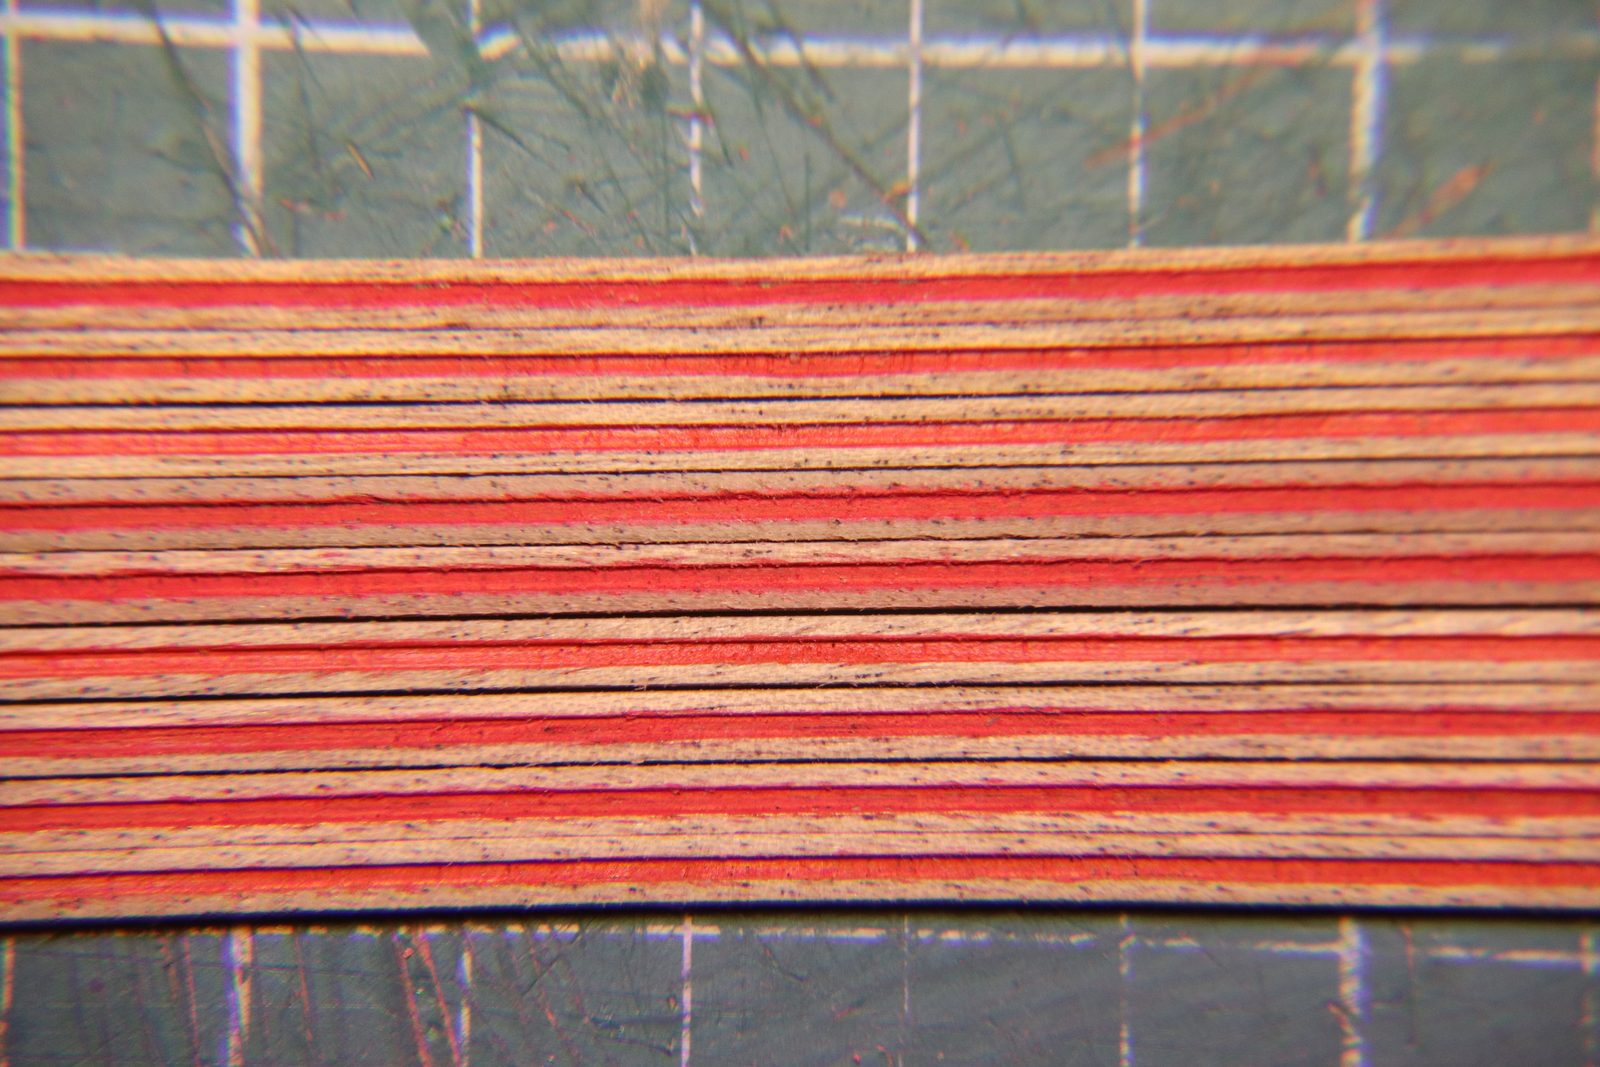
The size 0 brush beat the markers: the red line sits neatly in the profile of all the mouldings of the transom and galleries. Next time we would buy only a brush and a pot of paint and skip the markers, or look for a 1 mm acrylic marker.
Problems met with this technique
The red line in the profiles of the mouldings is hard to apply. In the end the brush (size 0) after all, rather than fineliner or acrylic marker. (Tips from *Hans*) to the register
Yellow mouldings and gold carvings do not form a whole. Checked in Masefield (Sea Life in Nelson's Time); masked the mouldings and painted them gold. (Tips from pietsan) to the register
In the same series: Stern and ornaments
- Five trials for the transom windows
- Fitting the quarter gallery windows with a small frame as a jig
- Repairing a white metal figure with solder
- Painting gold-coloured carvings
- Applying the red line in the profile of the mouldings
- Mouldings at the right height first, channels after
- Bending a one-piece moulding round the bow
- Making the stern port lids with a template