A ship's wheel rim from ten walnut segments, turned round on a faceplate
Build up the rim of a scratch-built ship's wheel from ten equal segments, glue them together on a small wooden faceplate and turn them round on the lathe, as a replacement for the brass kit wheel.
What you need
- lathe with a small wooden faceplate
- turning tools
- table saw or fine saw
- two-part epoxy
- yellow glue
- needle files (Corradi/Pferd)
- hobby knife
- walnut offcuts from the hull planking
- small wooden disc as faceplate
- 1 x 1 mm walnut strip for the trial spoke
Dimensions
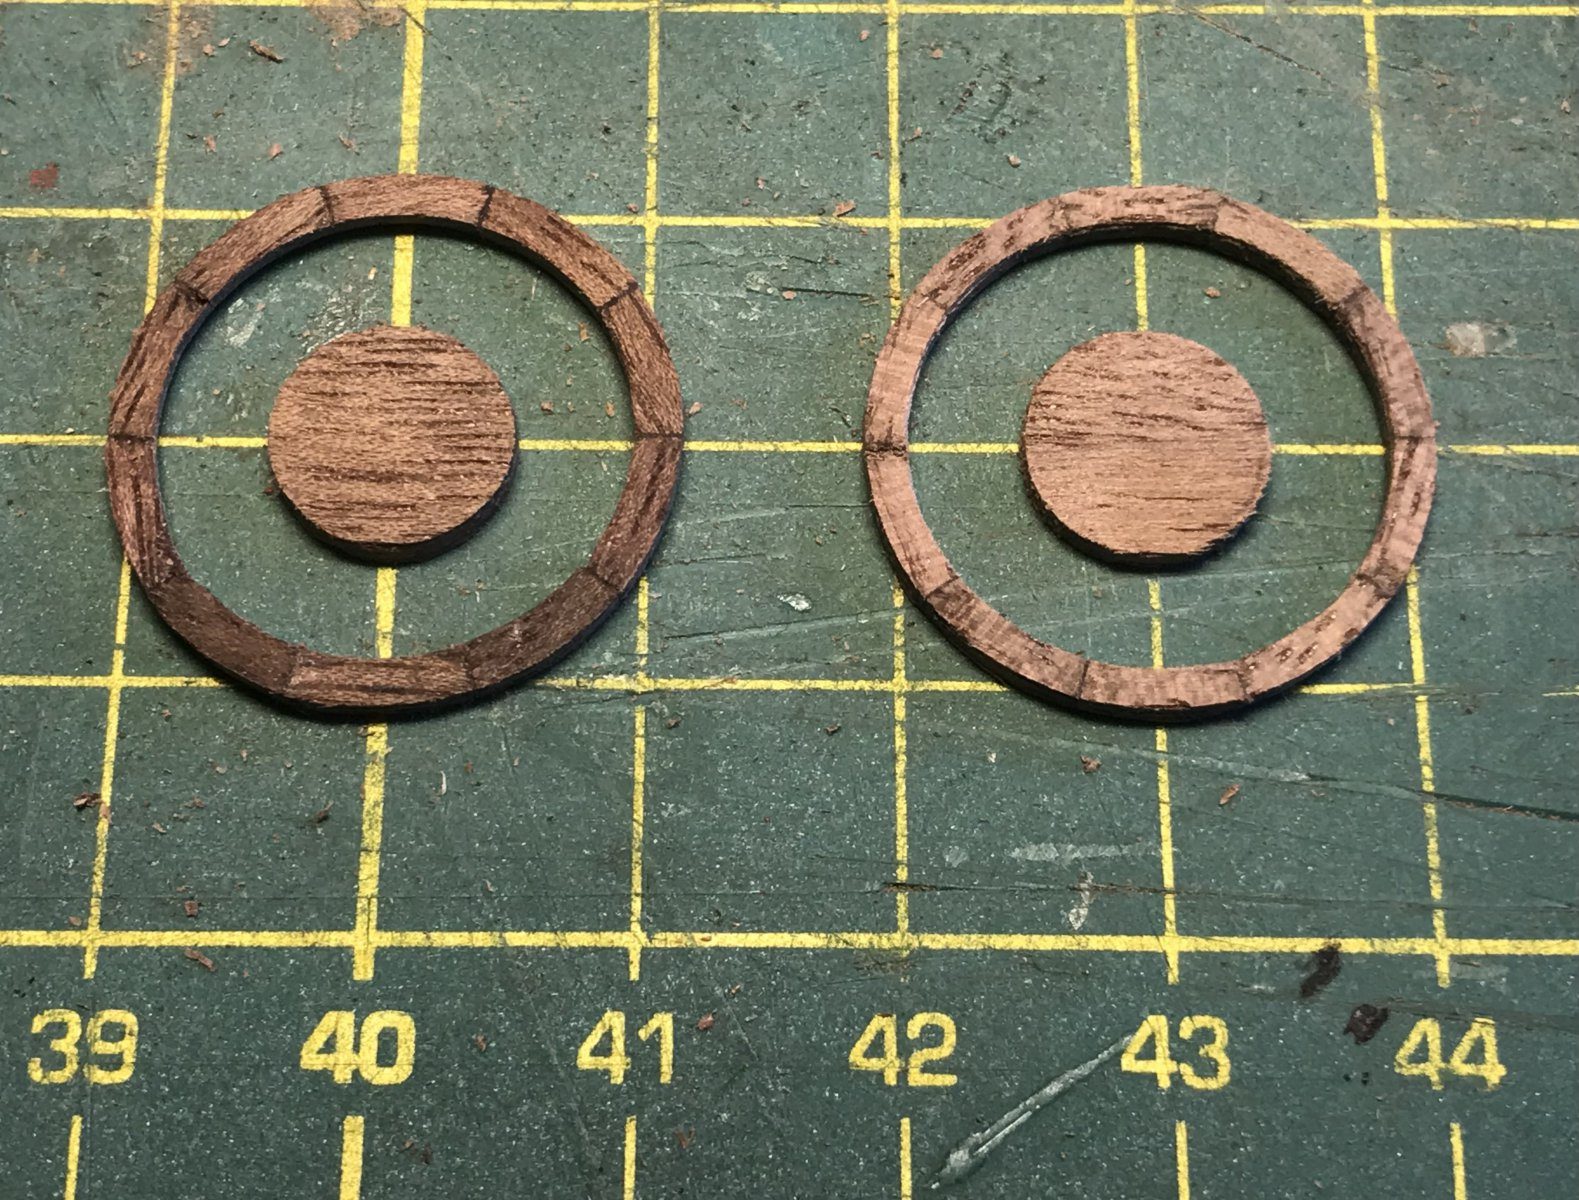
- rim 1.3 mm thick and 1.7 mm wide
- ten equal segments per rim
- variations in width less than 0.1 mm
- thin rings on top 0.2 to 0.3 mm thick
- two ship's wheels, so two rims plus centre rings
- Time
- several evenings
- Difficulty
- hard
- When in the build
- Phase 11,
- From the log post
- The first rim · forum
Before you start
Download the Syren ship's wheel instructions and the NRG article Stephan pointed to, and derive your measurements from them. The kit wheel is brass, so decide beforehand whether you want to scratch-build: allow several evenings per wheel and expect failed attempts. Make sure you have a lathe, because the rim is turned round, not sawn.
Follow the method from the Syren pdf: a rim of ten equal segments, with a spoke in every joint. Work out the measurements for your scale: the rim becomes 1.3 mm thick and 1.7 mm wide. According to the drawing the spokes should be about 0.8 mm thick, but make them 1 mm, because thinner simply breaks too easily.
rim 1.3 mm thick and 1.7 mm wide
Tip from Stephan Kertész: On MSW you can download a pdf with a very handy explanation of how to tackle this; it is among the articles at thenrg.org/resource/articles.
Watch out: The drawing at the bottom right of the pdf runs the spokes through the wheel, with four rings. That is too small for 1:64. Make one rim and let the spoke into it with a notch.
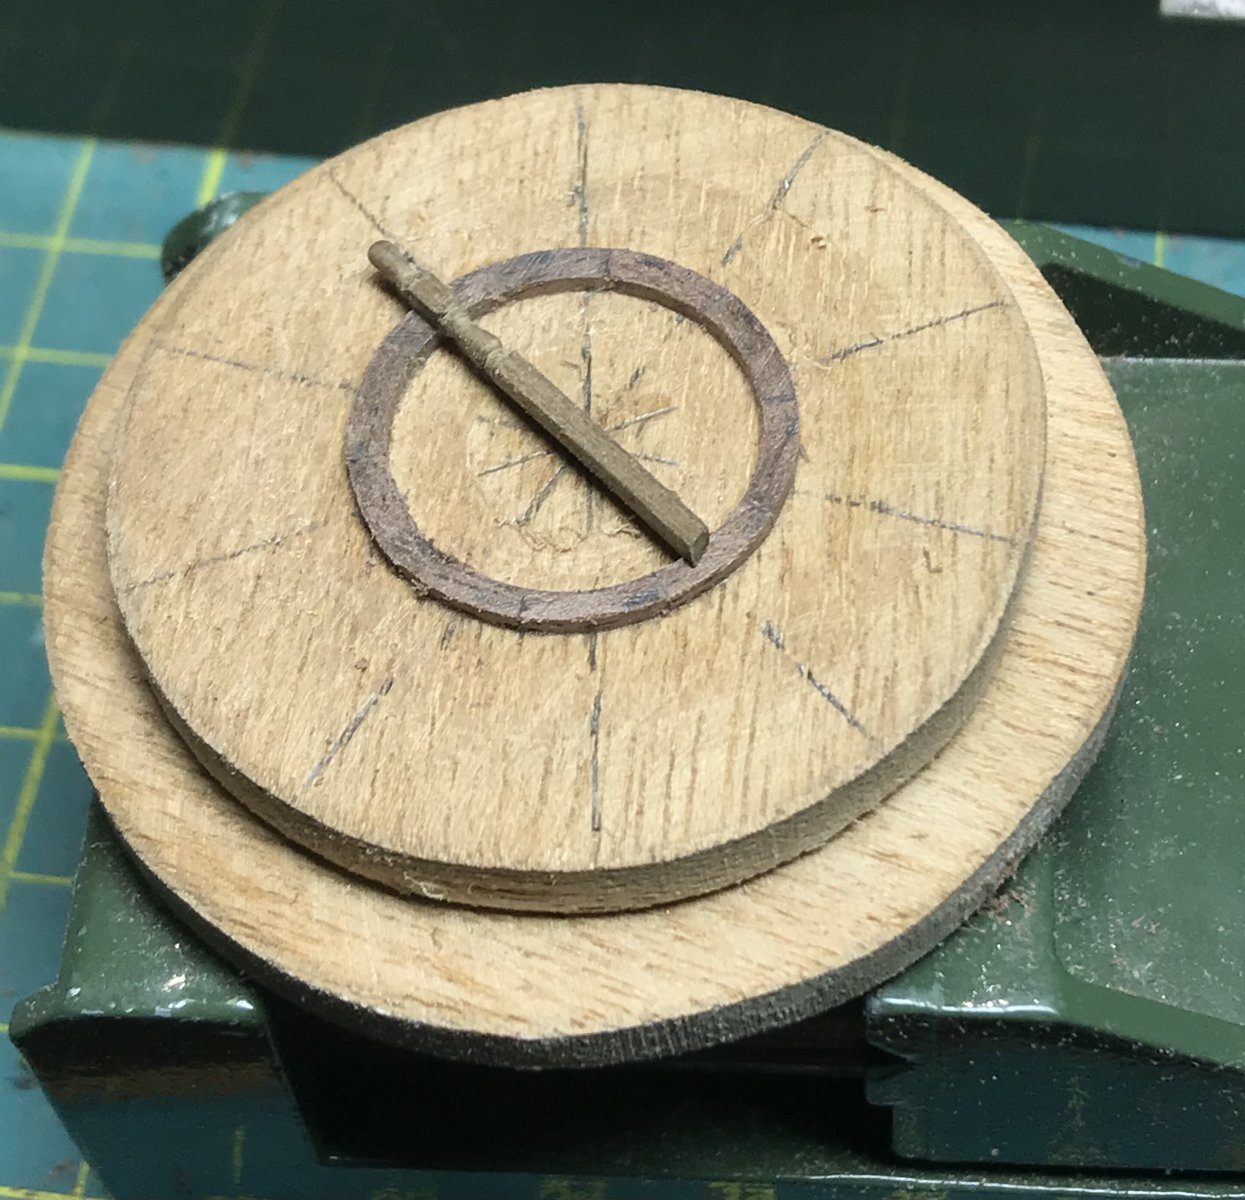
Saw a small wooden disc that fits the lathe and mark the centre and the ten dividing lines on it. You will use those lines later to align the segments and the spokes. Mount the disc in the lathe and check that it runs true.
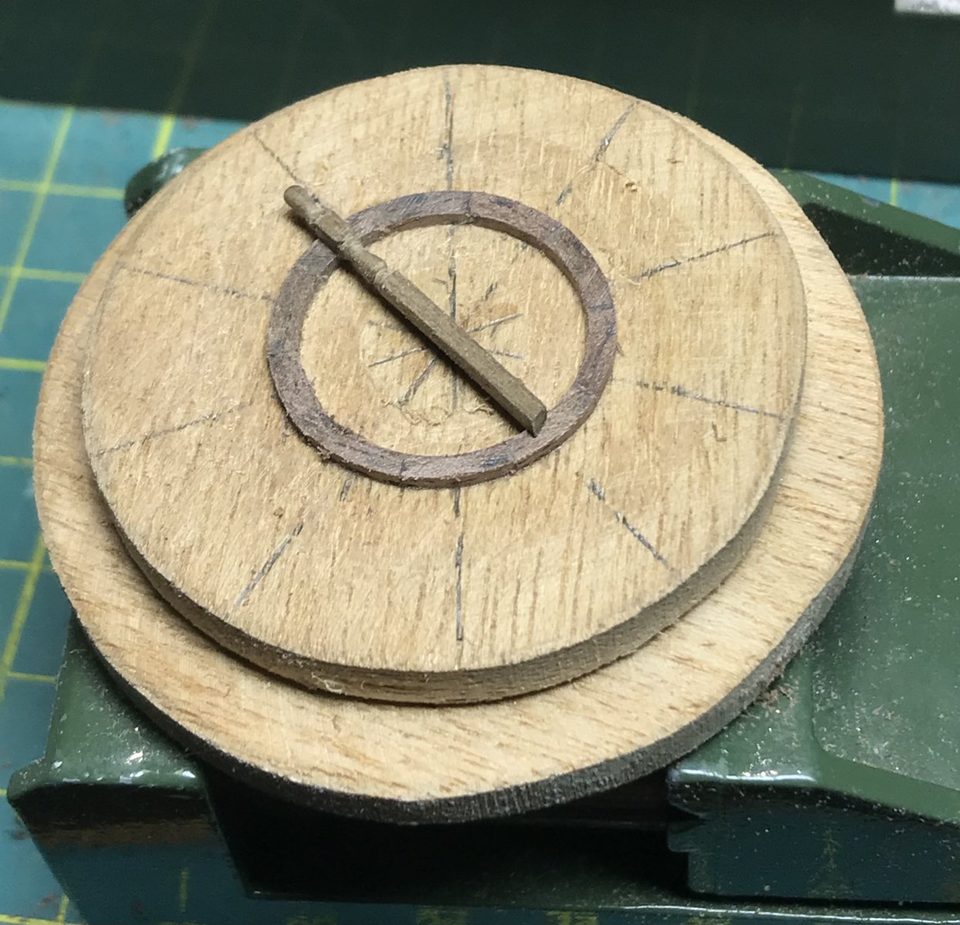
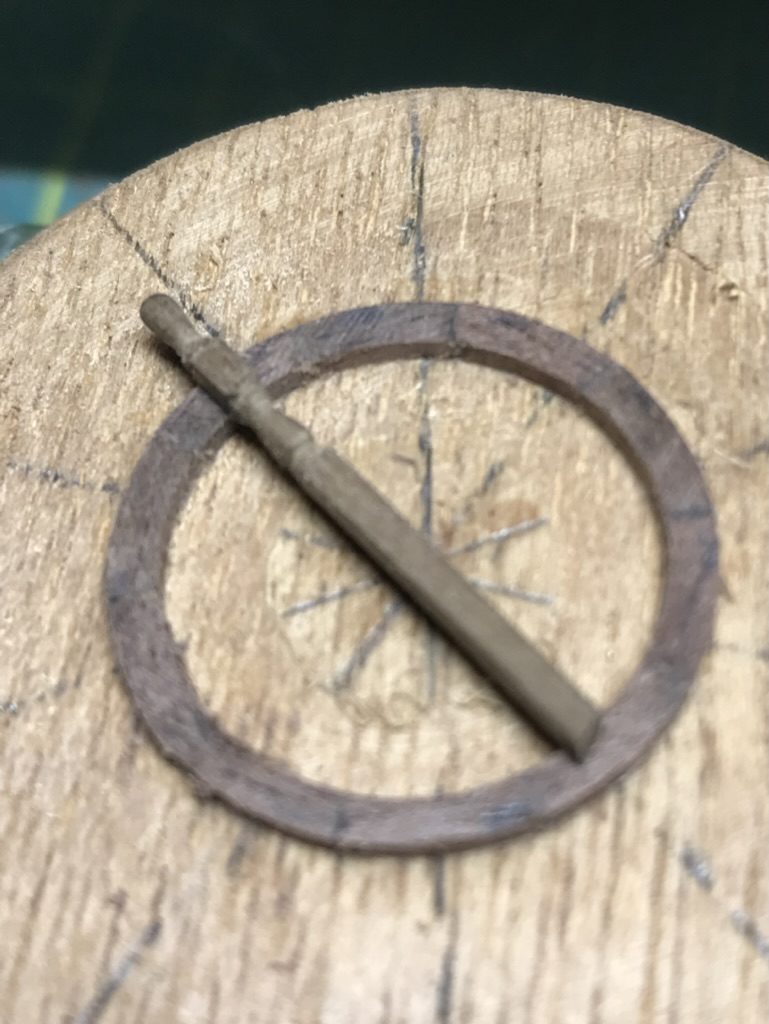
The faceplate in the lathe with the dividing lines and the first rim on it. Saw ten equal segments 1.3 mm thick from walnut offcuts, with the butt ends at the correct angle so that together they form a closed decagon. Leave the segments generous on the outside, because the rim is only brought to size on the lathe. Lay them dry on the dividing lines and check that the joints close.
1.3 mm thick
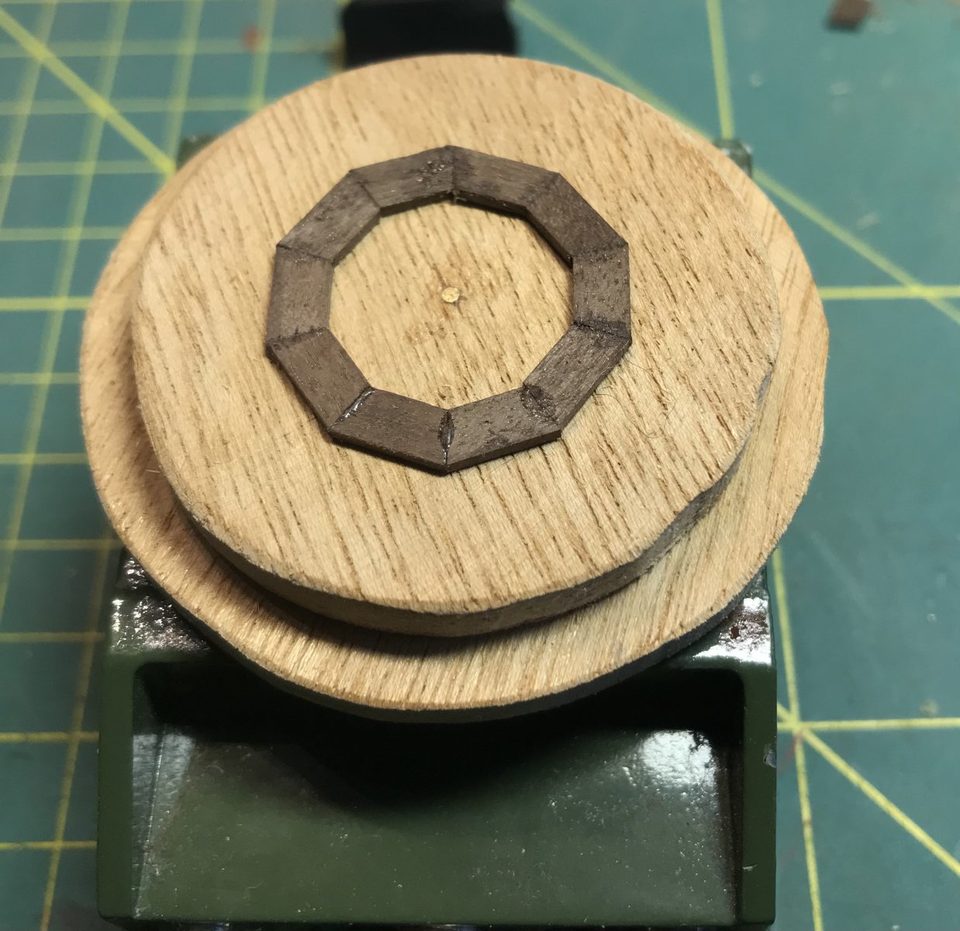
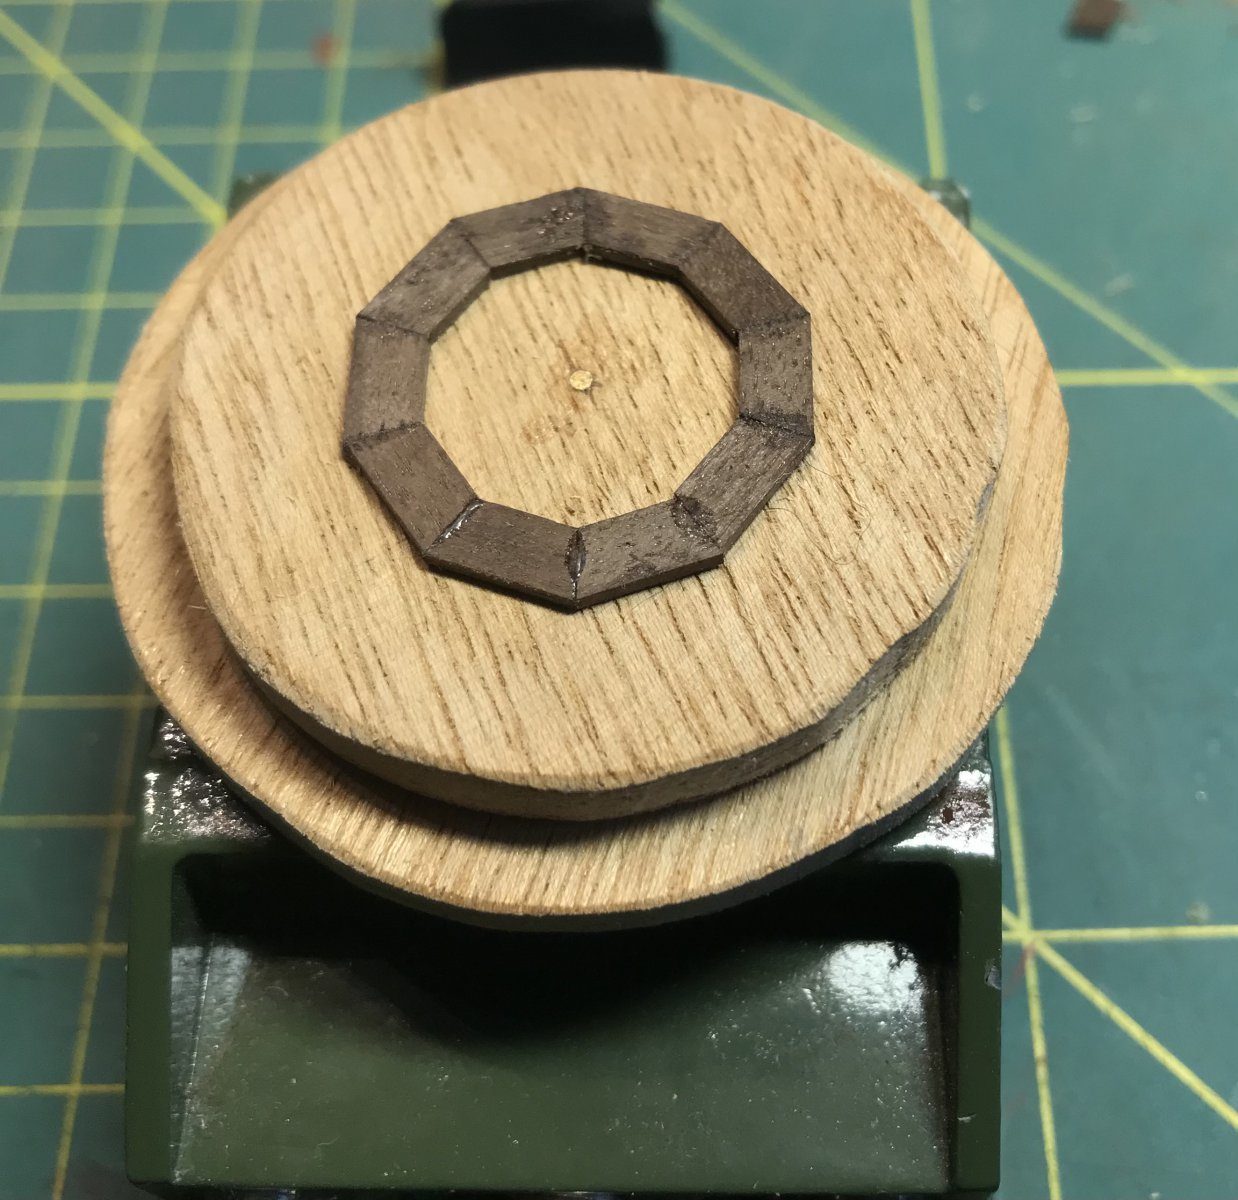
The ten separate segments on the faceplate, the joints still clearly visible. Watch out: Do not saw the segments too long; halfway along a longer strip a deviation soon creeps in.
Glue the segments to each other with two-part epoxy and glue the whole to the faceplate with yellow glue. The yellow glue releases later with water, the epoxy holds the joints together. Let the epoxy cure fully before turning.
Tip from Pingu57: The next rim you could perhaps just stick down on a few small spots.
Watch out: Epoxy takes practice: on the first rim the glue did not yet hold the joints firmly enough.
Turn the outside and inside of the decagon round with a turning tool to a rim 1.7 mm wide. Take small cuts and measure in between. Variations of less than 0.1 mm in width are hardly visible in the end.
1.7 mm wide, variation under 0.1 mm
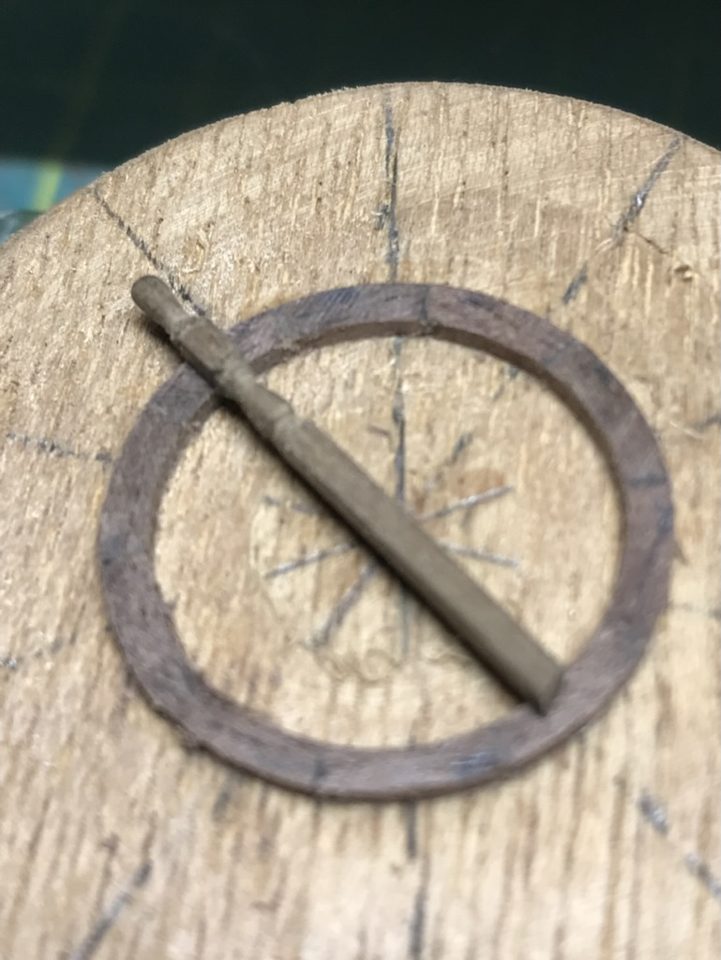
The turned rim on the disc, with a trial strip across the centre to check the spoke direction. Watch out: The colour difference between the segments shows in the photograph; a coat of varnish will hopefully reduce that.
Make a second rim for the second wheel in the same way and turn the centre rings for the middle of the wheel. Thin rings 0.2 to 0.3 mm thick go on top of the rims later. Lay everything side by side and compare the measurements.
thin rings 0.2 to 0.3 mm thick
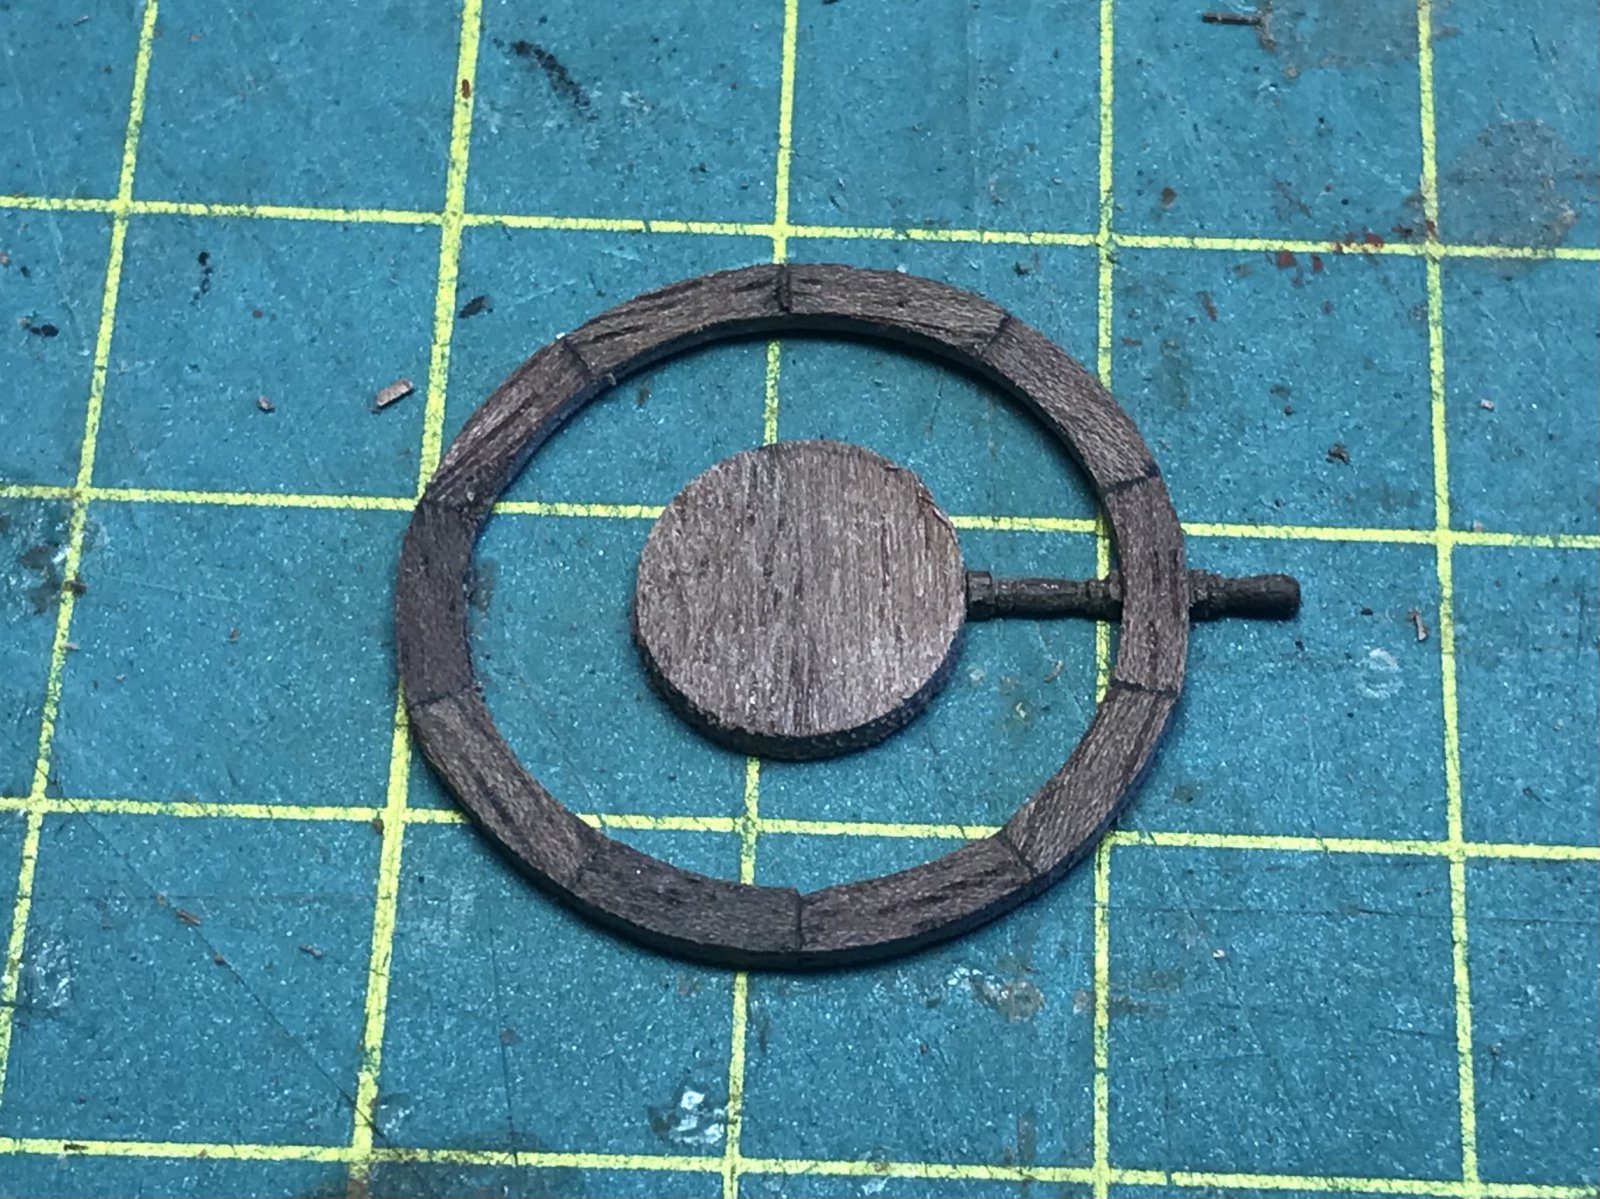
Saw or file a notch in the rim and in the centre piece for the first spoke and lay a trial spoke of 1 x 1 mm walnut in it. On one side the spoke lies flush with the wheel, which becomes the inside; on the other side it sits slightly into the rim, which becomes the outside. Take your time here, because deviations are immediately visible.
spoke 1 x 1 mm
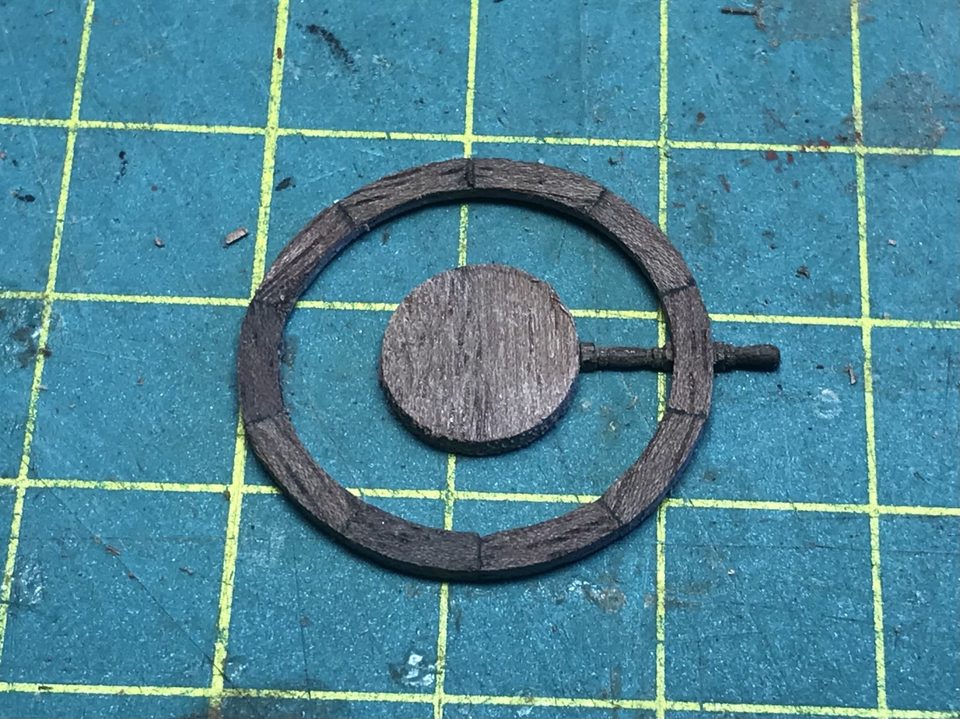
The first trial spoke let into notches in the rim and the centre piece. Tip from Stephan Kertész: With pear, cherry or even boxwood you can be more accurate than with walnut.
Watch out: Walnut spokes break easily and are hard to align opposite each other. A 'spider's web' of lines under the wheel helps, but even with that it does not quite work.
If you are not carrying on until later, release the rim straight away with a little water on the yellow glue, otherwise it dries too hard. Better still: first glue the complete wheel together, with spokes and centre piece, and release it afterwards. Warm the glue briefly with a hair dryer or a heat gun on its lowest setting and carefully cut it loose with a hobby knife, alternately warming and cutting.
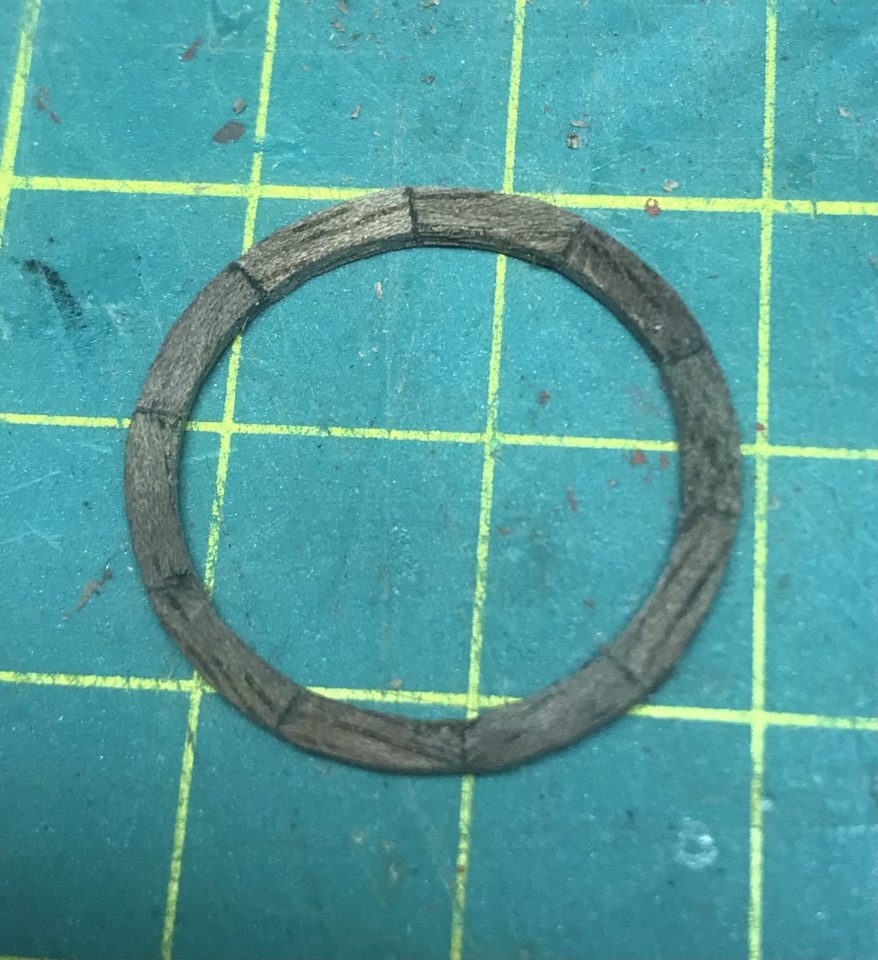
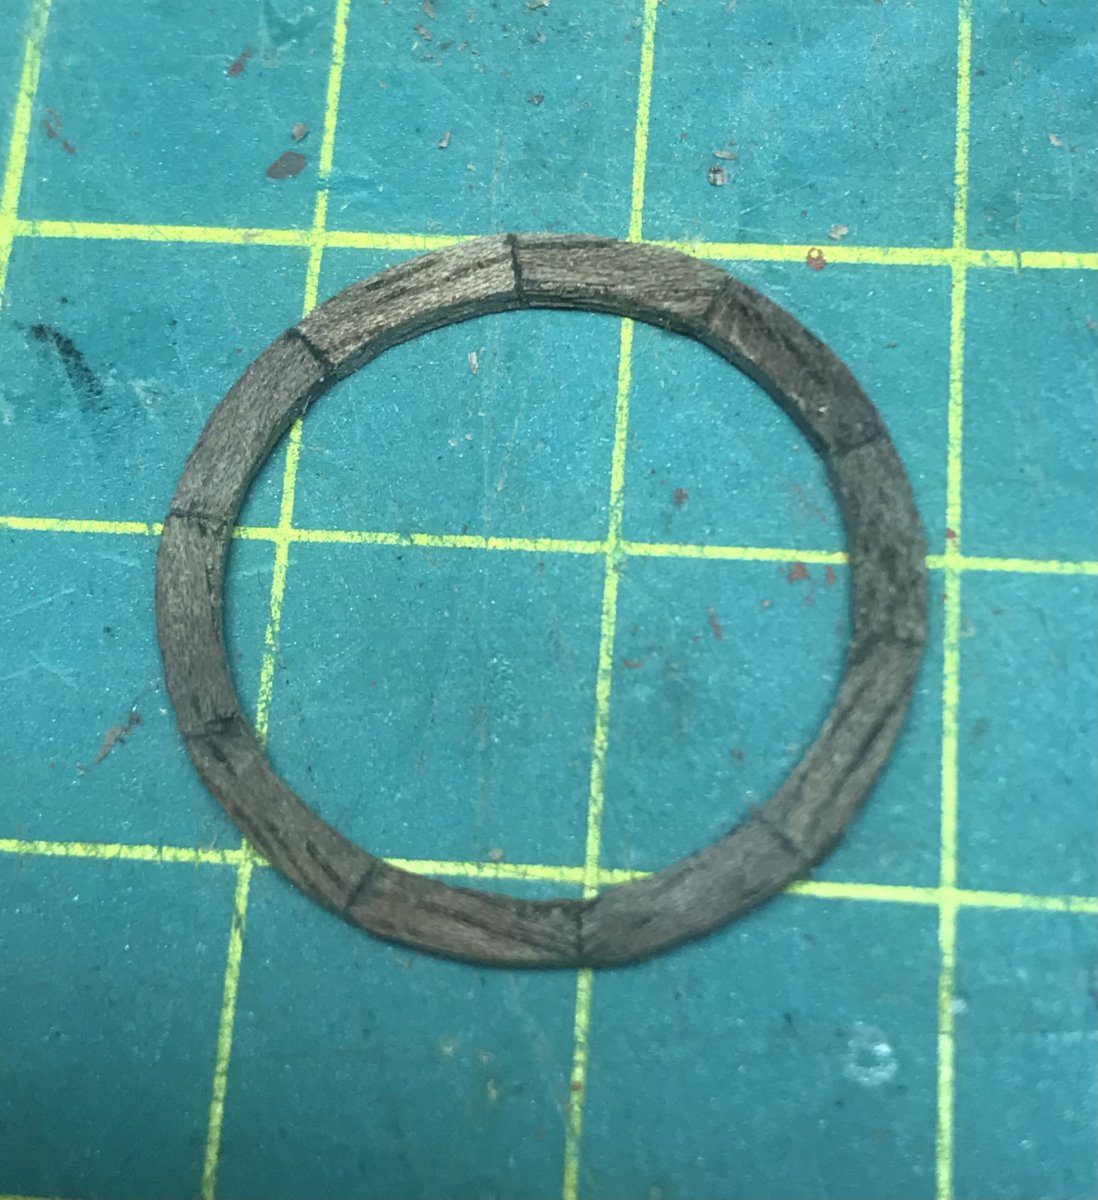
The first rim released from the faceplate, still without spokes. Tip from JDS73: Move a heat gun on its lowest setting briefly over the glued parts and carefully cut the softened glue loose with a hobby knife. If you do not dare, use a hair dryer or moisten the wood regularly with a little water.
Watch out: When the first complete wheel was released the rim broke in three places, because it had not yet been glued together and so had no rigidity. Glue it up completely first, then release.
Result
The first rim came right in one evening and the second the day after, with variations under 0.1 mm. The real work comes afterwards with the spokes and the releasing: next time glue the wheel up completely first and then take it off the disc with heat, or stick the rim down on only a few spots.
Problems met with this technique
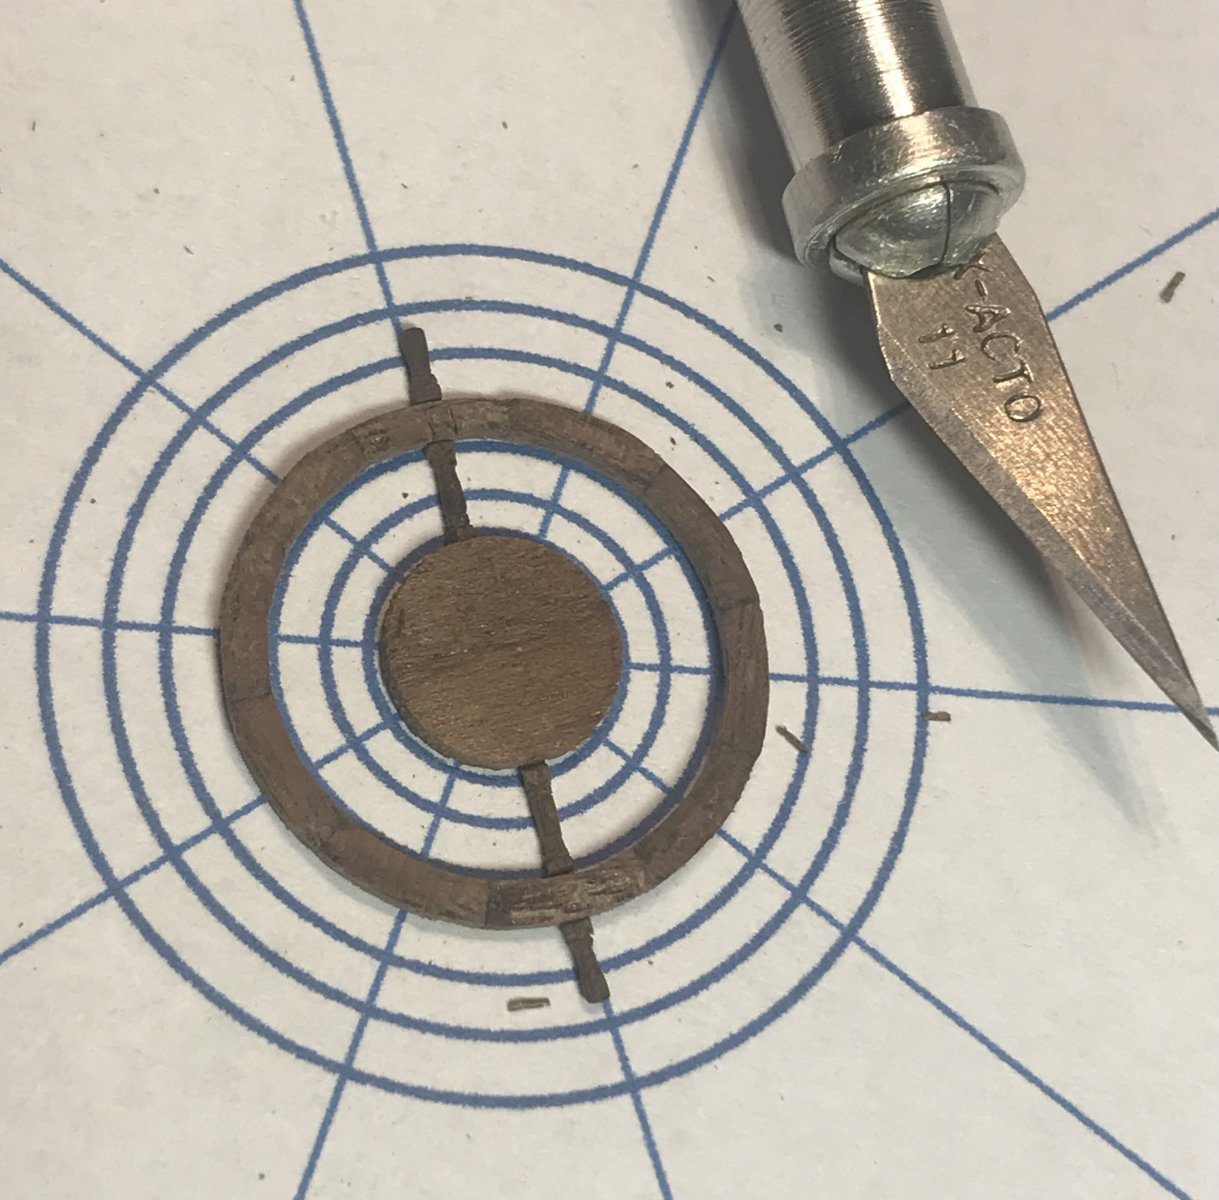
When freeing it from the faceplate the wheel rim broke in three places. Next time glue it completely first, then free it with heat (heat gun or hairdryer). (Tips from JDS73, Stephan Kertész) to the register
The wheel in the kit is brass, which Eduard finds 'a bit odd'. Scratch-built two wheels with ten spokes each, after the Syren PDF and the NRG articles. (Tips from Stephan Kertész) to the register
The 1x1 mm walnut spokes break easily and are hard to align. Ordered cherry, pear and boxwood (edelholzverkauf); method with a pre-shaped blade on the lathe. (Tips from Stephan Kertész, Building Mouse) to the register
In the same series: Deck fittings
- Shot garlands with every shot equally spaced, using a small template
- Making the upper deck gratings lower with a camber
- Bending a strip for the planksheer in a PVC pipe of water
- Building up a drumhead from seven layers of walnut
- Turning and fitting rail stanchions for the ladderway
- A mast coat from dyed lining fabric, after the masts of the Victory
- A ship's wheel rim from ten walnut segments, turned round on a faceplate
- Turning spokes for the ship's wheel with a pre-shaped blade
All how-tos · Deck fittings: capstan, ship's wheel, gratings and bitts