How-tos
Every technique from the build log as a repeatable instruction, with a photo per step, the dimensions and the tips from the forum members. The log tells the story around it; these are the hands.
Bulkheads and hull
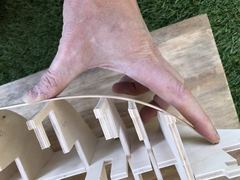
Decks
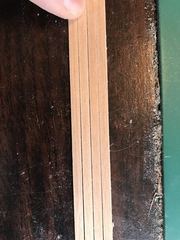
Sand the tanganyika strips smooth before they go on the deck, so that they don't splinter and the caulking seam stays crisp.
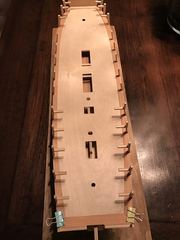
Work out the width of the margin plank from the literature, cut it by hand from sheet and let the deck planks into the margin plank at the bow (joggling).
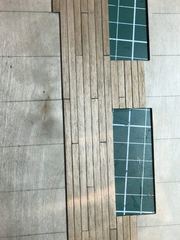
Cut the planks to length, apply the caulking seam with an oil-based pencil, scrape and mark them, and lay them in a four-butt shift from the king plank out to the margin plank.
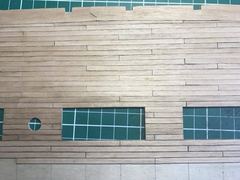
Glue each plank separately and only cut the next one off the long strip once the previous one is fixed, so that the caulking seam runs on and the planks stay the same width.
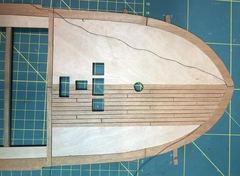
Plank the upper deck off the ship with a king plank, 0.15 mm thread between the planks as caulking seam and temporary bulkheads underneath against warping, then scrape and oil.
Hull planking
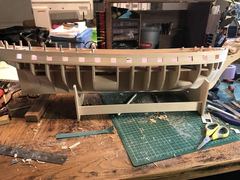
Mark out the ports with a template, drill holes along the line, cut out the centre and sand only the last bits.
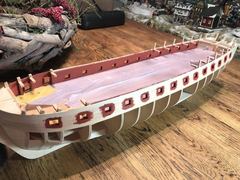
Sand everything smooth, cover the deck and apply the red ochre in two or three thin coats, with a light sanding in between.
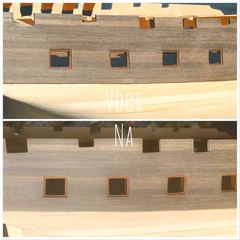
Fill the tiny gaps between the planks of the second planking with the wood's own sanding dust, fixed with PVA glue thinned to a milky consistency, so the colour stays the same and you get no glue stains.
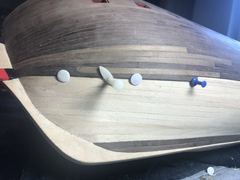
Cut a drop plank to the English system, using a piece of masking tape as the template for the lower strip, so that the clinker effect at the bow disappears.
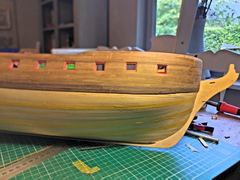
Divide the hull into four equal belts with ribbands and work with seven planks per belt, so you calculate the taper per belt rather than over the whole hull and no longer get stuck.
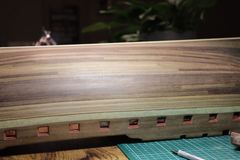
Establish the height of the wale with masking tape and the sheer of an existing strake, then glue the black strake and five strips with plank butts cut in.
Stern and ornaments
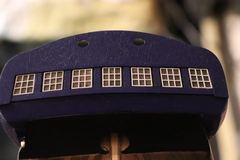
Try five ways side by side to make the transom windows opaque but still shiny, and fit the winner (a grey haze on clear plastic) in the transom.
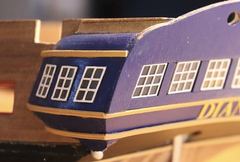
Fit the small windows of the quarter galleries without glue stains by first cutting a tiny frame into which the piece of plastic fits exactly, so the position is right straight away and you do not have to shift anything once the CA glue is on.
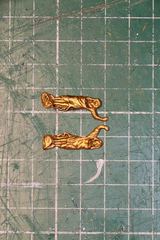
Build up the short arm of a white metal transom figure by piling on solder and shaping it with a small file, then repaint and age the figure.
Paint white metal carvings in antique gold over a yellow base coat, so the gold covers and looks fuller, then age them with a wash and drybrushing.
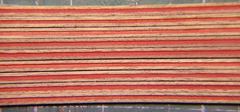
Test three ways of getting a red line into the profile of the mouldings (brush, waterproof marker, acrylic paint marker) and paint the real mouldings with whichever works most neatly on the deep profiles.
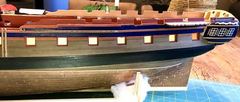
Do not place the channels to the dimensions of the drawing: dry-fit the mouldings at height first, mark the channels on them and only then fix everything, so mouldings and channels are right relative to each other. The manual almost does it this way (12.2: mark one channel loosely, 12.5: leave the moulding open at the channel, 21.3: pin and glue), except that it measures from the drawing, which on our hull no longer matches.
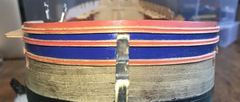
Fit the mouldings at the bow in one piece round the curve, with the bend put in beforehand and an extra row of clamps, so the mouldings stay parallel.
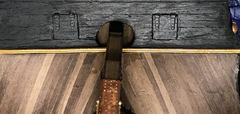
Position the two aft port lids, which are on the drawing but not in the manual, with a template, glue the hinges onto the lid and finish with small pieces of brass against the hull.
Coppering
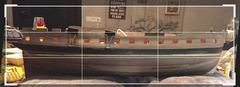
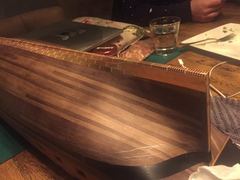
Set the ship level, draw a horizontal line round the hull with a simple jig and mark it with masking tape, so the top row of copper plates finishes on a crisp line.
Glue the copper plates onto the hull row by row with a minimum of CA glue, lay the first row tight, and know how to lift plates off again if a row turns out wrong.
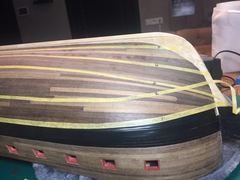
Mark out the belts for the copper plates along the sheer of a strake, using a template for the plate width and printed paper strips to see where the plates have to be cut at an angle.
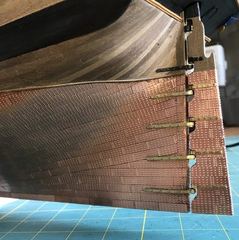
Remove the glue residue from the coppering with steel wool and copper polish, so the copper can then age evenly everywhere; do not varnish it.
Head and rudder
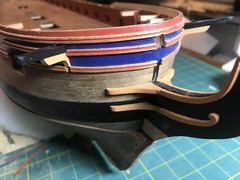
Saw two catheads from 5 mm walnut, fit them through the mouldings and secure them with nails, CA glue and PVA, because glue alone does not hold.
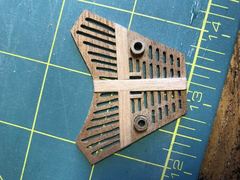
Saw the seats of ease (toilet bowls) for the head grating yourself from 5 mm walnut, because the 4 mm dowel in the manual drops through the hole in the grating, and watch their position relative to the bumkins.
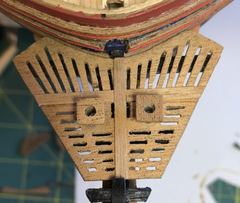
Mark out all the grating openings first and then cut only with a No. 11 hobby knife blade, because drilling and tidying up gives a ragged grating.
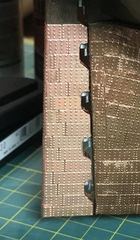
Glue on a small triangle so the bottom of the rudder runs level with the keel and a whole copper plate fits on it, and glue the pintles to the wood through holes cut in the copper.
Guns
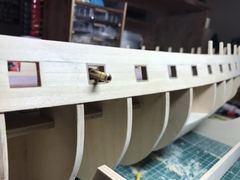
Put a trial gun in the port, and set the axletrees deeper into the gun carriage so that the barrel sits at the right height in the port.
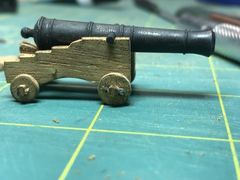
Degrease the 28 brass barrels and soak them in blackening solution in a few rounds, rinsing and dabbing dry in between, until they are dark; the result varies from barrel to barrel and that is fine.
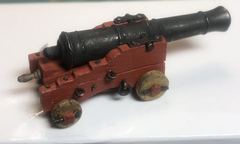
Upgrade the kit carriage with round-headed brass nails, simulated bolts made from the kit nails, linchpins from flattened nails, a turned handle on the quoin and a breeching ring from 0.7 mm wire.
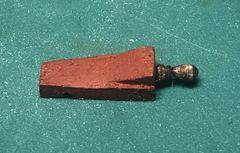
Chuck a satay skewer in a mini drill and turn it into a handle of about 4 x 1.7 mm with small turning tools and sandpaper, because turning from a square walnut strip went wrong too often.
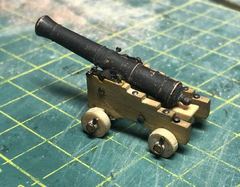
Mill the cheeks of scratch-built gun carriages as a stepped profile from a block of Castello boxwood, saw them into 2 mm strips and assemble them with axletrees and pins after Anatomy of the Ship, replacing the veneered kit carriages.
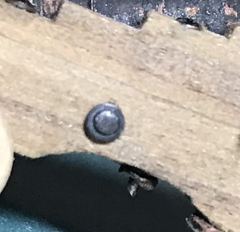
Imitate the washers behind the bolts of the gun carriages by filing the round head of a brass pin flat in the lathe, and make the linchpins from the same pins.
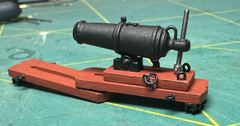
Replace the white metal 'trucks' from the kit with trucks made from brass tubes slid into one another on a 1 mm axle, and the elevating screw with a 1.2 mm bolt that cuts its own thread in the soft white metal.
Deck fittings
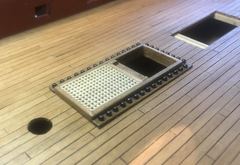
Keep advancing a plastic template with two small circles one step at a time so all the shot hollows come at exactly the same spacing; then file them in with the pillar drill and lay the shot in wet varnish.
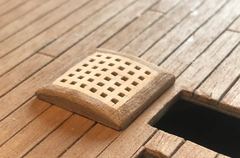
Do not make the upper deck gratings with the 2x2 mm coaming from the manual, but 1 to 2 mm high with a subtle camber along the length of the ship, as the sources indicate.
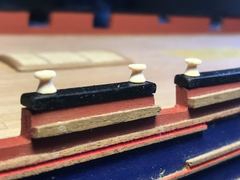
Soak a 5x2 mm beech strip for five minutes in a PVC pipe of water and bend it round a jig of nails, so the planksheer of the forecastle deck runs round the curve in one piece.
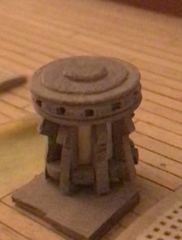
Scratch-build the drumhead of the upper deck capstan from seven walnut discs of different thickness, with square capstan bar sockets in the 1.5 mm layer, after the example in The Anatomy of the Ship.
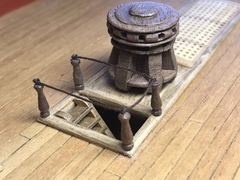
Turn walnut stanchions on the lathe, exactly to size, with a pin in the bottom to fix them into the deck and a brass ring at the top for the rope, which you let sag with water and a small weight.
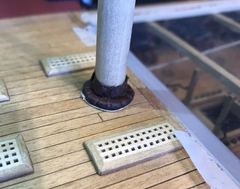
Replace the bare kit ring round the mast with a mast coat of wedges covered in pleated, tarred canvas, imitated with lining fabric.
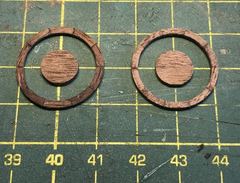
Build up the rim of a scratch-built ship's wheel from ten equal segments, glue them together on a small wooden faceplate and turn them round on the lathe, as a replacement for the brass kit wheel.
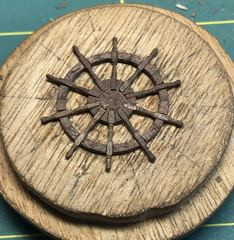
Turn ten identical spokes about 1 mm thick from a perfectly square strip, using a blade as a jig for the spacings and a small turning tool for the final shaping.
Ropework
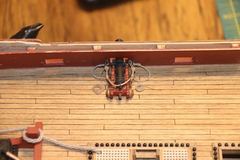
Do not knot the small block of a gun tackle but secure it with a seizing of 0.1 mm silk thread, so there is no glued knot to be seen.
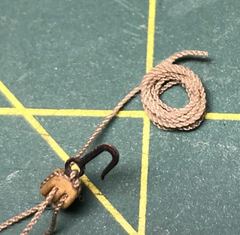
Wind the surplus tackle line round the bottom of a pair of tweezers on a piece of masking tape and fix it with diluted PVA glue, so the coil lies on deck neither too neat nor too messy.
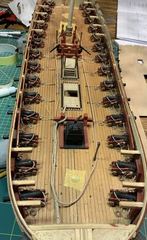
Lay a messenger on the gun deck that brings the anchor cable to the capstan: turn rollers from offcuts, make an eye splice at both ends and join the eyes with a lanyard.
Hammocks
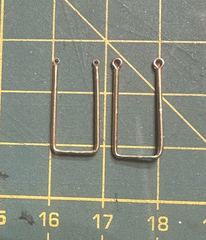
Replace the fragile hammock cranes from the kit with home-made cranes of 1 mm tube, bent round a wooden jig, with a small ring in the filed-open end.
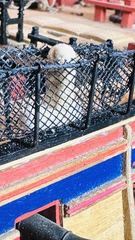
Make the netting between the hammock cranes from a kitchen fly screen and fill it with rolled hammocks of 4 by 3 cm, coloured in rooibos tea and bound with seven whippings on a strip with pins.