Photo archive · By year

2019

236 photos. Photos with a log post open that post; the others open large.

January 2019

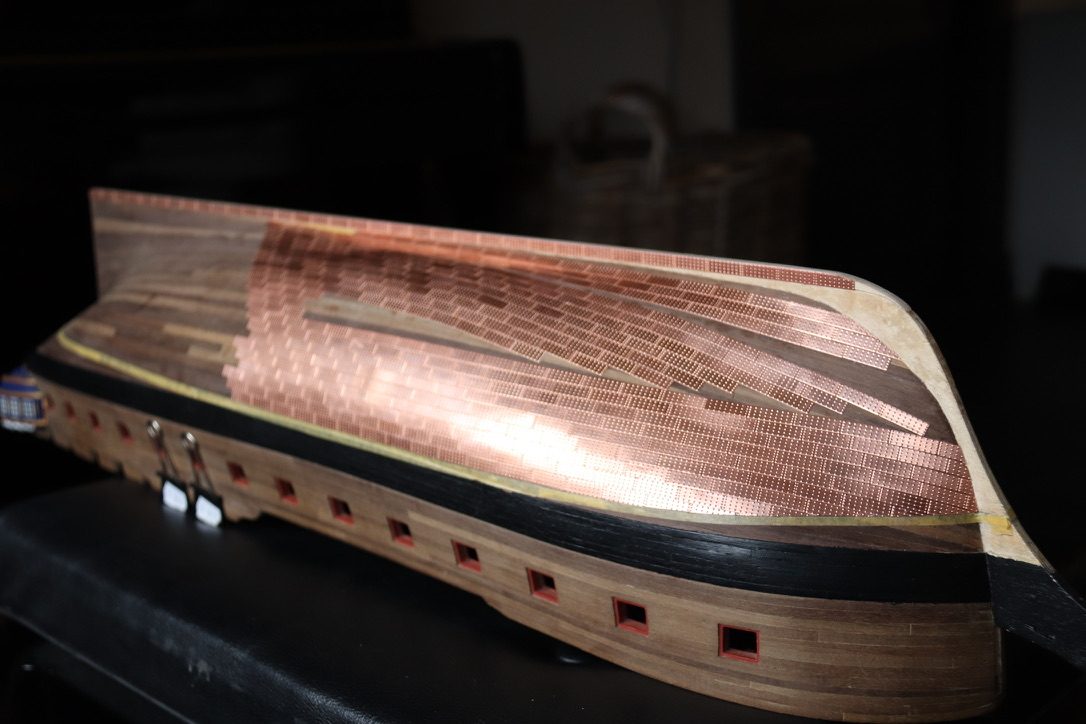
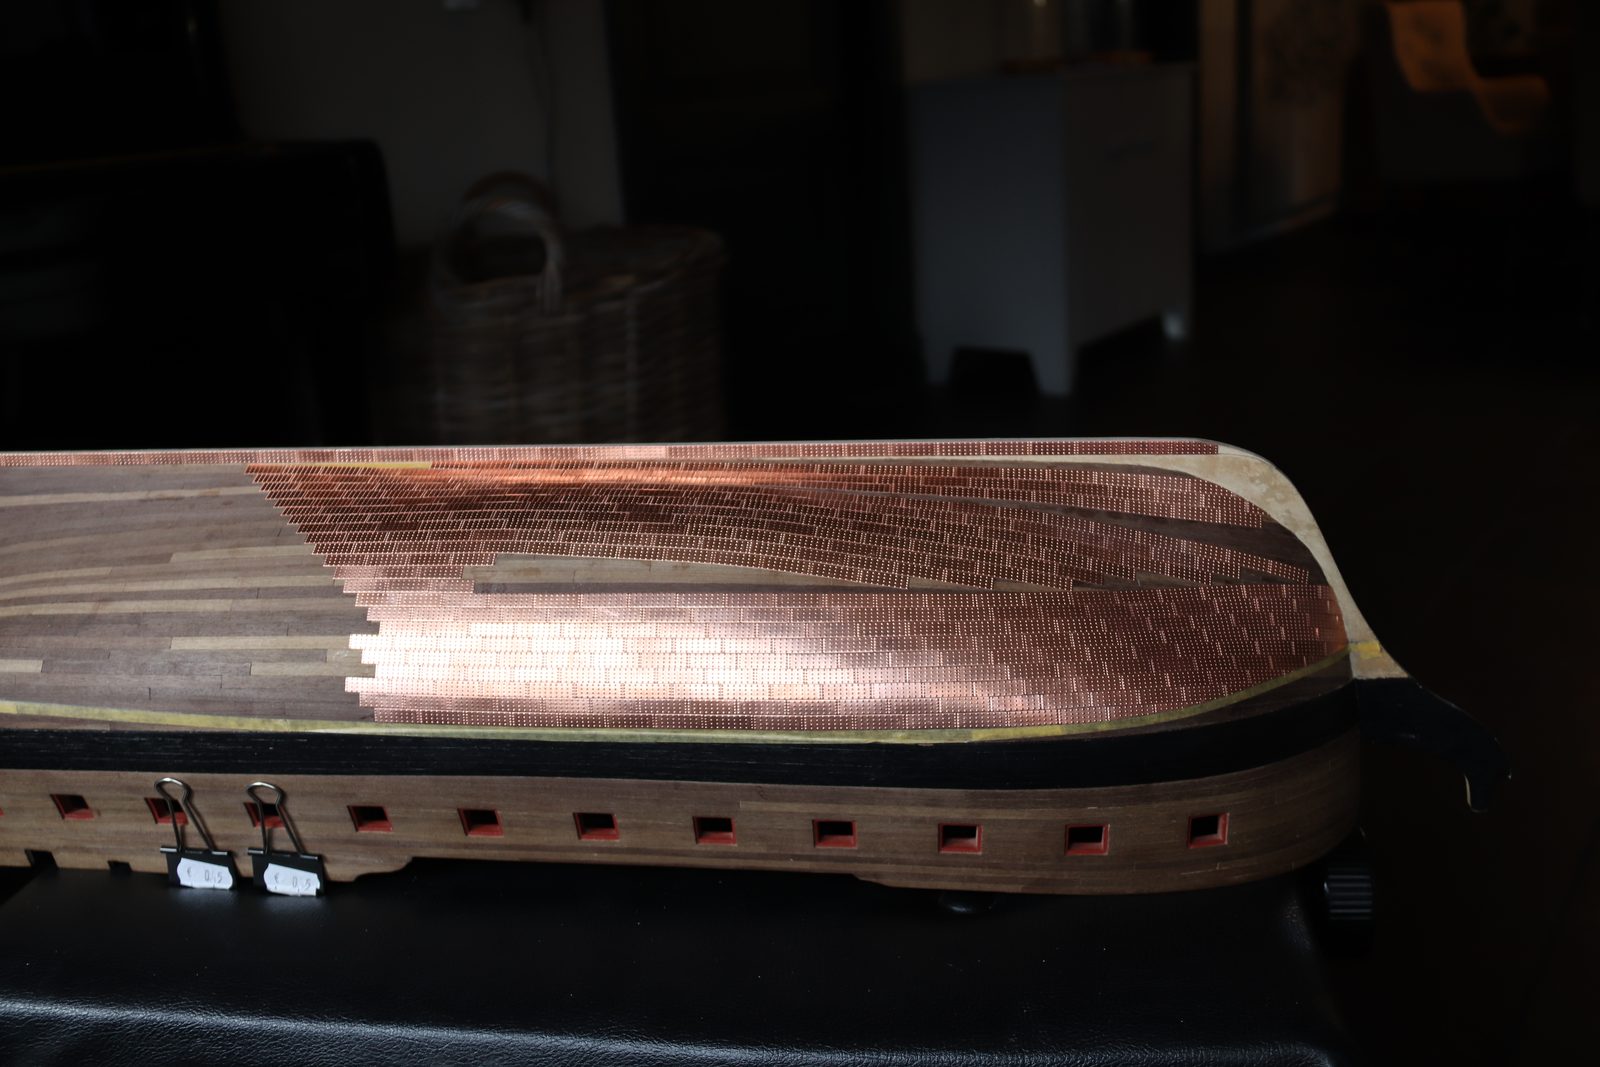
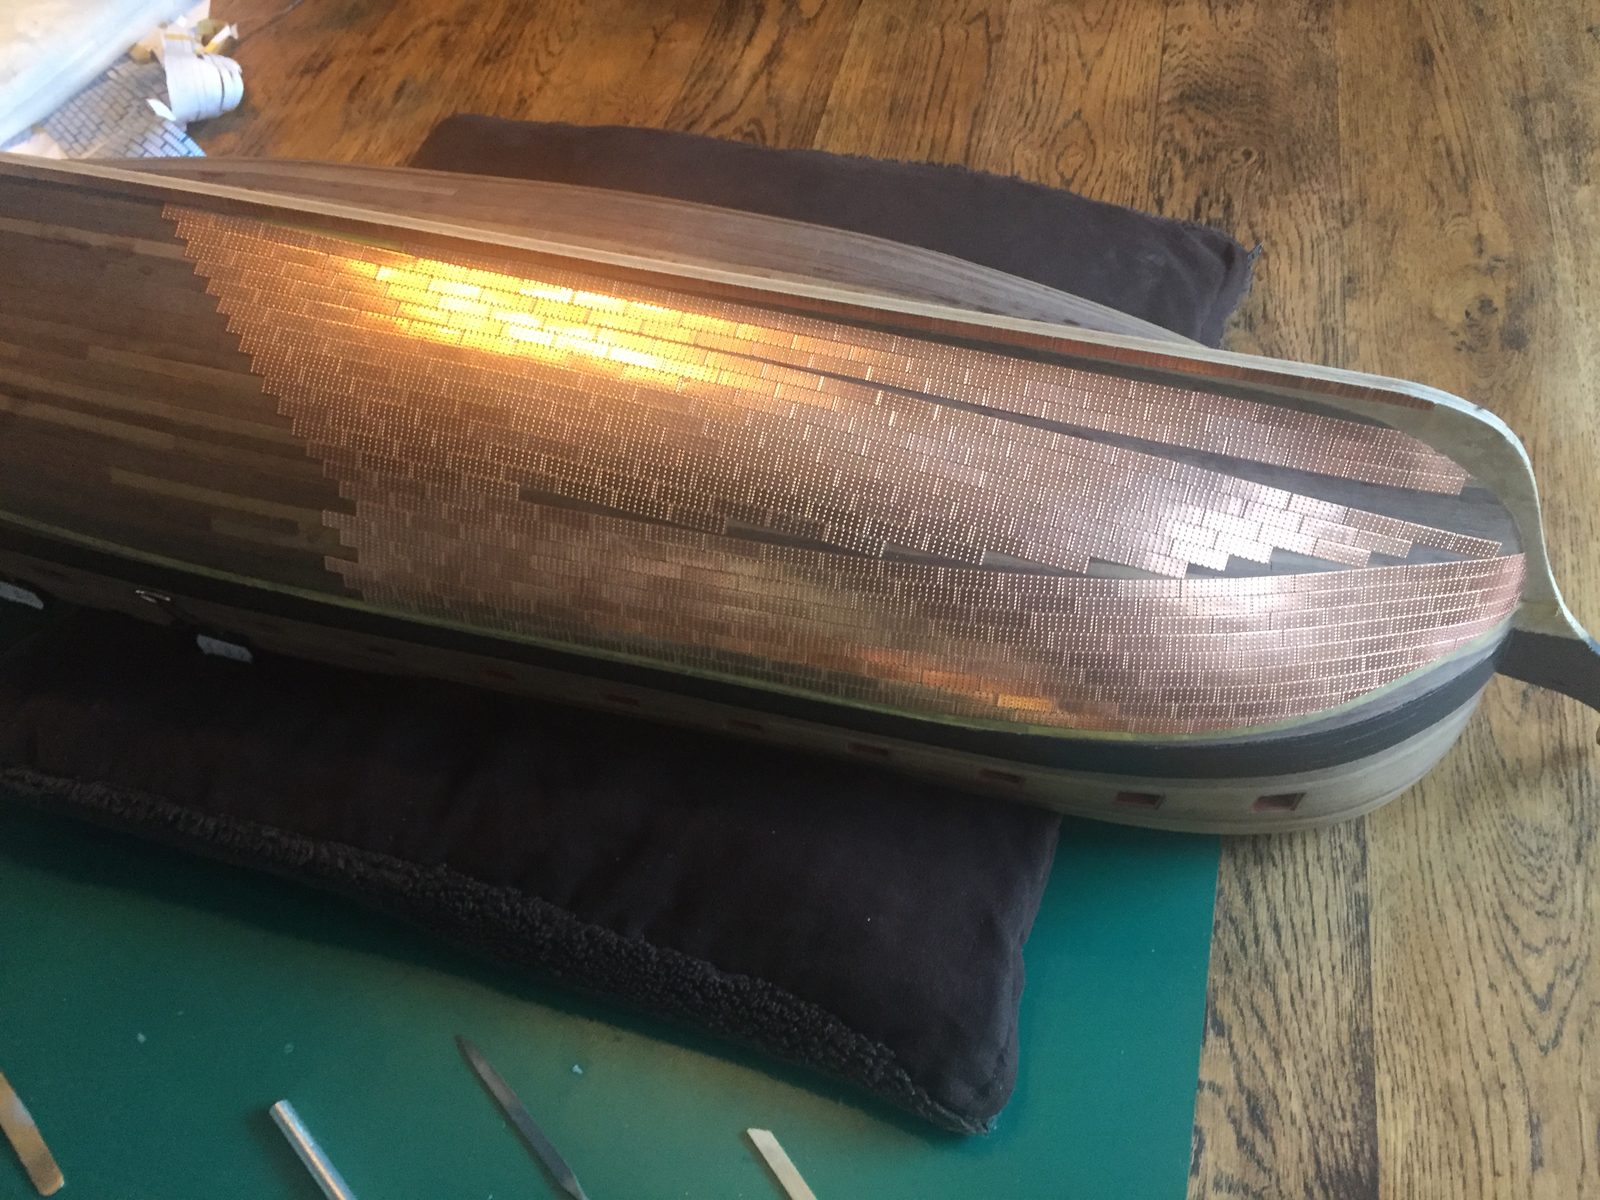
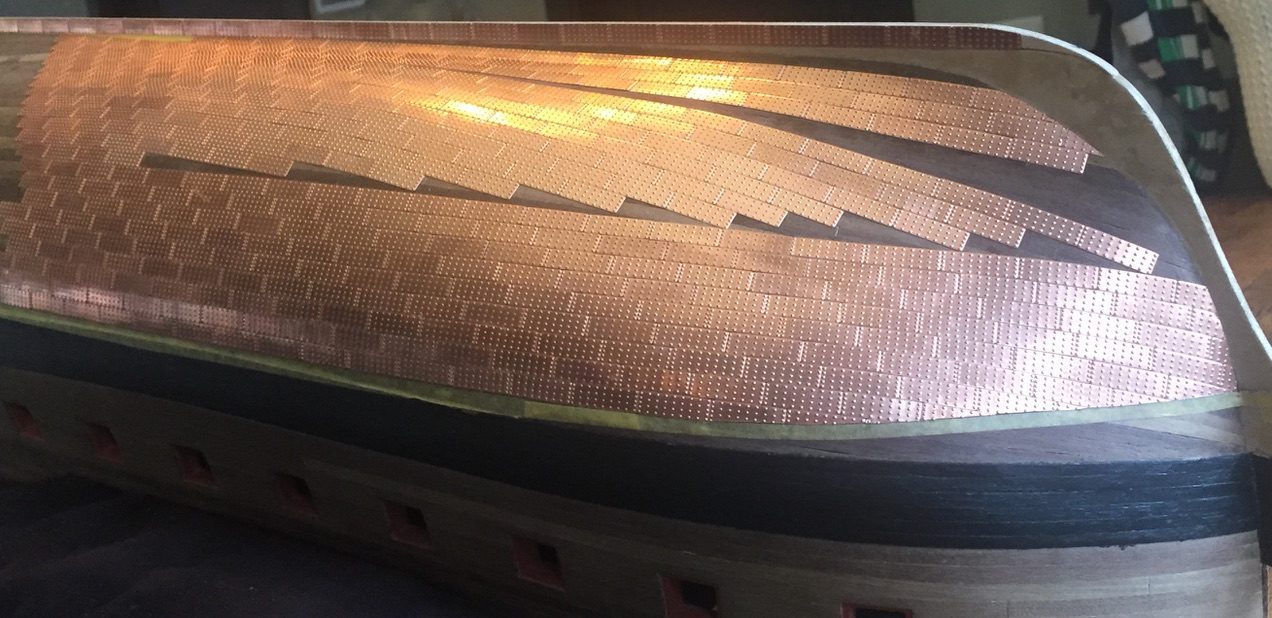
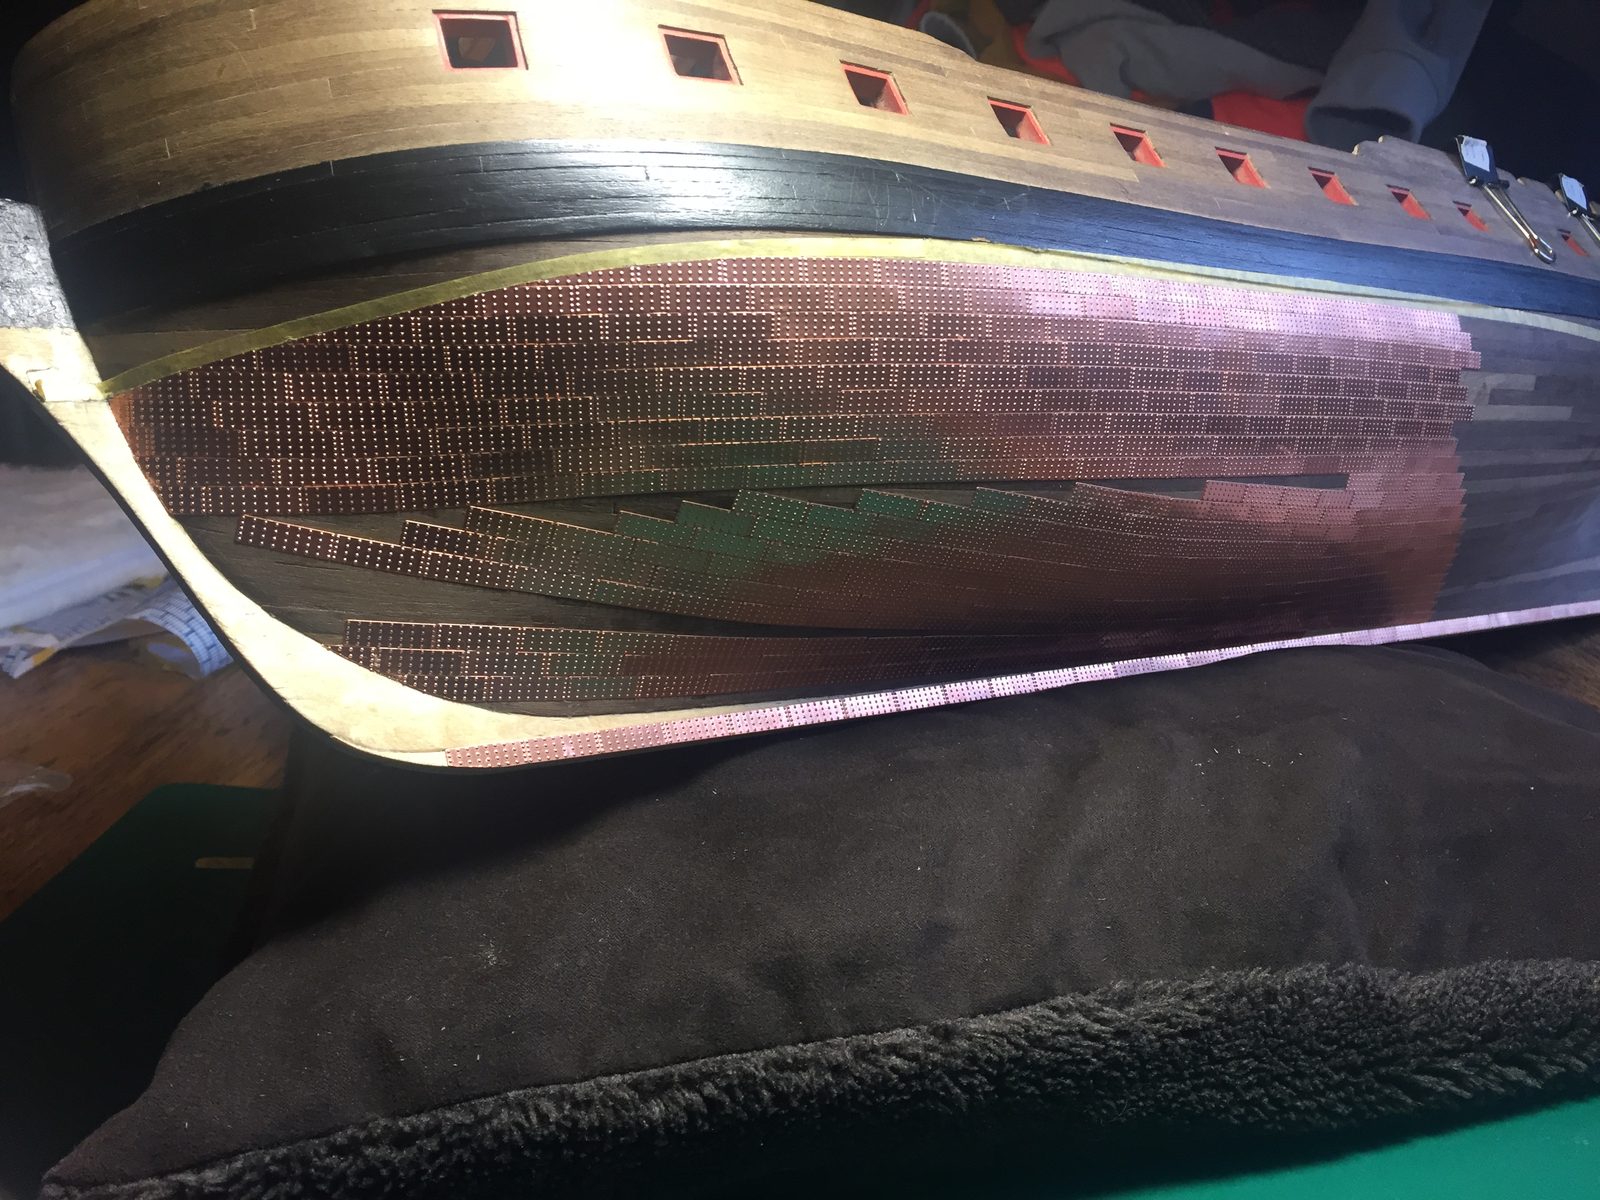
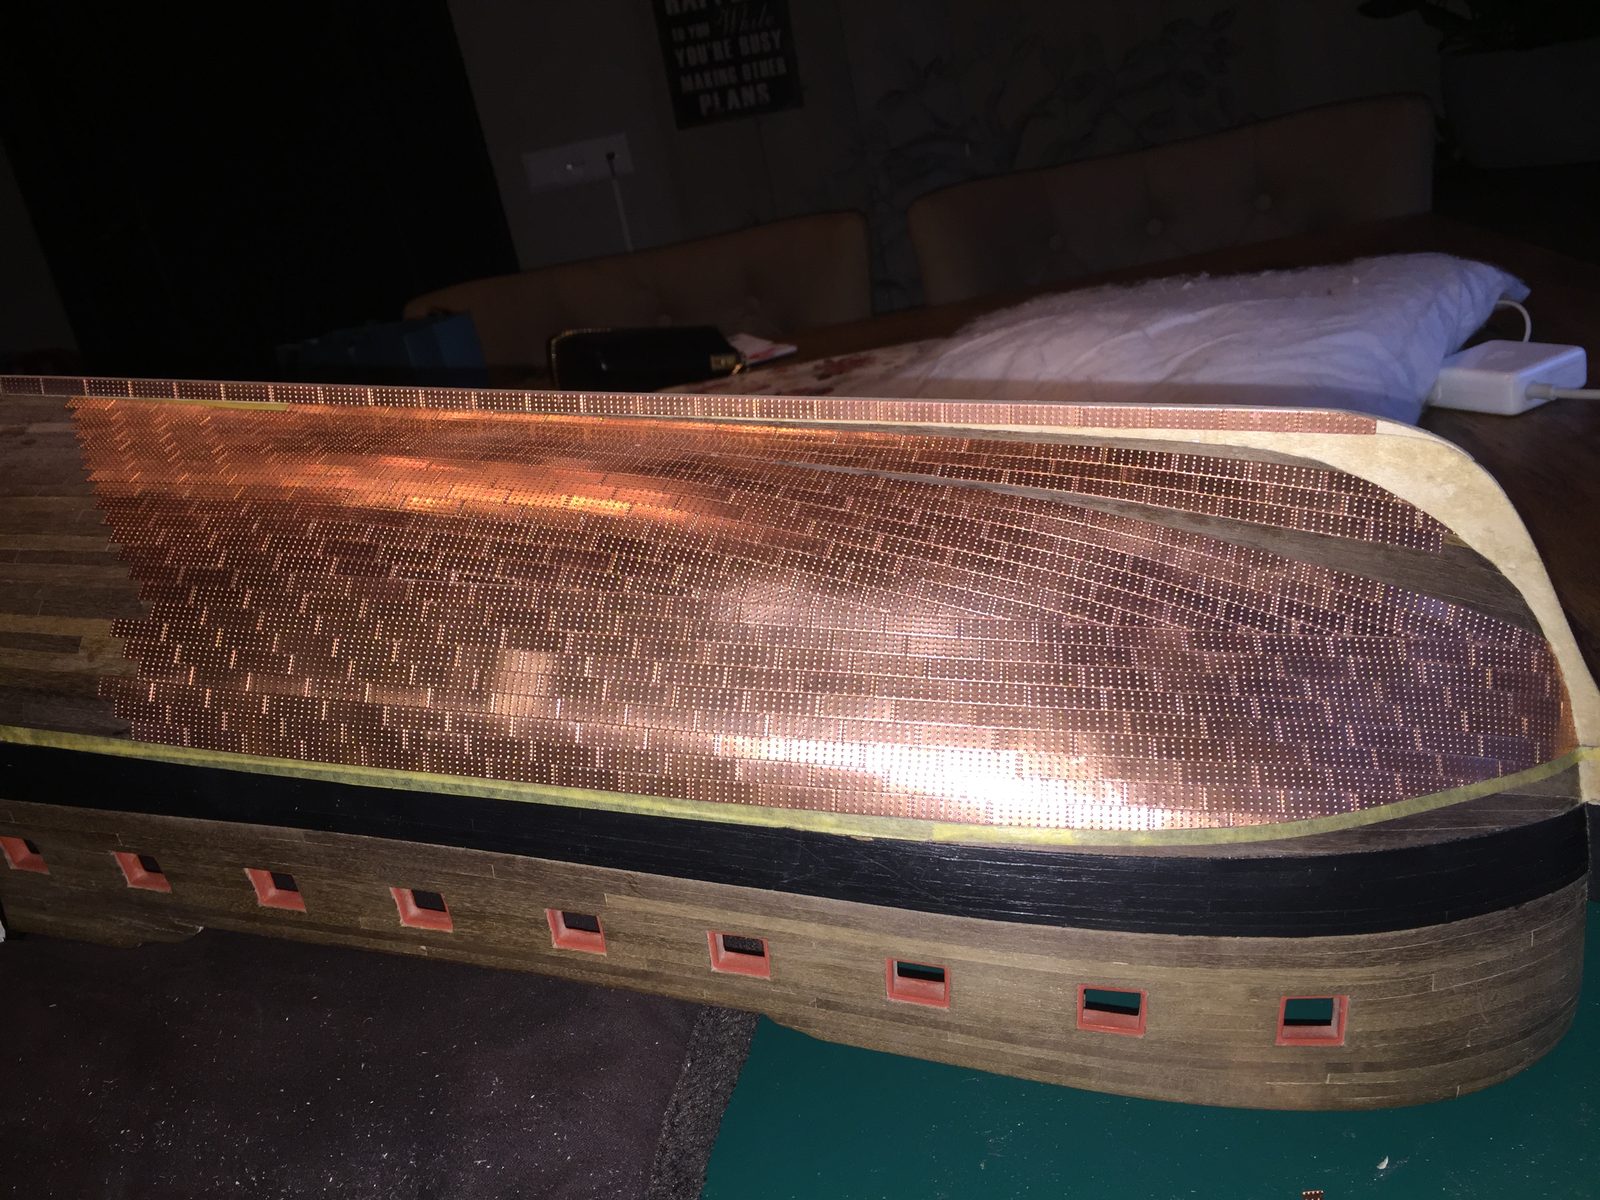
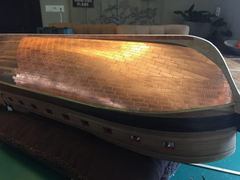
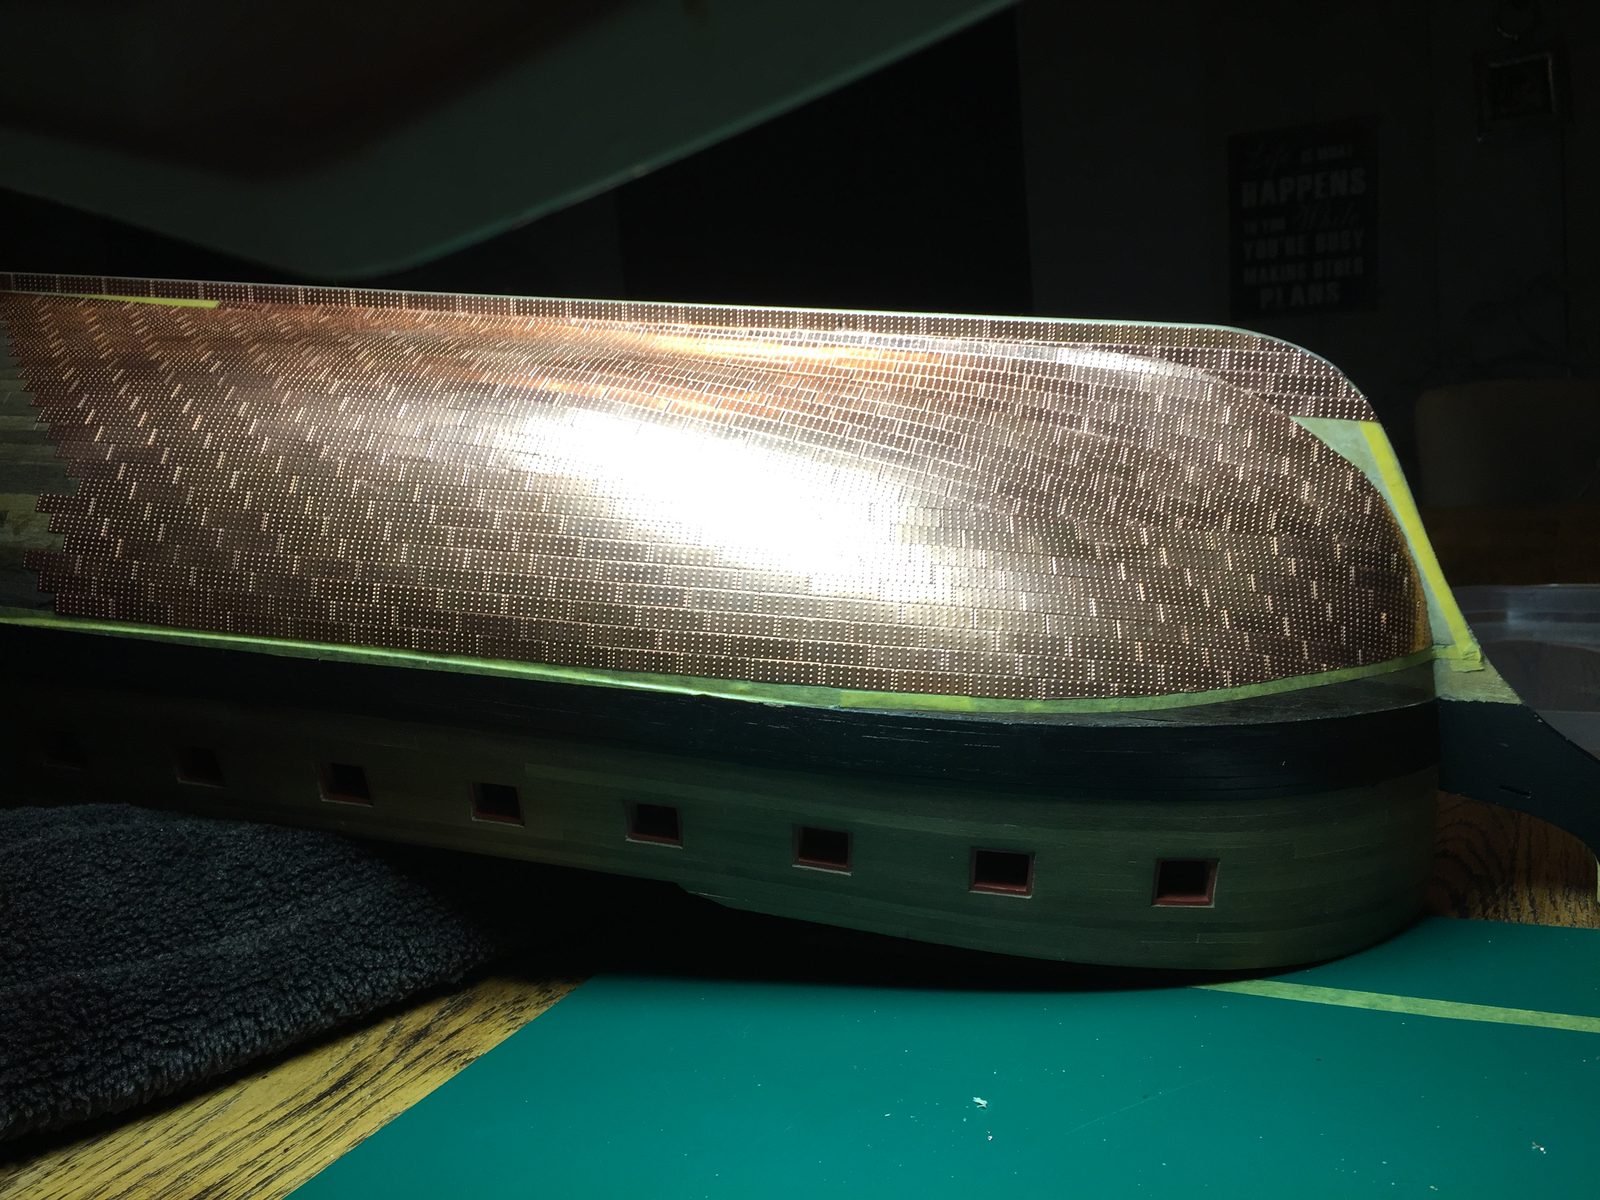
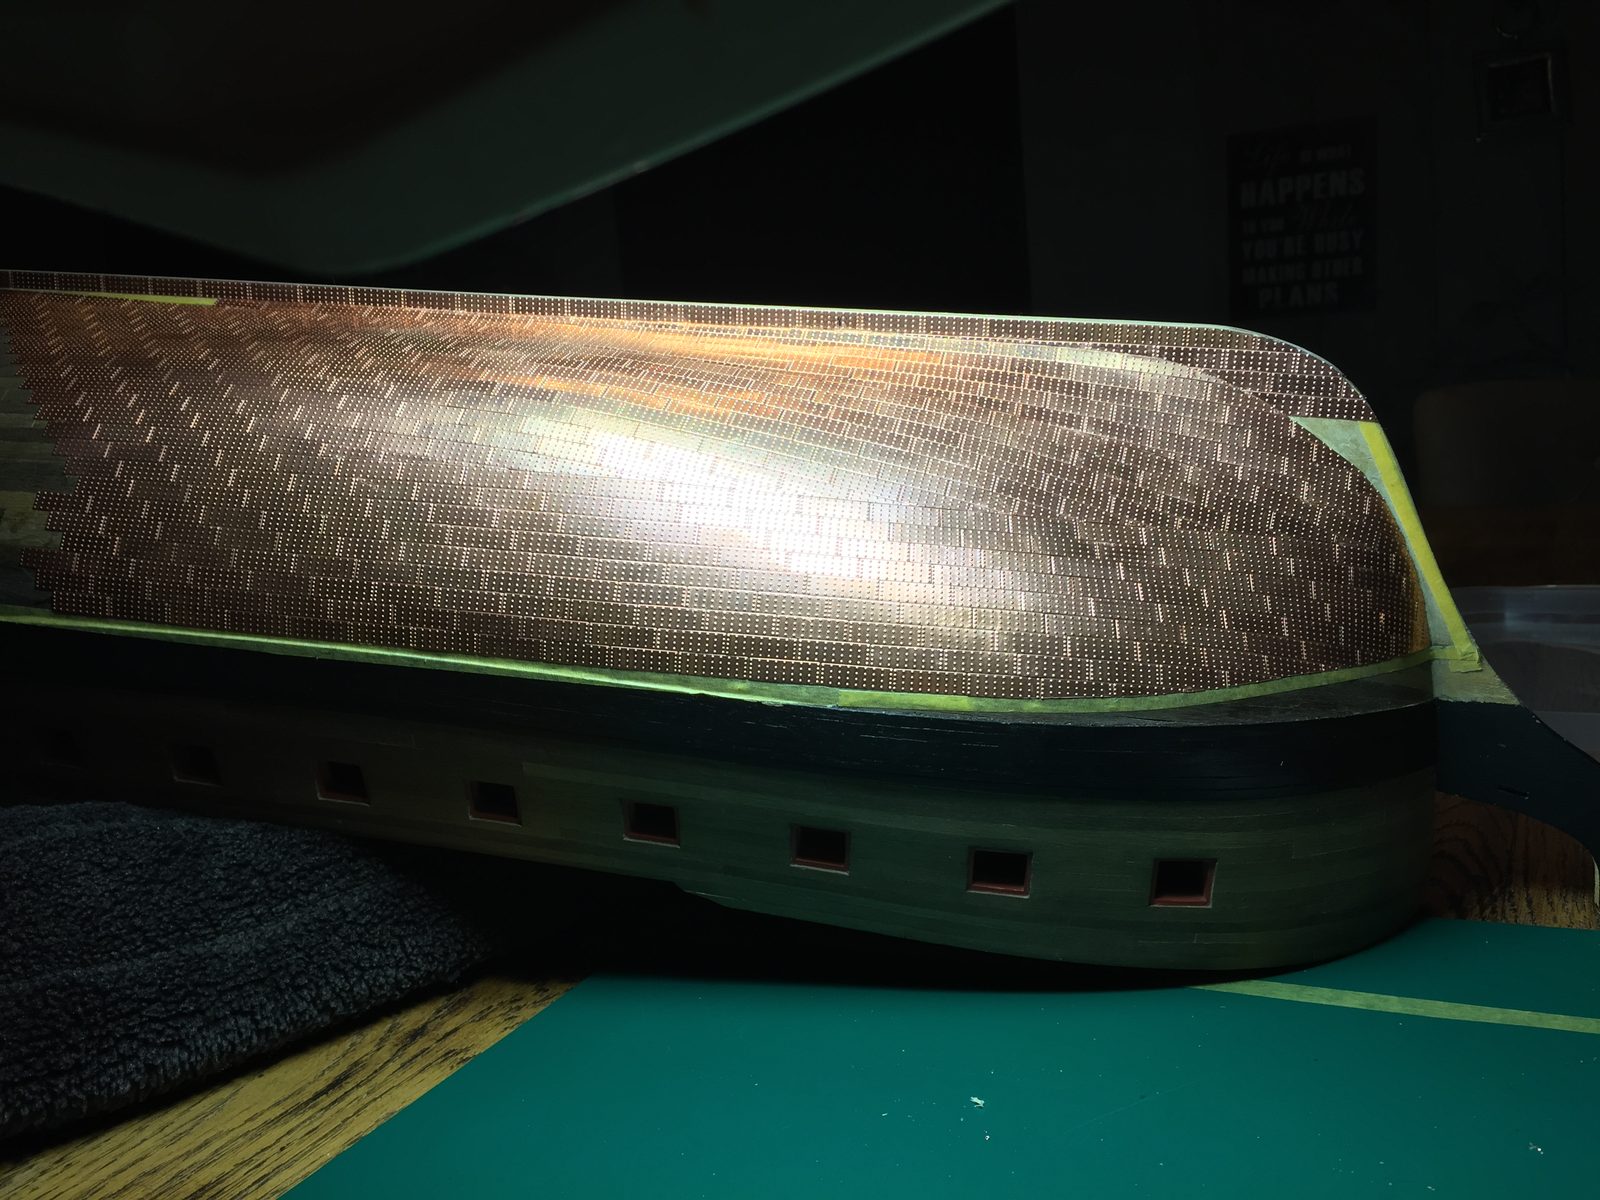
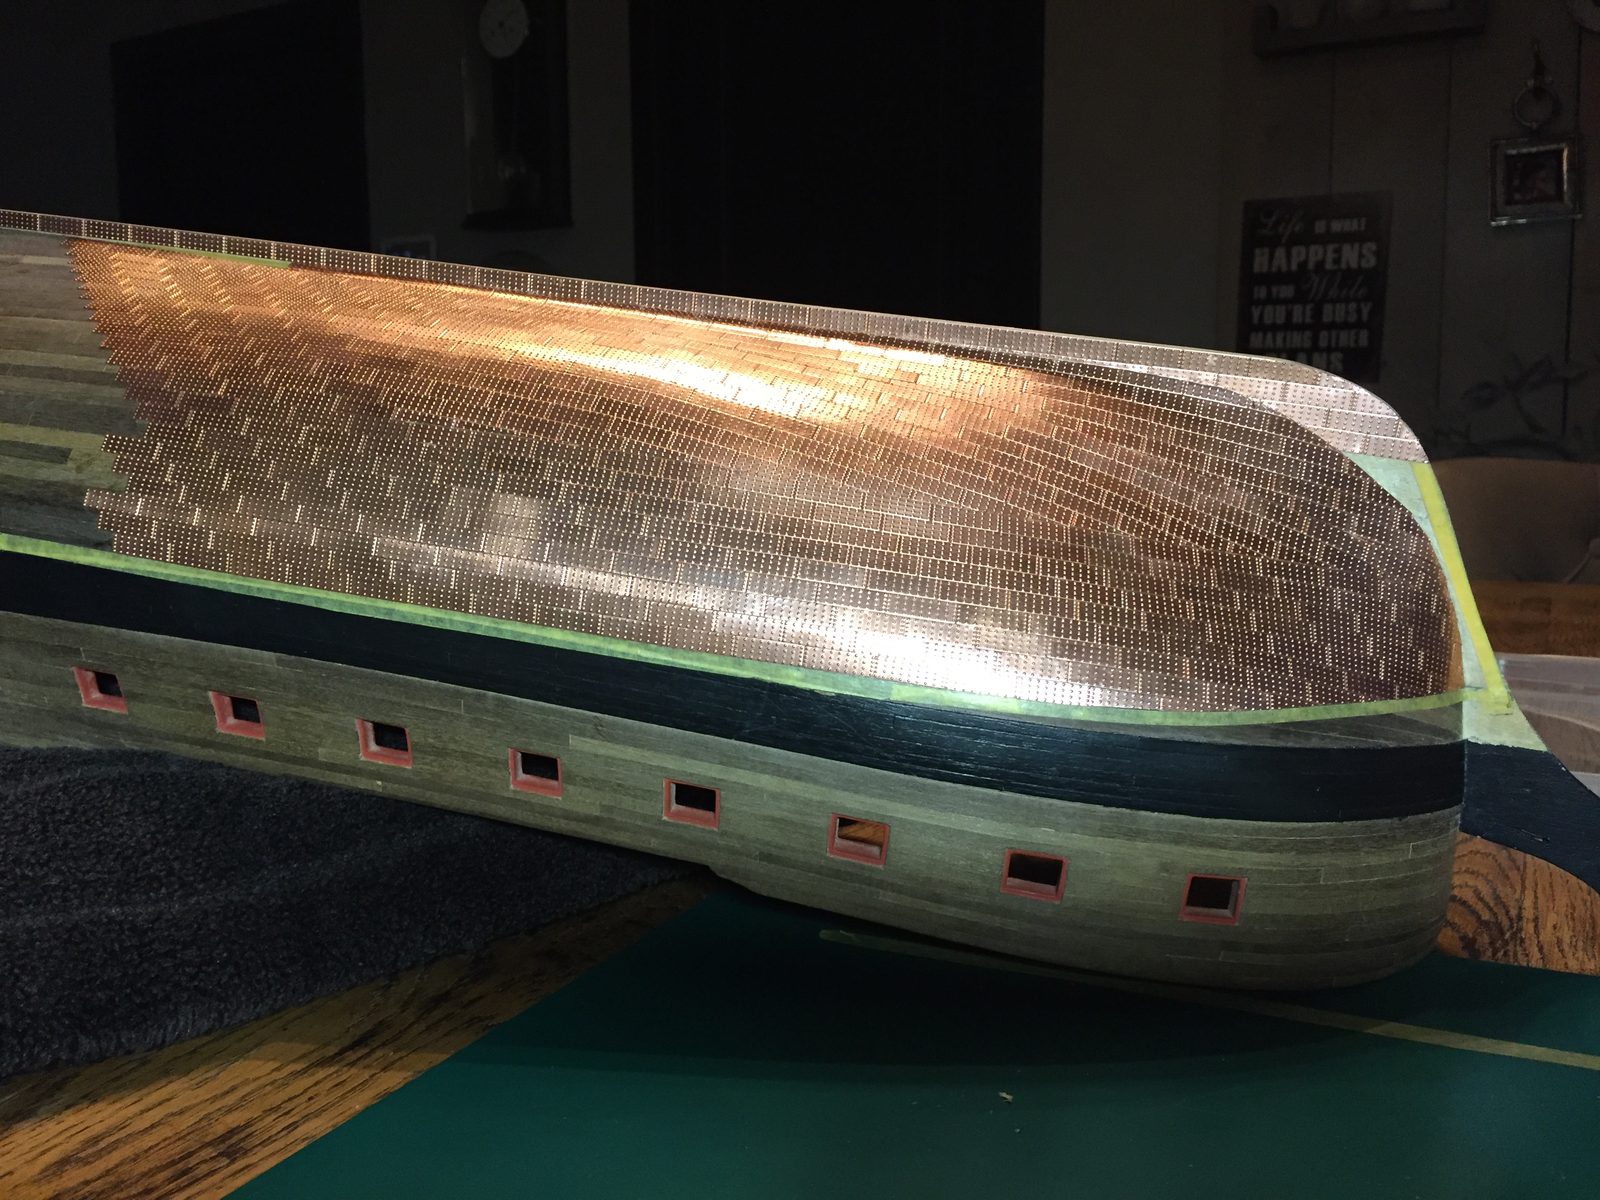
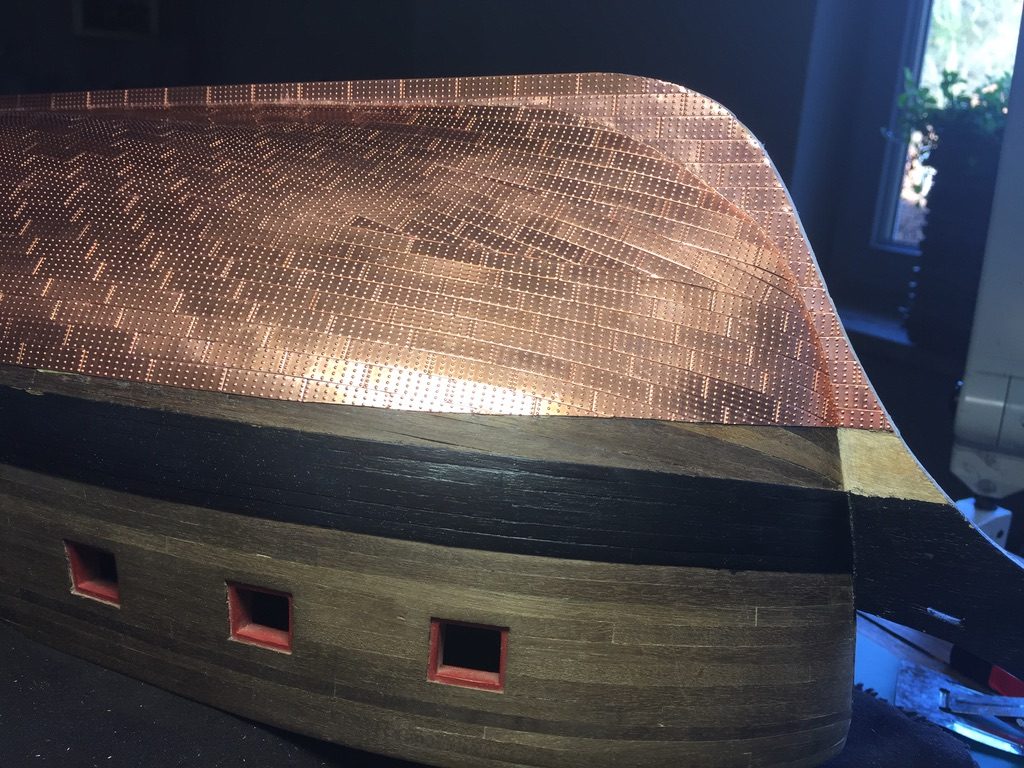
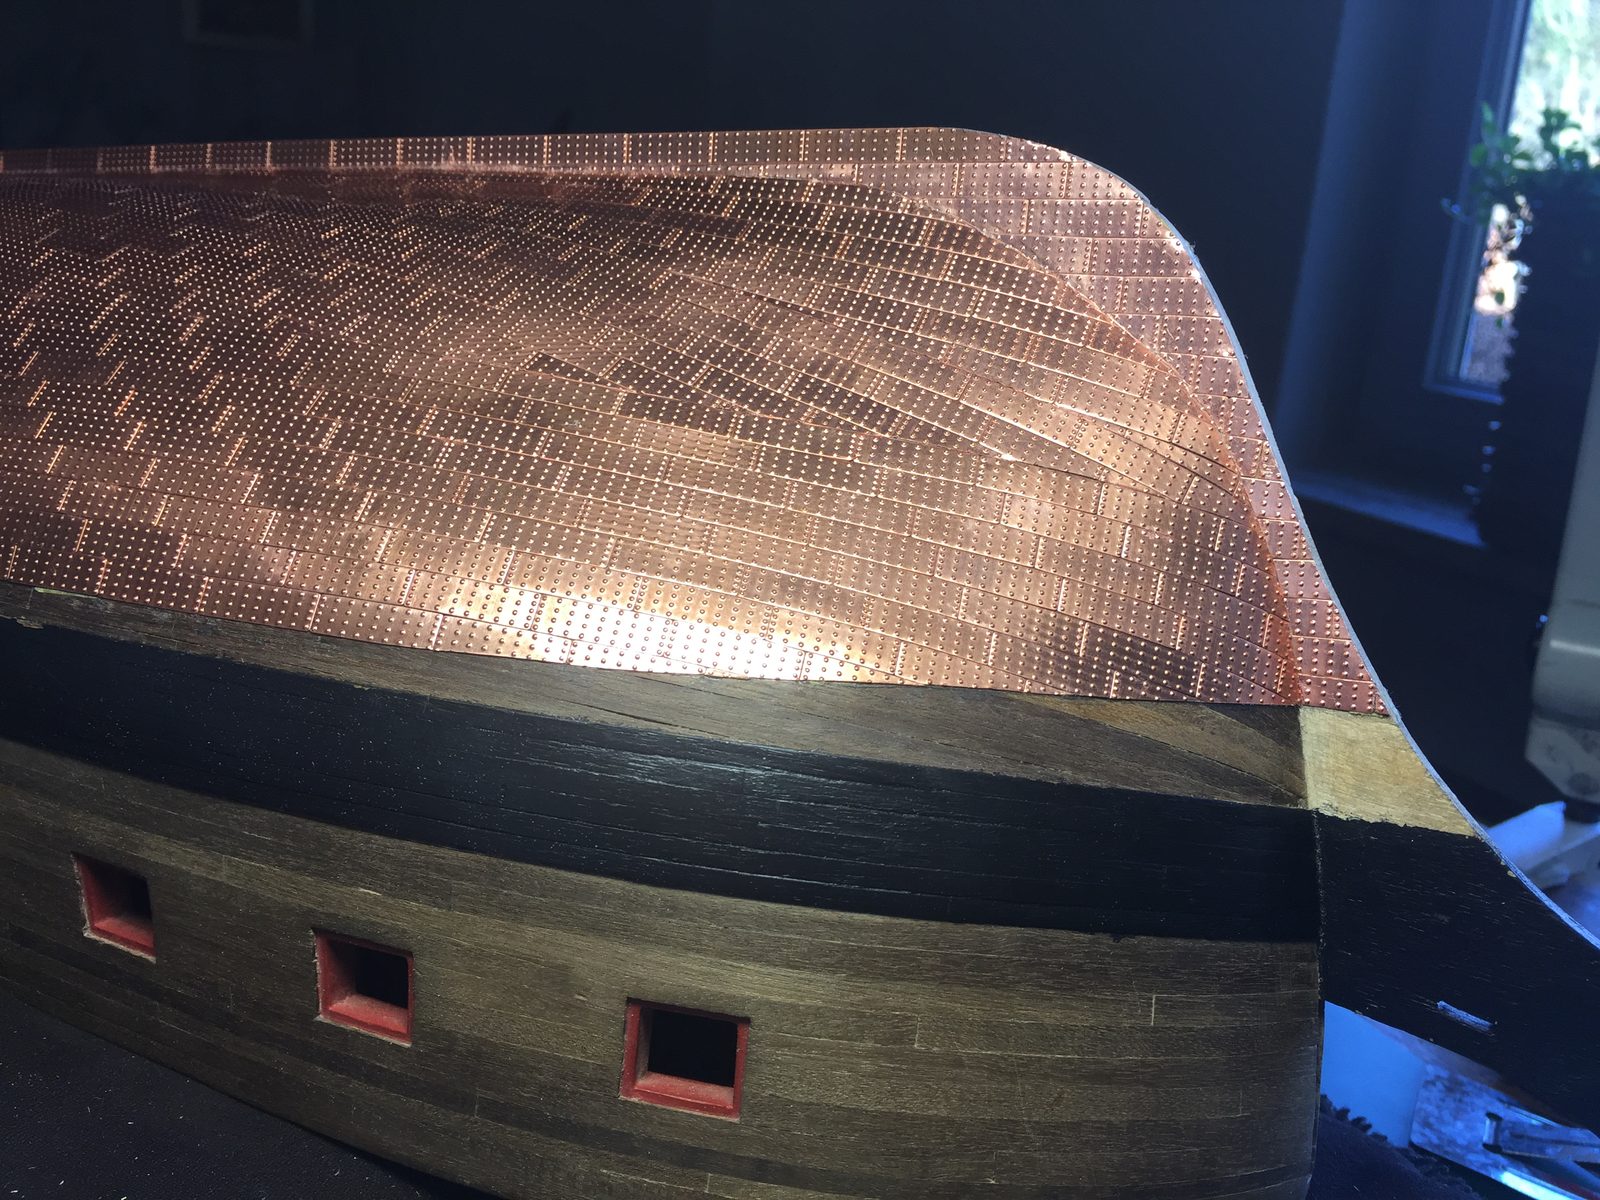
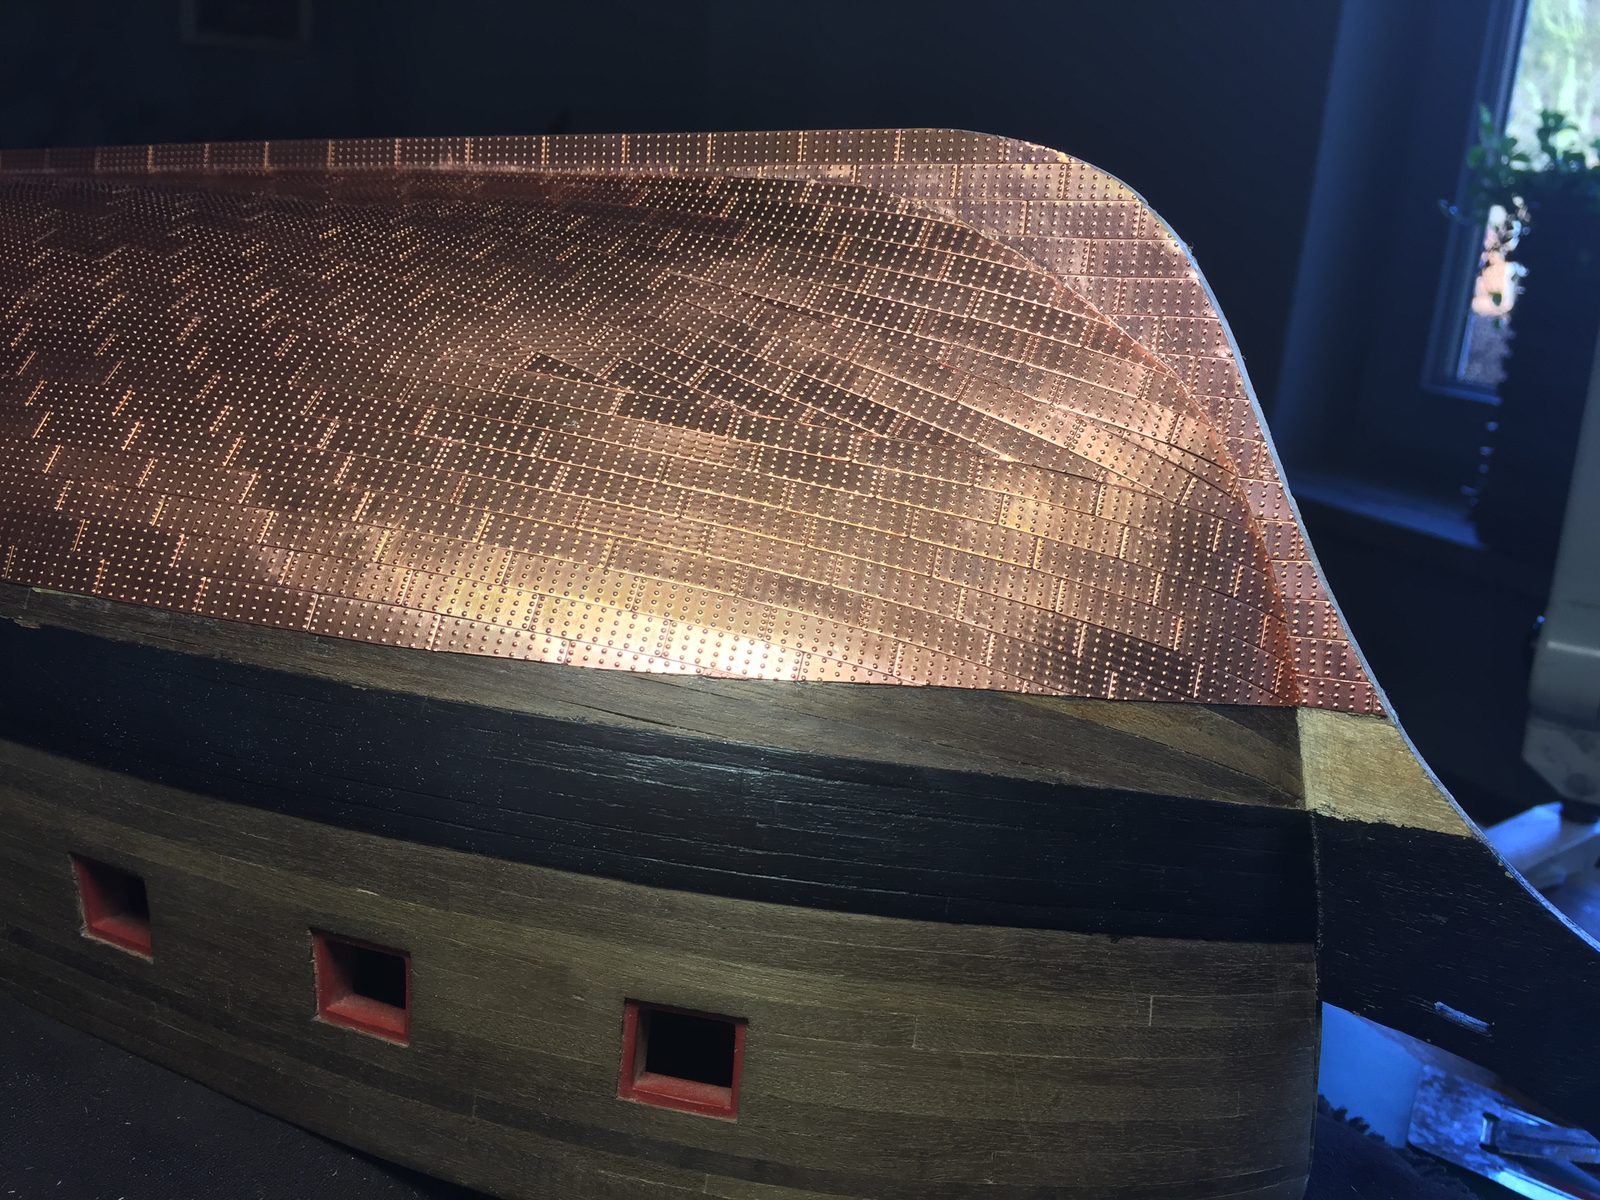
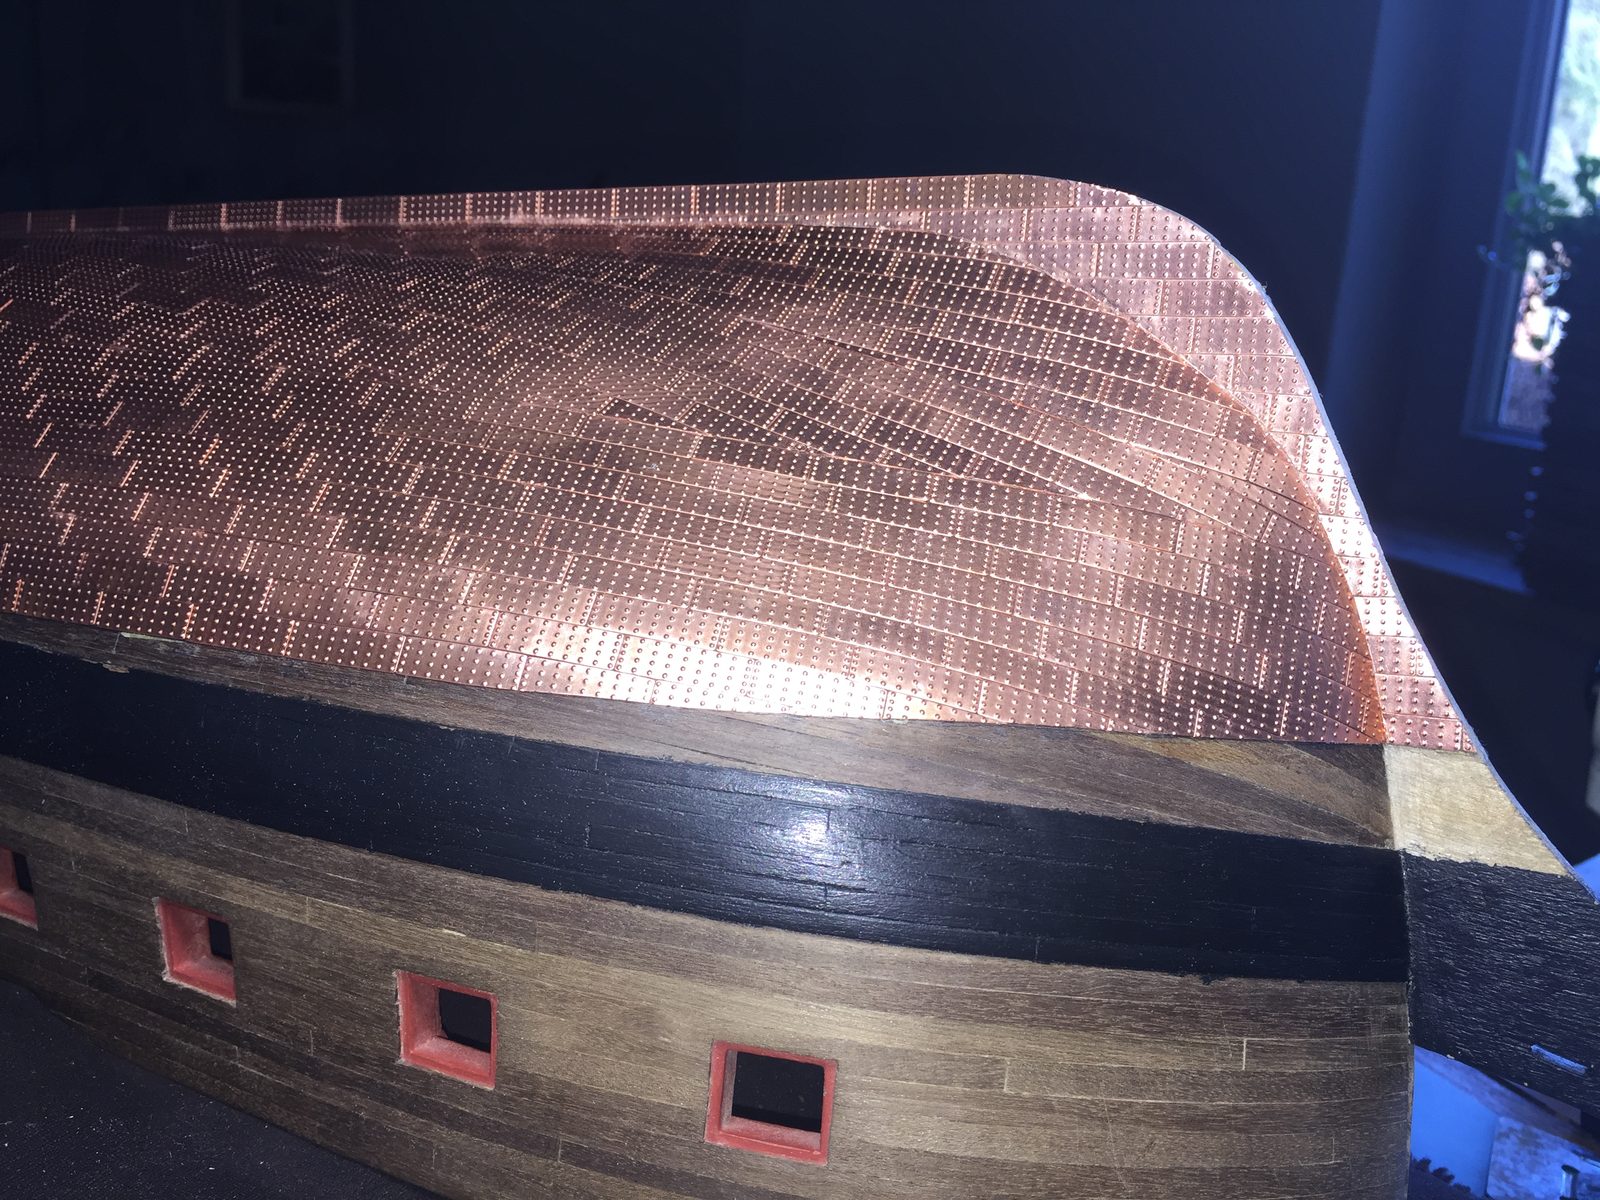
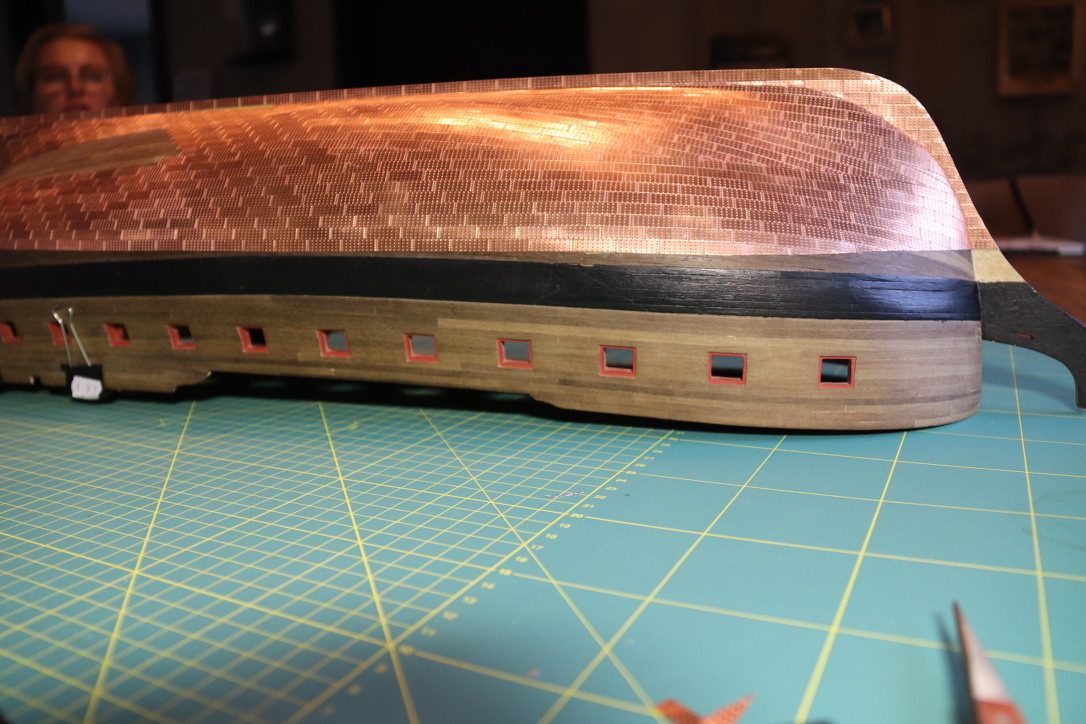
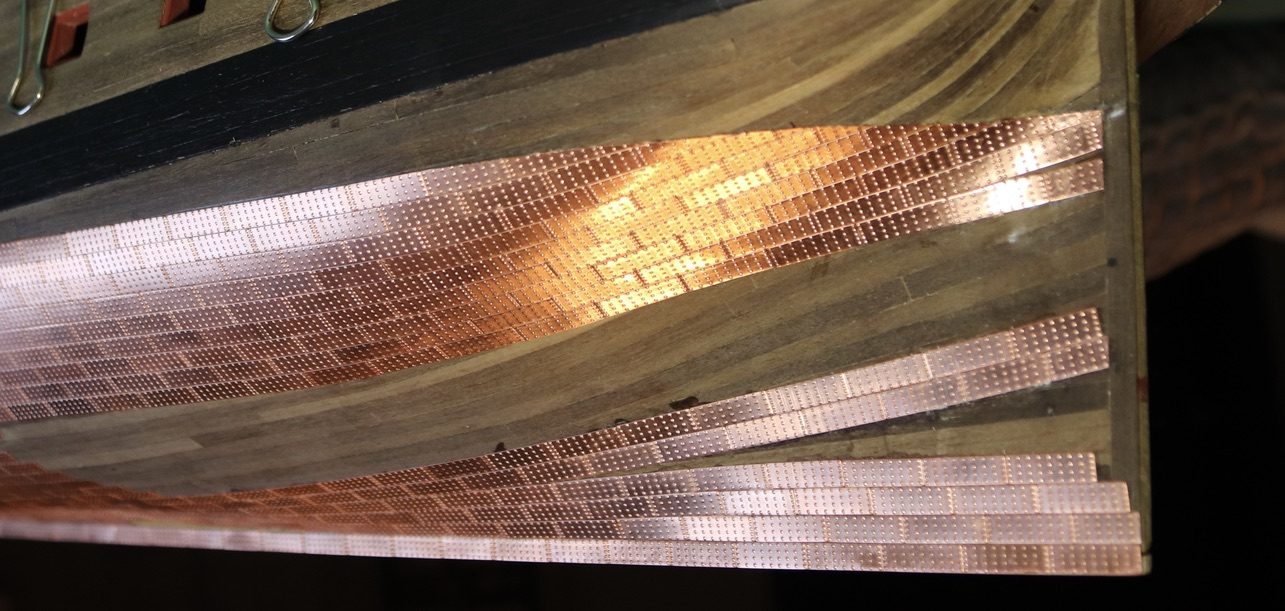
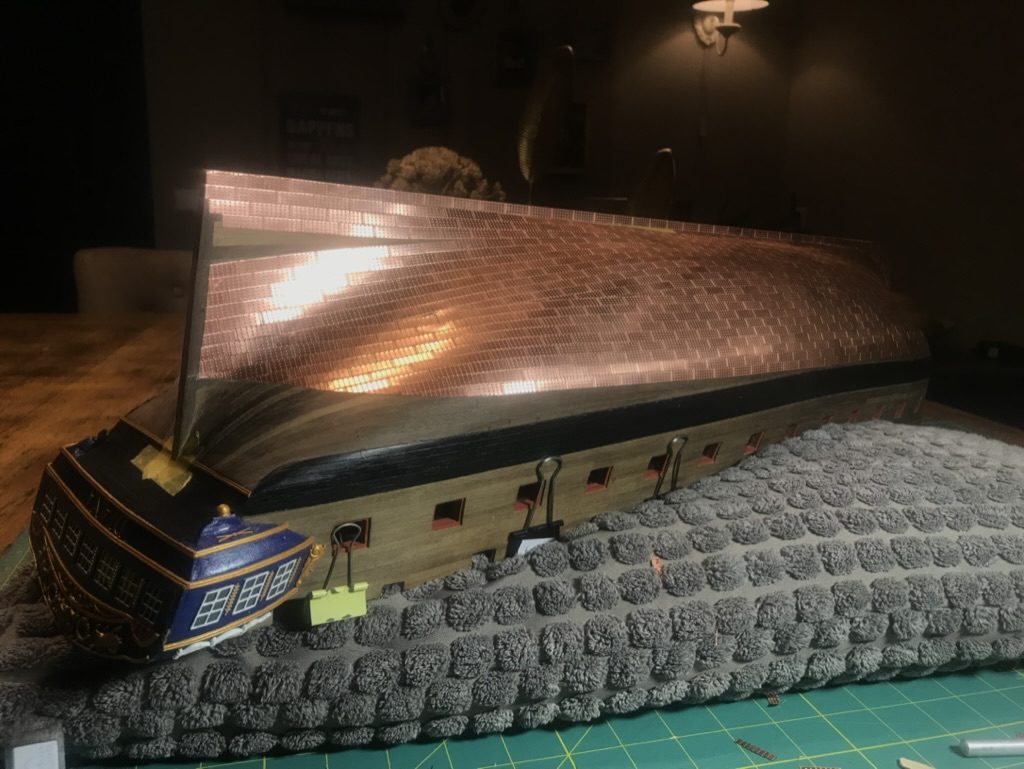
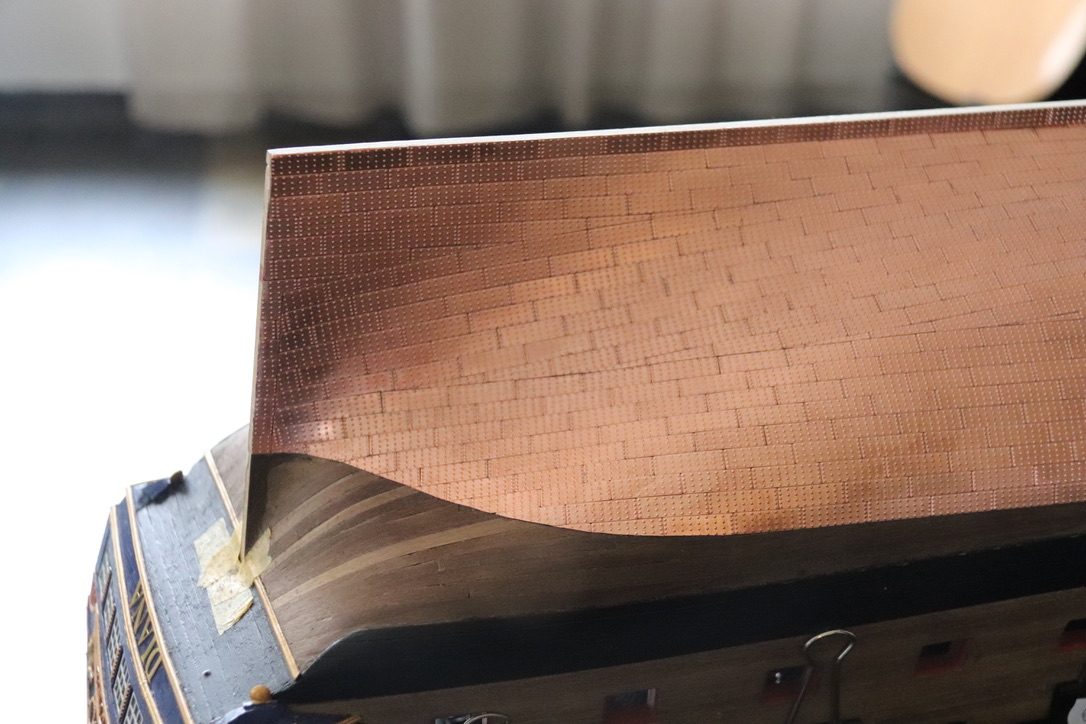
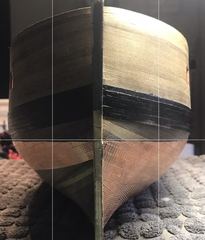
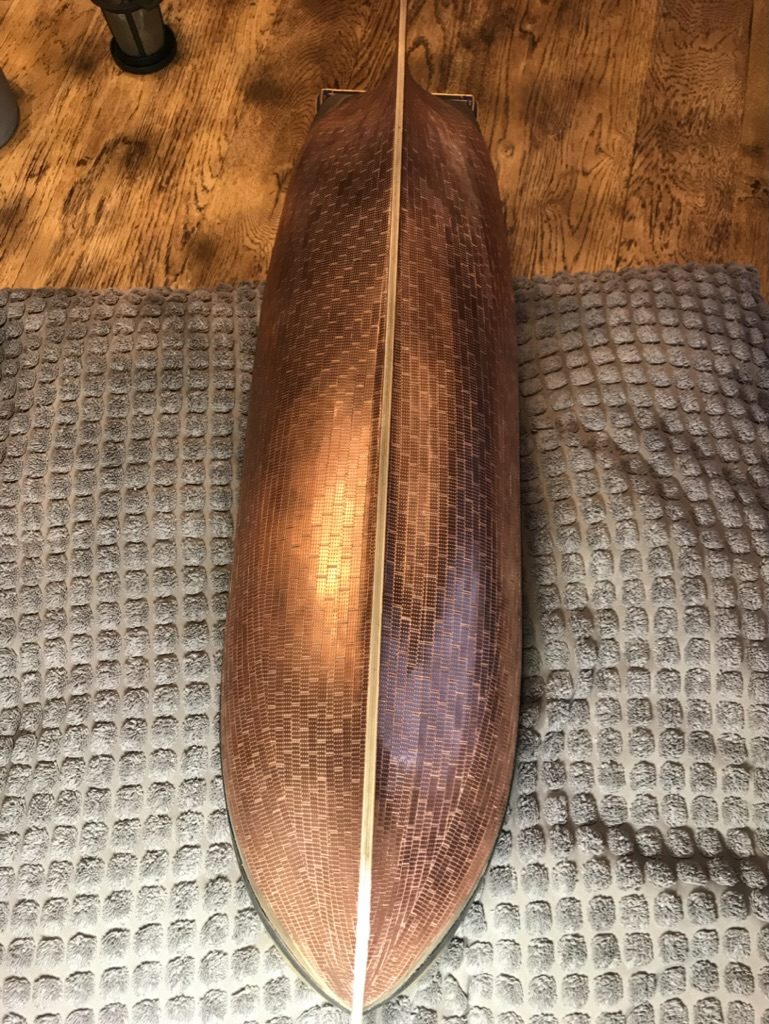
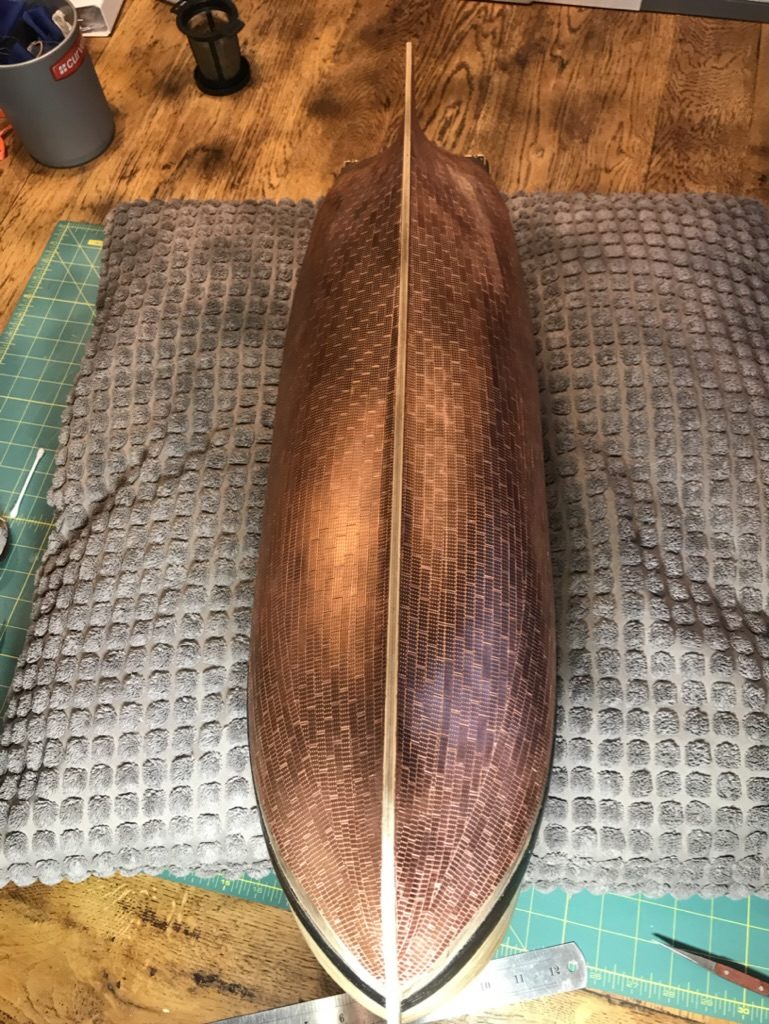
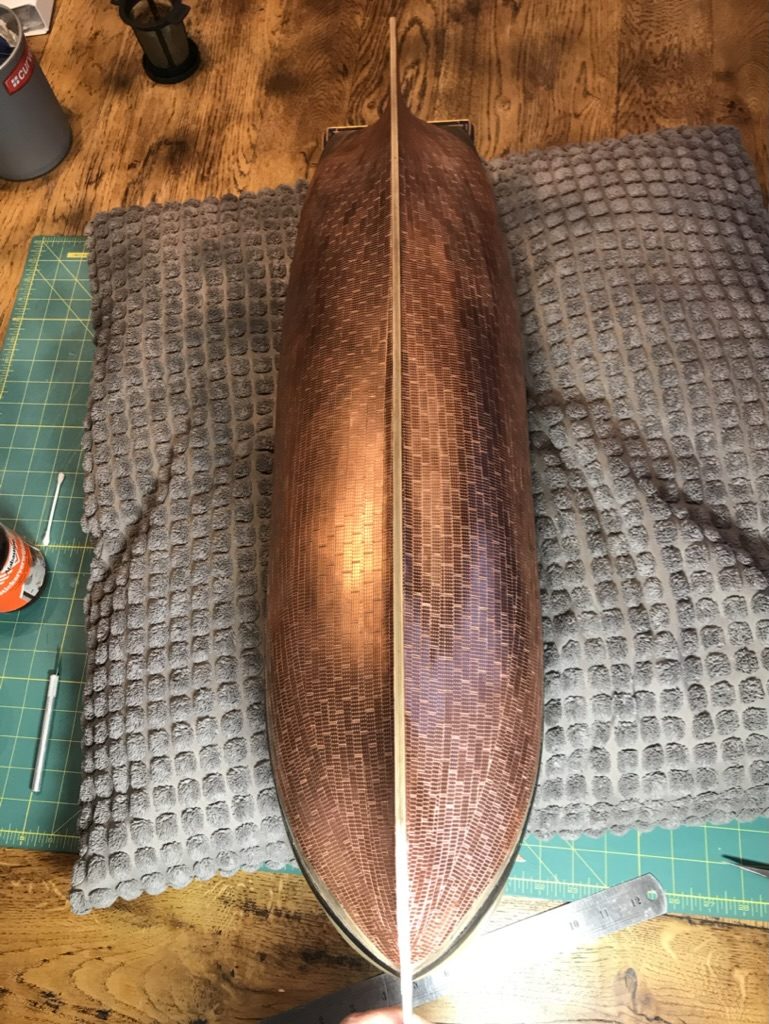
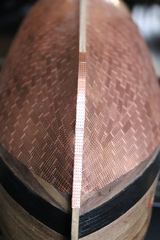
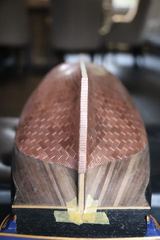
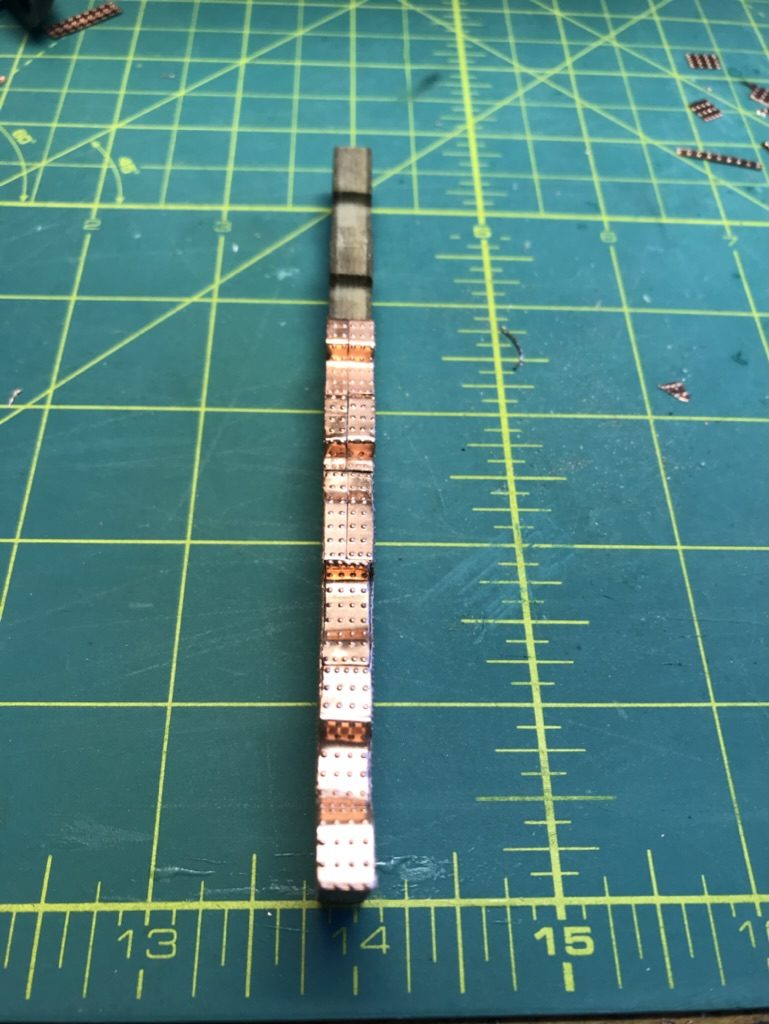
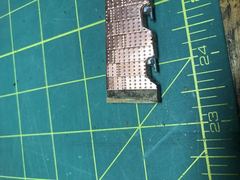
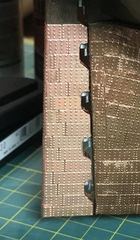
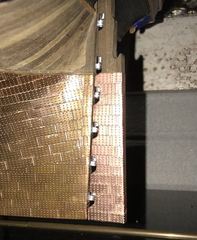
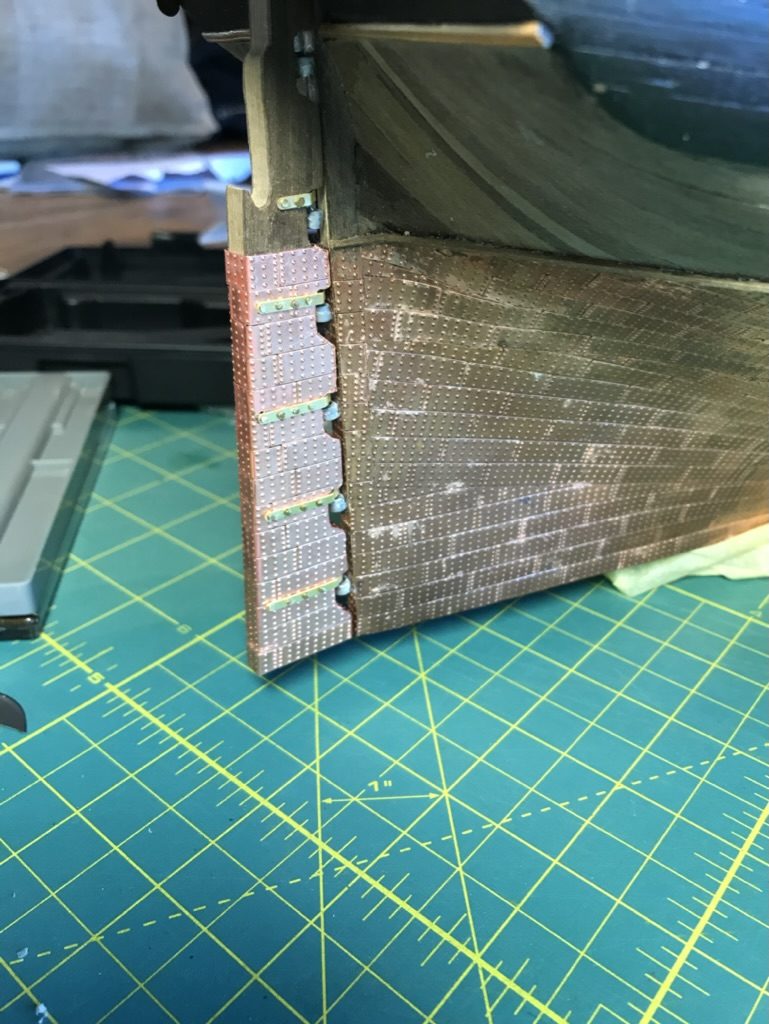
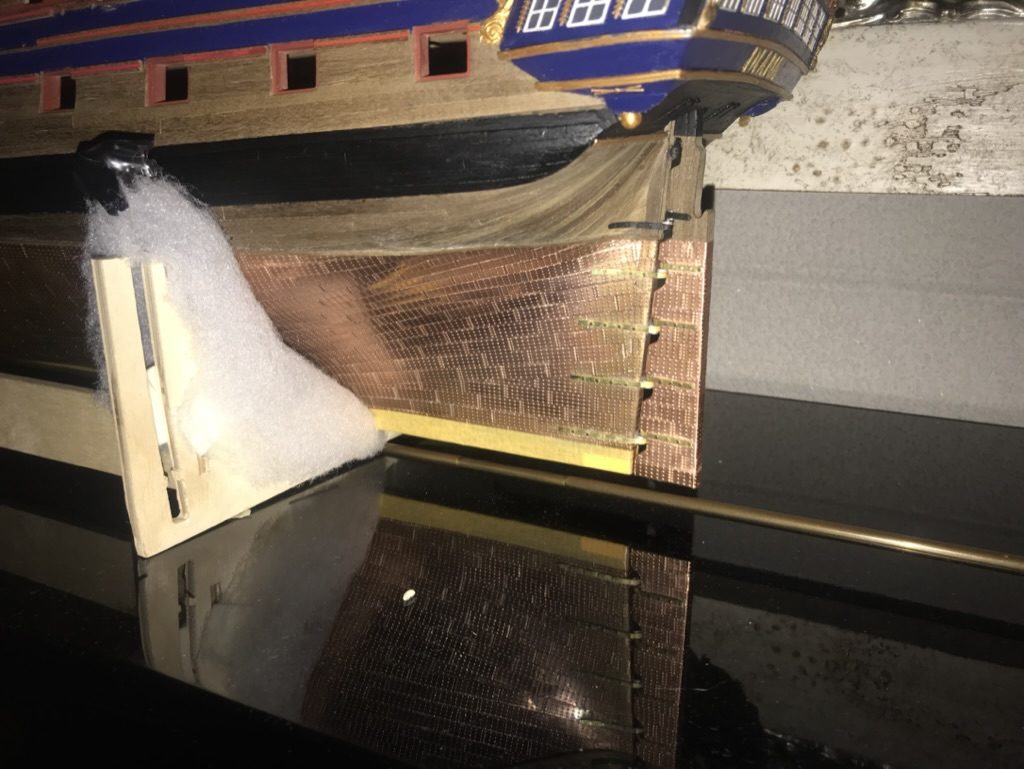
Build photo of the HMS Diana model, 2019-01-01 Build photo of the HMS Diana model, 2019-01-01 Build photo of the HMS Diana model, 2019-01-02 Build photo of the HMS Diana model, 2019-01-02 Build photo of the HMS Diana model, 2019-01-02 The stealer at the bow, exactly two plates wide Build photo of the HMS Diana model, 2019-01-02 The first gore line is closed The bow coppered, apart from a small section at the keel Build photo of the HMS Diana model, 2019-01-05 Build photo of the HMS Diana model, 2019-01-05 Build photo of the HMS Diana model, 2019-01-05 Build photo of the HMS Diana model, 2019-01-06 The keel coppered Build photo of the HMS Diana model, 2019-01-06 Build photo of the HMS Diana model, 2019-01-06 Build photo of the HMS Diana model, 2019-01-06 Build photo of the HMS Diana model, 2019-01-06 Build photo of the HMS Diana model, 2019-01-13 Build photo of the HMS Diana model, 2019-01-13 Build photo of the HMS Diana model, 2019-01-13 Build photo of the HMS Diana model, 2019-01-13 Start of the coppering at the sternpost end Build photo of the HMS Diana model, 2019-01-14 Port side nearly finished

February 2019

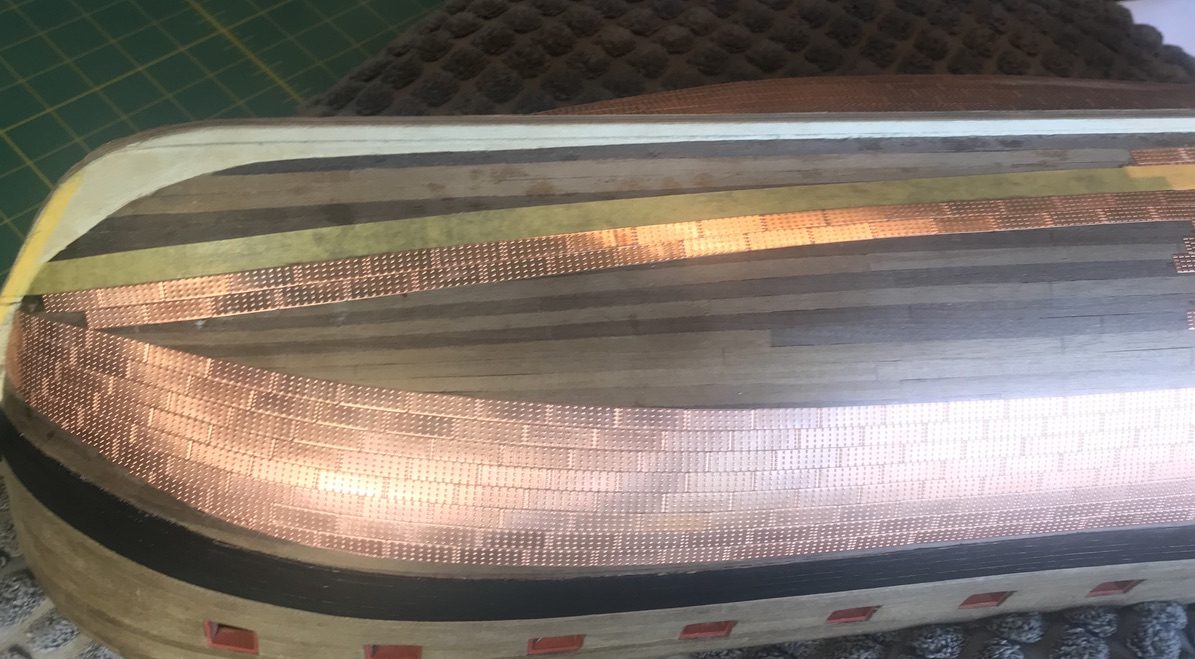
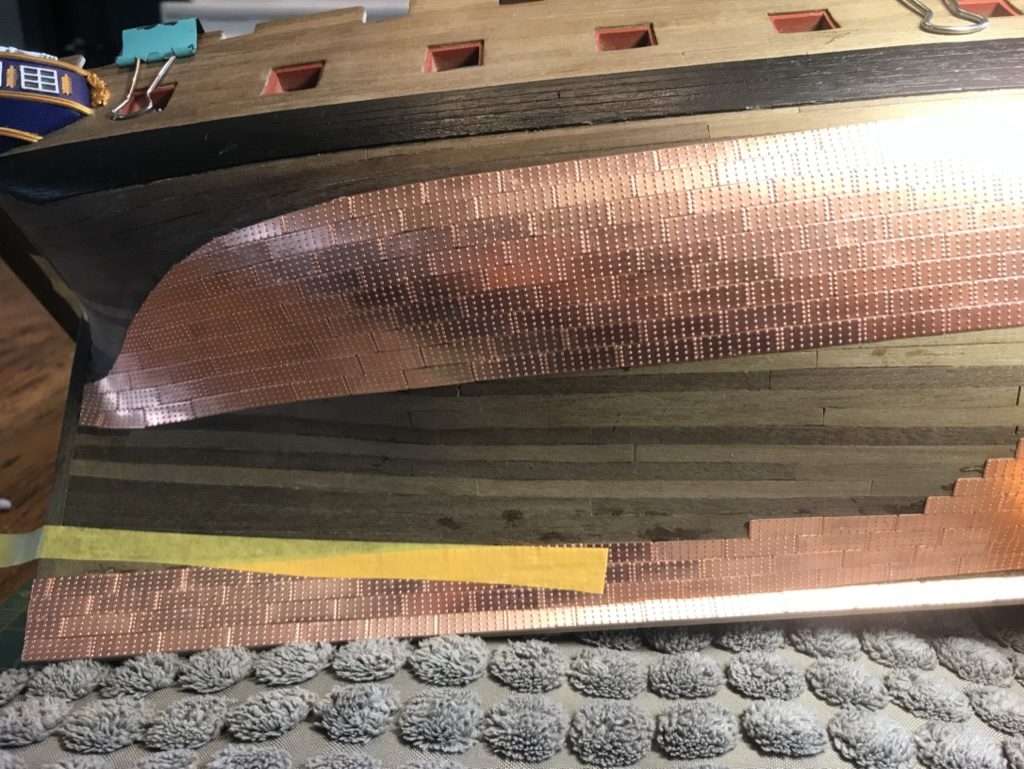
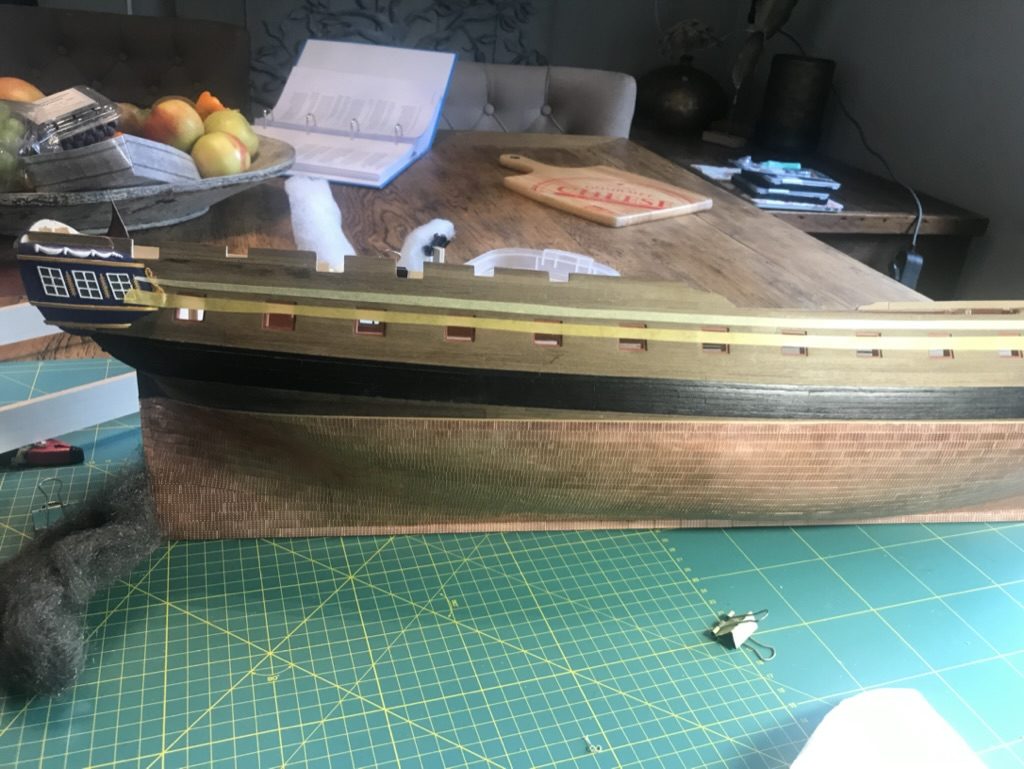
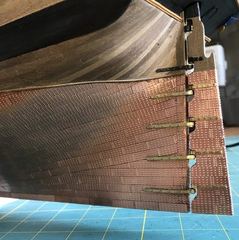
Build photo of the HMS Diana model, 2019-02-09 Build photo of the HMS Diana model, 2019-02-09 Build photo of the HMS Diana model, 2019-02-09 Build photo of the HMS Diana model, 2019-02-09 Build photo of the HMS Diana model, 2019-02-09 Port side coppered and cleaned Port side after the scrub with fine steel wool The coppering on the port side Overview of the coppered port side Build photo of the HMS Diana model, 2019-02-09 Build photo of the HMS Diana model, 2019-02-09 Build photo of the HMS Diana model, 2019-02-09 Build photo of the HMS Diana model, 2019-02-09 Build photo of the HMS Diana model, 2019-02-09 The crooked waterline: on the left the plates run in a curve After relaying, the waterline runs straight again Build photo of the HMS Diana model, 2019-02-28 Starboard side: the line to the bow marked out with tape first

March 2019

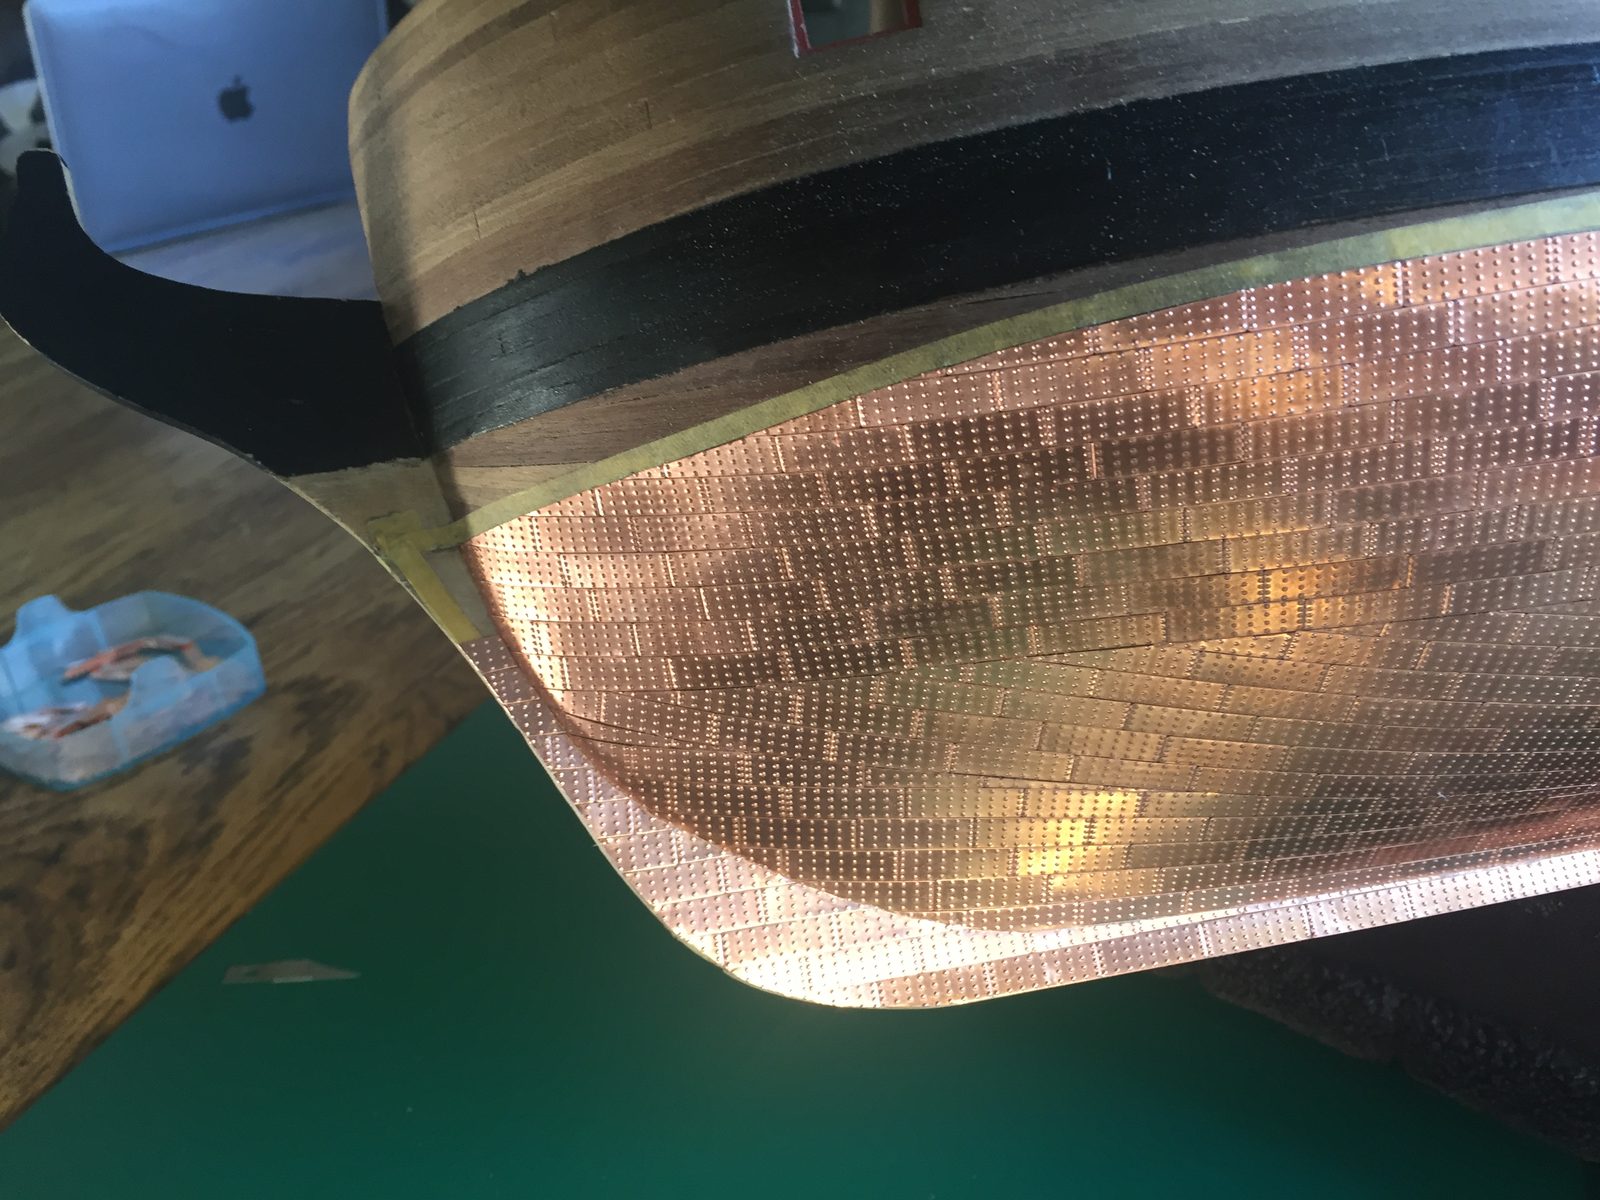
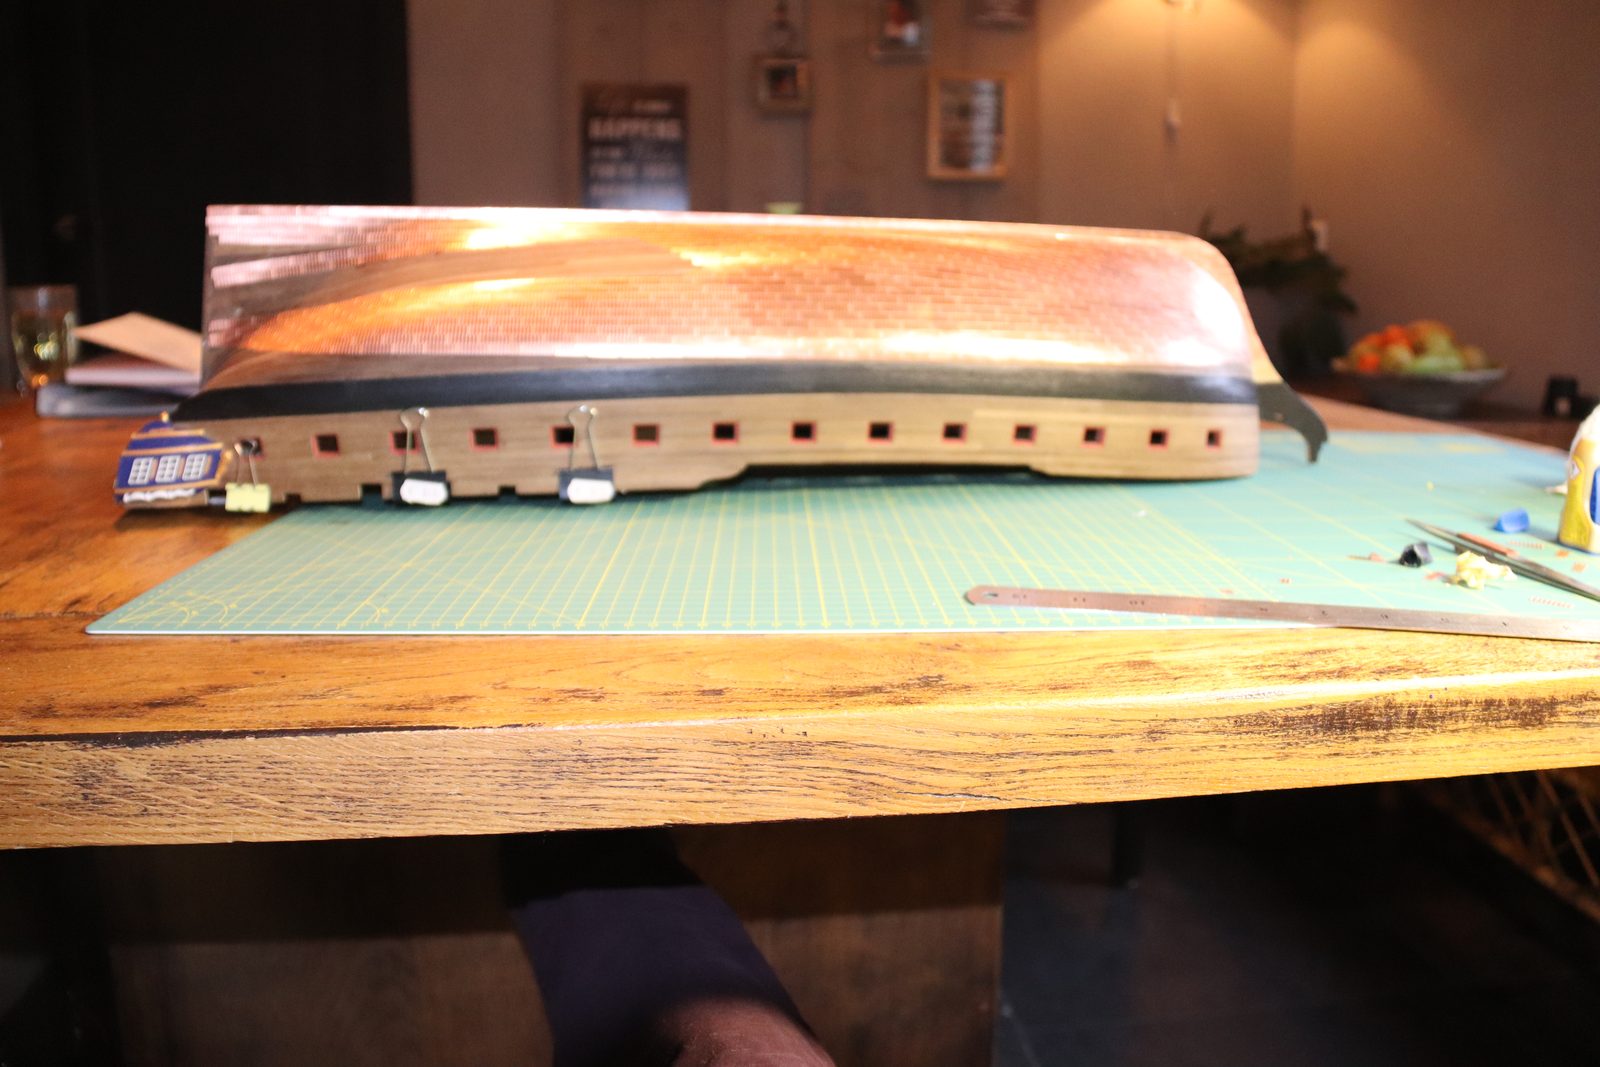
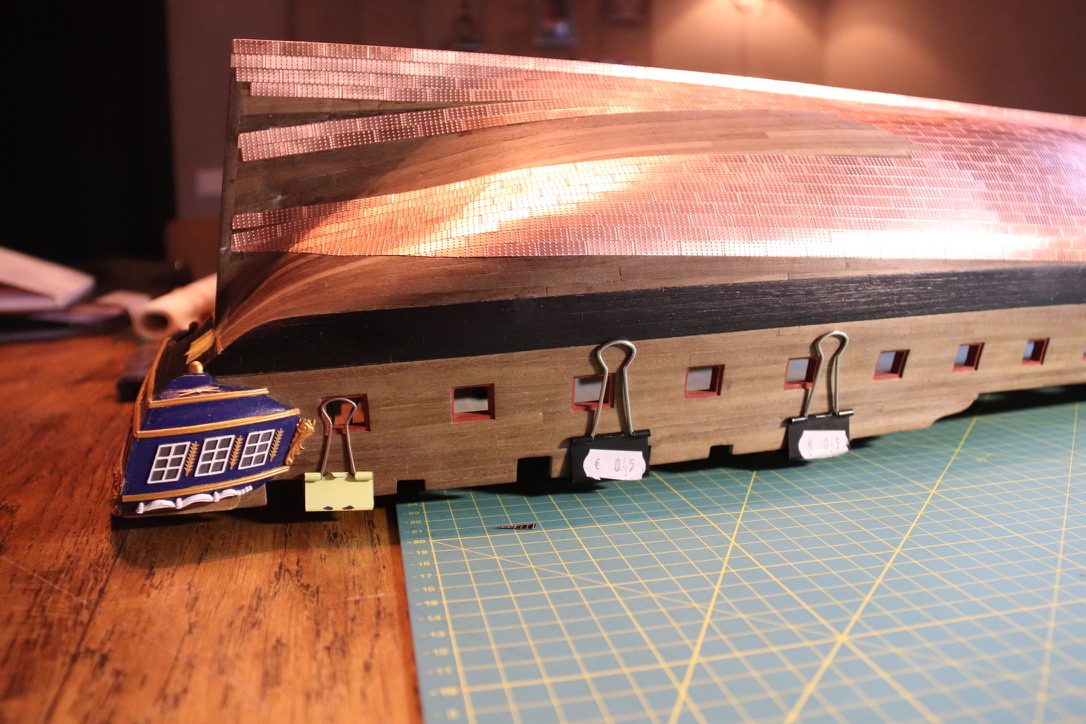
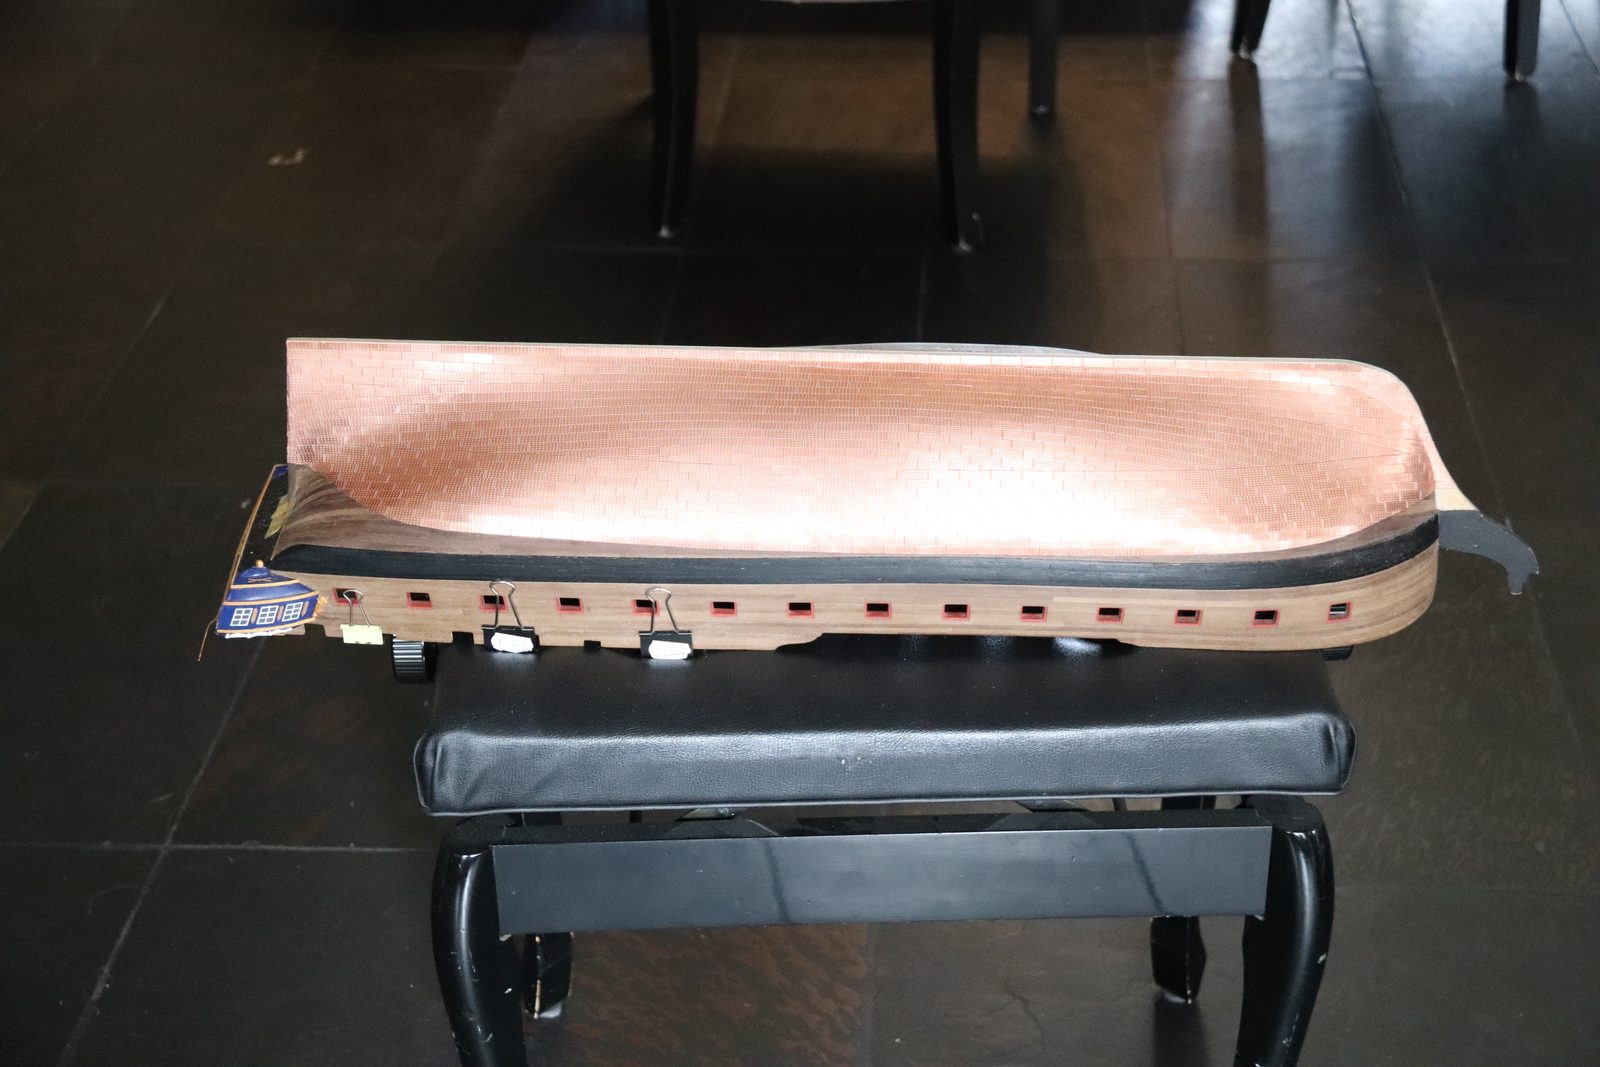
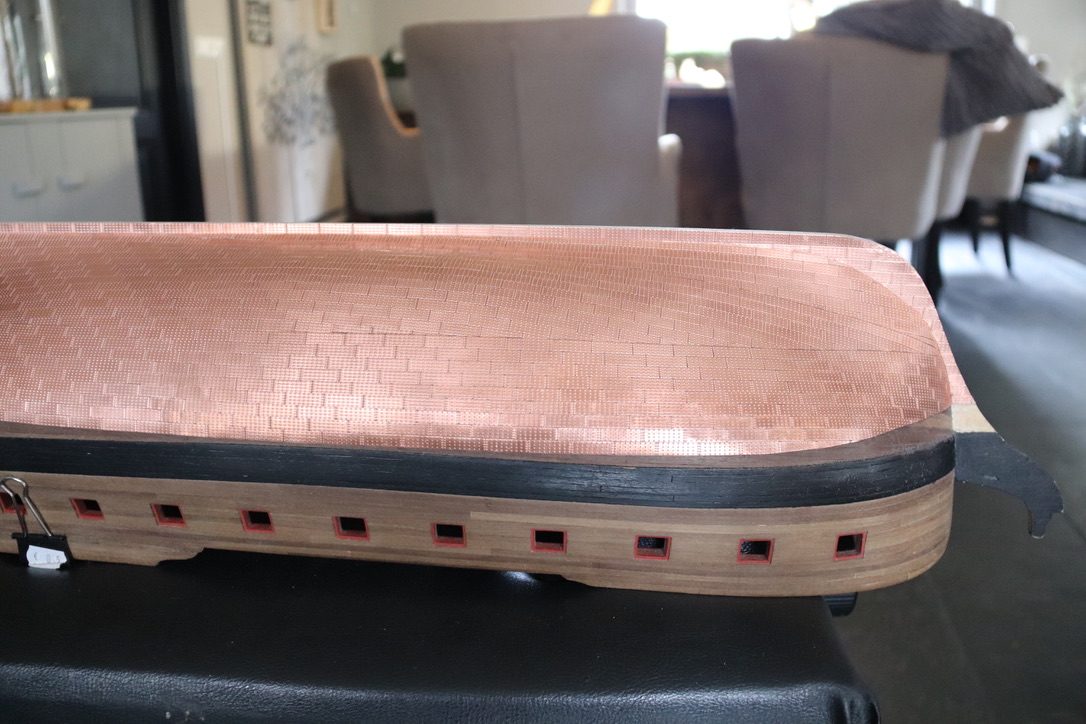
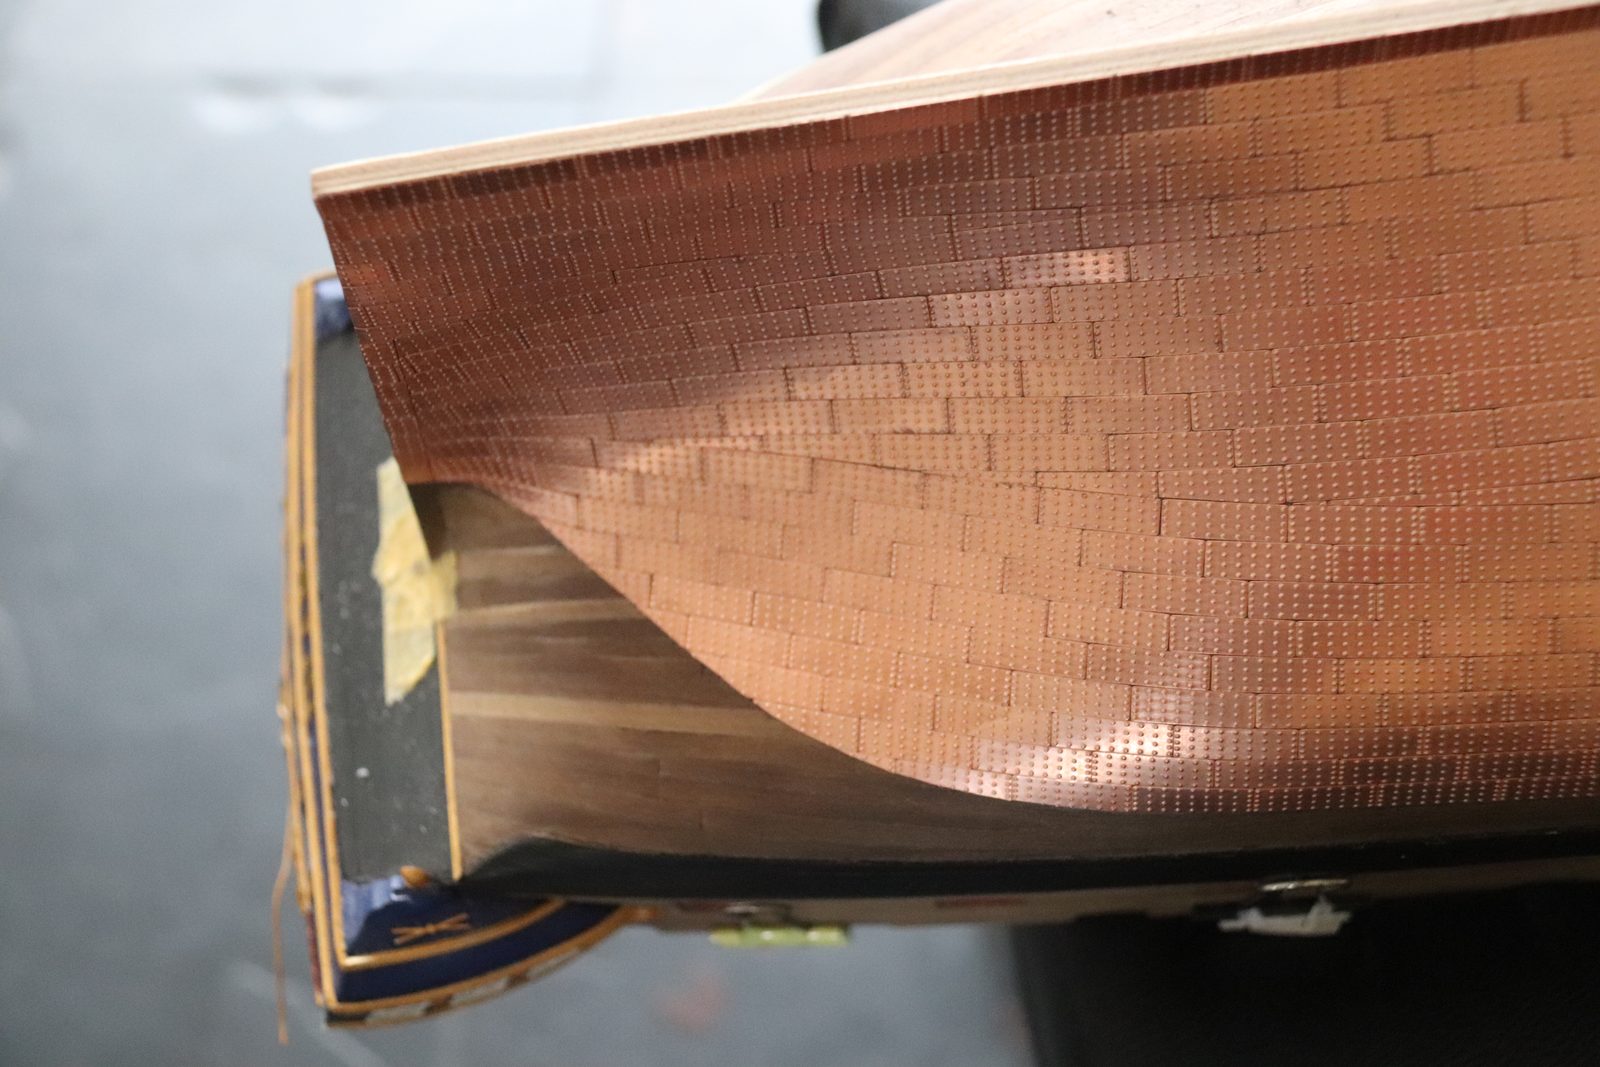
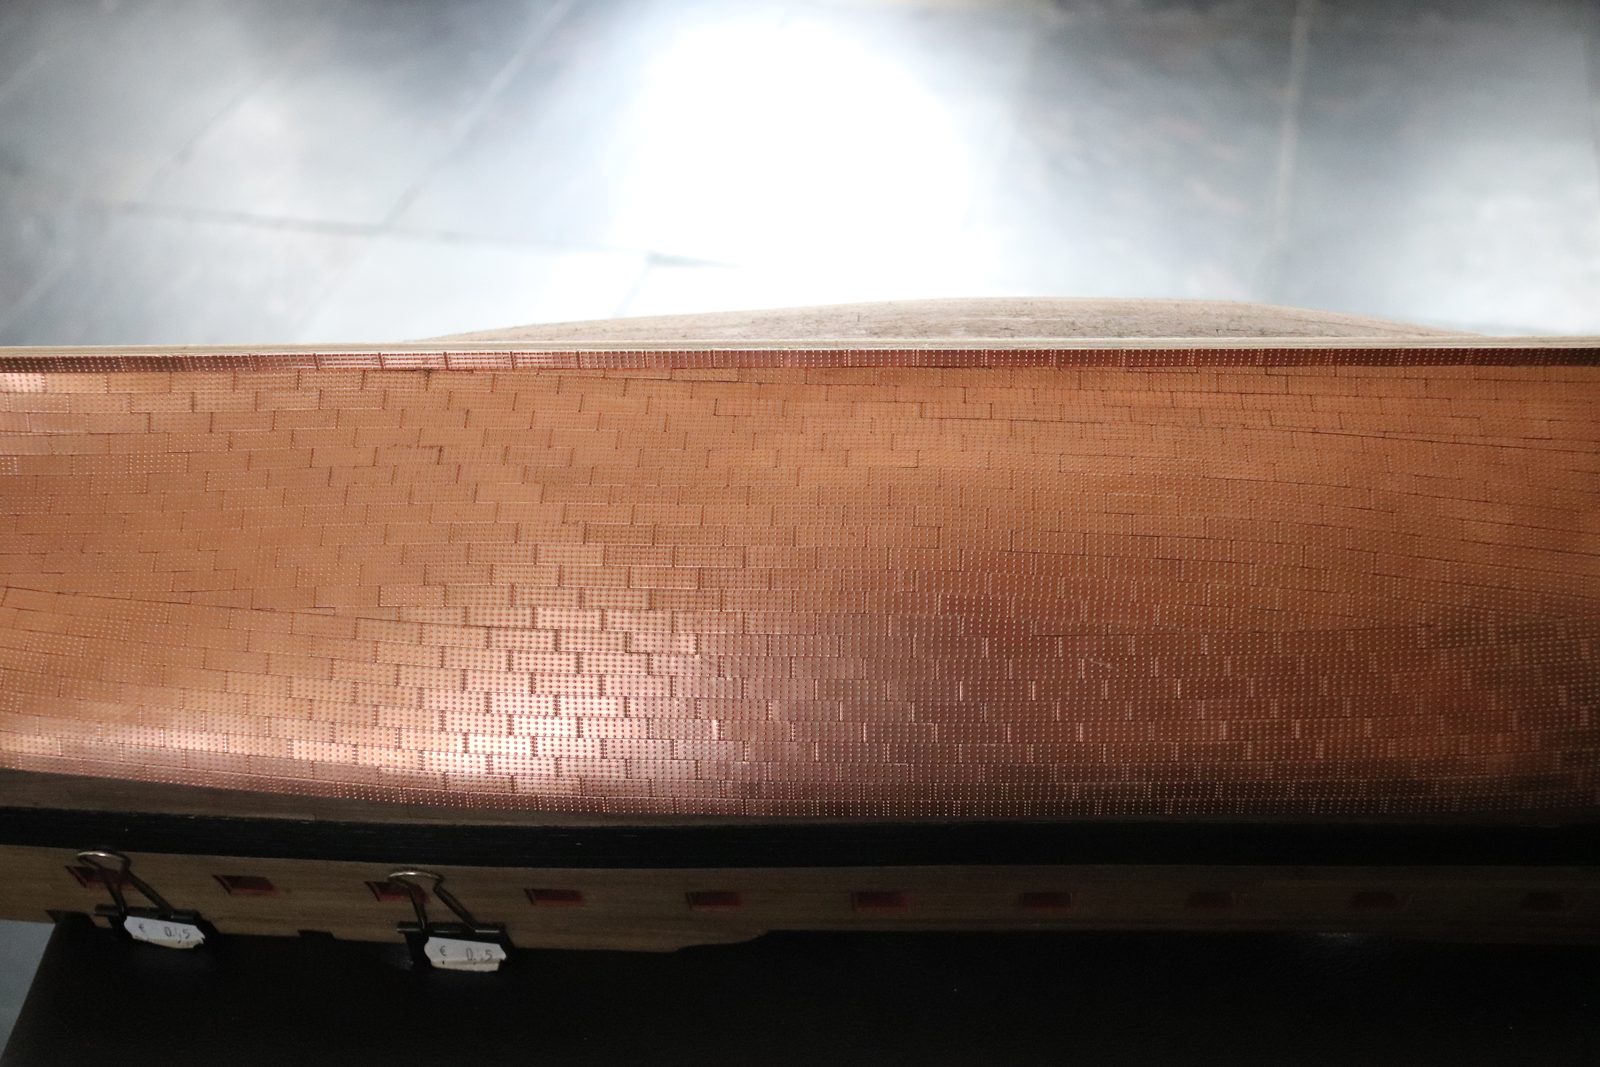
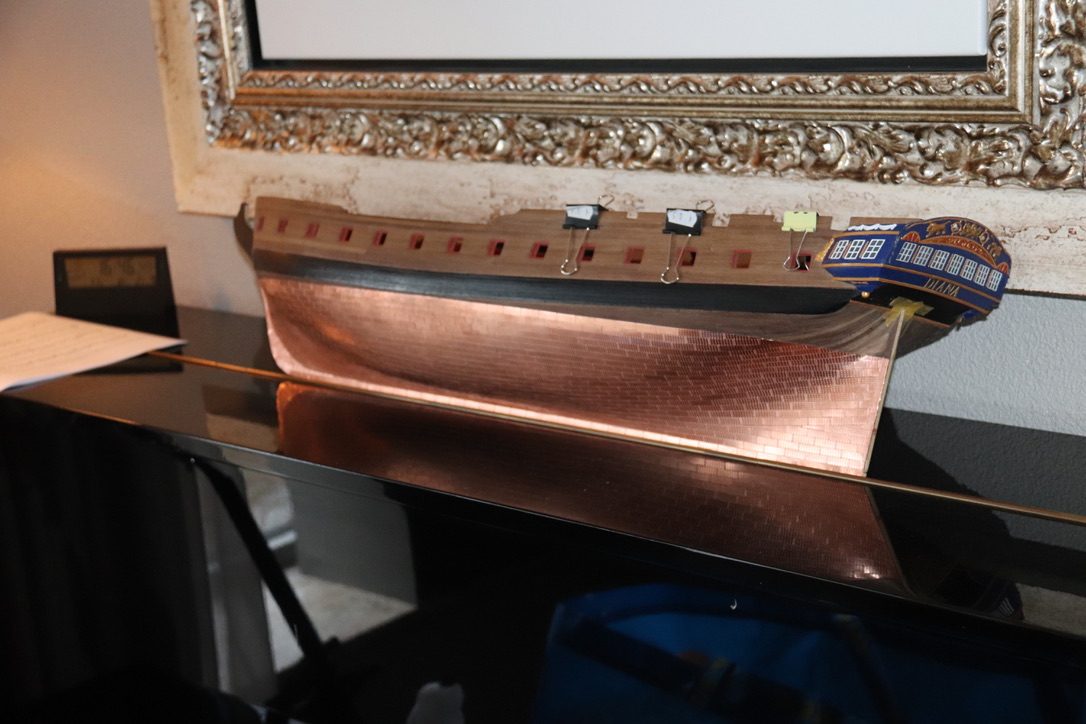
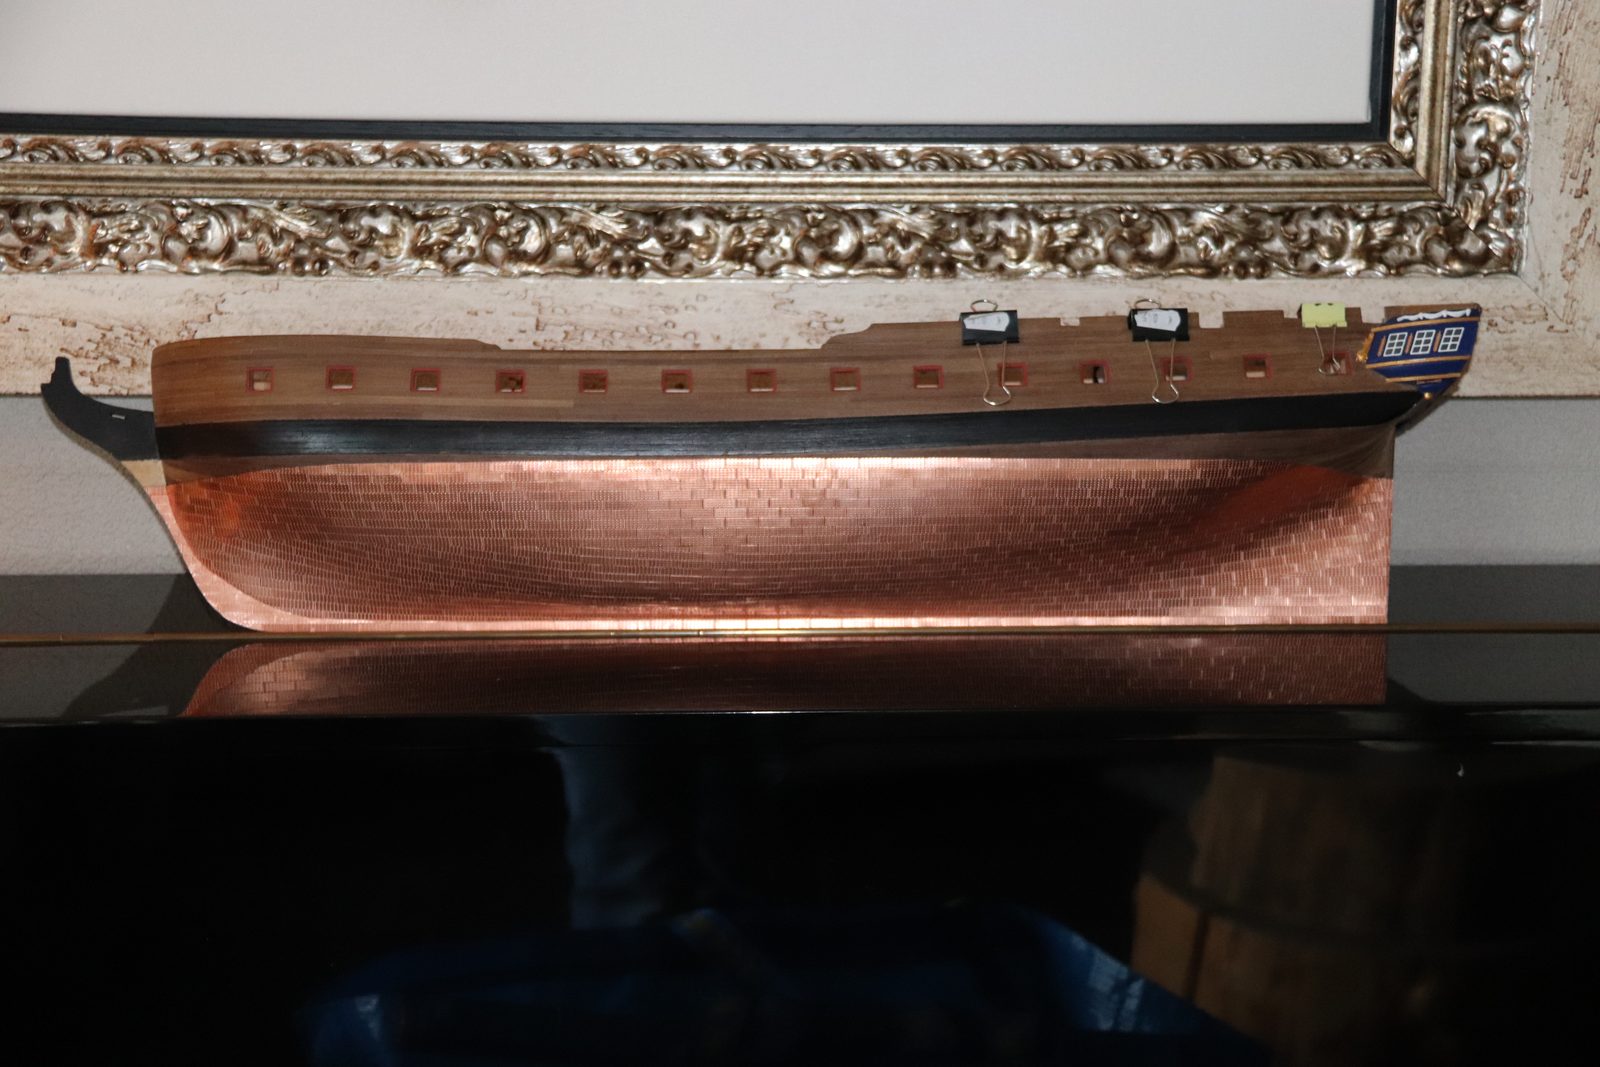
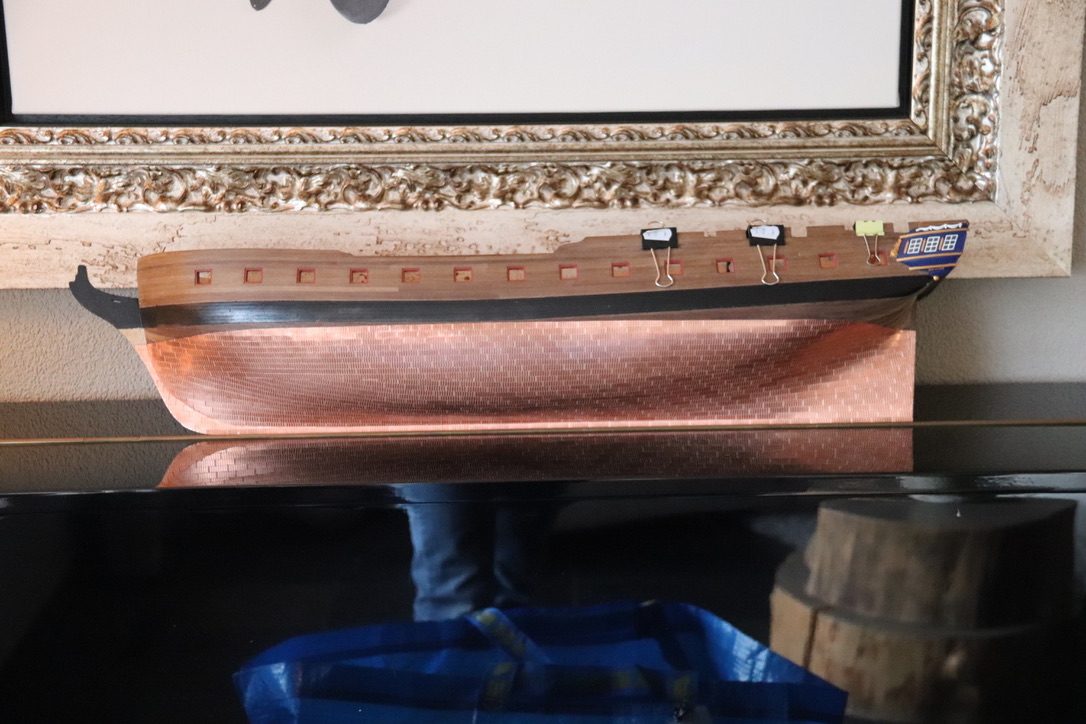
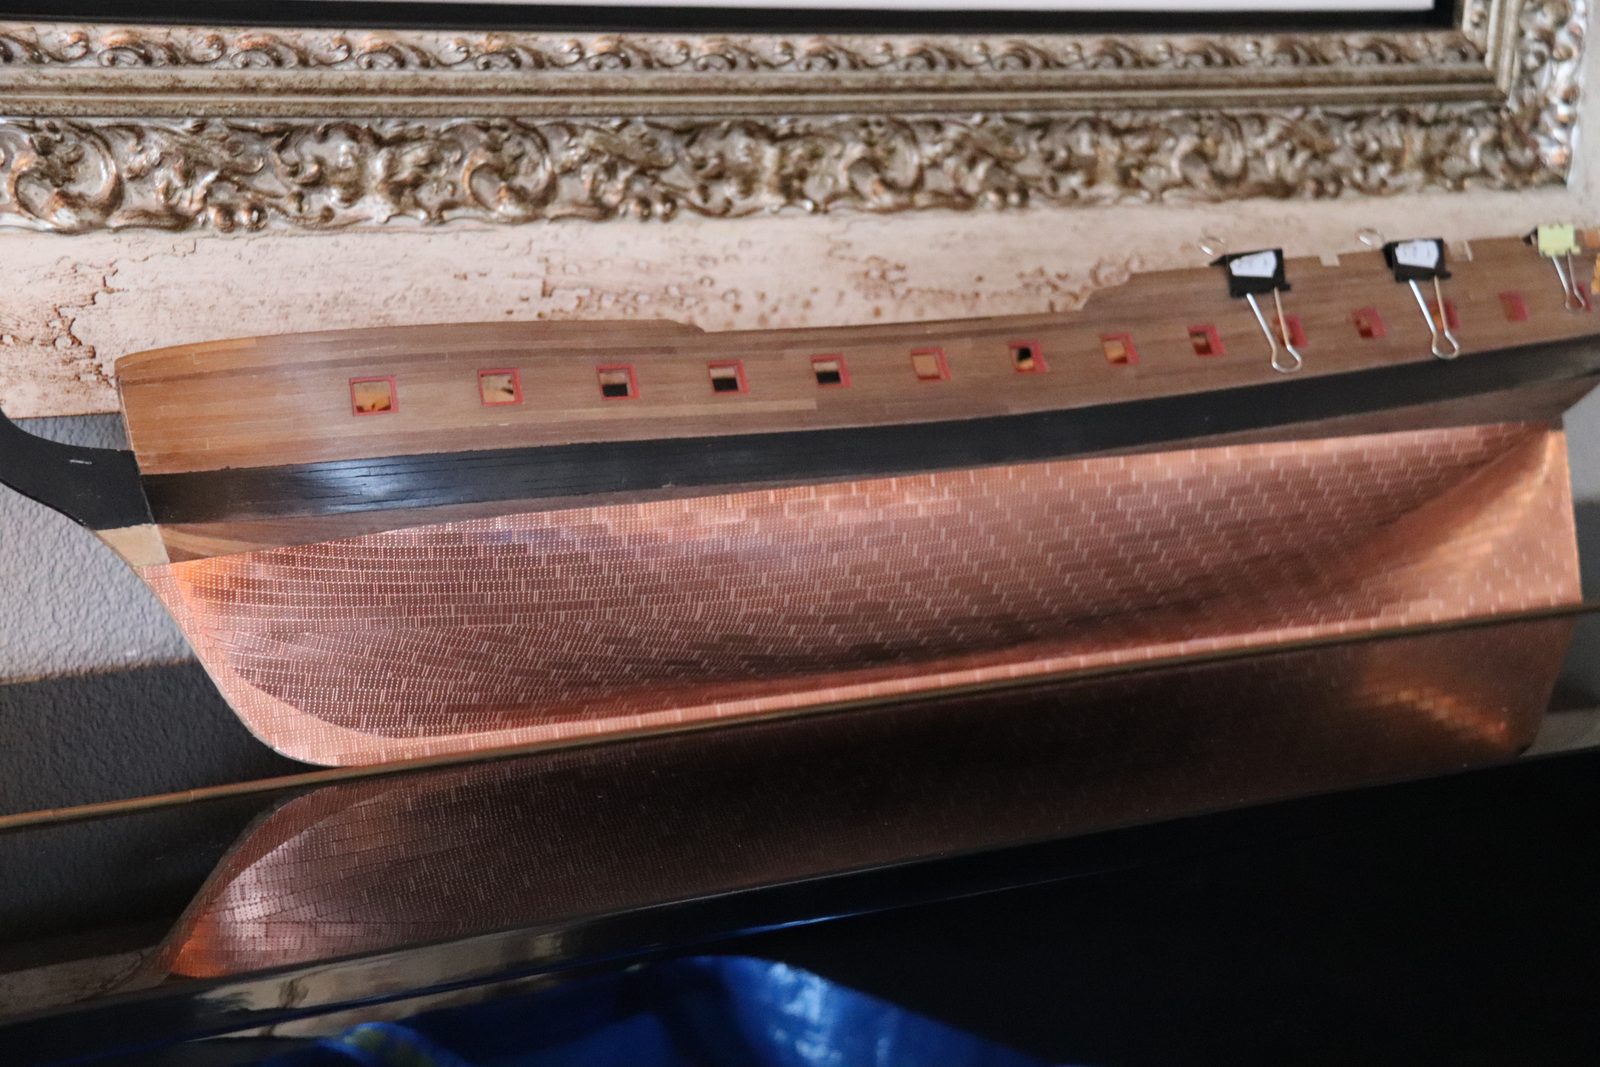
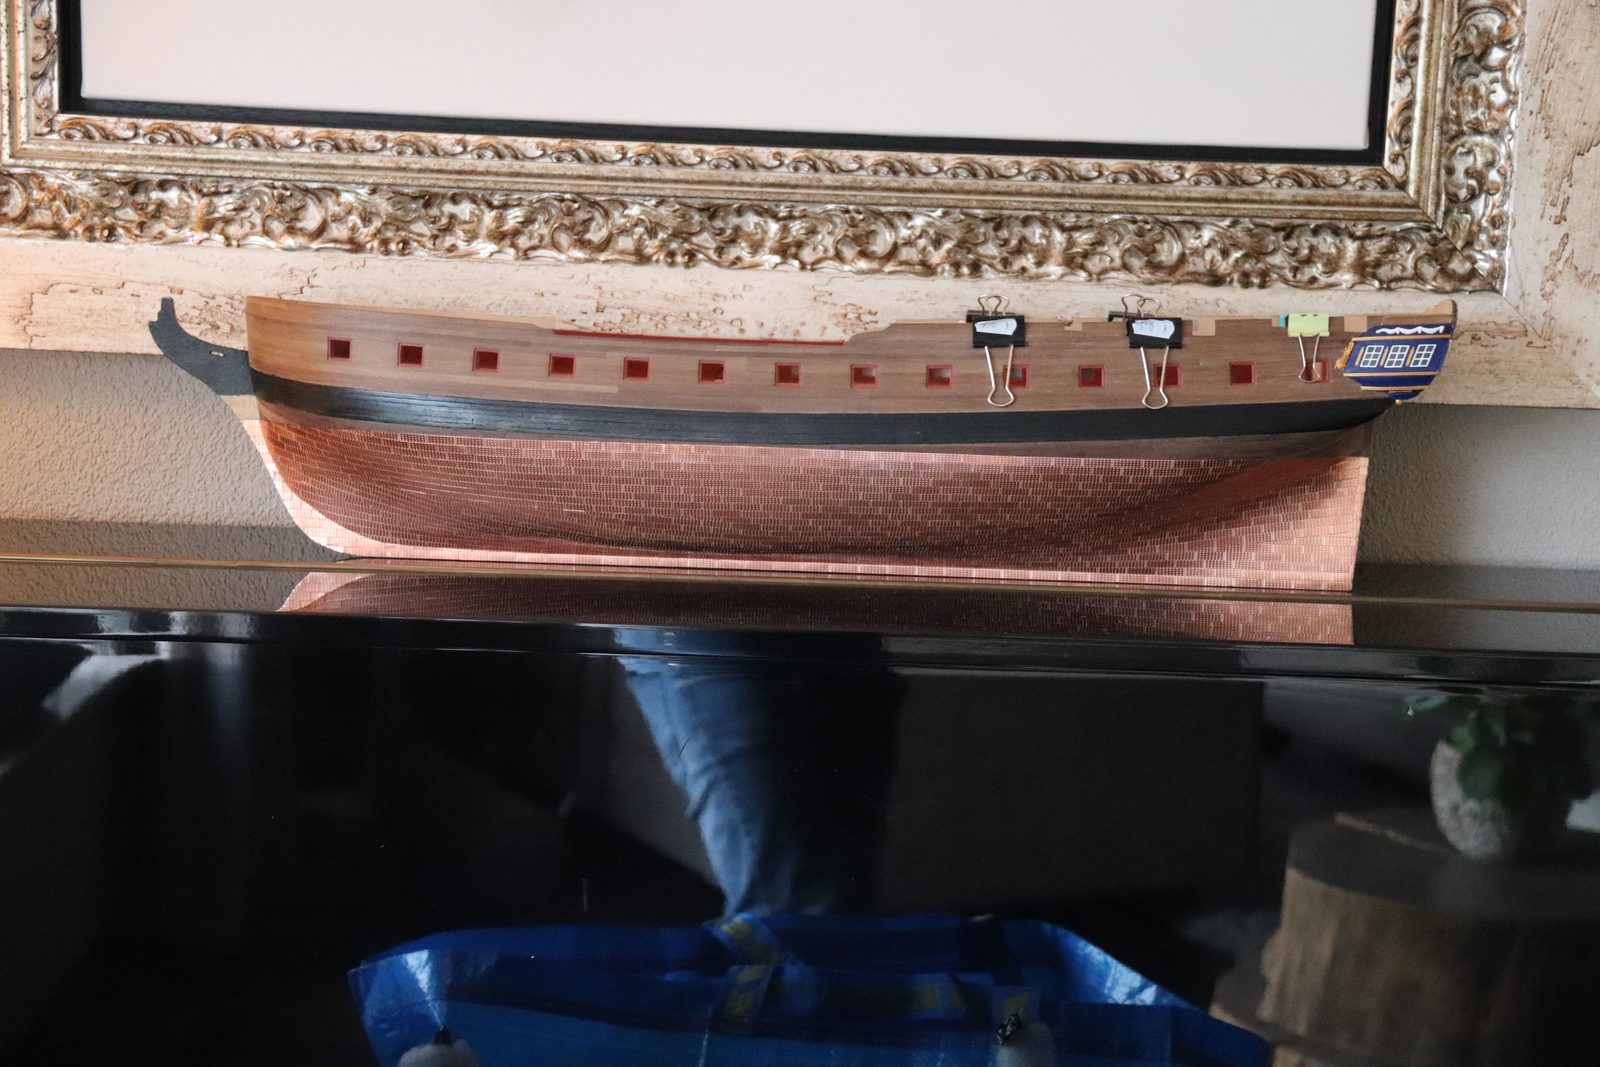
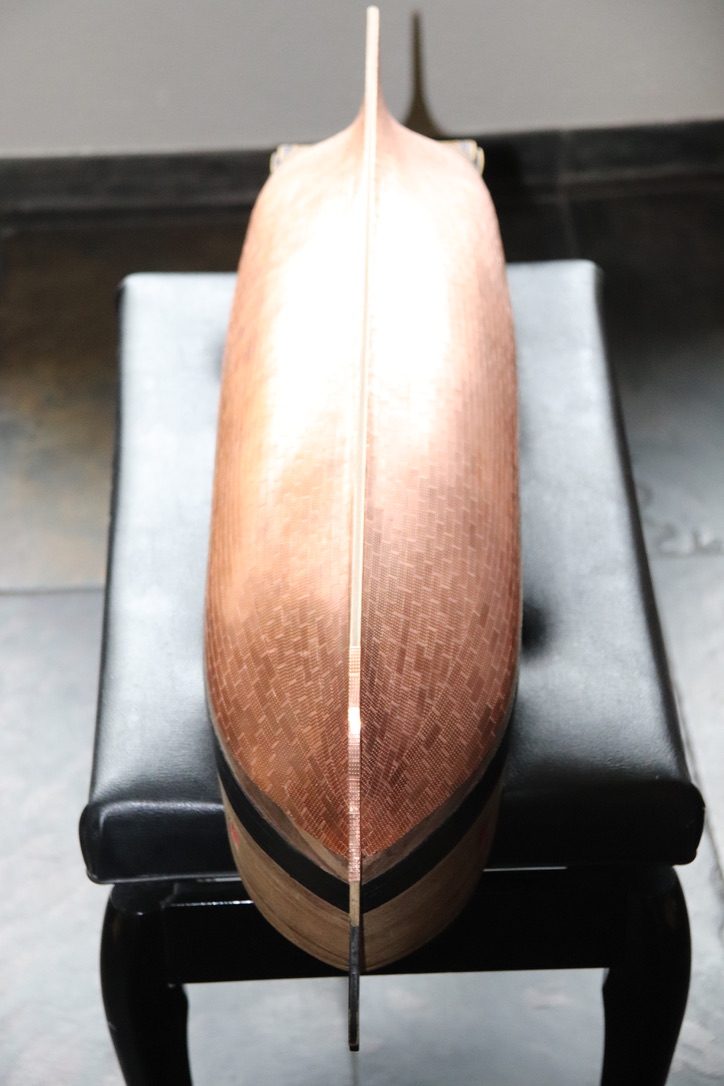
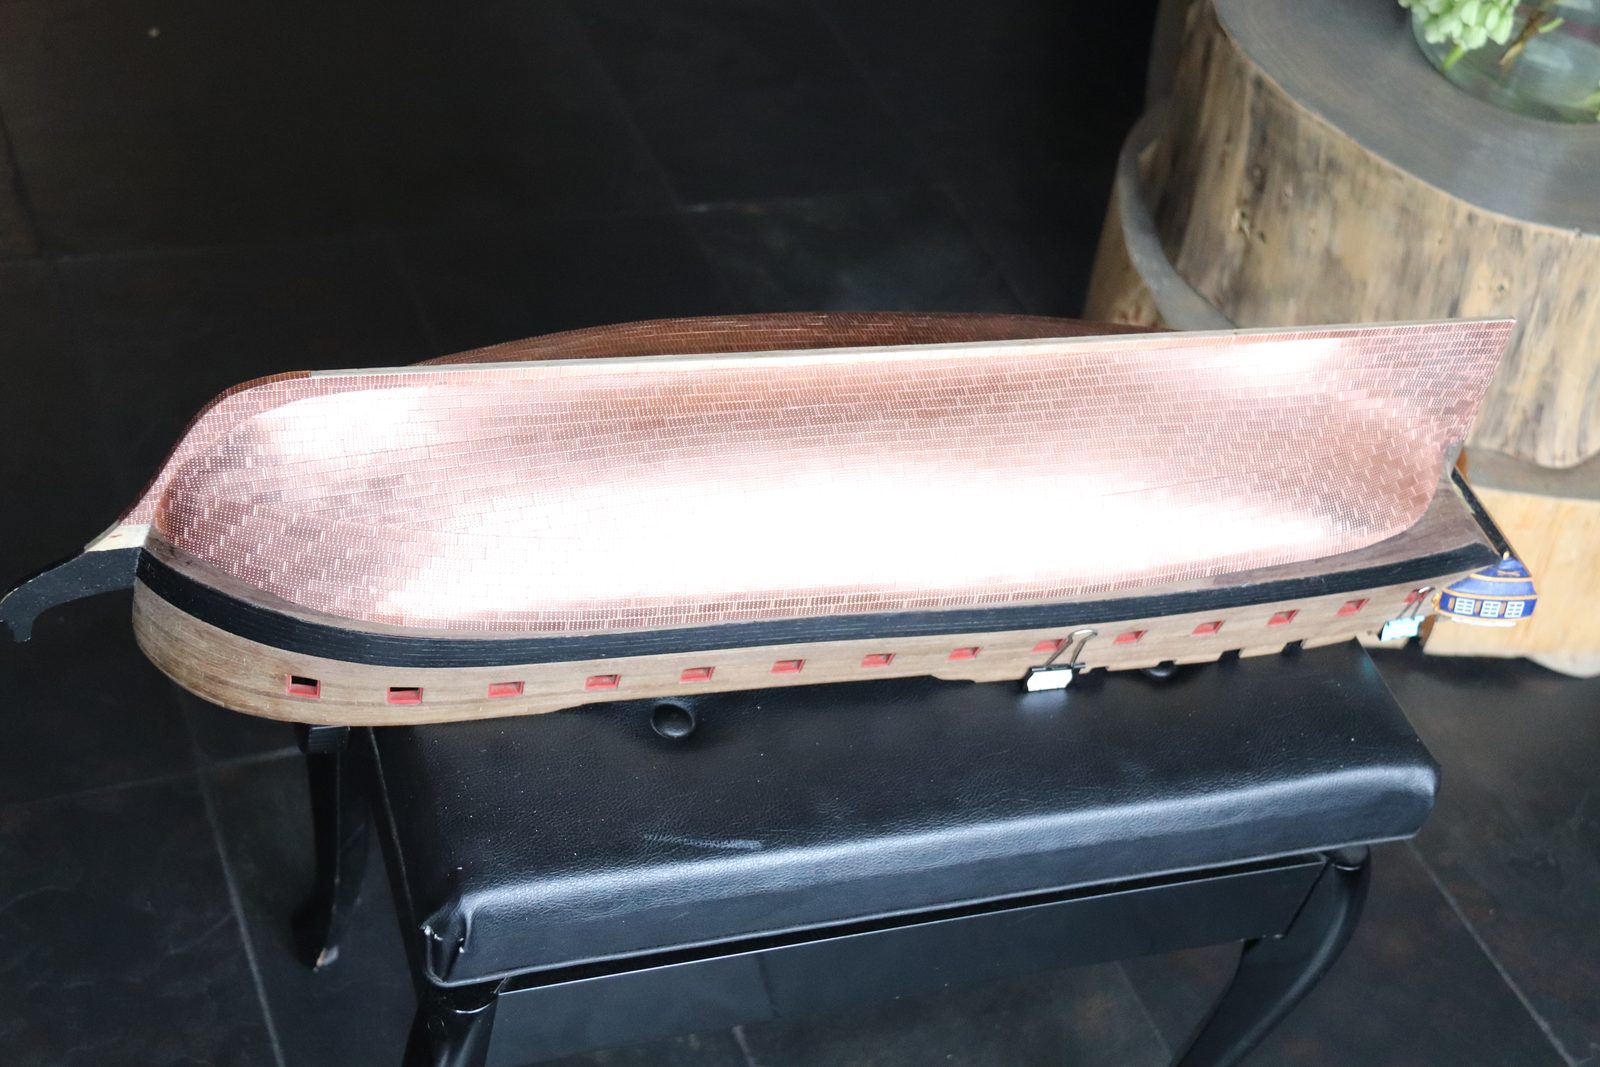
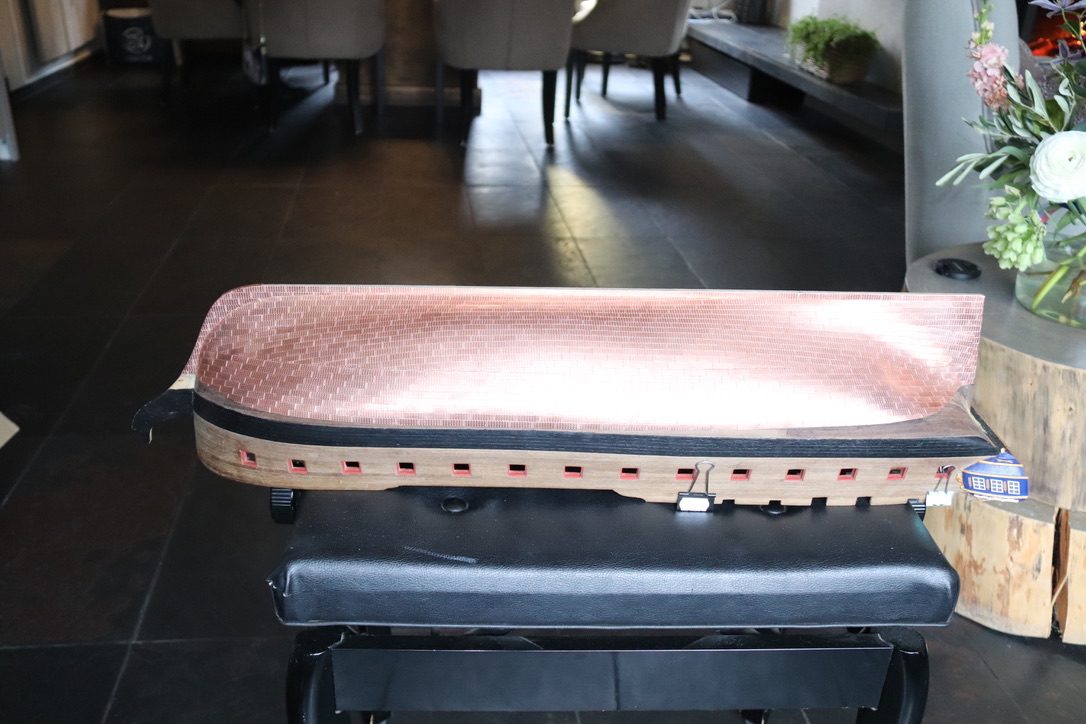
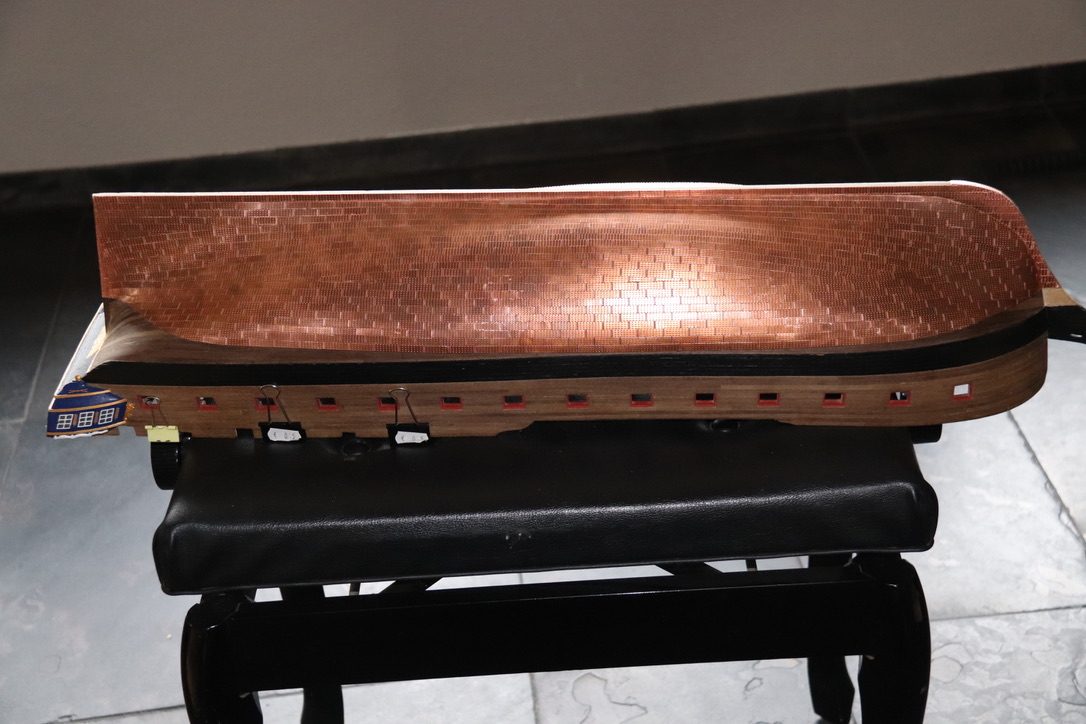
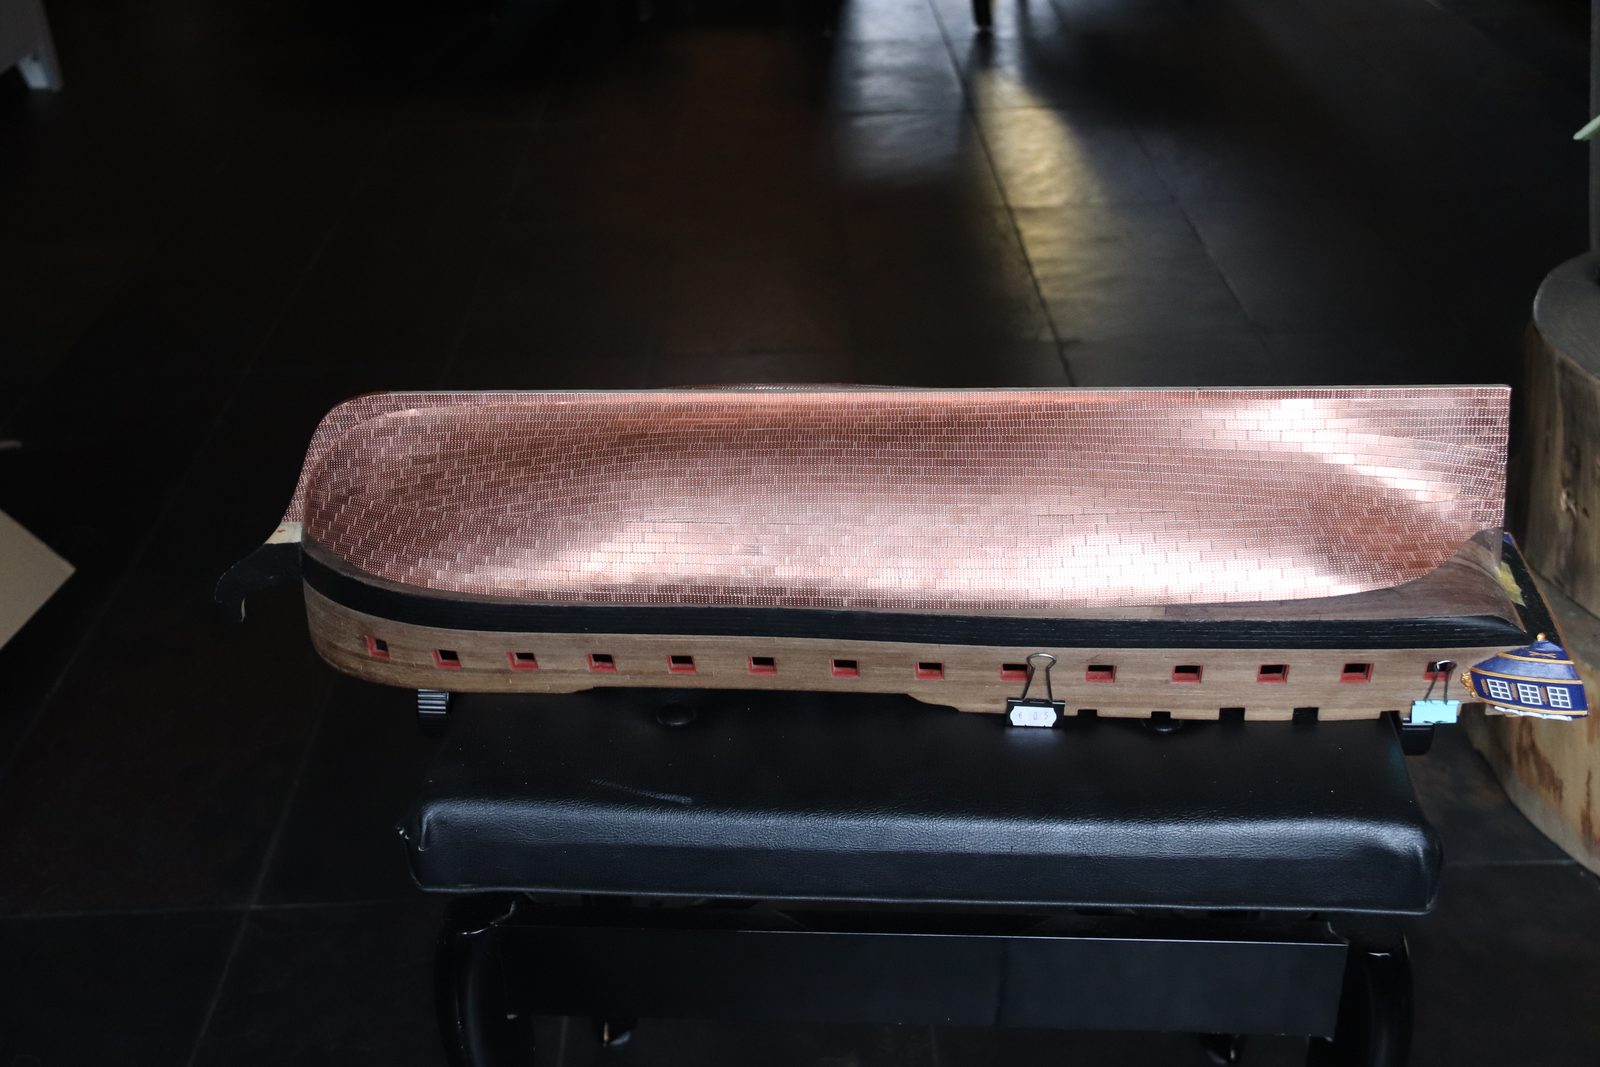
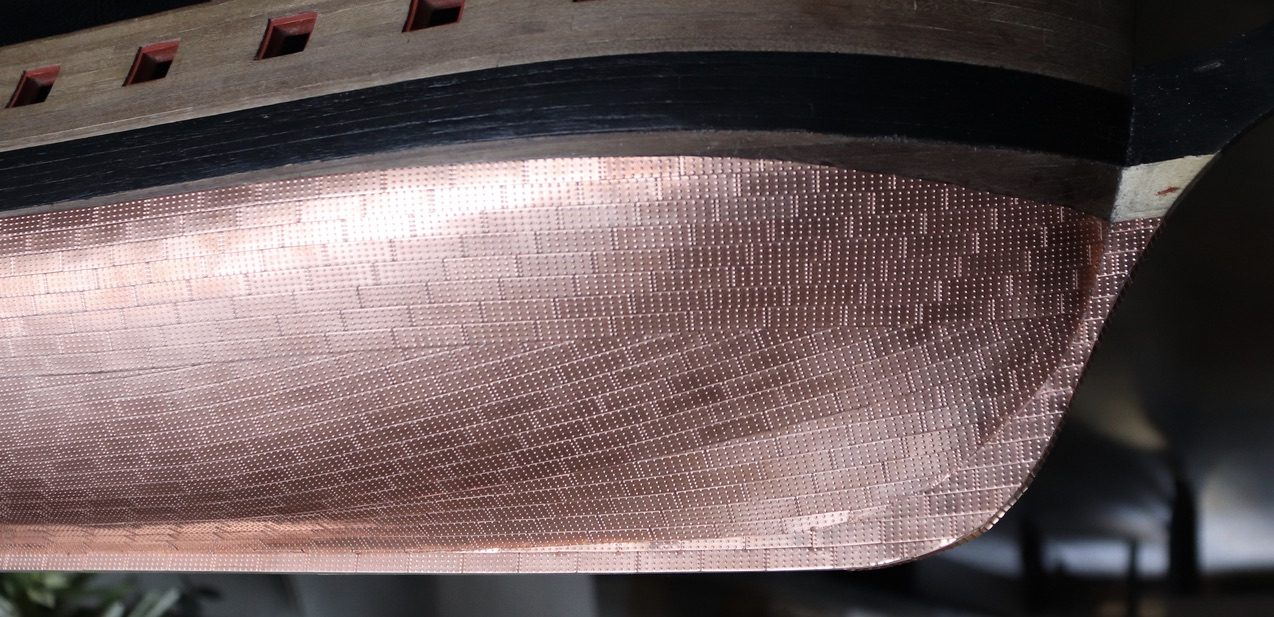
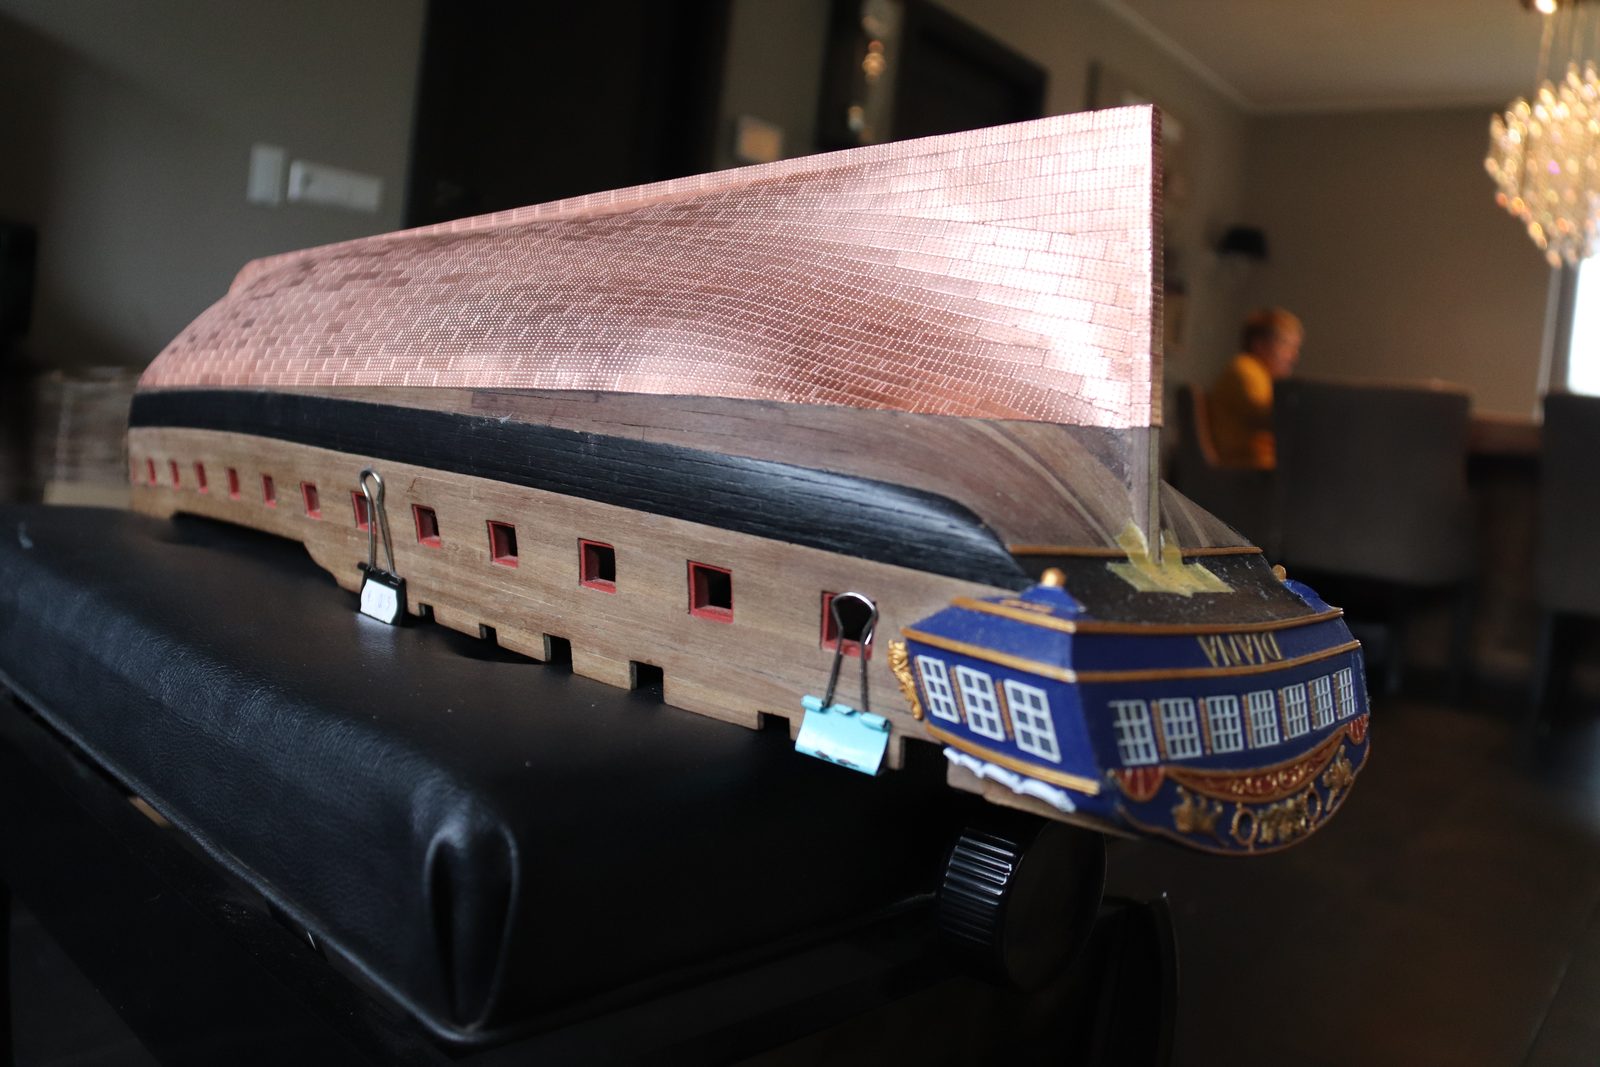
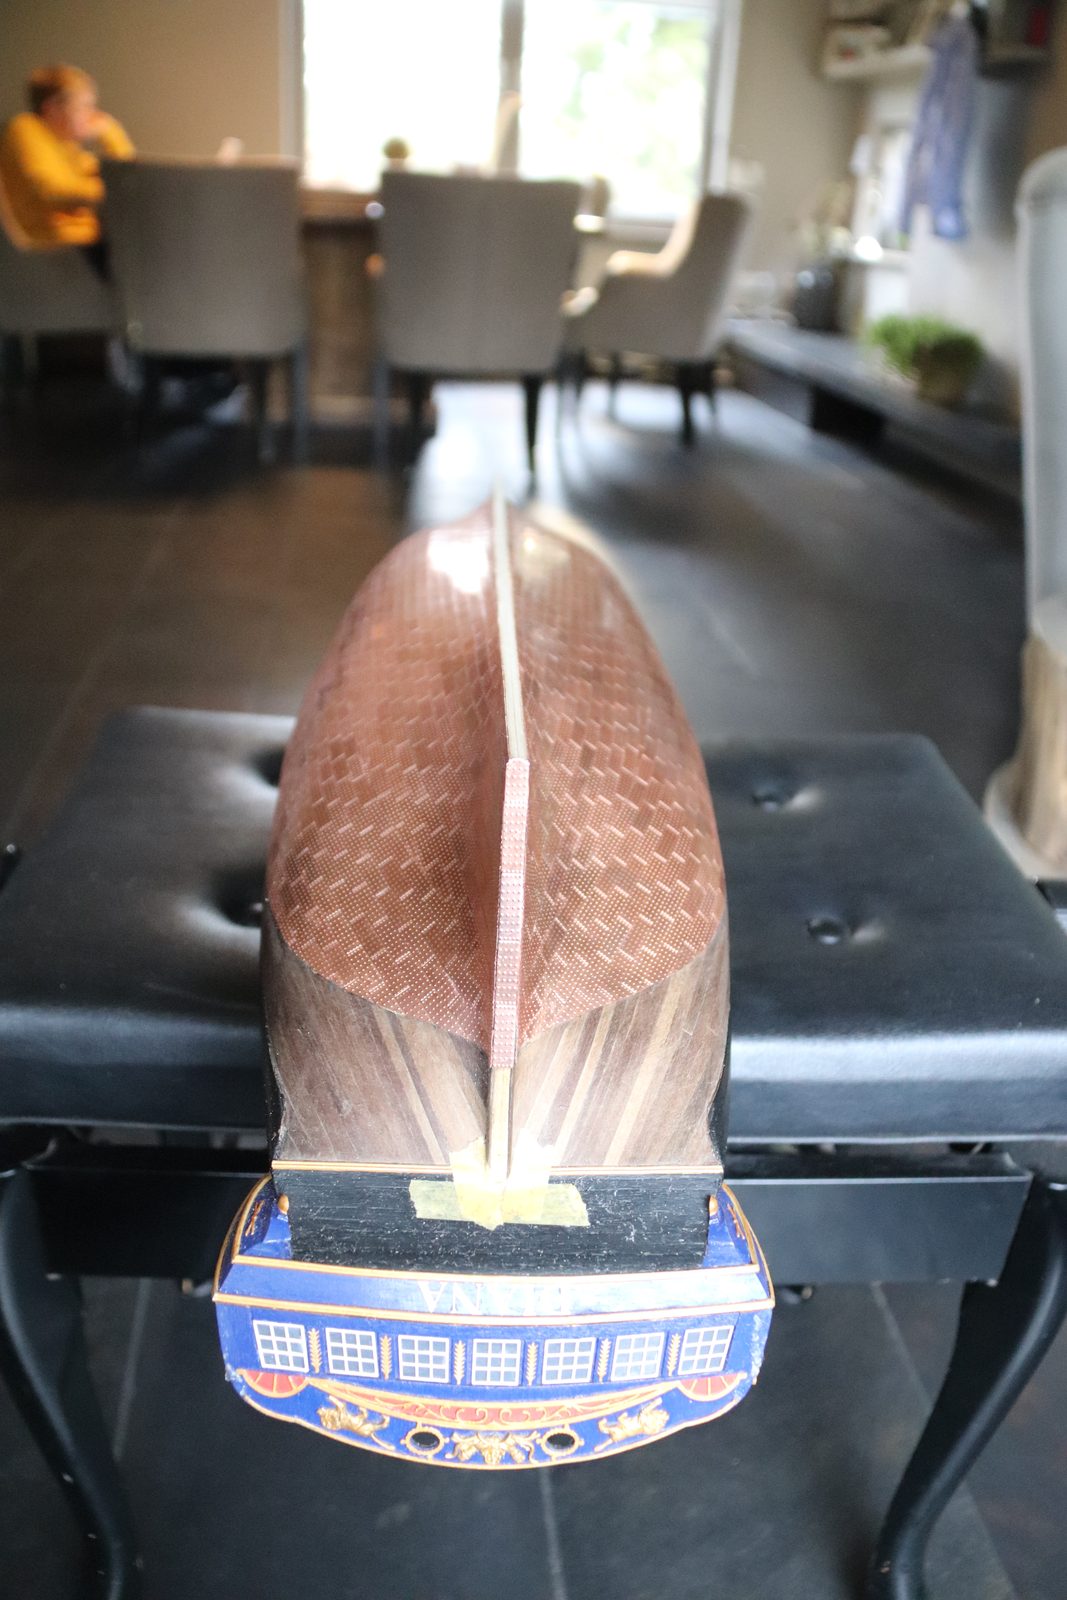
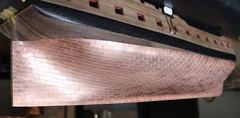
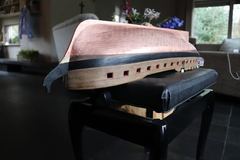
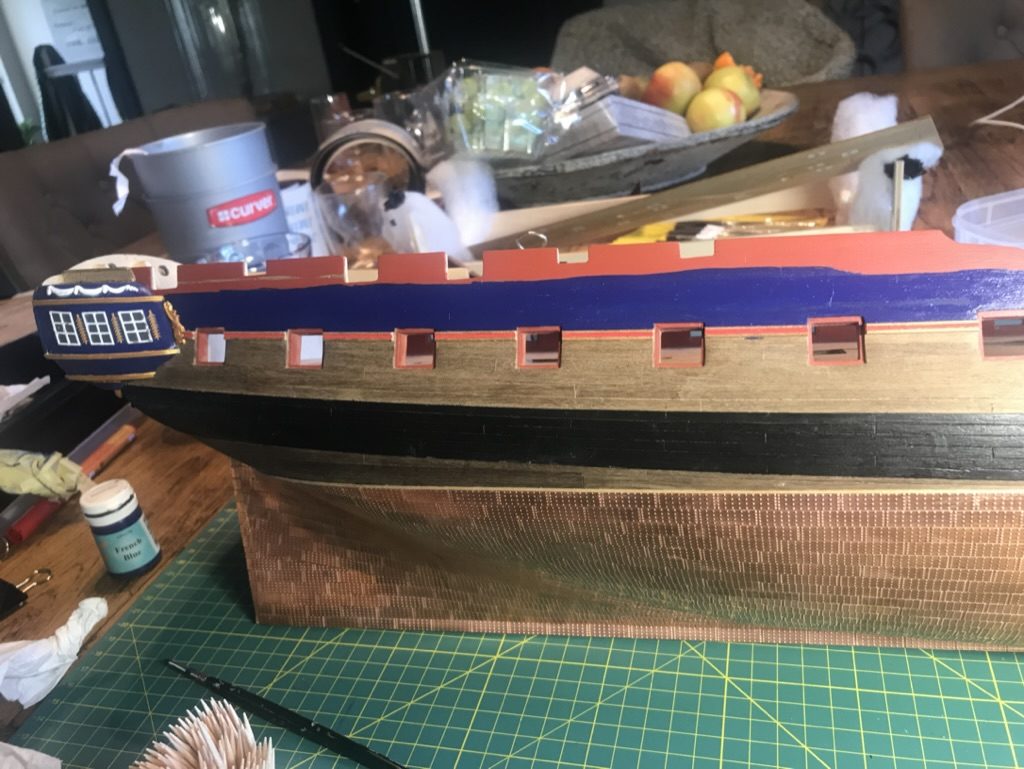
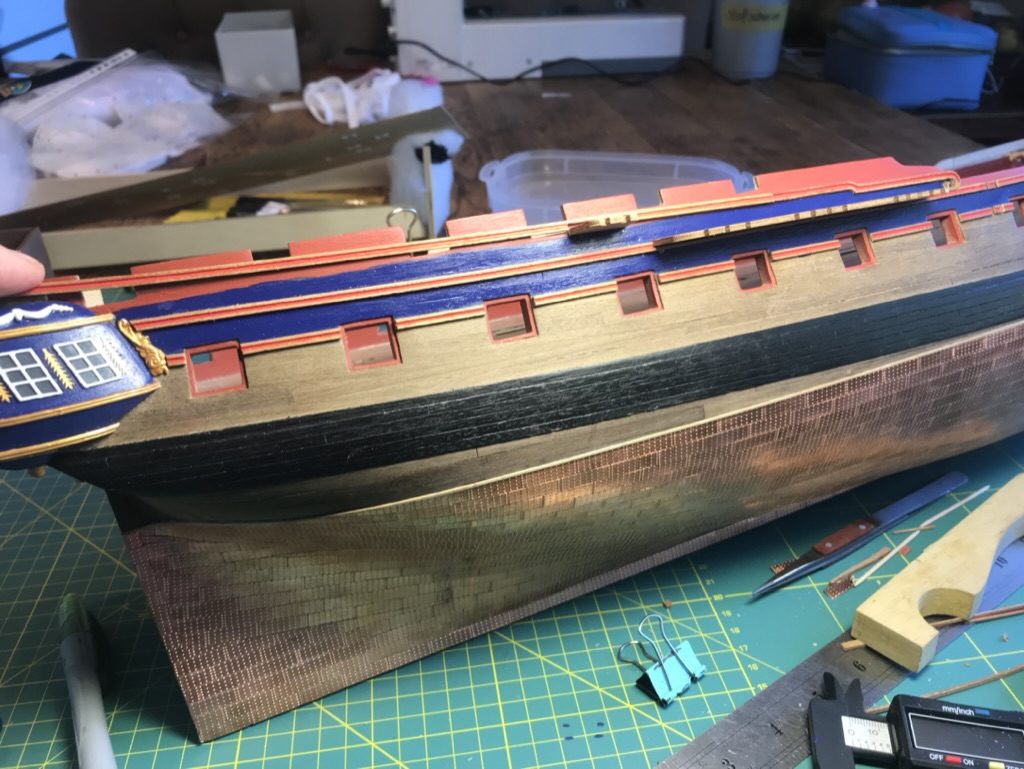
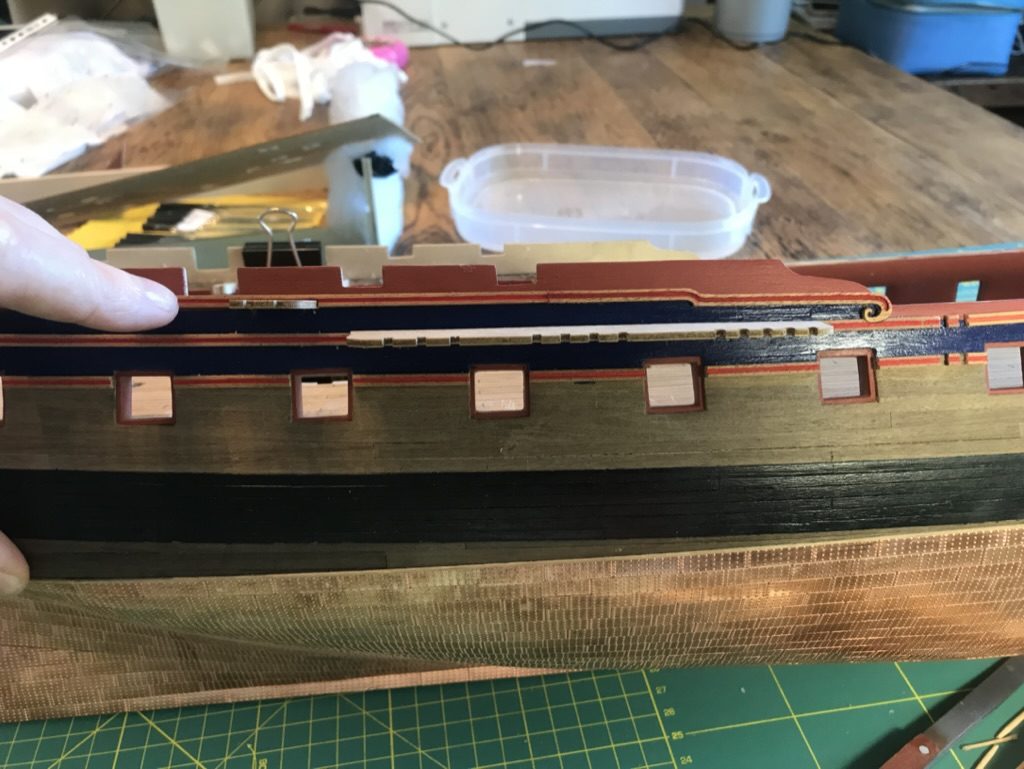
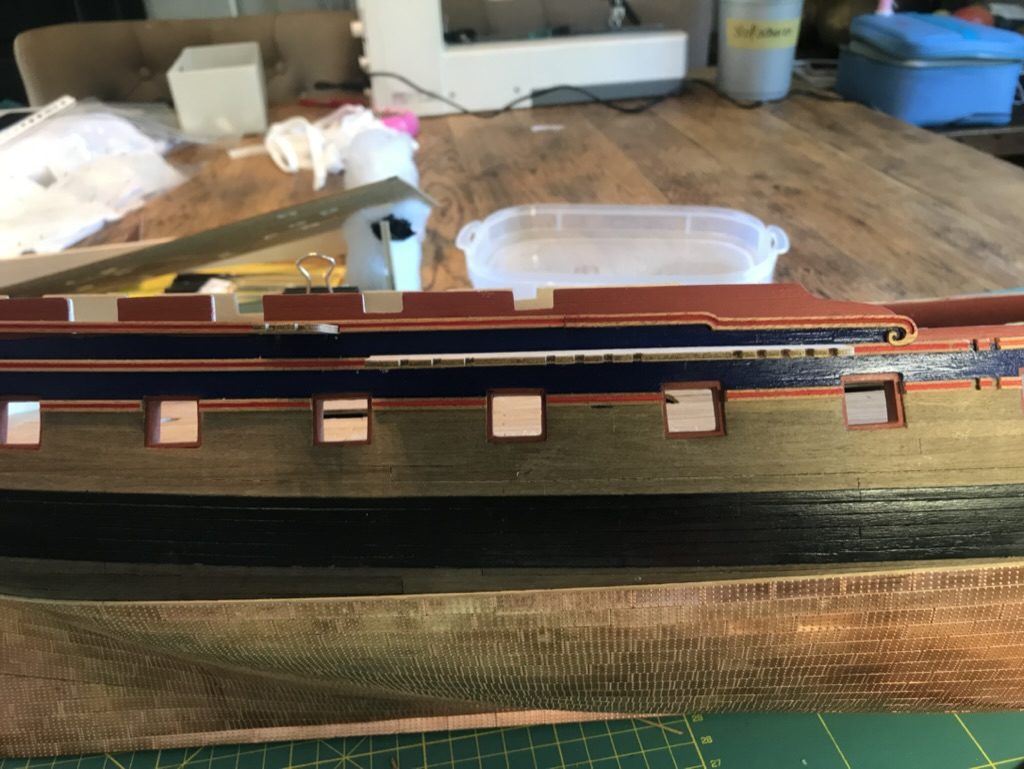
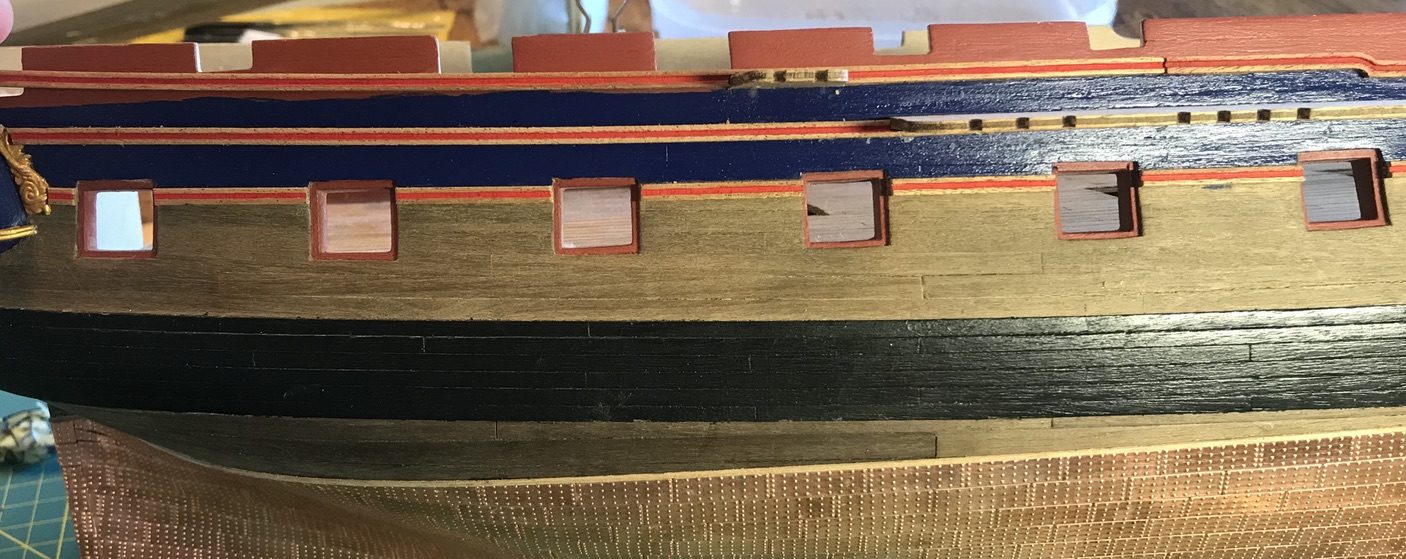
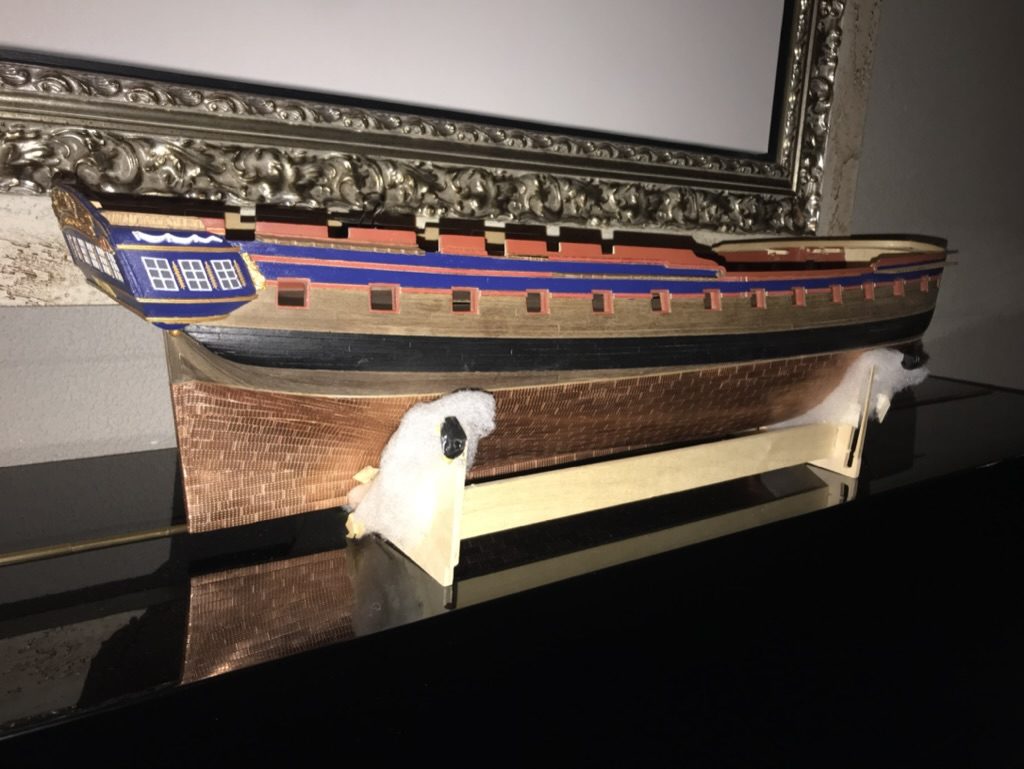
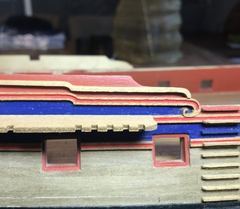
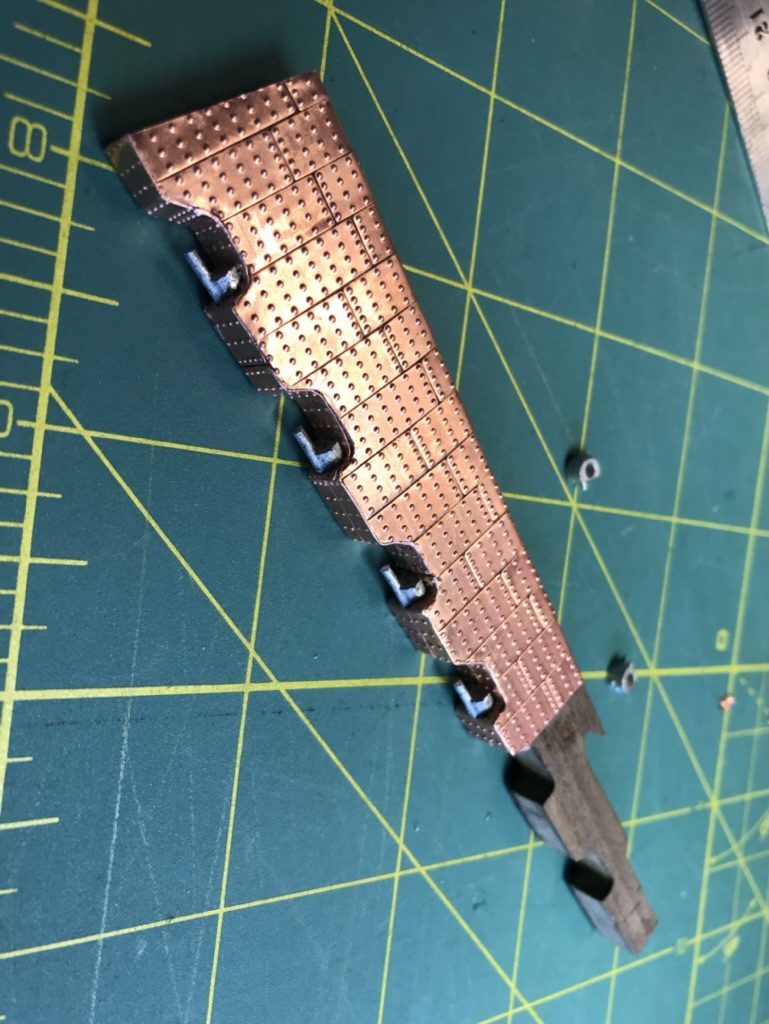
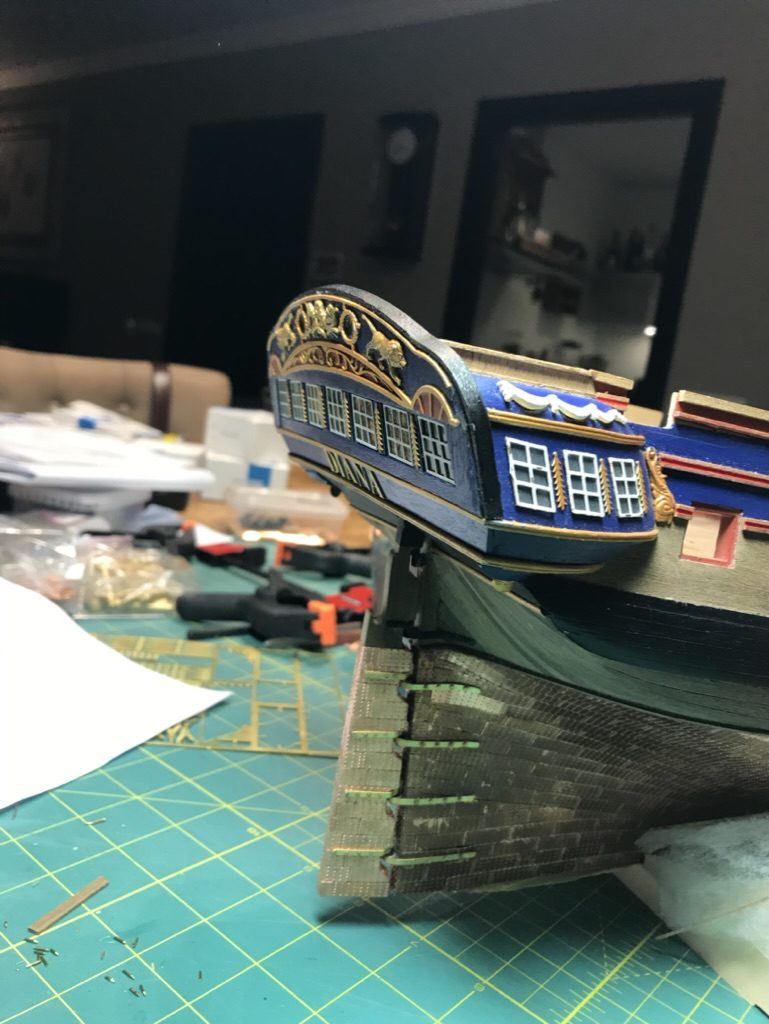
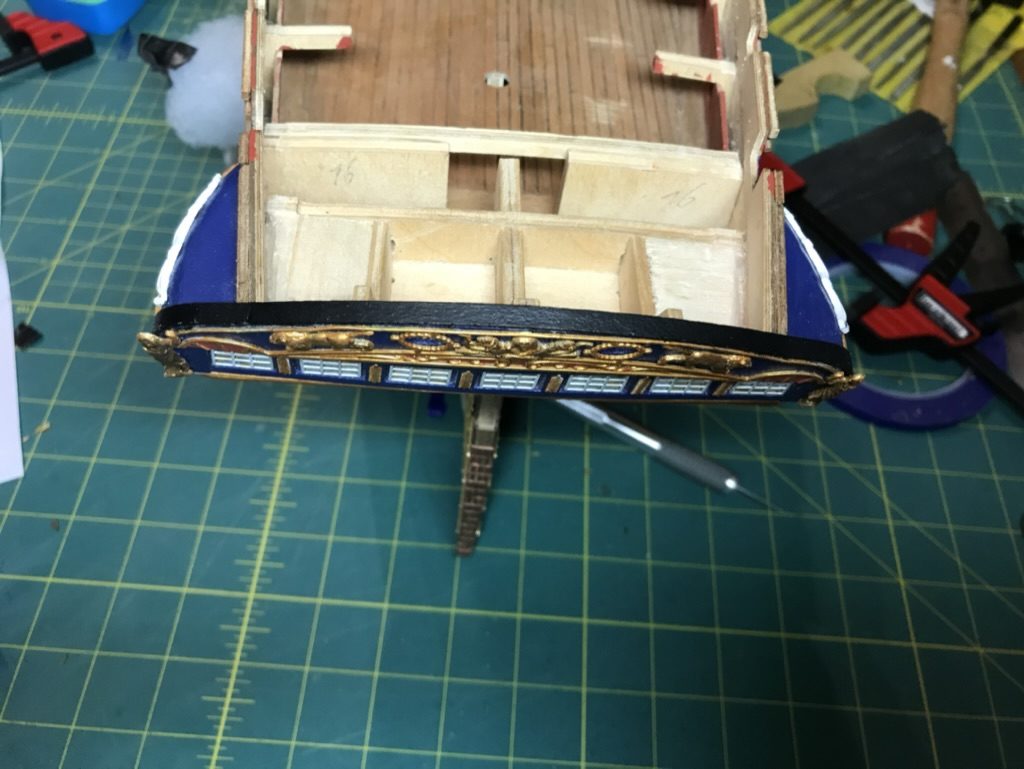
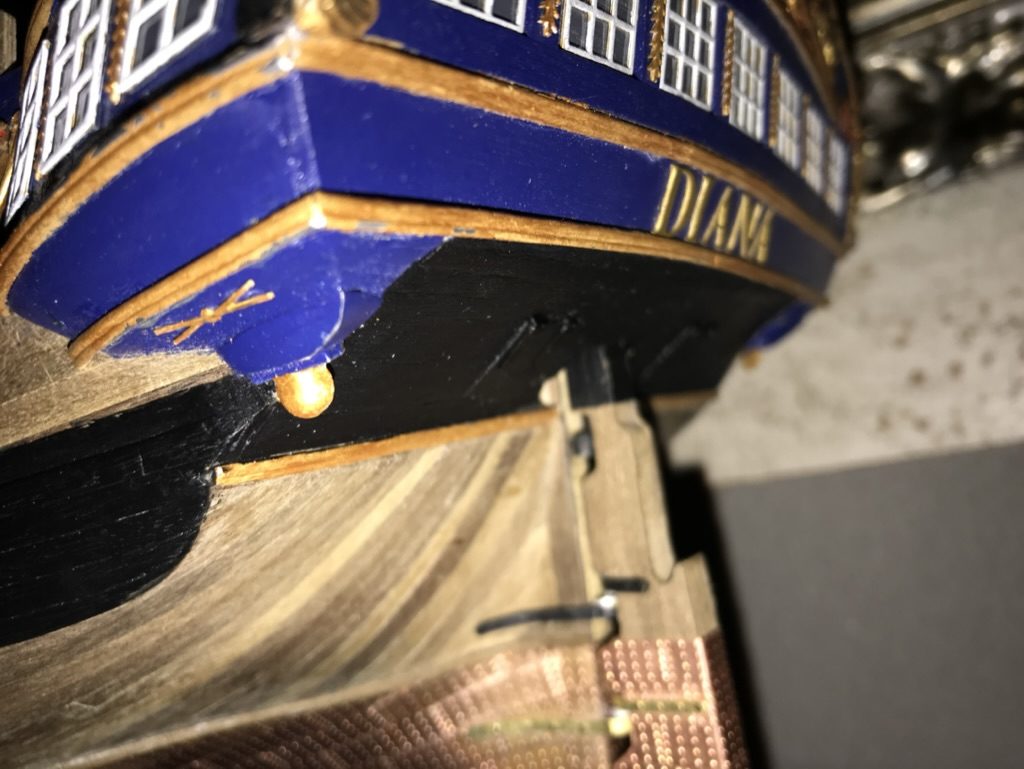
Build photo of the HMS Diana model, 2019-03-02 Build photo of the HMS Diana model, 2019-03-10 Build photo of the HMS Diana model, 2019-03-10 Build photo of the HMS Diana model, 2019-03-10 Build photo of the HMS Diana model, 2019-03-16 Build photo of the HMS Diana model, 2019-03-16 Build photo of the HMS Diana model, 2019-03-16 Build photo of the HMS Diana model, 2019-03-16 Build photo of the HMS Diana model, 2019-03-16 Build photo of the HMS Diana model, 2019-03-16 Build photo of the HMS Diana model, 2019-03-16 Build photo of the HMS Diana model, 2019-03-16 The hull fully coppered The coppering at the bow The coppering at the sternpost The hull in copper, from another angle Overview of the result The hull upside down, with the channels dry fitted Overview of the channels along the side A channel above the gunports The position of the channels relative to the ports The aftermost channel, next to the quarter gallery A channel seen from below, with the notches Another channel from below The foremost channel, from below At the front the chainplates would run across a port Build photo of the HMS Diana model, 2019-03-23 Build photo of the HMS Diana model, 2019-03-23 Build photo of the HMS Diana model, 2019-03-24 Build photo of the HMS Diana model, 2019-03-24 Build photo of the HMS Diana model, 2019-03-24 Build photo of the HMS Diana model, 2019-03-24 Build photo of the HMS Diana model, 2019-03-24 Starboard aft, with the mouldings on the blue band The mouldings along the full length of the hull The stern with the quarter gallery

June 2019

Build photo of the HMS Diana model, 2019-06-14

July 2019

Build photo of the HMS Diana model, 2019-07-16 Build photo of the HMS Diana model, 2019-07-16

September 2019

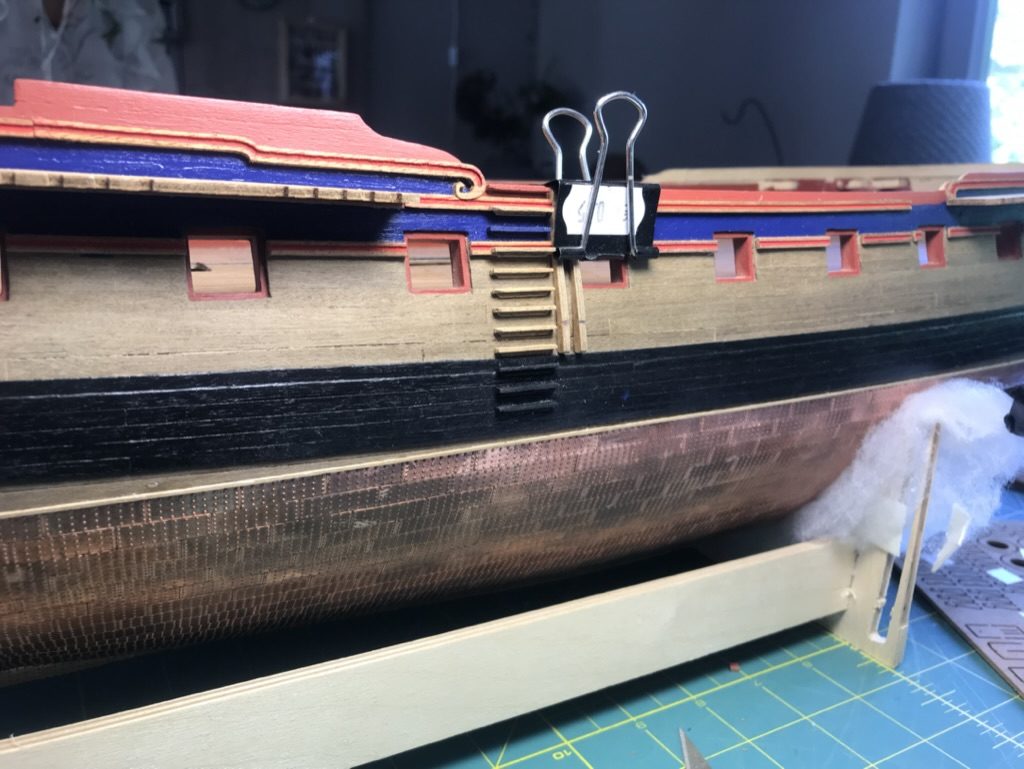
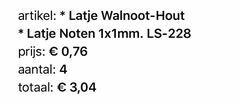
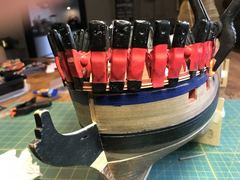
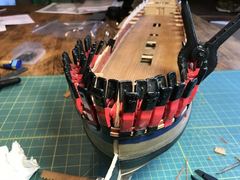
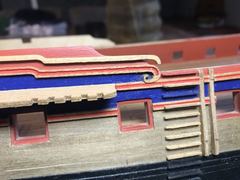
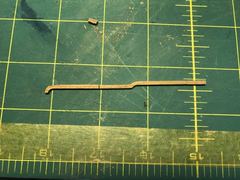
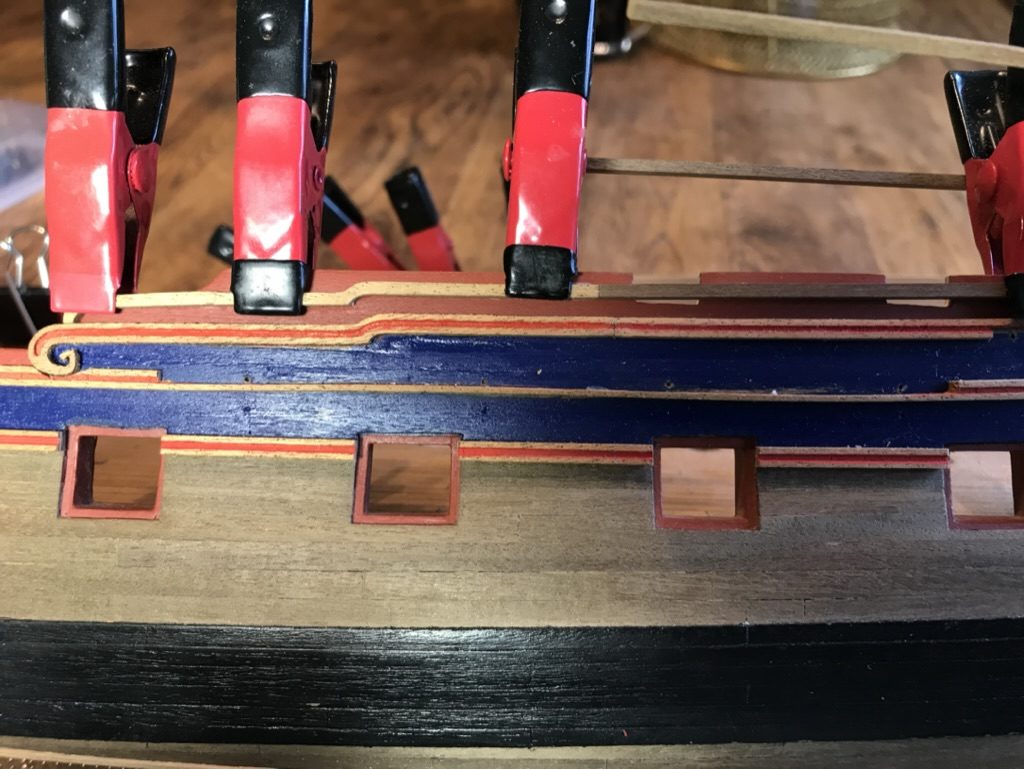
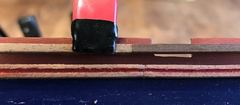
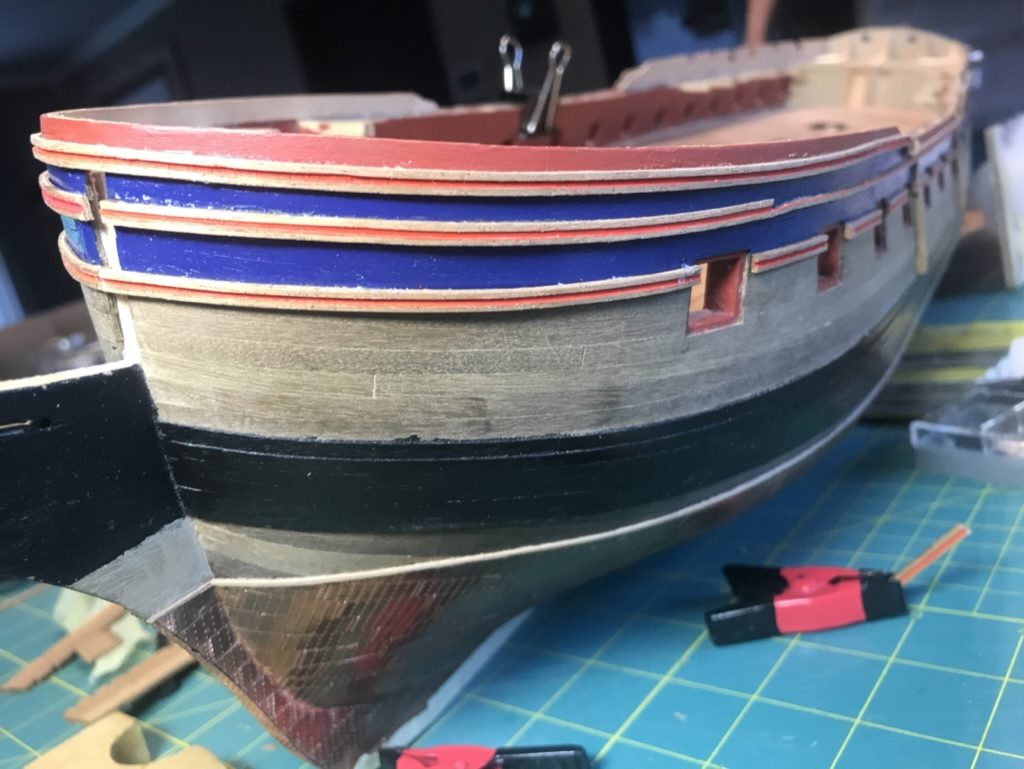
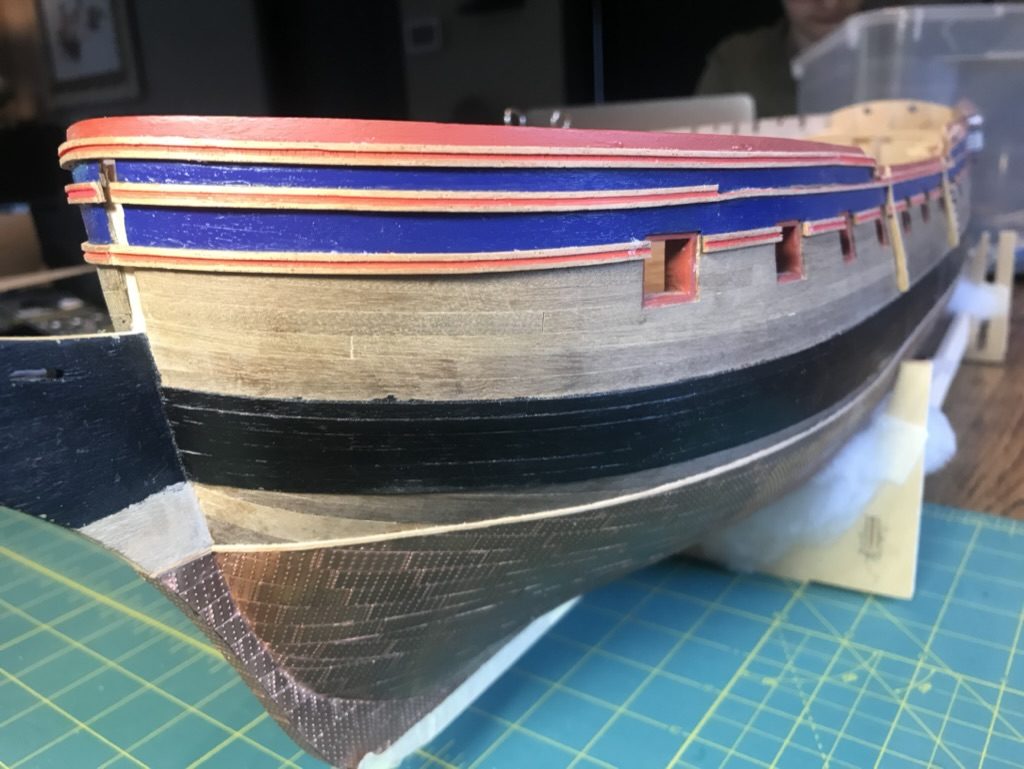
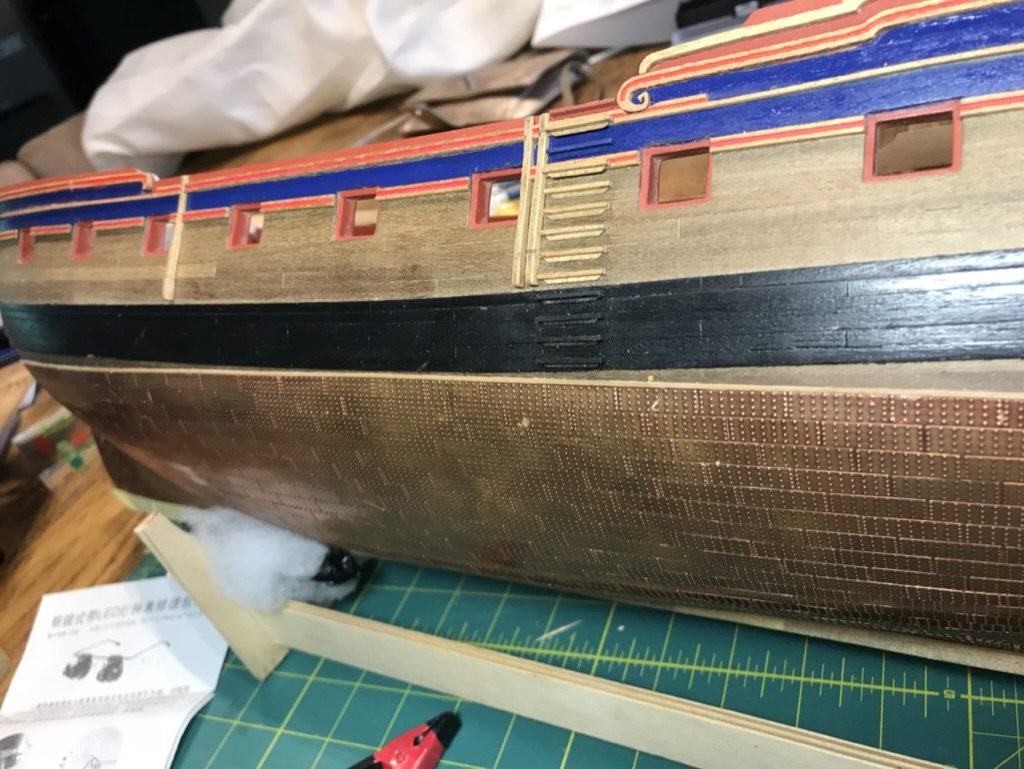
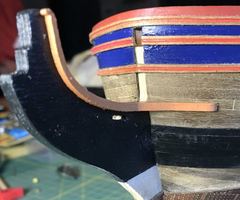
Build photo of the HMS Diana model, 2019-09-15 The side steps on the starboard side between the fenders The steps in the colour of the hull behind them Port side with the first mouldings, the channels still loose The order: walnut strip 1x1 mm, four pieces The top moulding at the bow, with a row of clamps The same moulding seen from above; the curve was put in beforehand Matched to the rail: the moulding below does not come out nicely Following the lower curve: the moulding sticks out a long way The shortened moulding on the cutting mat Build photo of the HMS Diana model, 2019-09-29 The walnut supplied next to the laser-cut moulding: a big colour difference The end result, with pieces cut from the laser-cut offcuts

October 2019

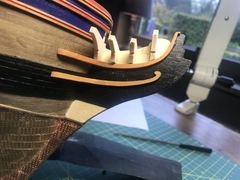
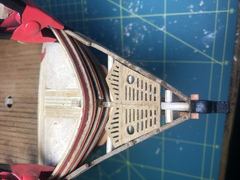
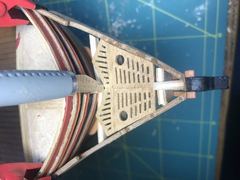
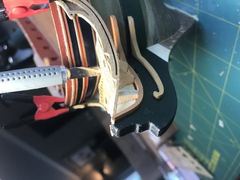
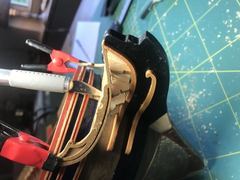
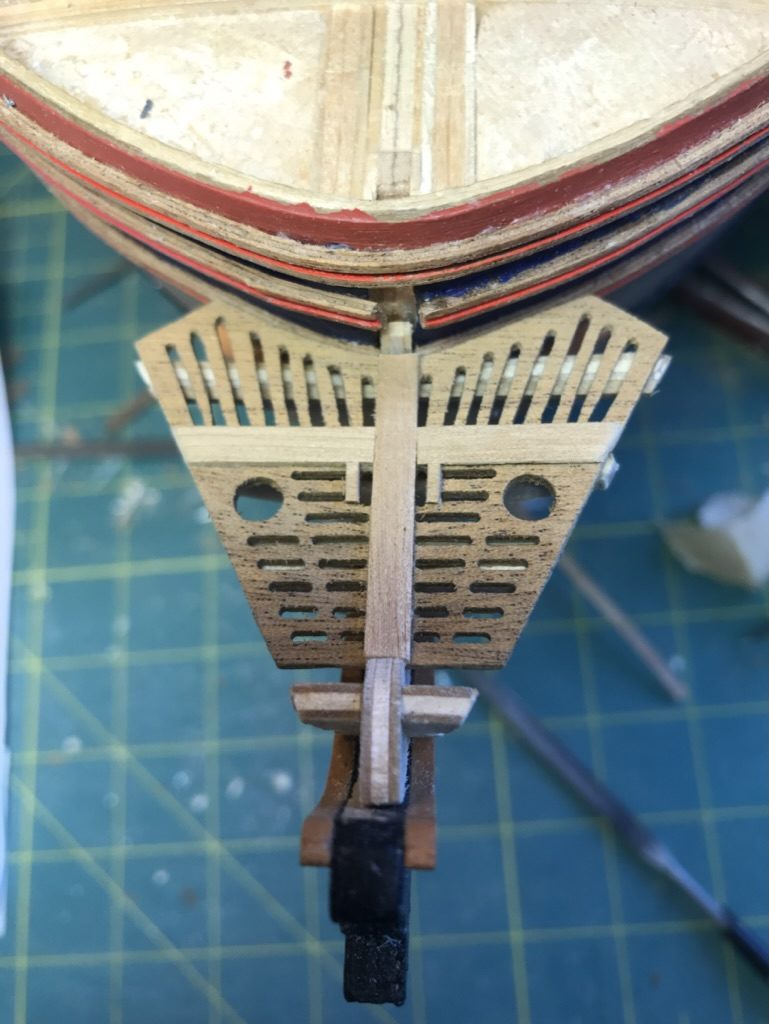
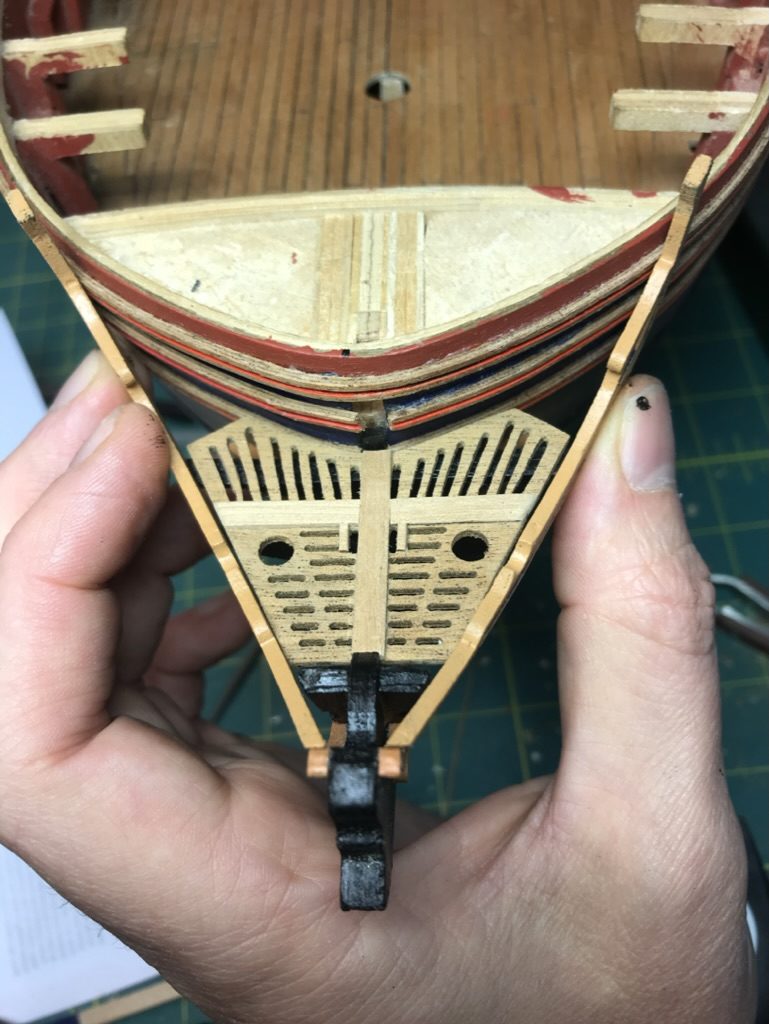
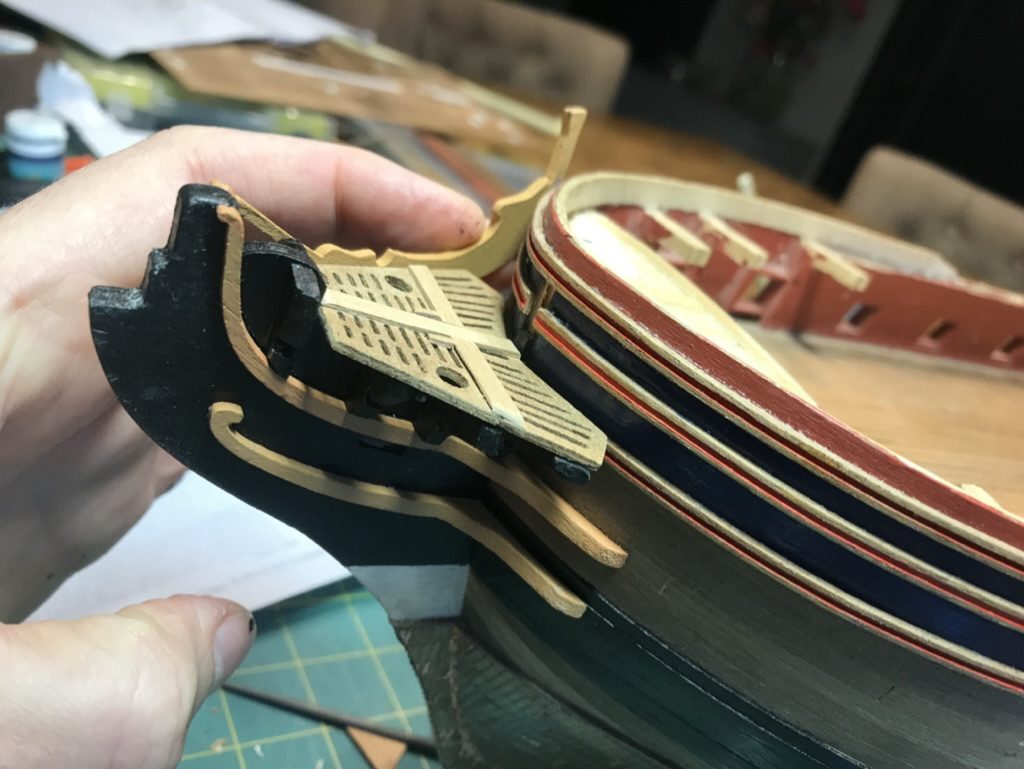
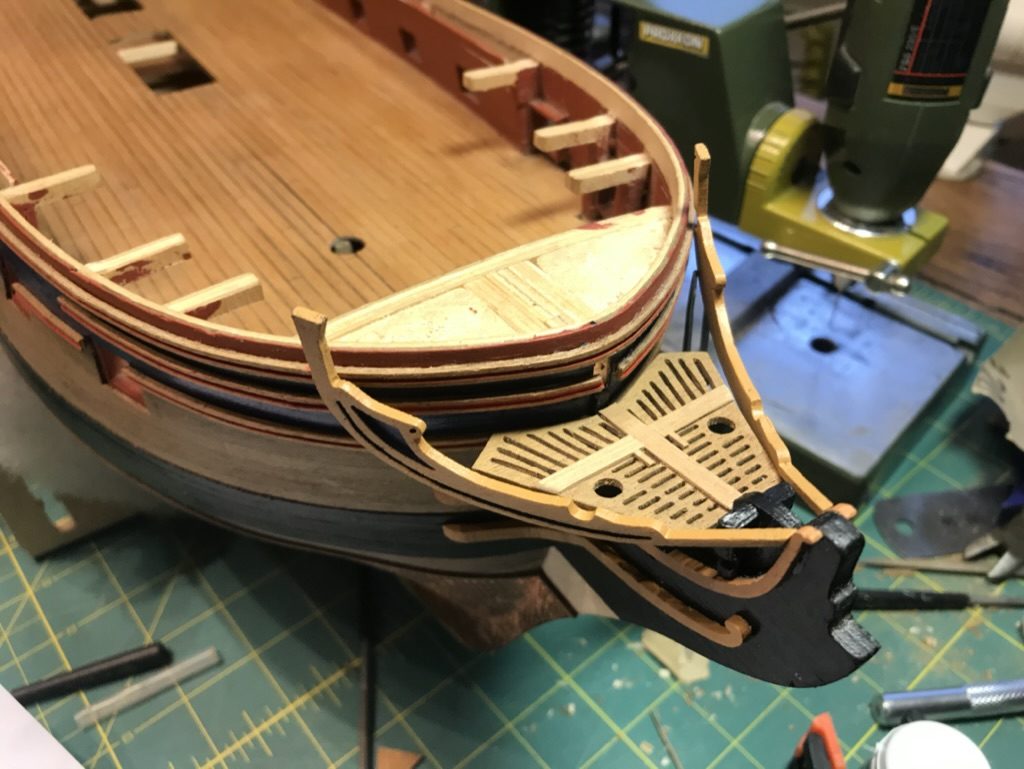
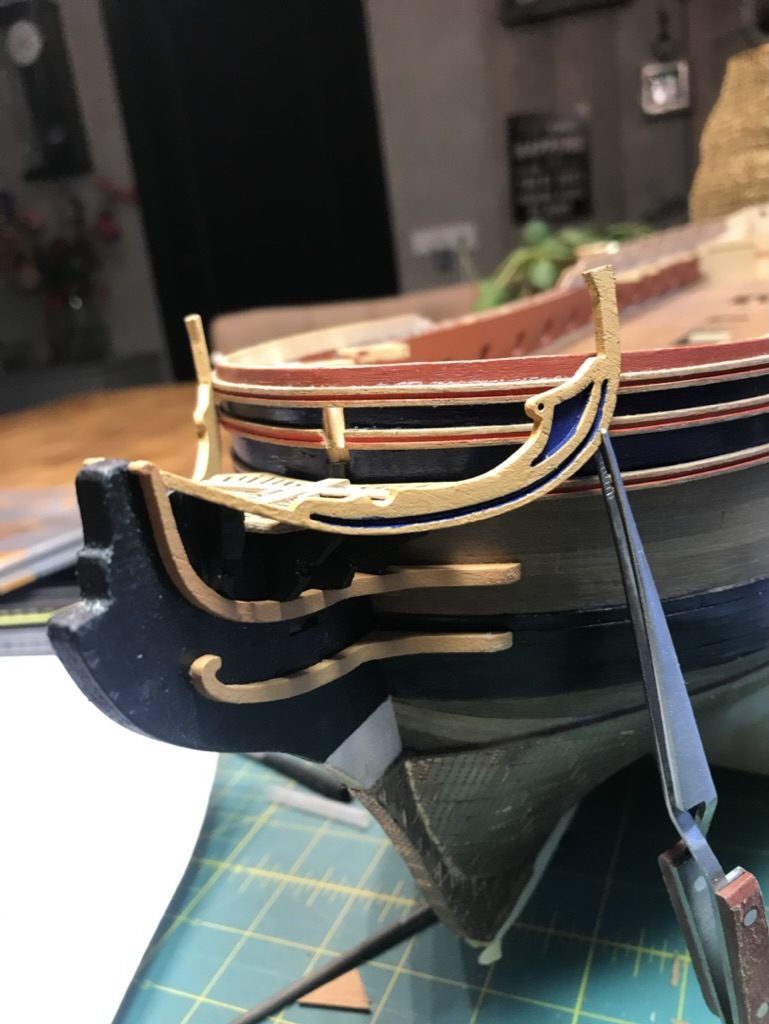
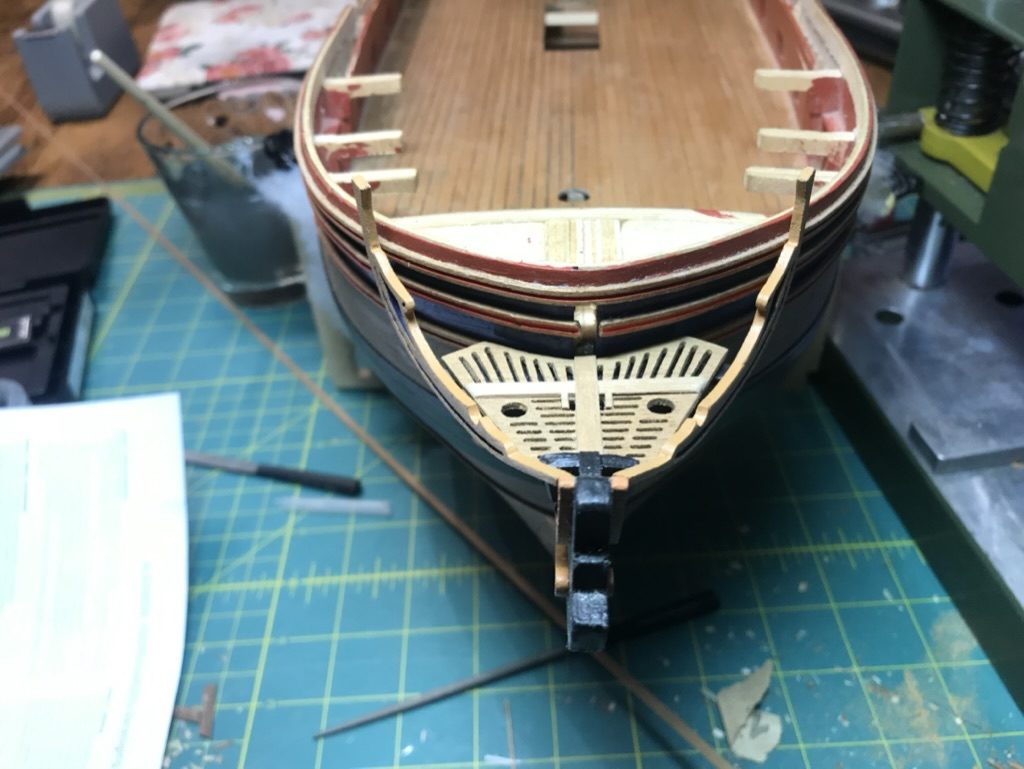
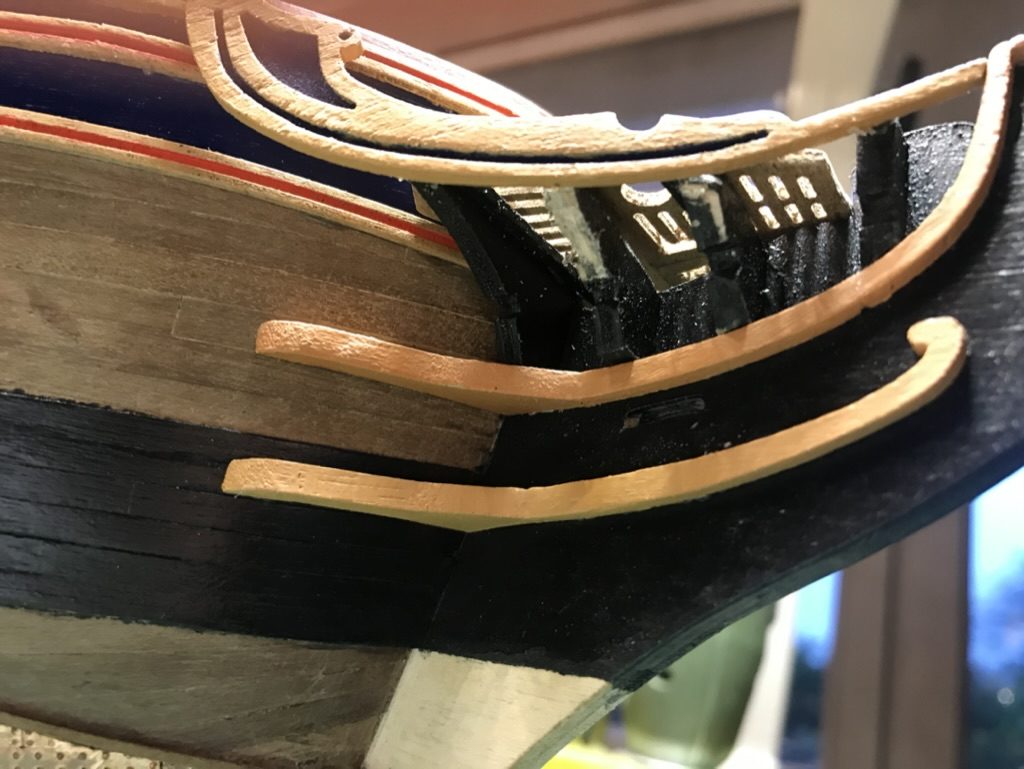
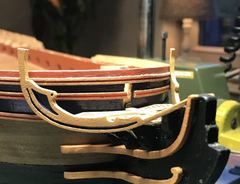
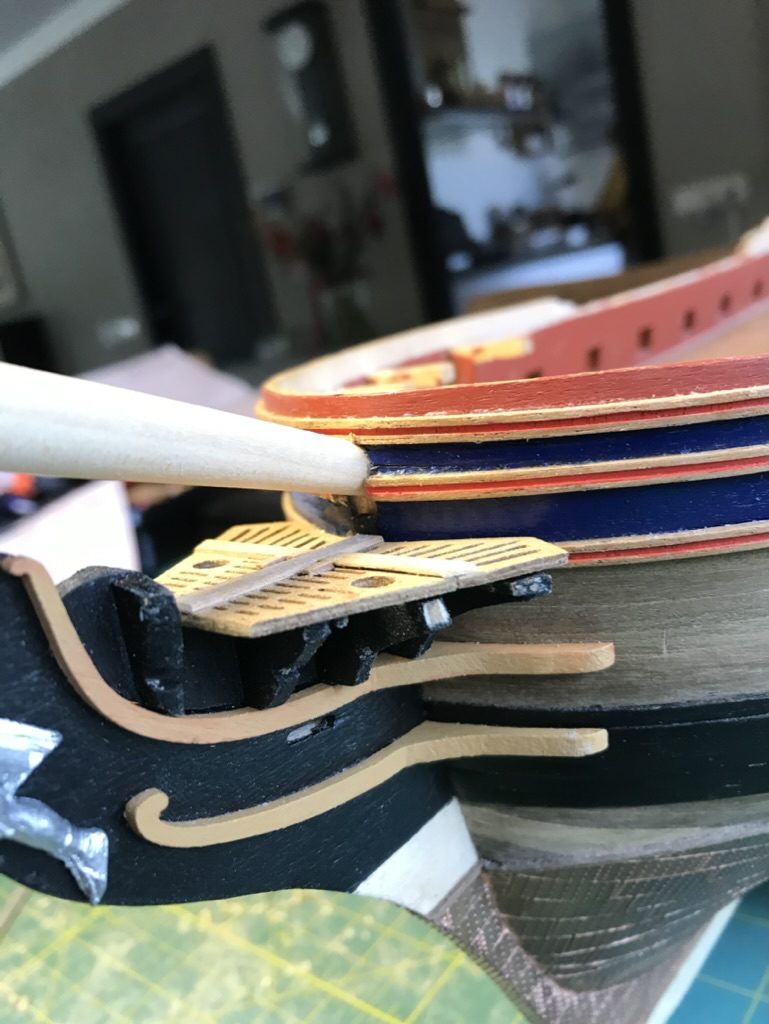
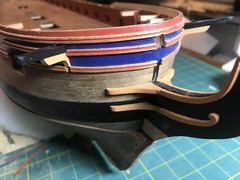
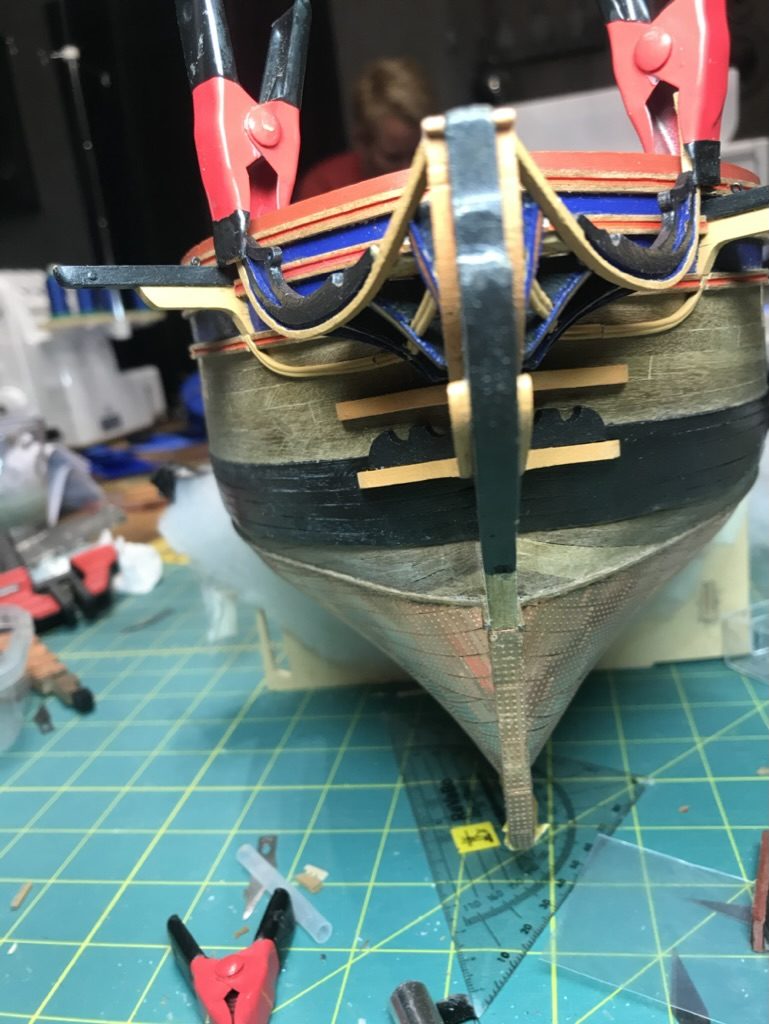
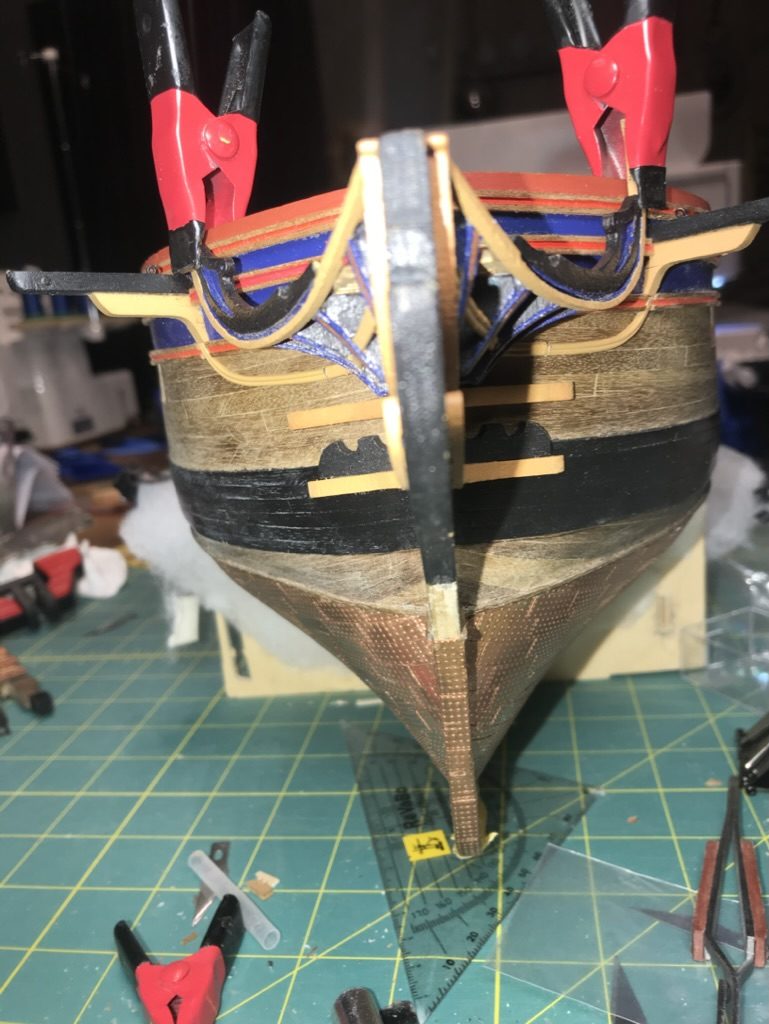
Build photo of the HMS Diana model, 2019-10-05 Build photo of the HMS Diana model, 2019-10-06 The bow on the port side with the mouldings The mouldings run on to the gunports The bow from the front, with the mouldings parallel around the curve Build photo of the HMS Diana model, 2019-10-06 Build photo of the HMS Diana model, 2019-10-07 Build photo of the HMS Diana model, 2019-10-09 Build photo of the HMS Diana model, 2019-10-10 The bow with the first parts of the head, dry fitted From the front: the first part against the stem Side view of the bow with the head part The hull with the new strip above the copper: no colour difference any more Build photo of the HMS Diana model, 2019-10-19 Build photo of the HMS Diana model, 2019-10-20 The head from the side, all still dry fitted Top view: there is a gap between the bow and the gratings From above once more, with the side pieces in place The headrails from below Detail of the bow, with clamps

November 2019

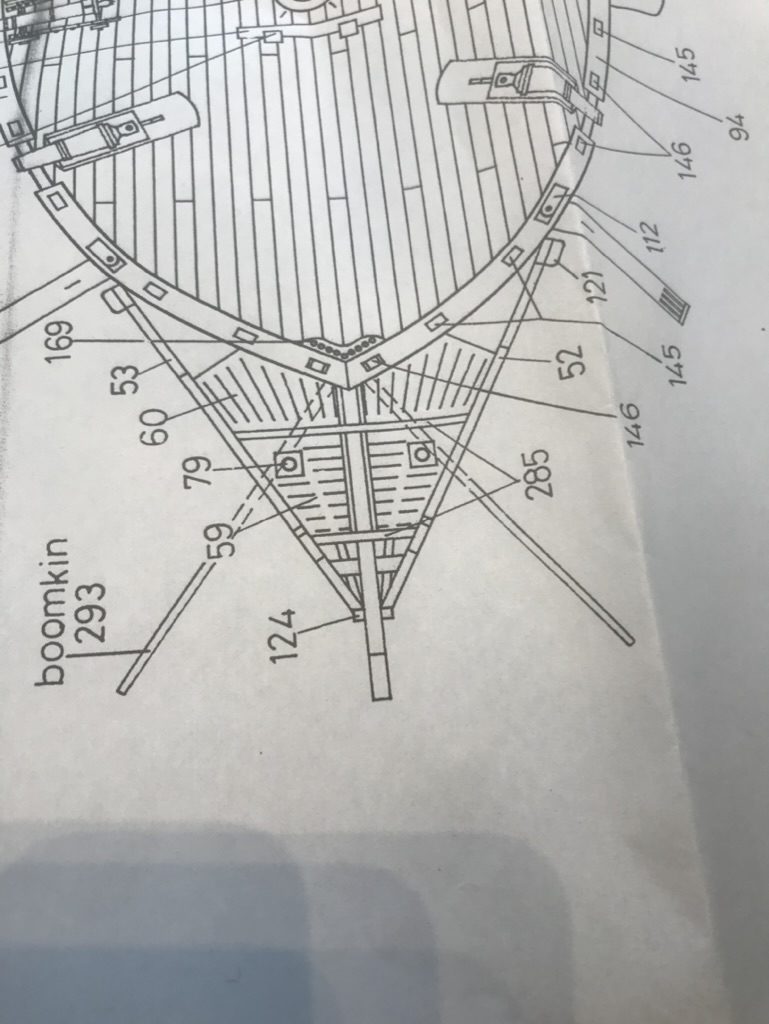
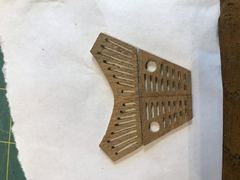
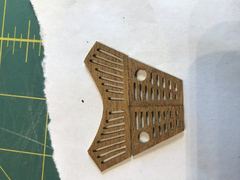
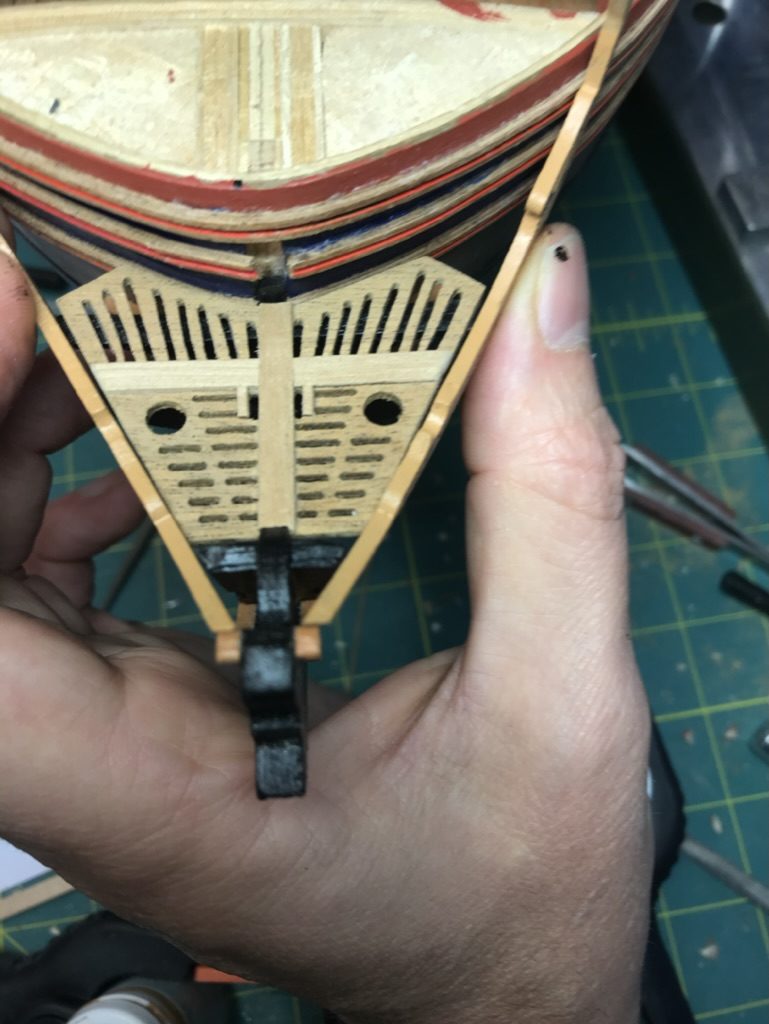
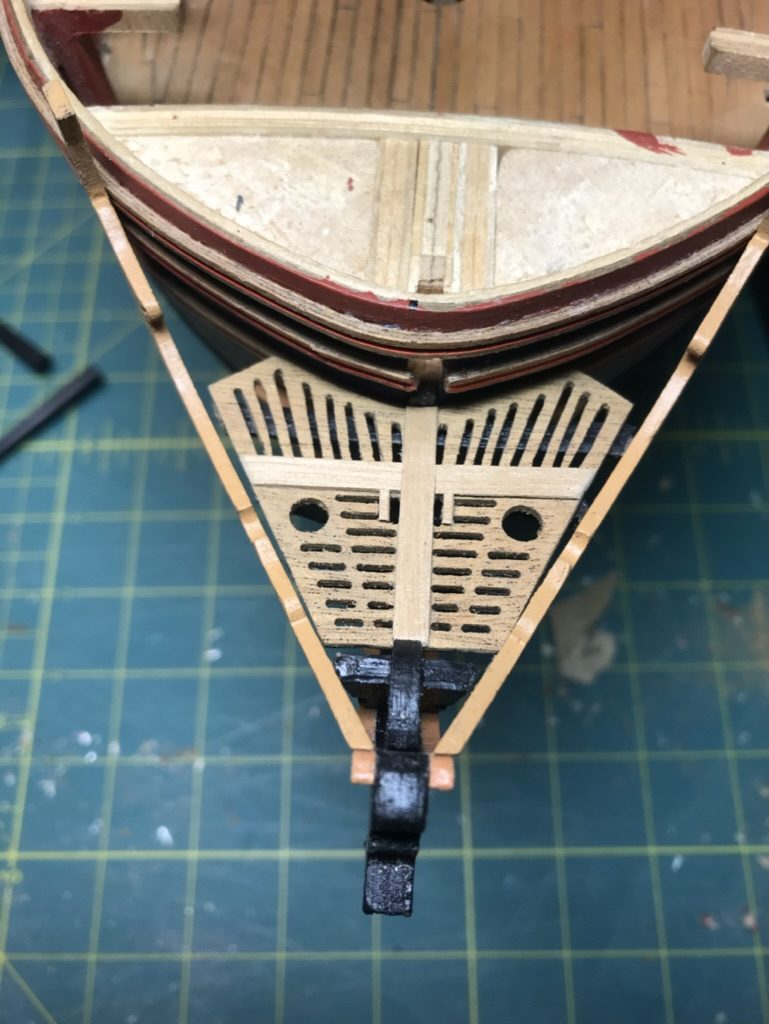
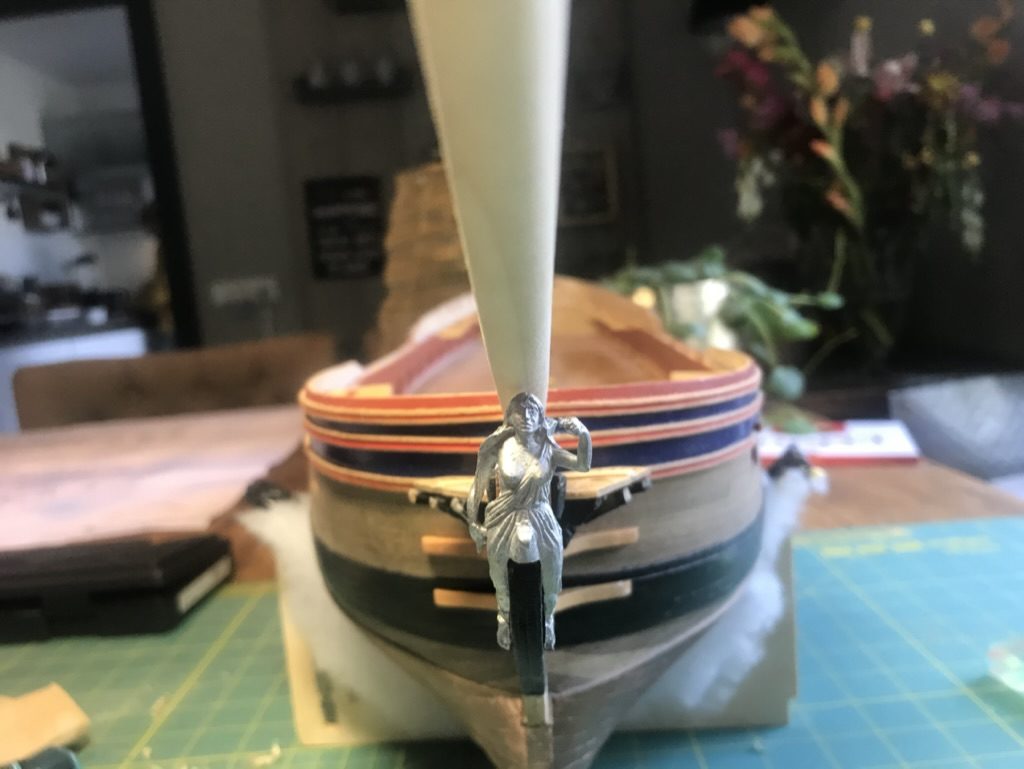
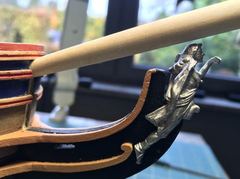
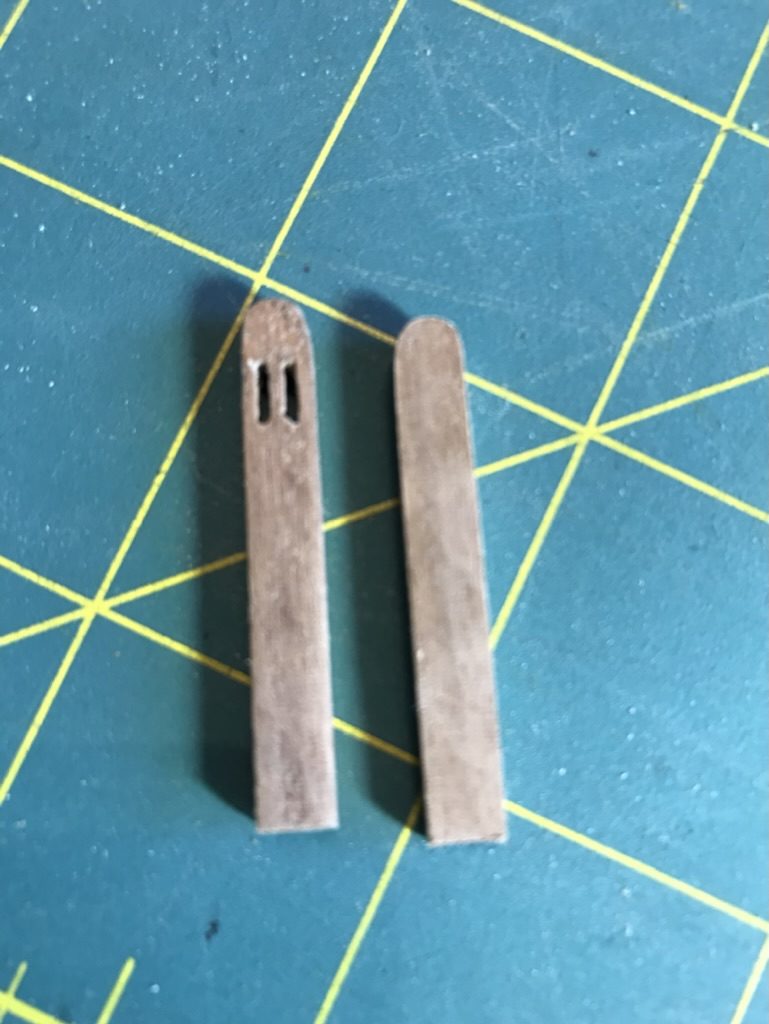
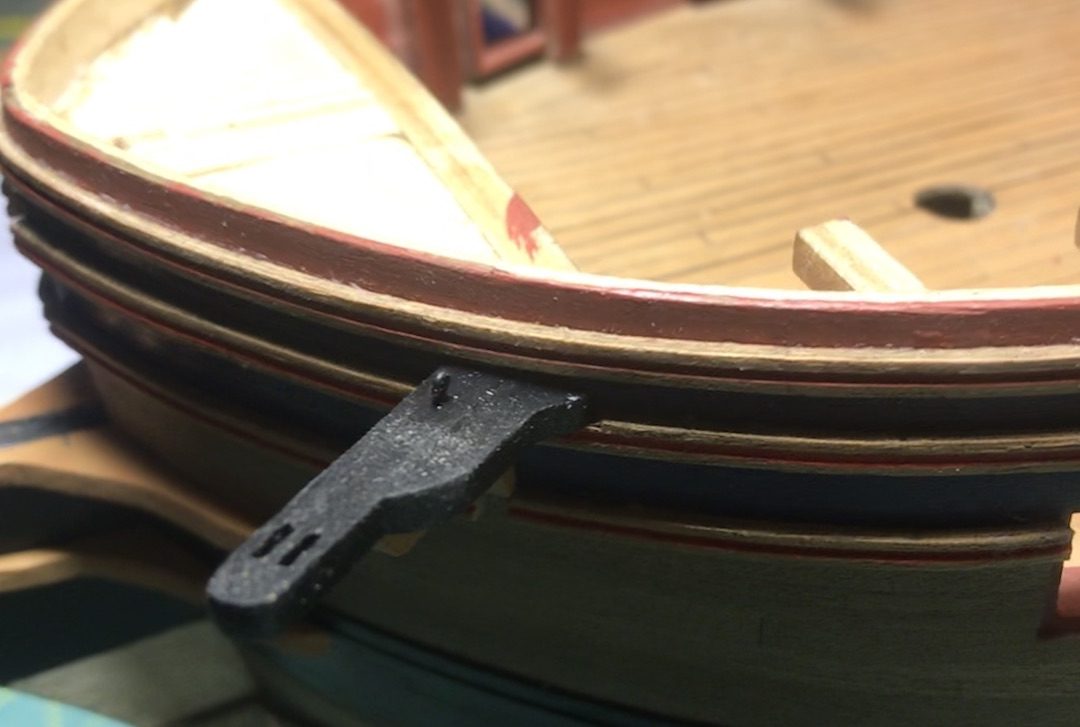
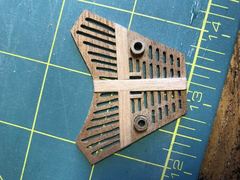
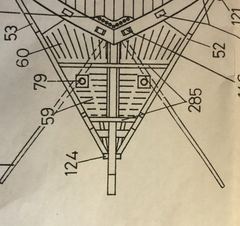
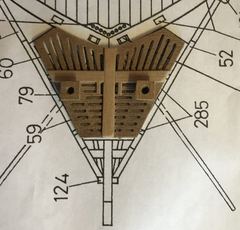
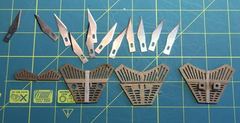
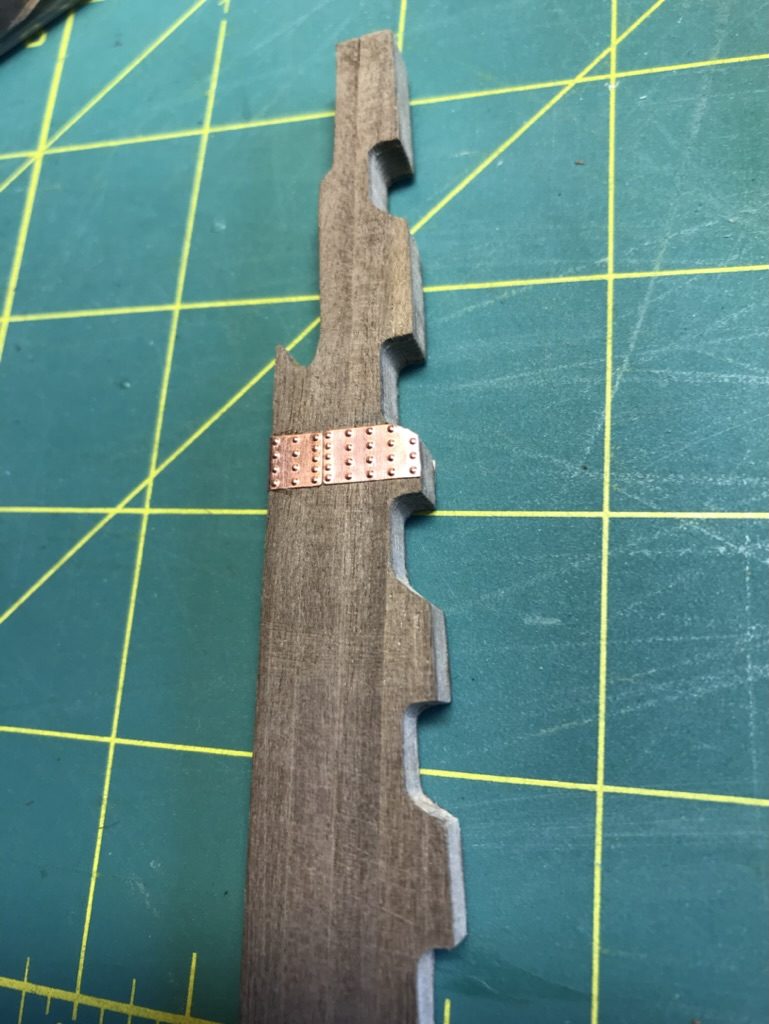
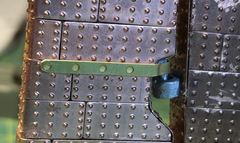
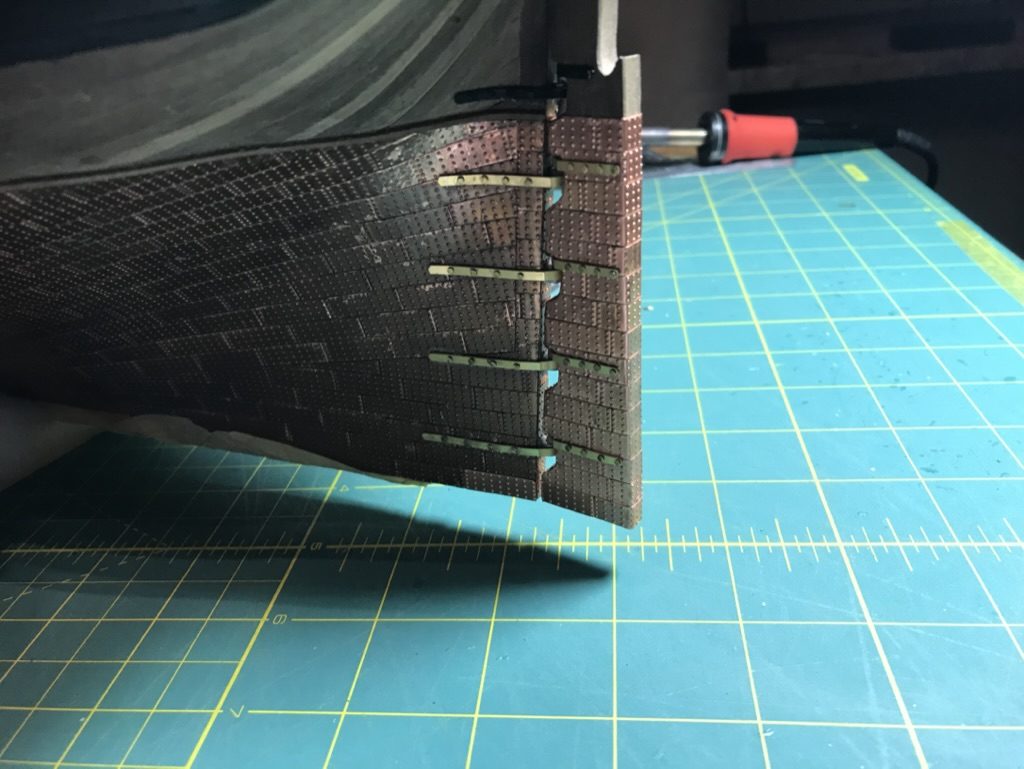
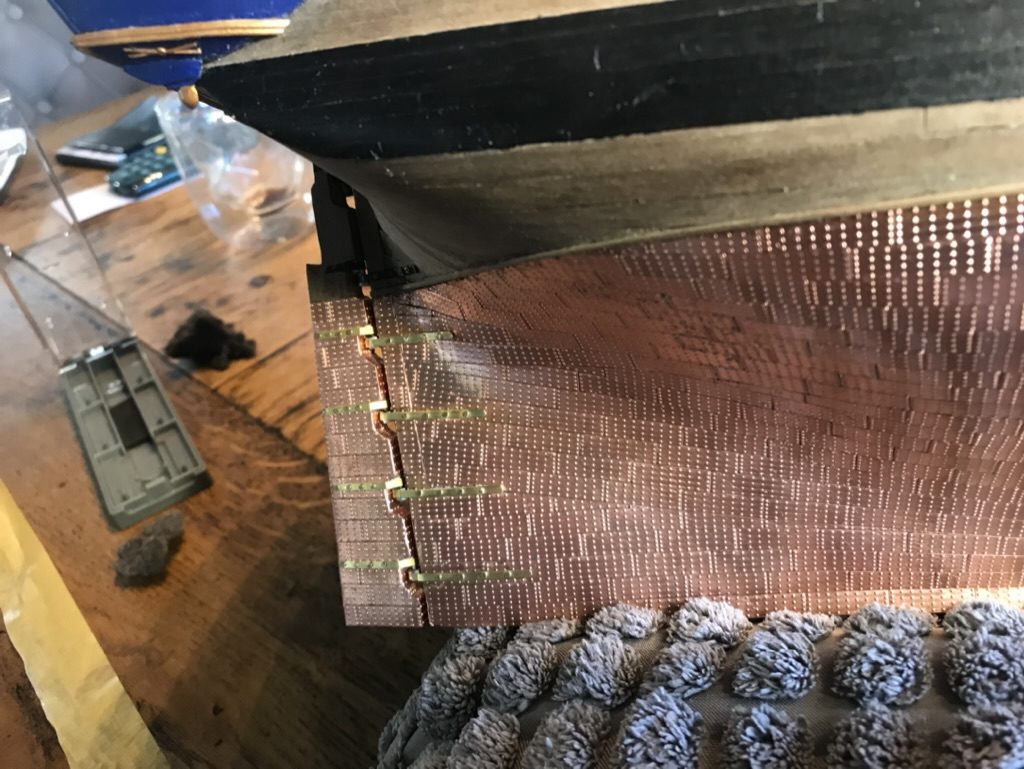
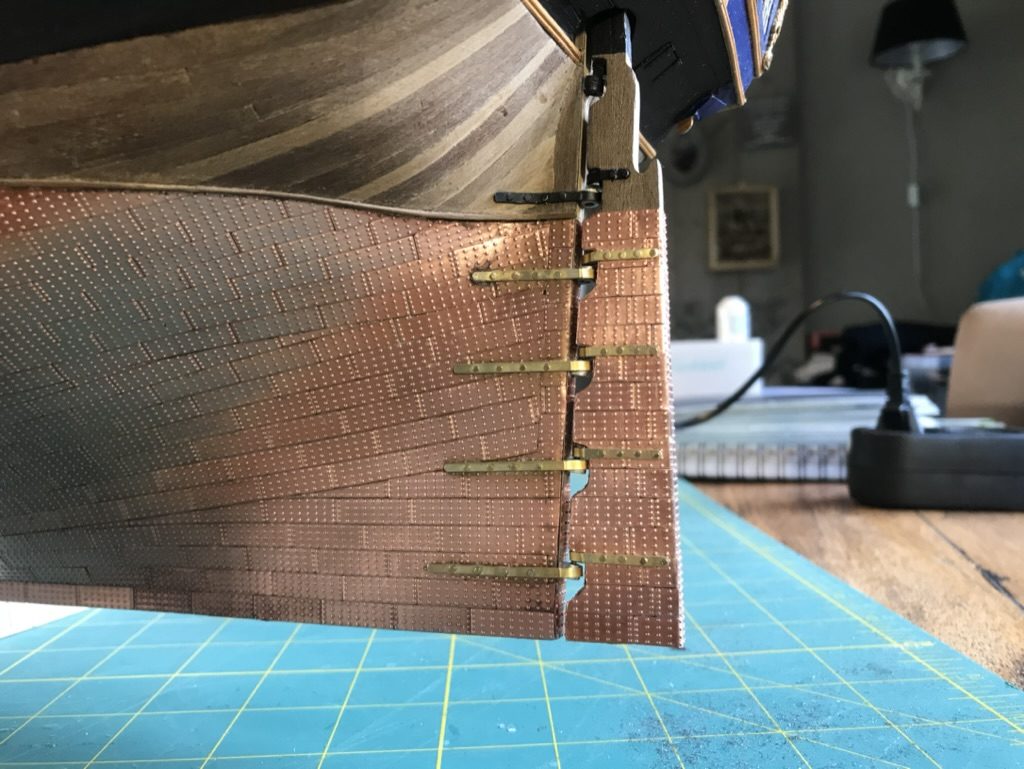
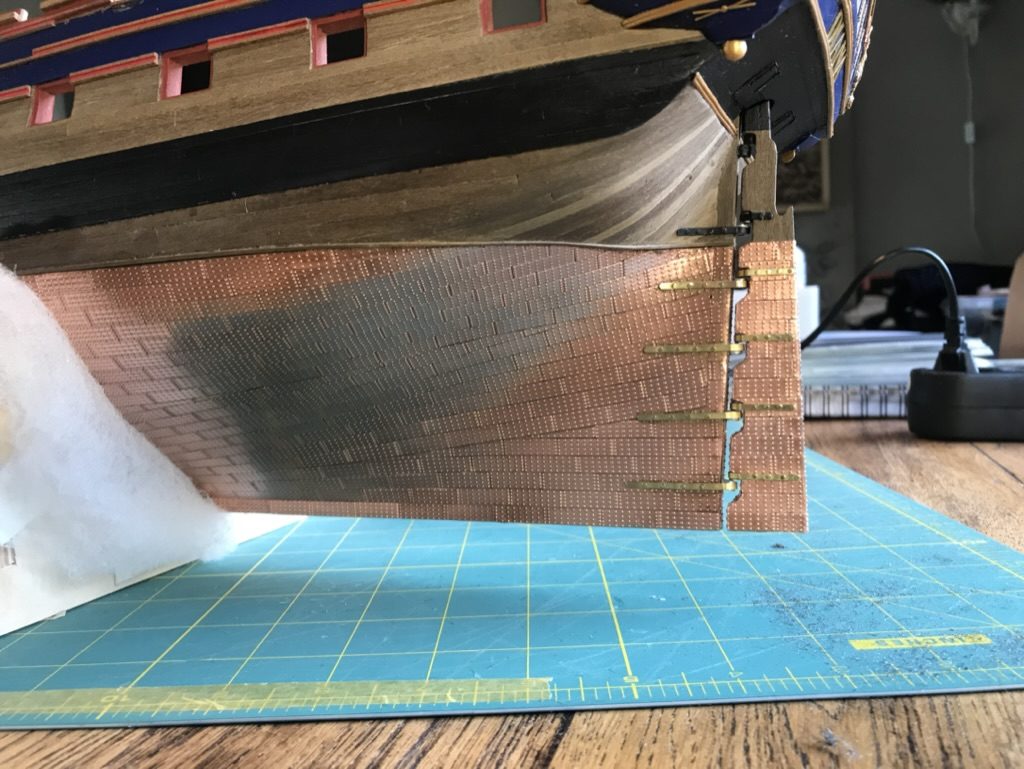
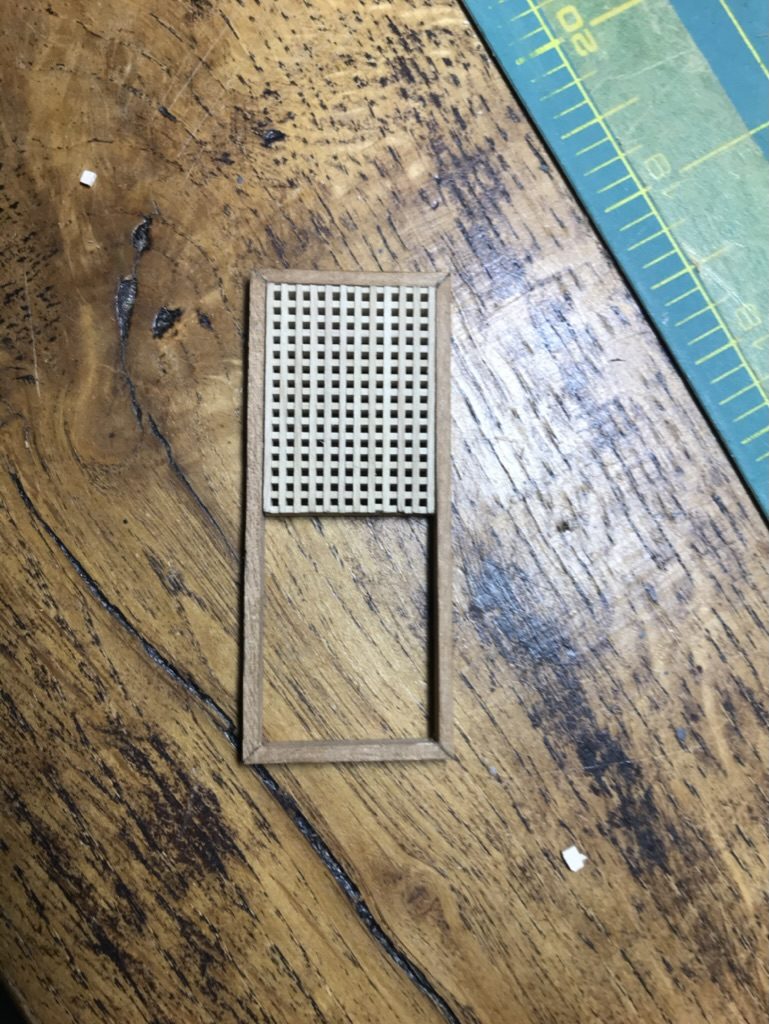
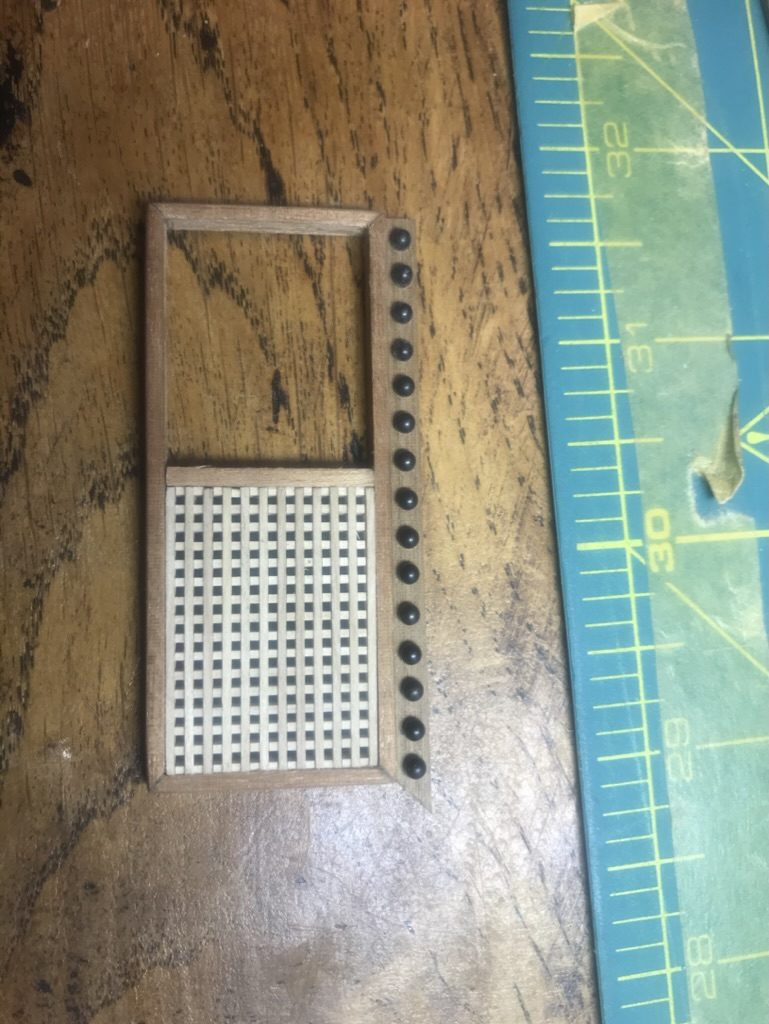
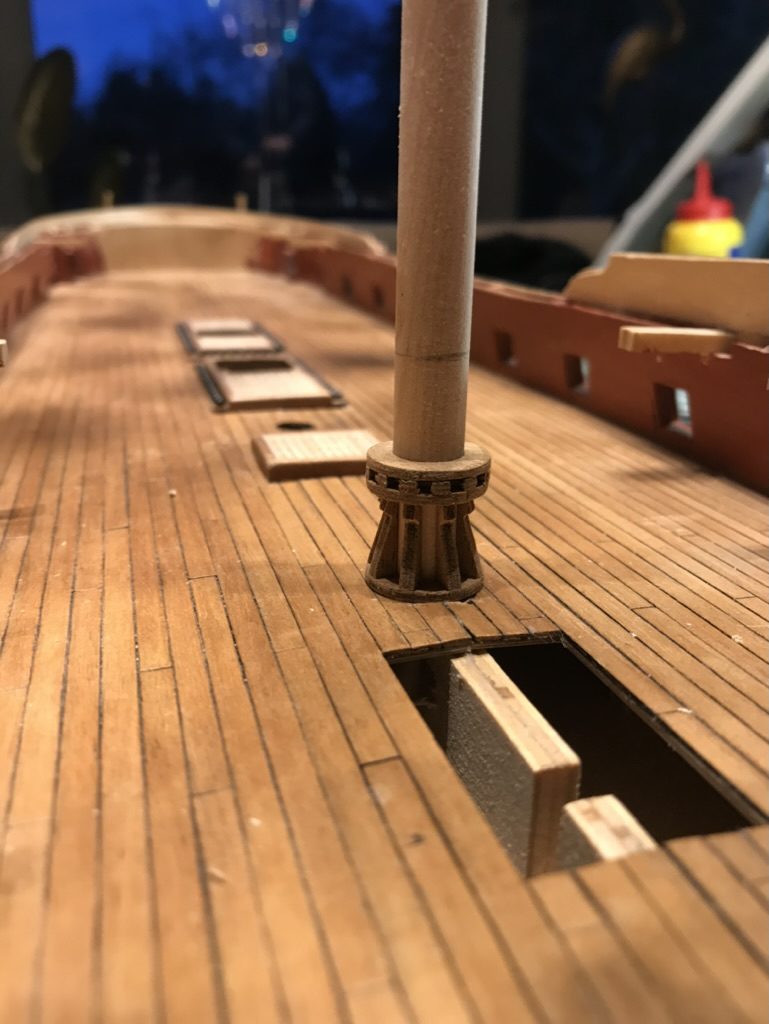
Build photo of the HMS Diana model, 2019-11-02 Attempt 1: still a bit messy Attempt 2: good enough The new grating in place Top view with the original pieces laid on top: that much was missing Build photo of the HMS Diana model, 2019-11-03 Build photo of the HMS Diana model, 2019-11-03 Build photo of the HMS Diana model, 2019-11-03 Build photo of the HMS Diana model, 2019-11-03 Build photo of the HMS Diana model, 2019-11-03 Build photo of the HMS Diana model, 2019-11-03 Build photo of the HMS Diana model, 2019-11-03 Build photo of the HMS Diana model, 2019-11-03 Build photo of the HMS Diana model, 2019-11-03 Build photo of the HMS Diana model, 2019-11-03 Build photo of the HMS Diana model, 2019-11-03 Build photo of the HMS Diana model, 2019-11-03 The head from above, with the new grating running to the bow The head from the side on the port side Starboard side of the head Build photo of the HMS Diana model, 2019-11-09 Build photo of the HMS Diana model, 2019-11-09 The bowsprit fitted, with the figurehead beneath it Build photo of the HMS Diana model, 2019-11-09 Two catheads from 5 mm walnut, one already with the slots in the head Build photo of the HMS Diana model, 2019-11-09 The catheads fitted, seen from above The cathead on the port side, from the side The grating with the home-made toilet bowls The drawing: the bumkins run across the seats of ease My grating on the drawing: so the same on mine The third grating sawn out and marked up On the drawing, with the seats of ease moved towards the centre The first cutting attempt with drilled holes: hopeless The final grating at the bow All attempts in a row, with the worn blades; it turned out to be the one on the right Build photo of the HMS Diana model, 2019-11-23 The rudder with the first plates The rudder held against the sternpost Build photo of the HMS Diana model, 2019-11-24 Build photo of the HMS Diana model, 2019-11-24 The pintles in their holes, with holes cut in the copper The bottom edge of the rudder slopes upwards The small triangle The end result: all pintles in and the bottom edge level with the keel The rudder hung, still removable The first pintle strap glued on, with the pre-punched holes Build photo of the HMS Diana model, 2019-11-30 Build photo of the HMS Diana model, 2019-11-30 Build photo of the HMS Diana model, 2019-11-30 Build photo of the HMS Diana model, 2019-11-30 Build photo of the HMS Diana model, 2019-11-30 All the pintle straps on the rudder, with nails

December 2019

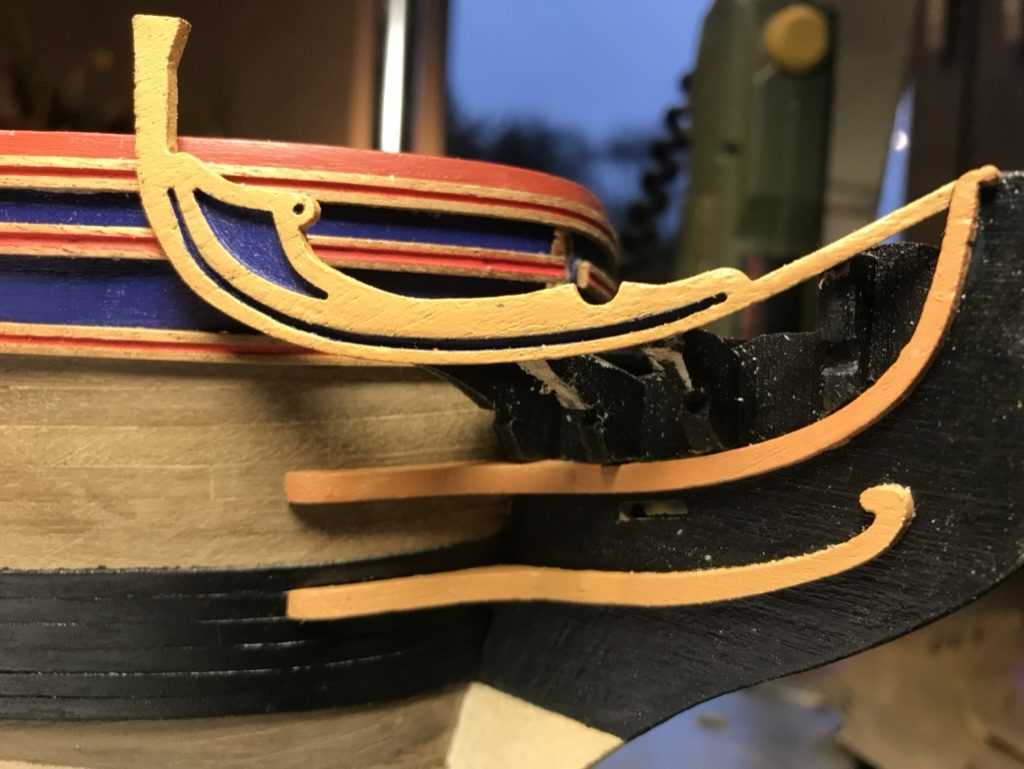
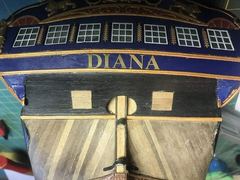
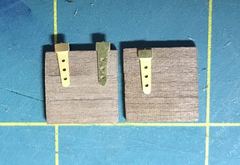
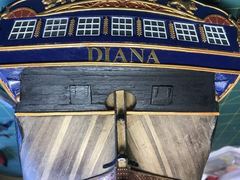
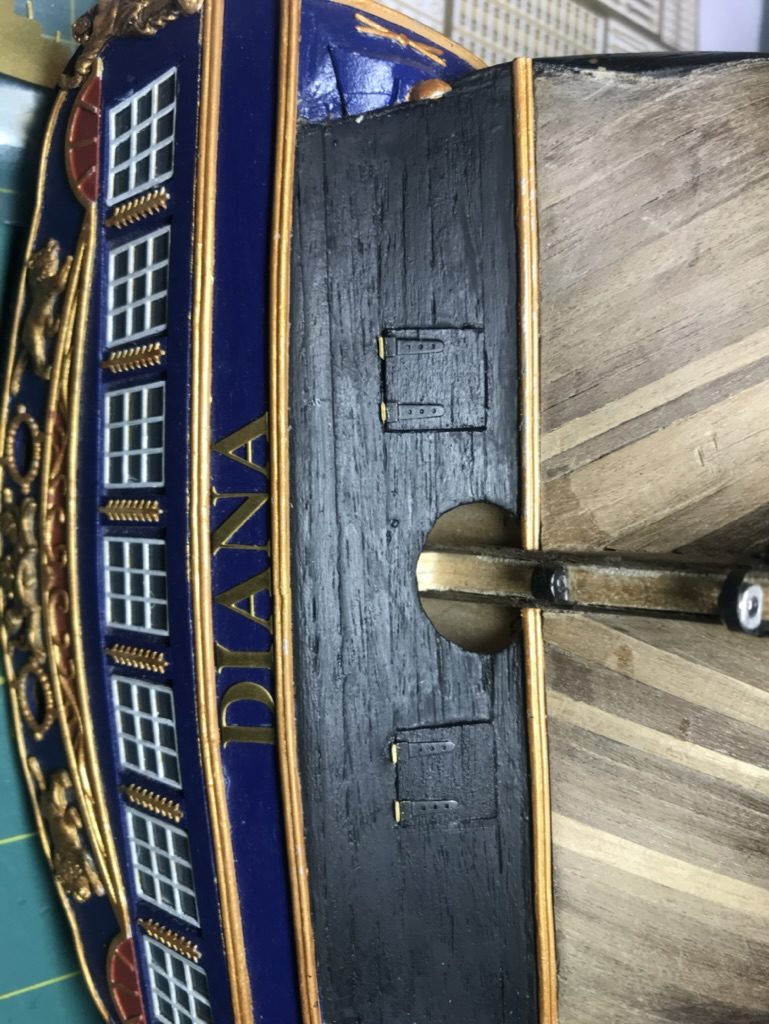
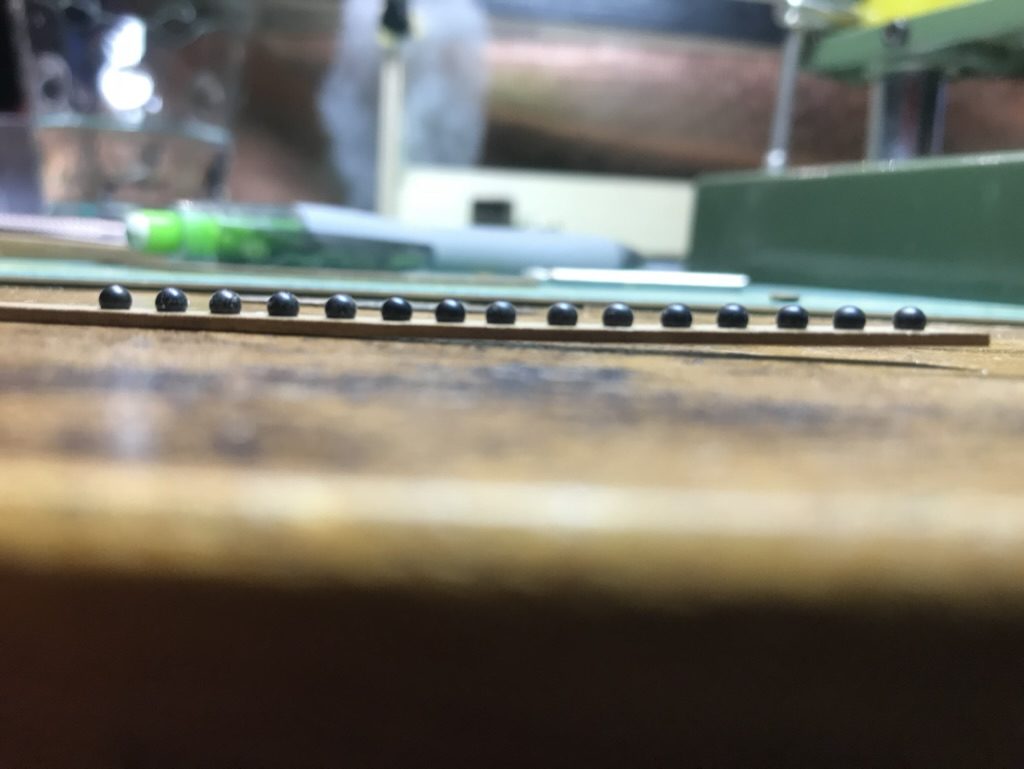
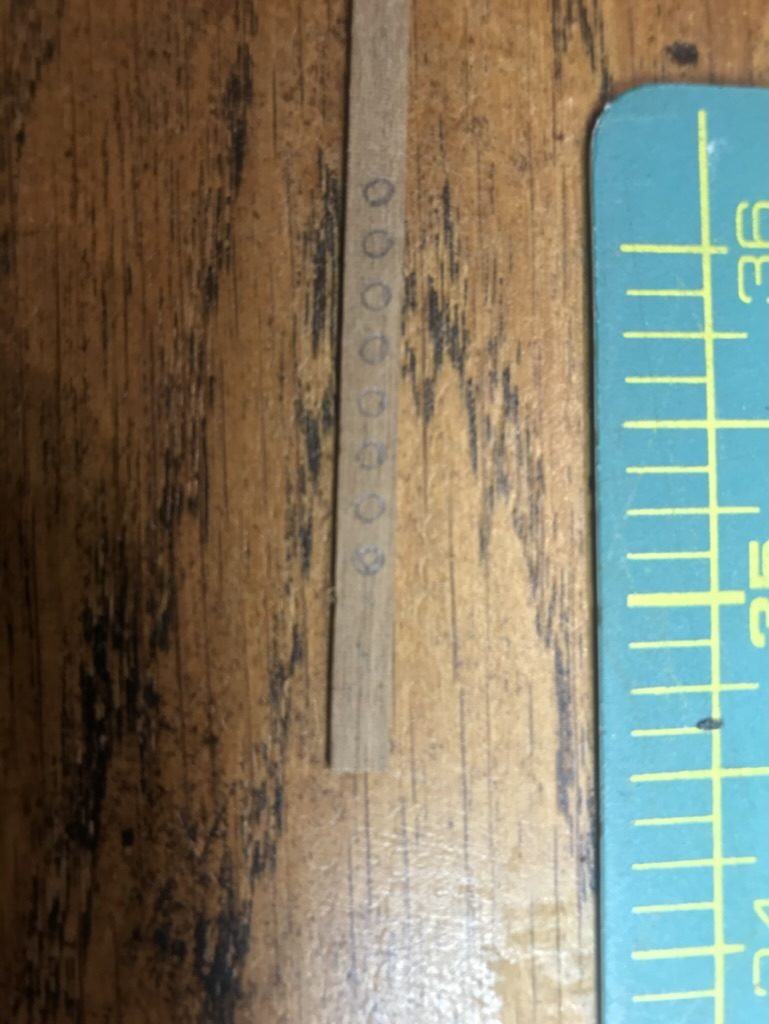
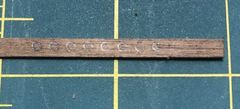
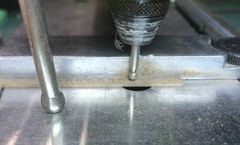
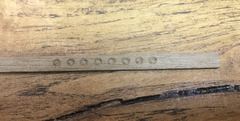
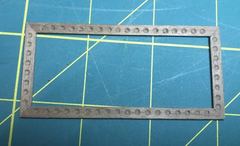
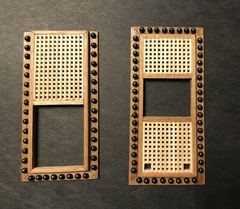
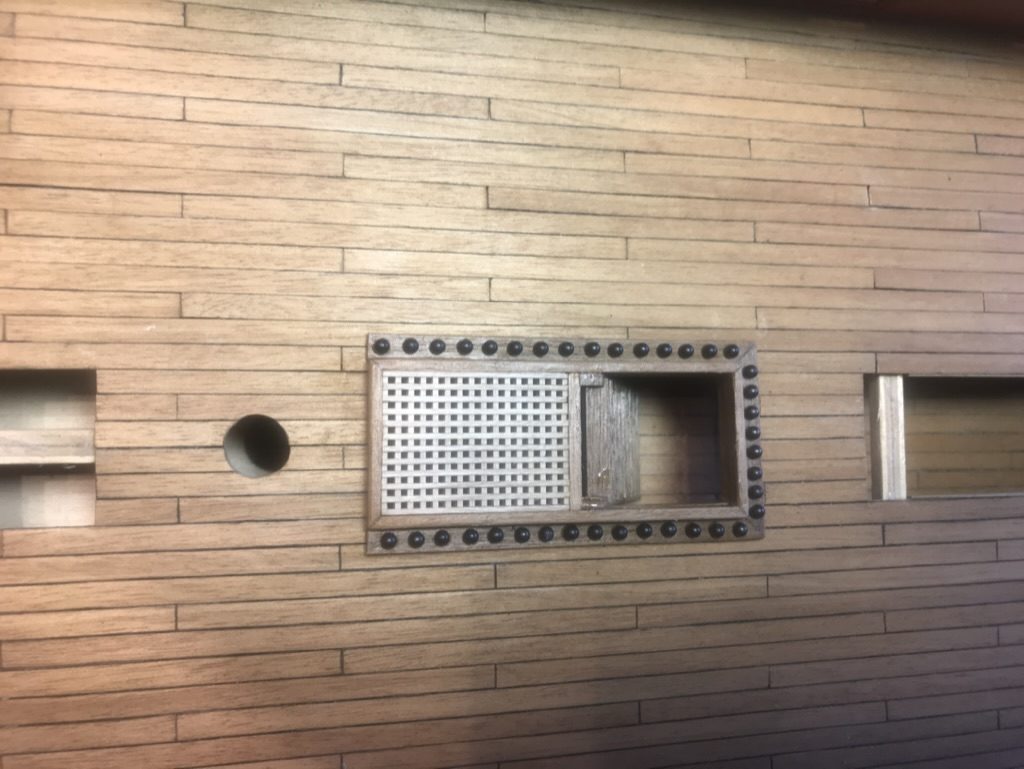
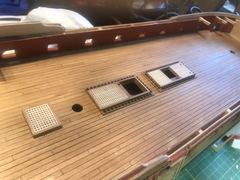
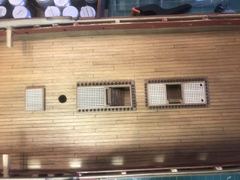
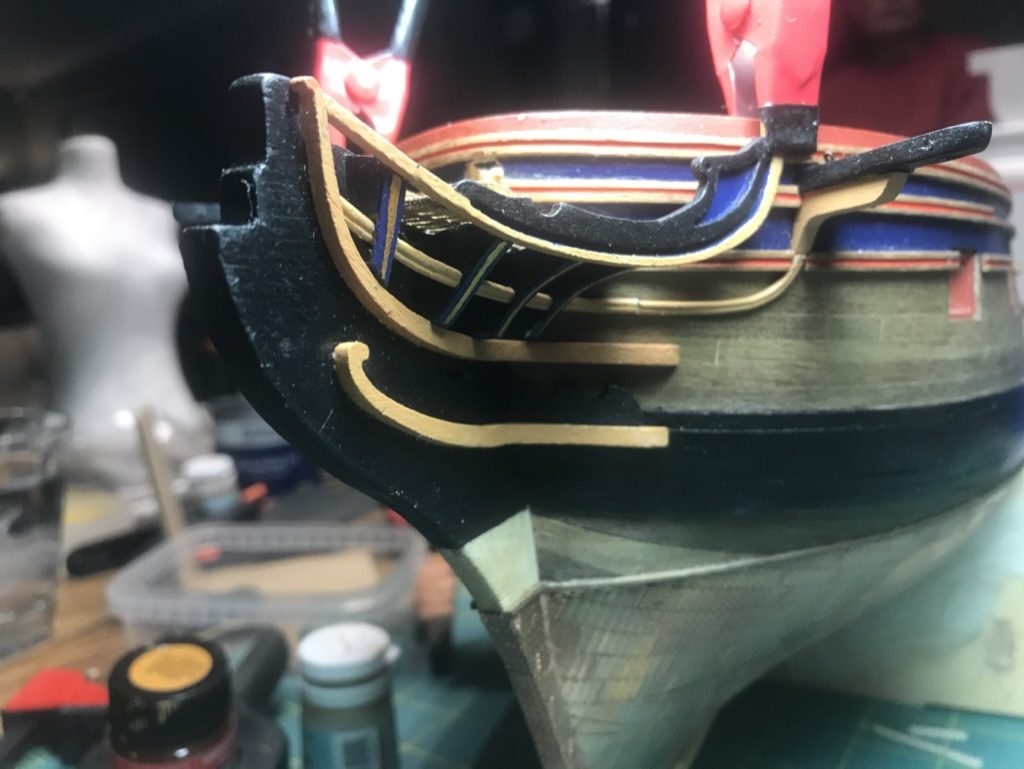
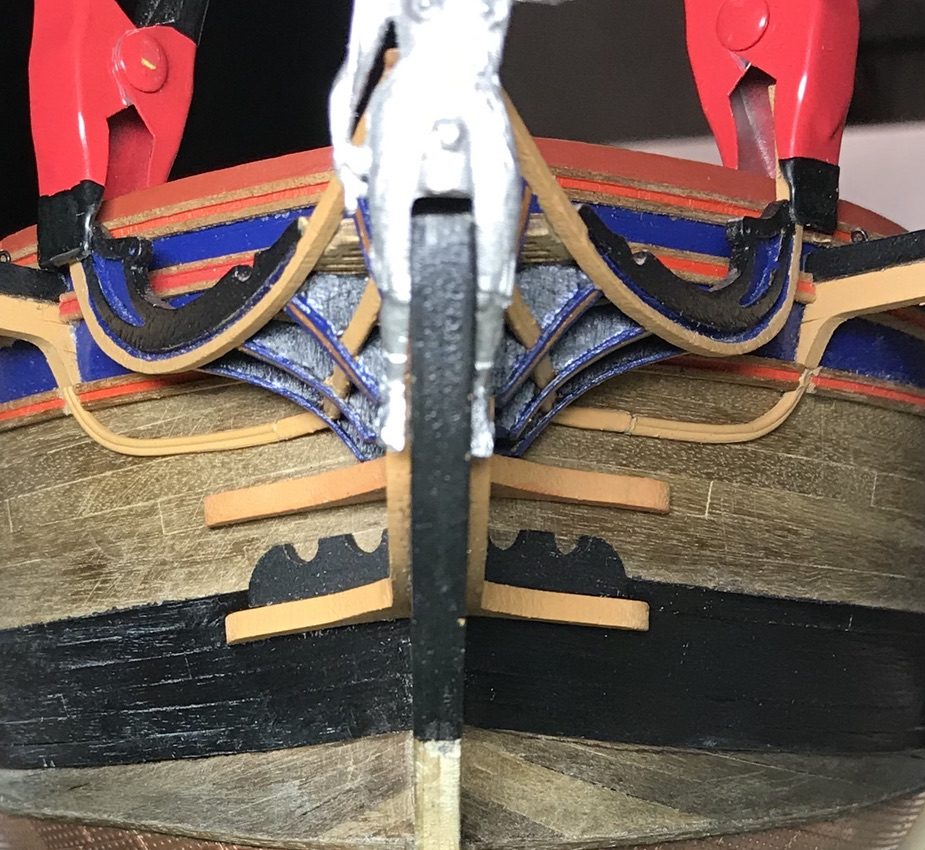
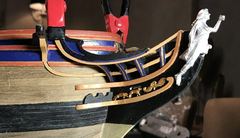
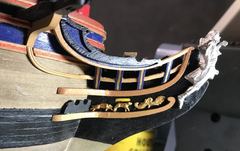
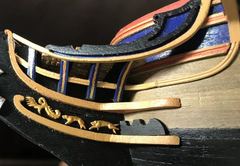
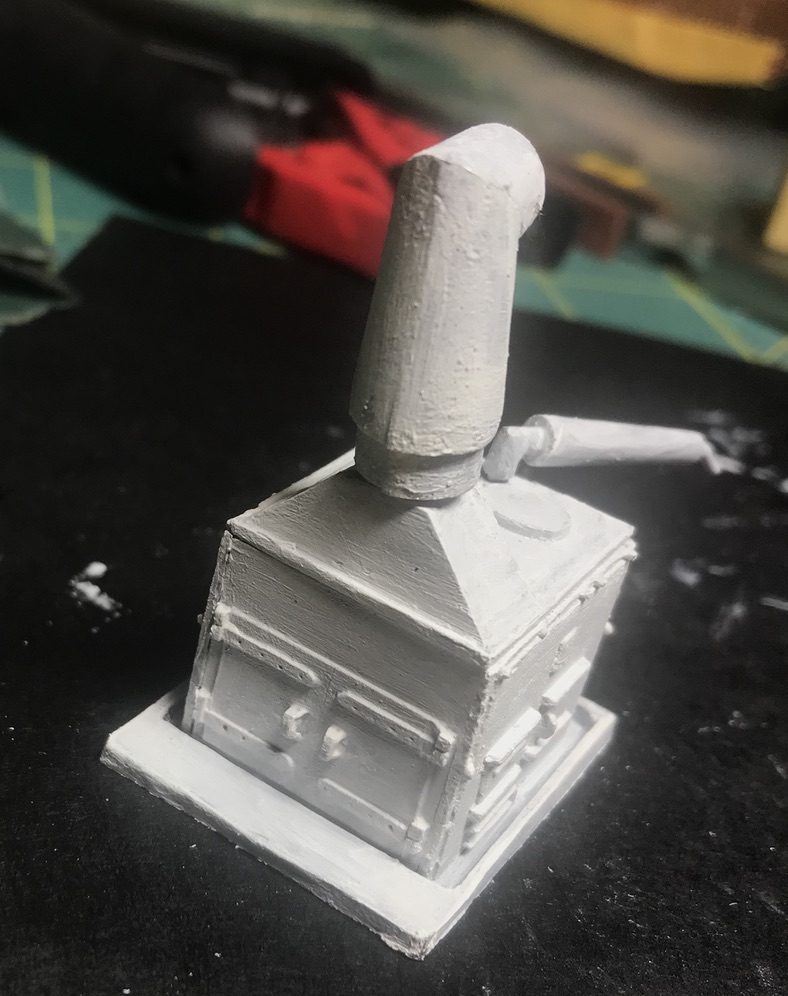
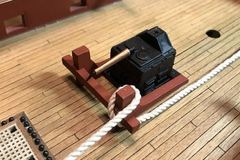
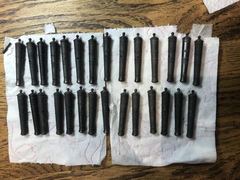
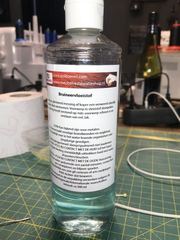
Build photo of the HMS Diana model, 2019-12-07 Build photo of the HMS Diana model, 2019-12-07 Build photo of the HMS Diana model, 2019-12-07 The rudder hung, with the gudgeons on the hull and the white marks on the copper The stern with the new taffrail The small template for the position of the openings The openings cut out, with the lids in them Three options for the hinges The lids fitted according to option 3 Build photo of the HMS Diana model, 2019-12-08 Build photo of the HMS Diana model, 2019-12-08 Build photo of the HMS Diana model, 2019-12-08 Small brass pieces as hinges against the hull Painted black: you can hardly see them any more Build photo of the HMS Diana model, 2019-12-14 Build photo of the HMS Diana model, 2019-12-14 Build photo of the HMS Diana model, 2019-12-14 Before: the sternpost with the light glue marks on the copper After: scrubbed with steel wool and polished Build photo of the HMS Diana model, 2019-12-14 The first deck grating of the gun deck in its coaming The second deck grating, locked into its coaming The third grating, with the two holes for the anchor cables Build photo of the HMS Diana model, 2019-12-21 First attempt: a strip with shot, still loose The balls lying in their holes The depth of the holes, for the forum's judgement Build photo of the HMS Diana model, 2019-12-21 Build photo of the HMS Diana model, 2019-12-22 The template of stencil plastic with two pairs of holes All the circles marked out, evenly spaced Filing out the holes on the pillar drill The result after all the holes have been filed out The frame that goes around the hatches The shot garlands around the hatch, varnish still wet Build photo of the HMS Diana model, 2019-12-23 The first hatch with ladder, glued onto the gun deck The side where the deck beam was, finished off with a thin strip of wood The three hatches in a row Hatch with grating and shot garland The gun deck with the hatches in place Build photo of the HMS Diana model, 2019-12-24 Build photo of the HMS Diana model, 2019-12-24 Build photo of the HMS Diana model, 2019-12-24 Build photo of the HMS Diana model, 2019-12-24 The head from the front, with the figurehead still unpainted The rails of the head, neatly in line at the front Gold carvings and the gold line on the blue trim pieces The head seen from the side Build photo of the HMS Diana model, 2019-12-26 Drawing from The Anatomy of the Ship: the run of the anchor cable and the messenger The fitting with the hawse holes is too tall to go under the headrails Build photo of the HMS Diana model, 2019-12-26 Build photo of the HMS Diana model, 2019-12-26 Build photo of the HMS Diana model, 2019-12-26 The capstan for the gun deck assembled, the spindle still loose The hawse holes, now at gun deck level The rope supplied in the kit is right-hand laid The stove and the bitts on the gun deck The pump system on the gun deck, still dry-fitted The pumps close up Pump system and capstan together Drawing from The Anatomy of the Ship: the posts stand right next to the capstan Build photo of the HMS Diana model, 2019-12-29 Build photo of the HMS Diana model, 2019-12-29 The 28 blackened barrels, with clear differences in shade Build photo of the HMS Diana model, 2019-12-31 The blackening solution I used