17 March 2019Mouldings, head and rudder9 photos
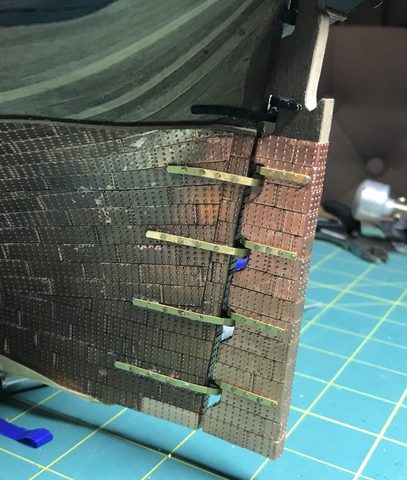
Before the mouldings can go on, I dry fit the channels in place; Jan points out that the chainplates must not run across the gunports.
24 March 2019Mouldings, head and rudder3 photos
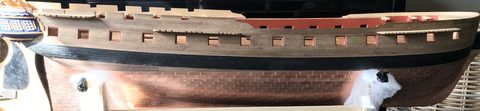
The mouldings on the starboard side are nearly on, following the lines of the drawing and the cover of the Anatomy book, deliberately different from Piet's.

15 September 2019Mouldings, head and rudder2 photos
After nearly six months at a standstill I made the side steps on the starboard side; the steps turned out half a centimetre longer than measured, so the fenders had to move.
28 September 2019Mouldings, head and rudder1 photos
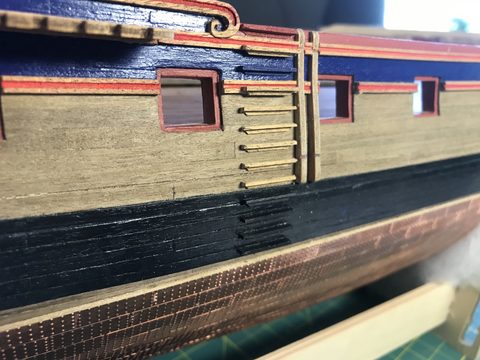
The first mouldings on the port side are on, with a piece of advice that goes against the manual: only fit the channels once the mouldings are at the right height.
29 September 2019Mouldings, head and rudder3 photos
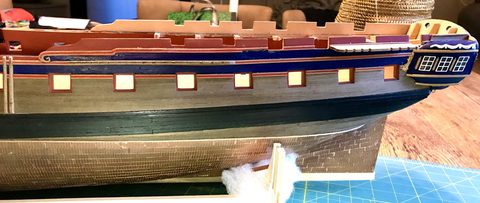
Piet finds the pale walnut strip above the copper an eyecatcher; Hans gives a recipe with vinegar and steel wool to darken wood, and the top moulding goes around the bow.

29 September 2019Mouldings, head and rudder5 photos
The laser-cut moulding along the stern is too long and the walnut supplied far too dark; after a trial in bleach I solve it with pieces cut from the laser-cut offcuts.
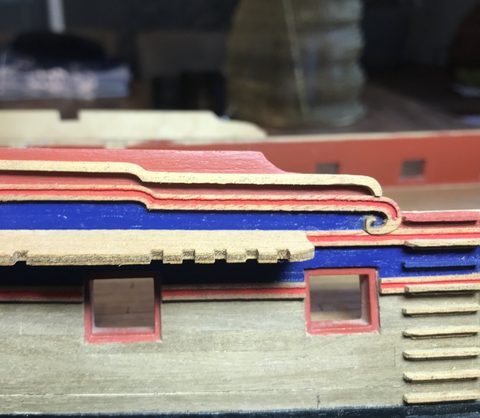
6 October 2019Mouldings, head and rudder3 photos
The mouldings at the bow are on; Piet points out that the catheads and the hole for the bowsprit will have to pass through the mouldings later.
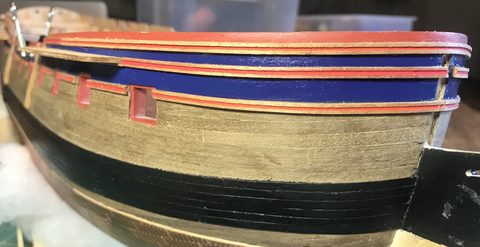
13 October 2019Mouldings, head and rudder4 photos
Replaced the pale 1 mm strip above the copper with strips from the same wood as the hull, and dry fitted the first parts of the head against the bow.
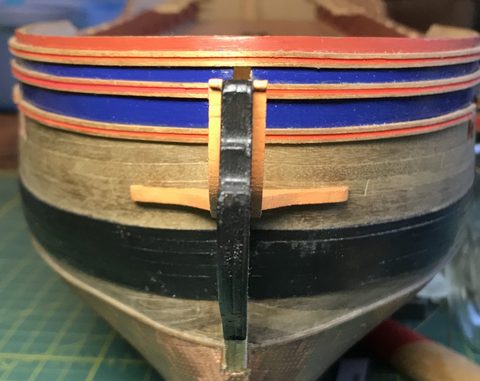
20 October 2019Mouldings, head and rudder5 photos
The head is dry fitted, with a gap between the bow and the grating that according to Piet is on the drawing too; he points out the two holes needed for the gammoning of the bowsprit.
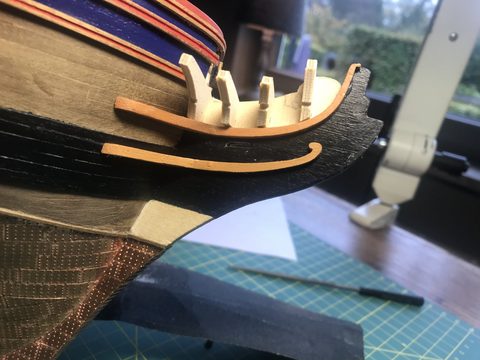
2 November 2019Mouldings, head and rudder7 photos
The gap between the bow and the grating did not sit right with me after all, so I made a whole new grating that runs through to the bow; then a weekend of measuring and fitting on the head.
9 November 2019Mouldings, head and rudder4 photos
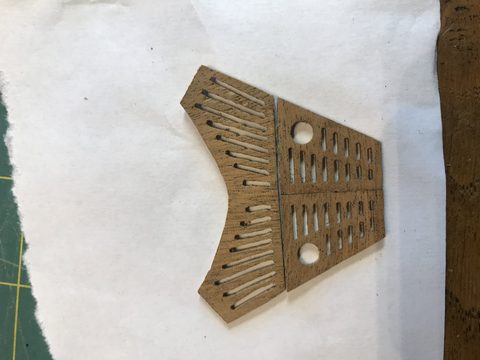
The bowsprit filed to size and fitted before the head is fixed, and the catheads made from 5 mm walnut because the five planks from the manual are nowhere to be found.
10 November 2019Mouldings, head and rudder3 photos
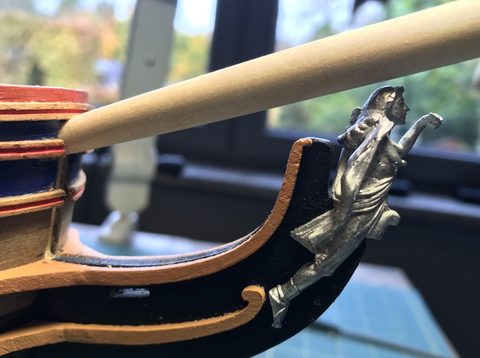
The catheads refitted with pins, toilet bowls made from 5 mm walnut, and the problem that according to the drawing the bumkins run across the seats of ease; Herby63 advises a new grating.
17 November 2019Mouldings, head and rudder5 photos
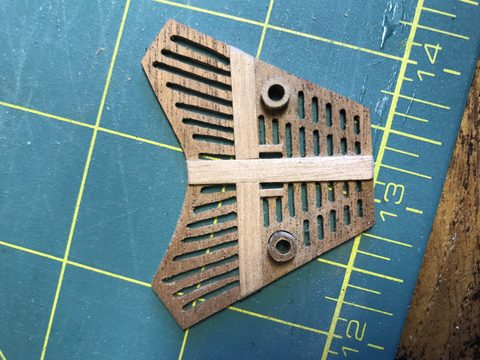
The third head grating, with the seats of ease moved towards the centre, cut out with a No. 11 hobby knife blade after a hopeless attempt with drilled holes; then the question of whether to varnish.
23 November 2019Mouldings, head and rudder7 photos
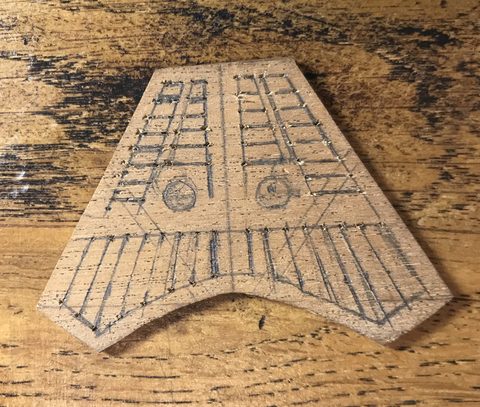
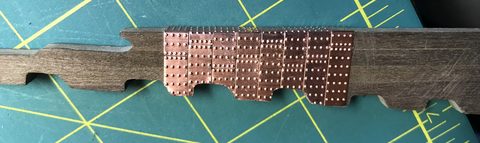
While waiting for the head parts I coppered the rudder, set the pintles in their holes and extended the rudder with a small triangle so the bottom edge runs level with the keel.
30 November 2019Mouldings, head and rudder2 photos
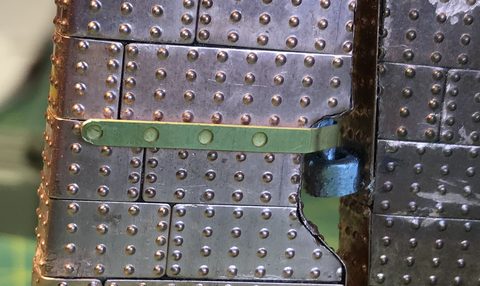
Doubt about whether nails belong in the pre-punched holes of the pintle and gudgeon straps; Hans confirms they were fixed with nails and Piet explains why they are missing from his photos.
7 December 2019Mouldings, head and rudder2 photos
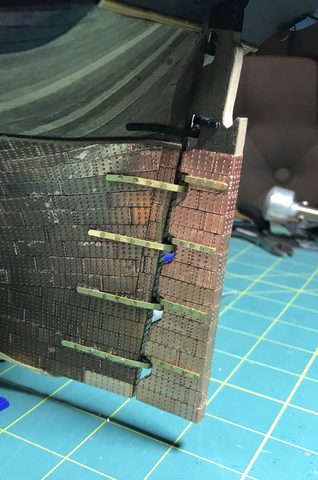
The rudder is done and the gudgeons are on the hull, but white glue marks on the copper are annoying; meanwhile the taffrail on the stern made with the plank bender.
8 December 2019Mouldings, head and rudder6 photos
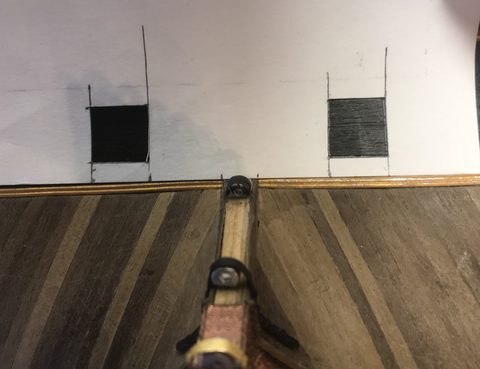
The port lids at the stern, which are on the drawing but not in the manual, made with a small template; the hinges according to option 3, with small brass pieces against the hull.
14 December 2019Mouldings, head and rudder3 photos
The glue marks on the copper were too annoying: scrubbed and polished the entire coppering with fine steel wool so the patina can become even; then started on the gratings of the gun deck.