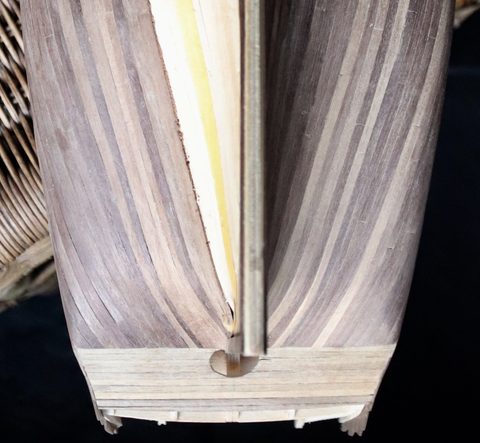
1 January 2018Hull planking3 photos
The first ports
The first gunports are in: drill holes, cut out the centre, then sand, with cutting turning out to be more precise than sanding.
How-to
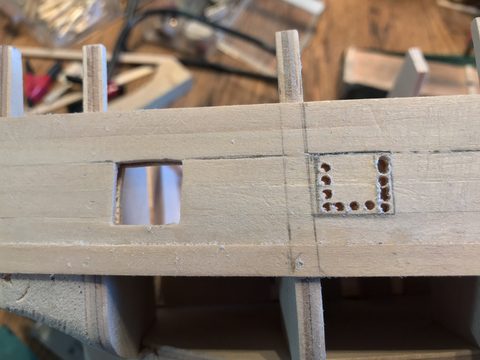
The first gunports are in: drill holes, cut out the centre, then sand, with cutting turning out to be more precise than sanding.
All the ports on the starboard side are in, but aft the upper deck sits up to 4 mm too high; a trial fit with a gun shows that the gun does fit once turned round.
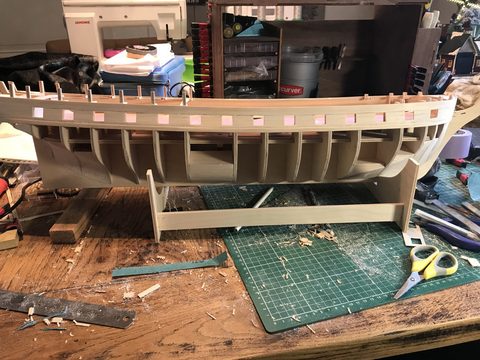
All the gunports on both sides are cut to size (14 x 16 mm), after a day from 7 in the morning to 10 at night on the port side.
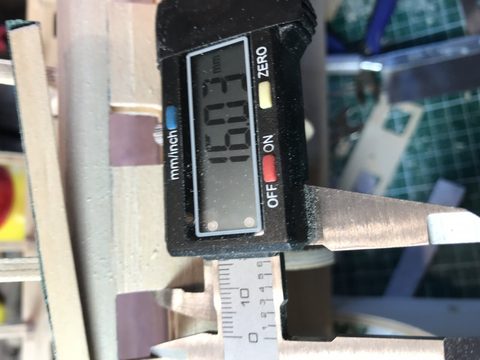
By setting the axletrees deeper into the gun carriage the gun drops 1.5 mm, so that the barrel sits more neatly in the port.
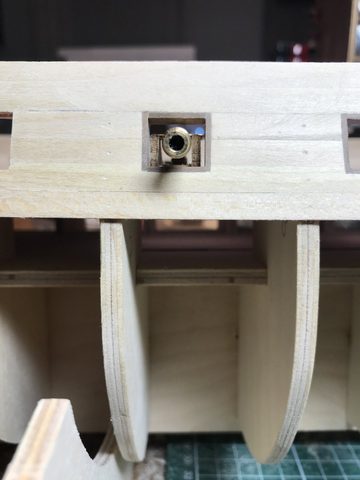
The insides of the ports on the port side are in; on Piet's advice the ports with lids go in now as well, and the inner bulwark is going to be red.
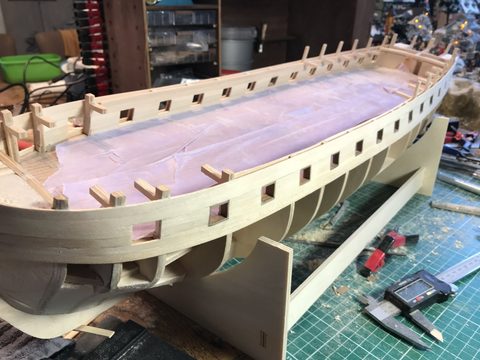
All the port linings are in and get a first coat of Admiralty red ochre; the colour looks brown, but according to Piet it's right and the paint wants two thin coats.
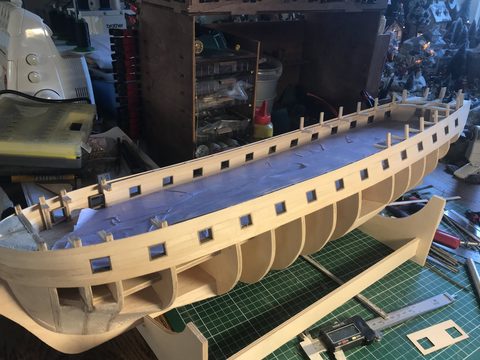
Two to three coats of red ochre on the linings, with a light rub down in between using very fine 3000 to 5000 grit paper.
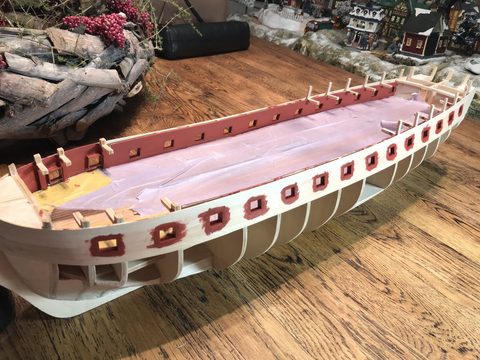
After a two-month break, back to the first planking: seven strips on each side, a few of them tapered and one stealer.
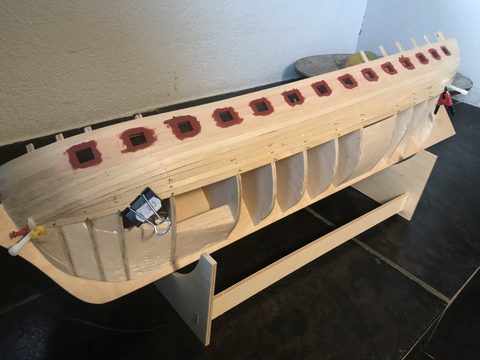
The first side of the first planking is closed and the last strip fitted exactly; two strips short in the kit, and a warning from Piet about the hull warping.
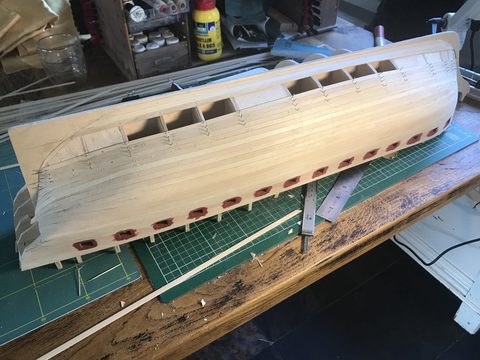
The first planking is completely closed and sanded and the keel has stayed straight; for the second layer Piet advises tapering earlier at the bow and using stealers aft.
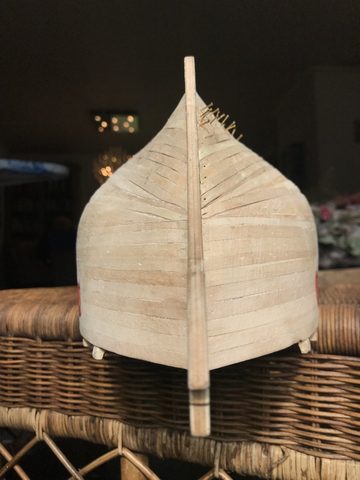
A building cradle made from bulkhead offcuts lined with felt, the counter planking with the helm port, the bulwark clamped into shape, and the decision to make an open rail like Piet's.
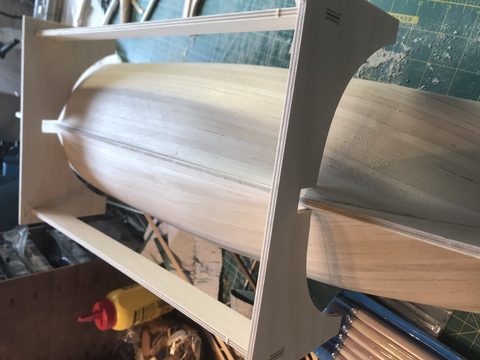
The transom doesn't meet the counter planking; the solution is to extend the planking below with a curved piece and drop the transom, without altering the transom plate itself.
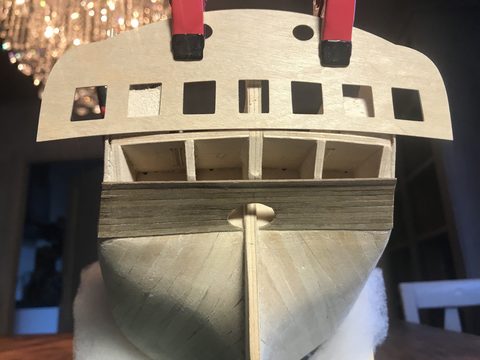
The bulwark lowered by 7.15 mm to transom height, the top of the wale marked out with masking tape, and the first plank of the second planking on.
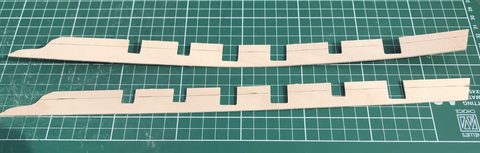
At one or two strakes an evening, the first side is closed up past the gunports; on Piet's advice the transition to the bulwark falls exactly halfway across a plank.
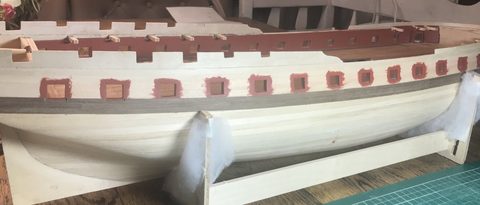
A drop plank belongs only at the bow, not at the stern: the sliver planks come off and the planks are tapered so that they follow the sheer.
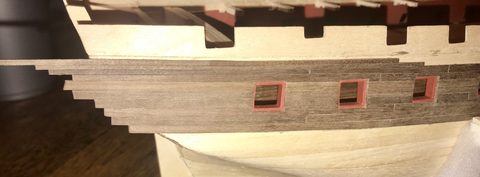
Both sides are closed above the wale, but there are tiny gaps between the planks; Henk's trick with sanding dust and diluted PVA solves it, and the cause turns out to be glue residue on the edges of the strips.
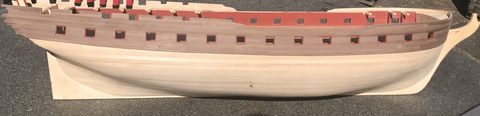
The garboard strake is fitted, tapered on the keel side at the bow; Piet explains that the underside of the keel (the false keel) gets no copper.
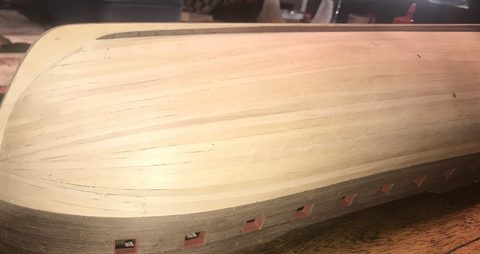
Below the wale, the first stealer at the sternpost and, despite tapering earlier this time, the first drop plank at the bow.
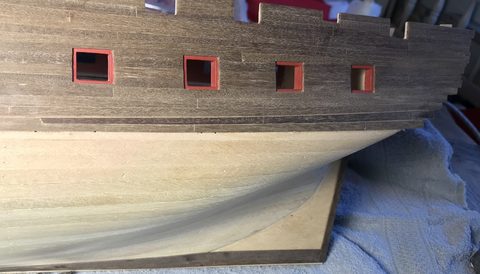
The strips at the bow keep producing a clinker effect; Piet explains how to determine for each strip where the taper should begin, and why he doesn't combine tapering with drop planks.
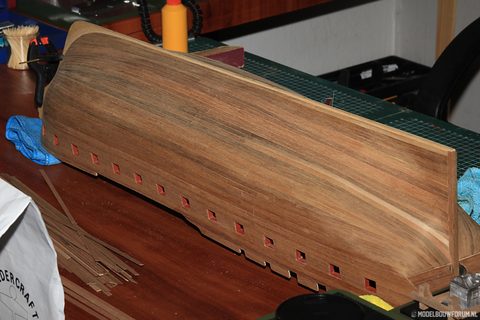
My drop plank turns out to be made to the Dutch system while the Diana is English; Henk calculates that the 5 mm kit planks are too wide for the curves.
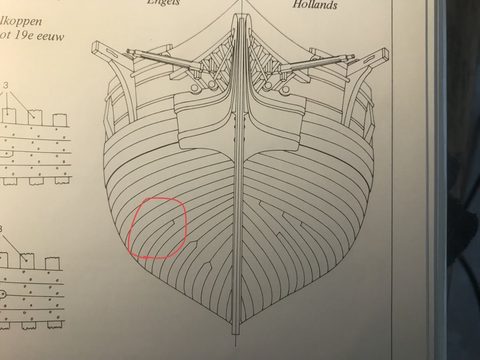
A drop plank to the true English system reveals where the clinker effect arises; leaving the adjacent plank wider solves it, and the rest of the hull is divided into three belts with battens.
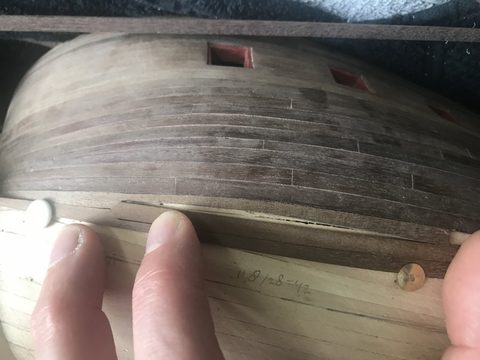
Step-by-step guide to a drop plank using masking tape as a template, plus progress at the sternpost where all the planks are being tapered.
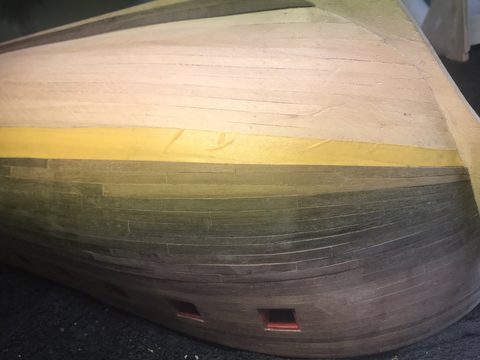
A stealer is needed at the sternpost after all; dry fit the real strip first to measure, then glue the stealer and only then the strip.
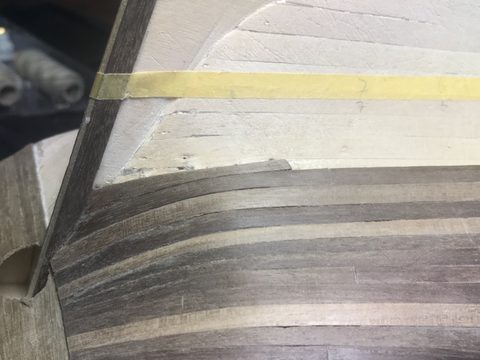
After the summer break the port side is closed below the wale, with four stealers at the sternpost; for the starboard side the hull is divided into four equal belts with seven planks per belt.
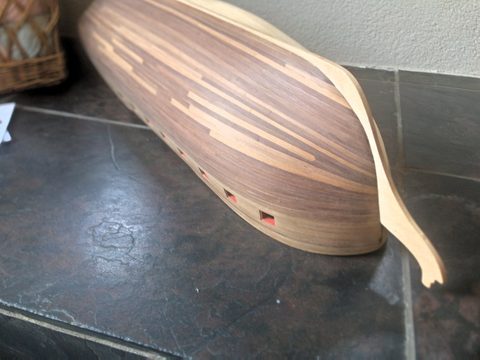
After two months of silence the second planking is completely closed, with exactly two planks' width left over in the middle; sanding of the sternpost has begun.