Third attempt: stanchions turned, rope left to sag
It was nice, but now it is nicer, at least I think so. Attempt three, then. This time I measured the stanchions precisely for height, thickness and the position of the curves. They are now fairly uniform and I am completely satisfied. So now they are fixed in place.
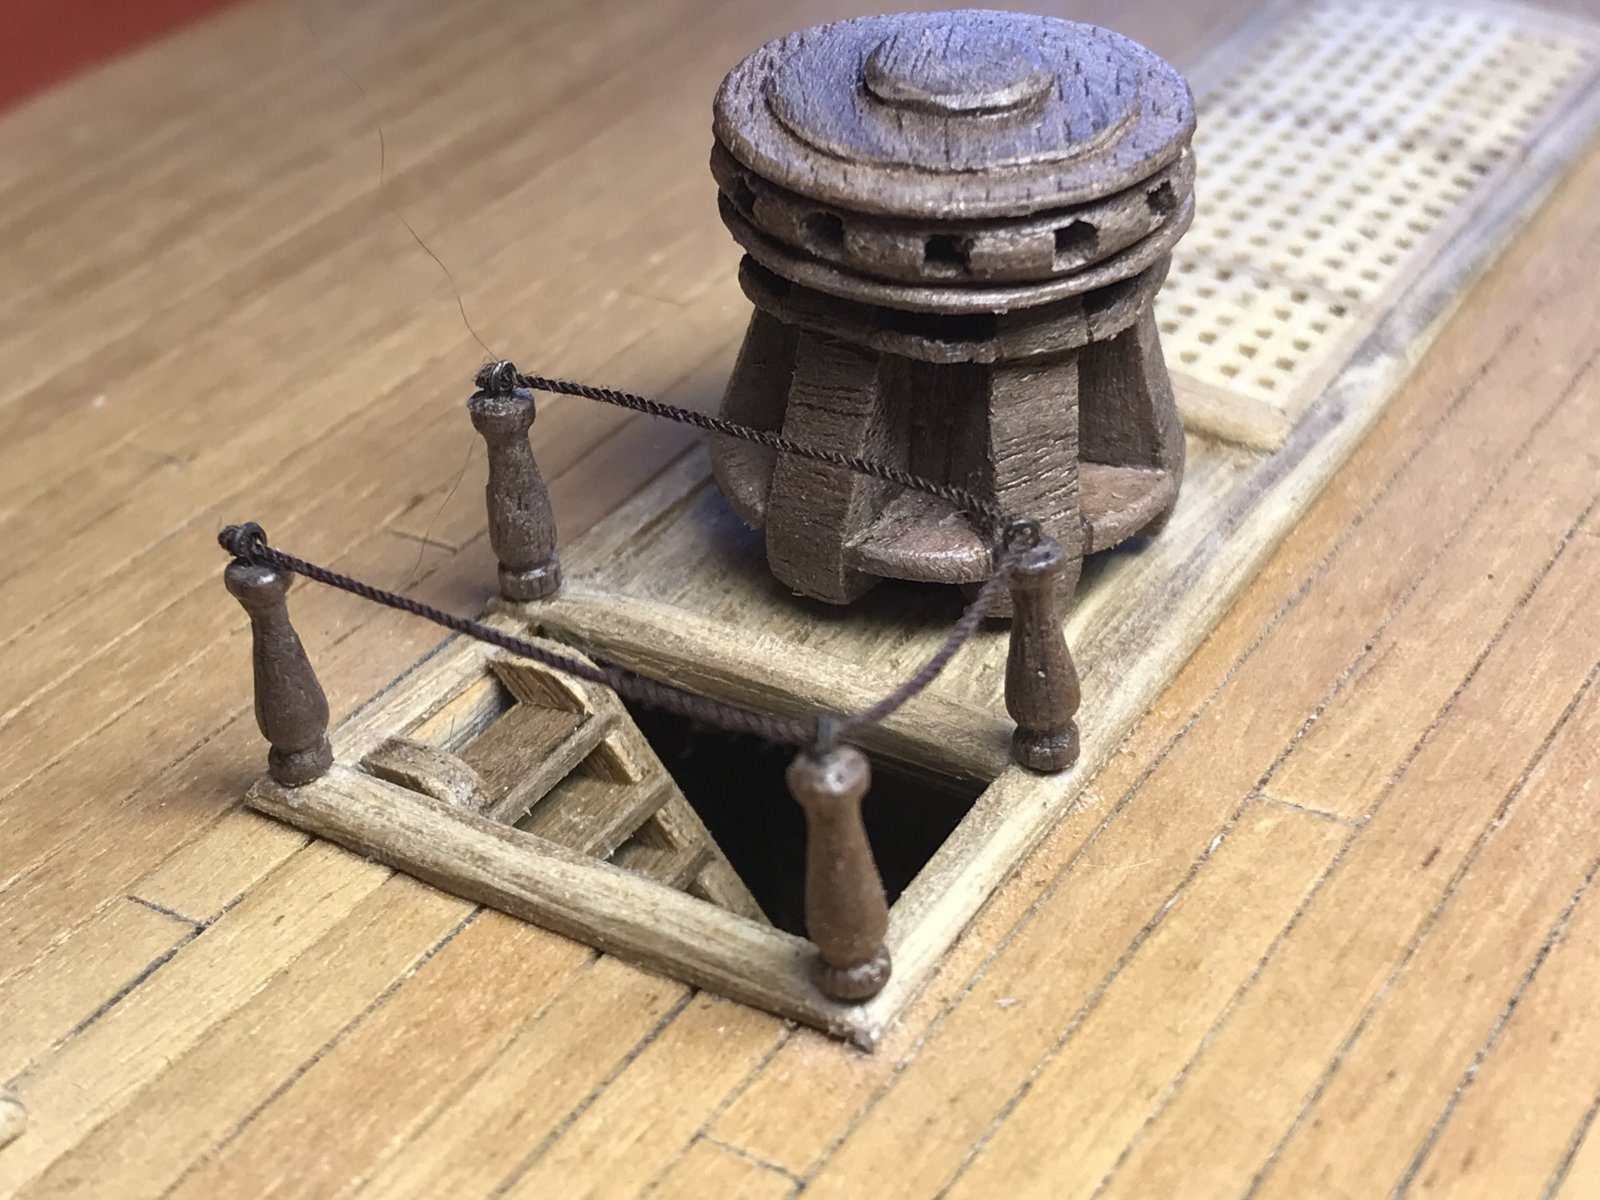
How I made them
First, turning. I am still using the last scraps of walnut from my display stand.
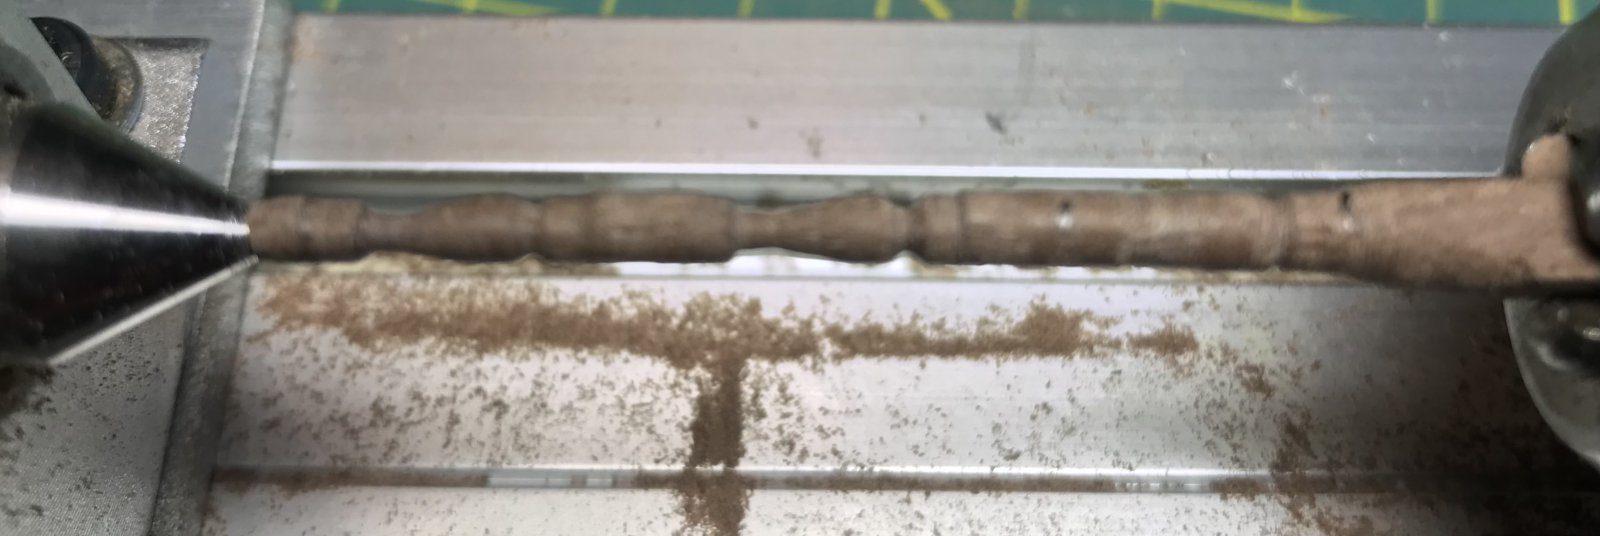
Then comparing and touching up a little.
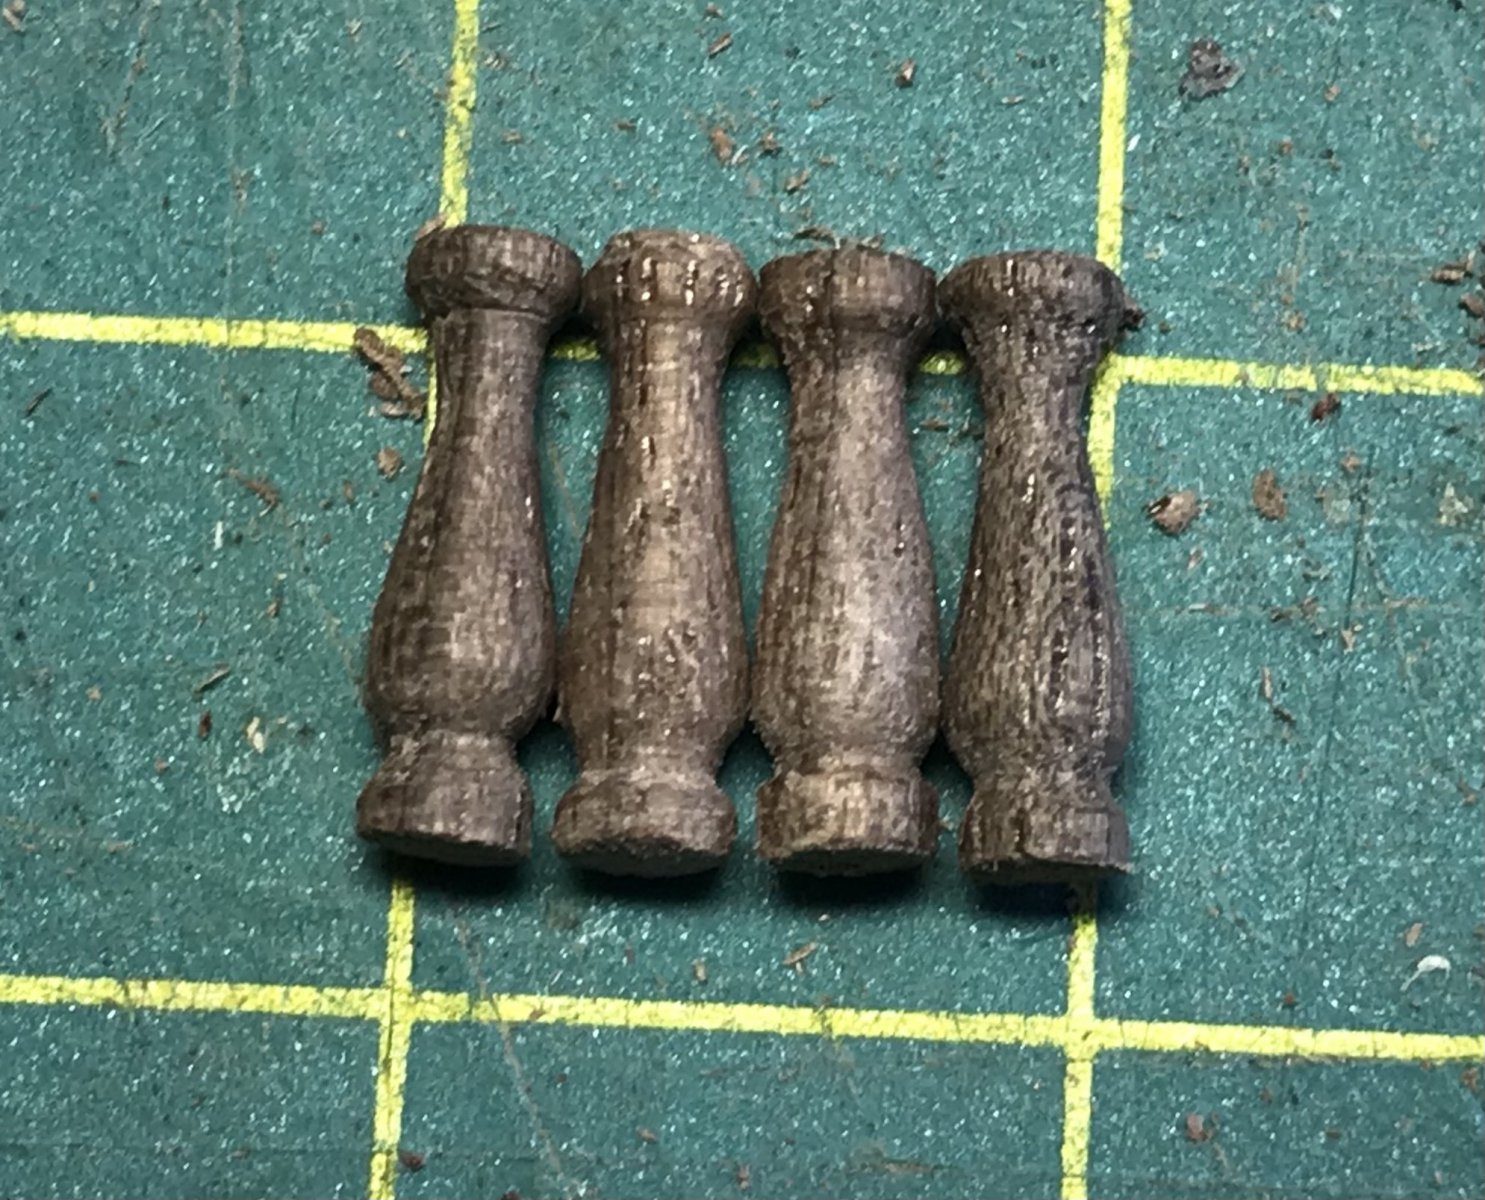
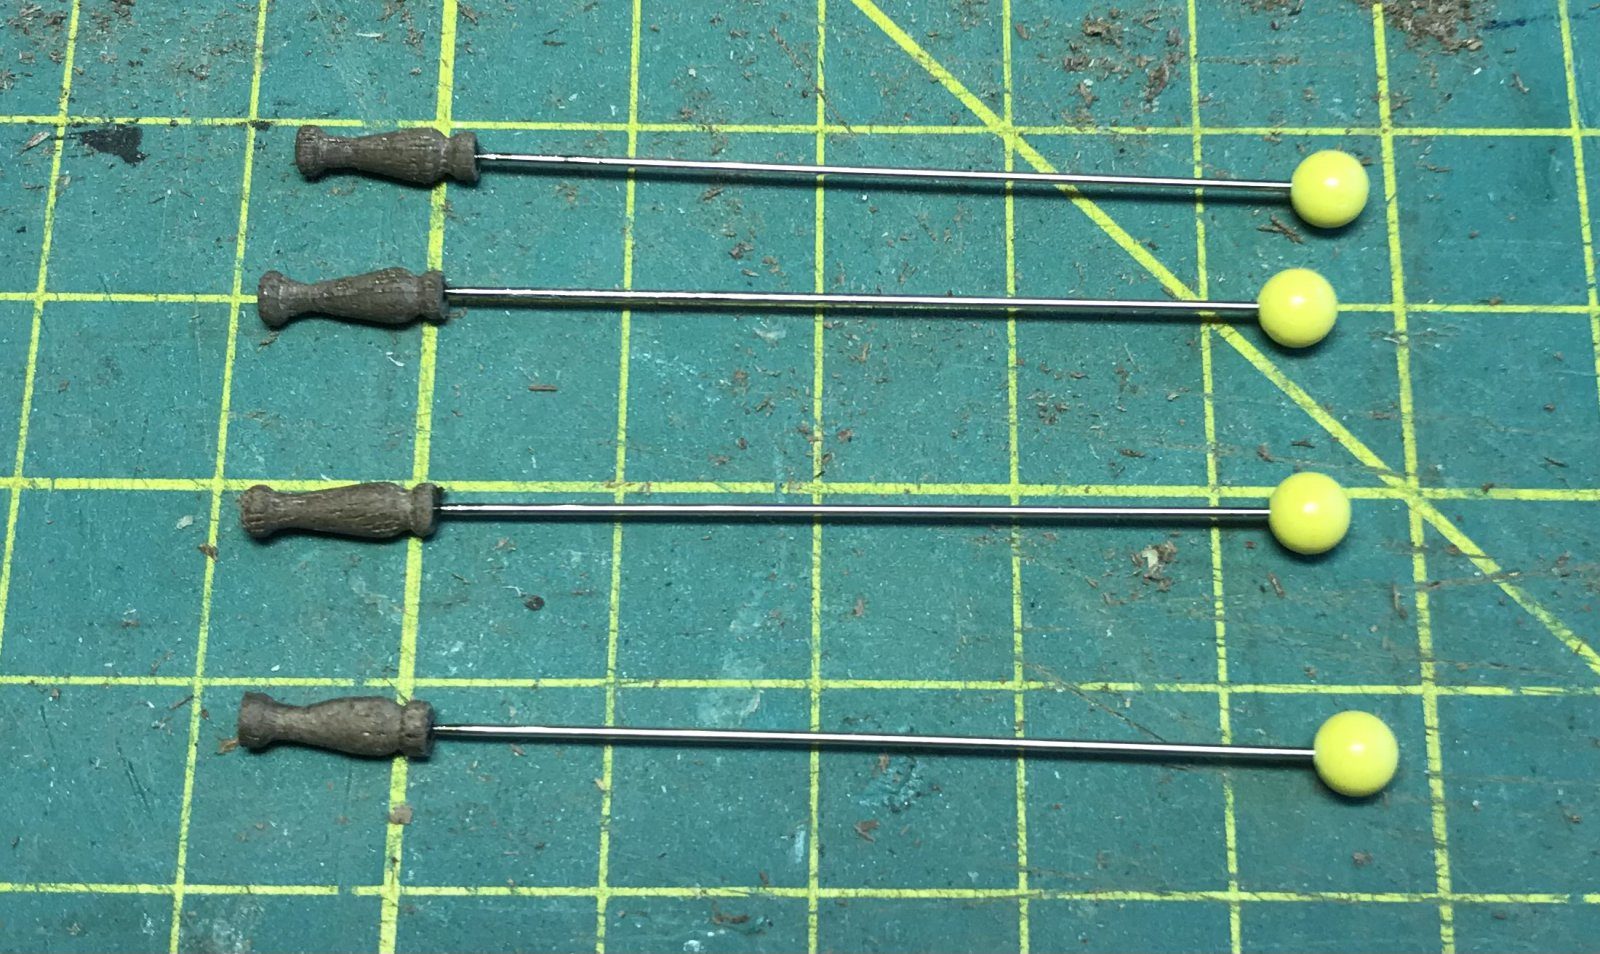
Next, holes drilled top and bottom. Pins glued into the bottom, which I of course then cut very short. Holes drilled in the deck, and the stanchions drop neatly into place. For the ring I also drilled a hole first and pushed the ring in with a minuscule drop of CA glue.
The rope
Hans Groenenberg, who had seen the ship in Hillegom the day before, had another tip: wet the rope and lay something a bit heavier on it, a drill bit for instance, so that it starts to sag. If need be, with some white glue worked in. The rope was strung fairly tight between them, so it would not amount to much, but the way it stood it was indeed not realistic. Just some water and a small weight turned out to be enough. Complete success.
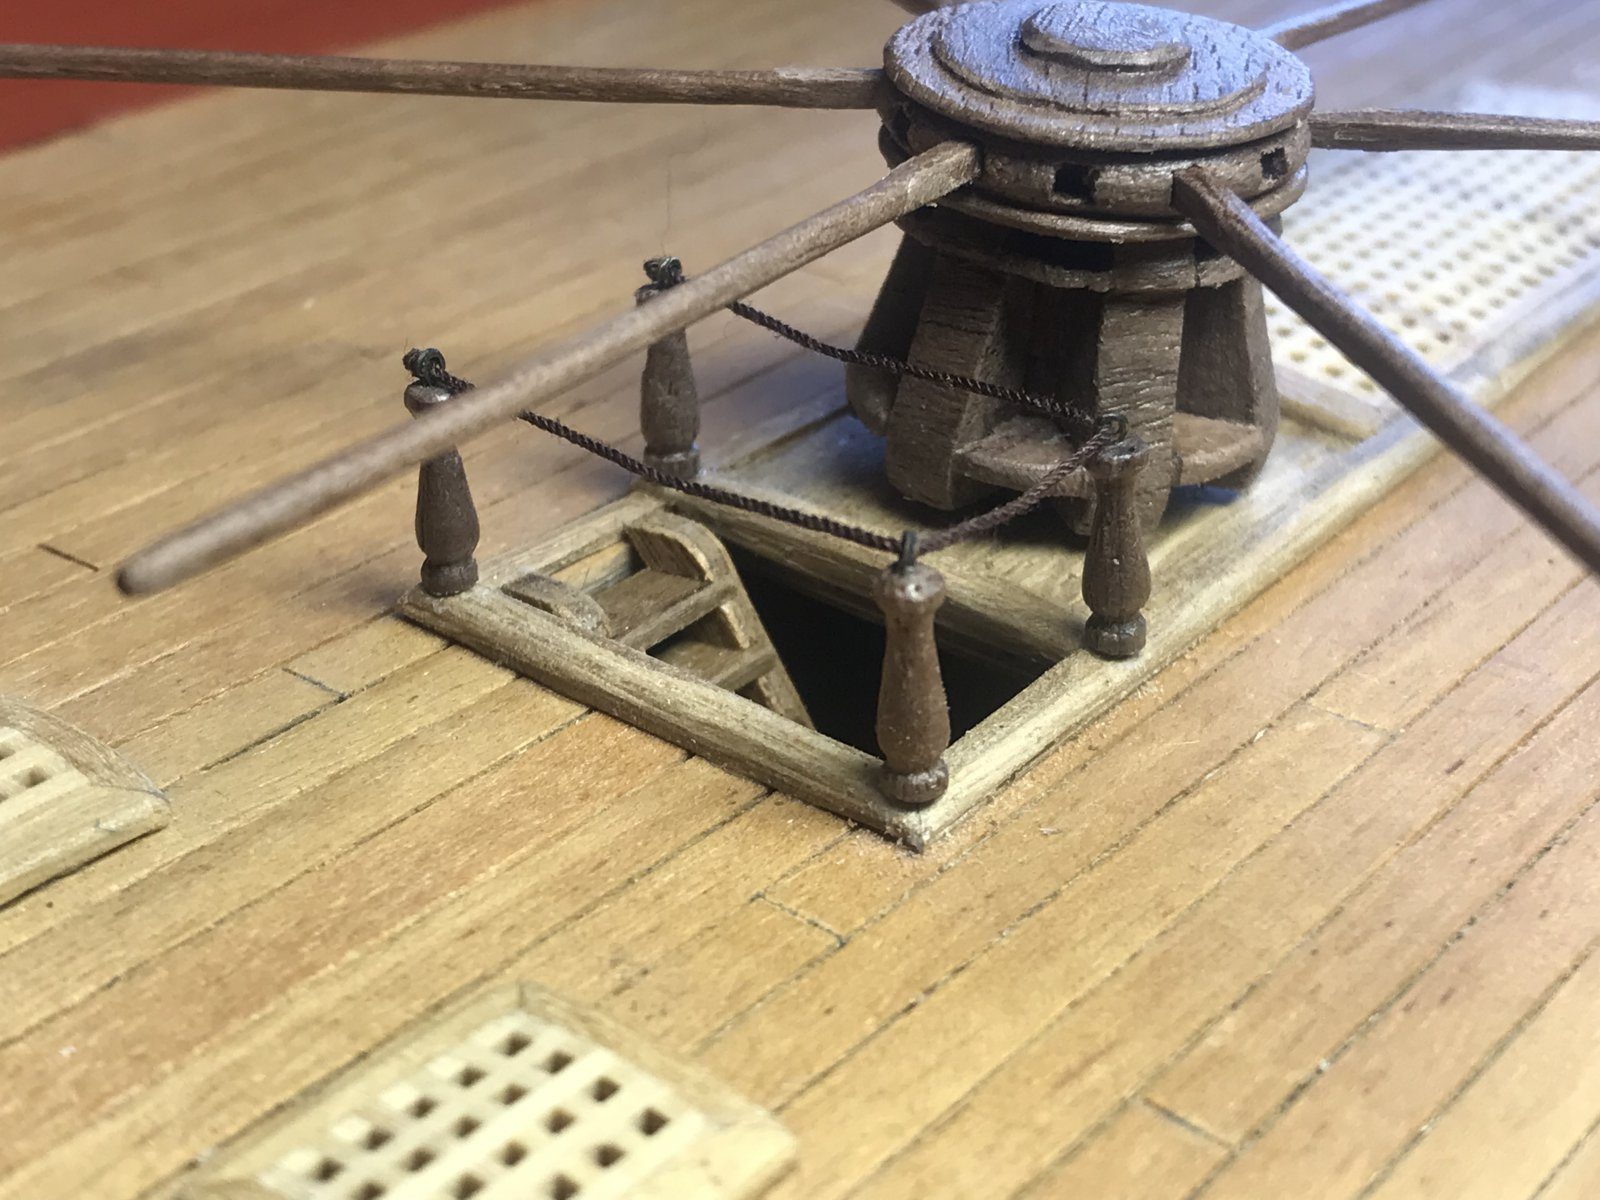
Sjors Blomberg wondered whether black rope would not be better. I tried that too, but went for brown after all. It did not make much difference, only my black rope was simply less attractive. Sjors also posted a photo of the glue he uses, which we had talked about in Hillegom. I ordered two bottles straight away from Modelbouwenzo; Quartel did not have them.