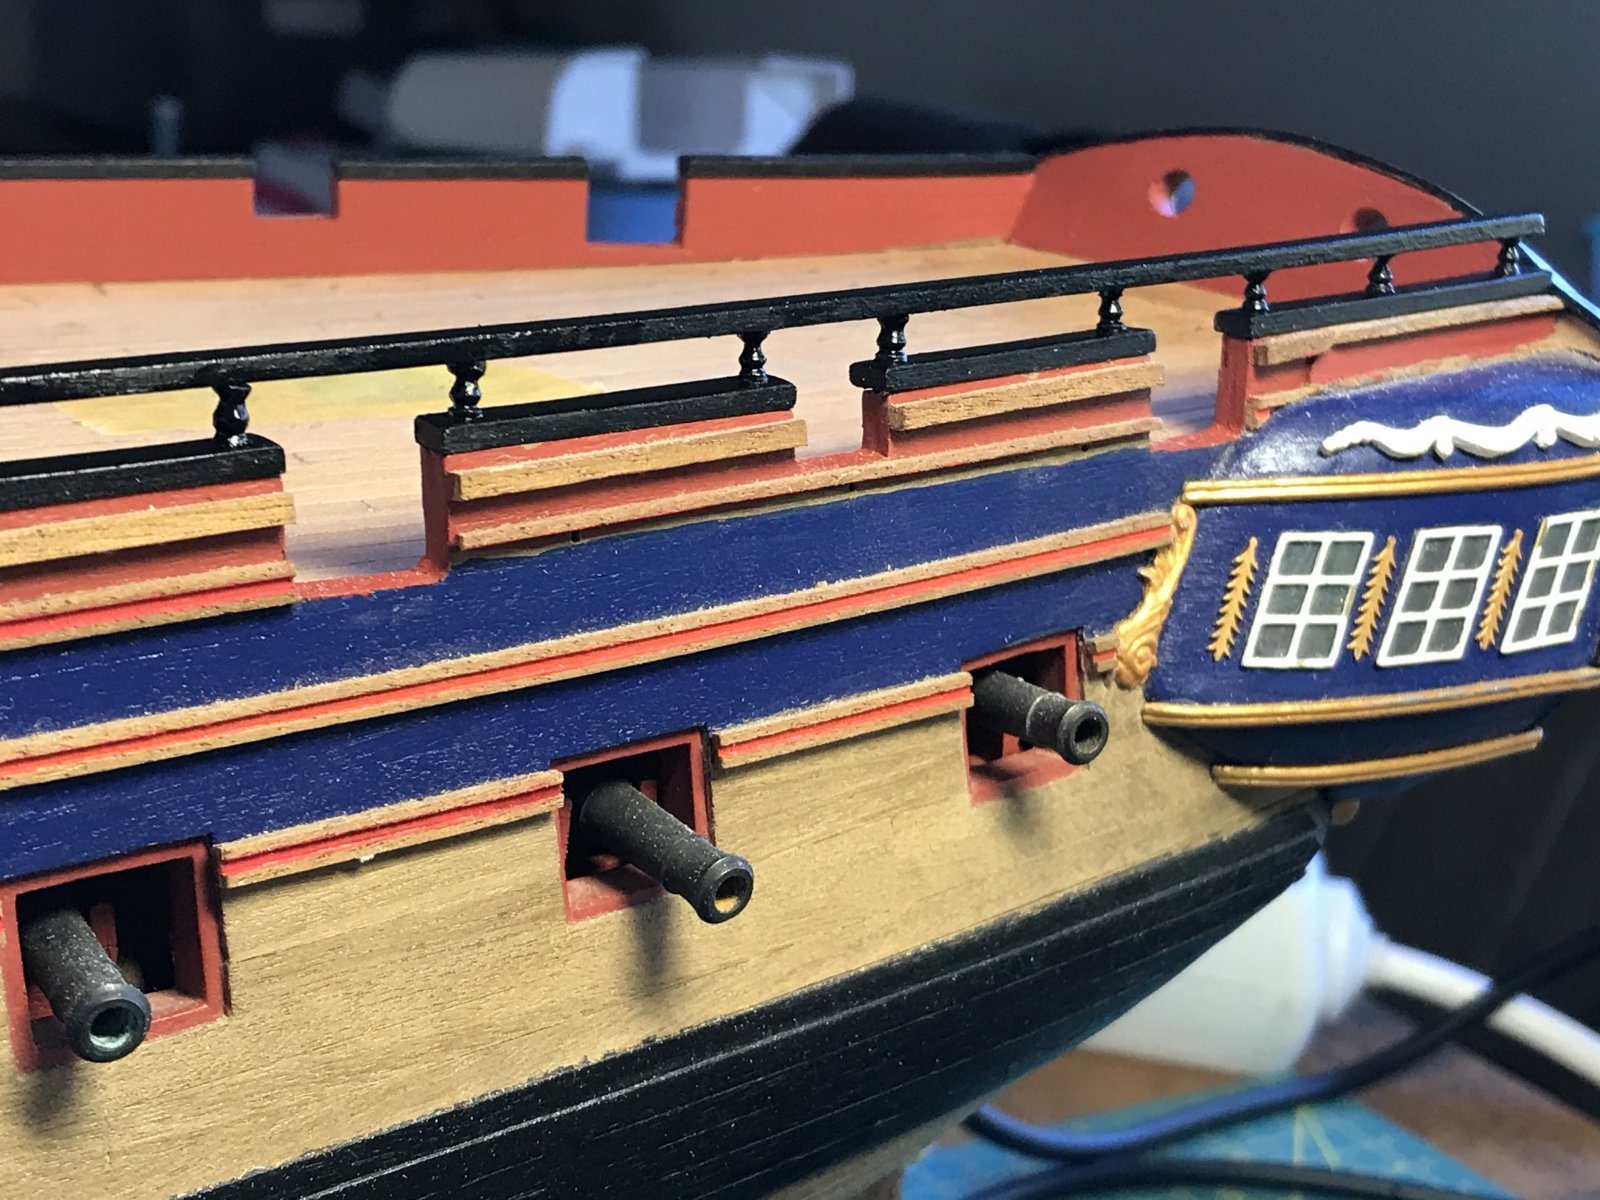
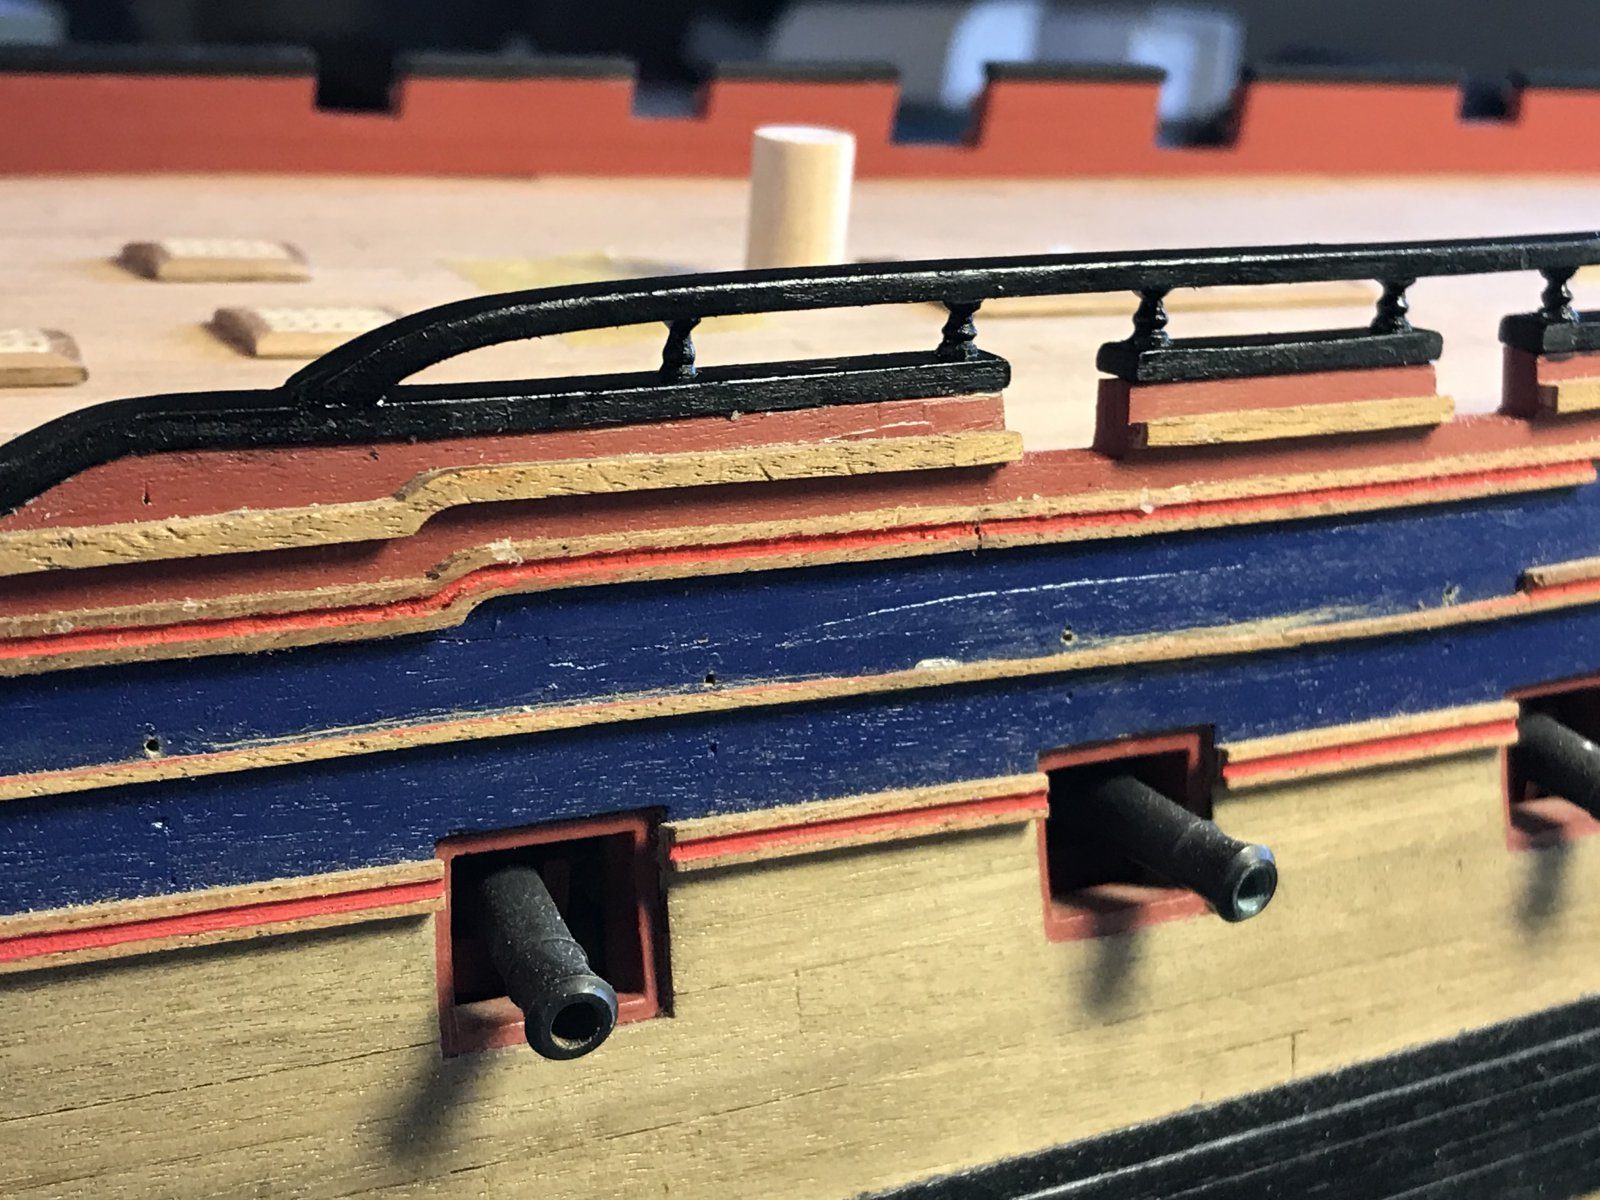
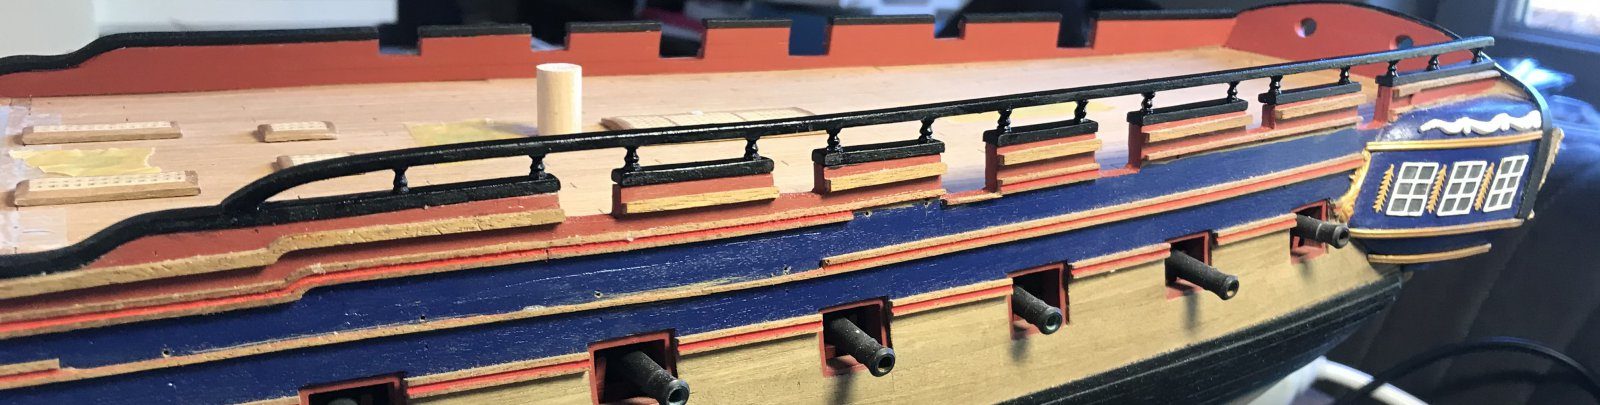
Planksheer, stanchions and the first rail
A quick update again. I haven’t been idle, just had no time to post.
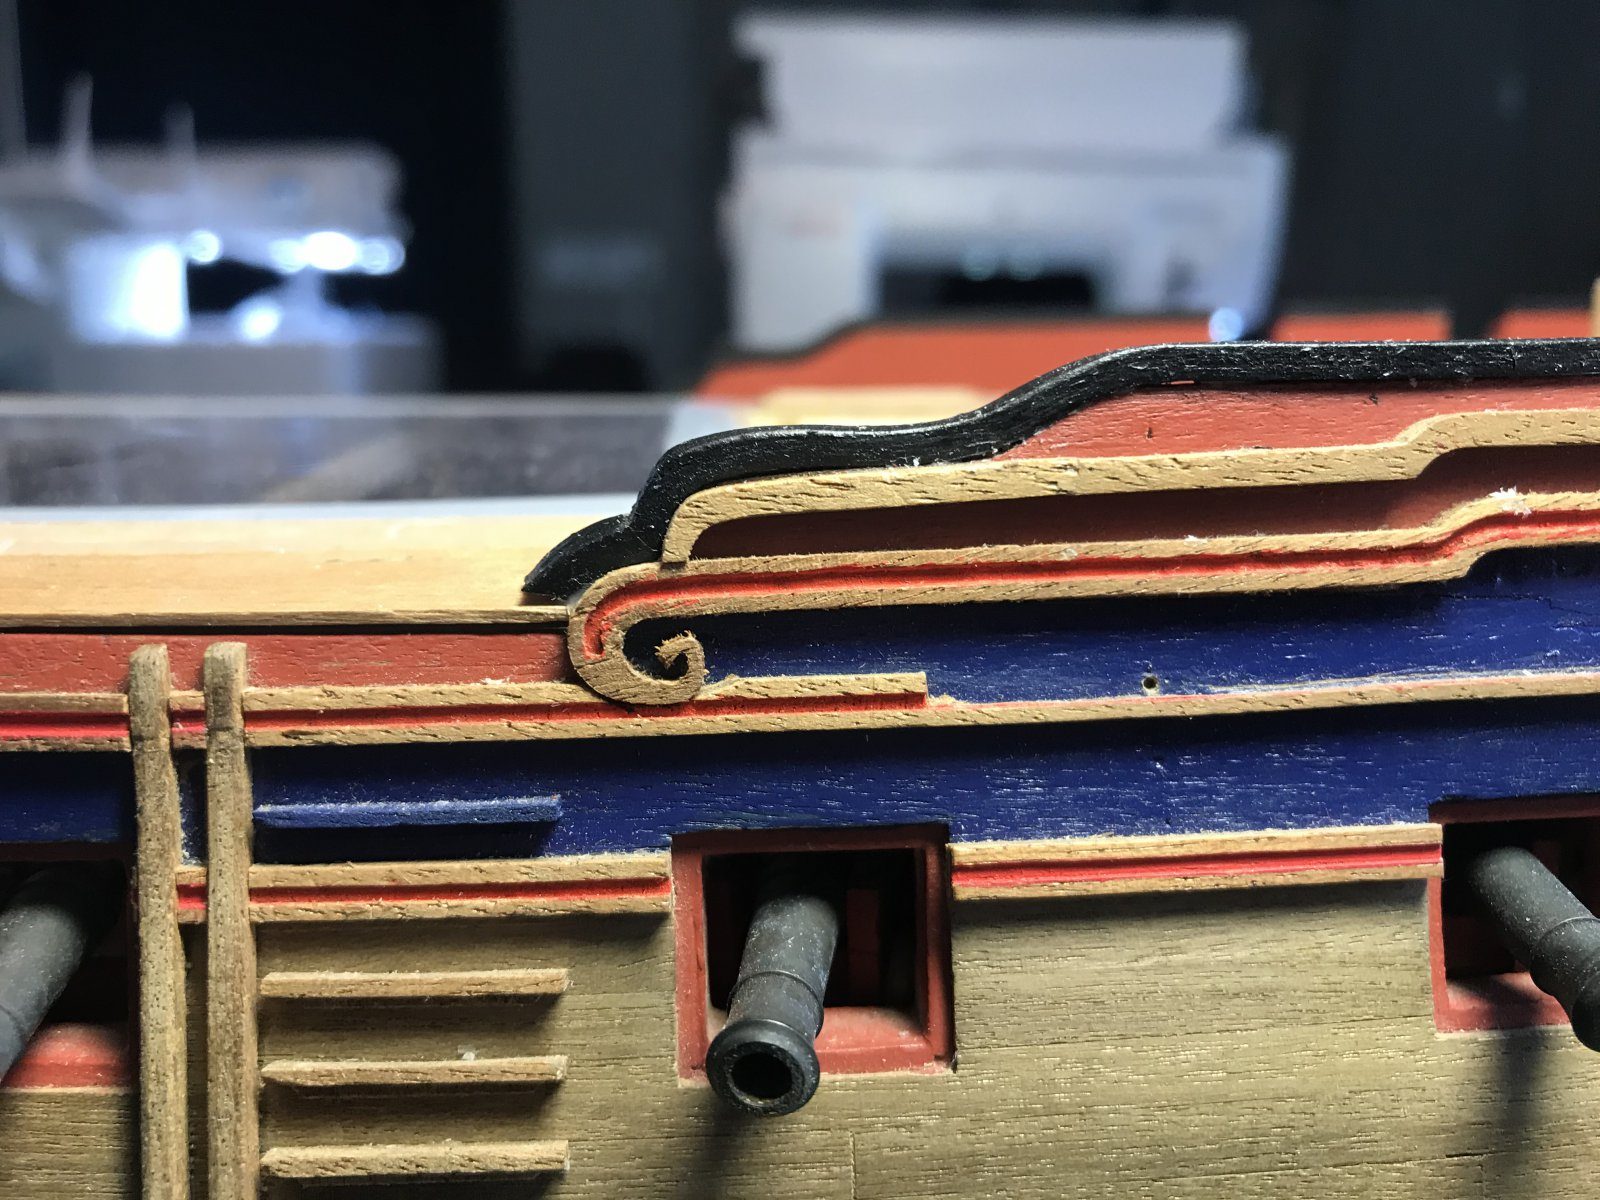
The gratings are on, except for the large grating abaft the capstan, because a few things still need measuring there. Then I started on the planksheer, in other words the top of the rail, if I have that right. At the stern I have chosen, like Piet, to make an open rail. The lower part is on now.
The curves in particular were a challenge, but I am pleased with the result. I used bendable beech strips of 5x2 mm. I had to buy those separately, because the box contained 2x4 mm and I found that too narrow. Besides, I needed extra anyway because of the open rail.
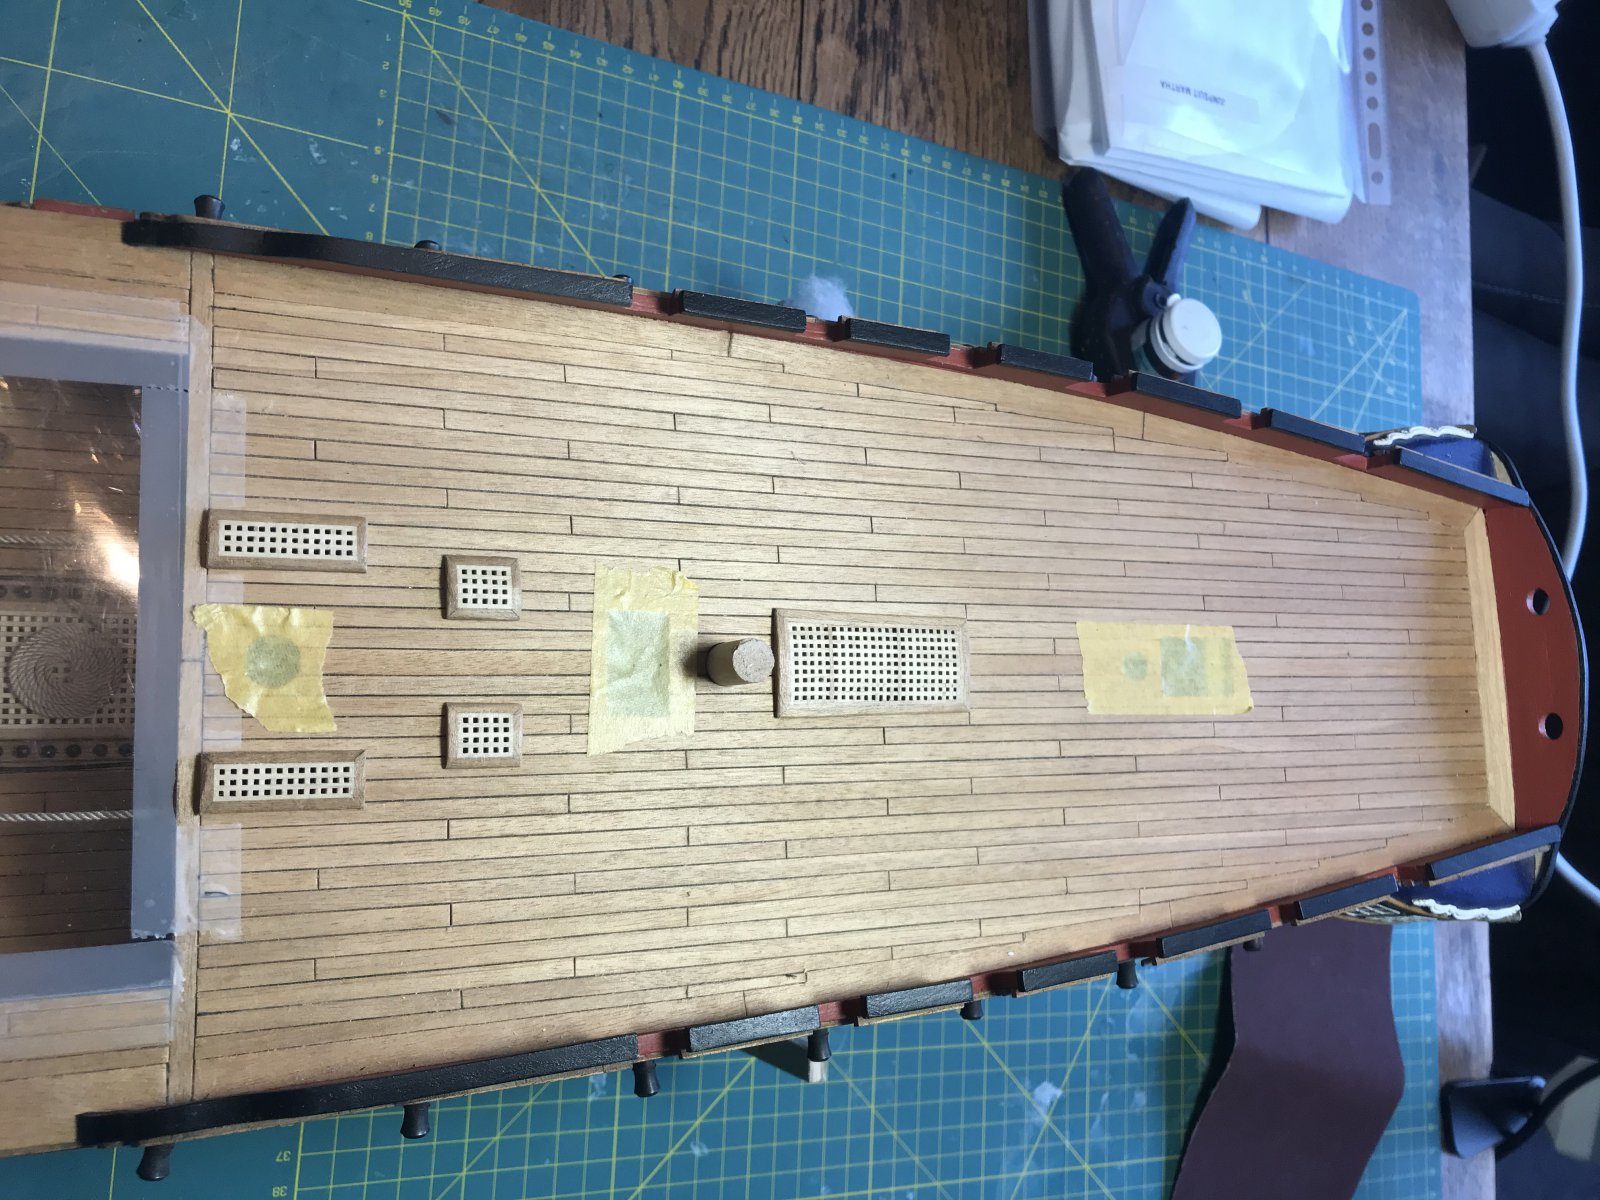
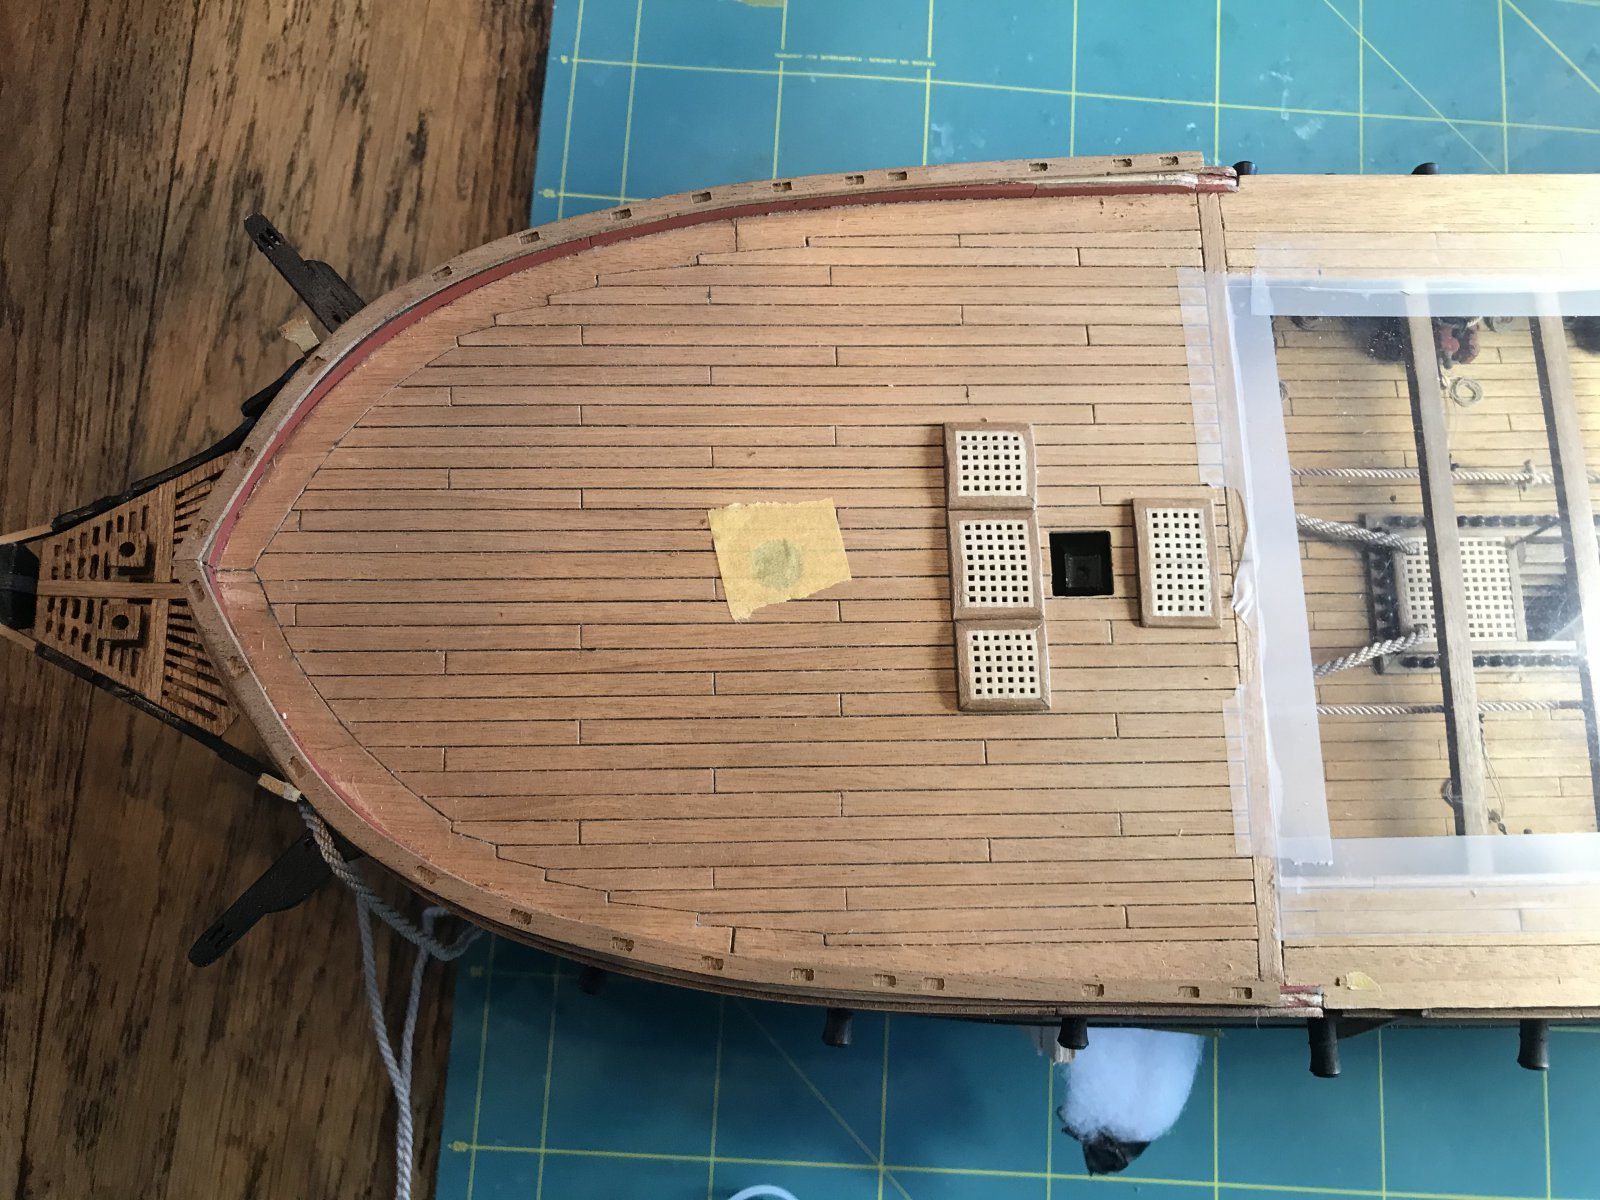
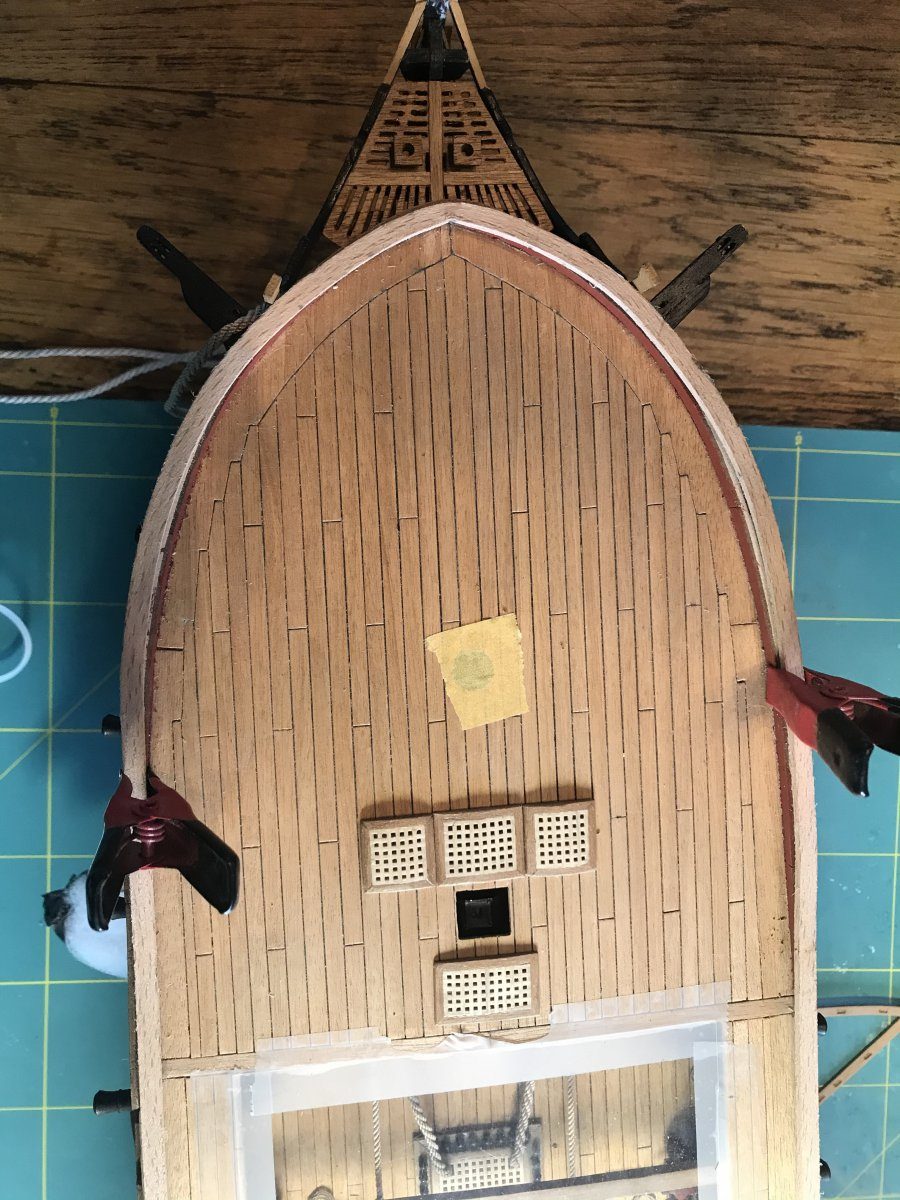
Bending a strip for the forecastle deck
The forecastle deck is still to do. The box contains walnut strips for it, but they are much narrower than what I now have aft and actually just too short: they only reach as far as the curve, whereas I want them to carry on round as at the stern. So I bent a new strip myself that fits the front in one piece. A matter of filling a length of PVC pipe with water, strip in, leave it for five minutes and then bend it round a jig of nails driven into a board. Let it dry and voilà. Remarkable how flexible that wood is. Only drawback: all those little holes in the walnut strips I now have to cut myself. But I think that will work out.
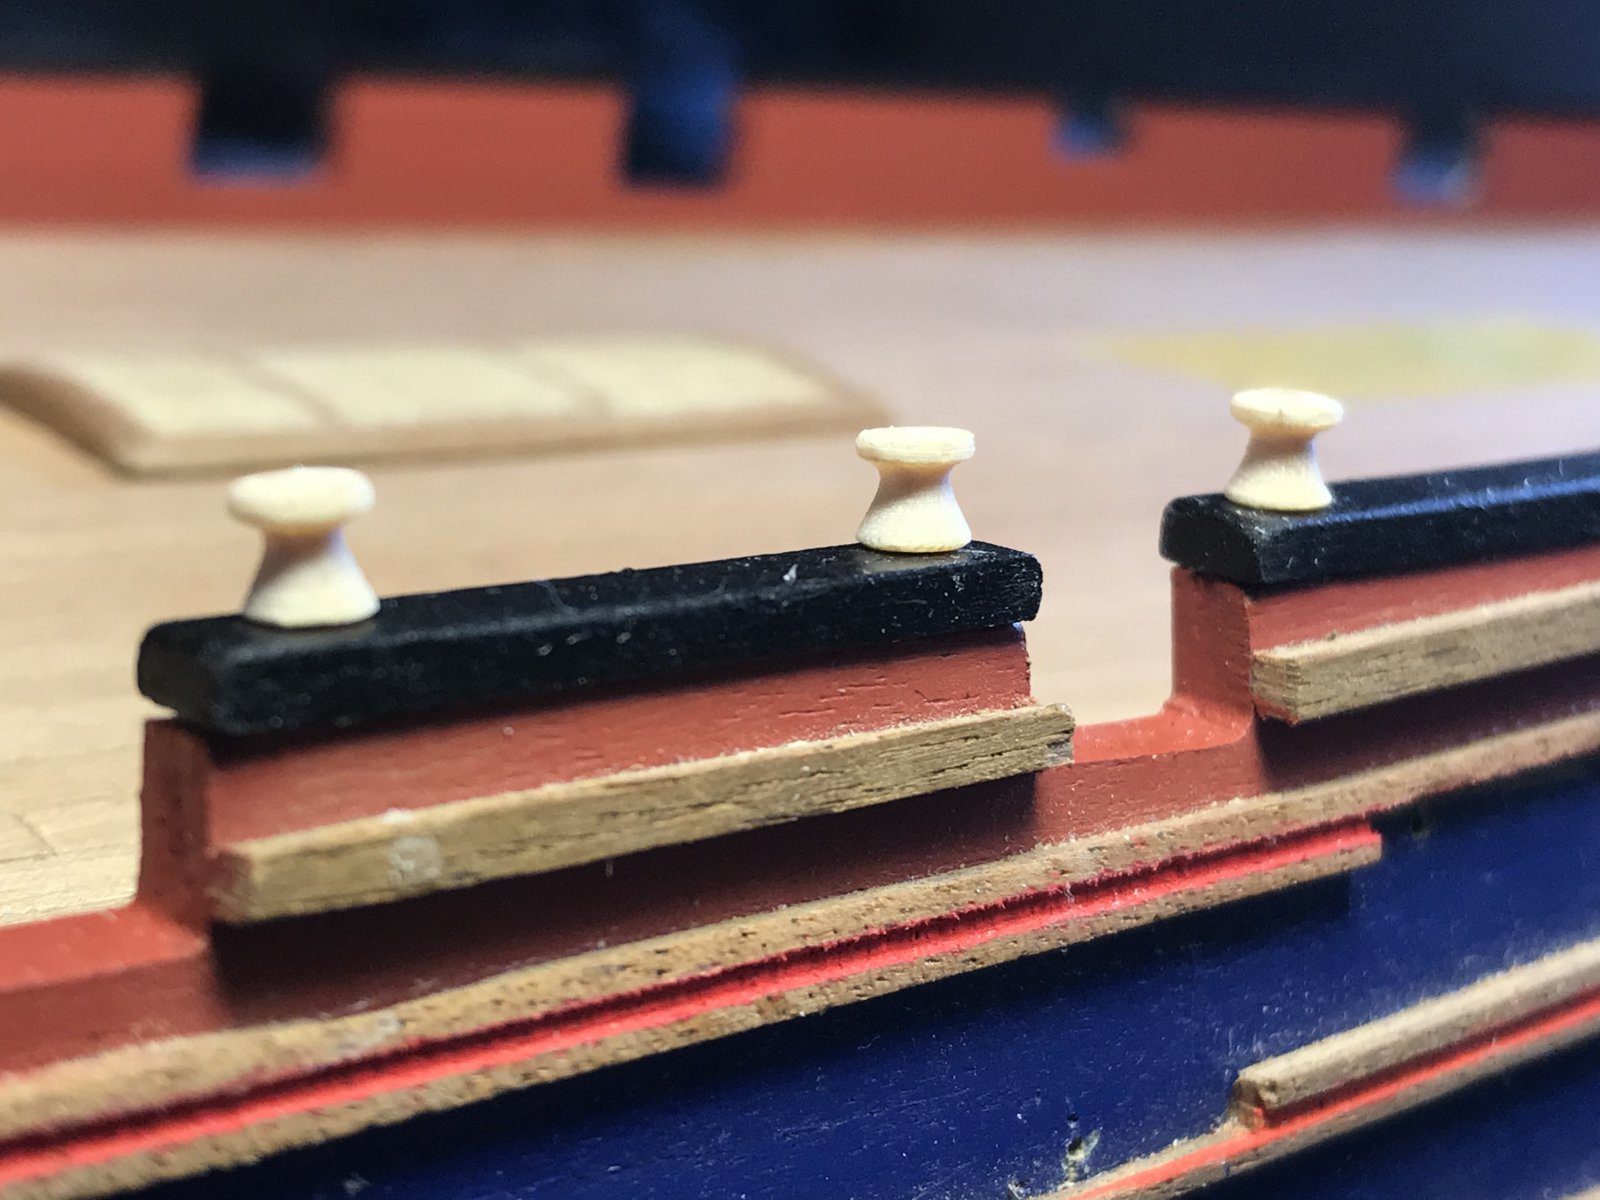
Stanchions on the bulwark
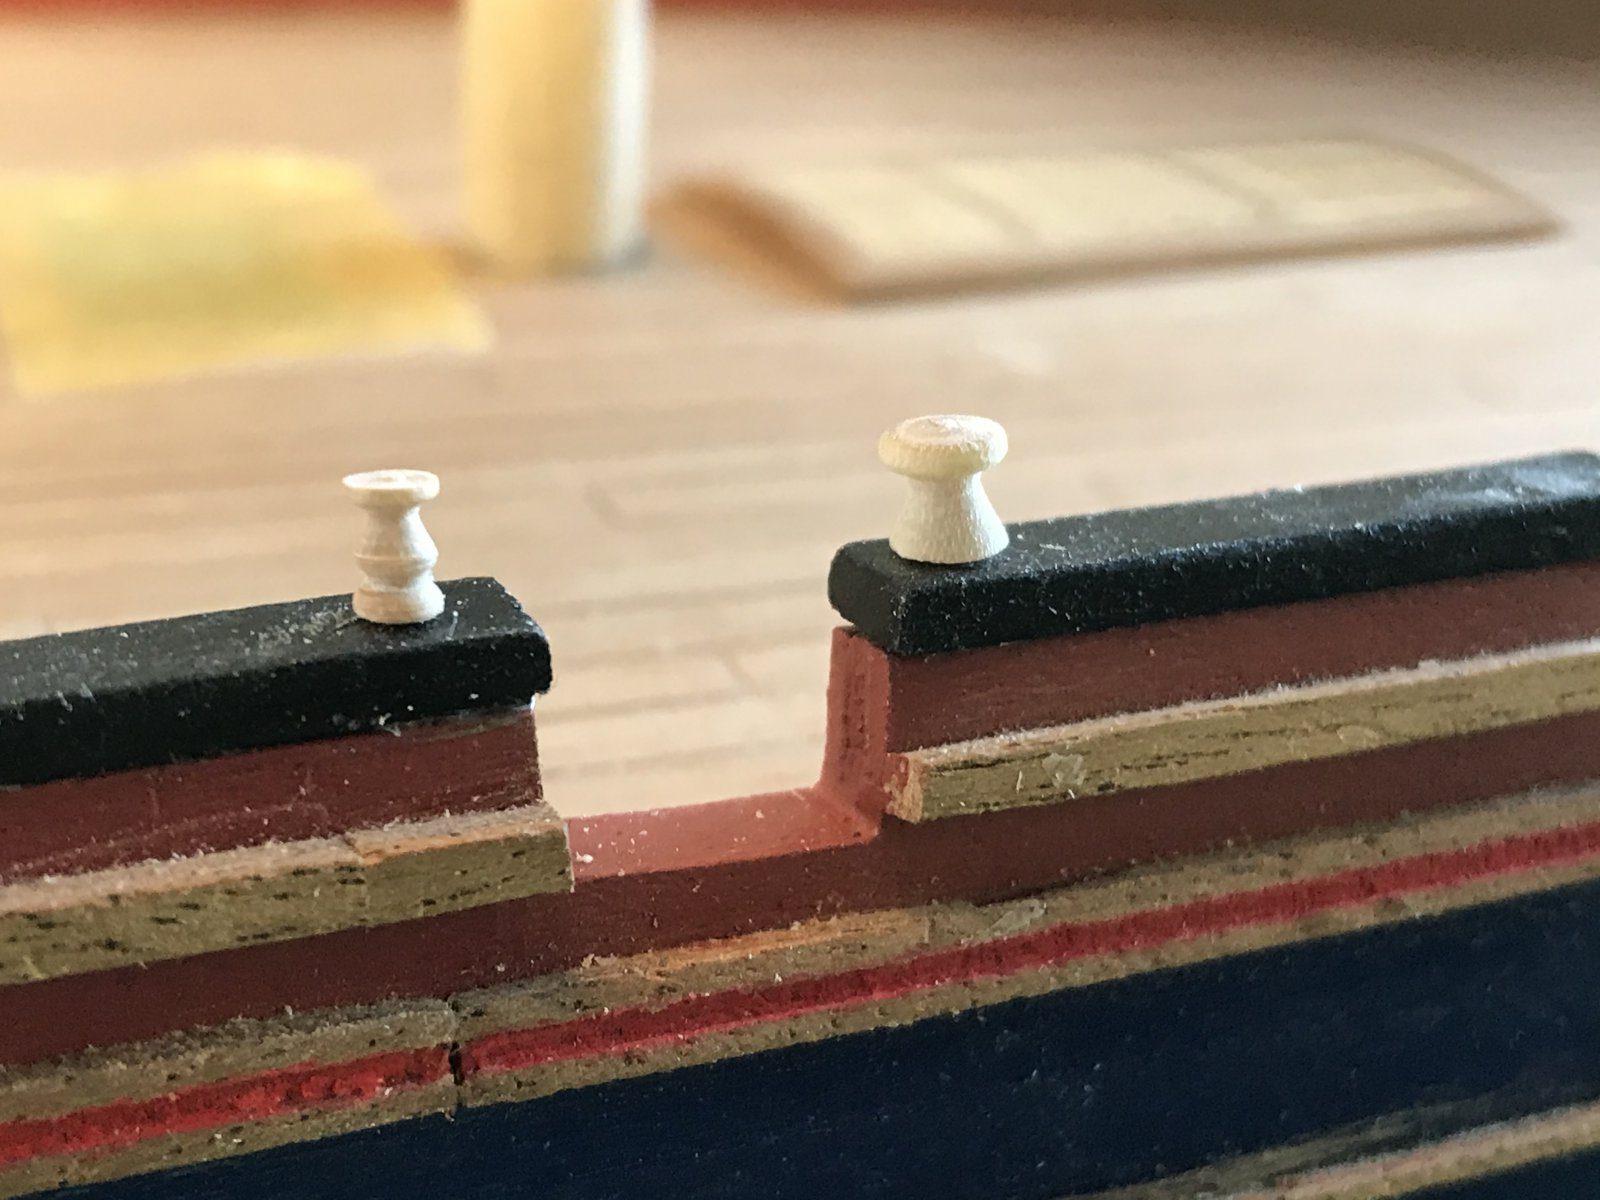
For the rail aft I had the idea of turning little pillars for the rail to rest on. Probably not historically correct, but I enjoy turning and it looks classy. So win-win.
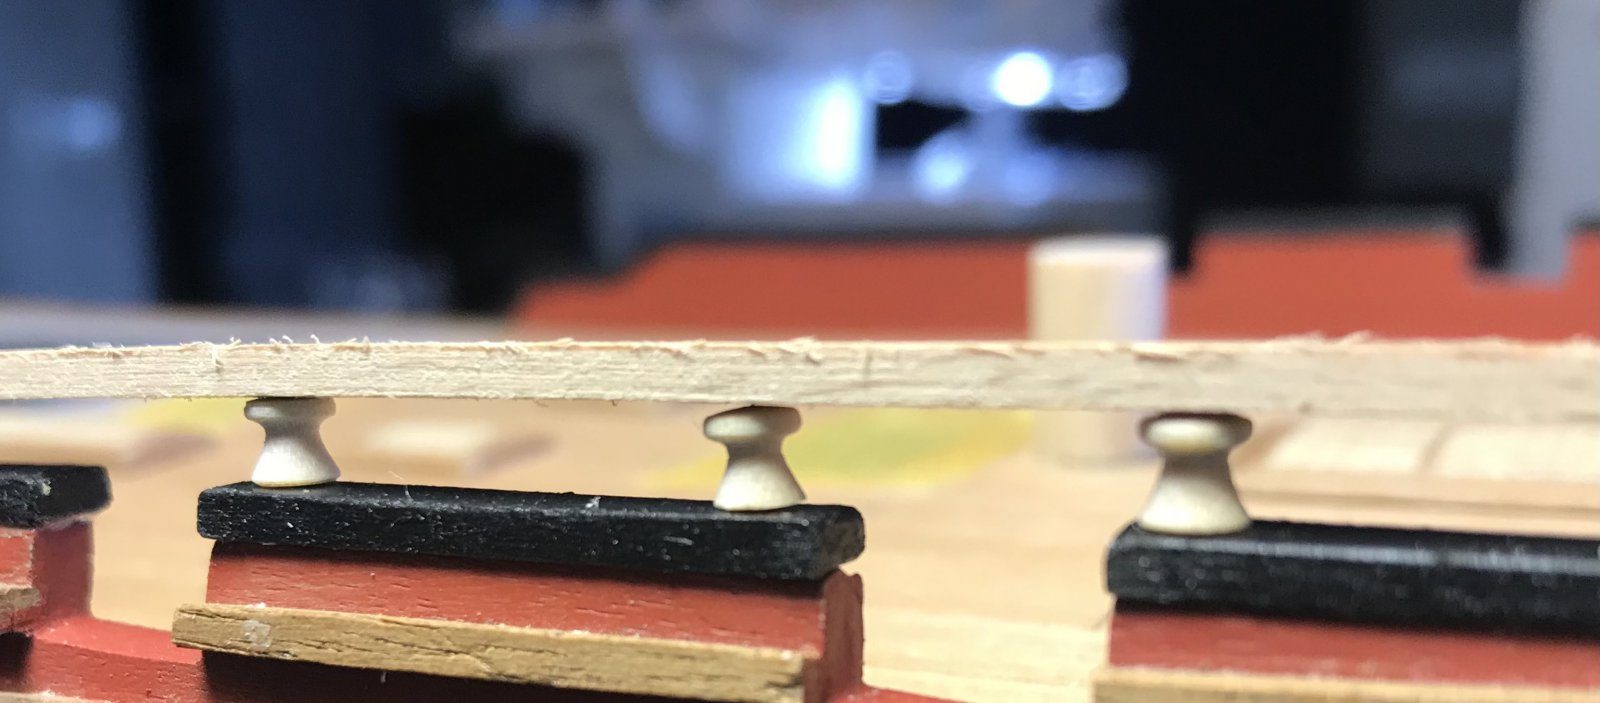
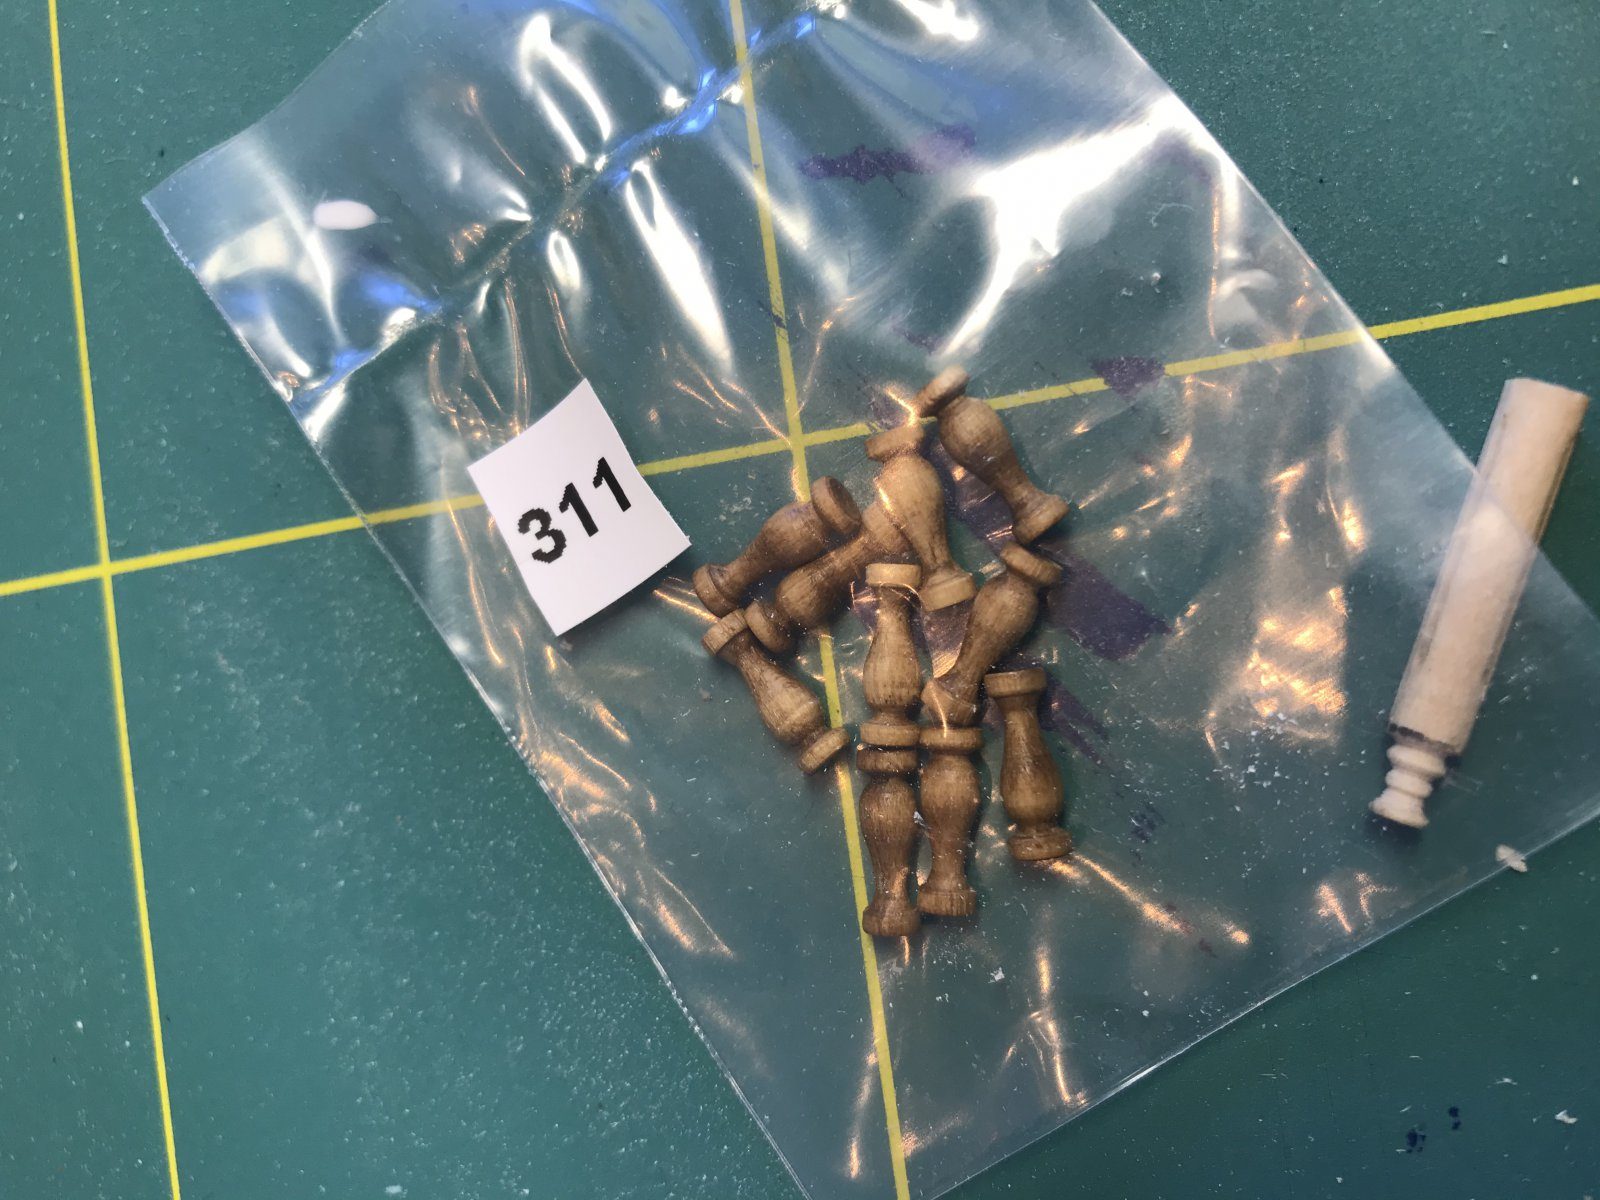
Still, I had another think about those pillars or stanchions. On reflection I didn’t find the first version all that pretty, so I looked at the stanchions supplied for the rail along the waist and made new ones based on those. The home-made ones will be black, by the way.
The first rail
A day later the first rail is on. Very pleased with it.