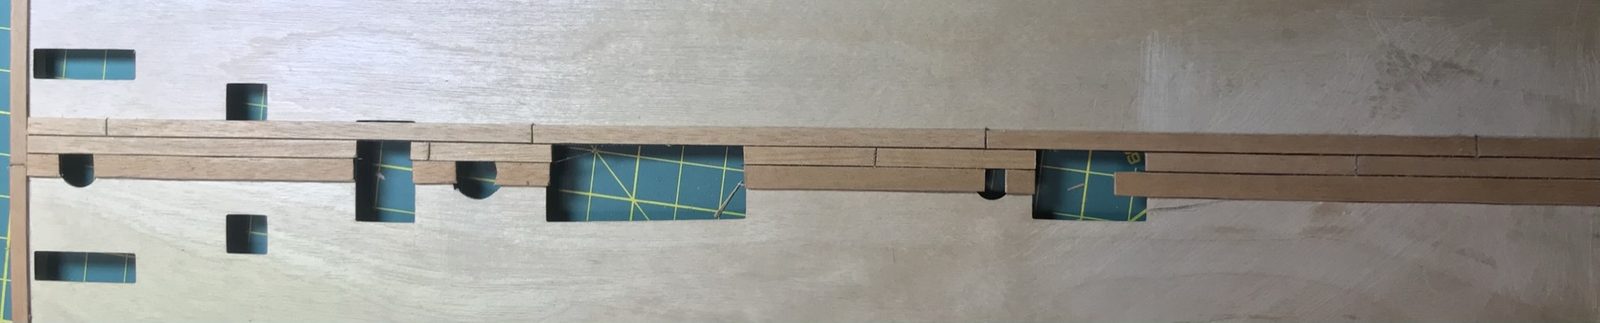
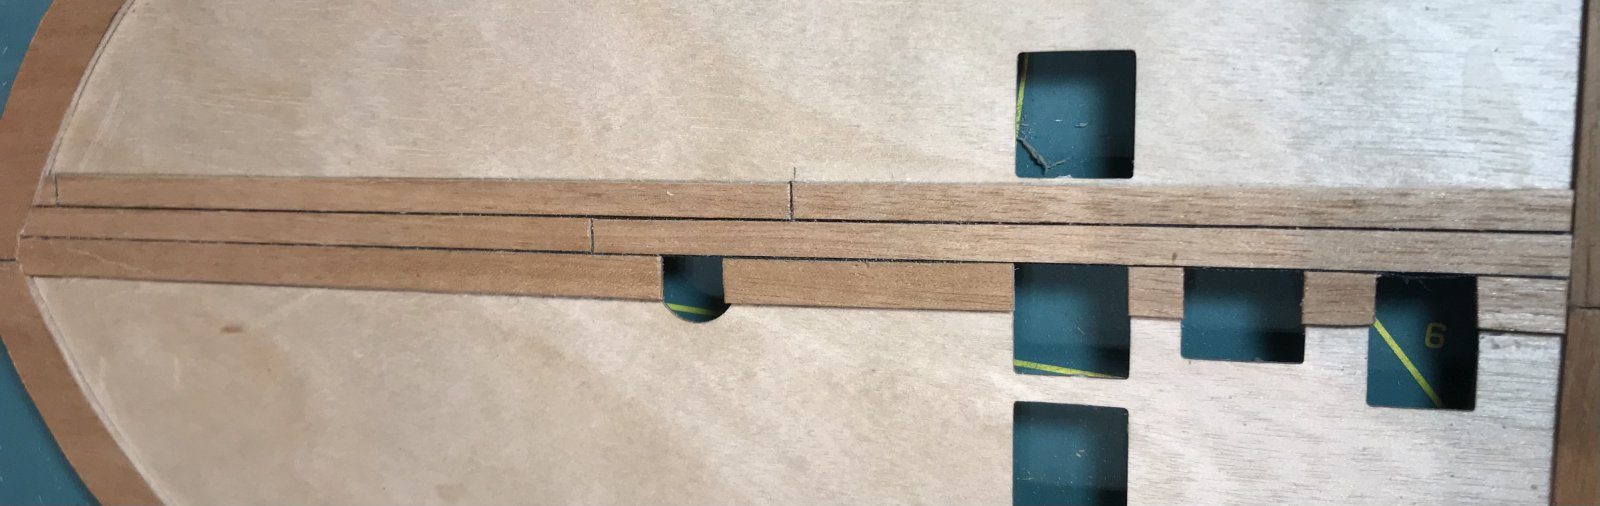
King plank laid, with a sheer under the deck
Started with the king plank. It is a quarter wider than the other planks, so 5 mm in my case. Made it myself, since there wasn’t one in the kit. As it is all short pieces, the offcuts of the margin planks did nicely.
I did wonder whether there should be margin planks alongside the section where the waist is. I have put them in now anyway, to keep the deck level there. Otherwise you get a ridge, and that in turn doesn’t work for the planksheer.
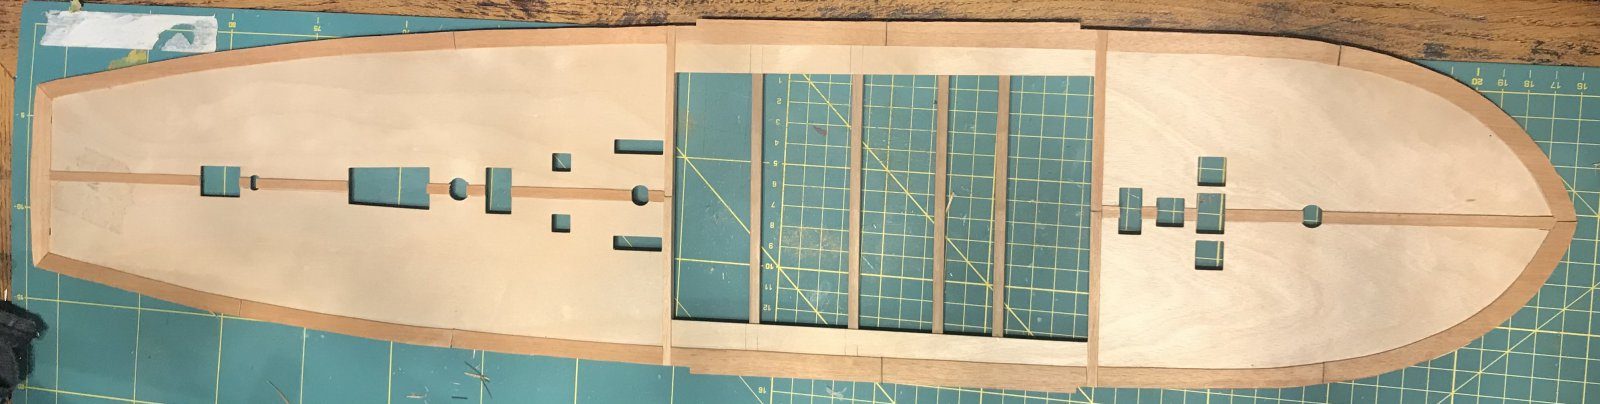
Warping
Piet warned me, from his own experience: the glue of a deck planked loose sometimes ‘pulls’ as it dries, which makes it a good deal harder later on to fit it neatly. For that reason he never does it that way any more. Stephan was also afraid of warping, and that aircraft plywood is not cheap to replace. Herby63 added that my workbench and cutting mat are flat, while the deck has a sheer along its length and across its width. Planking it flat makes the deck stiffer, and then it may no longer take that sheer later. Ideal would be a jig in the shape the deck has to take. Piet added: lay the deck on the model regularly to see whether it is going well.
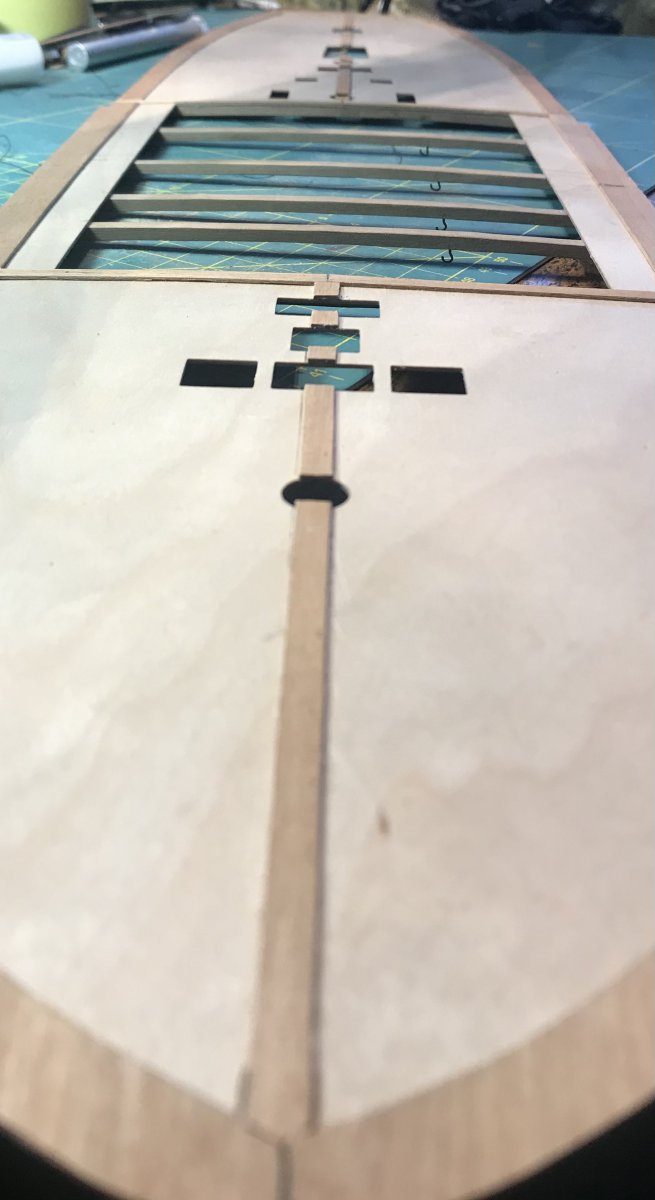
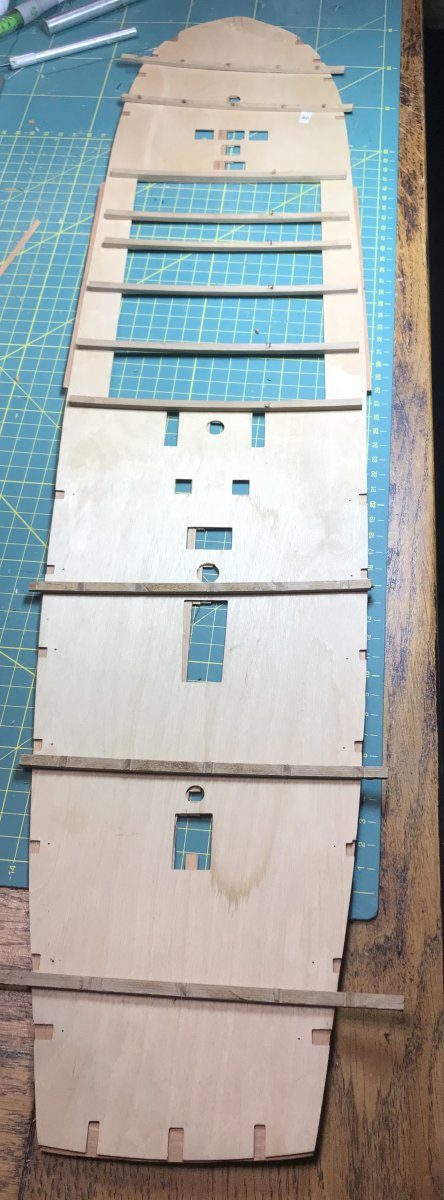
My first idea was to put the deck under my cutting mat after every session, so that it couldn’t warp. Which is exactly the fixing flat that was advised against. And with thread as caulking I don’t fancy doing it on the ship itself either, that would be a dreadful job. So a jig from scrap material: I have glued bulkheads with the correct sheer (temporarily) along the whole underside of the deck, so that the deck follows the correct sheer while being planked. Stephan rightly remarked that I would not have got that sheer into it so easily afterwards.
Also two photos of the result so far with the thread as caulking seam. That is going rather well.