The moulding along the stern
The next challenge. Because Piet’s moulding heights differ considerably from mine, I have to improvise here. The manual is no help anyway, since it assumes a closed stern. What I want is to run the last moulding along the top of the stern, along the rail. The kind folk at Caldercraft, however, made the laser-cut part too long. If I match it to the curve of the rail, the curve of the moulding below does not come out nicely. If I follow that curve, it sticks out a long way.
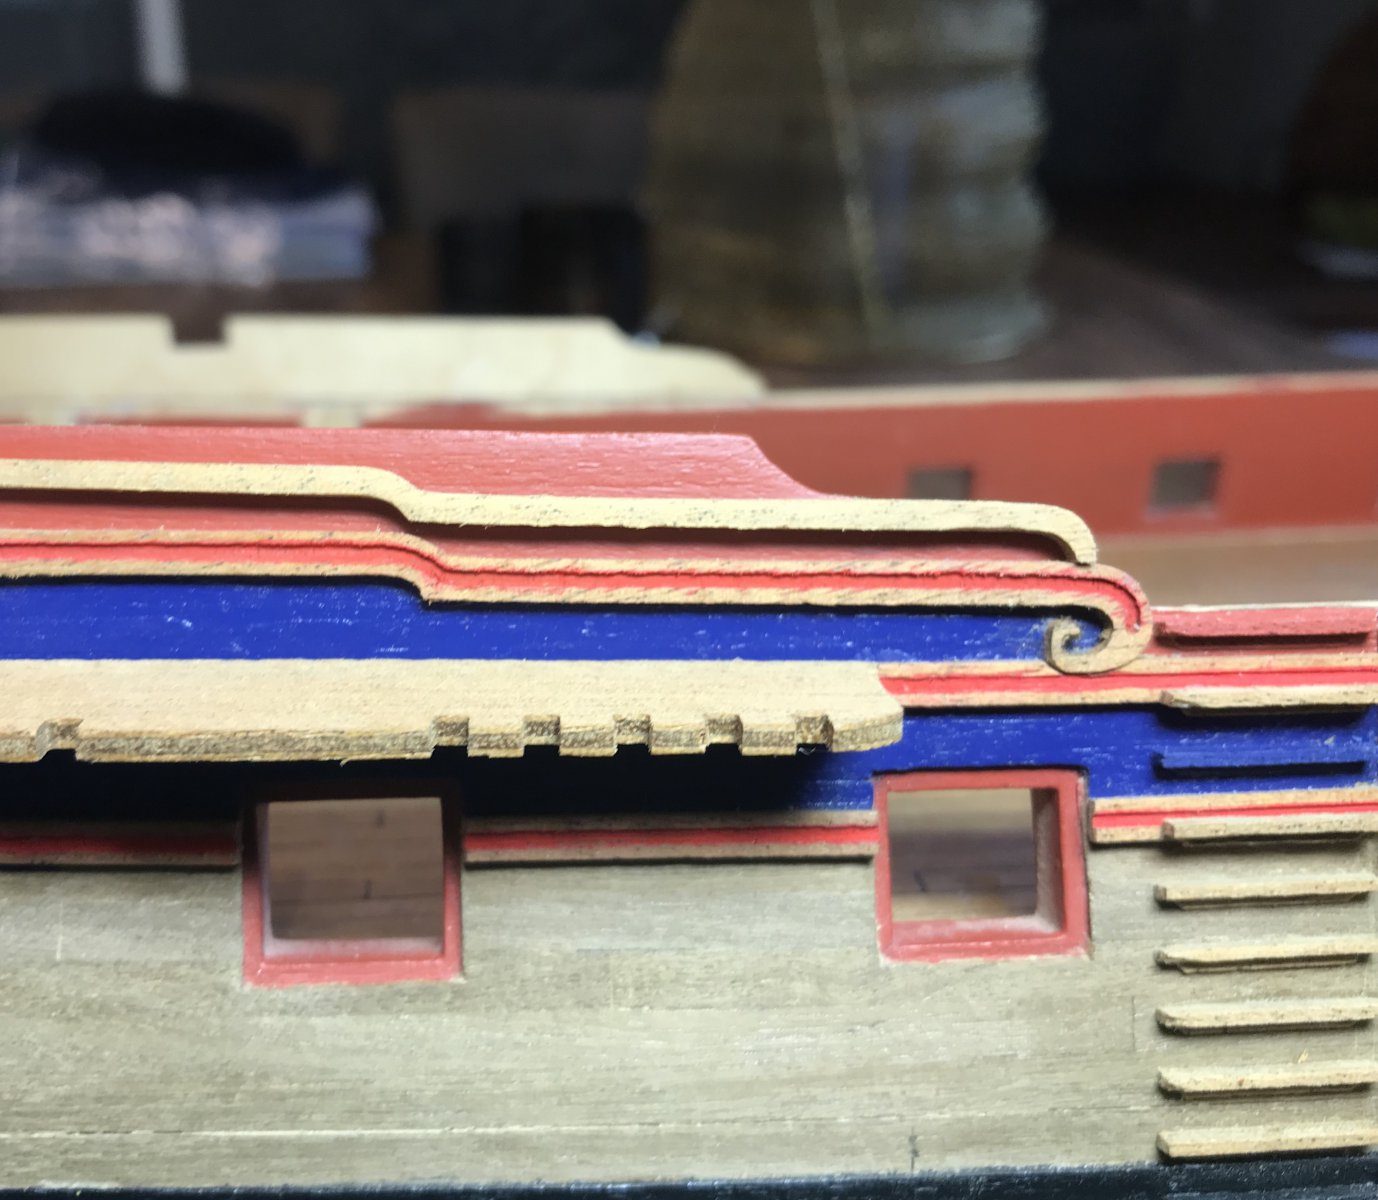
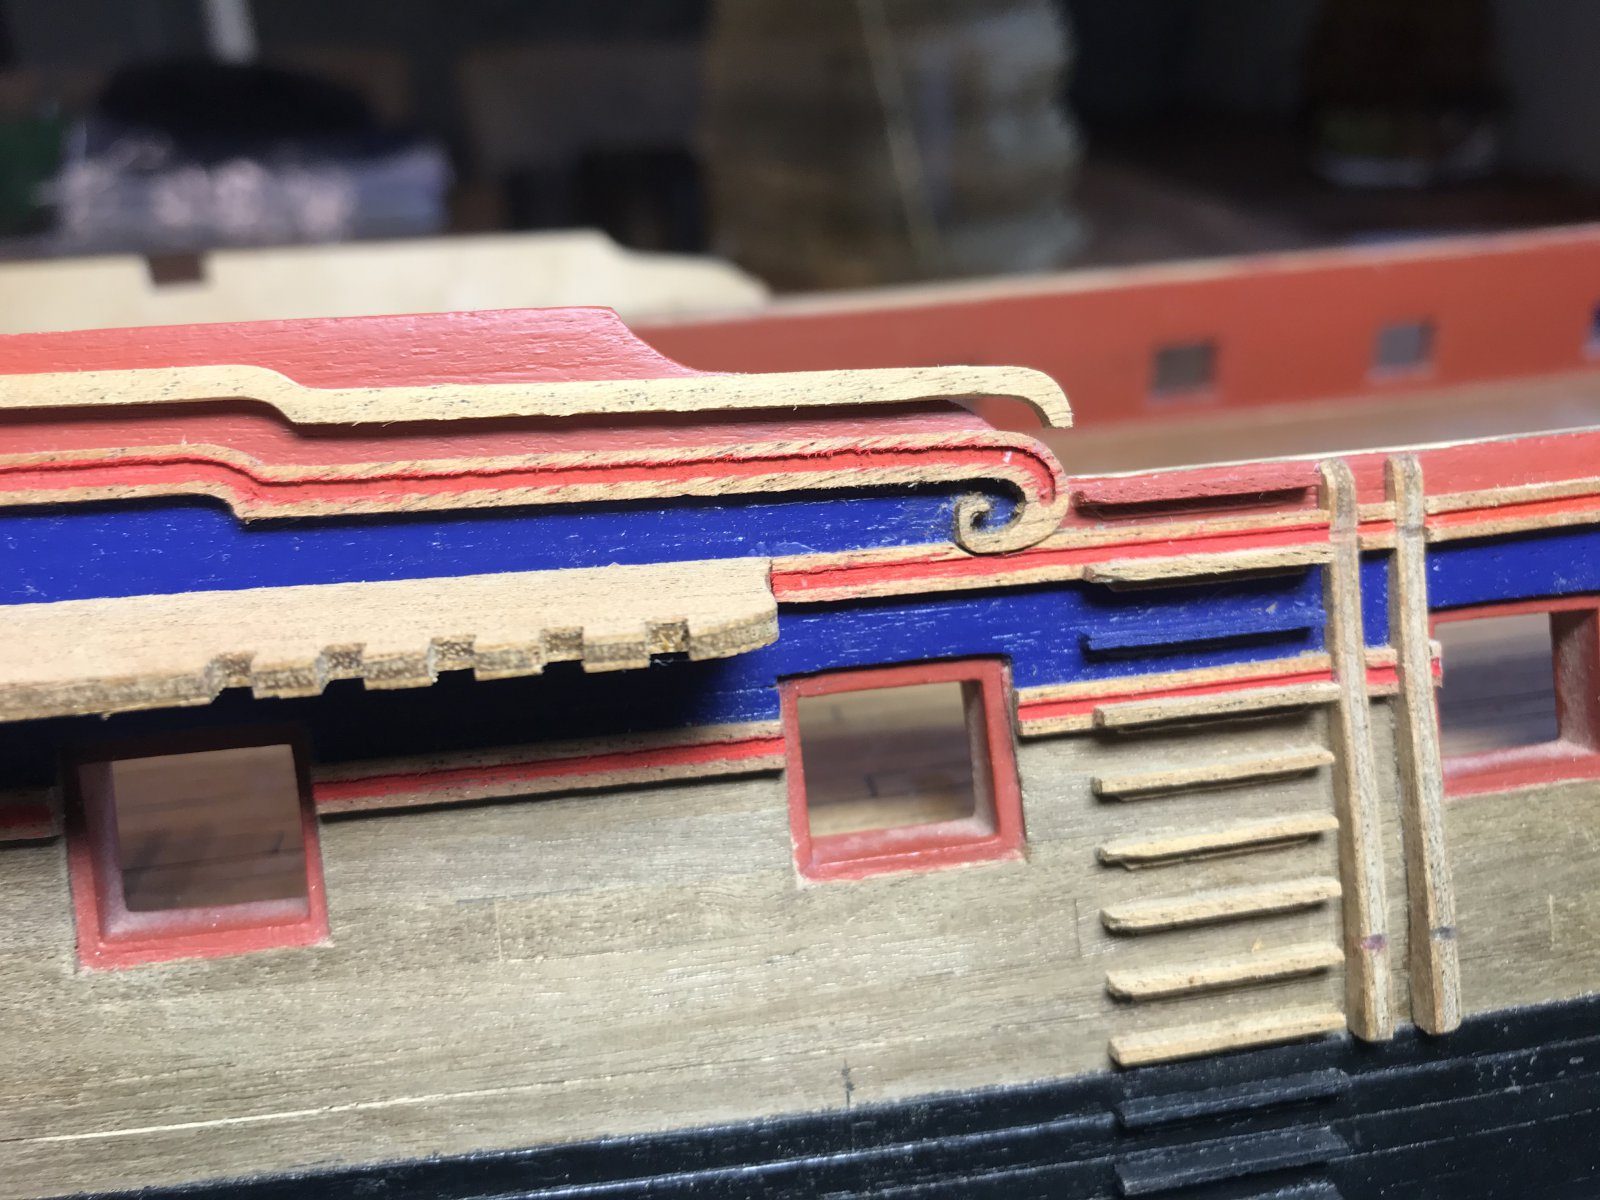
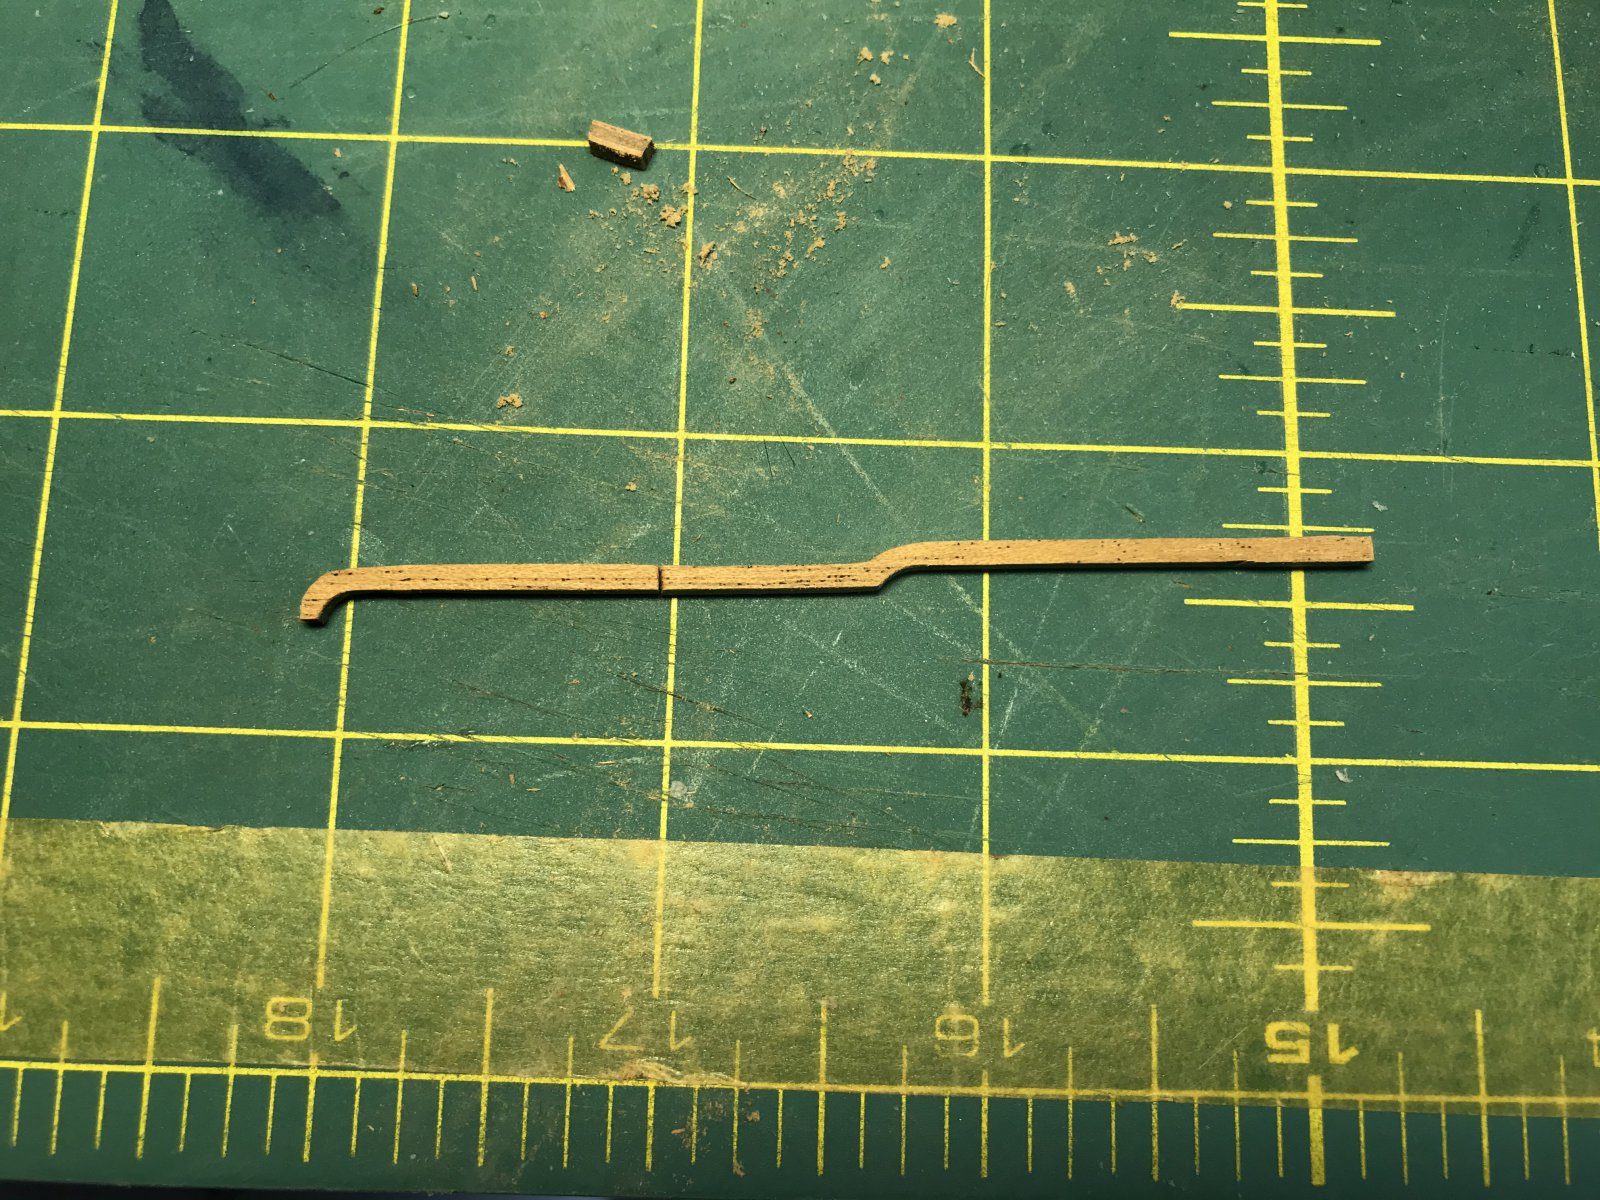
Two options: extend the rail so the moulding fits, or shorten the moulding. In the photos in The Anatomy of the Ship I see that the moulding has generally been shortened, so that is what I chose too. I will still have to saw a little off the top of the rail to make it run level with the moulding, but first that moulding has to go on.
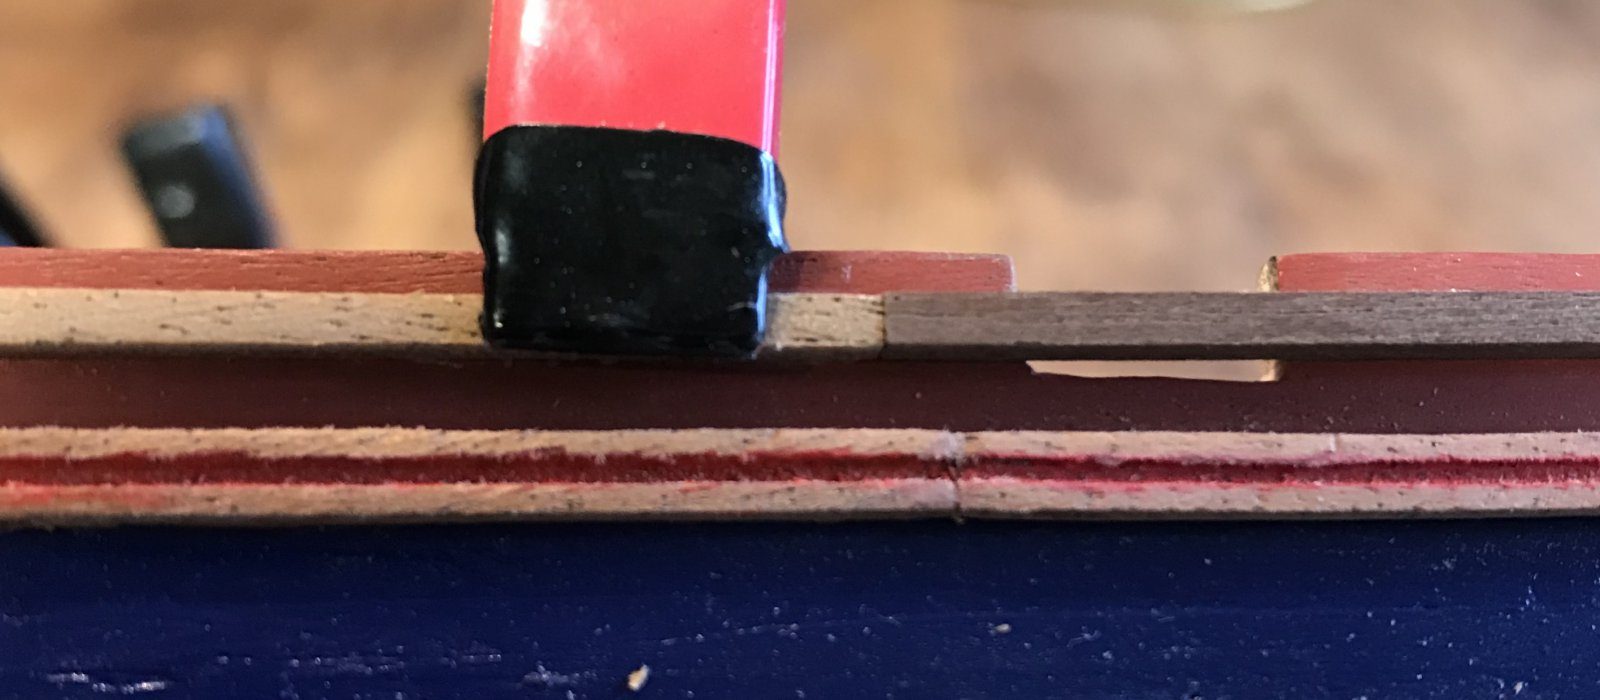
And then the opposite happened of what happened with the 1 mm strip: the walnut supplied for the moulding is far darker than the laser-cut piece. This transition really is very big. Hans Groenenberg knows the problem, colour variation is simply a property of walnut; according to him and Hans, making it lighter never really works, at most with a bleach solution. So there is a piece sitting in bleach now, simply because I can.
Piet had the same problem at the time. Because of his open rail he was building the bulwark differently from the drawing anyway, shortened the top moulding by a good stretch and replaced the rest with 1.5 x 1.5 mm walnut. So his mouldings run quite differently, and that looks splendid as well. Meanwhile it occurred to me that I really only need short pieces, between the gunports. Those I can easily cut from the offcuts of the laser-cut sheet. Then there is no colour difference at all.
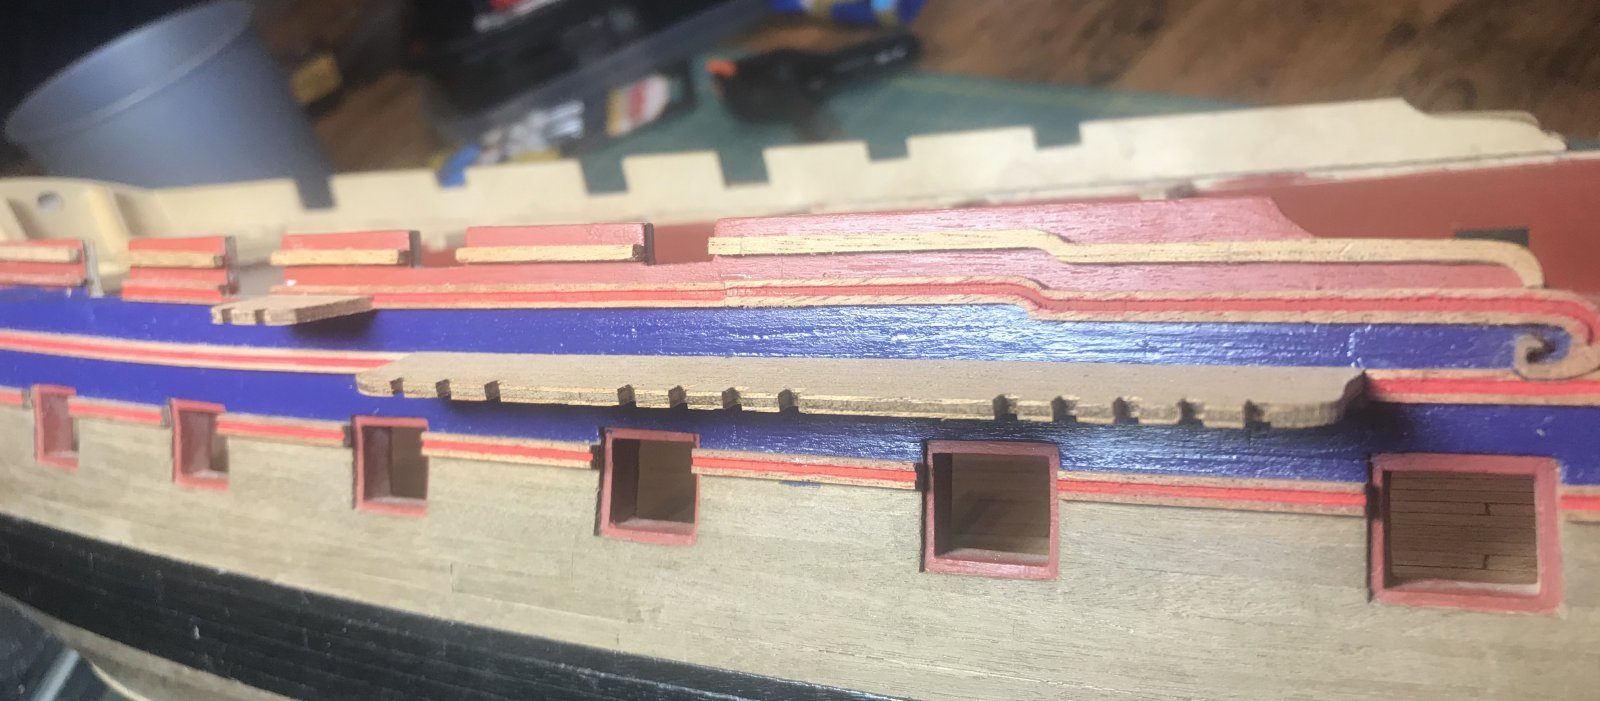
No colour difference, so I am pleased. Now I want to remove the part of the bulwark that still sticks up above the moulding; the open rail will then go on top of it. A bit nerve-racking, because from then on I have to improvise entirely. But it will be fine. Piet has meanwhile finished the build on his website and is busy with the rigging there. I had a quick look: it looks beautiful, and if I cannot find something I will let him know.