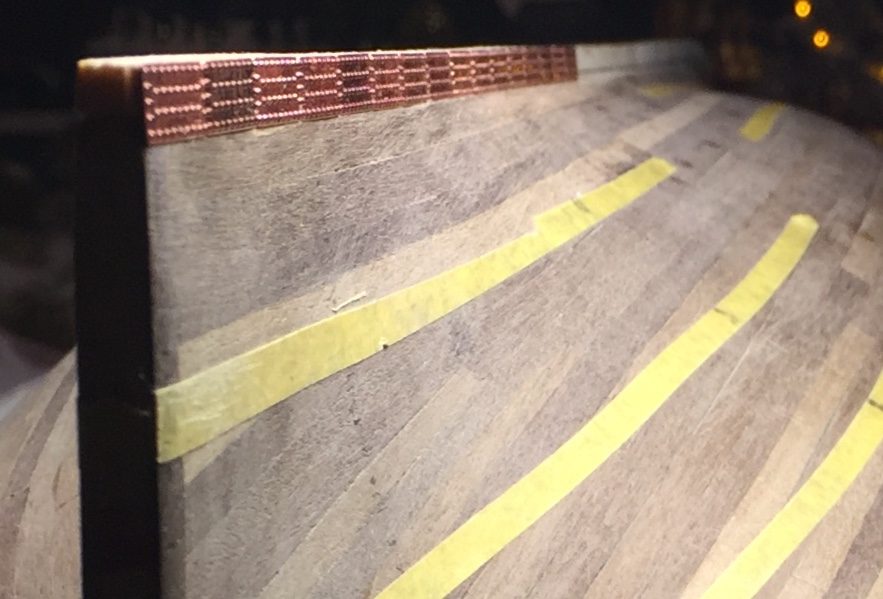
Keel deepened and belts marked out
Keel, sternpost and rudder
The keel is very shallow, 1 or 2 mm at its shallowest point. My idea: glue a strip onto it so that the keel is exactly the width of a copper plate. The drawings give about 6 mm for the keel, and so does the Anatomy book. amazone thought 6 mm was rather a lot, Jaques and Henk thought it a good adjustment: under the copper you cannot see that it has been built up. The keel piece is on by now.
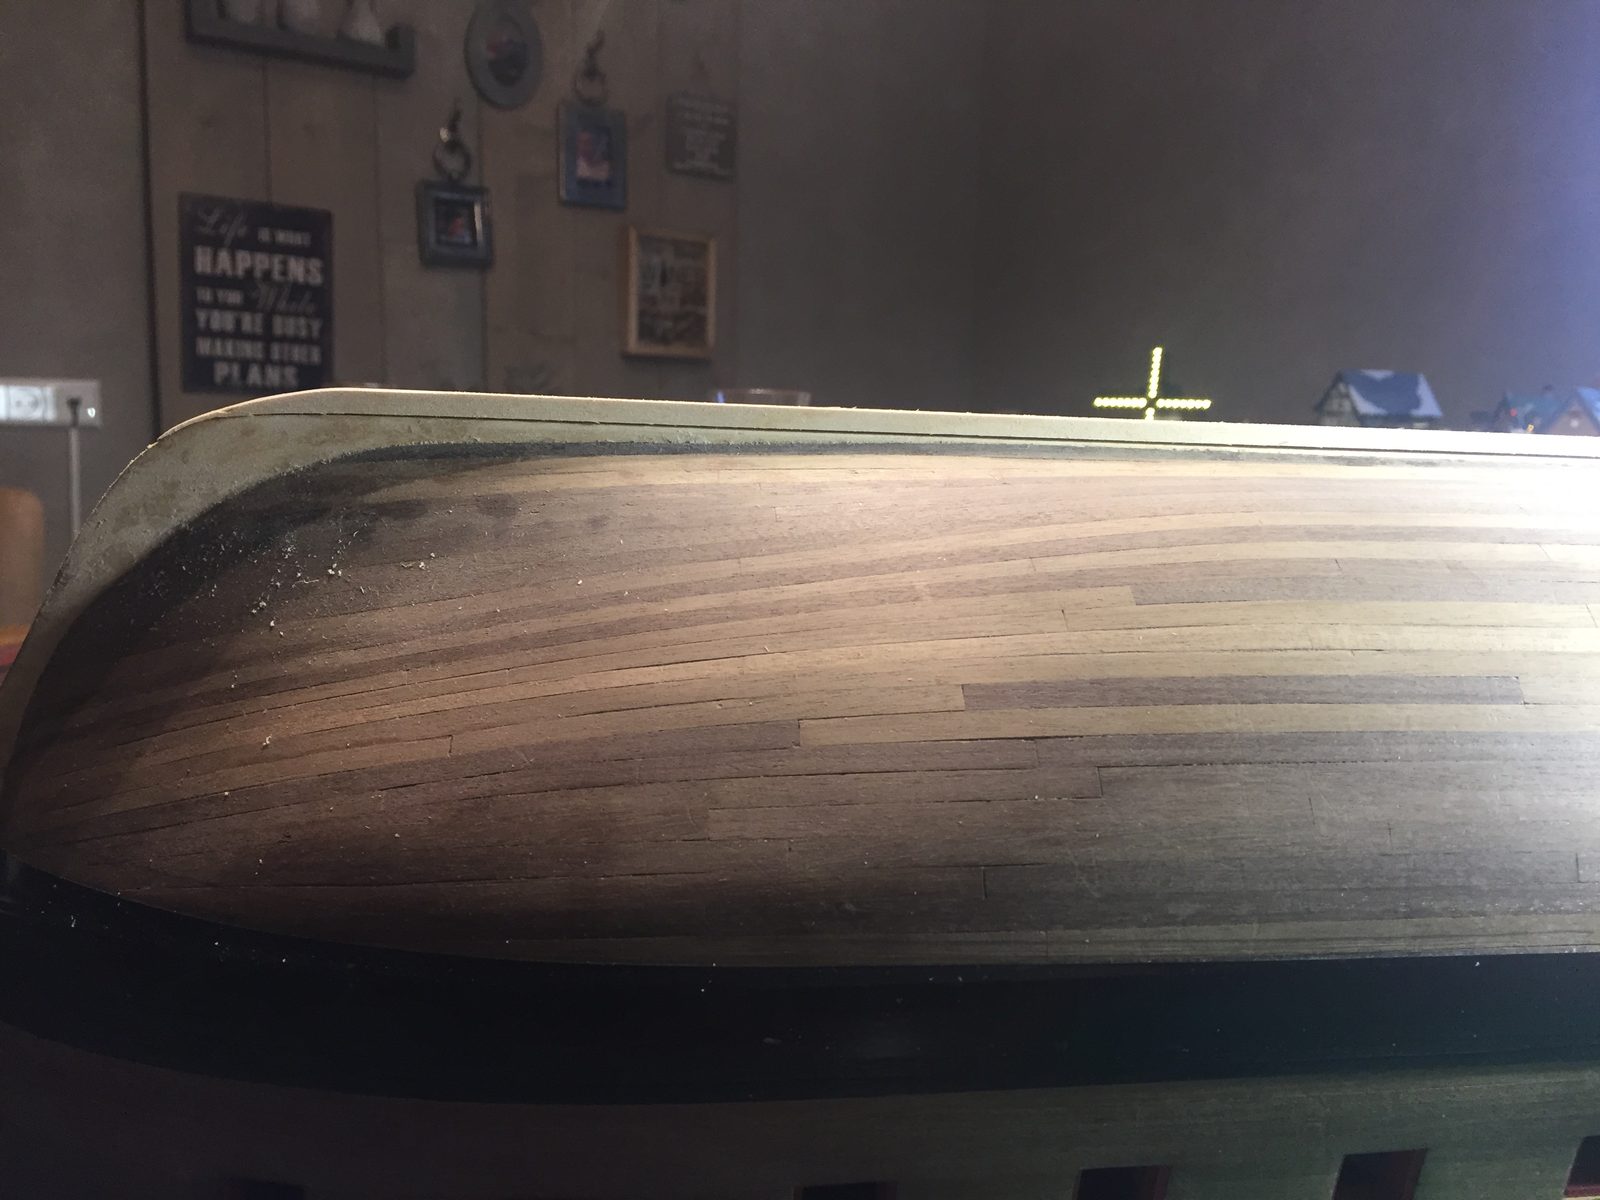
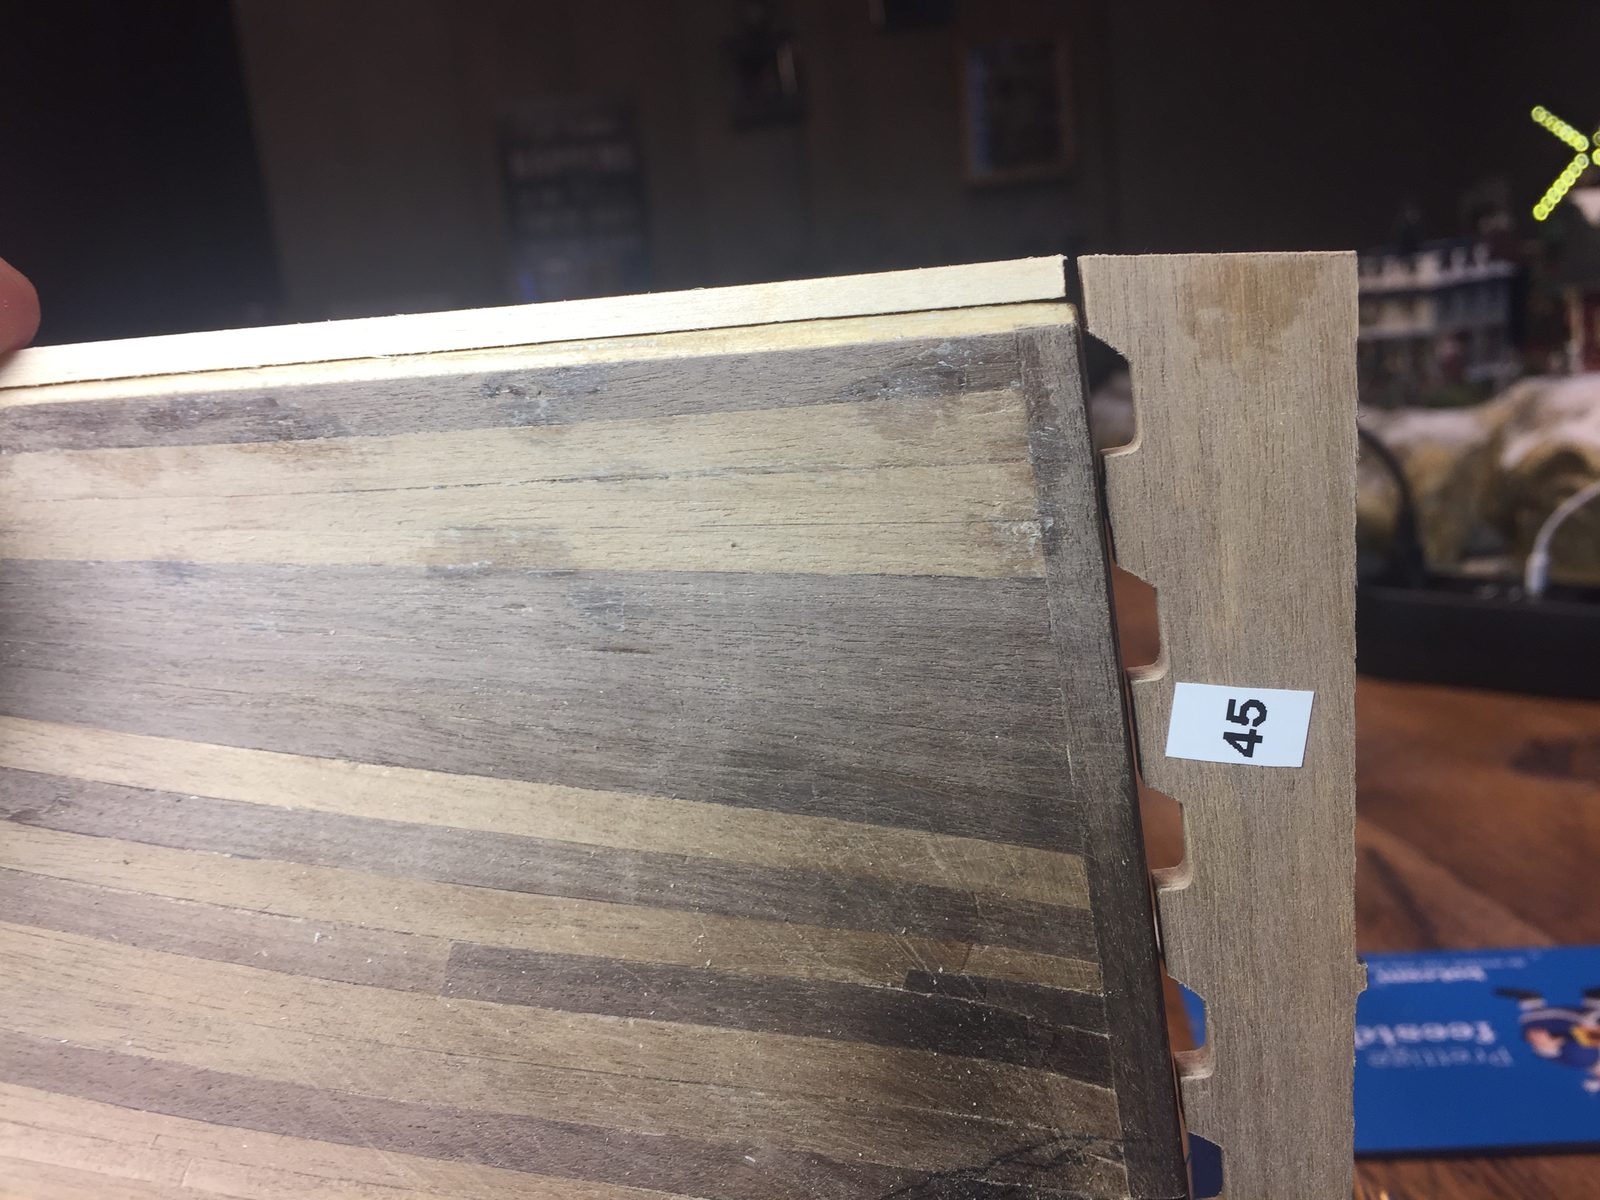
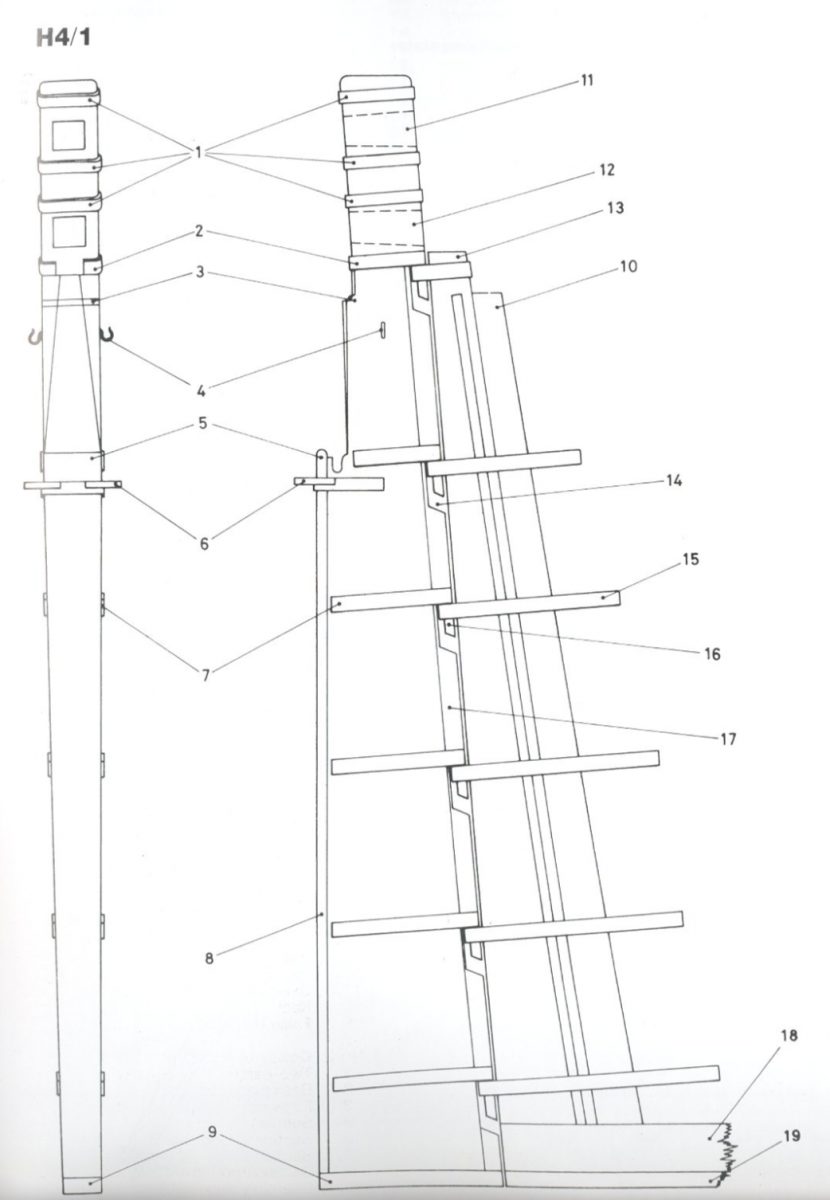
I wanted to sand the sternpost down at an angle to the thickness of the keel, and to taper both rudder and sternpost from the waterline down. Henk sent the drawings of the English coppering system and pointed to page 112 of the Anatomy book, where the sternpost is slightly bevelled (a few tenths of a millimetre here). Piet would not bevel the sternpost: difficult, and hardly visible later. Rudder and sternpost do need to be the same thickness once the rudder has been planked. After checking, they agreed on the height of the rudder: the sole runs level with the keel, as on Radek’s model. Bevelling cannot be undone, so I am holding off on that for now. This time I waited for the replies, so nothing has to be torn off.
Marking out the belts
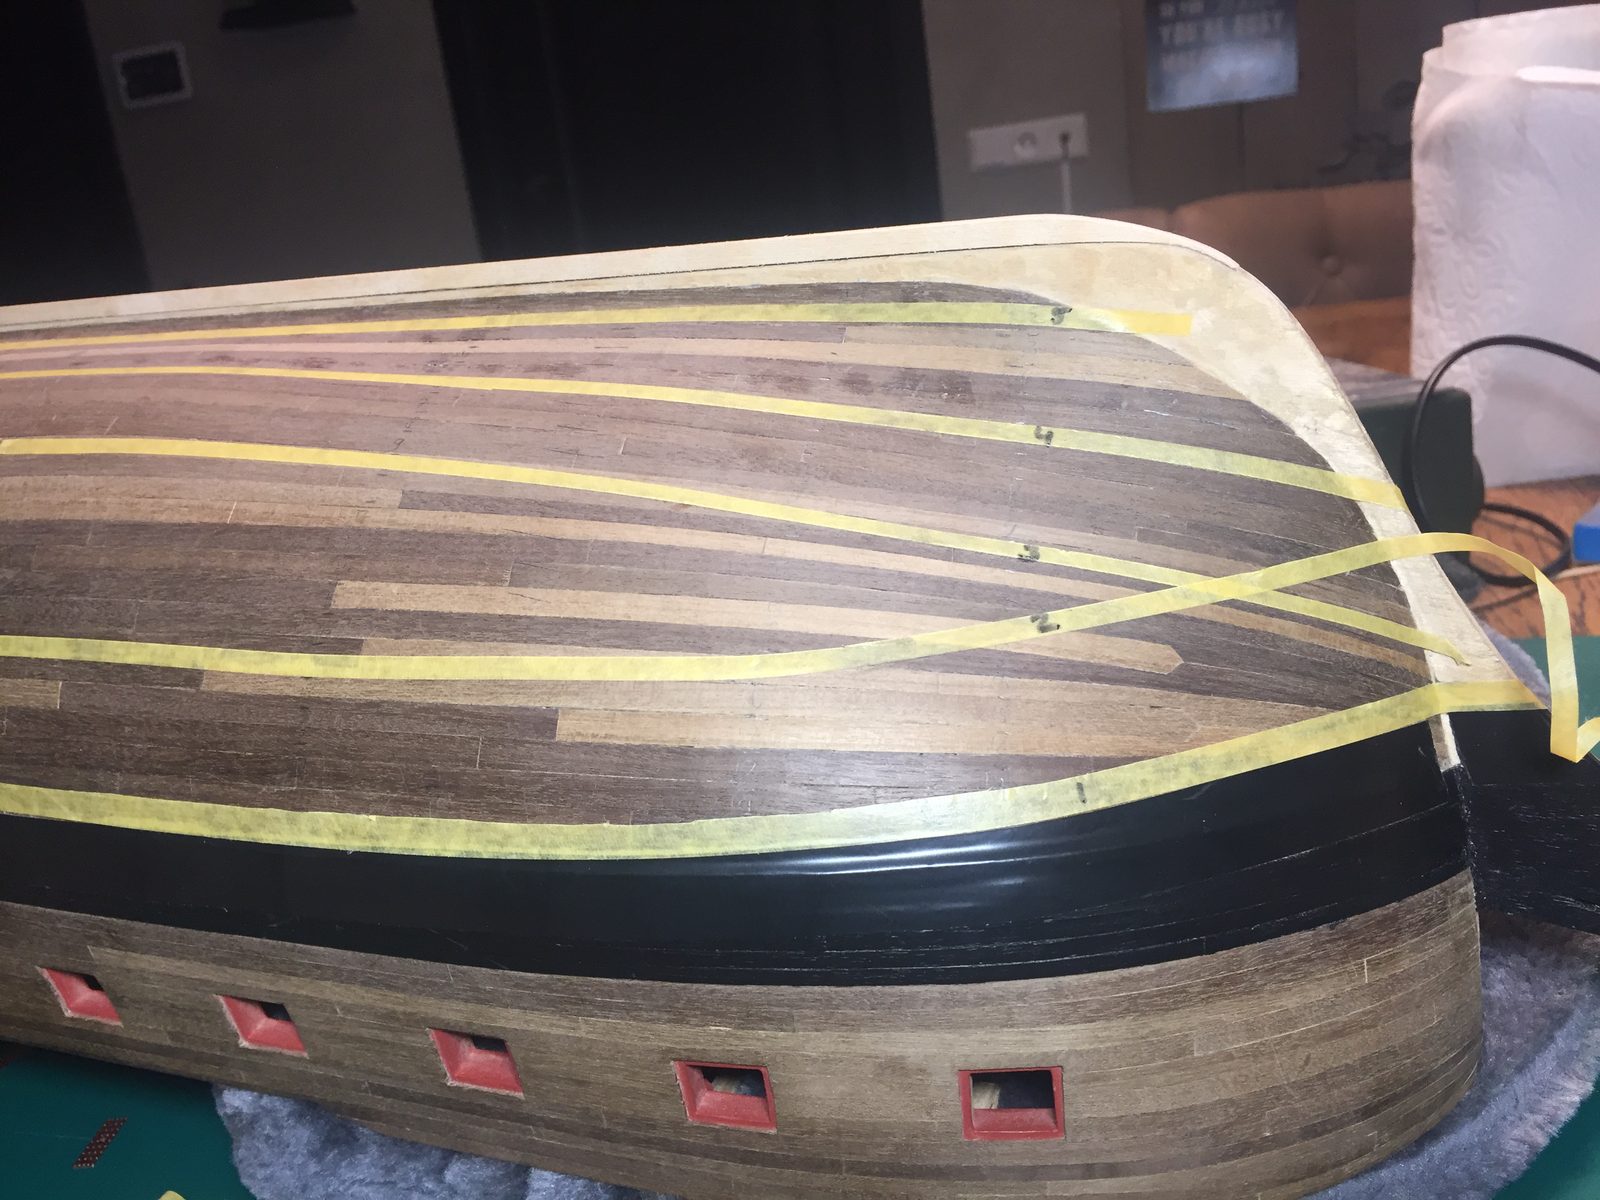
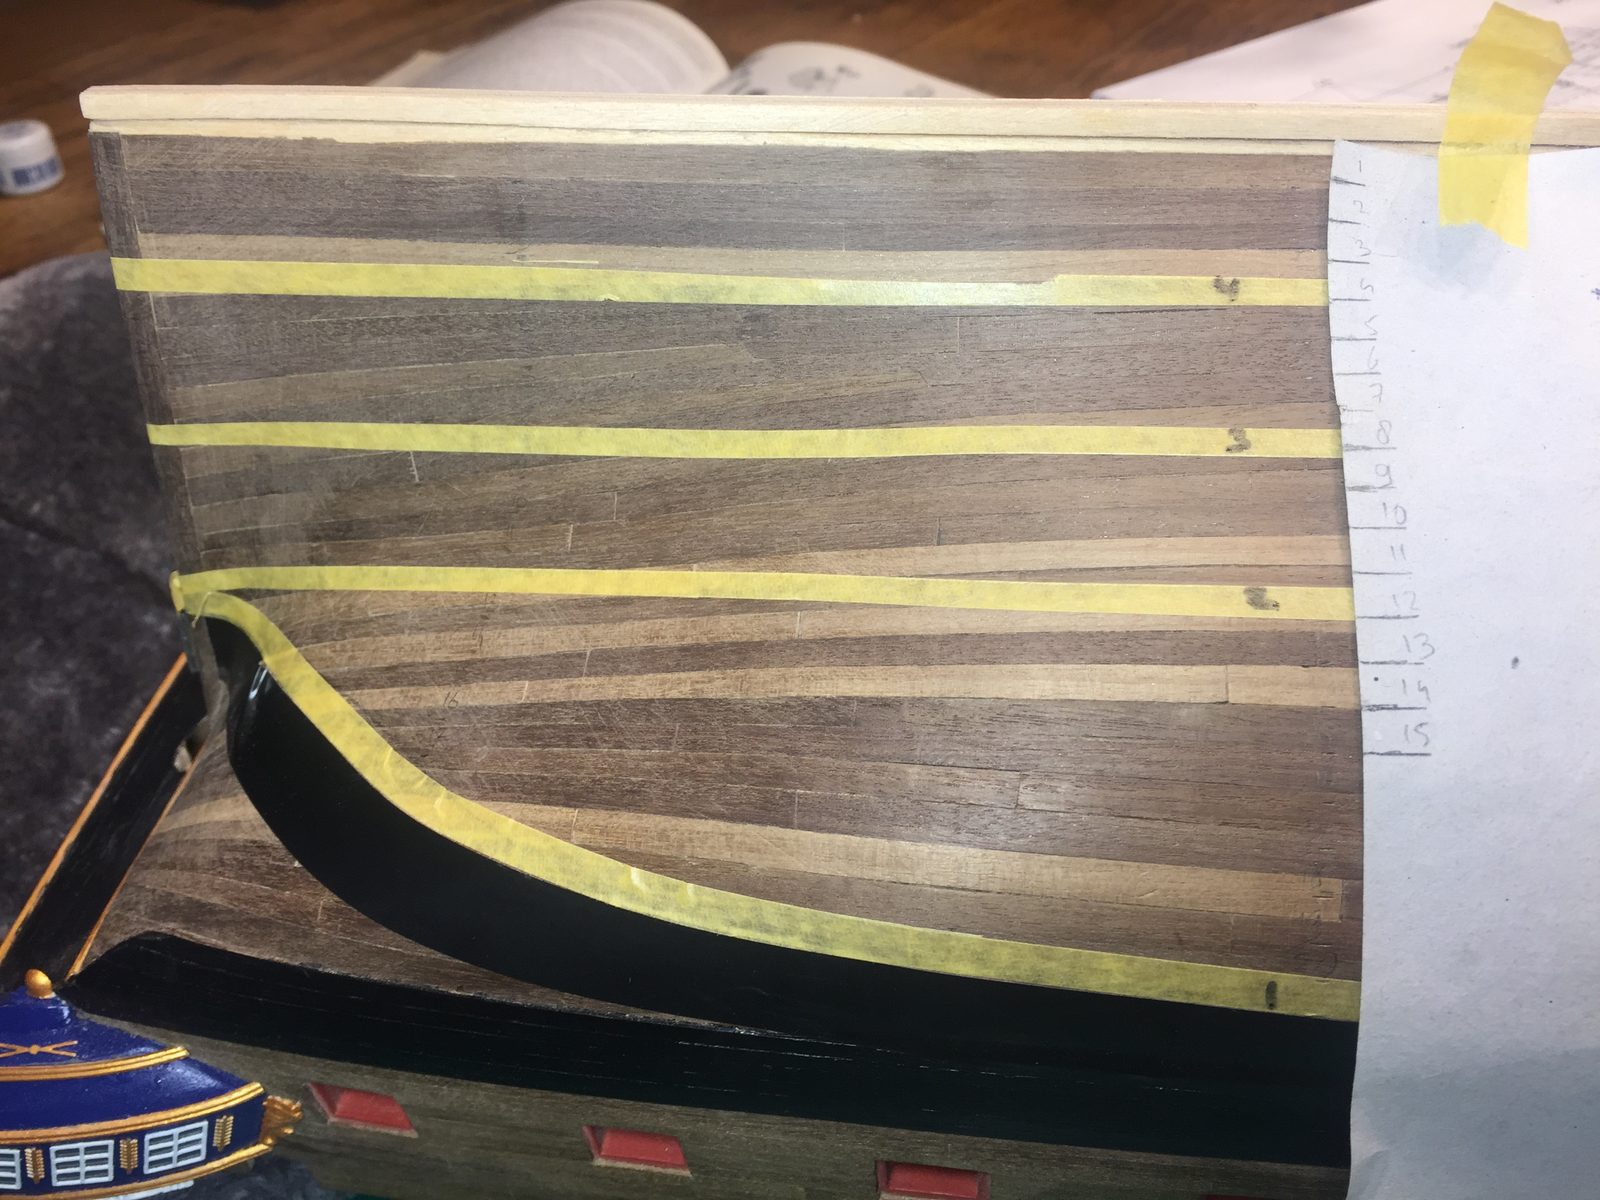
Henk’s system looks complicated. I am going with Piet’s example: run parallel to the sheer of a plank. Hans Groenenberg reminded me of Paulbo’s log (from page 14 onwards), where he explains how he did it. I taped off the chosen belt with masking tape; seen from astern, the belts run nicely in line.
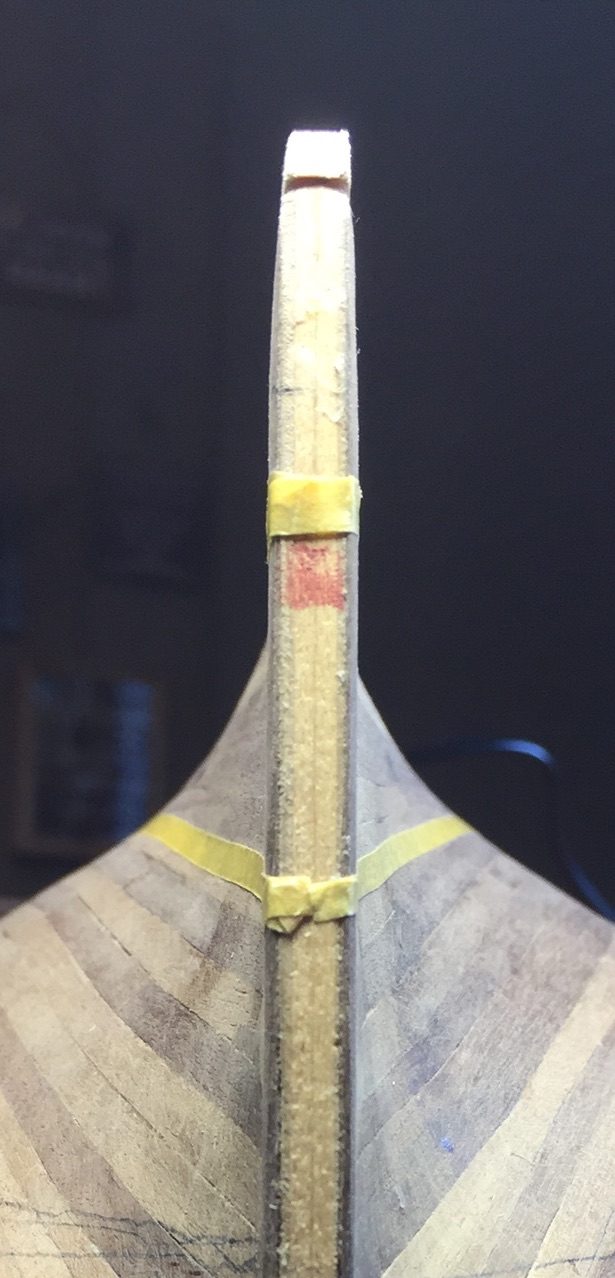
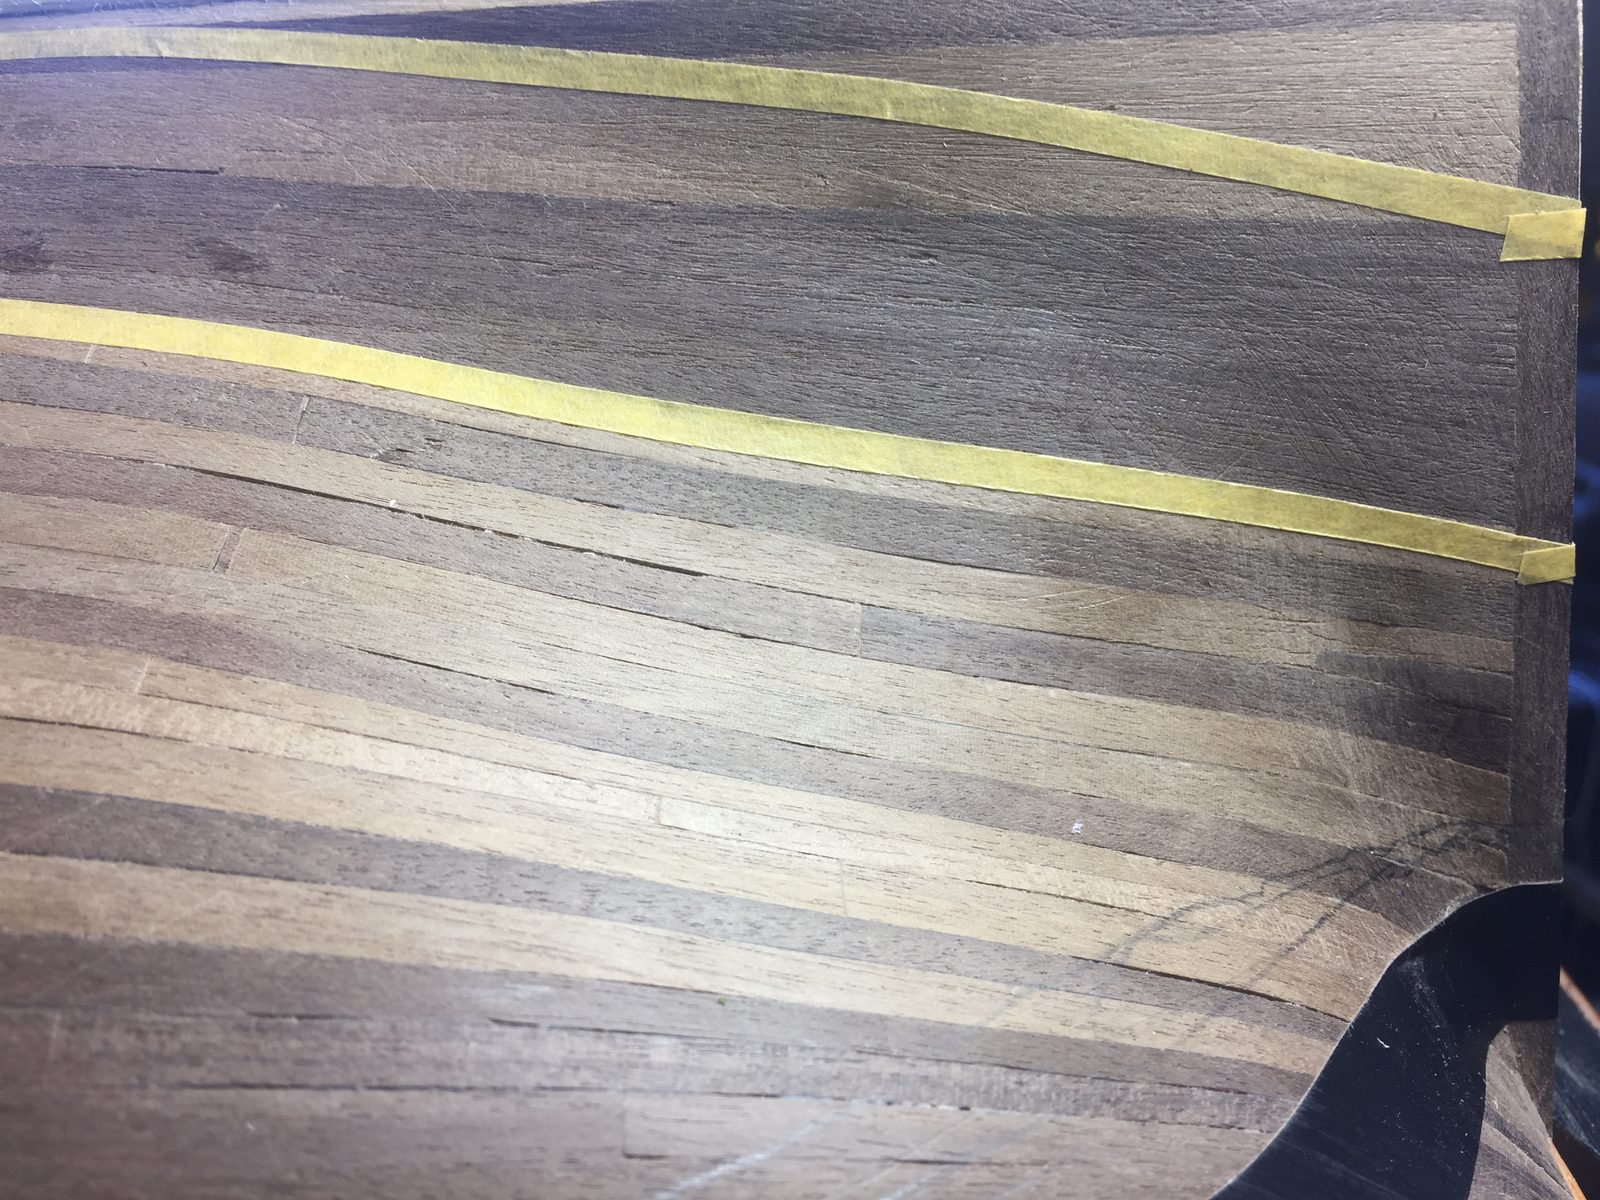
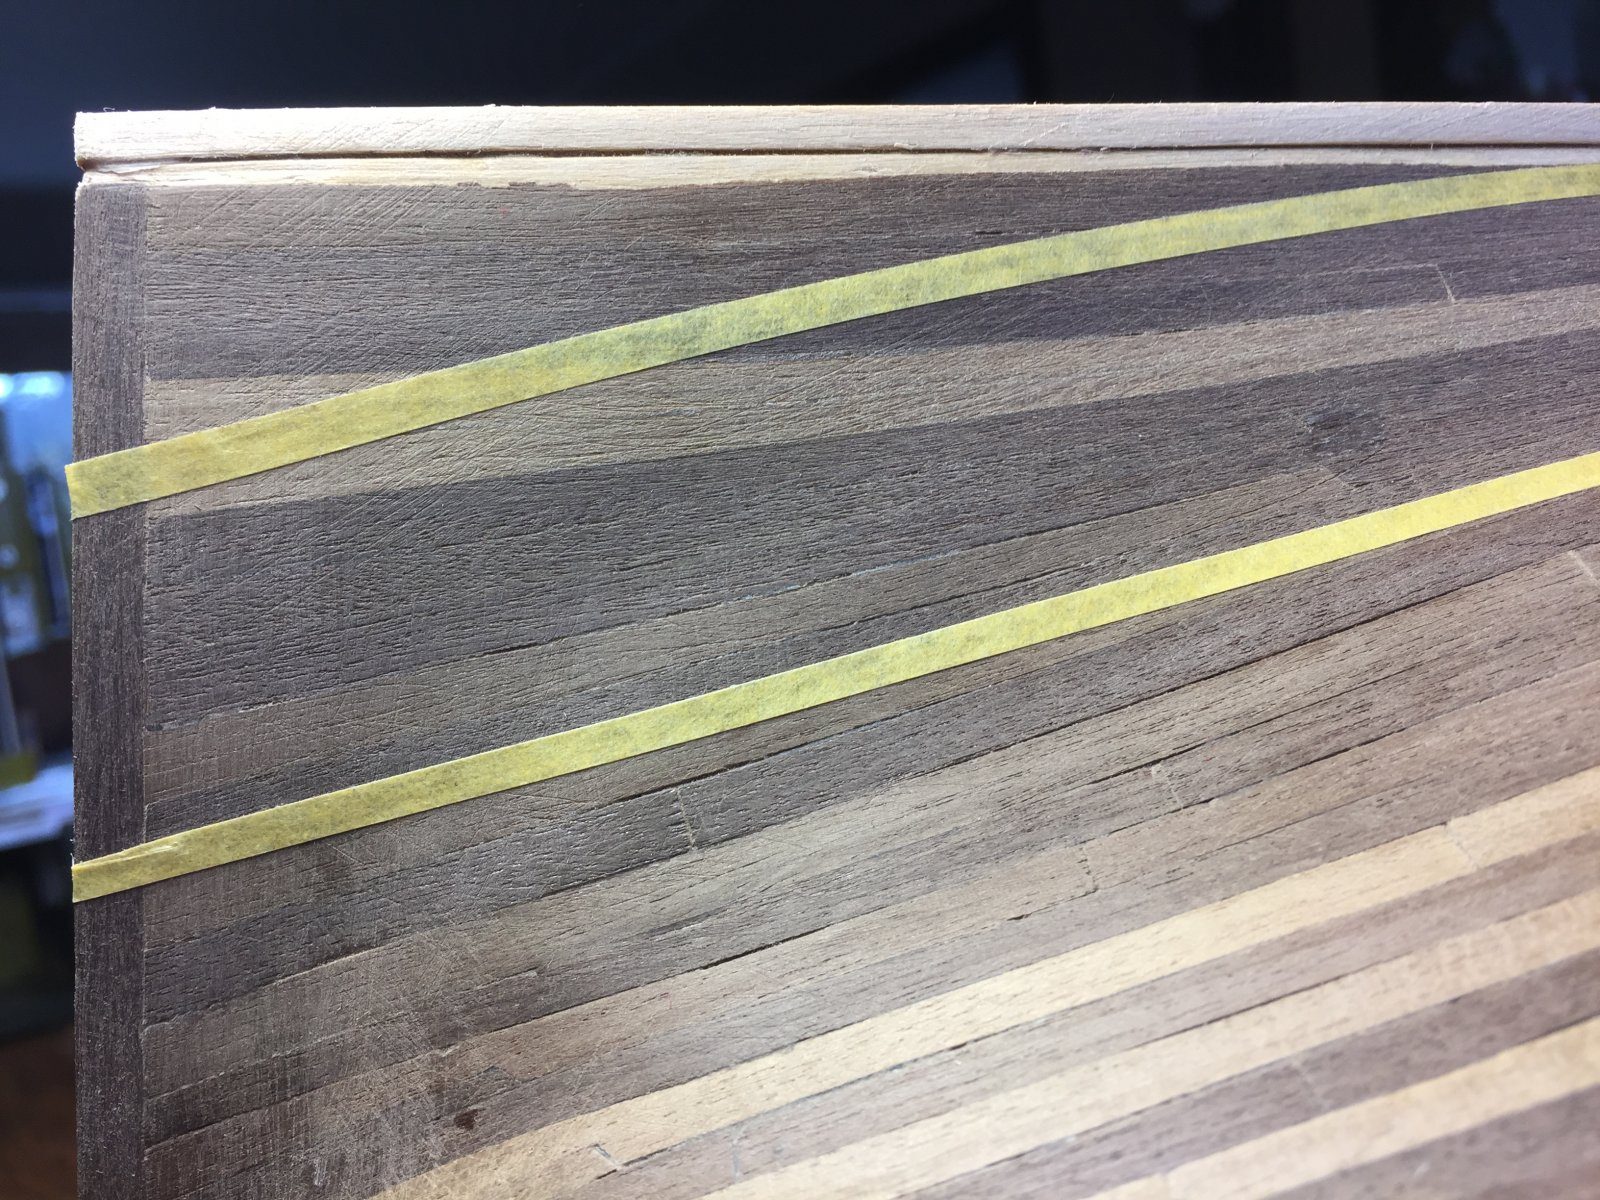
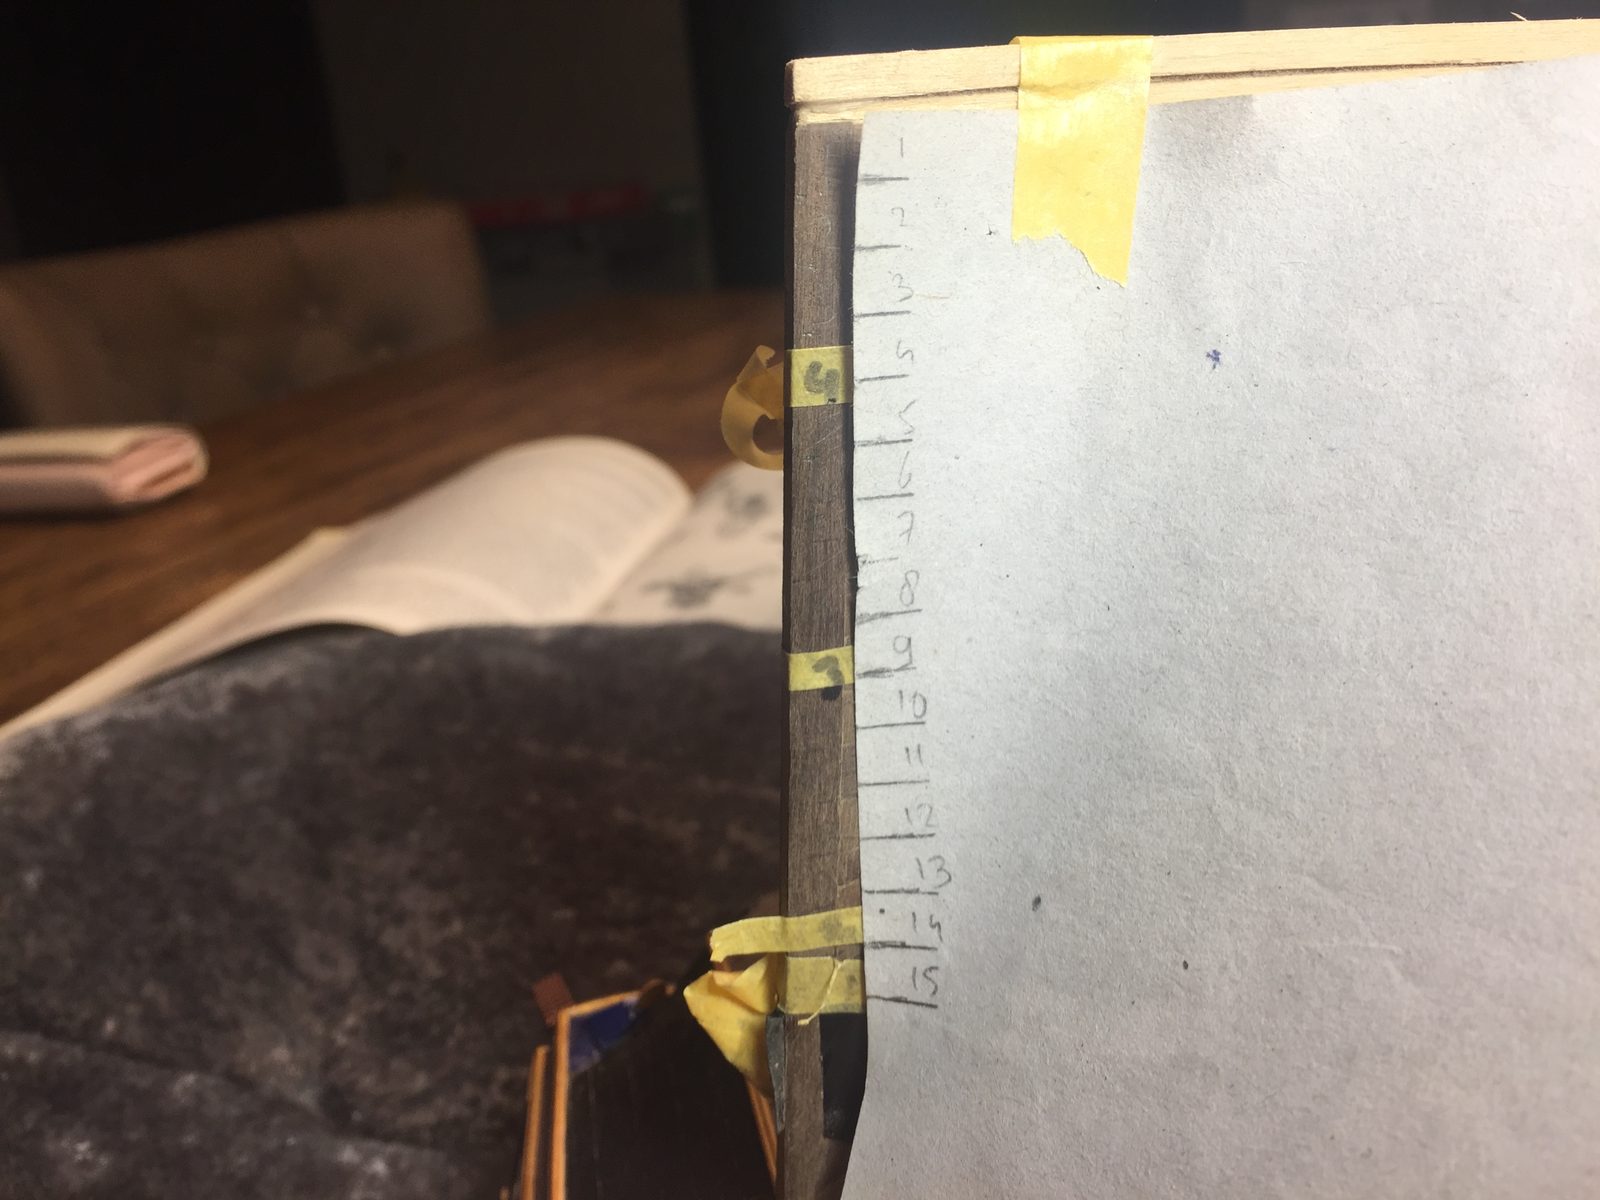
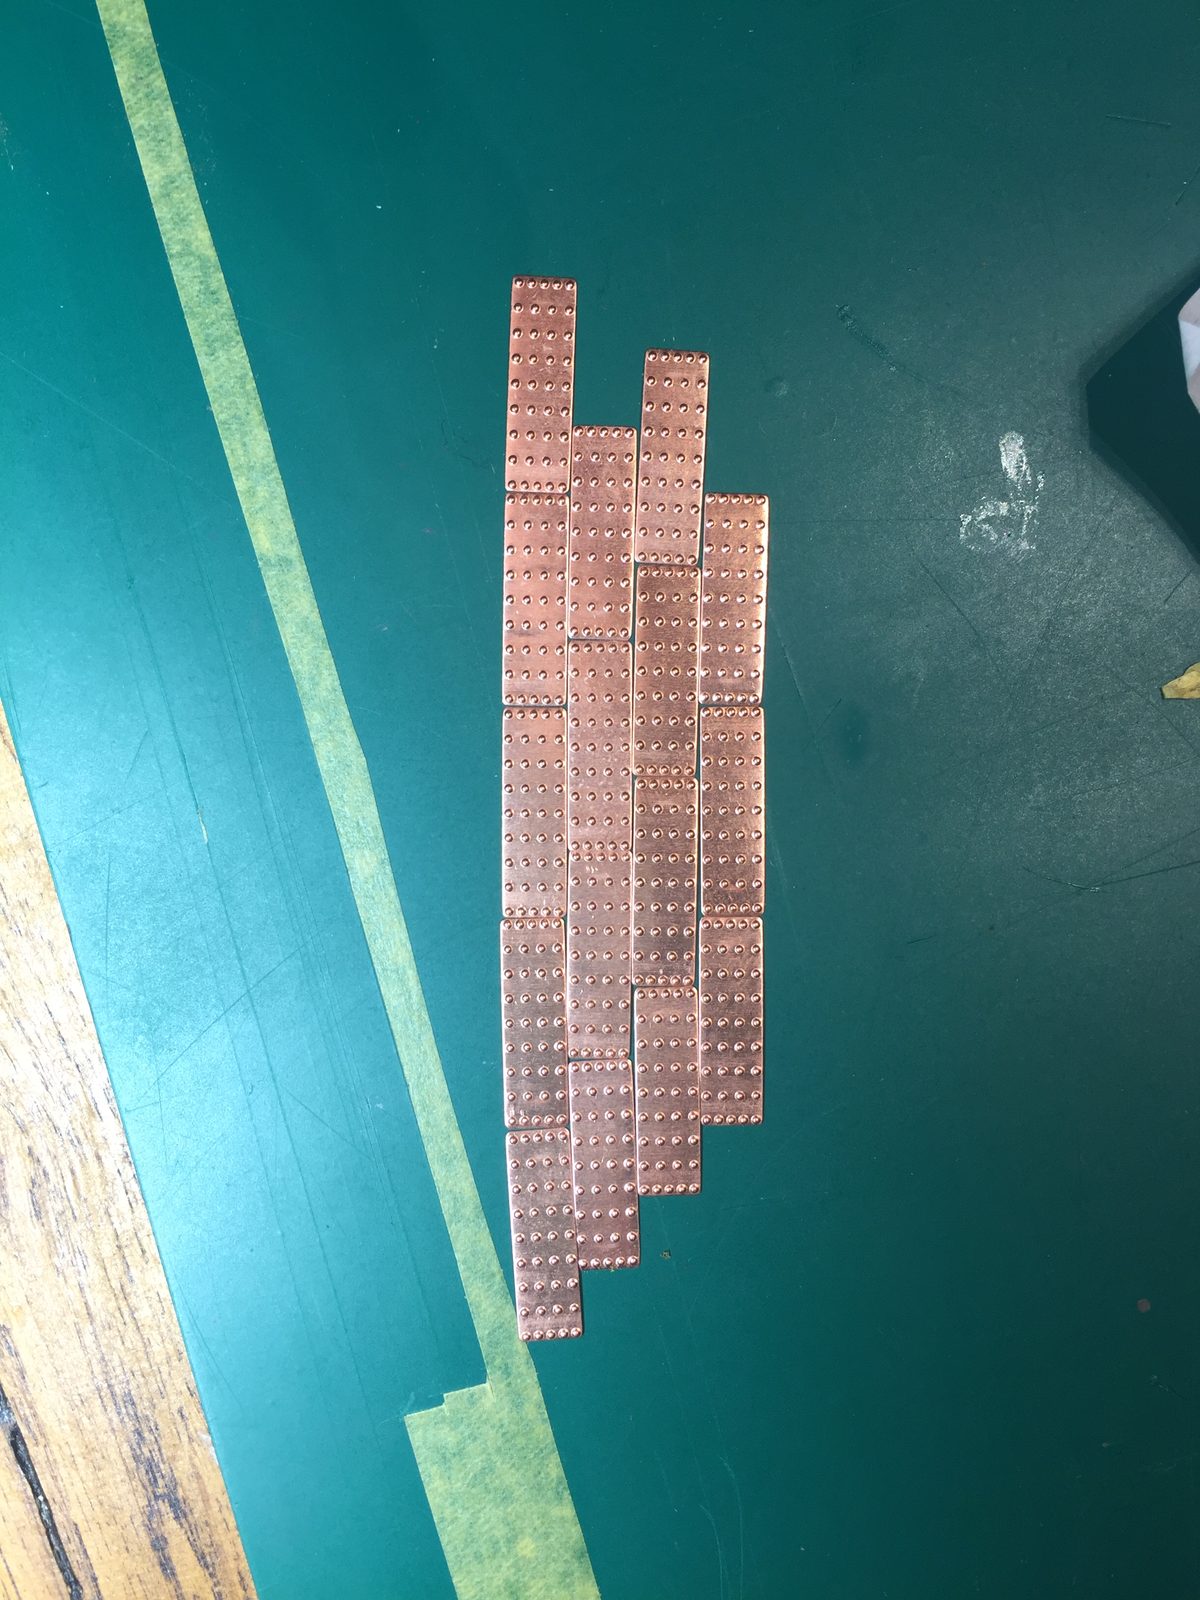
Then I made a small template with the plate width marked on it, transferred that to the hull in a number of places and drew belts between those points. Belt 1 is one plate wide: the band along the waterline that Piet would lay first. Belt 2 sits at 12 widths from the garboard strake at the bottom, and at 14 at the sternpost, so there I need two stealers that come out at exactly one width. Still open: Paulbo’s method (five straight rows below the waterline) or Piet’s (one row). Dry-fitted, the pattern now staggers by a third instead of a half. Hans remarked that in reality it did not strictly follow a pattern at all: coppering was there to stop fouling, function over form.
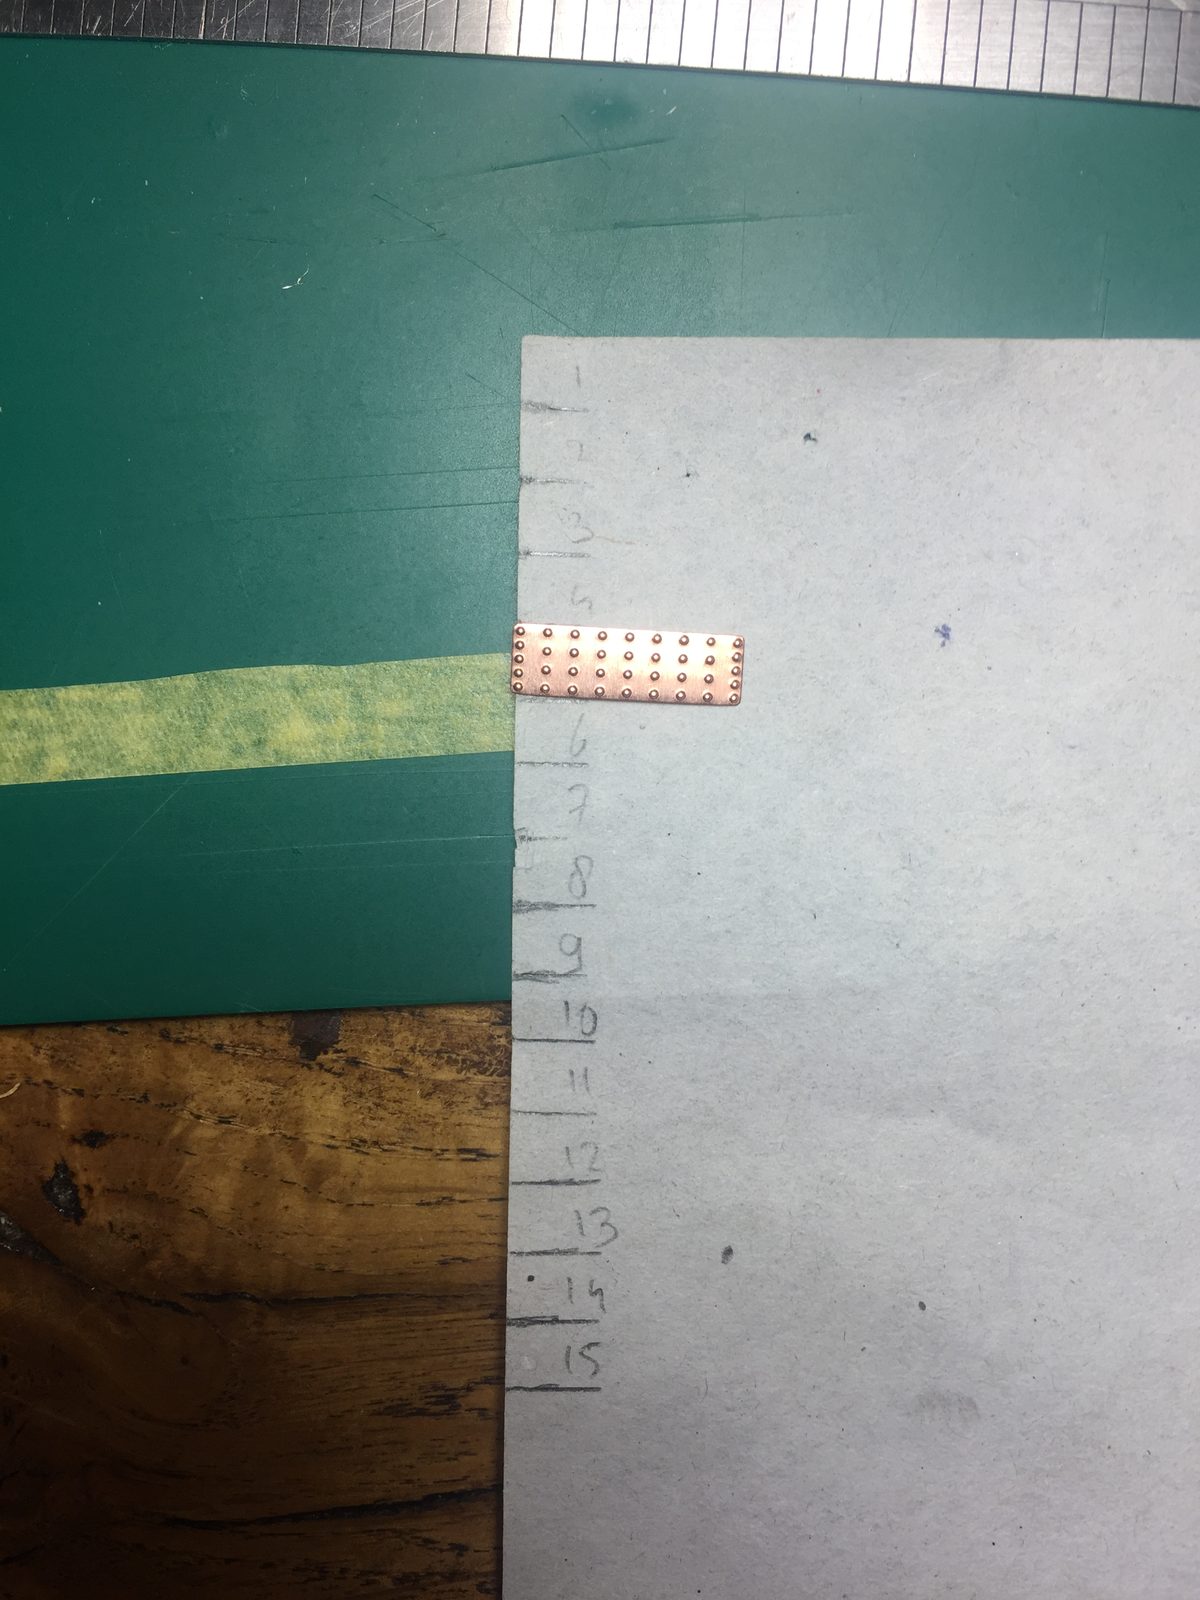
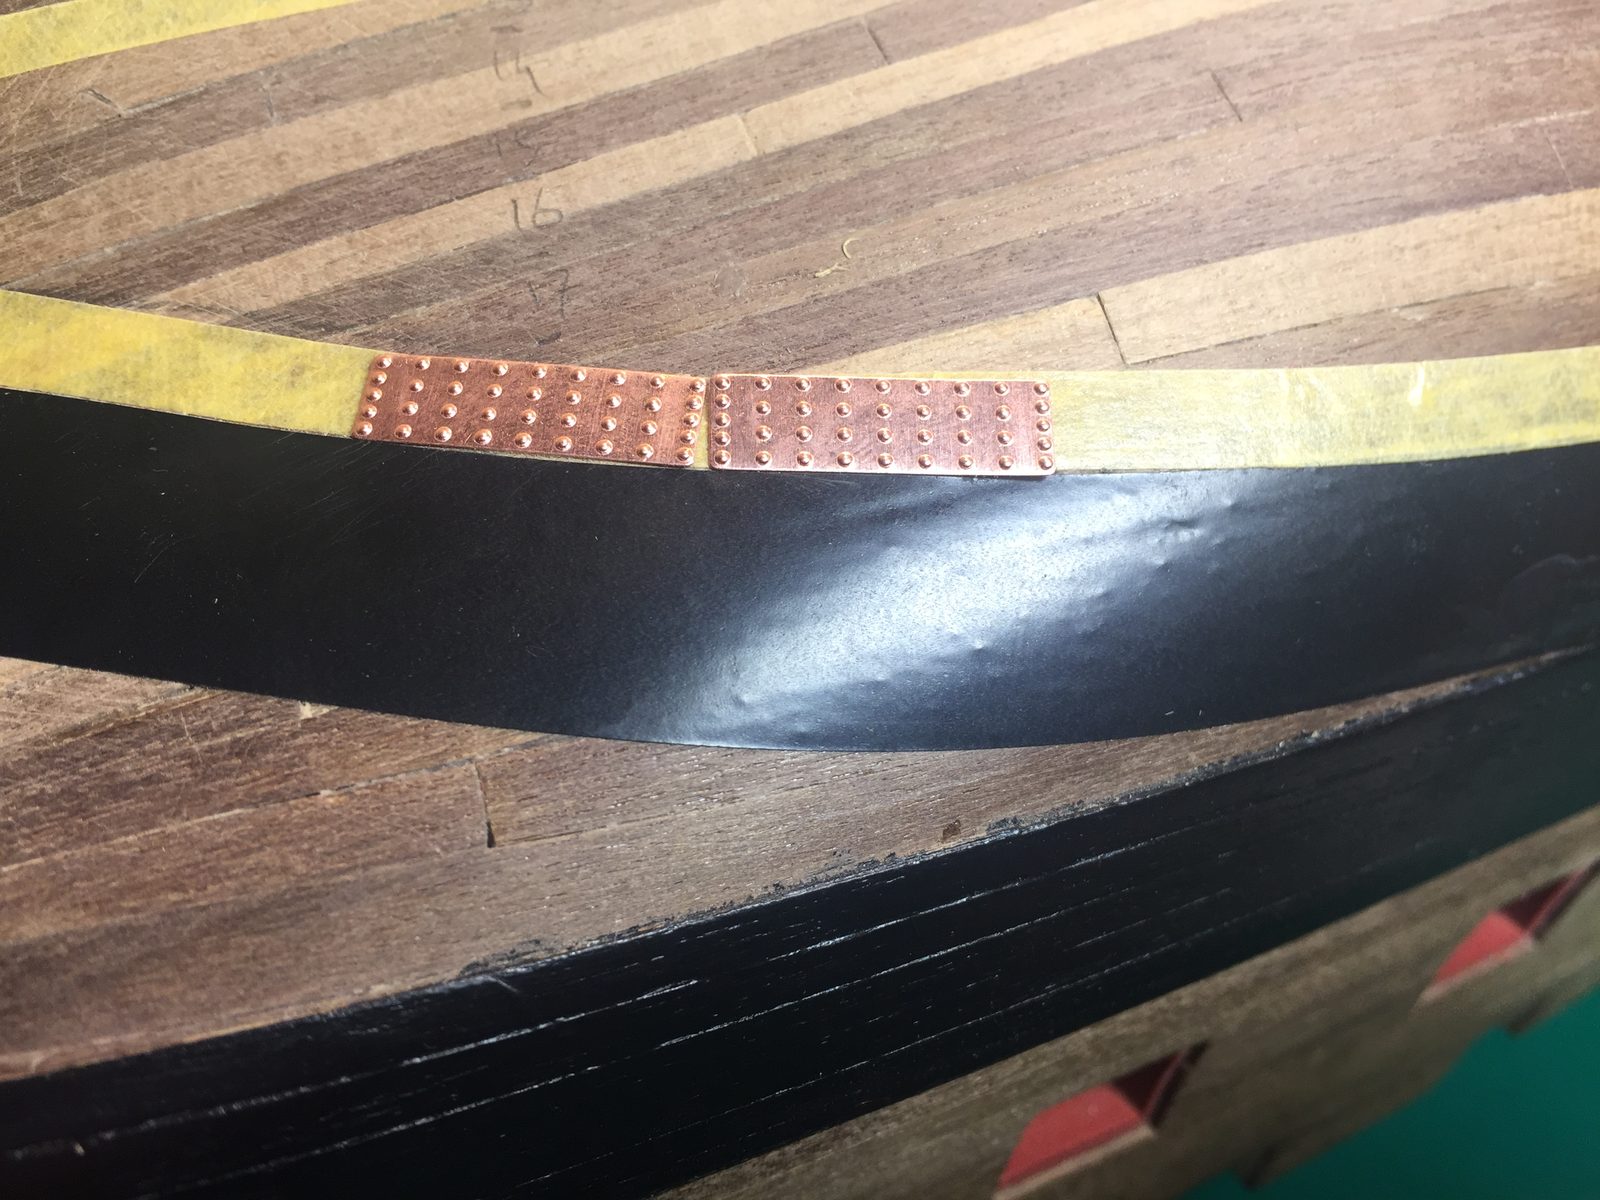
Finally I did a section of the keel. That had to come first, otherwise I would get into trouble with the height at the garboard strake. Now exactly one plate fits across the whole keel.