Everything off again
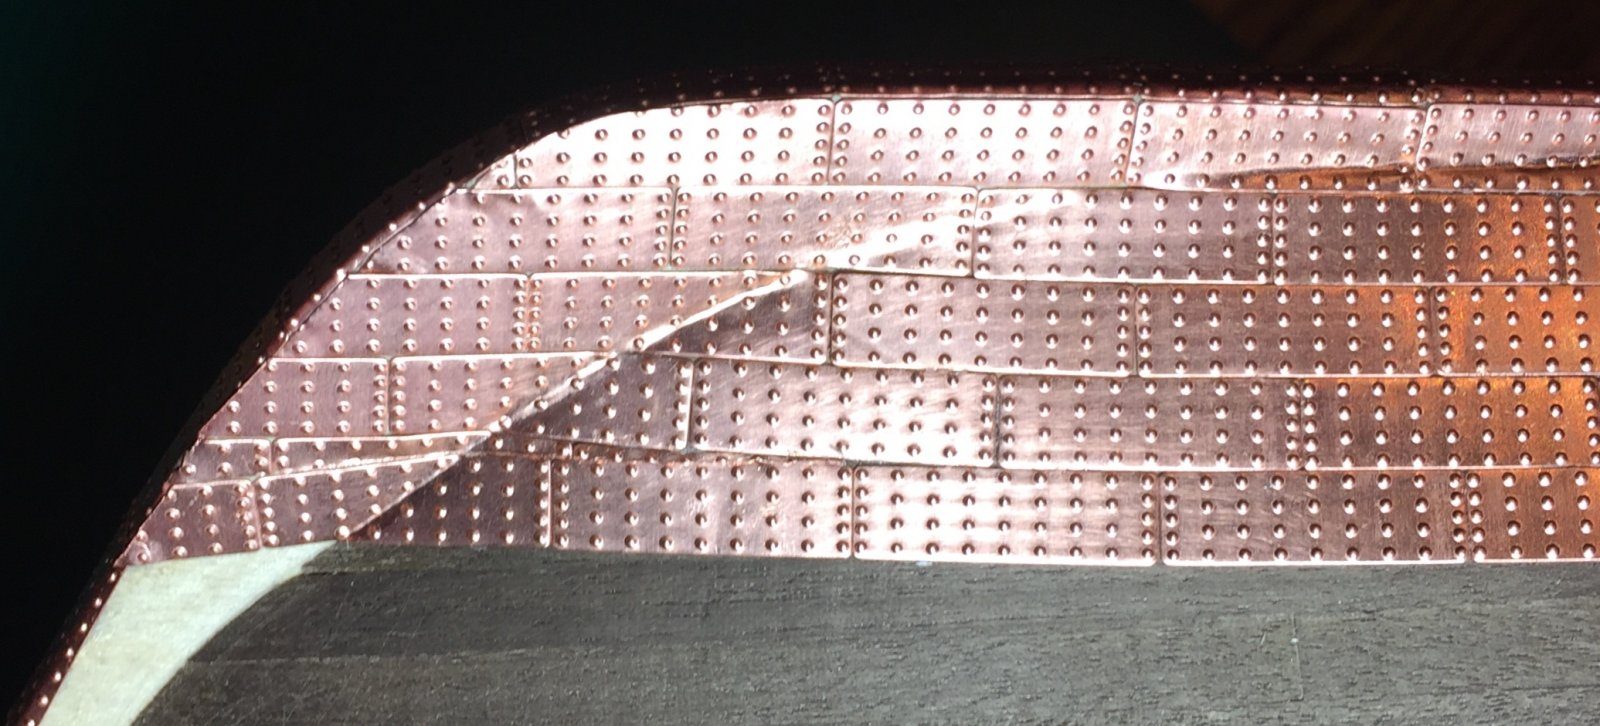
Groan. Another thing to watch out for, preferably before you have a few hundred plates on. My plates on the underside of the keel were not quite centred, so on the port side they came just over the edge. Because I laid the next plates up against them, the plates on the port side now sit just a little lower than on starboard. It would have been better to lay the garboard strake first and only then cover the keel.
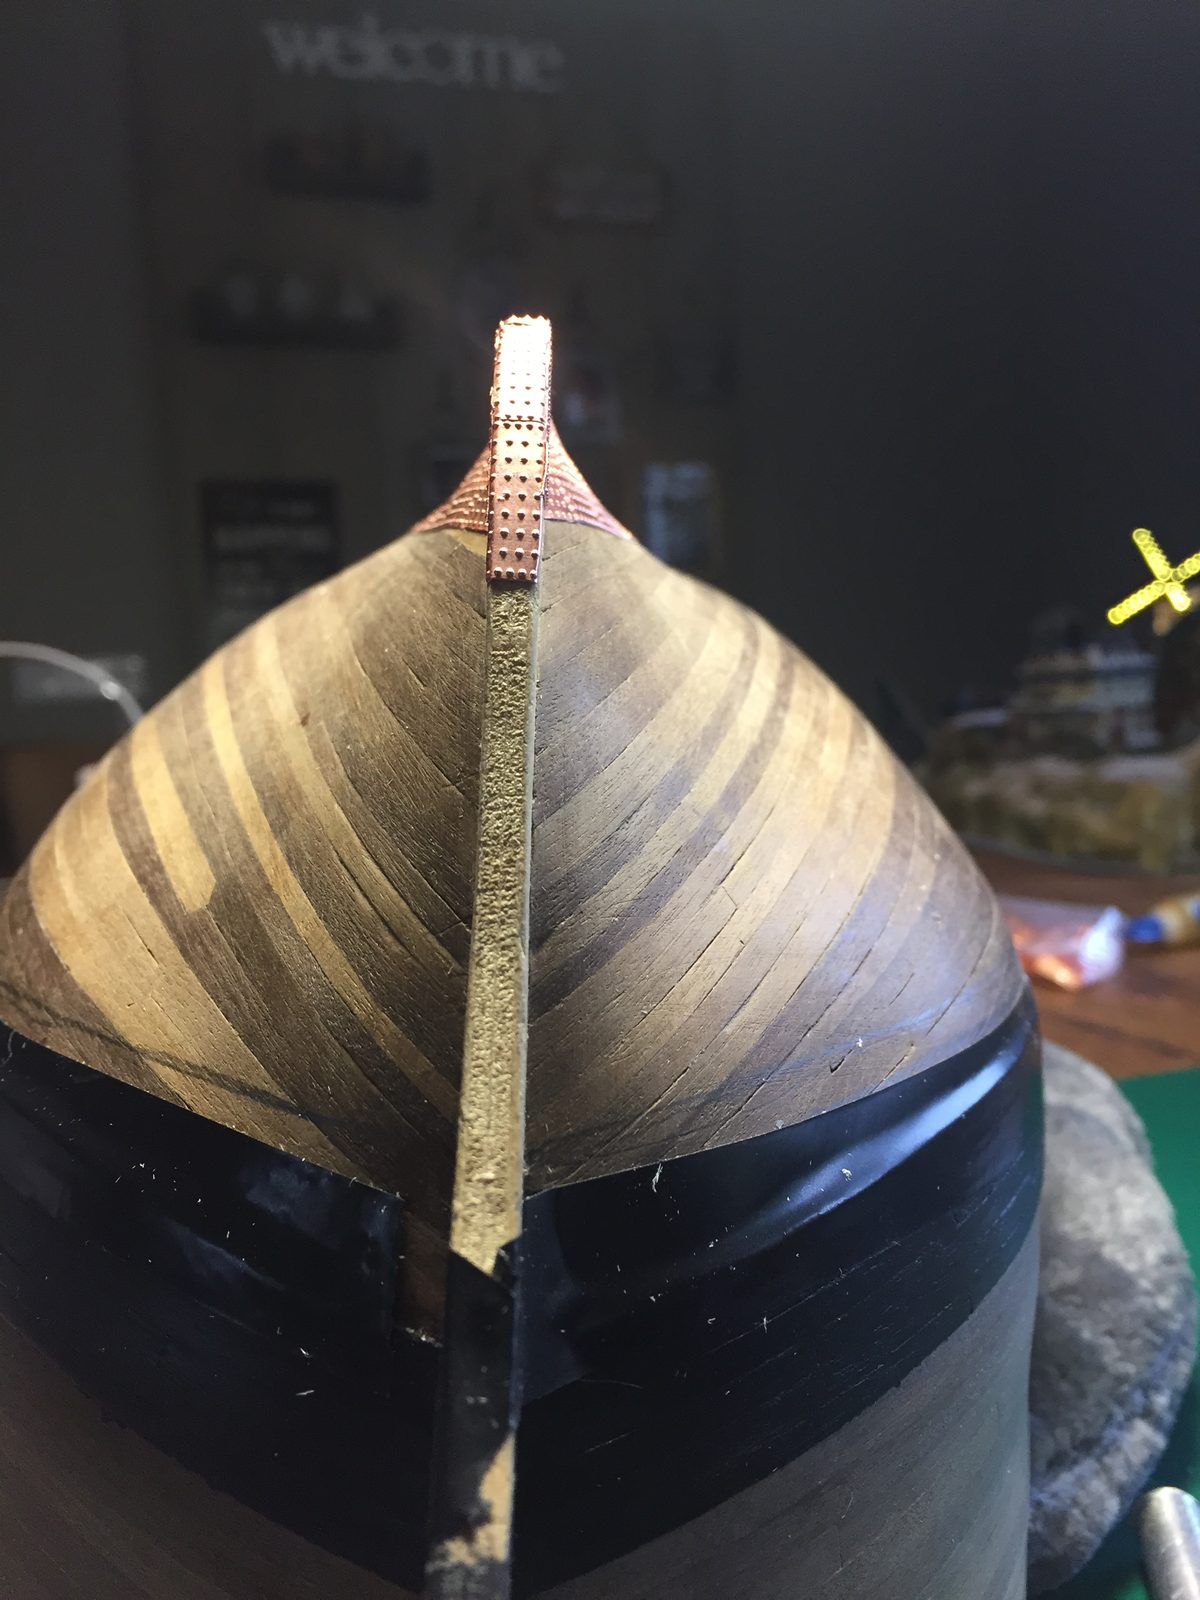
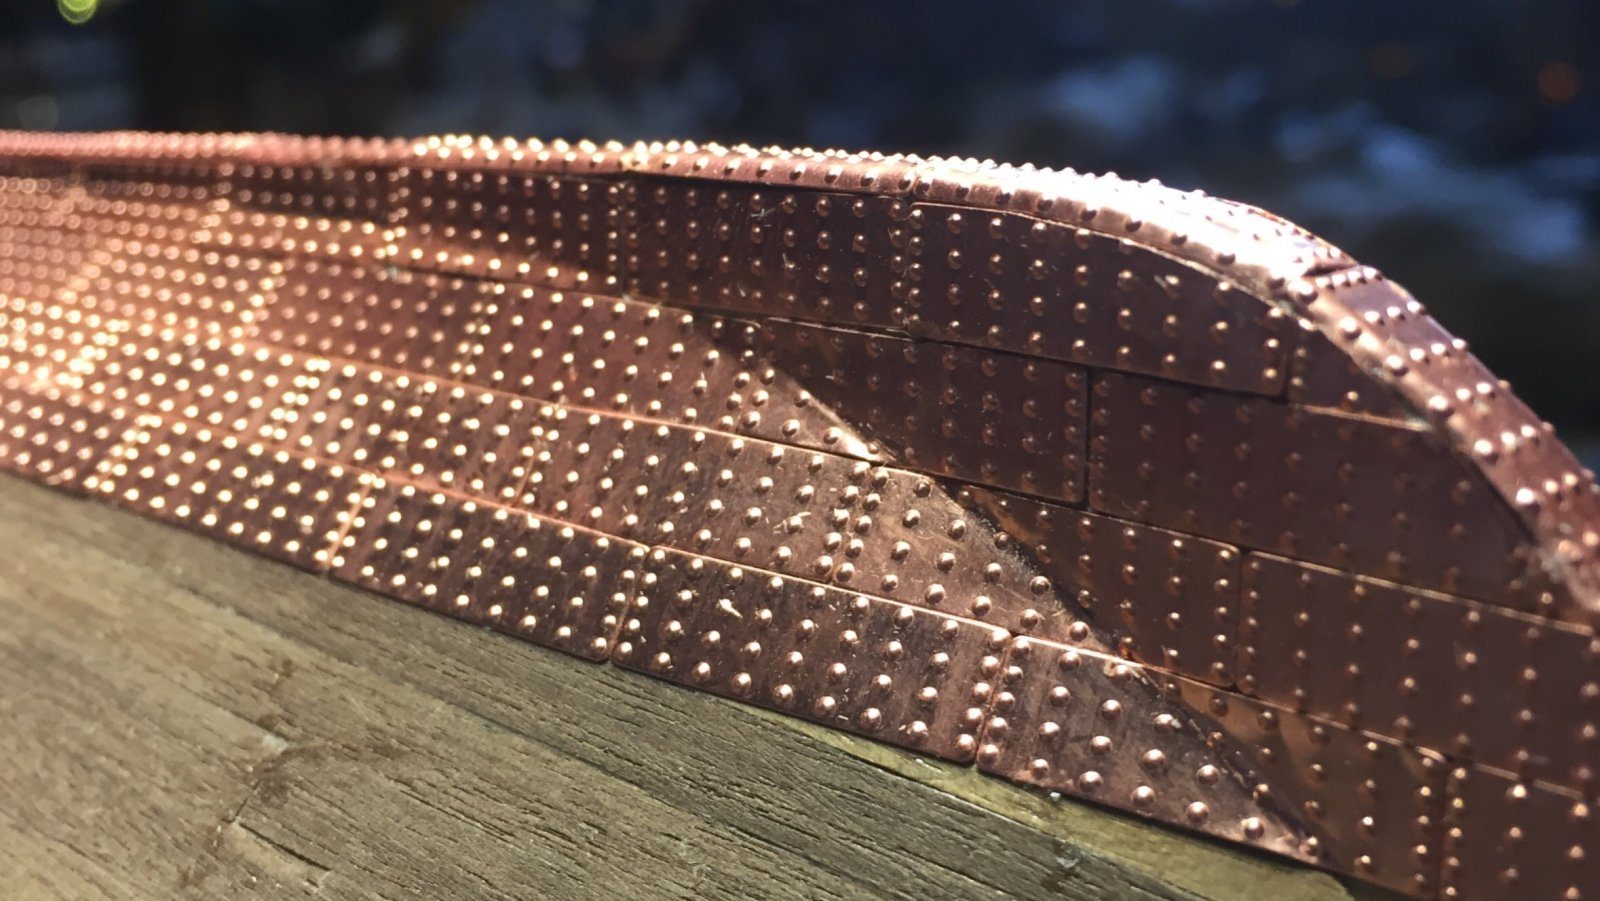
Piet also thought I had set off too quickly, but pointed to a bigger problem. I was laying nice straight lines along the keel, whereas the plates should follow the strakes. The hull is not the same width along its length (think of the tapering and the stealers when planking), so with tight straight lines you will not come out right at the stem and the sternpost. Better to pick a strake halfway up the hull, follow that with the plates and work up and down from there. Starting at the keel is fine, but after that you should not carry on with the straight line of the keel. At the sternpost, angled corners take the place of the stealers, and at the bow those angled pieces only appear on the hull planking: on the stem itself the plates run horizontally. In my last photo I had carried the angled corners right onto the gripe, and that is just what you should not do.
The odd thing is that everywhere you read that you should start at the keel. At first I thought I could still fix it with a few stealers, but I was afraid it would turn into a mess. Piet offered to send me, free of charge, the plates I would run short of after a restart; he still has a few thousand of the same size lying around. That settled it: everything off.
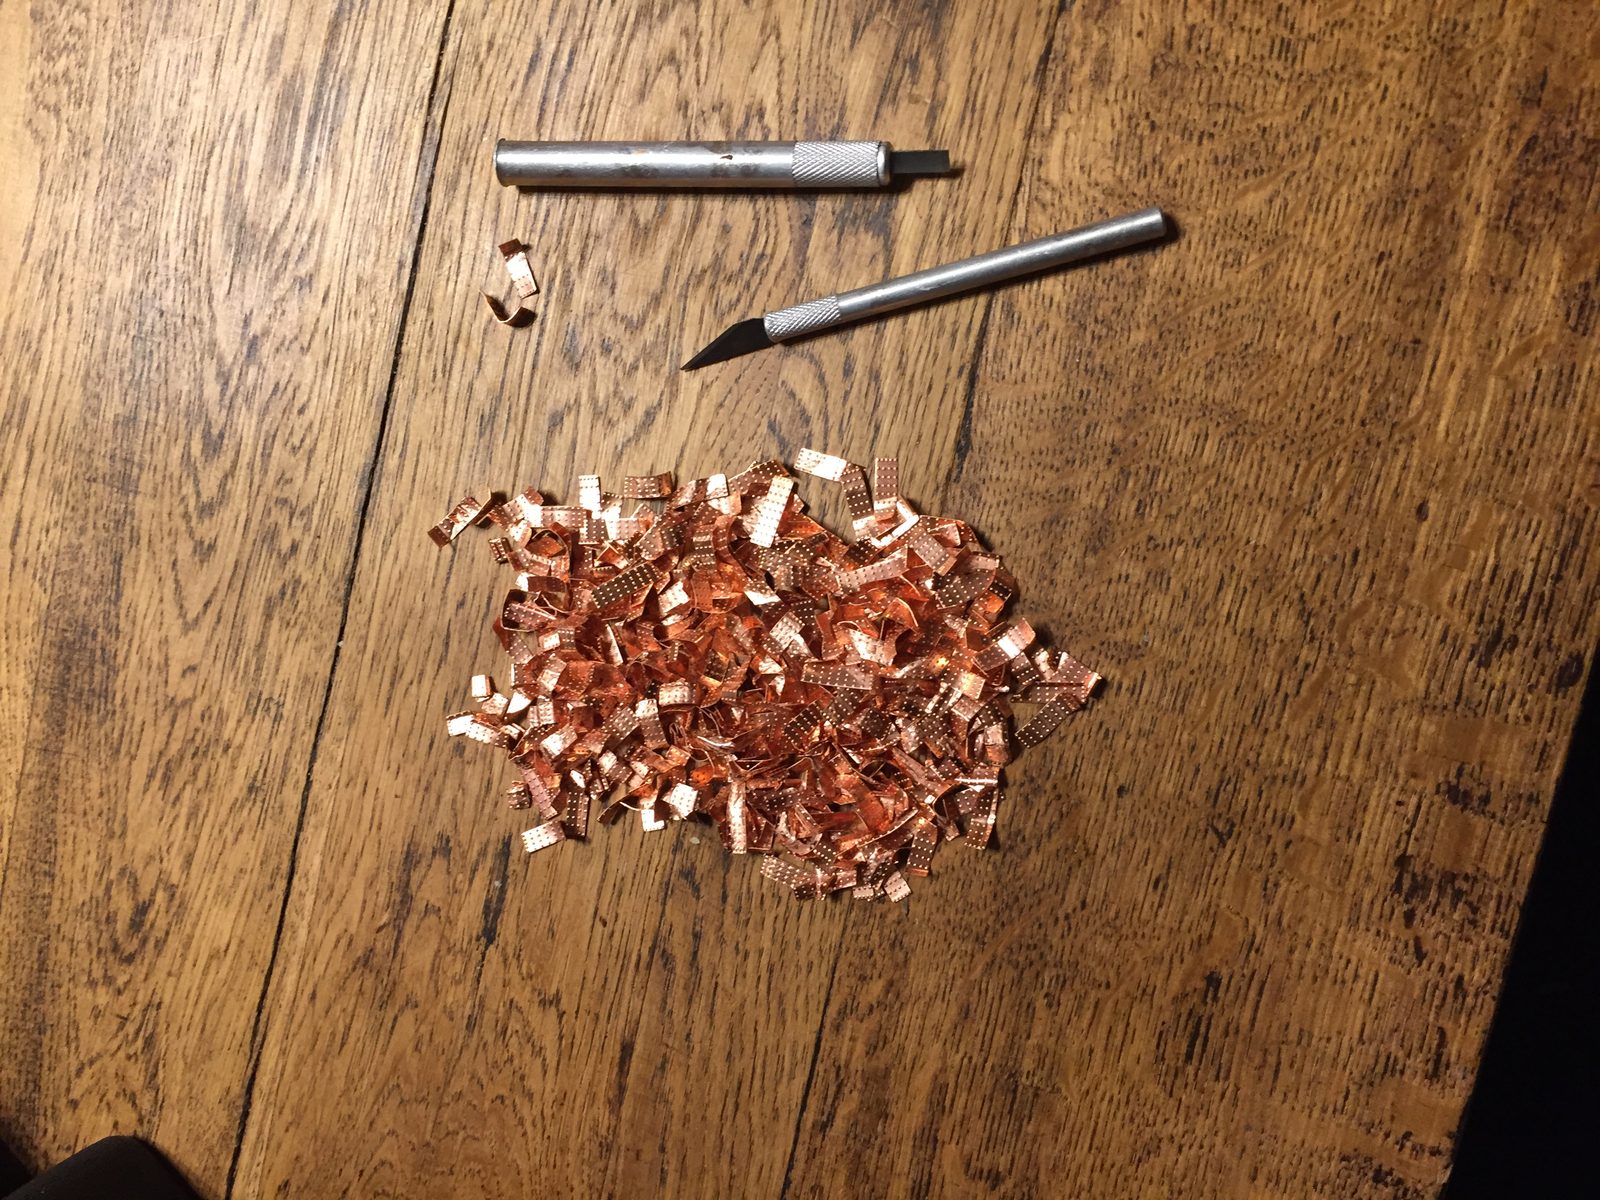
According to Piet, removal goes like this: a hobby knife underneath, lift a small corner, pull the plate off with a pair of pliers and sand the wood. Carefully, because where there is a lot of glue you pull bits of wood off with it. Piet himself uses just two drops of CA per plate, so that they come off again if he makes a mistake. In my case they fortunately came off easily.
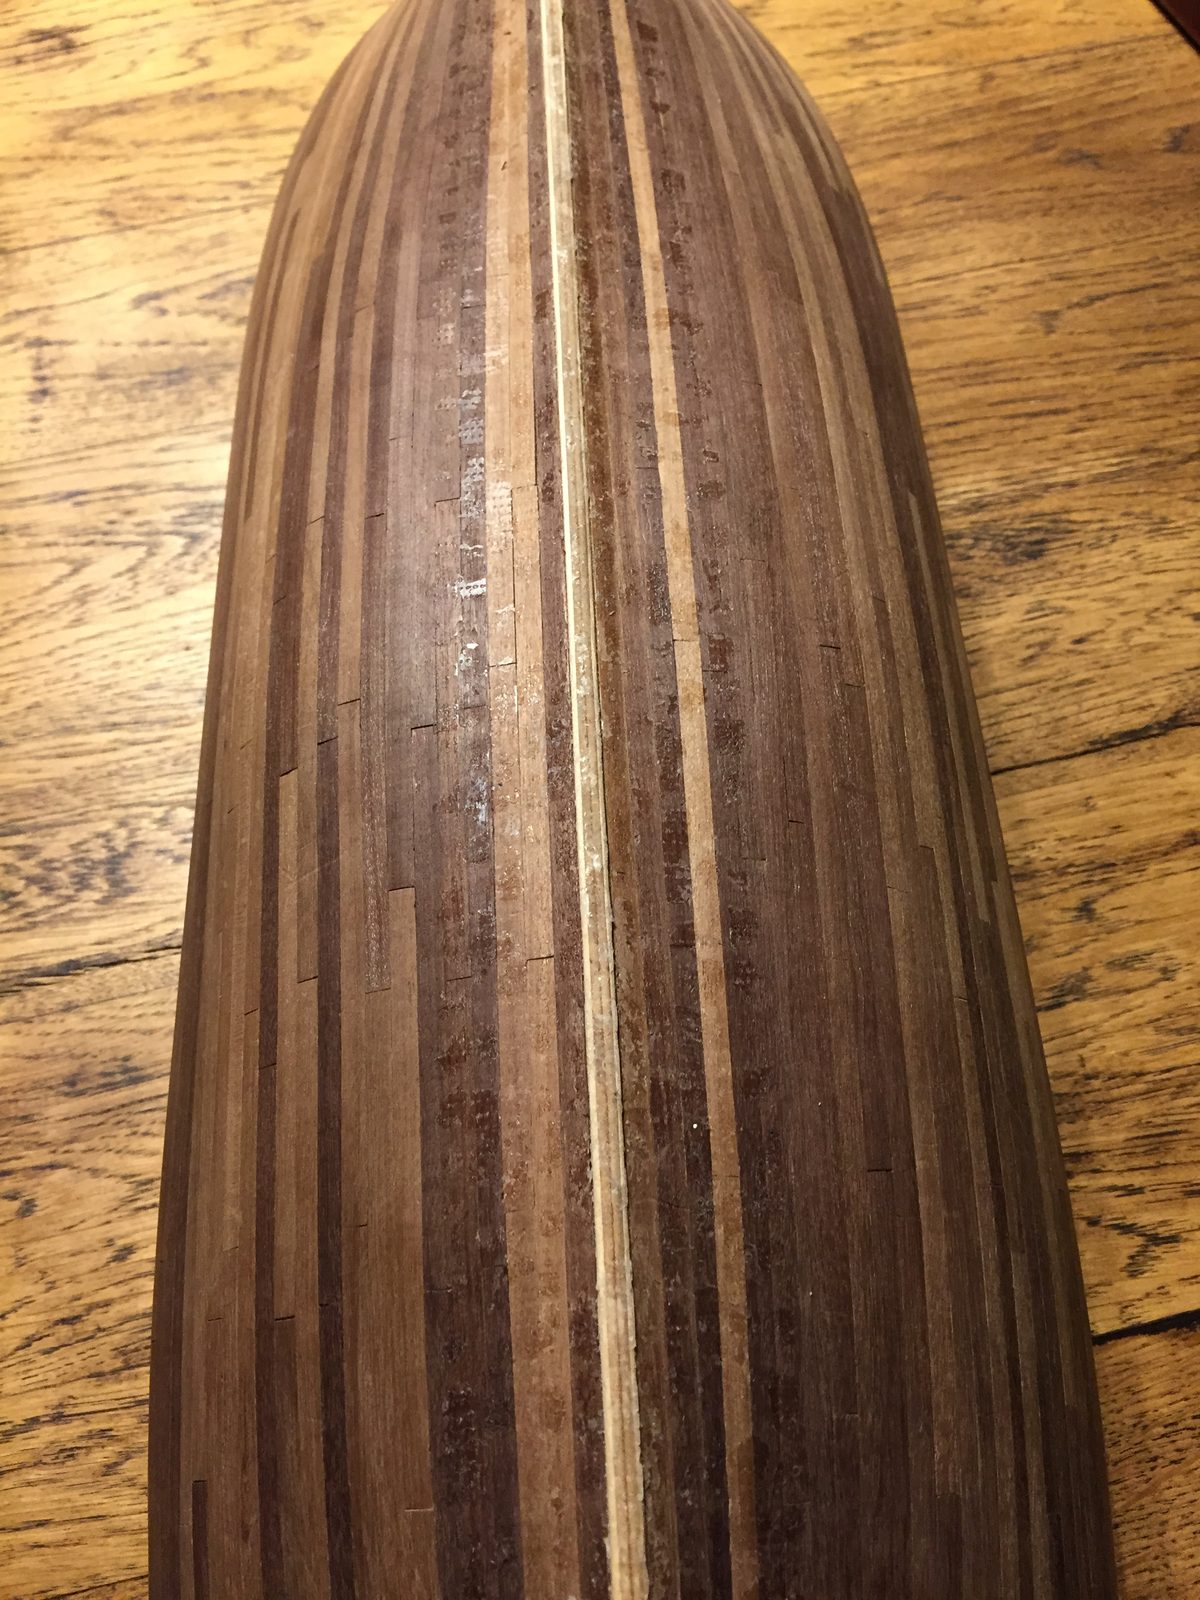
Tomorrow I will work out a plan of attack. The keel may need repairing; I would actually like to deepen it a bit. There is hardly anything left of it.