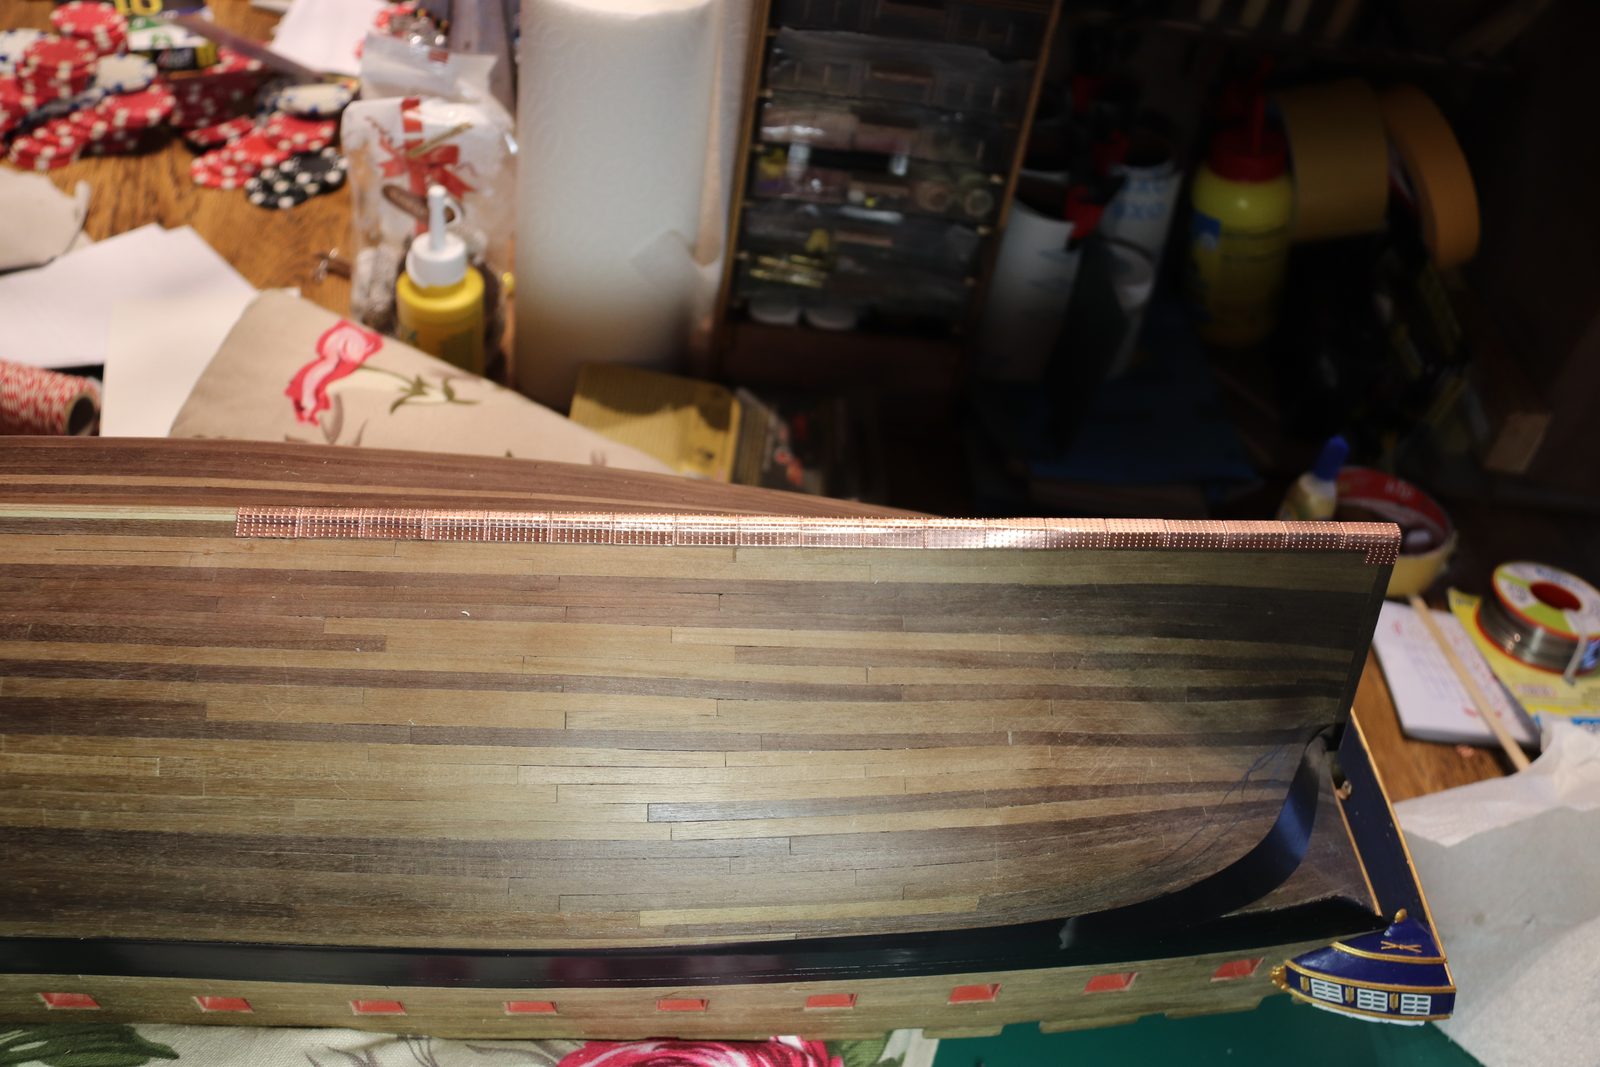
Copper first, then the mouldings
Yesterday I gave some more thought to what Piet said about the order of things. I also found another Diana build log in which the builder ignored the manual’s sequence as well and simply went with whatever order made the most sense. So instead of the mouldings I am doing the coppering first. For that the ship still has to go on her side and upside down, and it would be a shame if all those mouldings got damaged again in the process.
I did not want to make life difficult for myself: start at the keel and follow the line as it runs, no elaborate system. Beforehand I had three questions for the experts. First: the underside of the keel is not supposed to be coppered, and there is even supposed to be a separate plank underneath it. Should the sides of that plank be coppered, then? Second: the after part of the keel is thicker than the forward part, because the after part is planked and the forward part is not. How do I deal with the step that creates? Third: which glue, UHU Hart or thick CA?
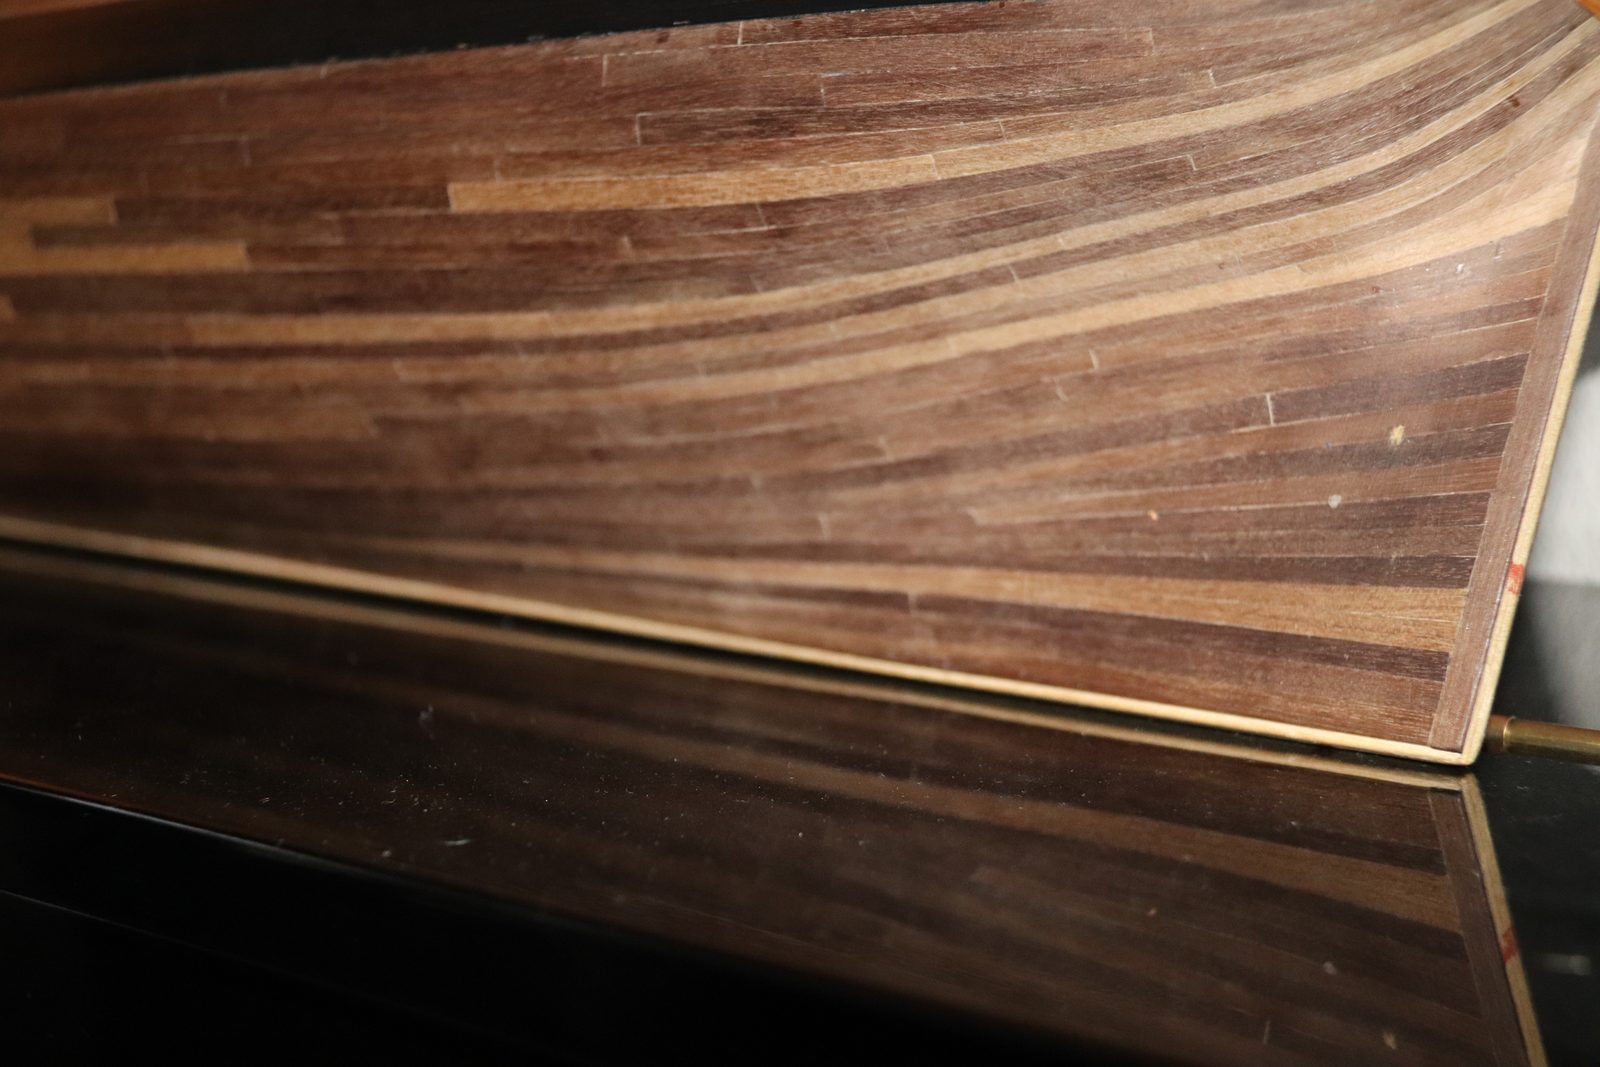
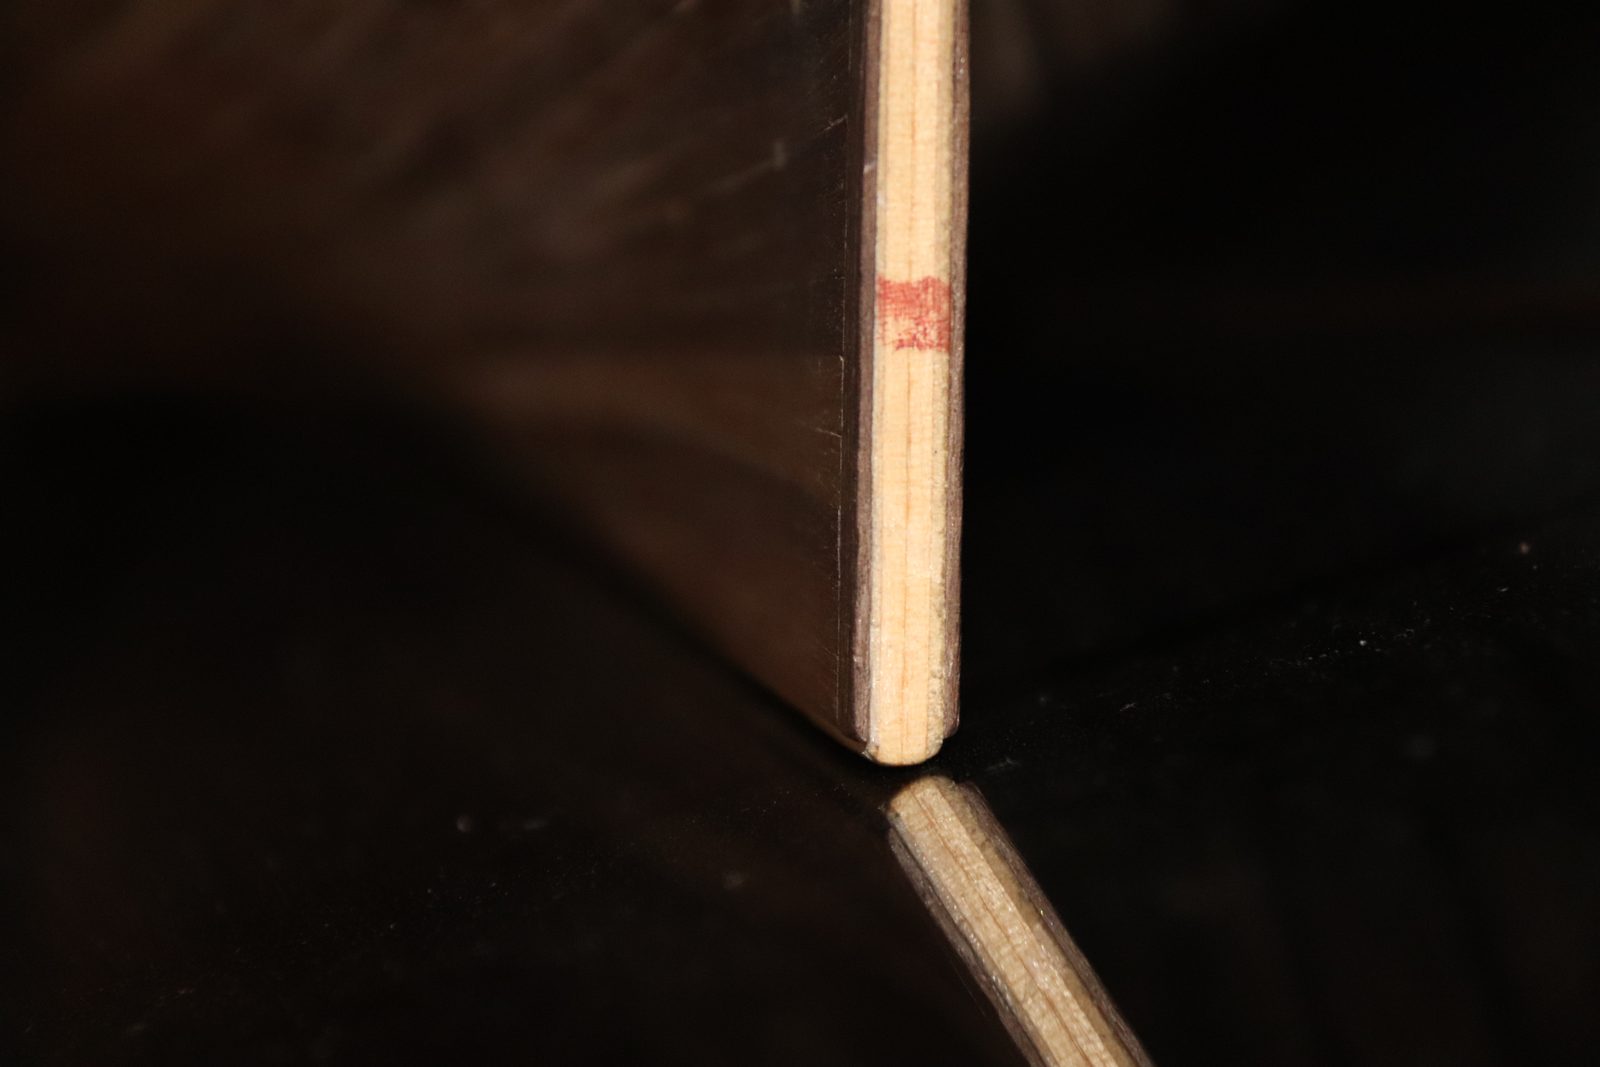
Piet explained that this plank is the false keel, a sacrificial strip that only protects the real keel. In model building it is usually left off, and Piet would do the same: it does nothing for the look of the model. The underside of the keel is never coppered. Hans added that this is why it is also known as the shoe. Piet also advised starting not at the keel but at the waterline, because half plates along the waterline stand out far more than they do at the keel. I chose a middle way: start at the keel after all, cut the plates at an angle two rows before the end and finish with two full rows. I am coppering the underside of the keel as well. Not correct, but every model I see on the internet does it, so there must be a reason. I do not expect much wear anyway.
The waterline
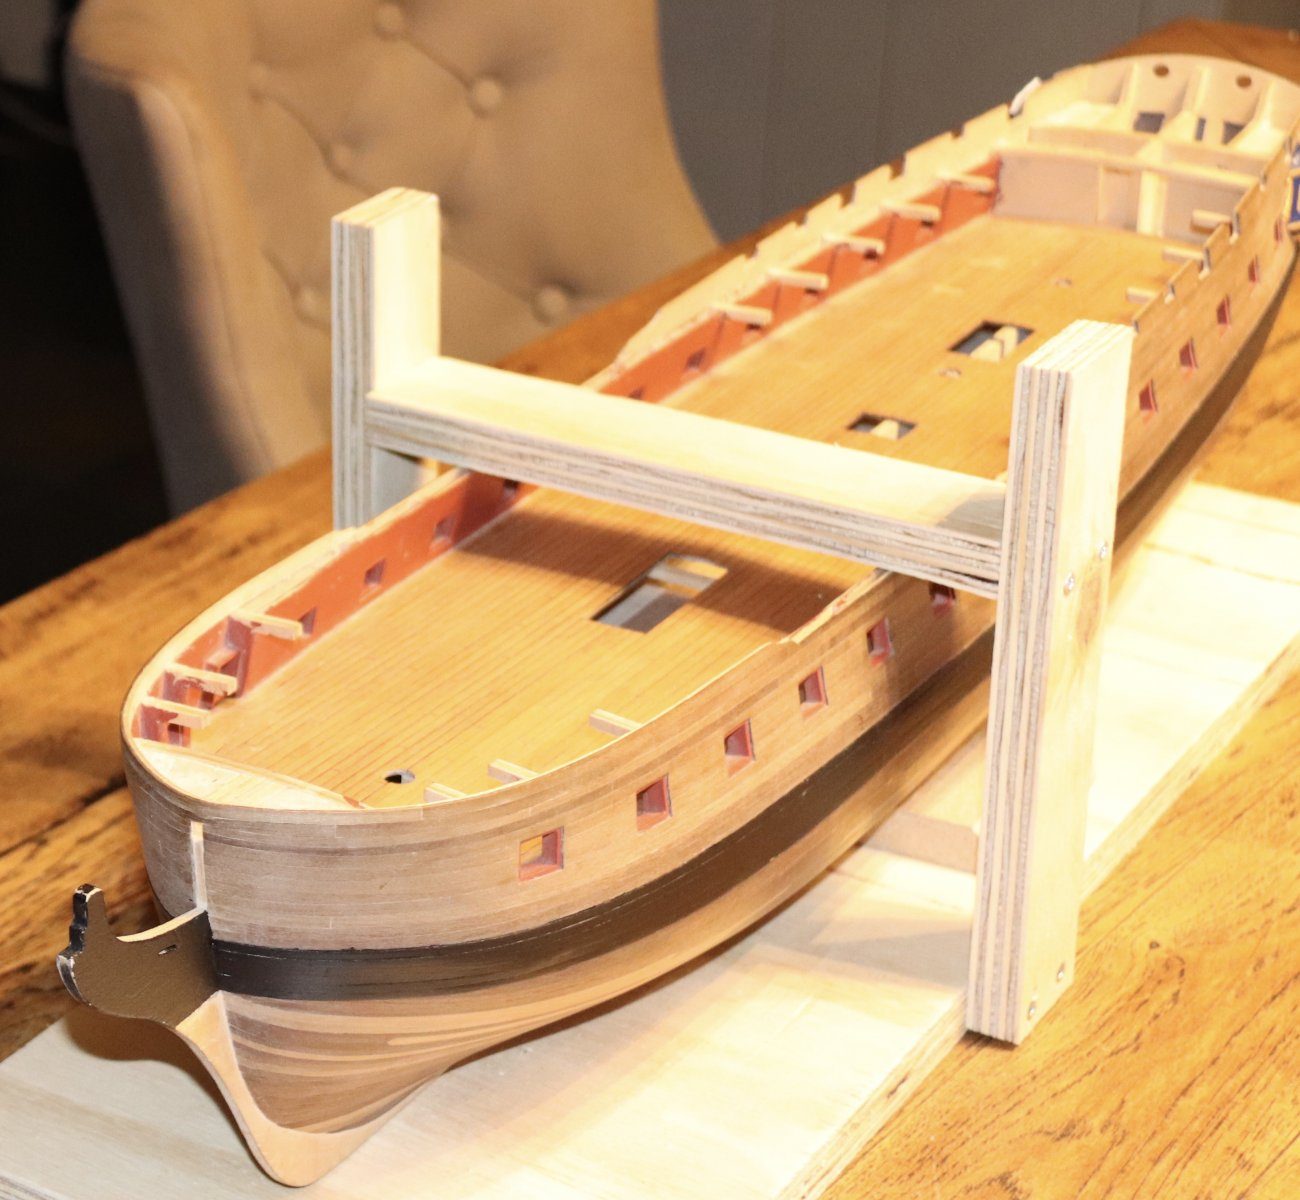
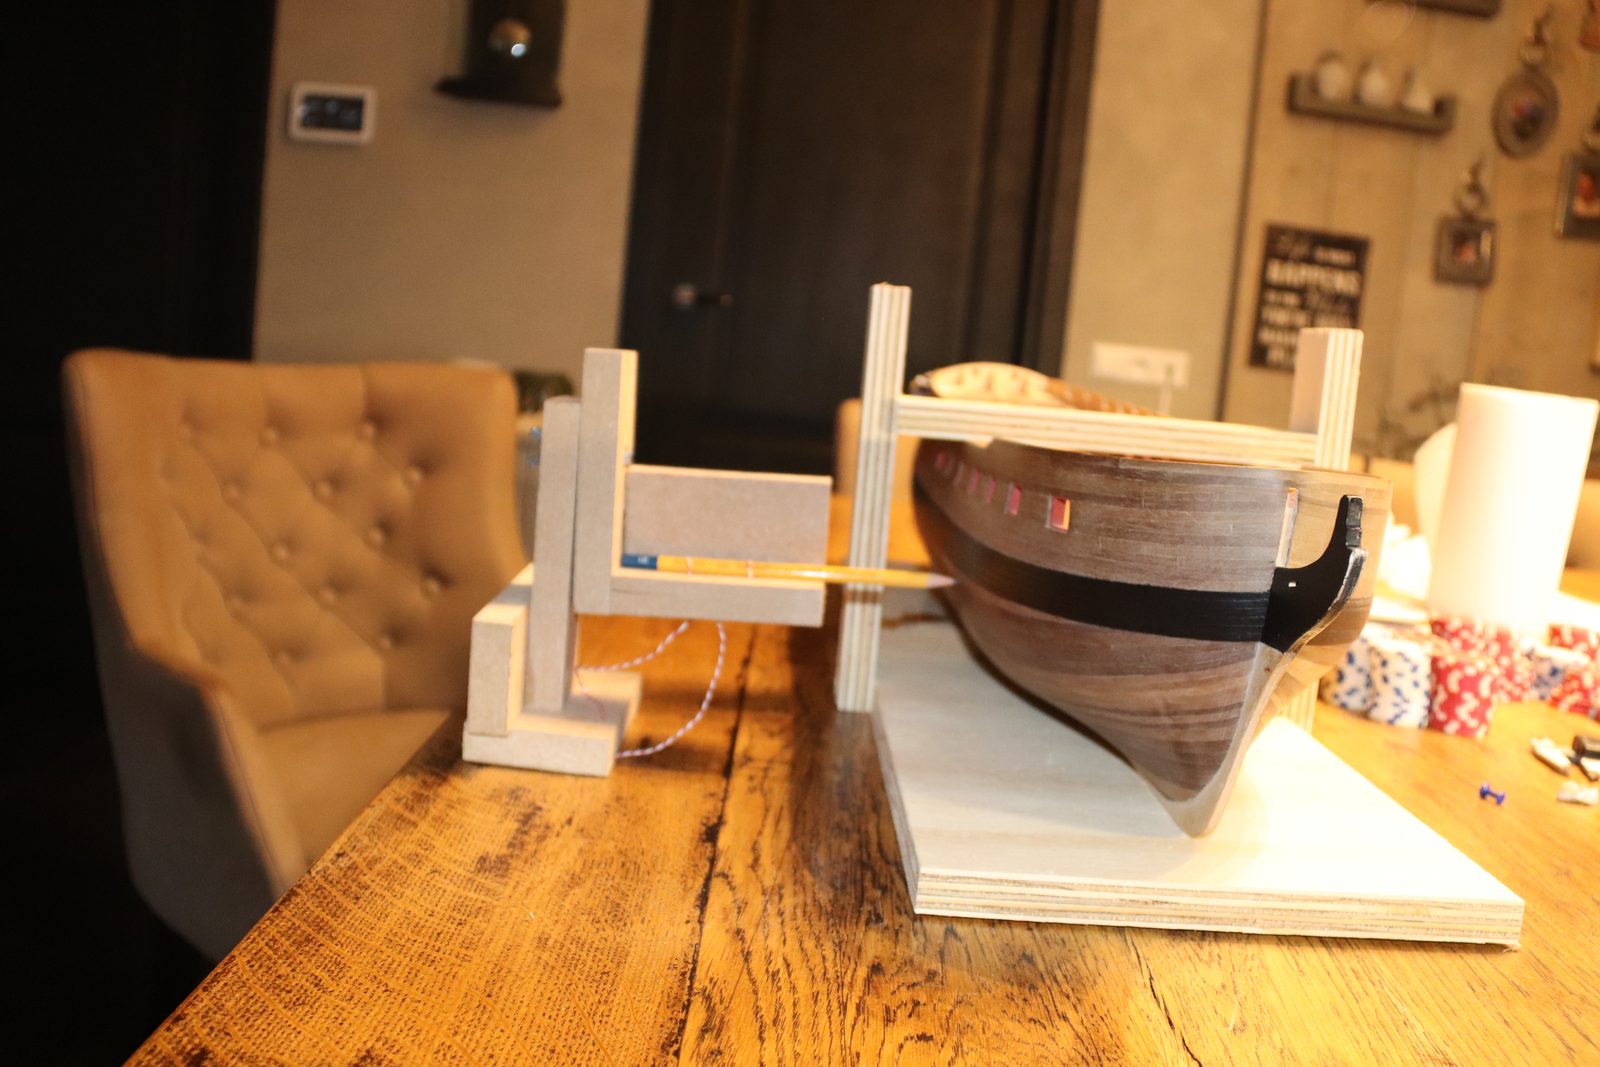
First I built a cradle to keep the boat level. Then I made a tool for drawing a horizontal line, and after that I stuck tape above that line. At the stern I corrected it a little by eye, because in the photo the tape seemed to run slightly downhill there.
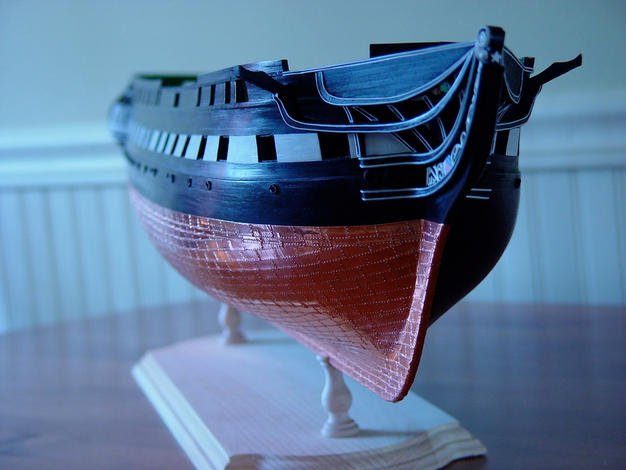
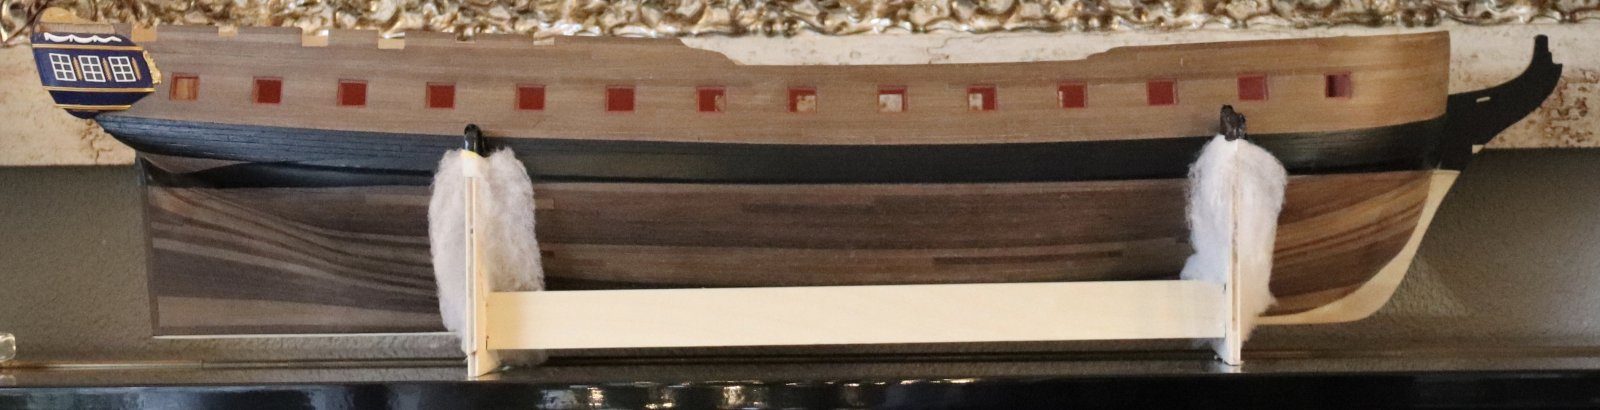
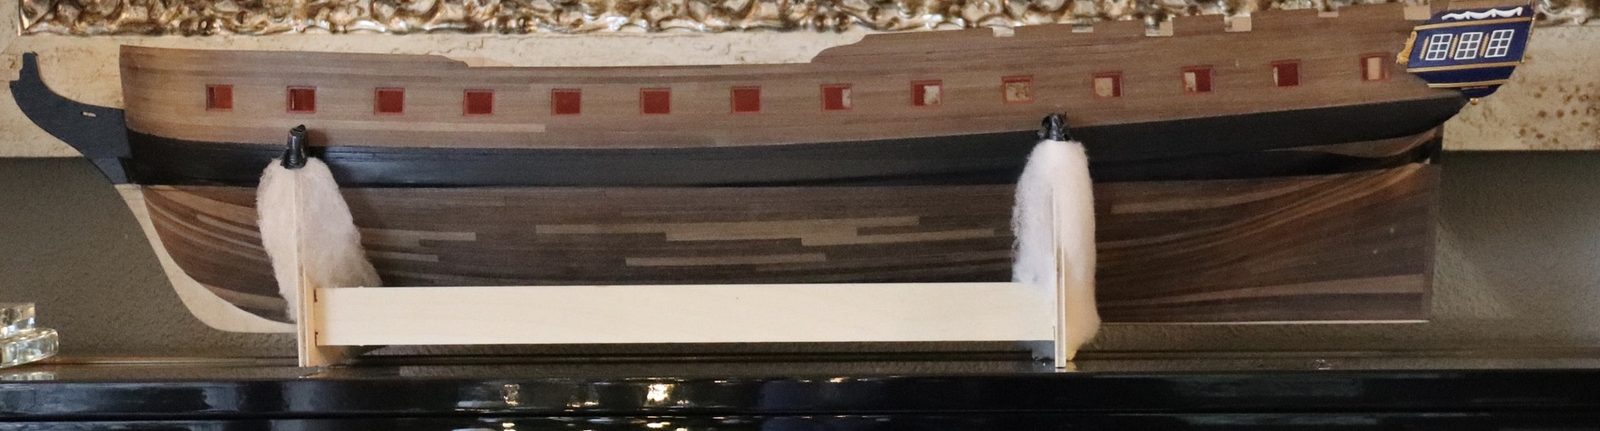
Then I simply had a go at the first plates. It is a start.