Transom glued, and the shape of the galleries
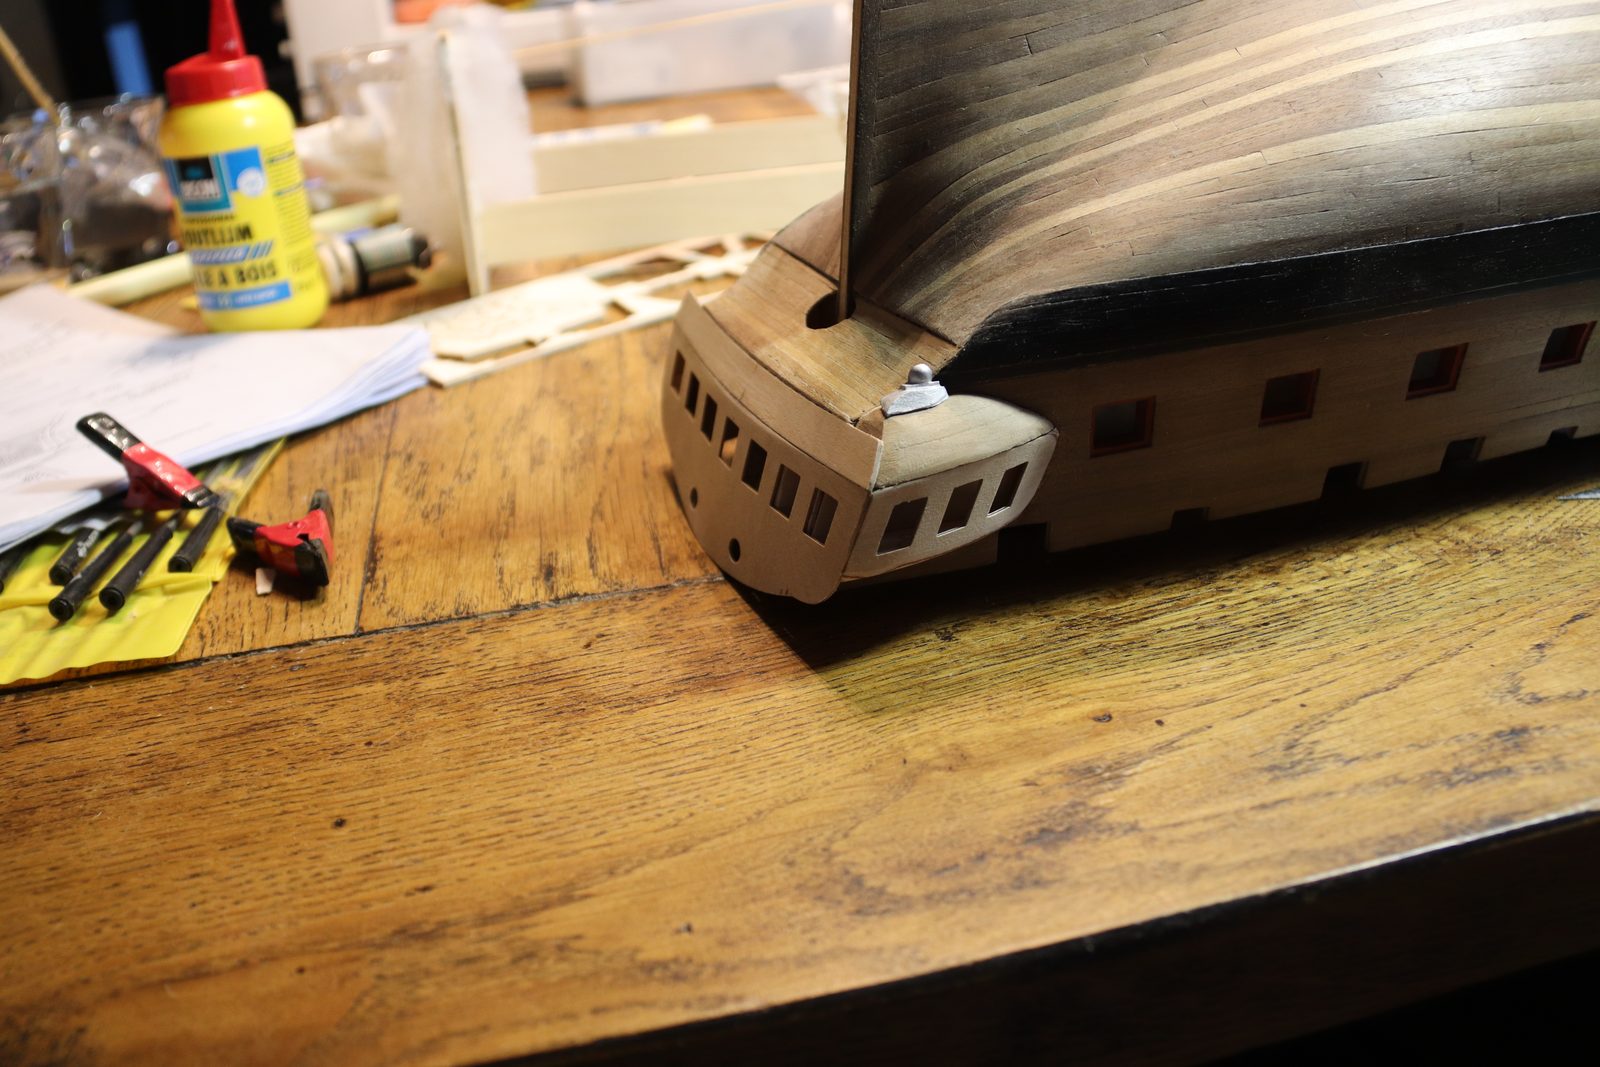
First a dry-fit photo of the top of the first quarter gallery, in case there’s still something odd about it. The transom has meanwhile been fully glued, in the order given in the manual. From Piet’s photos I had the impression that he did it the other way round: first the windows on the transom and only then glue the transom on. Piet explained that he did it just as I did. Because the transom sits on the model with a slight curve, you glue the transom first and then the windows and the rest. If you glue everything onto the transom sheet first, you can no longer get the curve in nicely. That put my mind at rest again.
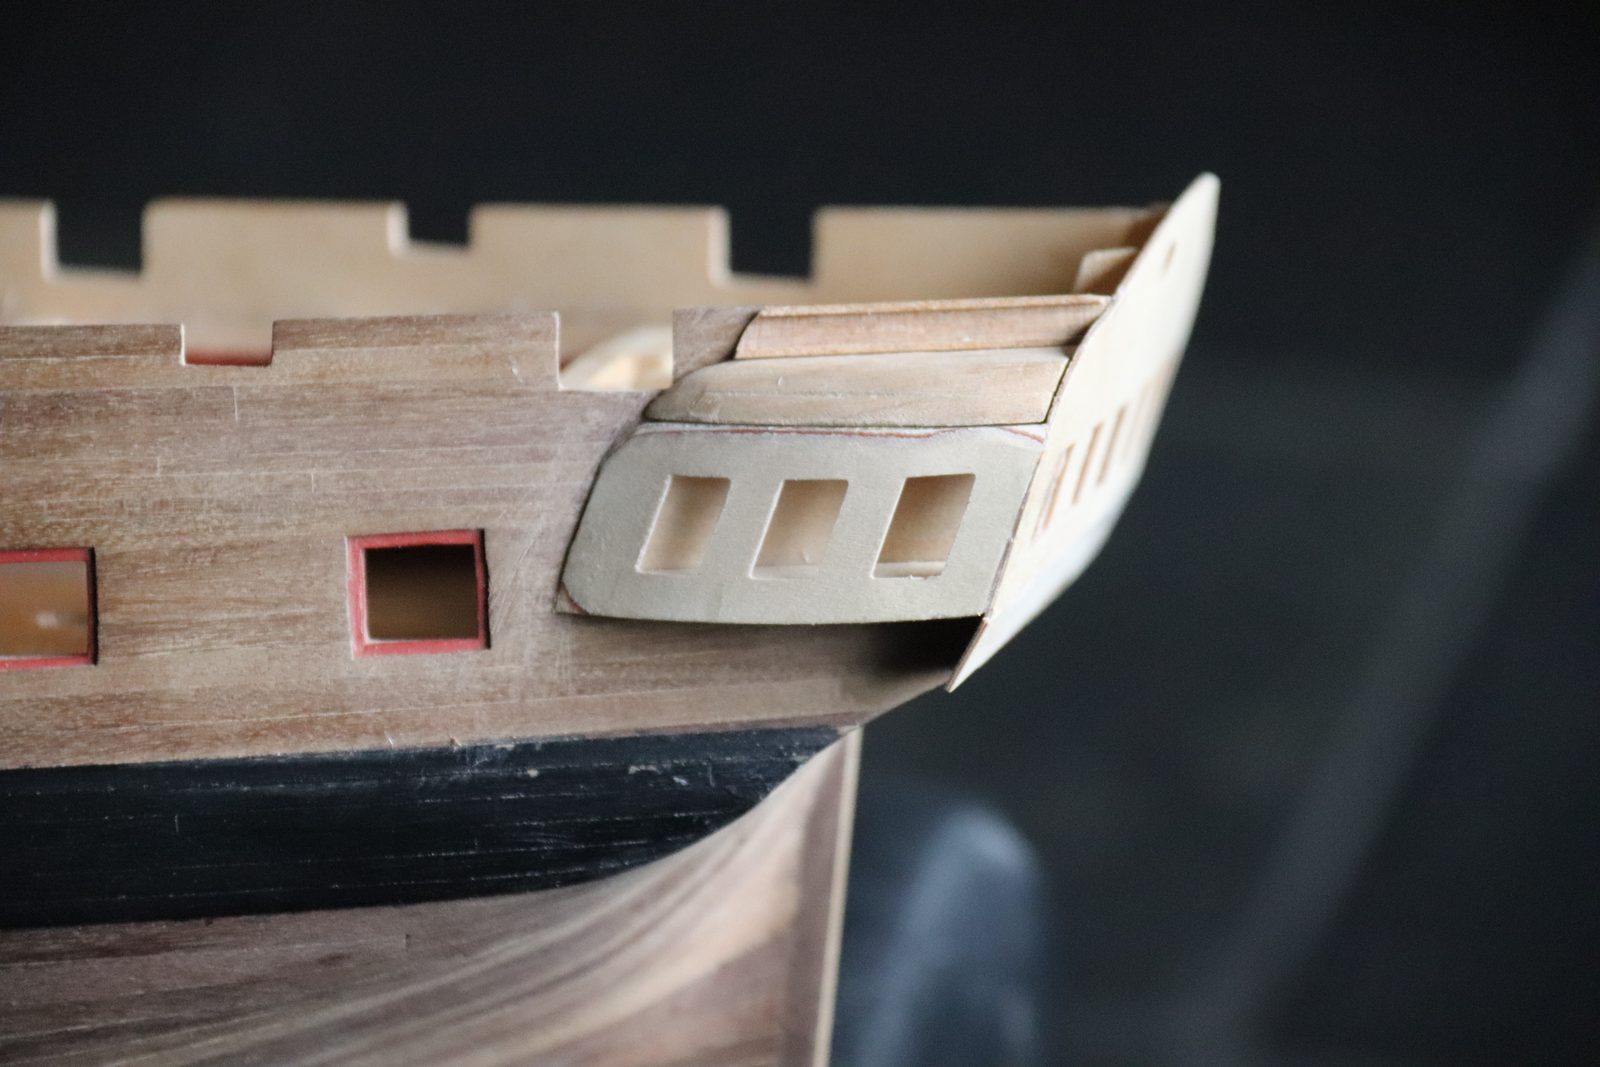
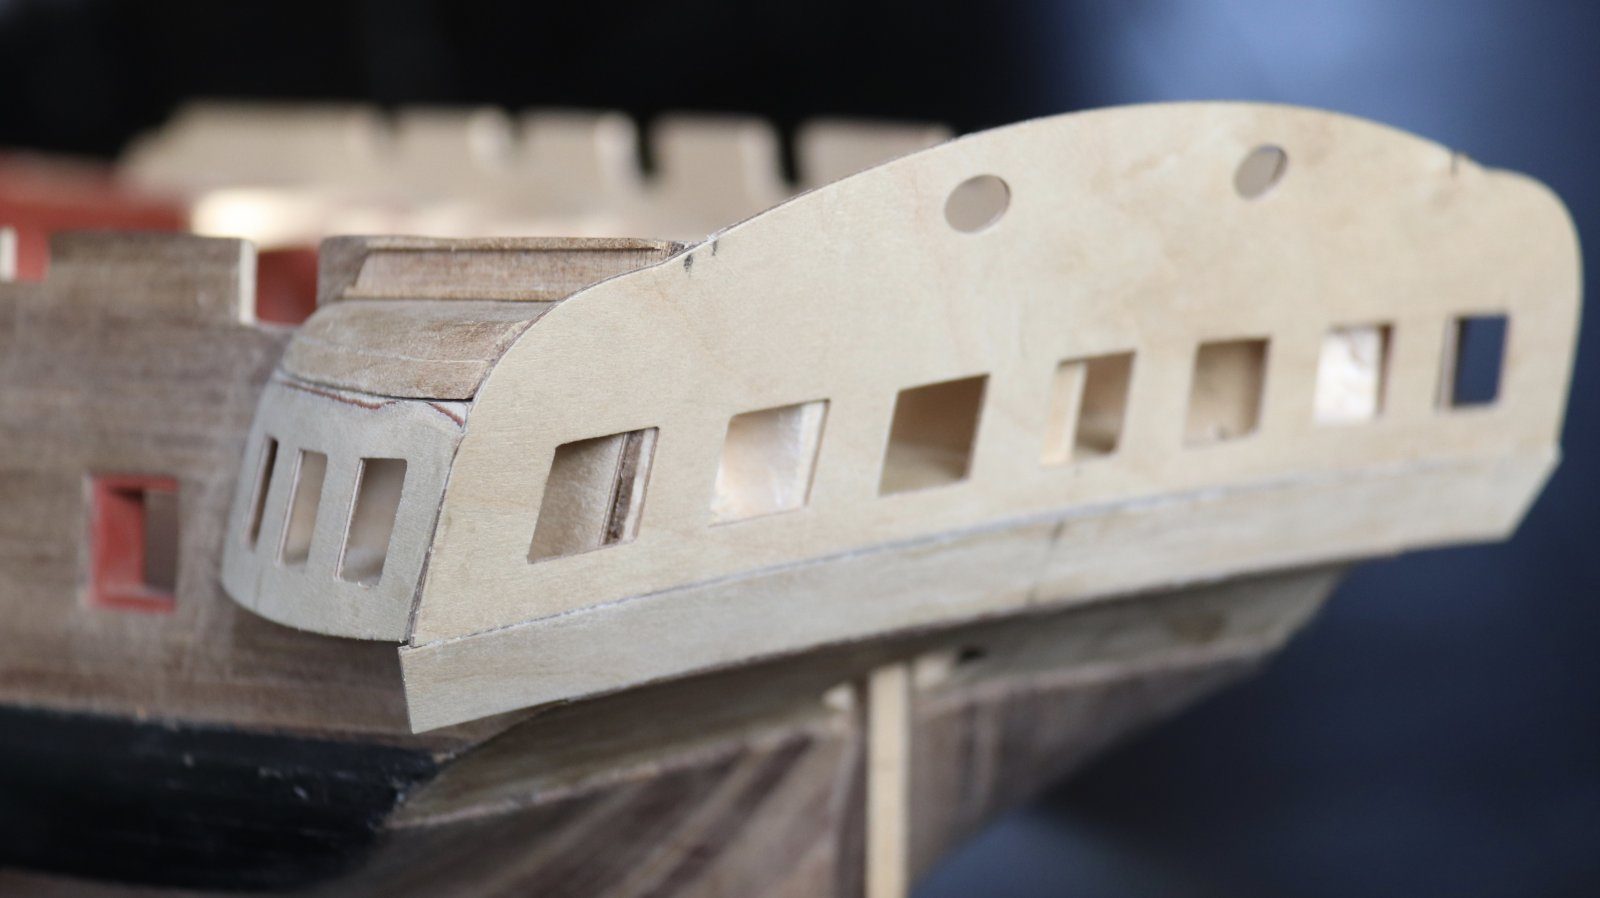
Underside of the gallery
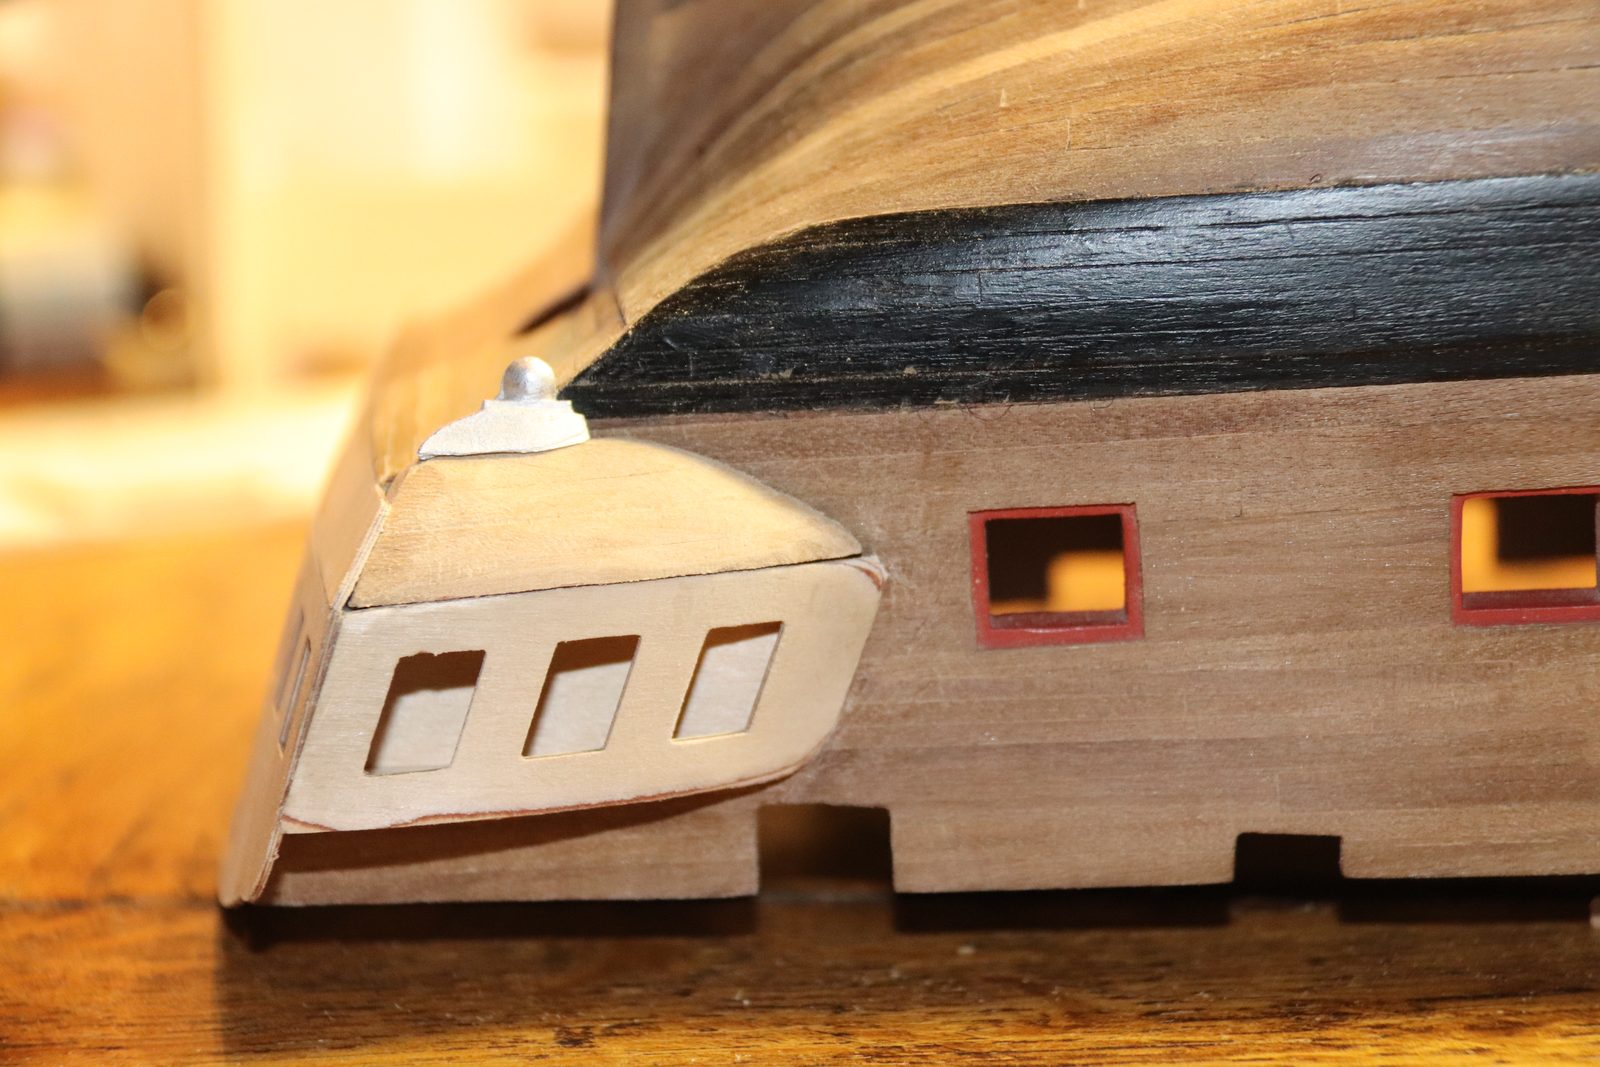
For the underside of the quarter gallery it seemed most logical to me to sand it in two tiers, with the mouldings along the top of both tiers. The manual isn’t clear on this; there it looks like a continuous line. Mondfeld gives no definite answer either, although he leans more towards straight lines than rounded ones.
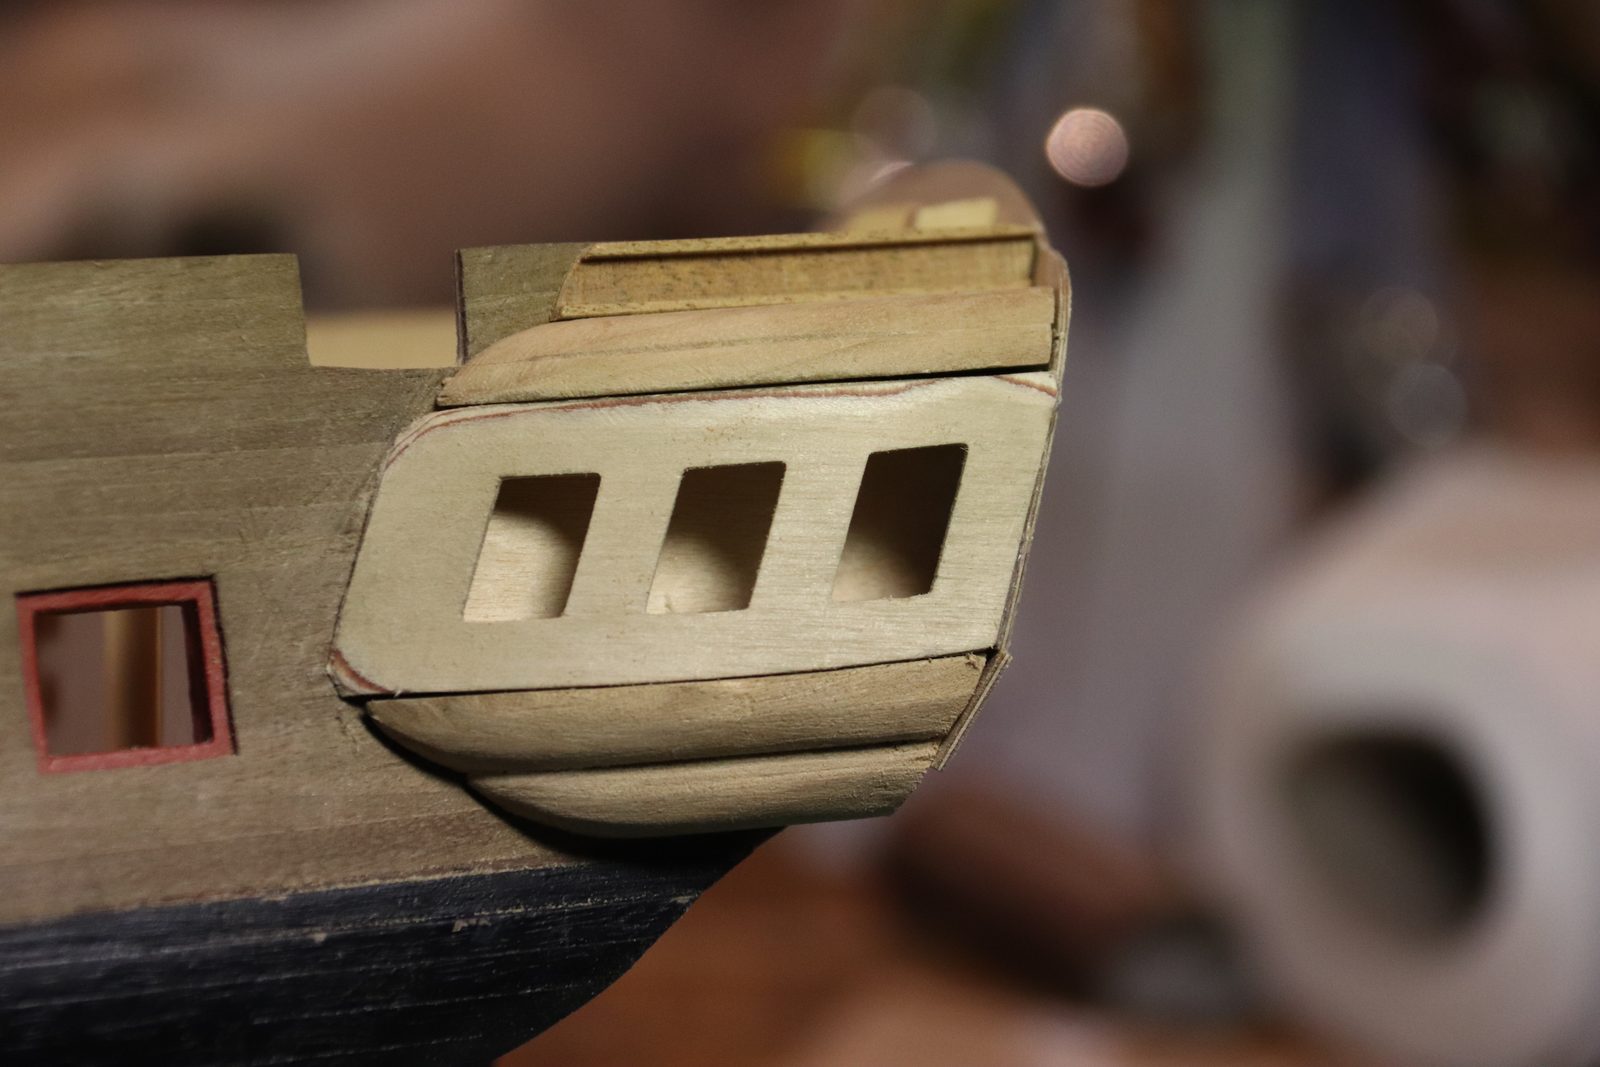
Looked at it three more times and it’s ugly after all. I’d rather let the transom run through into the quarter gallery, that seems more logical to me. Pingu57 also preferred it to the two tiers, although the decoration can still do a lot later on. I’ve also settled on a shape: it’s going to be angular. I liked that better than fully rounded.
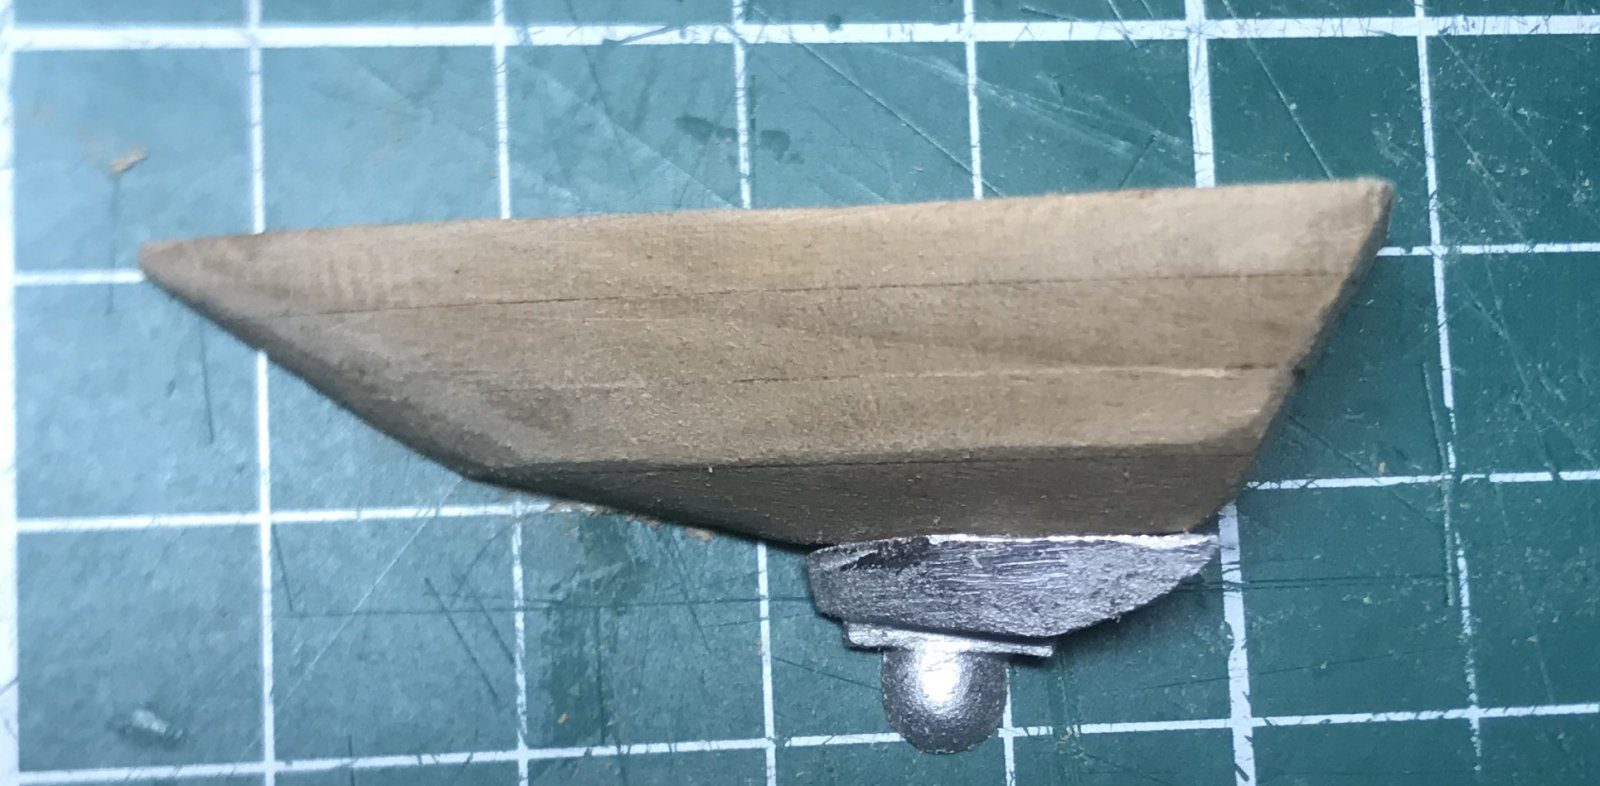
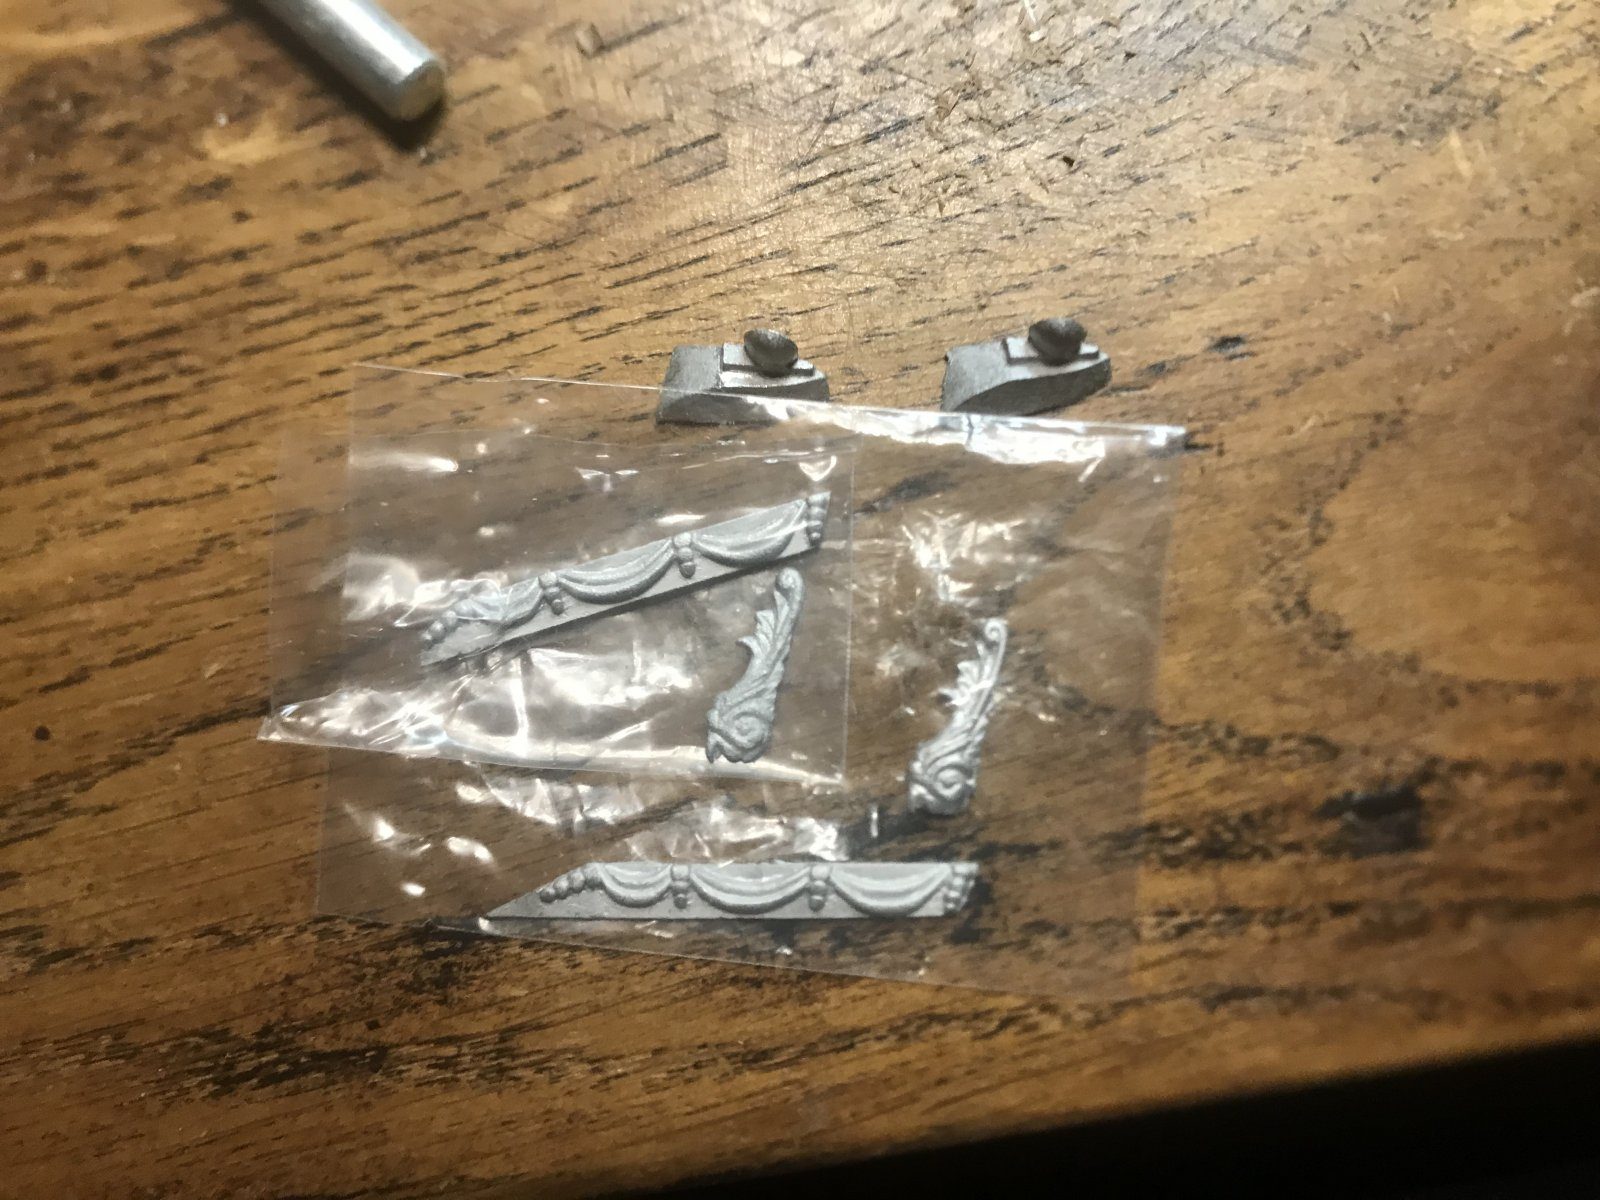
Two left-hand sets
And then a setback: they’ve supplied me with two identical decoration sets, both for the left-hand side. Hopefully they’ll be willing to send a right-hand one. Until then I’ll only finish the left.