A drop plank in eight steps
Because I went wrong first time round with the previous drop plank, I tackled the second one slightly differently. These are the steps I followed.
Step 1. Apply masking tape. A piece of masking tape over the place where the drop plank is to go.
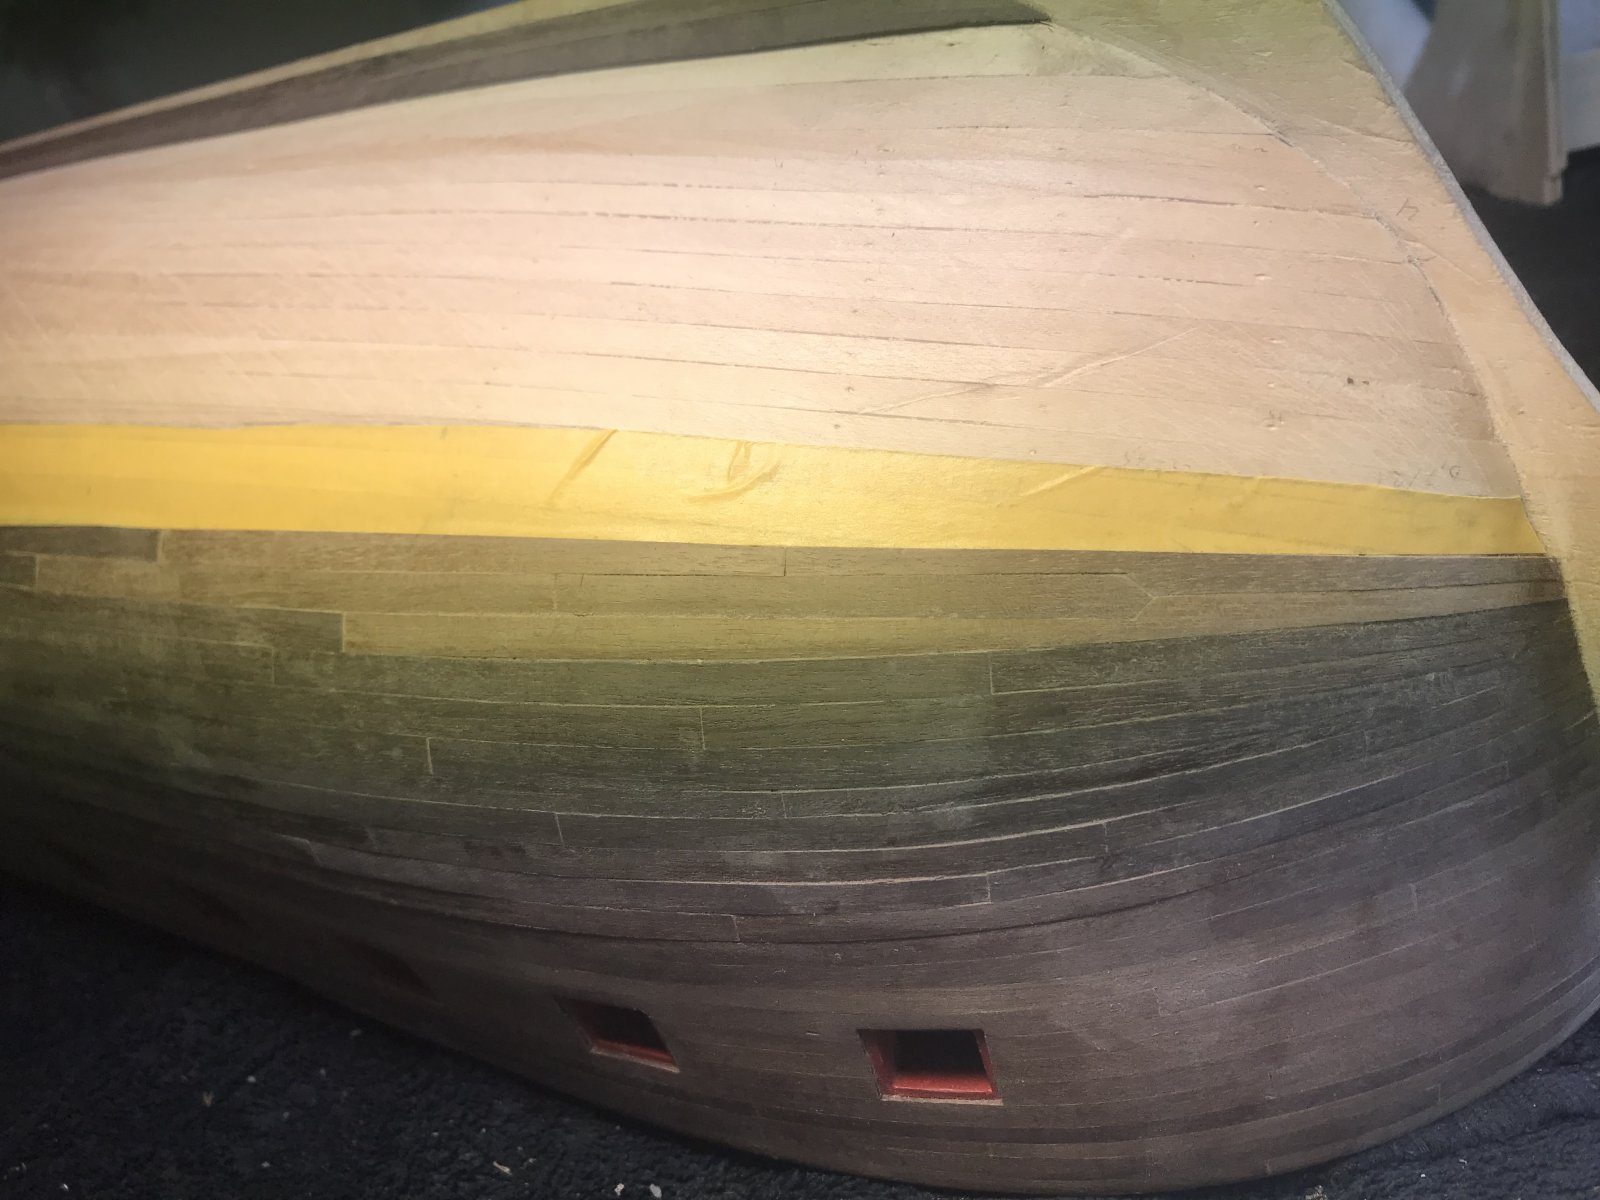
Step 2. Mark the square cut for the upper strip. At the top, the drop plank will lie between two pencil marks. The right-hand mark is where the point of the drop plank goes, the left-hand one where the upper plank regains its full width. Between them comes a straight line. To be able to draw it, I first mark the square cut on the upper plank.
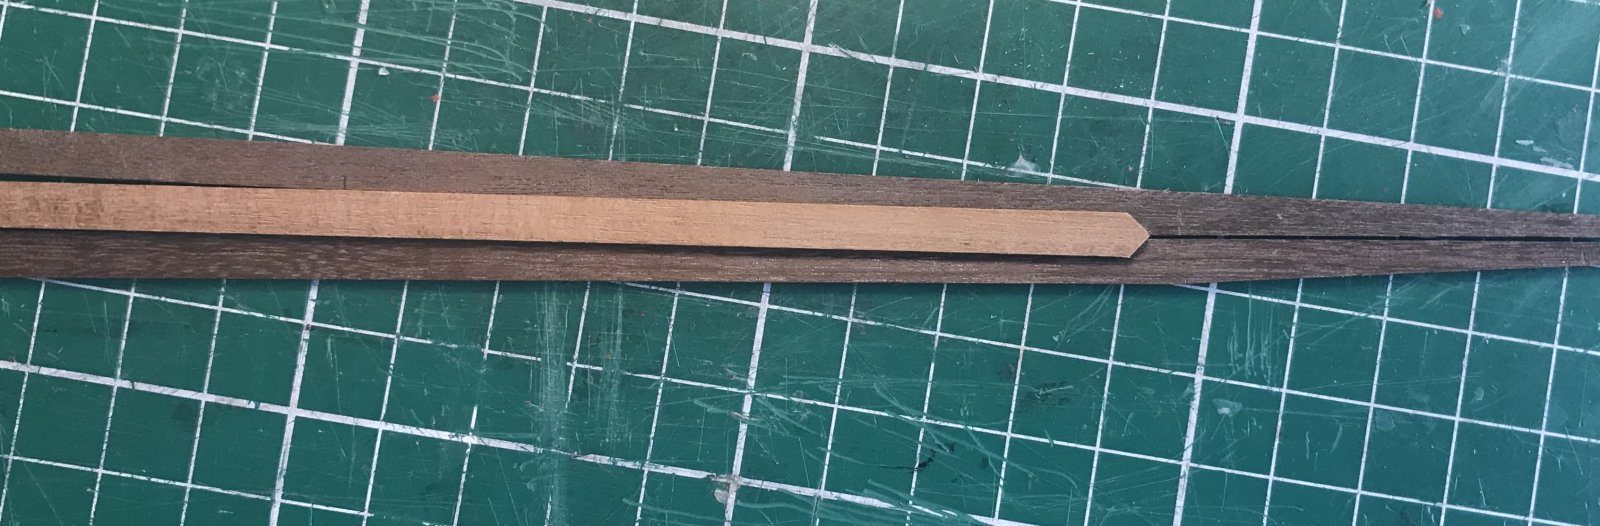
Step 3. Cut the upper plank. After marking, the upper strip is cut to size. It fits perfectly.
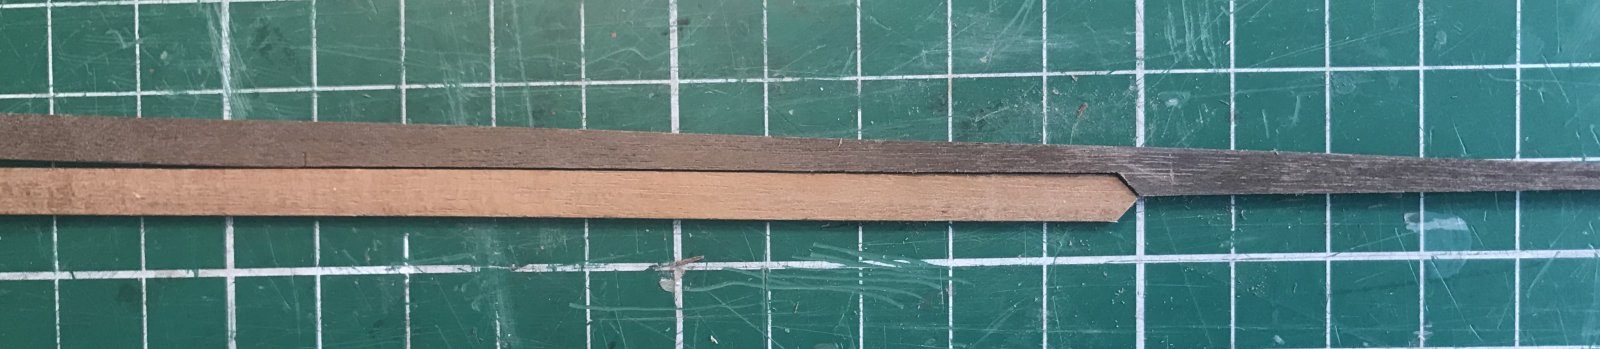
Step 4. Lay out on the masking tape. Lay the cut plank dry fit on the tape and press it down a little to form the curve.
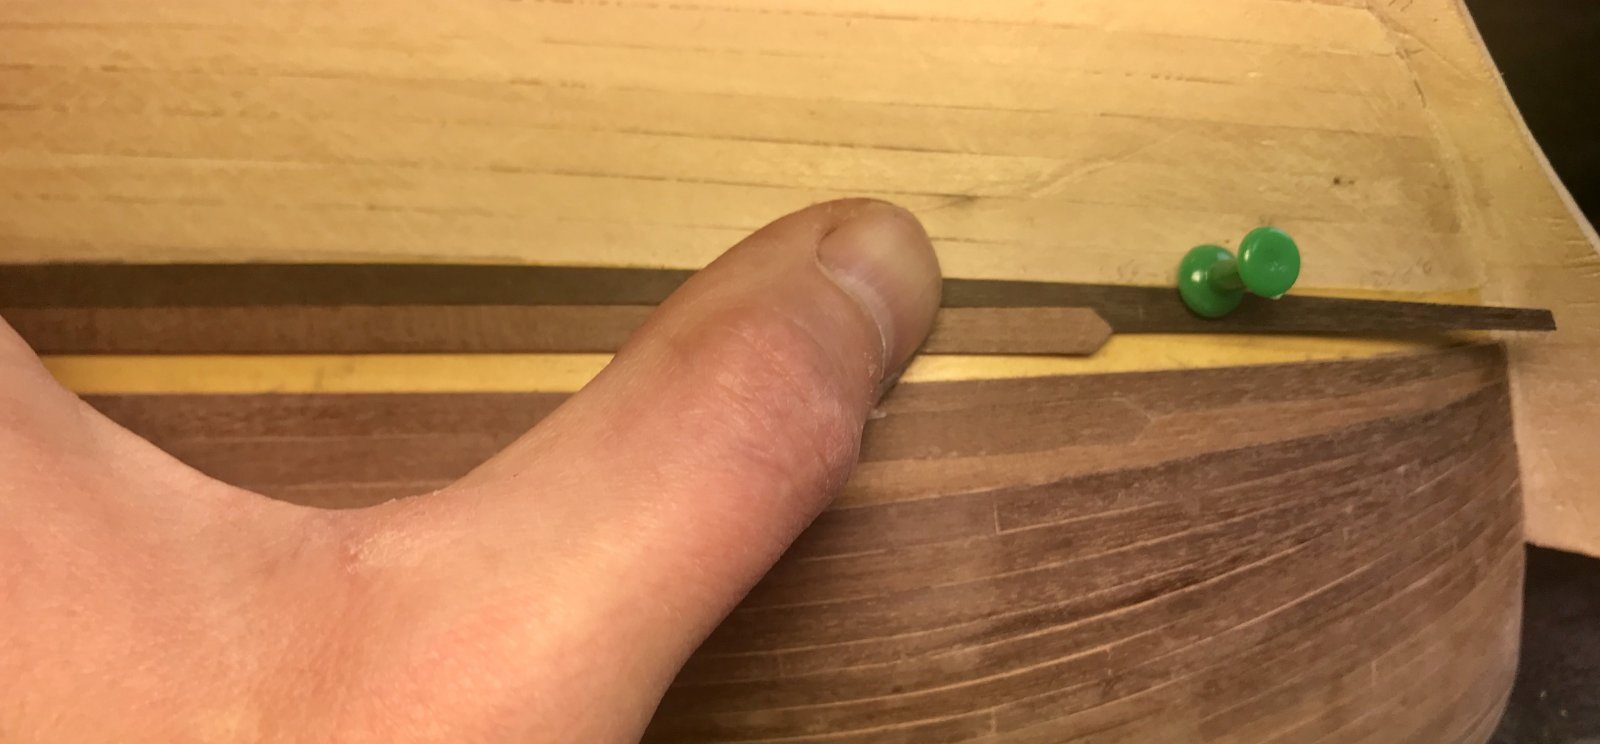
Step 5. Cut the masking tape to size. With the left hand hold the upper plank and the drop plank in place, with the right hand cut the tape along the underside of the drop plank.
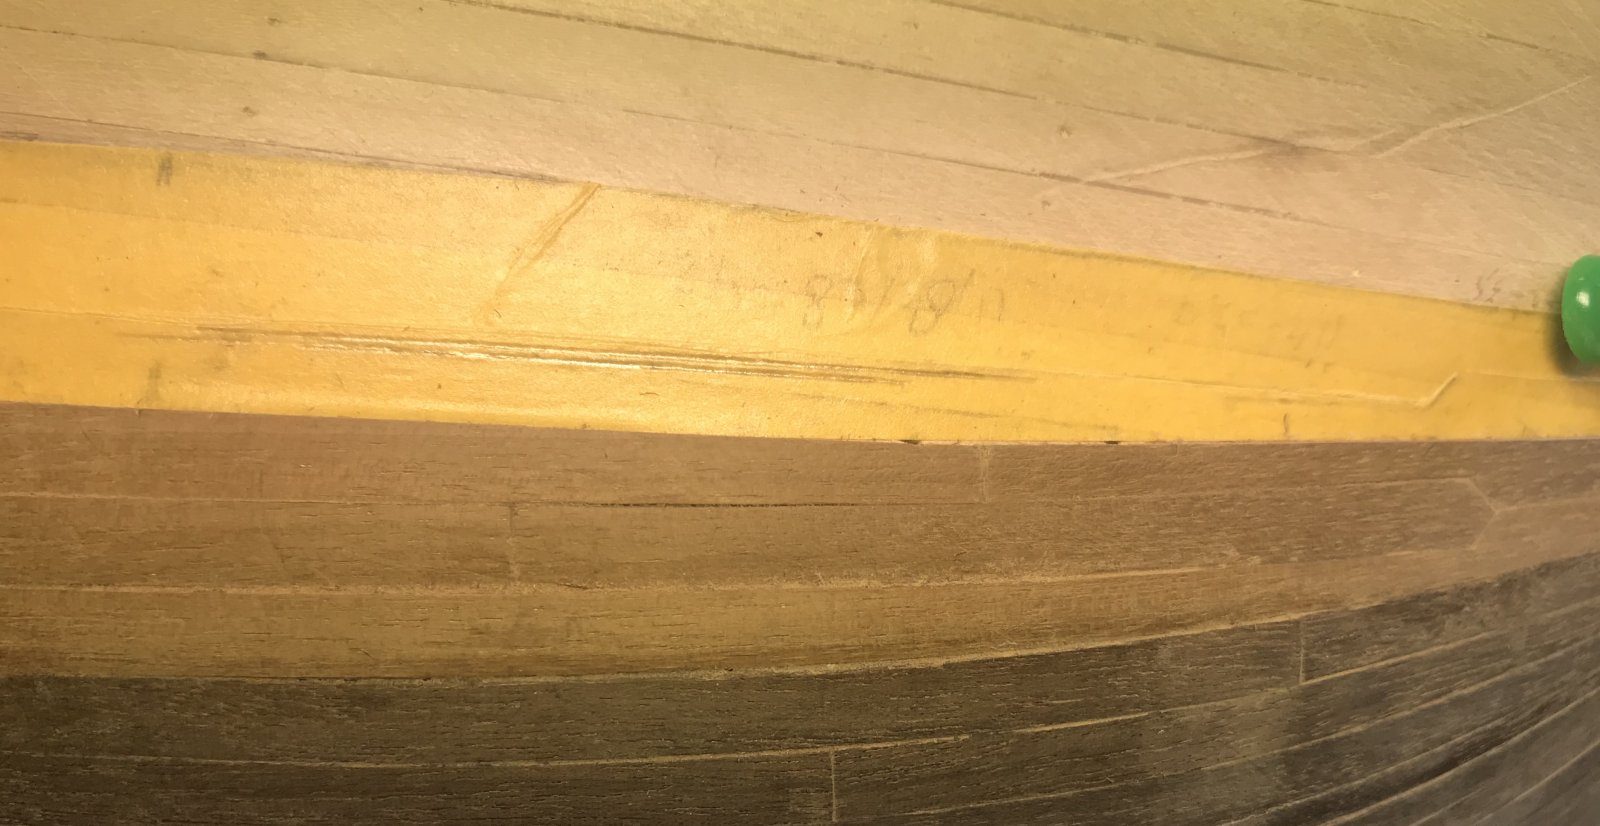
Step 6. Remove the masking tape. The upper part of the tape now comes off easily.
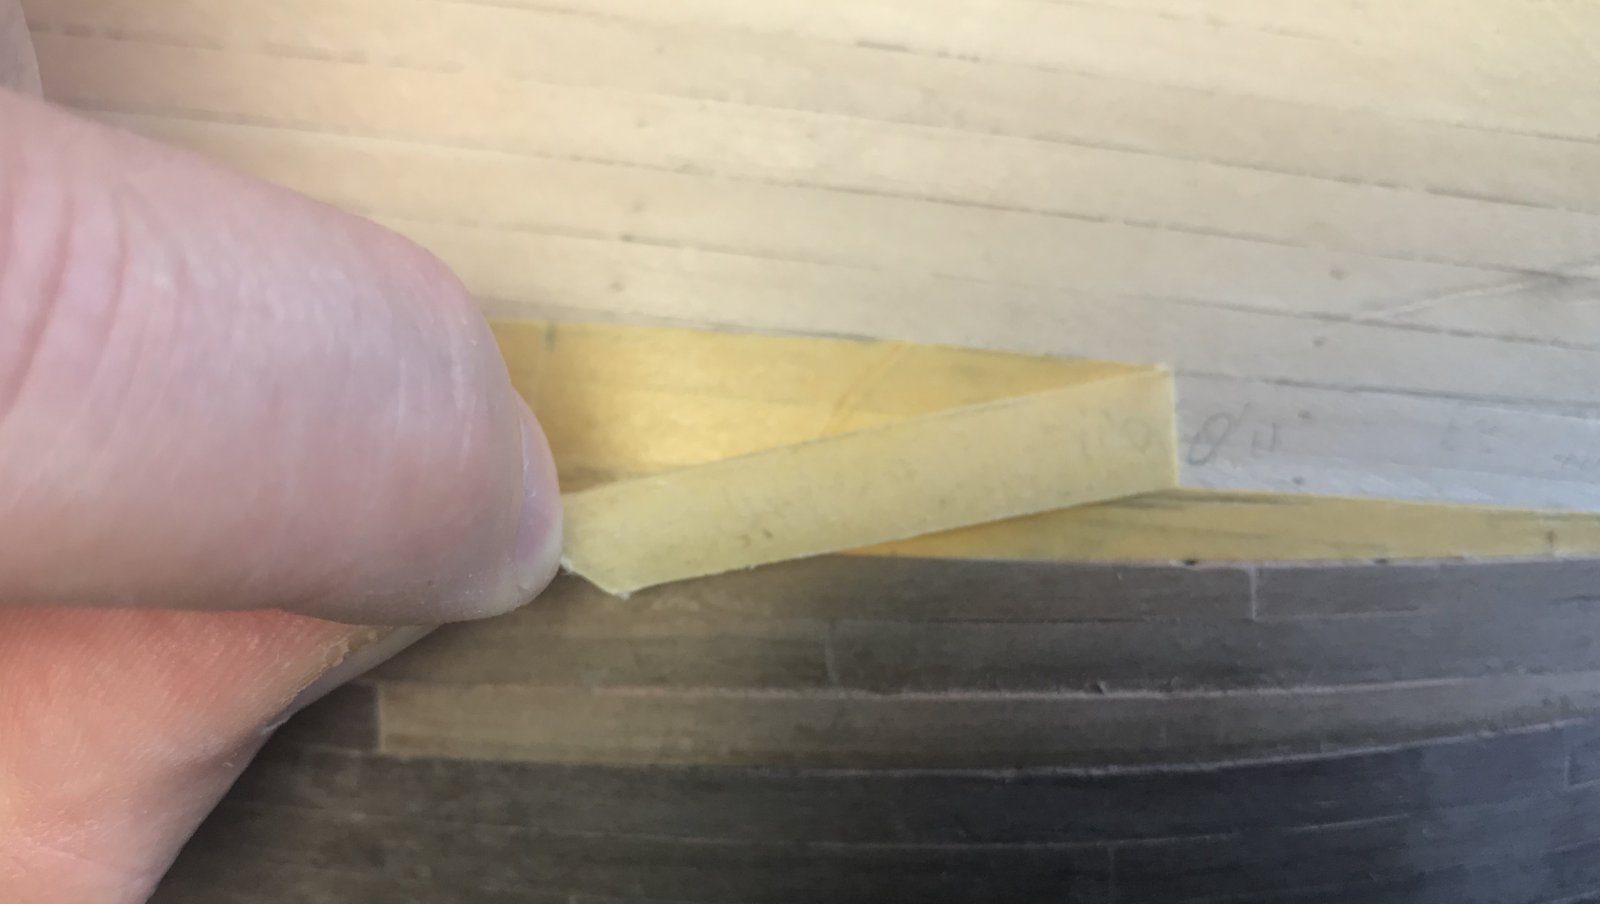
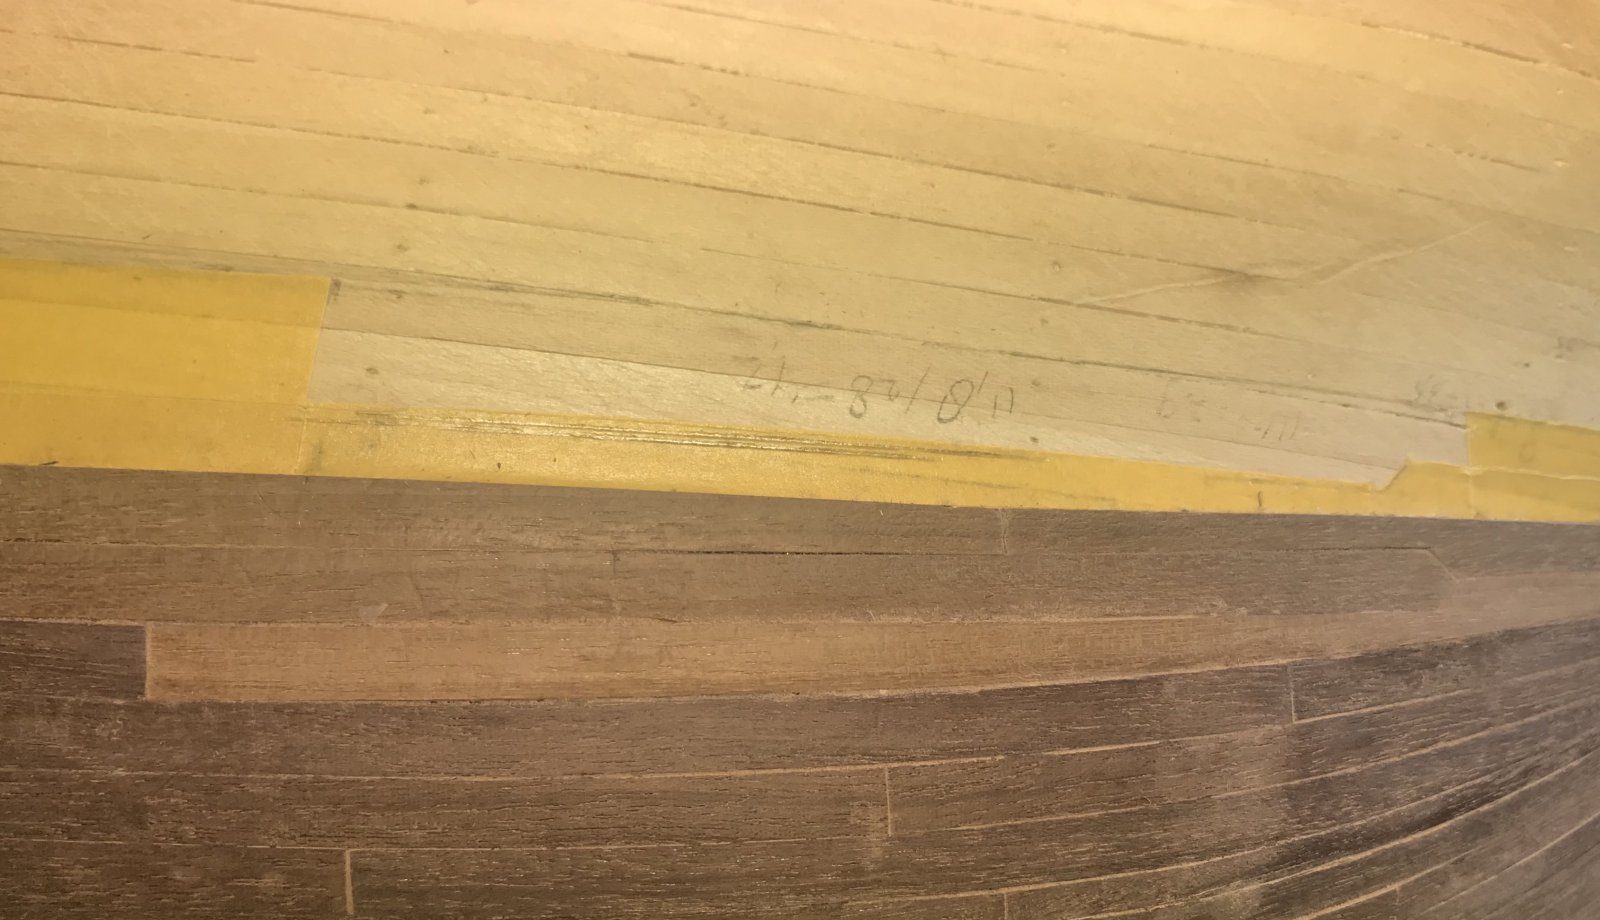
Step 7. Transfer the tape to the lower strip. The piece of tape is an excellent template for cutting the lower strip to size. The difference between the upper and lower strips is clearly visible: here too the lower strip had to stay much wider because of the curve.
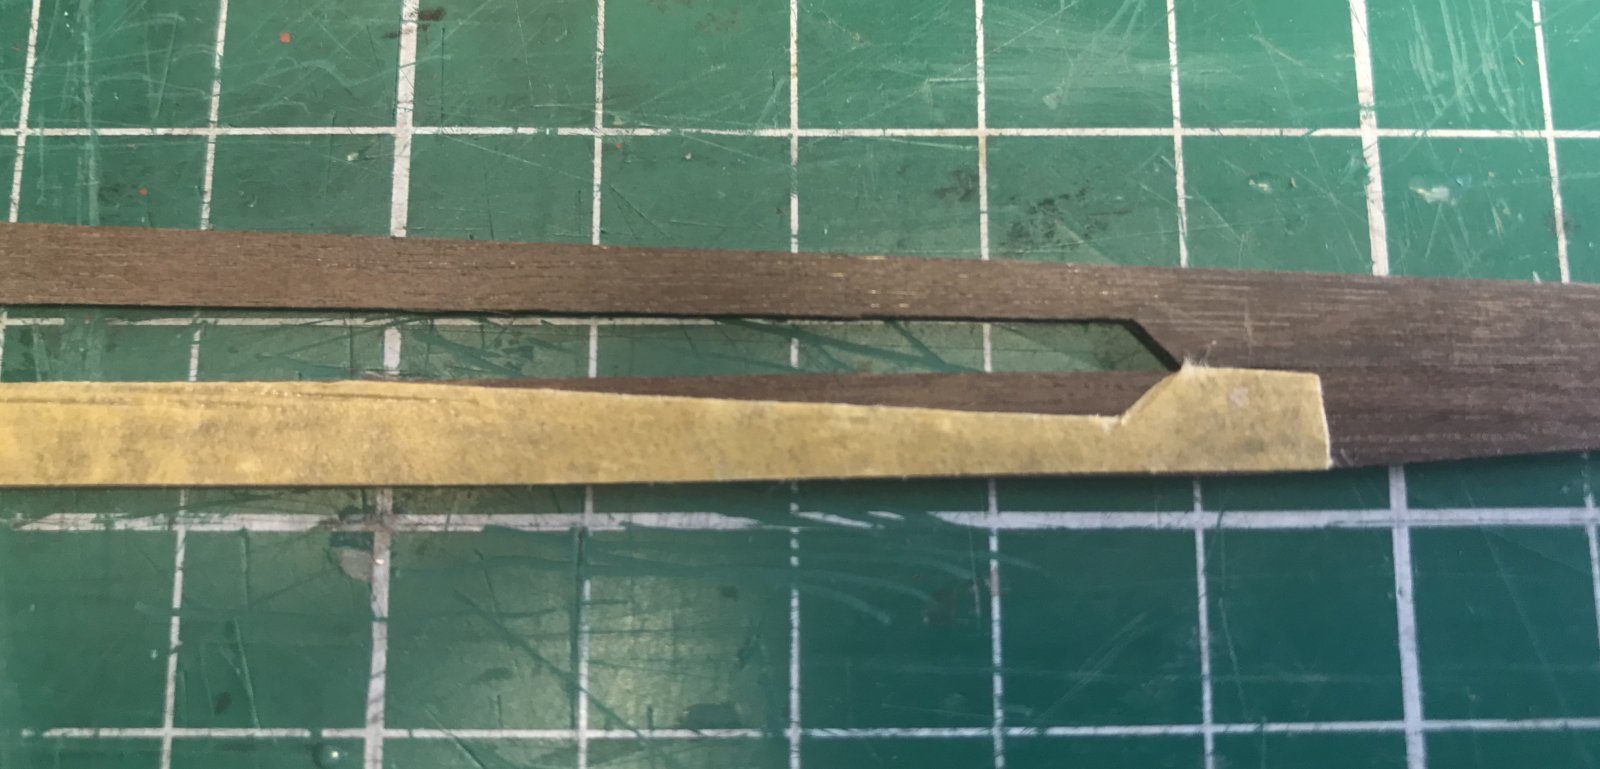
Step 8. Test the dry fit. Before gluing, first test whether everything fits. It did. Now just the gluing.
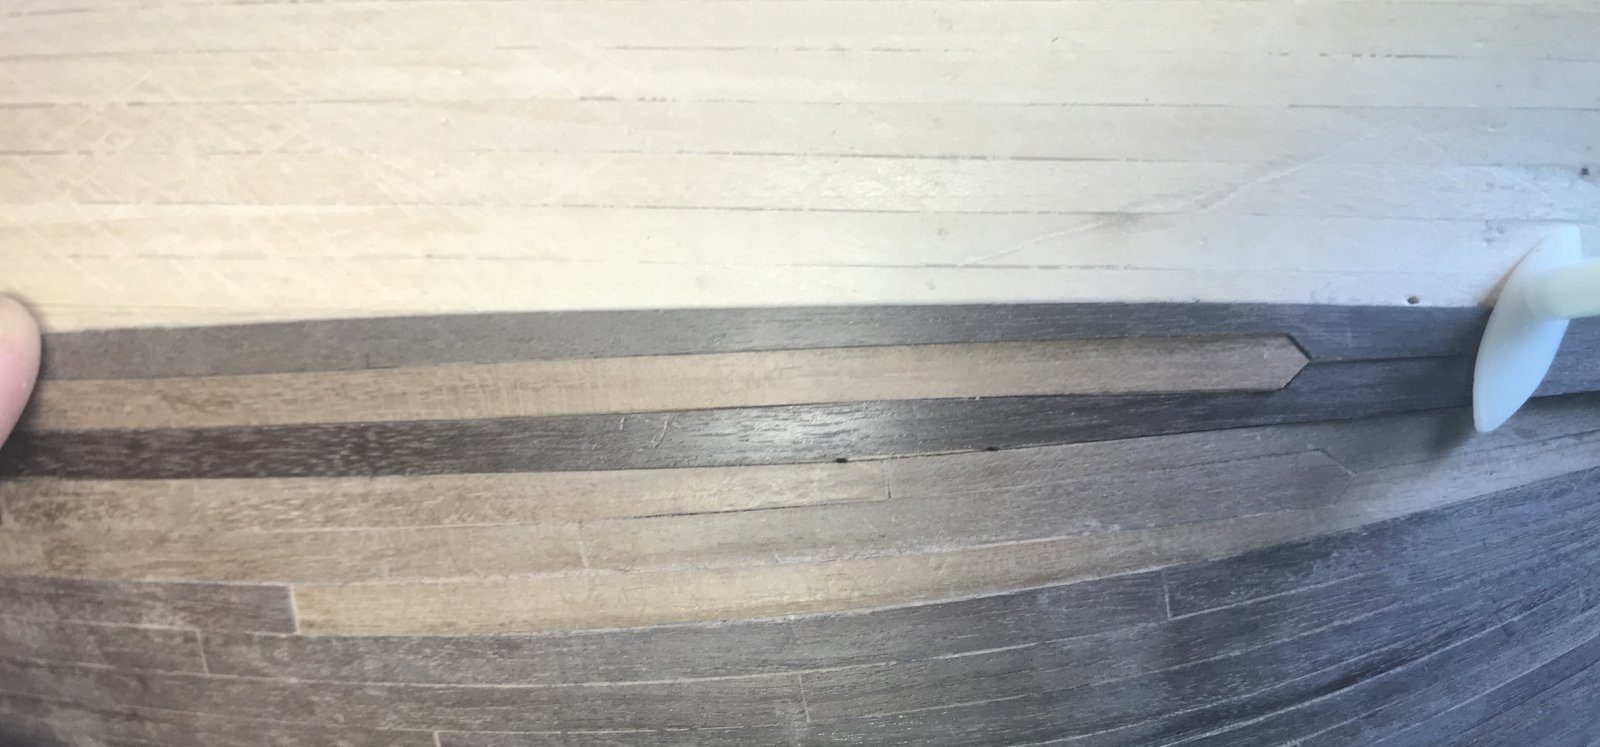
Here’s the glued result, even though the drawing pins are still in.
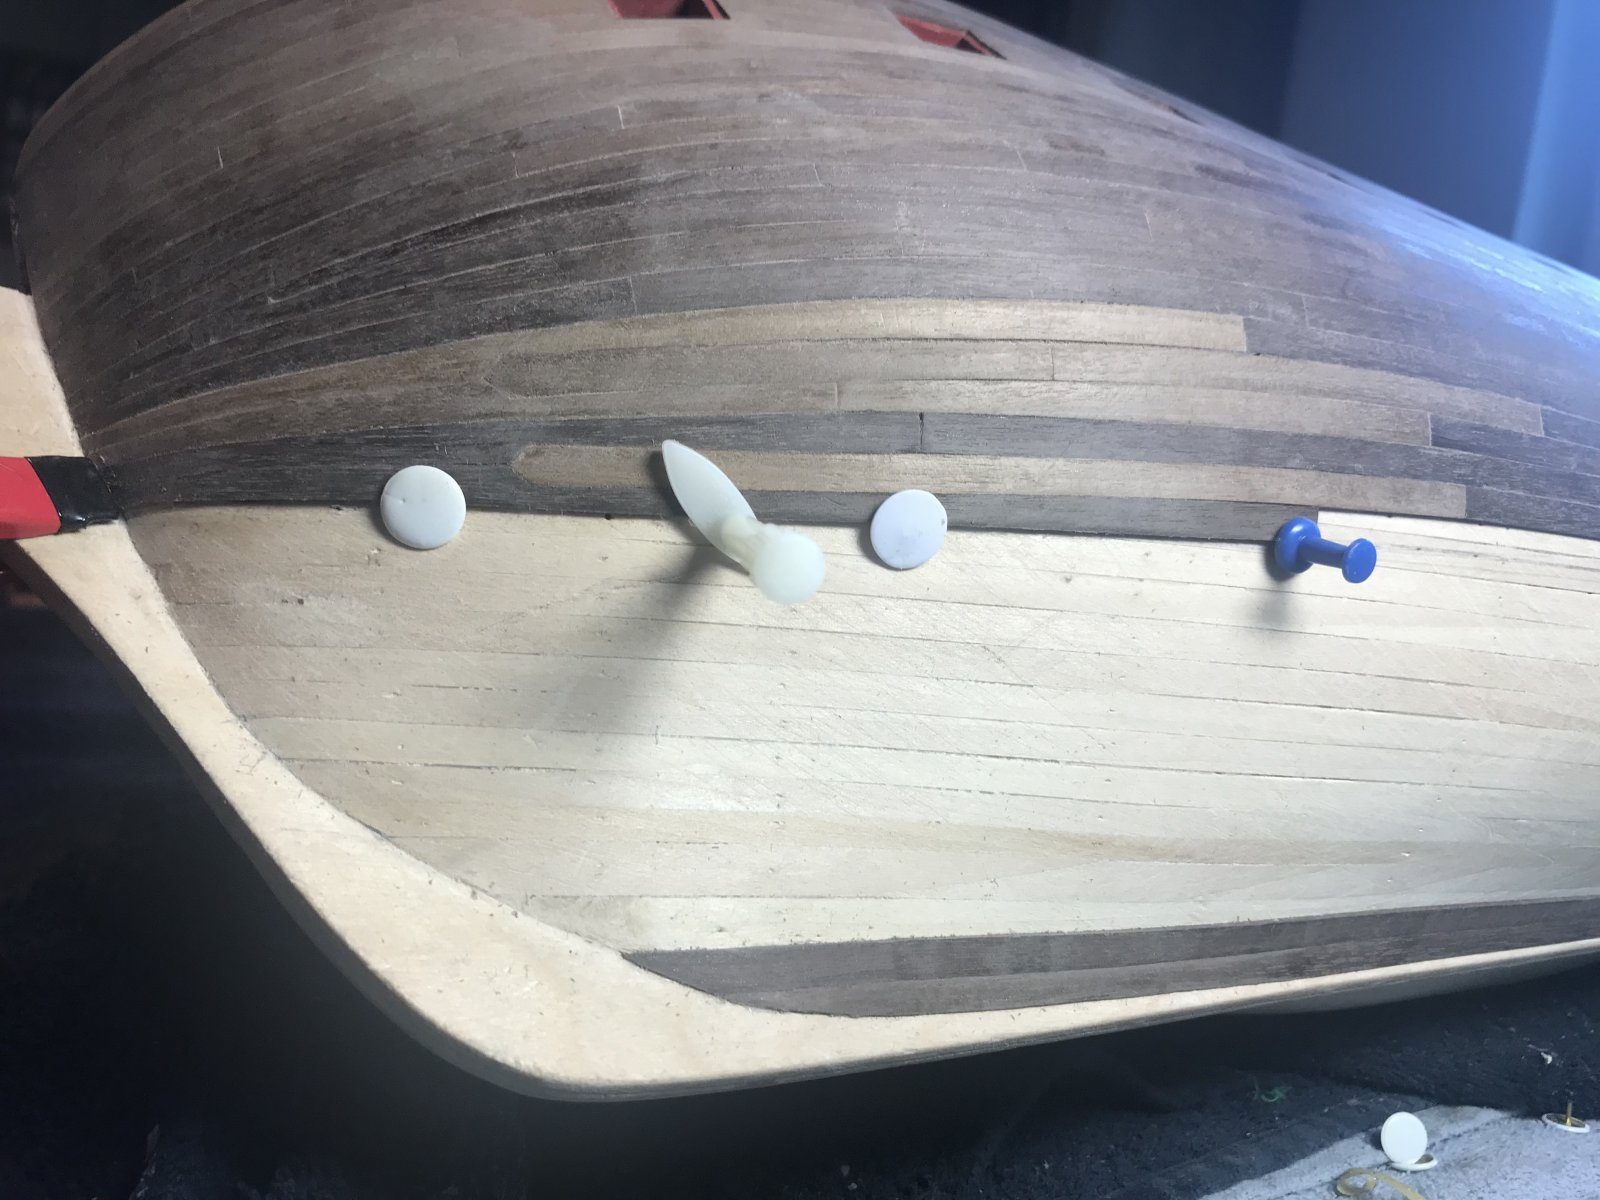
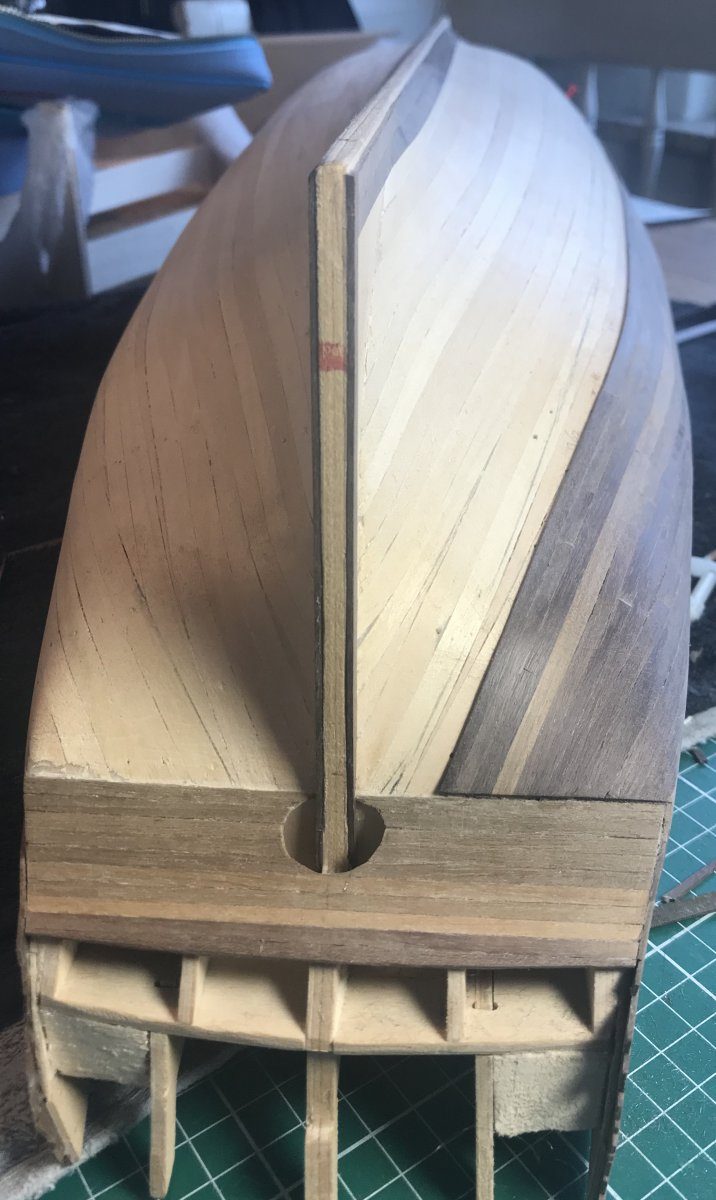
Meanwhile the sternpost is coming along nicely too. These planks are all being tapered to avoid getting stuck as I did with the first planking; there you can still just see a few sliver planks. I expect I’ll need a stealer here again, but that comes later.