The garboard strake and the false keel
Another beginner’s question, just to check that nothing is going wrong. For the rest of the second planking I’ve started with the garboard strake. Then the wale, and work on from there; that way I can more easily calculate how wide the planks between wale and garboard need to be.
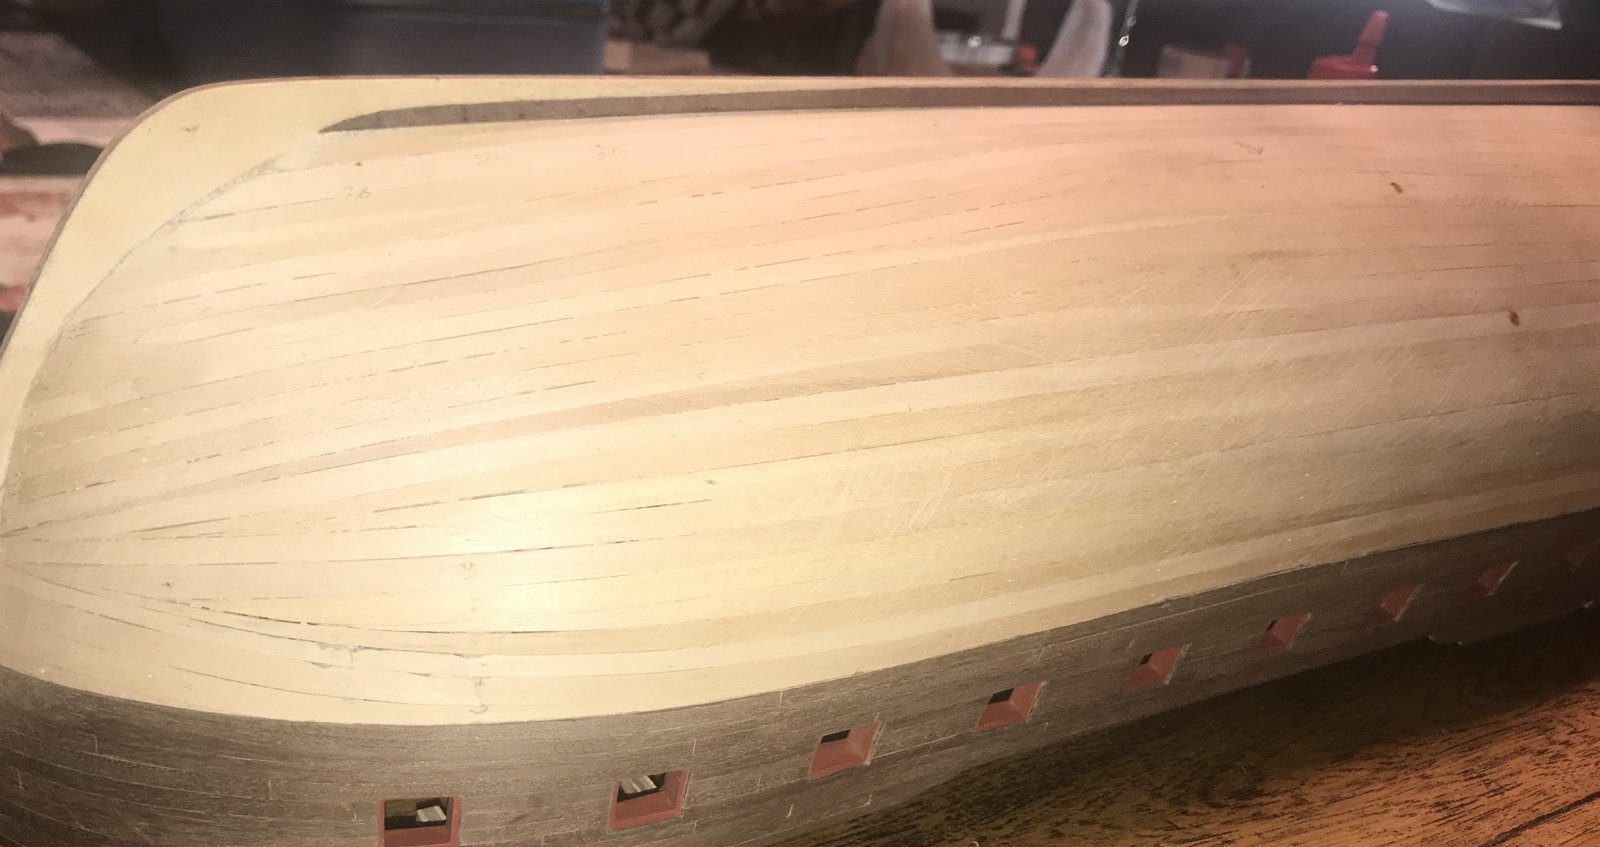
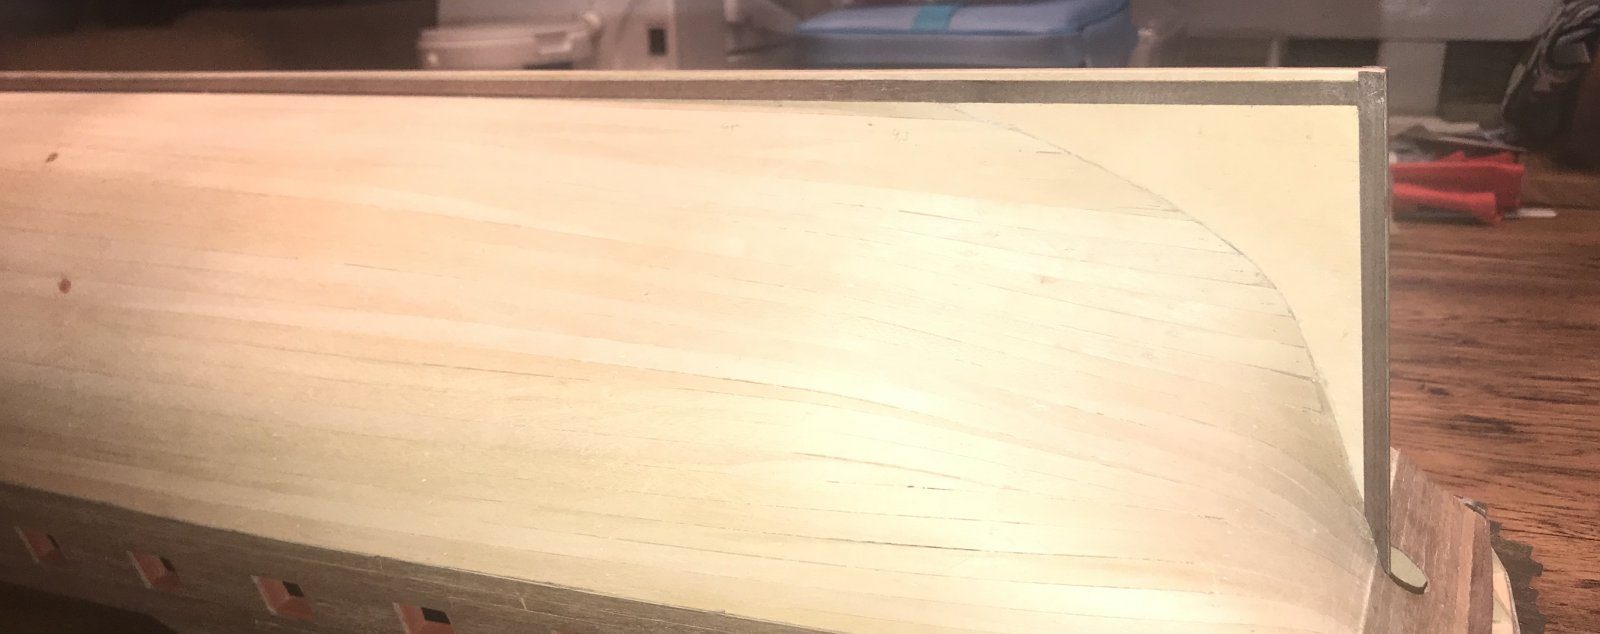
At the bow I tapered the strake on the keel side. That gives me the least possible curvature for the next plank. I asked the forum whether anyone saw any obvious mistakes. I didn’t expect so, but perhaps I was overlooking something.
What I did wonder about was what to do with the difference in thickness between the keel and the garboard strake, especially at the stern. I’m going to copper the hull, and it seems to me you’d get an odd corner there. On Piet’s model I saw that he does nothing with the keel and has simply painted it.
Keel, then, not keel former (the ‘false keel’ in the manual). I’m still trying to work out when something counts as false, but as I understand it now, anything you can’t see in the end is false. Learnt something again. The last bit of the vertical strip below the garboard I had left in place to be on the safe side; I’ll remove that, so that it runs flush with the garboard as on Piet’s model.
About the copper, Piet was clear: the underside of the keel gets no copper plating. On the real ships there was an extra plank under the keel, the false keel, as a sacrificial strip in case the ship ran aground. For that reason it wasn’t coppered. The whole underwater hull does get plates, including rudder, stem, sternpost and keel, but not the part the ship rests on when you stand her upright. I didn’t know that; the manual says the copper goes on the underside too, and I see it on other models as well. But this sounds more logical. By the time I get that far I’ll see what looks better. Perhaps I’ll even put a false keel of that kind on her.