The transom doesn't meet up
Thought I’d have a look at whether the transom would work out, but I can’t figure it out. According to the instructions I have to align the bottom of the transom with the top of the uppermost horizontal line. There’s another part that goes below it, and when I put that against the upper part I’m left with a great deal of space between the counter planking and the bottom of the transom.
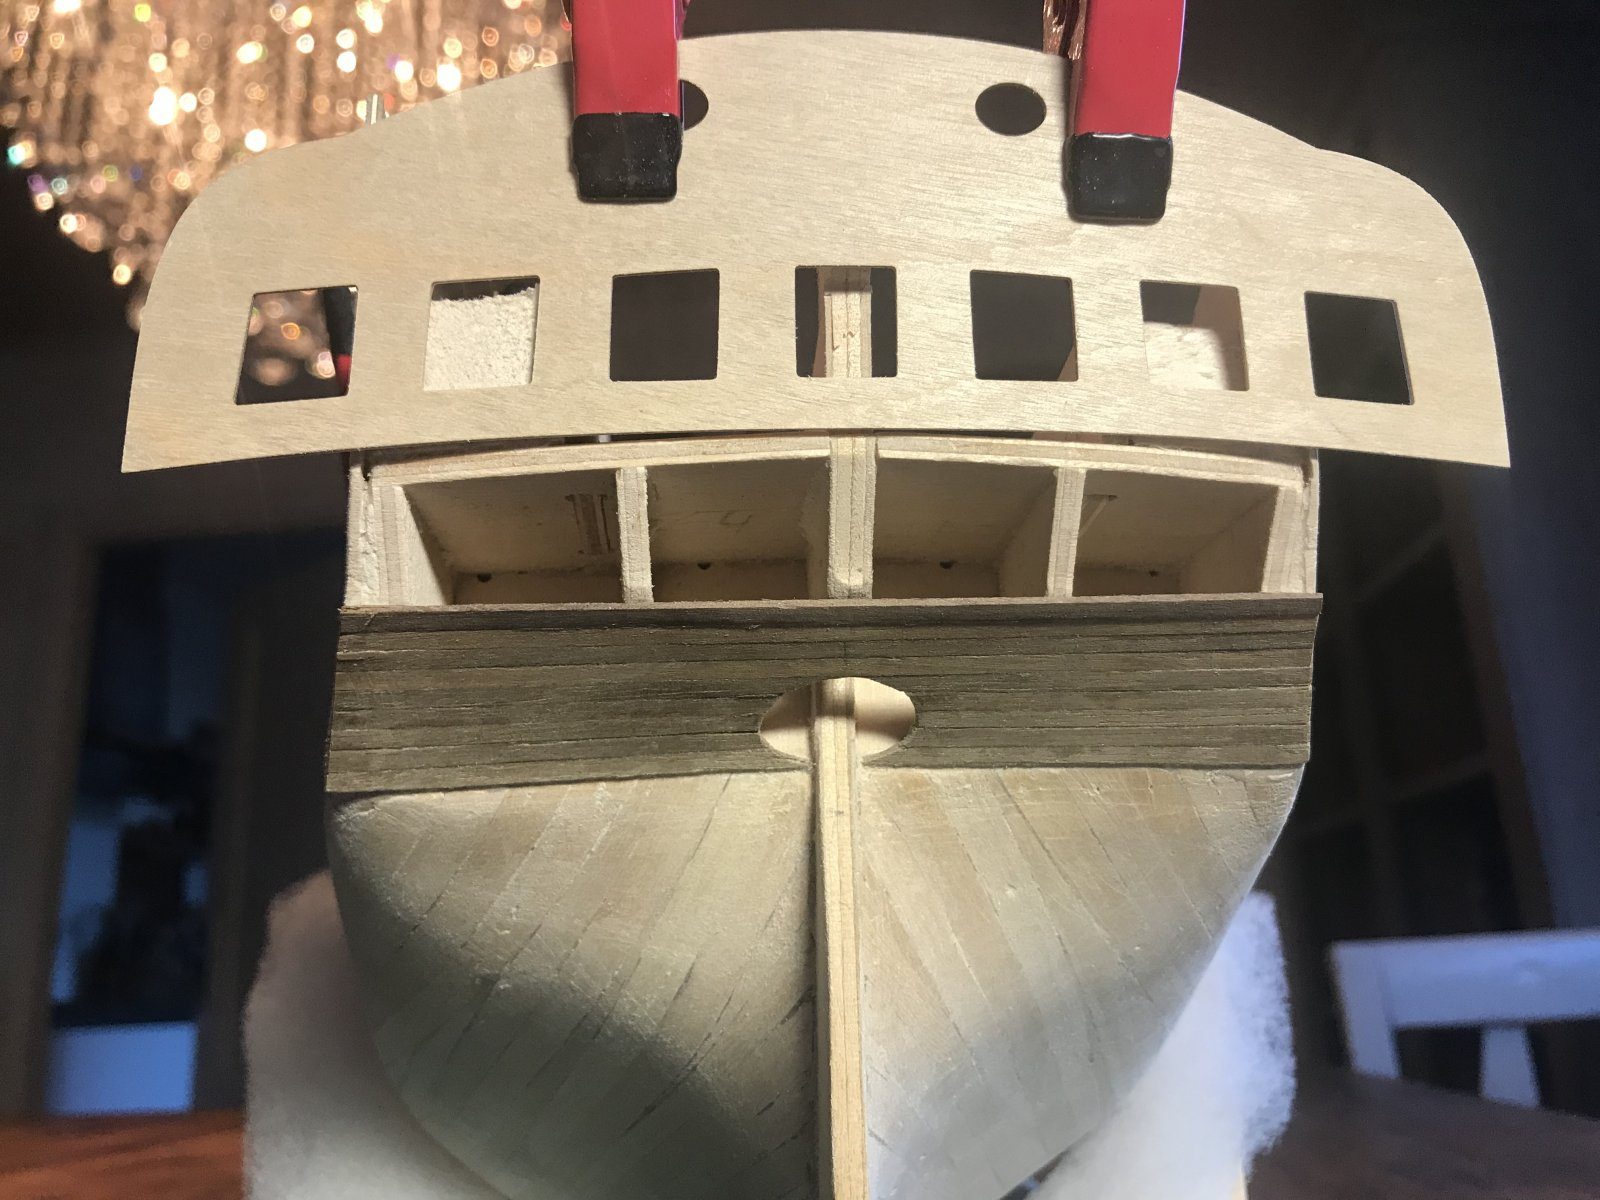
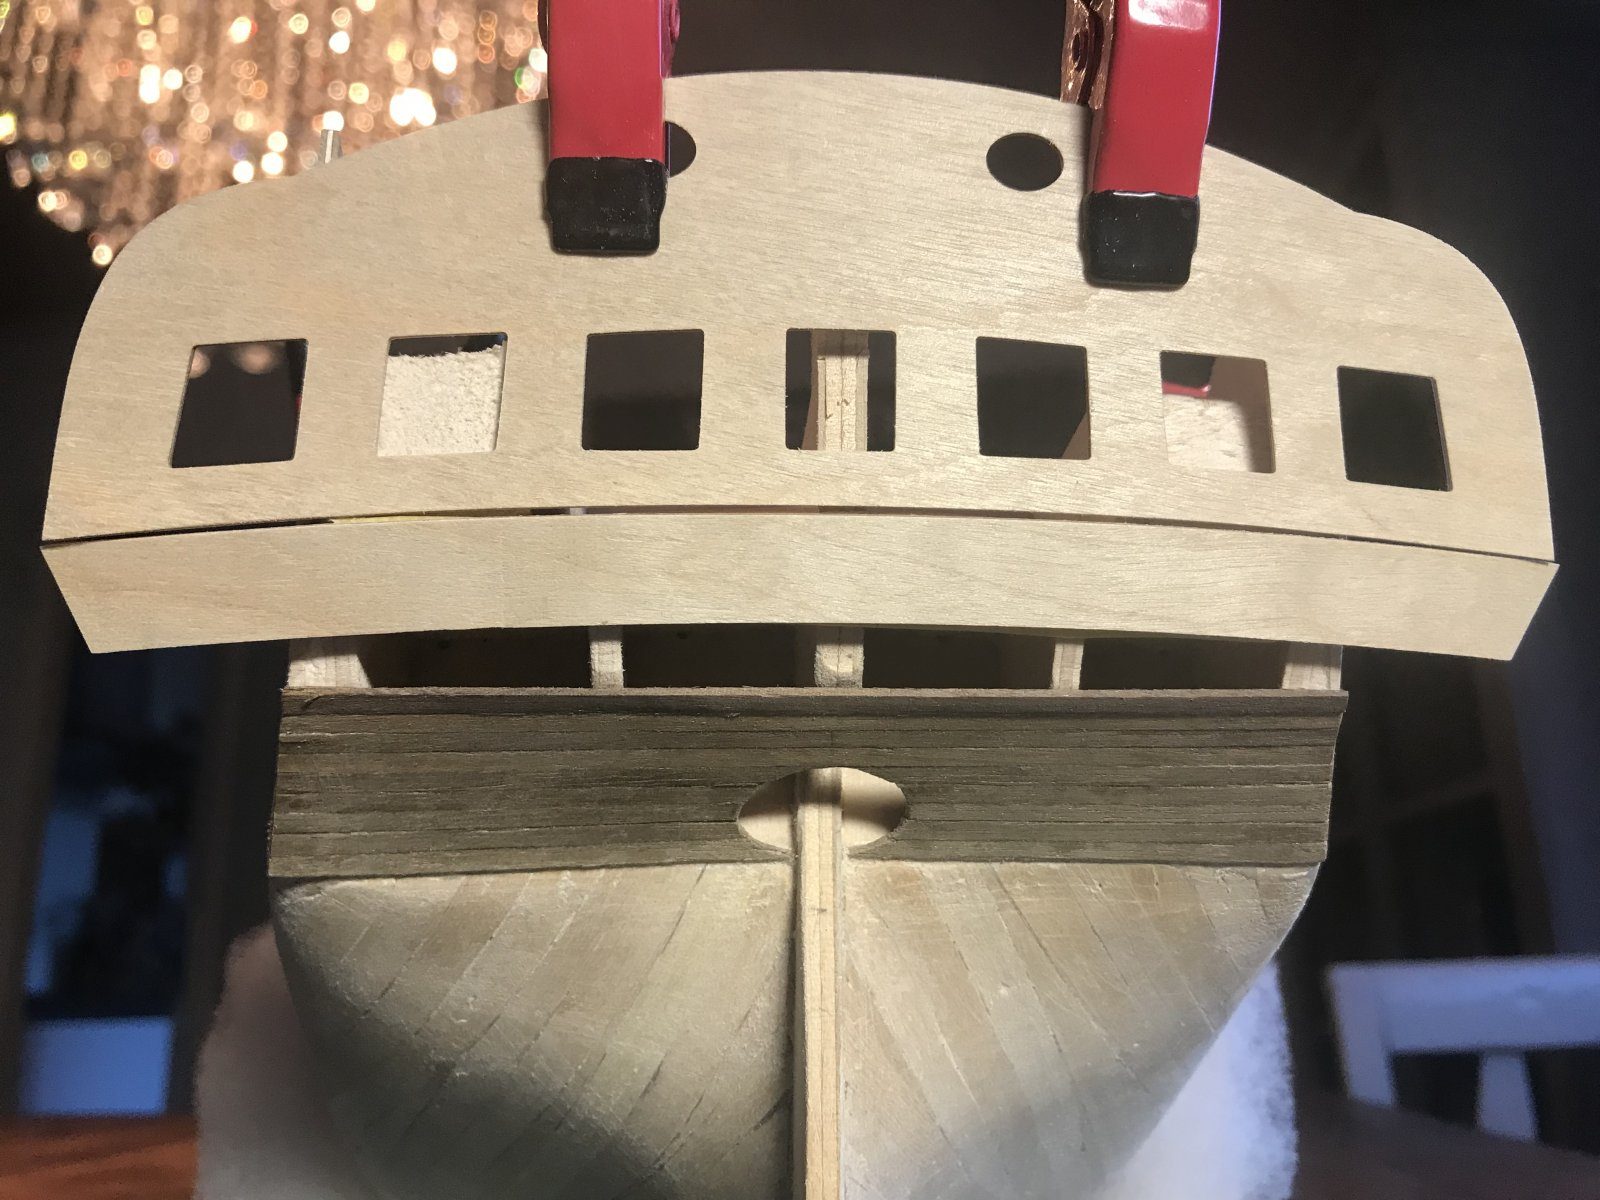
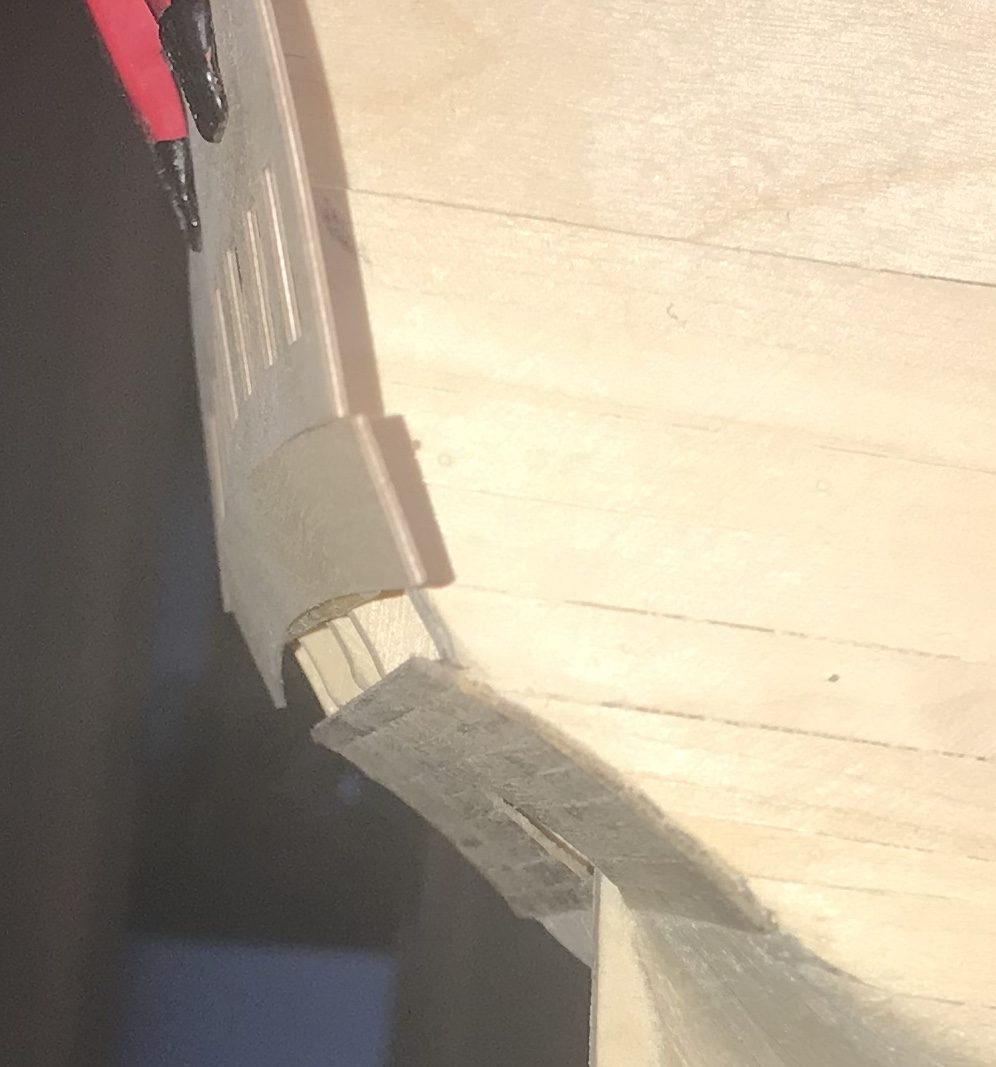
Extending the planking isn’t really an option, as it would then come too far forward. Dropping the lower part does close the gap, but then the whole thing seems to sit far too low.
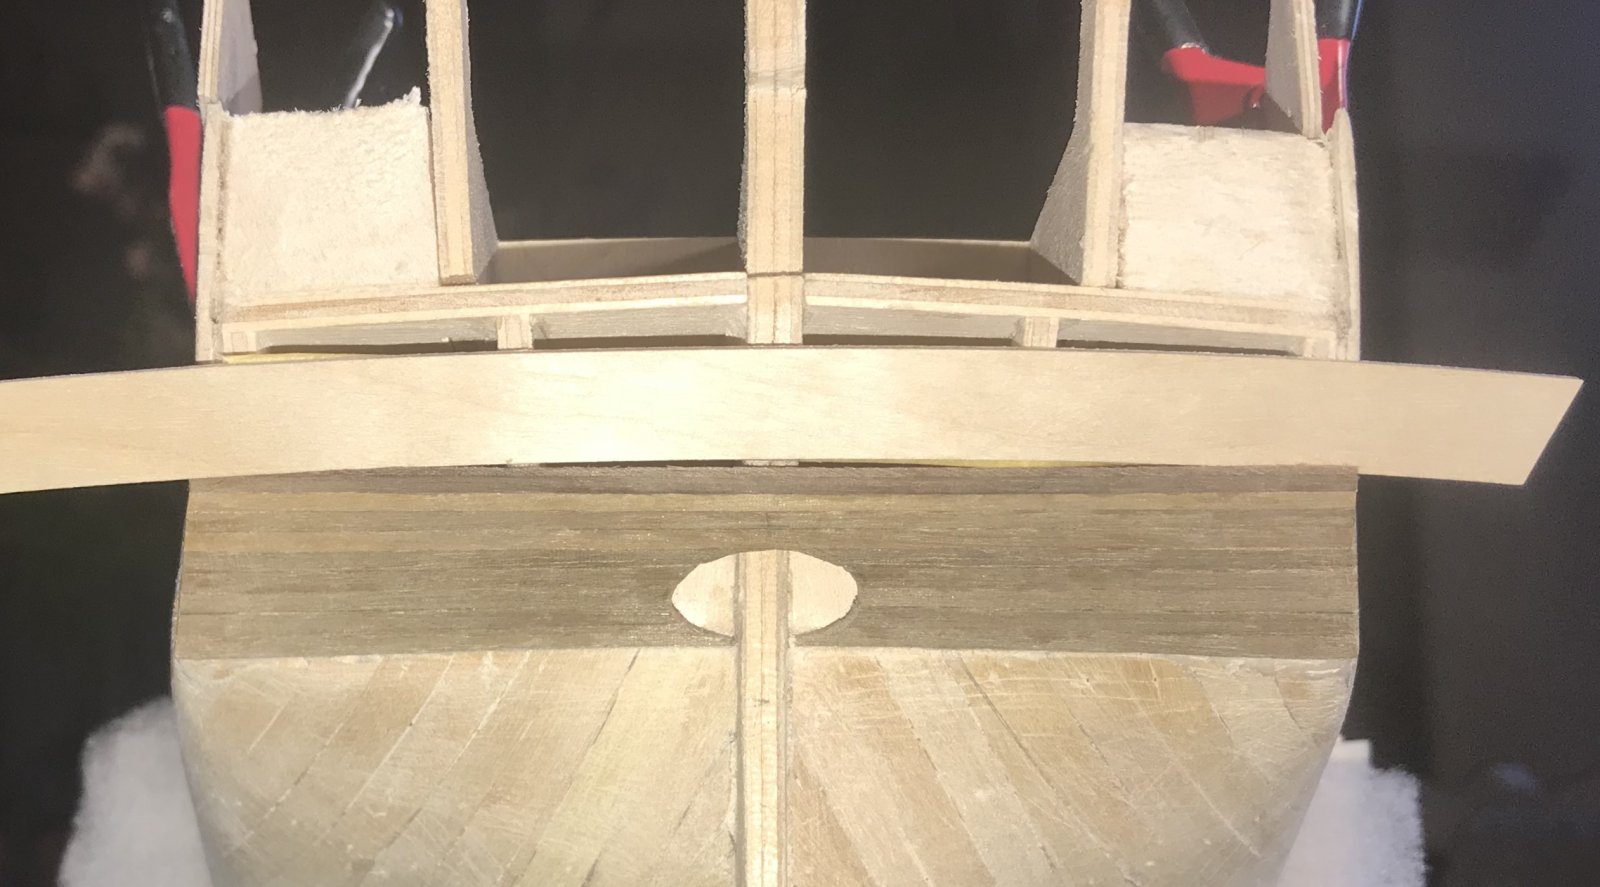
Hans had a down-to-earth answer: welcome to wooden ship building, where nothing fits first time because everyone does it their own way. The transom still gets carvings, so first see what goes where and how much room is left. Only recently someone at a birthday party said to me: a model boat, that comes in a box and you just put it together. Fortunately it’s not that sort of party.
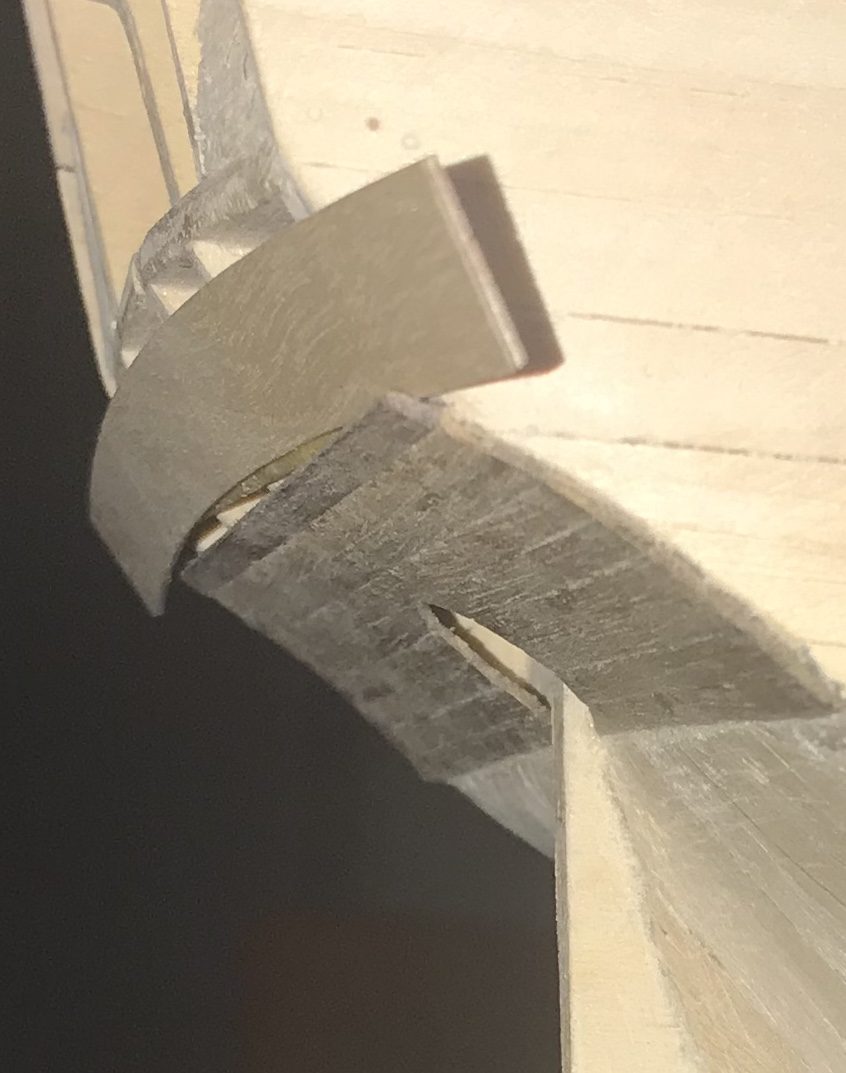
In Piet’s build log it looks suspiciously as though he fixed the transom much lower than the instructions say. So that’s what I did too. I extended the planking at the bottom with a curved piece, which makes the gap in the middle smaller. Then I dropped the transom and joined the lower part to my new curved strip. From behind the whole thing is now closed. At the side there’s still some space, but the second planking will close that later; I think I simply sanded away a bit too much at the side of the stern. The angle between the upper and lower parts of the transom does become shallower this way, but on Piet’s it’s only very shallow too.
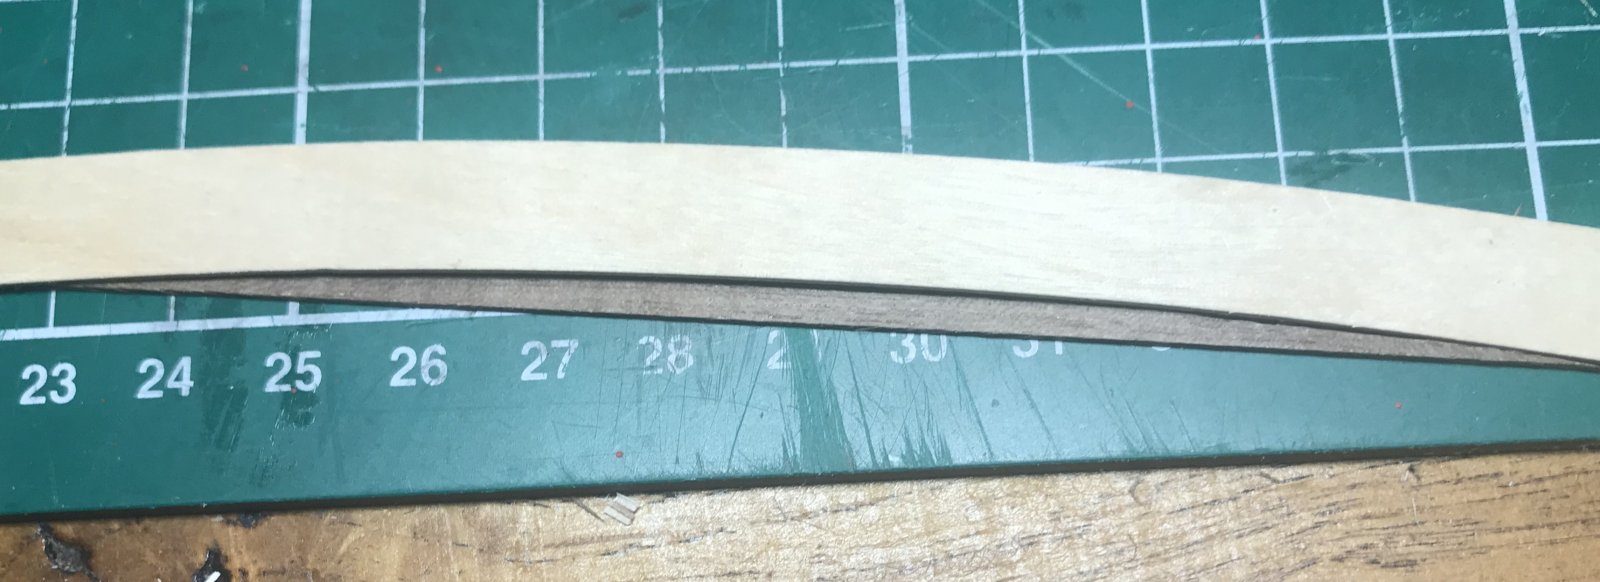
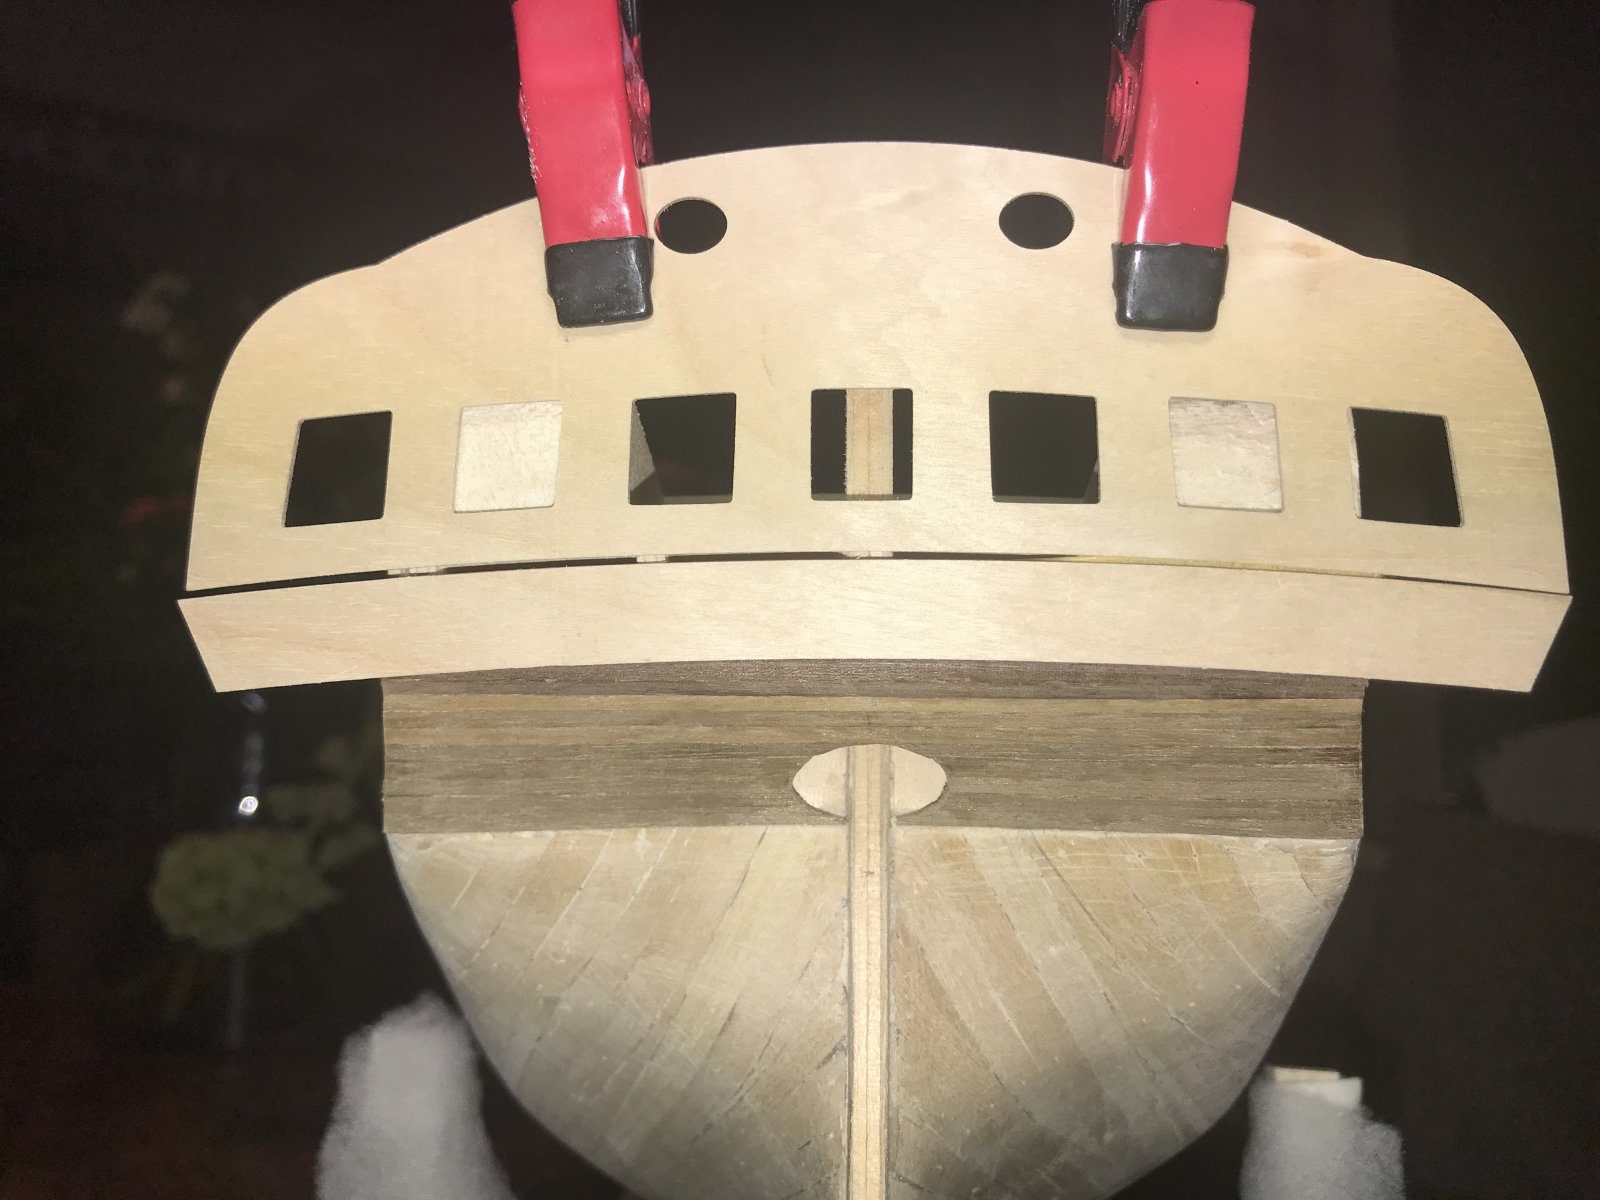
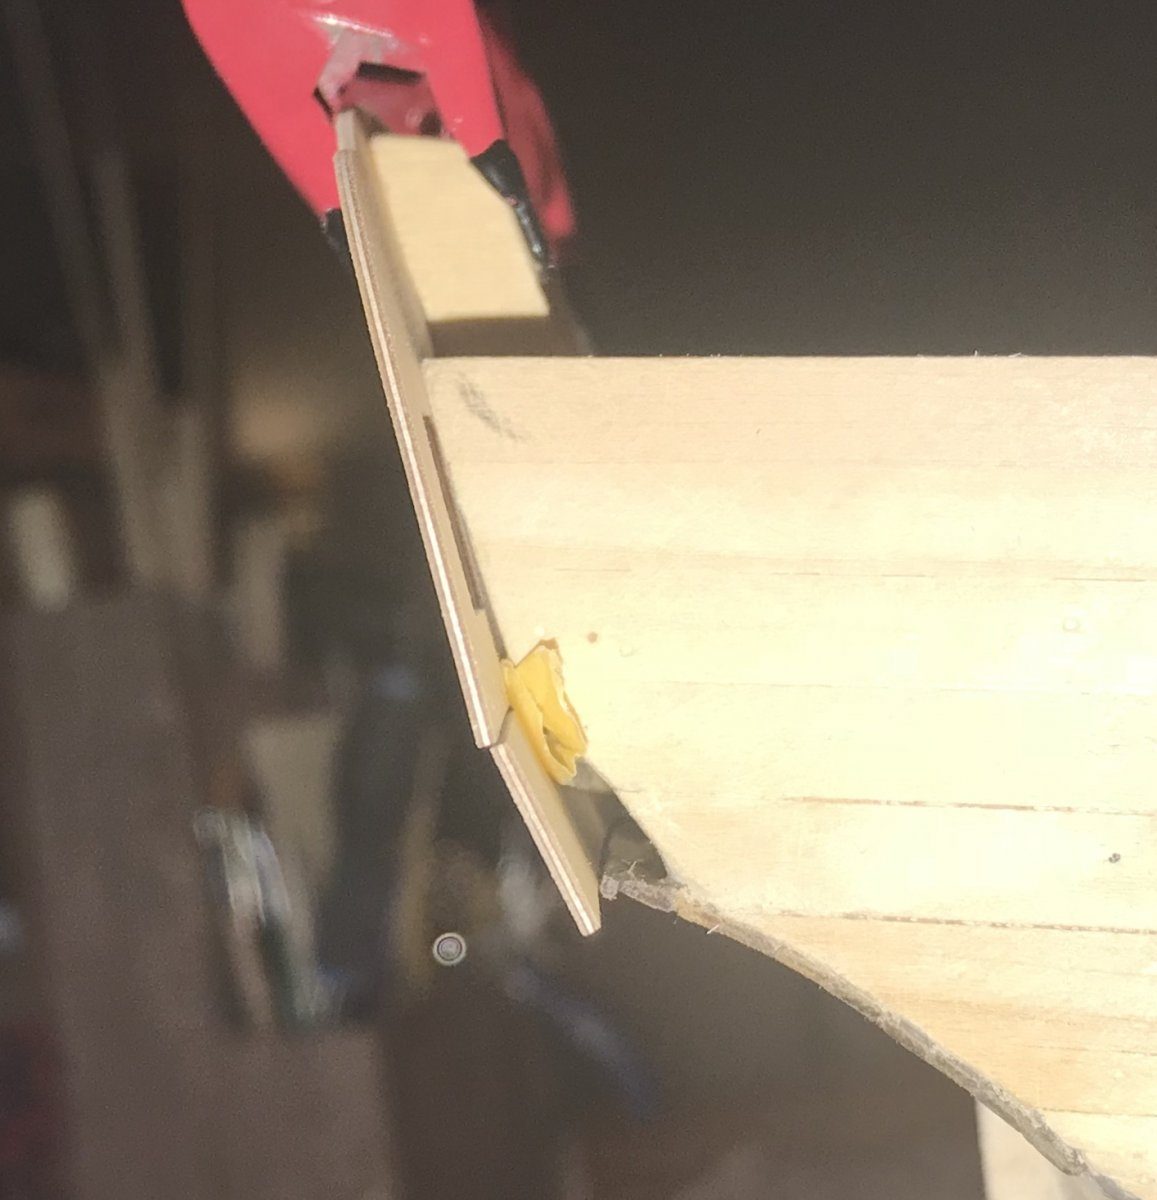
Piet confirmed that this is the right solution. In his view the Diana is one of Caldercraft’s most difficult models. The transom has to drop so far that the edge of the false deck is no longer visible and the window sections just clear it; small gaps you fill with scrap wood and filler. Important: change nothing on the transom plate and the plywood counter themselves, otherwise the carvings and the walnut moulding won’t fit any more. Luckily I hadn’t sanded any material away yet. What I mainly wanted now was the correct height of the transom, so that I can lower the bulwark.