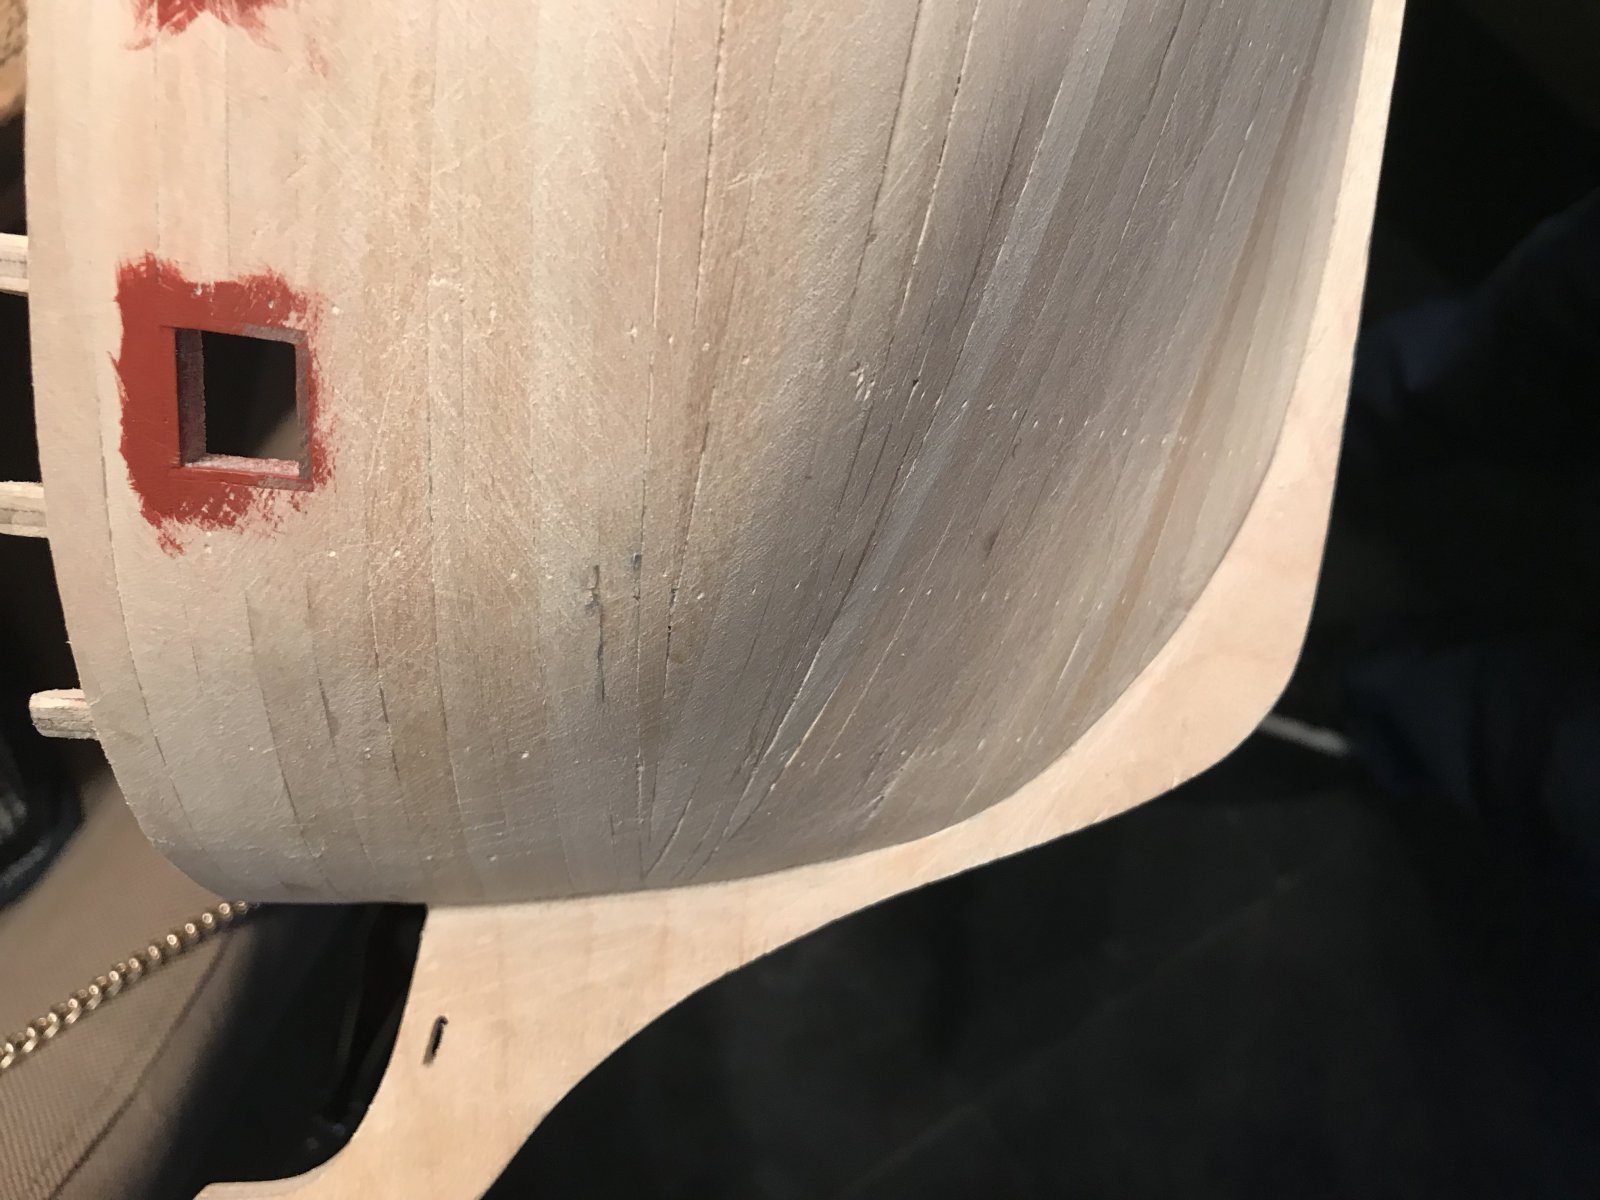
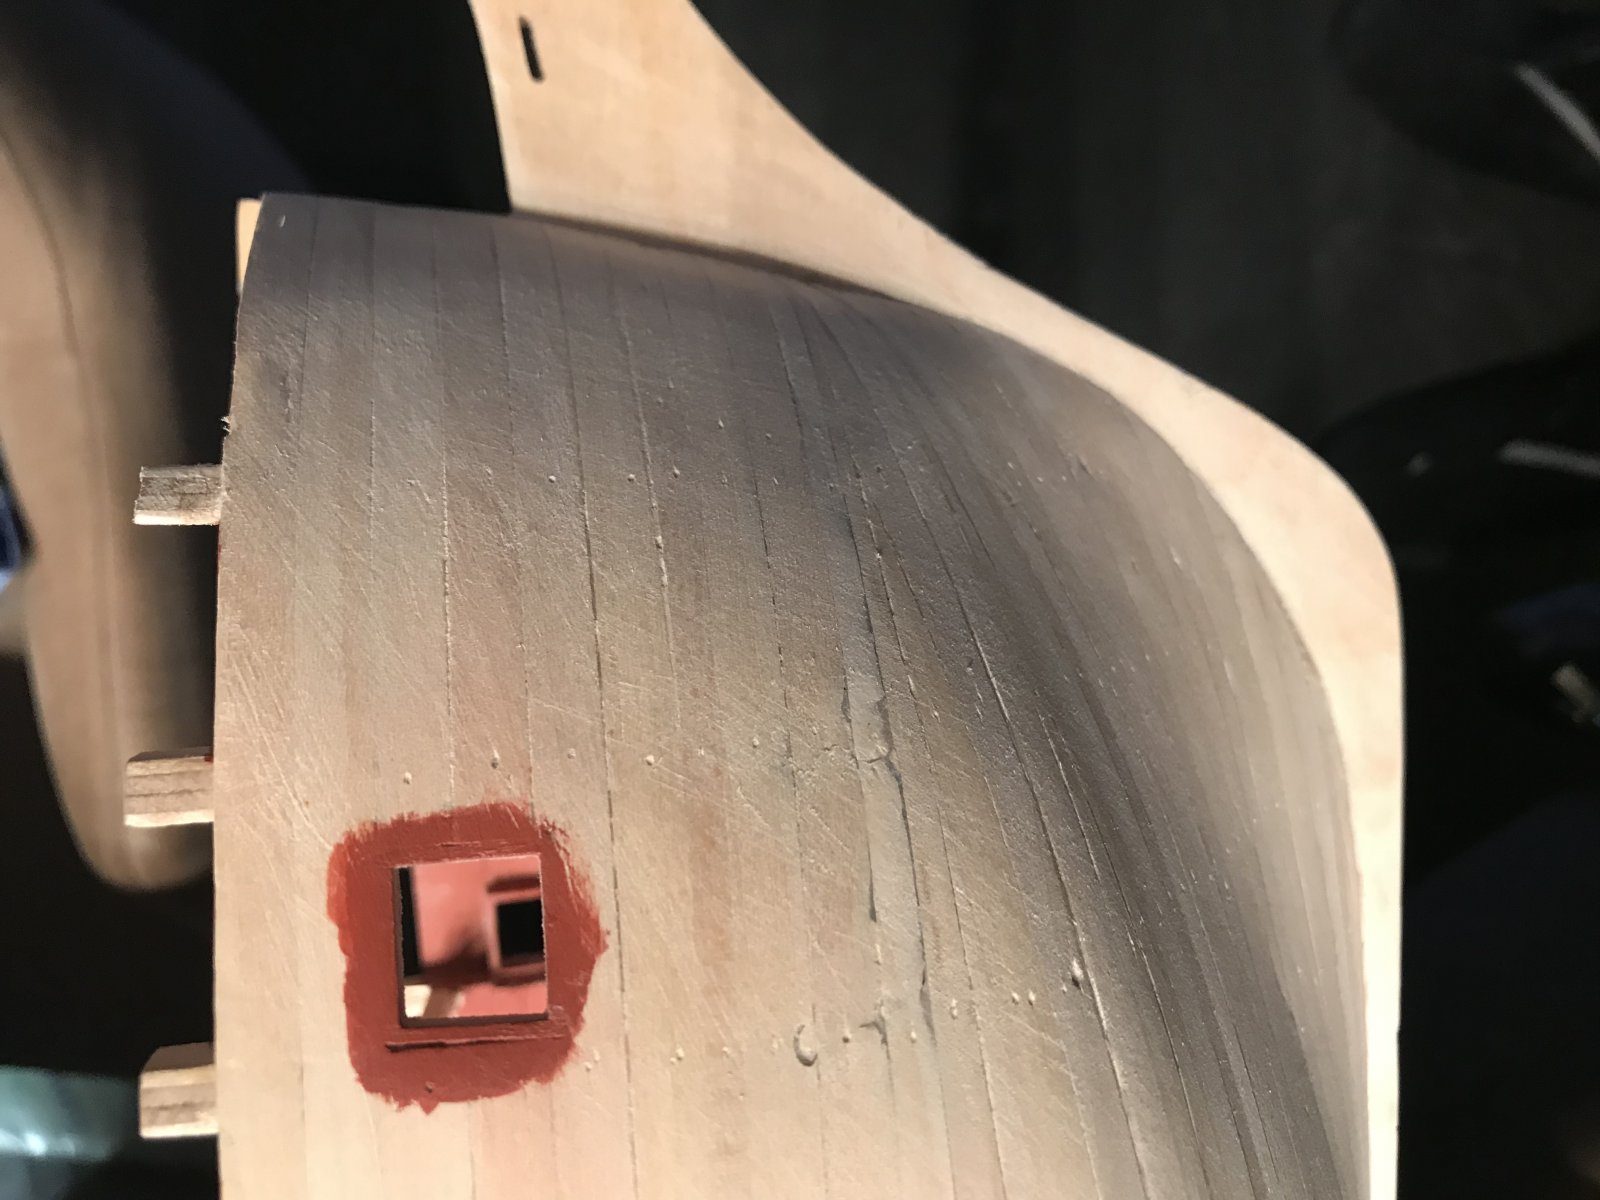
Closed up
She’s closed up! No major problems encountered. The keel has stayed straight, even though I cheated a bit by finishing one side first. Now sanding.
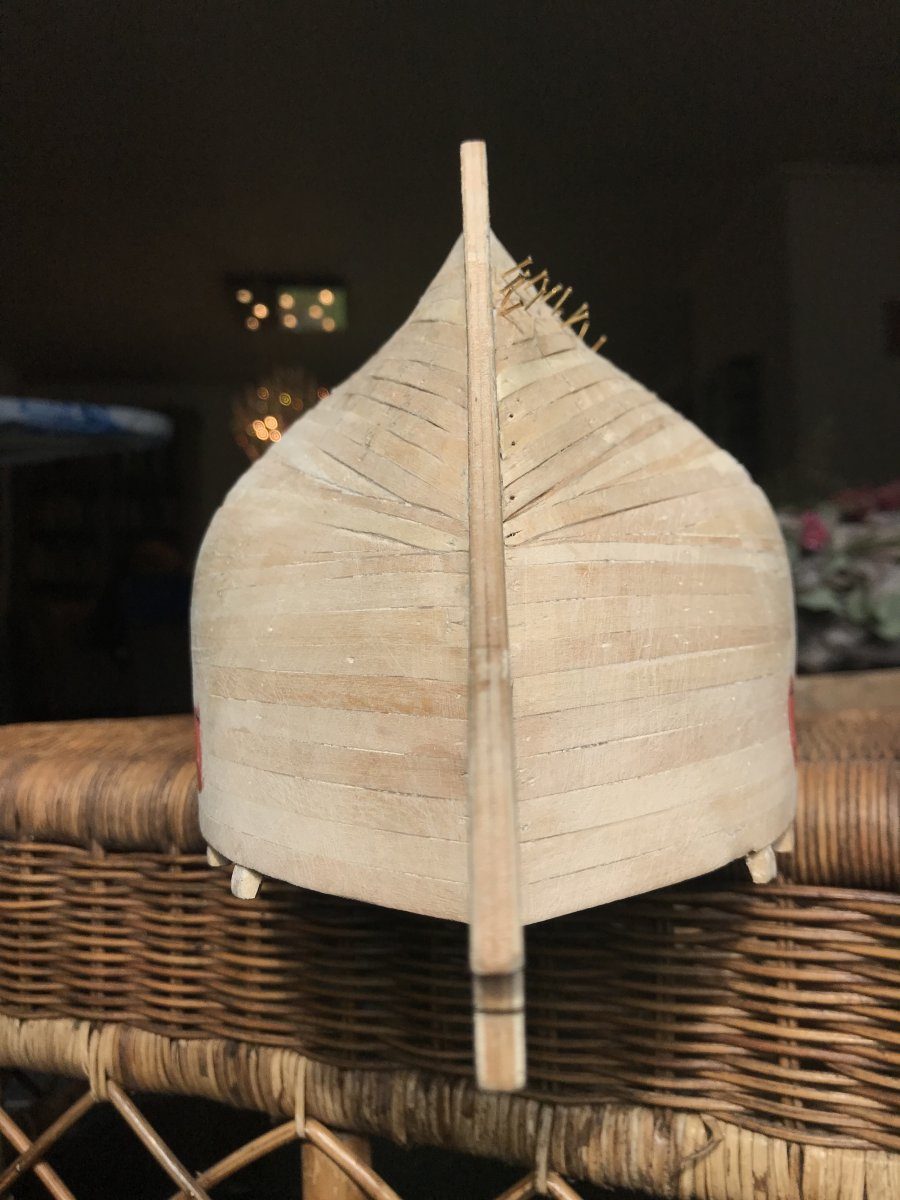
Piet congratulated me on the milestone and straight away gave some advice for the second planking. Because that stays visible and determines the look of the hull, I’d do better to start tapering the strips a bit earlier at the bow, so that they all run nicely through to the stem. At the stern, use a stealer here and there, for the same reason. With the first planking that matters less; it mainly has to be a good base. Since I’ll be fitting copper plates, by no means all of the second layer will remain visible, but I still want nicer lines. Piet added that there are a great many ways to plank, and that as captain of my own ship I get to choose.
After most of the sanding, the end result. A small imperfection here and there, but that’s for tomorrow. And then read up on what comes next.
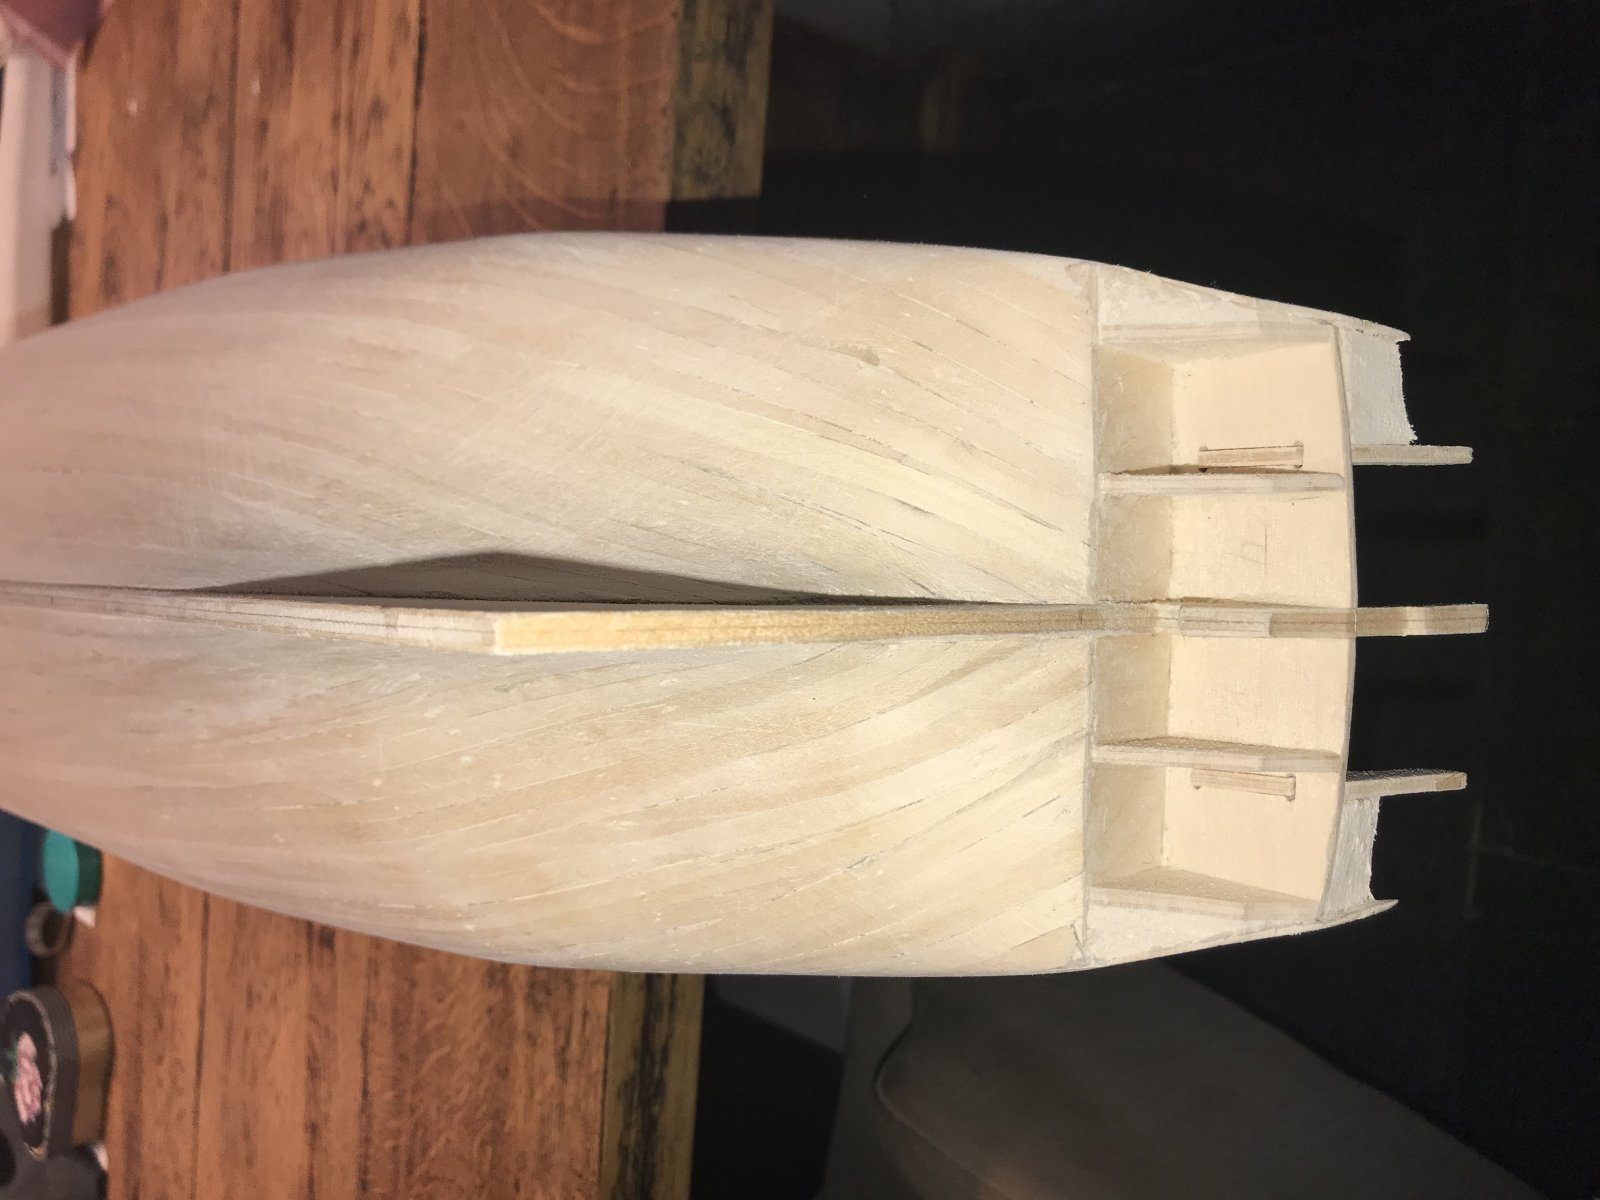
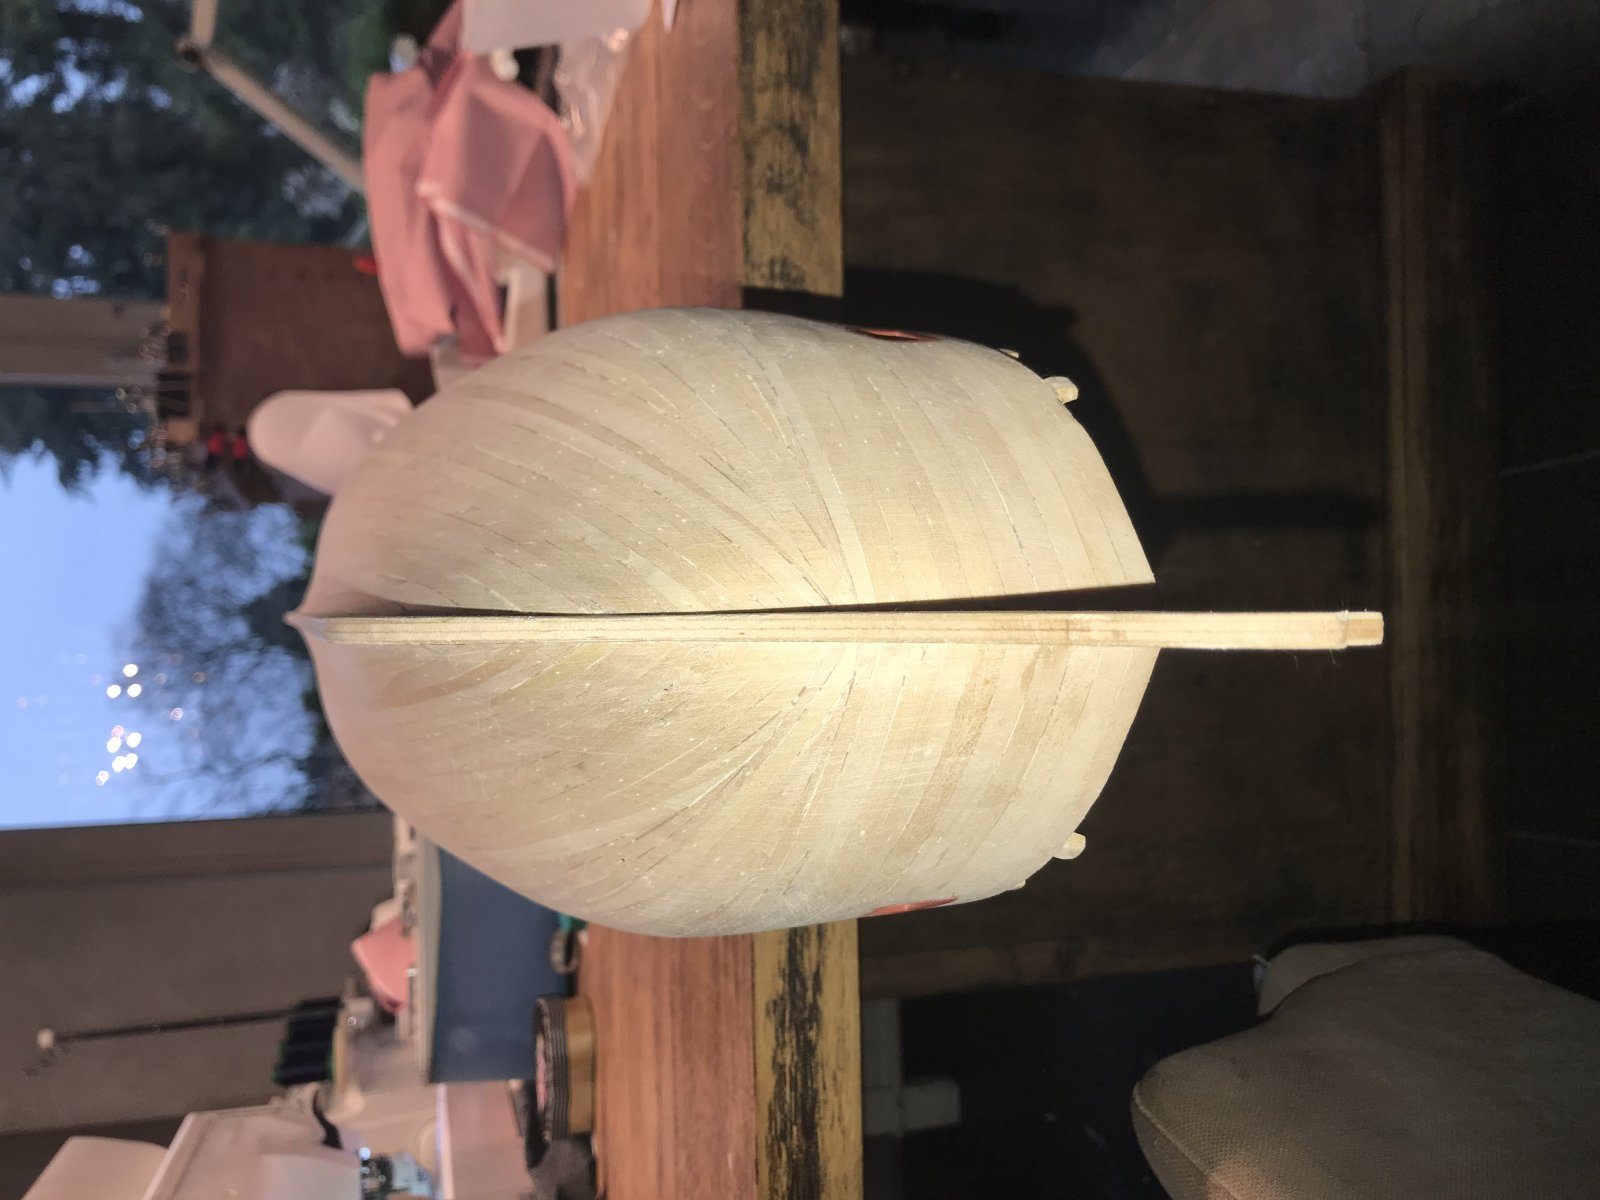
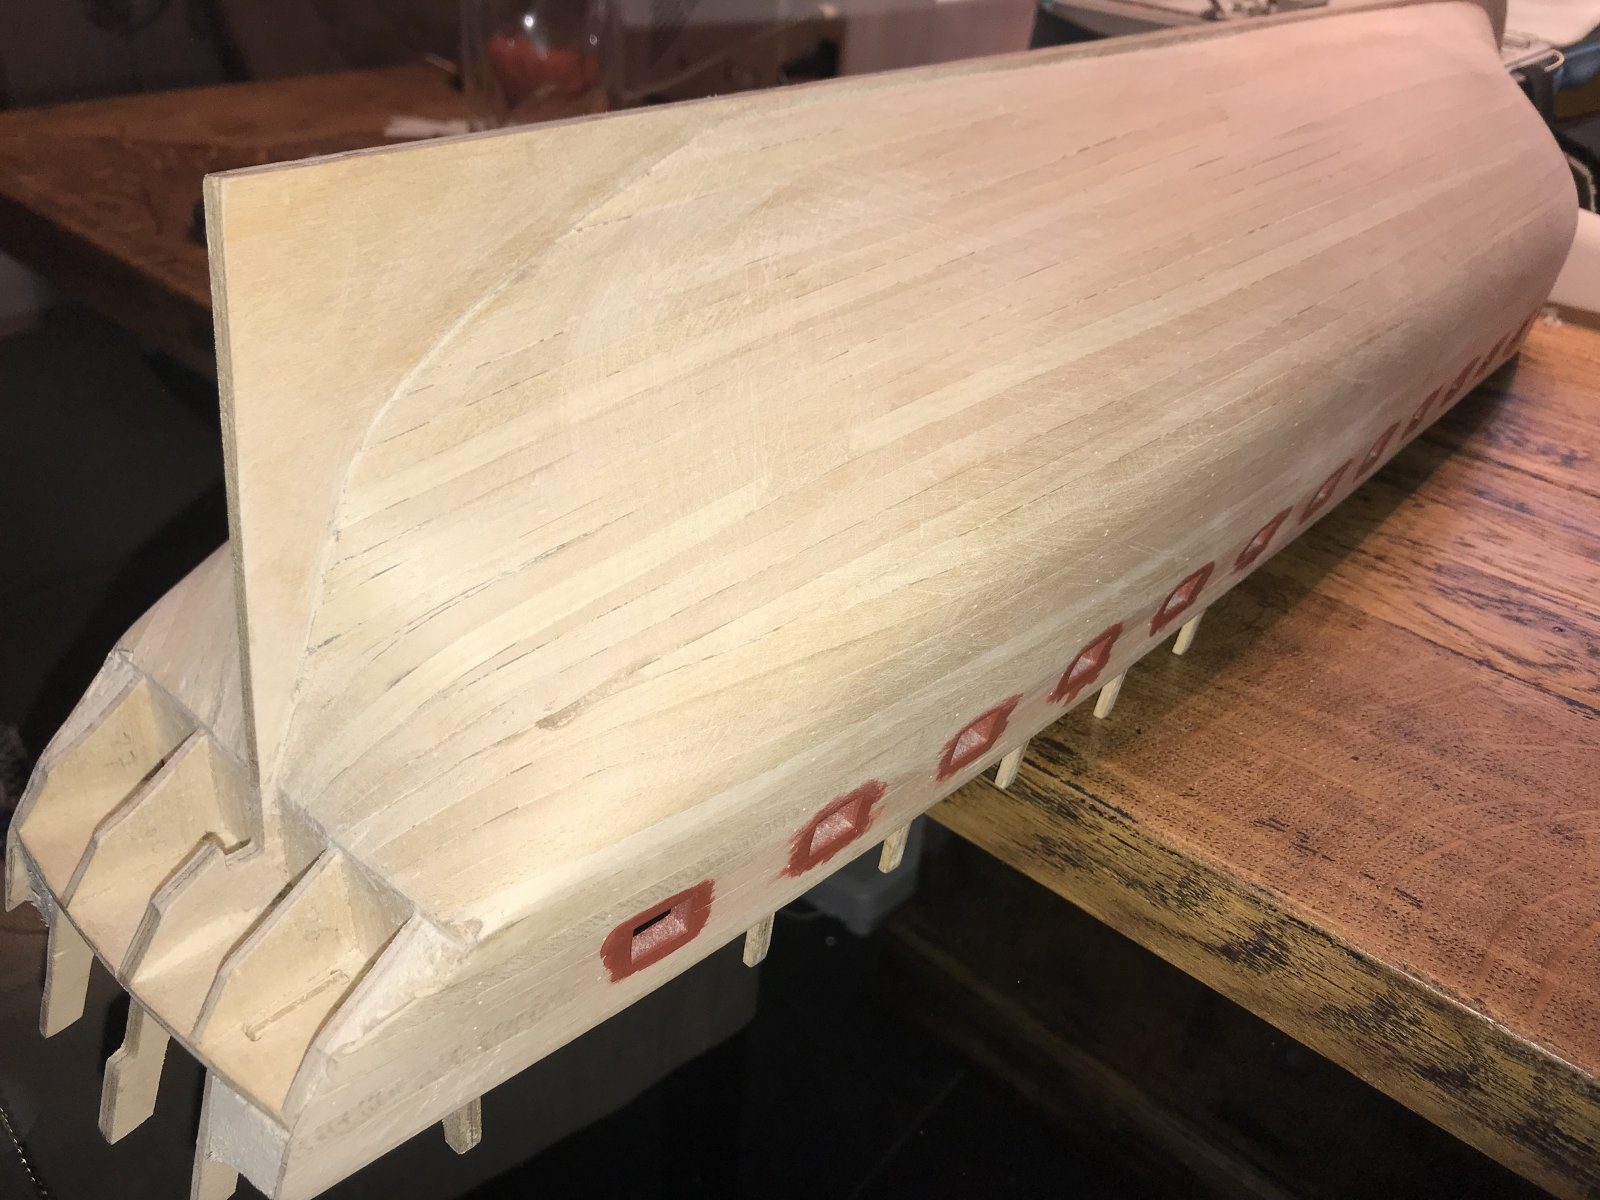
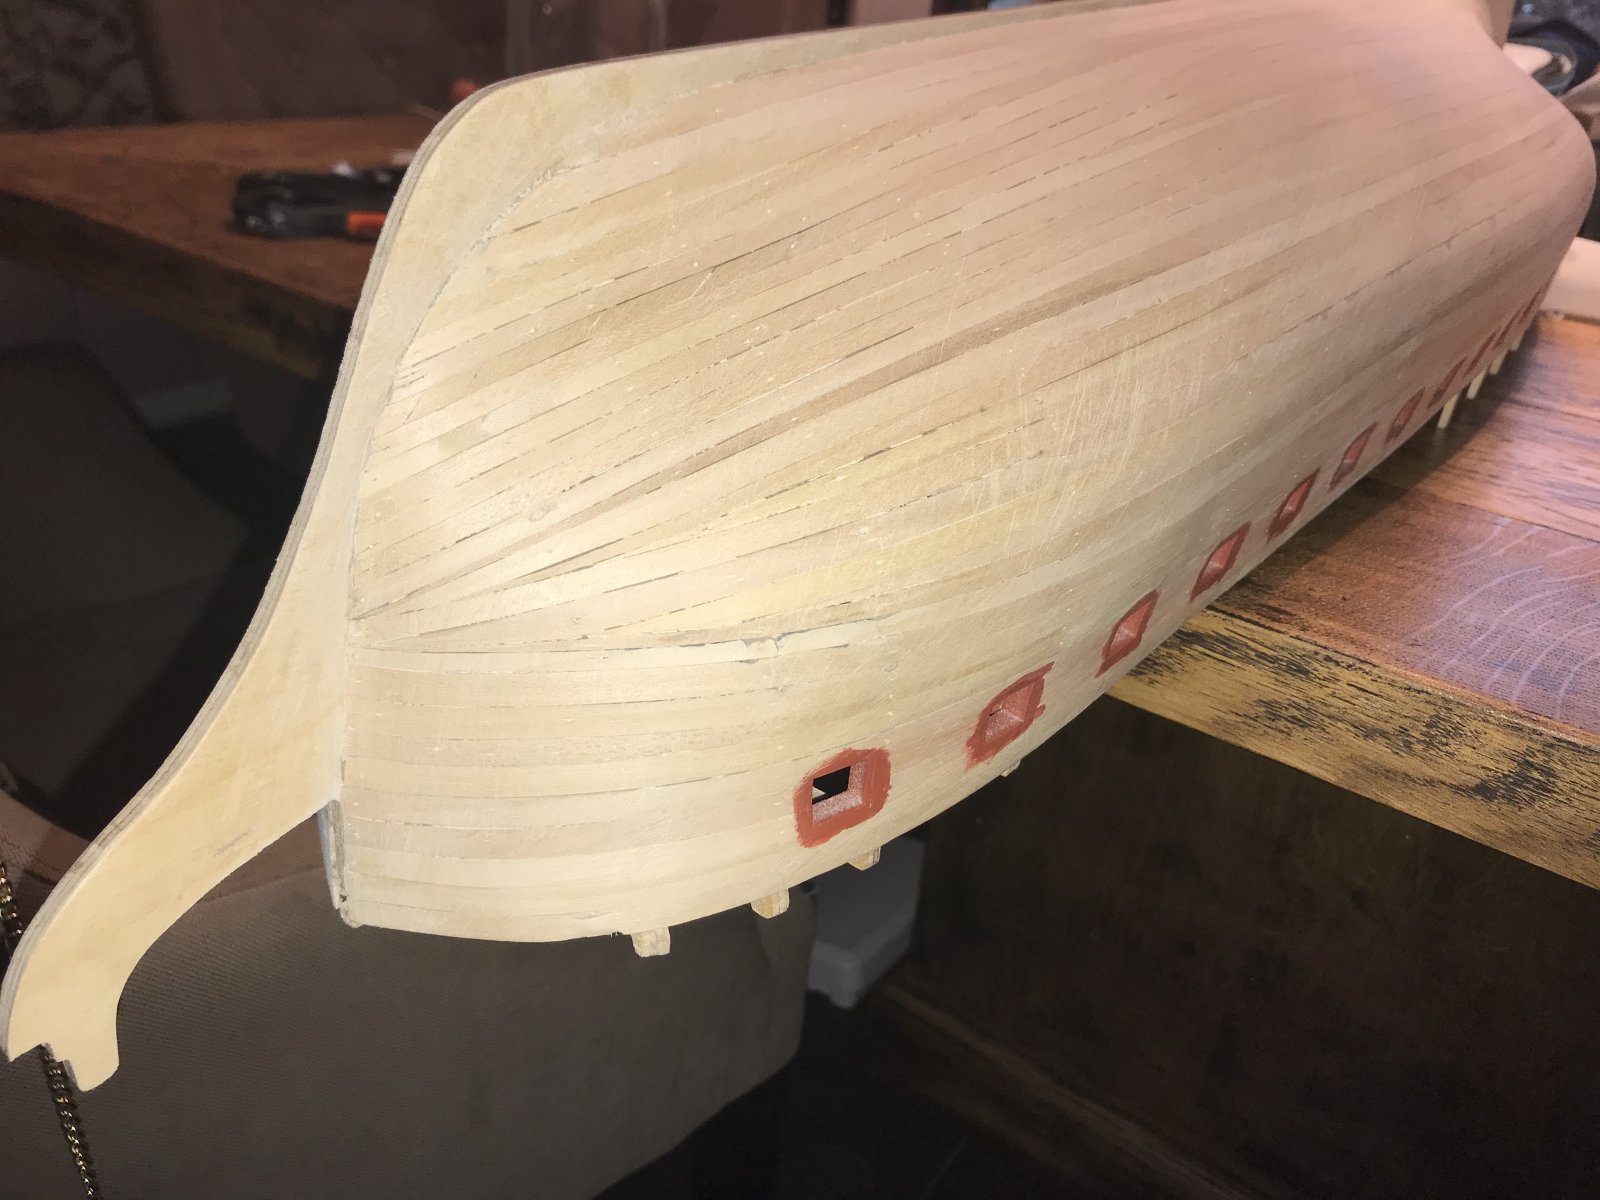
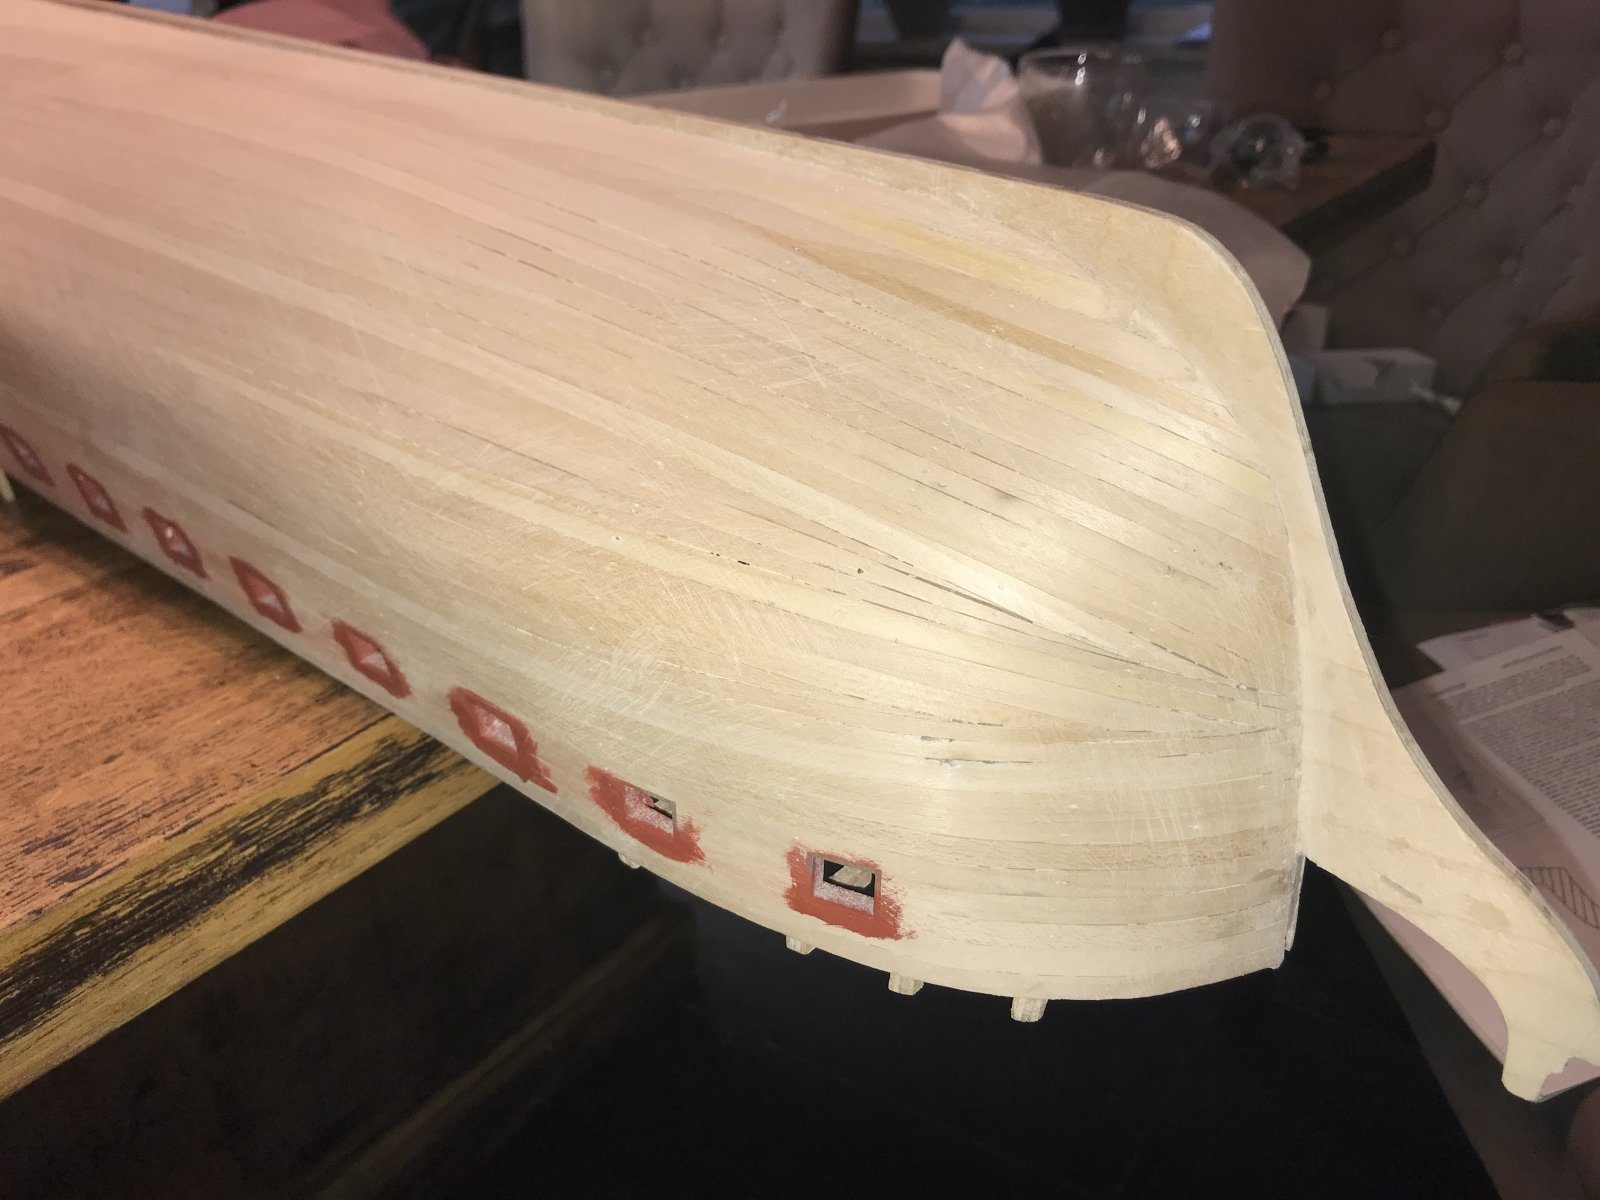
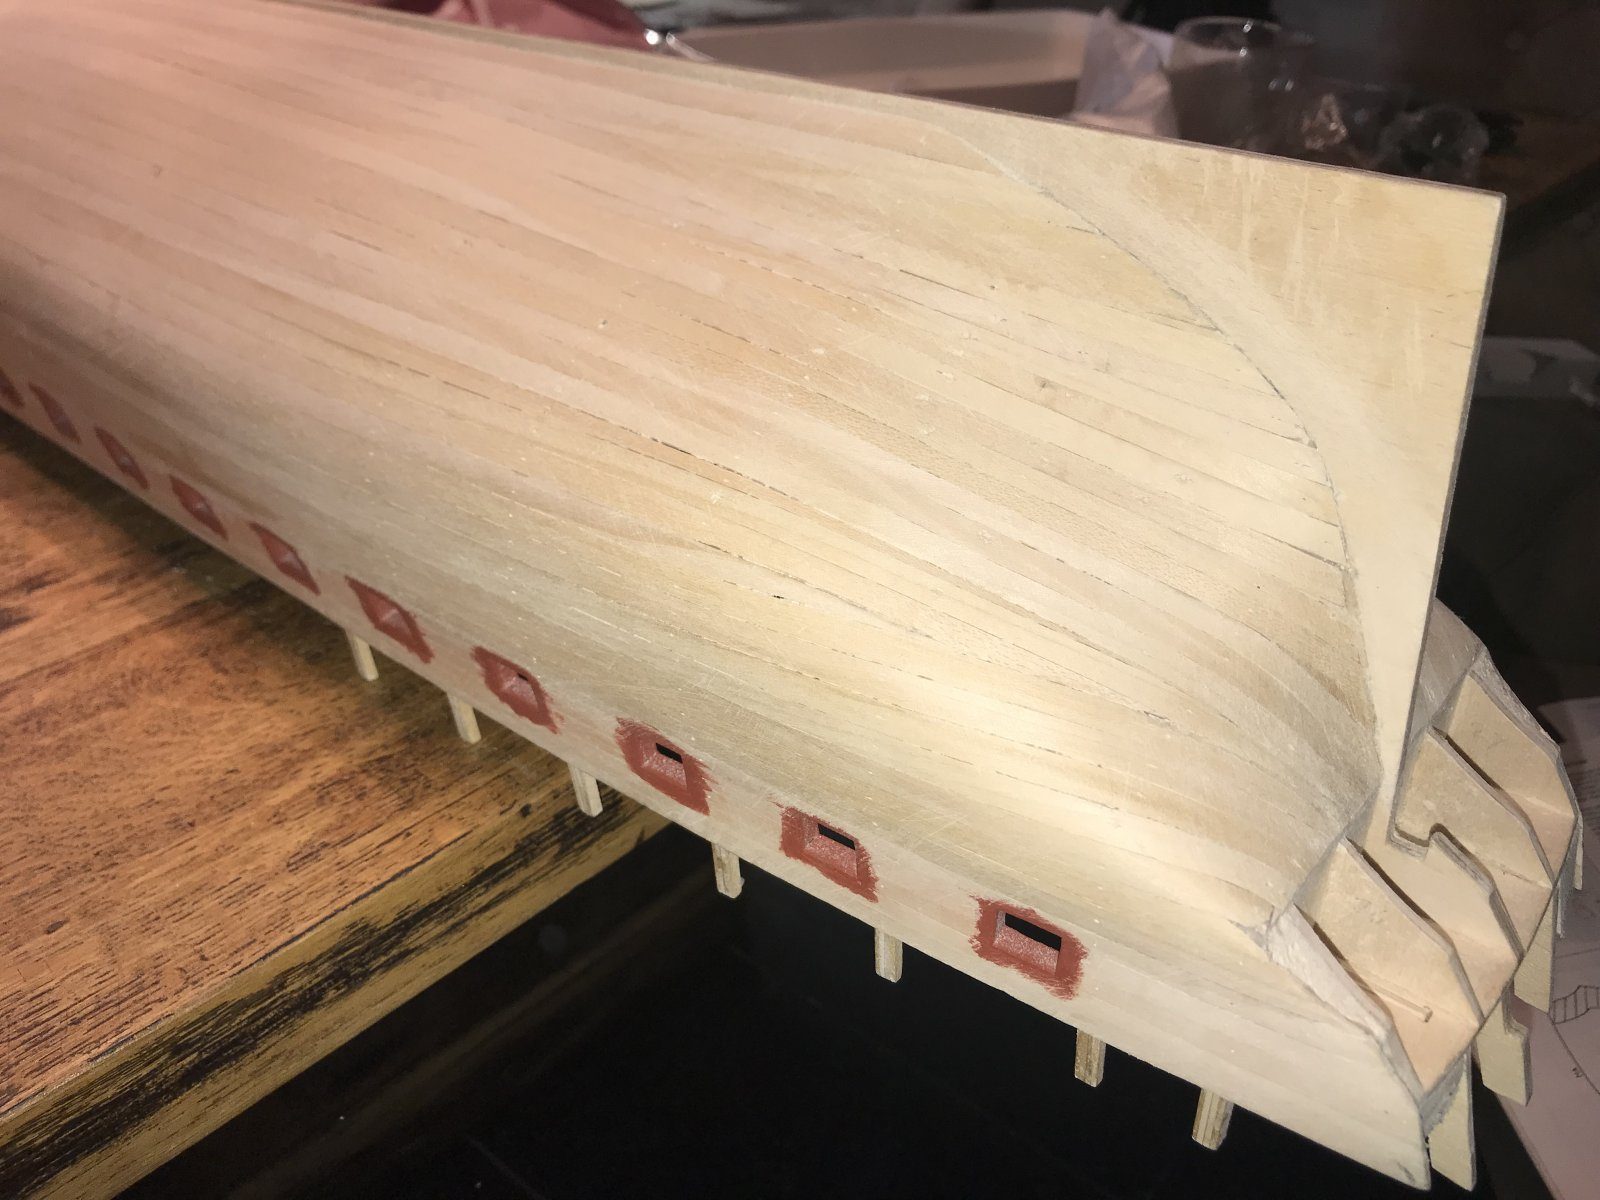
In different light I took another photo, and there the curve of the bow doesn’t look quite the same after all: the port side has a straight bit, a kink, in the curve. Hadn’t noticed it before. Piet thinks the kink is minimal. His advice: lay a few strips over it (dry fit) to see whether it disappears with the second planking. If not, carefully apply some fine-grain filler and sand smooth once dry.